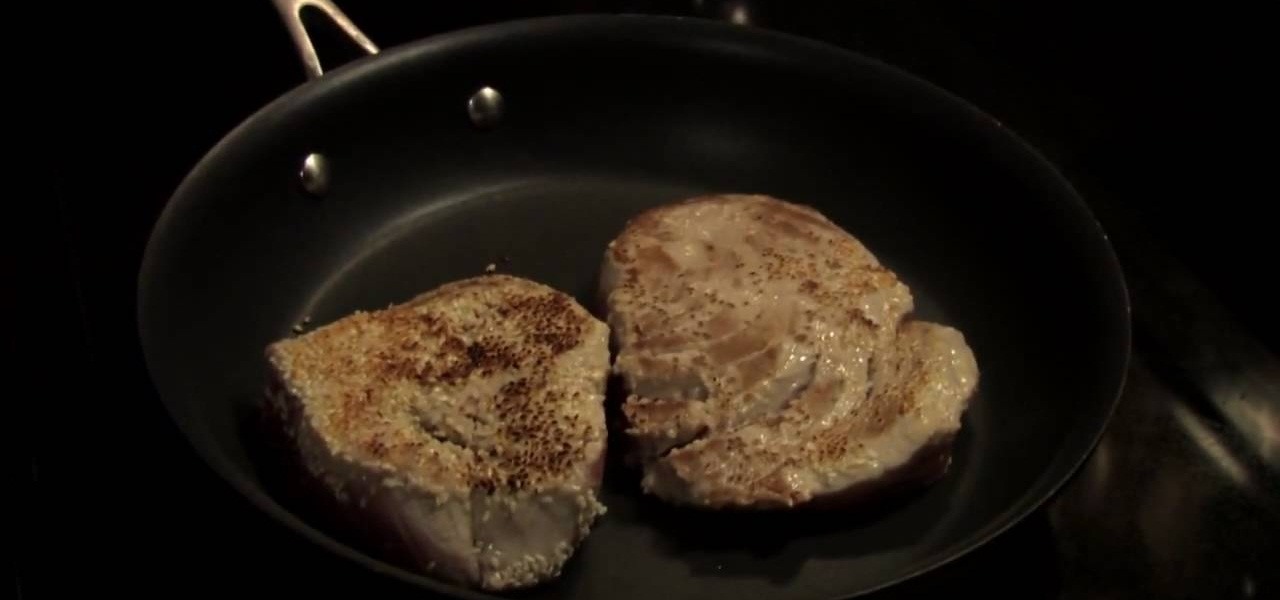
In this Food video tutorial you will learn how to make pan-seared tuna steaks over spinach and lentils. Start with a bowl of fresh baby spinach. Take juice of half a lemon, ¬º cup olive oil, them together, taste to see that it is OK and pour it over the spinach. Mix it and your salad is ready. Put the stove on medium heat and heat up a pan. Take a pound of Tuna steaks, brush them lightly with olive oil and dredge them through sesame seeds. Now put them over the hot pan and cook for 2 to 2 ¬O ...
In this video, we learn how to get rid of frizzy hair. First, when you wash your hair make sure you condition it well on the bottom half of your hair for 3-5 minutes. When you get out of the shower, apply leave-in conditioner to the bottom half of your hair. You can also use a small mixture of honey and olive oil on the ends of your hair, just make sure to rinse thoroughly. If you have naturally frizzy hair, don't run a towel through it or it causes more frizz. Don't blow dry your hair if you...

In this tutorial, Sandra Lee shows us how to make a centerpiece cake. First, place lemon frosting onto a vanilla round cake and then place another place vanilla cake on top of it. Now, grab your vanilla frosting and pour it on top of the cake, smoothing on the top. Now, grab a butter knife and apply more frosting to the sides of the cake very carefully so you don't brush the cake plate. Once finished, you can decorate some cupcakes with different icings and sprinkles. You can then place the c...

In this video, we learn how to turn a photo partially black and white using PhotoShop. First, open up the program and open up the picture you'd like to change. Now, click with the right key above the layer and choose duplicate "layer". Now click above the eye icon to hide the layer, then select the layer. Now you can go to image, adjustments, then black and white. Now make the second layer visible and select the eraser tool. Wave your brush over everything but what you want to keep colorful. ...
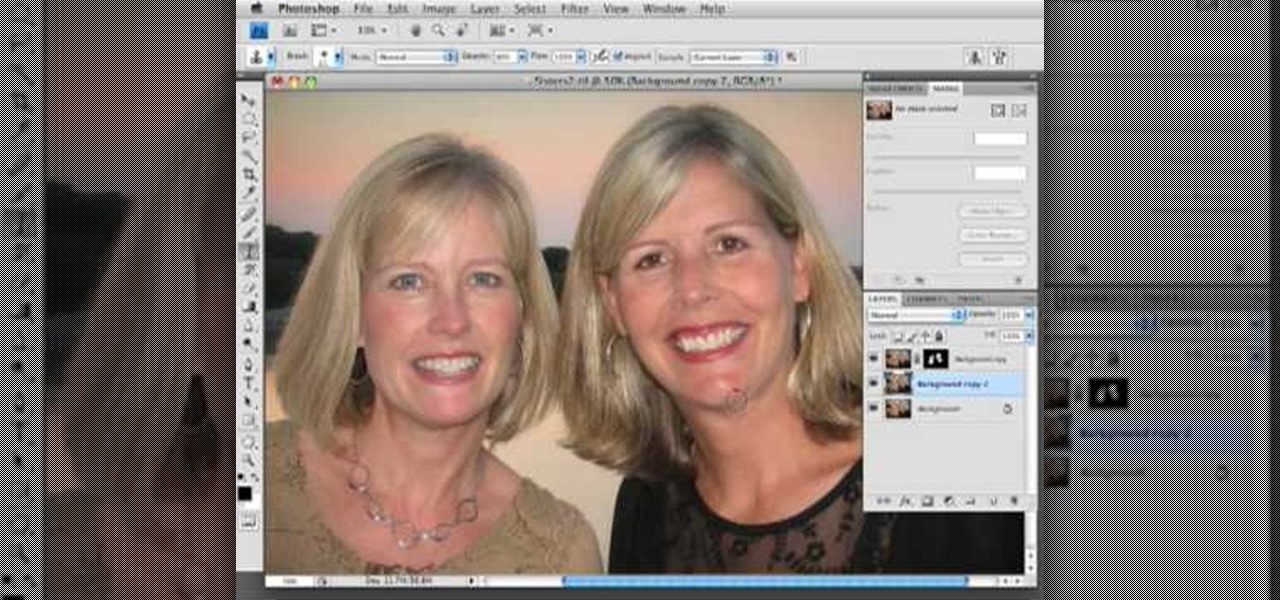
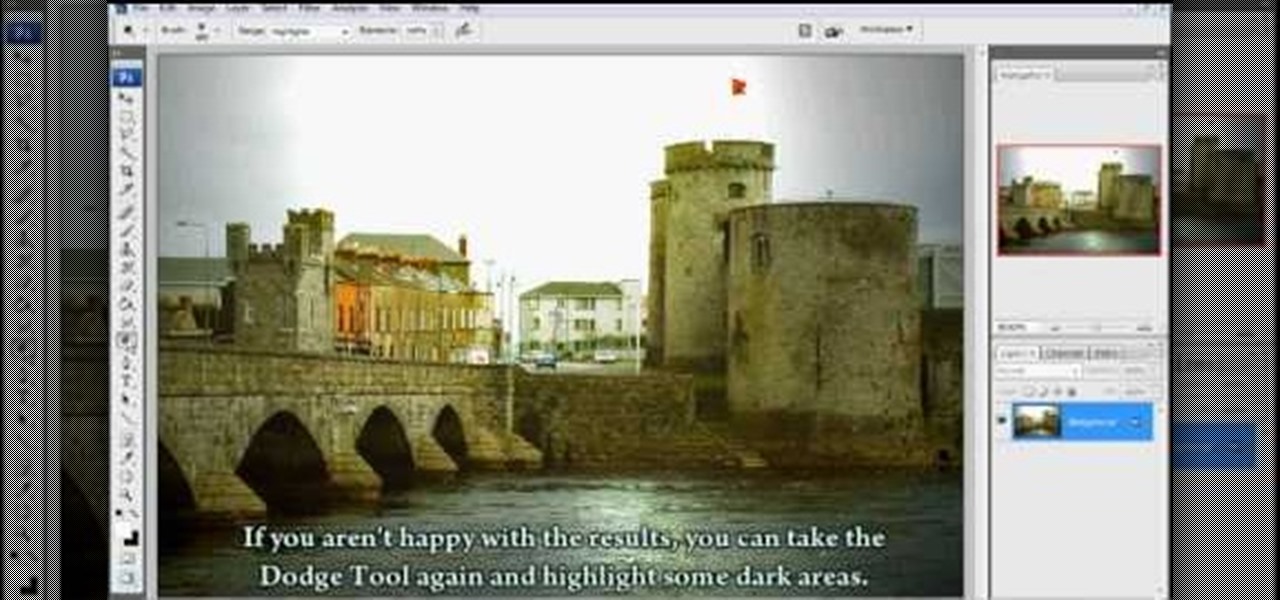
In this how to video, you will learn how to get rid of shine using Photoshop. This is useful if you took a picture using too much flash, causing shine to appear on the faces of those in the photo. First, open the image in Photoshop. Duplicate the background layer. Select the clone stamp tool on the left and select a brush with no hardness. From here, change the opacity to 80 percent. Click the option key on an area of cheek. Now, click on the dots of shine on the faces. This can be used on wr...
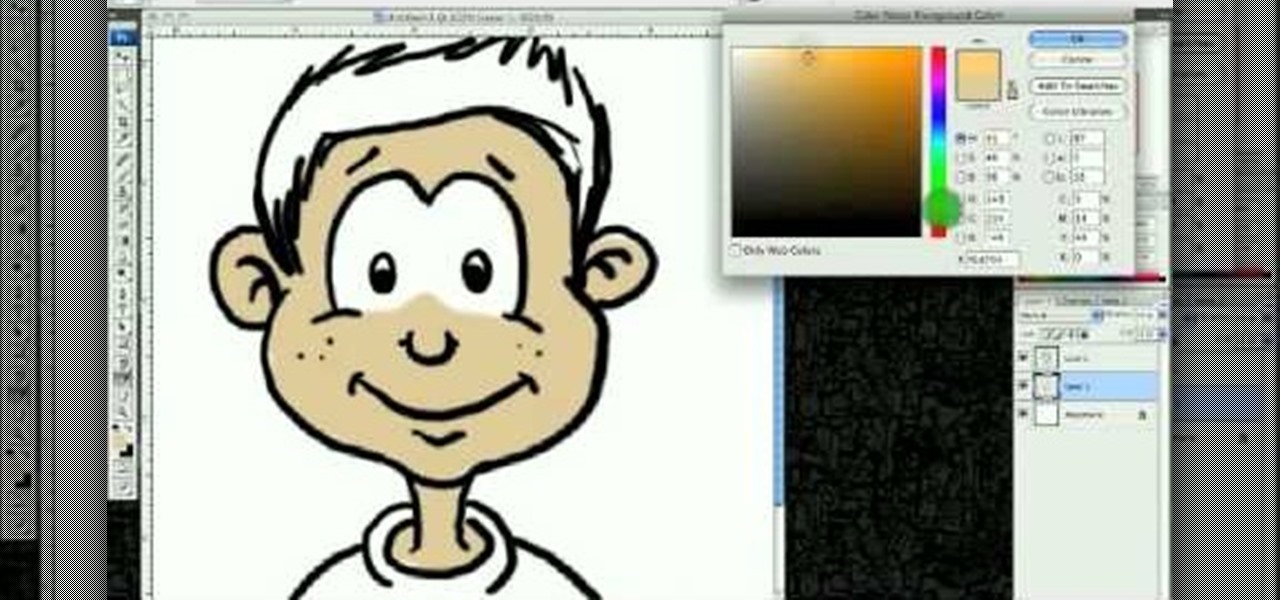
This video illustrates how to draw a cartoon boys face in Adobe Photoshop.Here are the following steps:

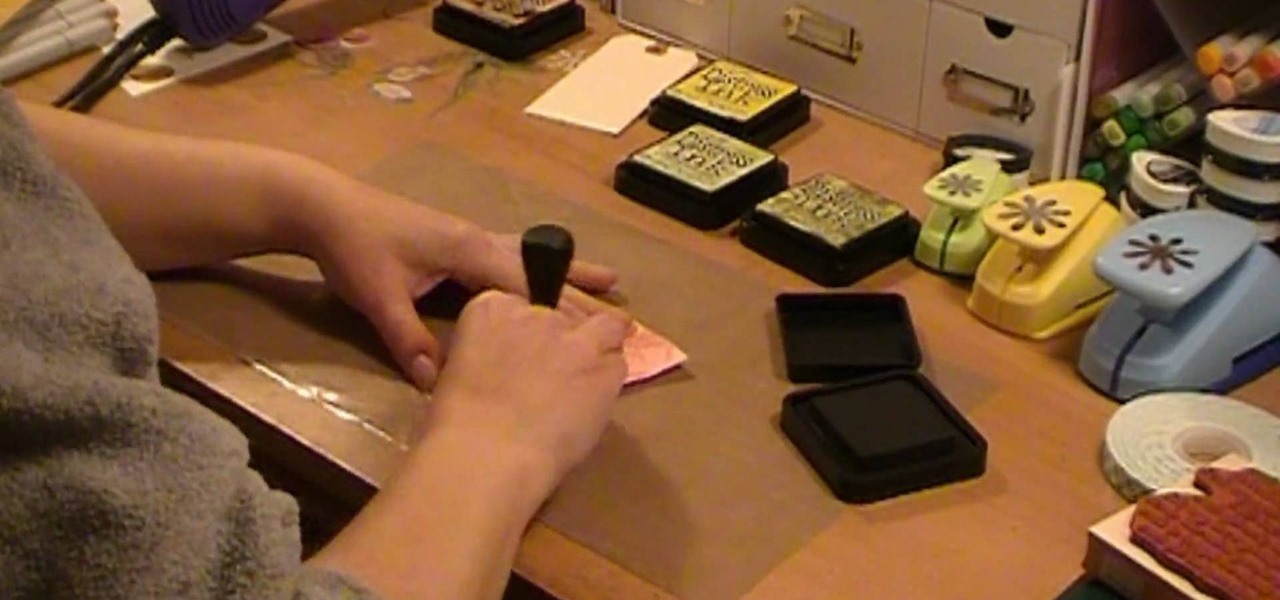
Donna50242 shows us how to make an amazing looking tag to use on different things. This video is in response to another one posted earlier. This tag is made be crinkling up an ordinary brown paper tag and then flattening it out to create the worn out wrinkle effect. Using a distressing inking tool with a foam pad, we apply the ink in a swirling motion. using different colors from the ink set (Mahogany, Mustard seeds, green etc), we can create amazing effects. And that's it, your done! Try exp...

This video shows how to paint your nails with a very attractive red and yellow nail art design. Using a glitter nail polish, dip it in yellow glitter powder. Pat it on the nail, rather than brushing it on. Then apply large glitter shimmers randomly all over the nail, and this forms the background.

Leo Bancroft with Handbag demonstrates how to straighten your hair with a hair straightener. First, use good clips to section off your hair. Fasten the clip to your hair in a straight line and then fold the excess hair up. Comb through the hair to ensure that you are not straightening any knots. Apply the flat iron to the hair without using a clamping motion. Gently glide the hair straightener over the hair shaft with the comb or brush guiding the hair straightener through the hair. Using the...

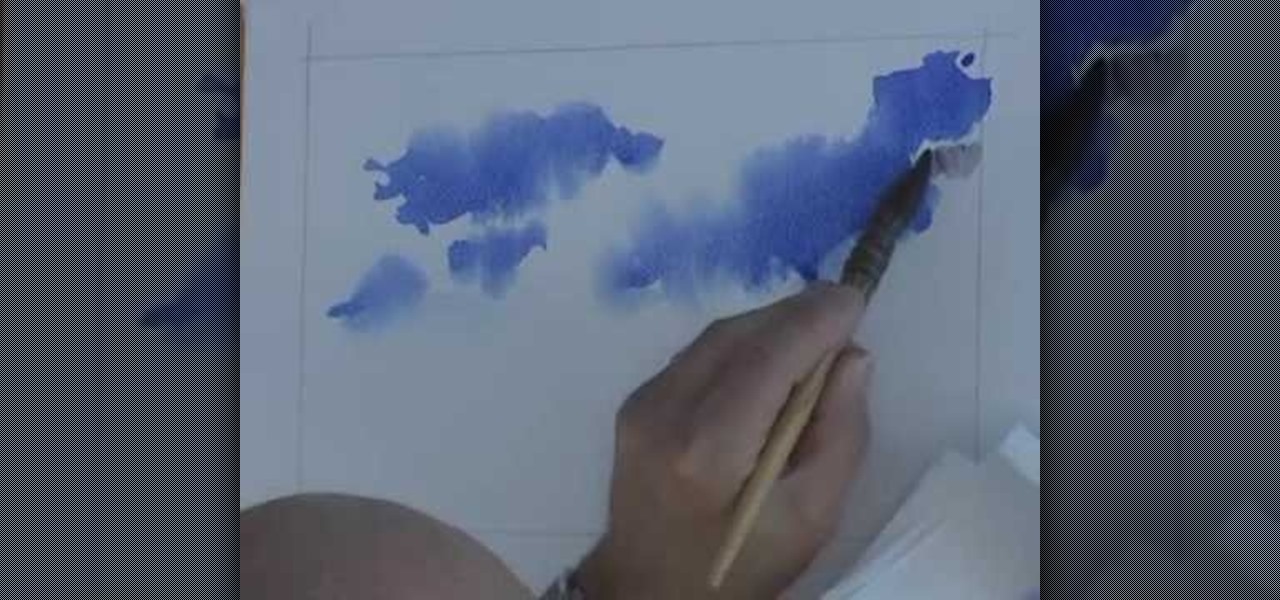
This video illustrate how to paint a breezy sky in watercolors.Here are the following steps: Step 1: First of all take sheet of paper,pencil and watercolors.

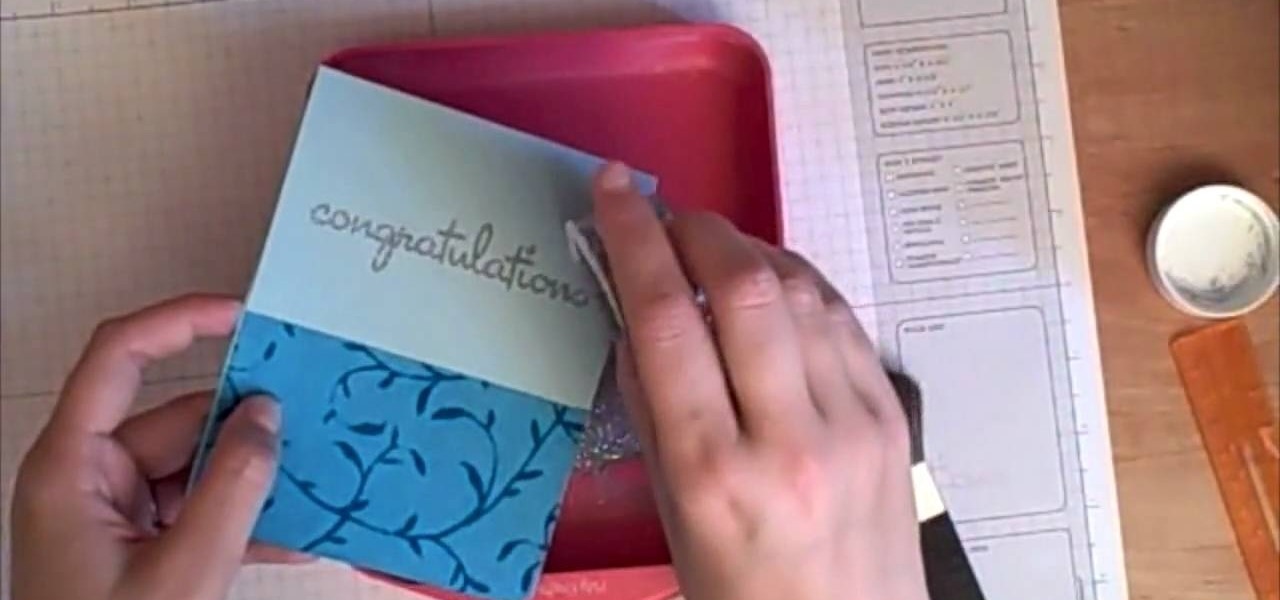
In this Arts & Crafts video tutorial you will learn how to stamp & heat emboss on a card. First you rub in a powder on the paper on which you are going to emboss, because embossing powder is really sticky. Then you select the stamp that you want to emboss and apply sticky transparent ink on the stamp. Make sure you do a through job of this. This will make the embossing powder stick to it. Now stamp the card and press it evenly to ensure that the impression is complete. Then pour embossing pow...

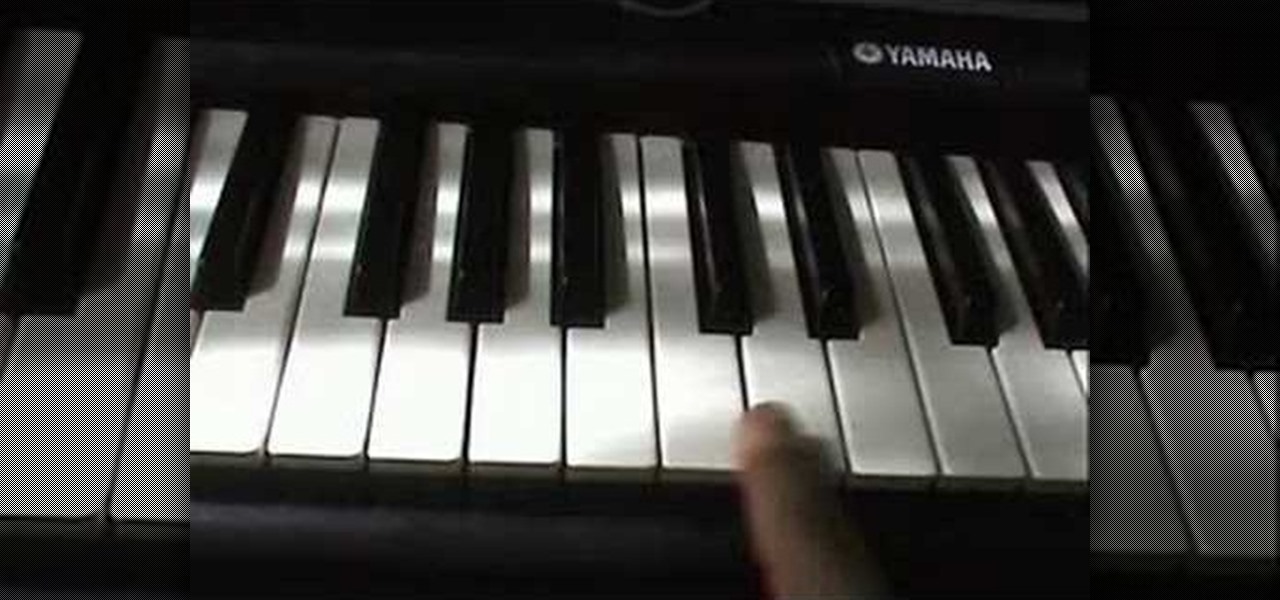
This video illustrate us how to play " Yankee Doodle" on the piano. Here are the following steps: Step 1: First of all take the piano and then slightly brush your hands from right to left and then from left to right.

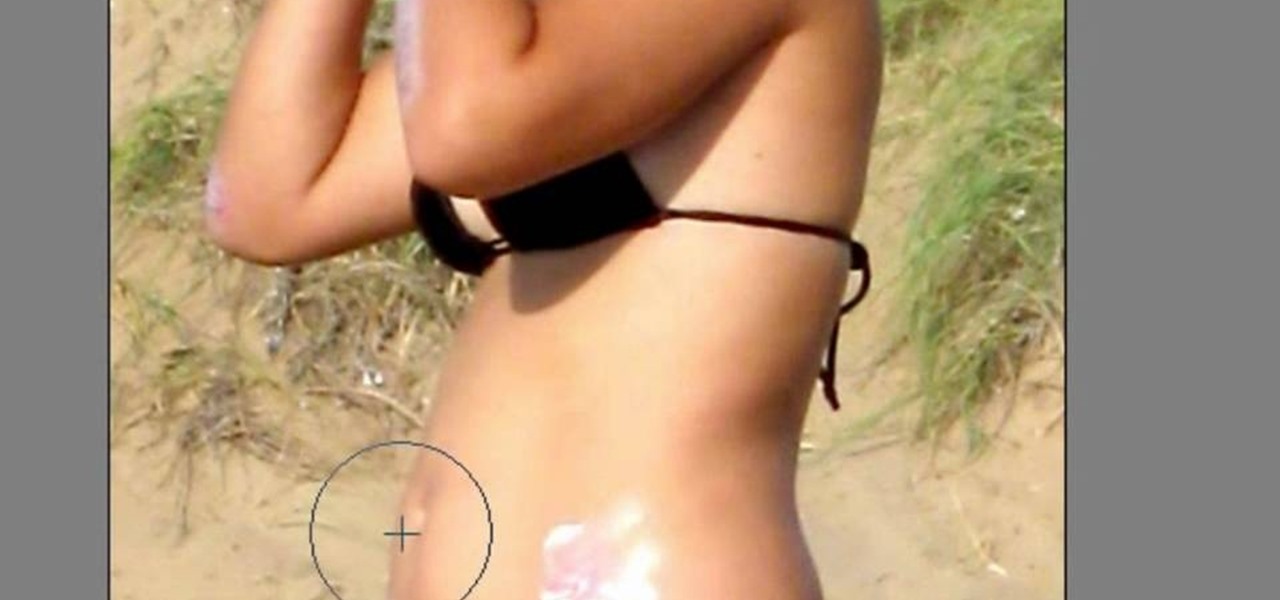
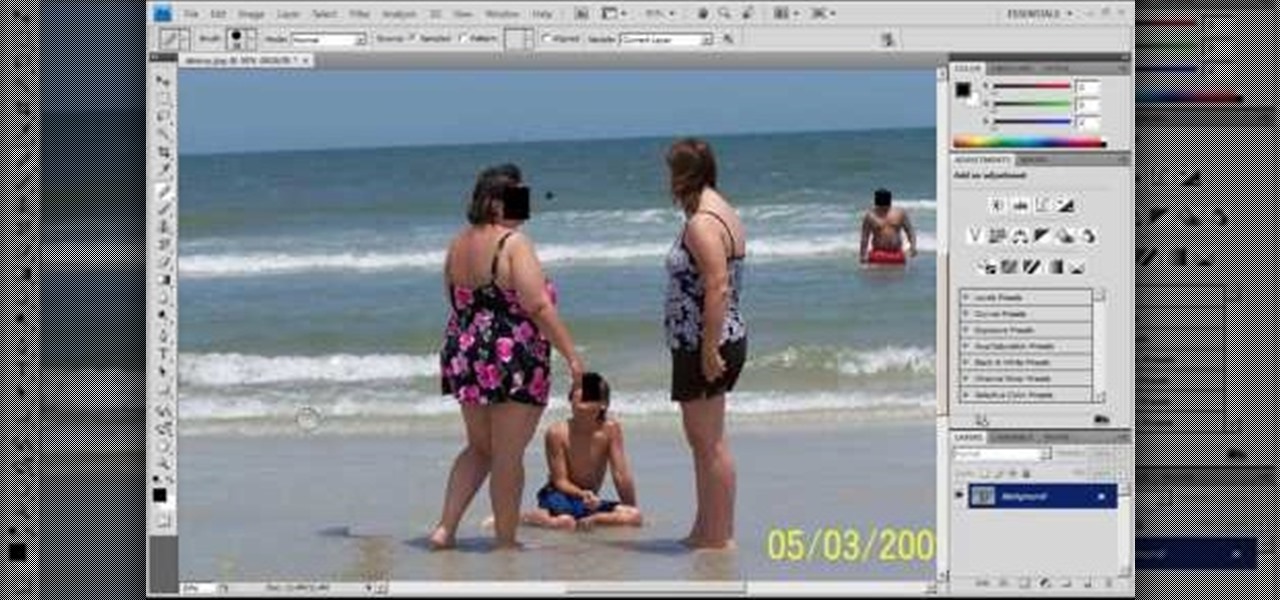
In this video, we learn how to lose weight using the liquify filter on PhotoShop. Before beginning, open up PhotoShop and the image you want to adjust. First, click on "filter" then "liquify". Next, use the forward warp tool and adjust the size of the brush to the body part you want to change. click on the body parts to make them smaller. Push in the body parts you want to be smaller, pushing in small parts one at a time. If you do too much, the picture will become blurry and it will not look...

Clicks are made on "Image",then "Adjustments", followed by "Brightness/Contrast" ; contrast is set to 30 and brightness is set to 60 to add more light to the picture. "Adjustment", "Variations" are clicked in that order and both yellow and red are increased. "Filter", "Render", "Lightening Effects" are chosen in that order and a new window appears; within which the style is set to "Soft Omni". The brightness is decreased ;similar to the way it was increased, and contrast is increased to 60. T...

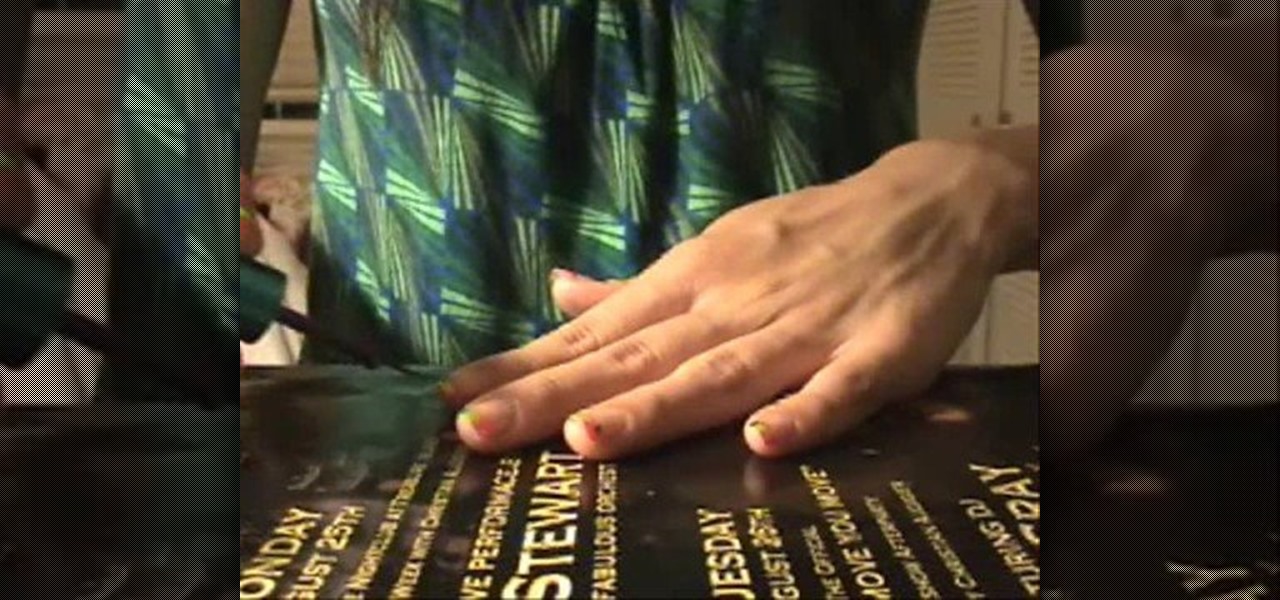
She shows us how to apply the rainbow brite french tip by first applying a white tip. You should let the paint dry. Next you should do you first thin stripe in pink. After you finish pink you should do orange and then yellow. The last thin lines of color to apply is green, blue, and purple. She recomends doing two coats of paint for brighter result. After all the polish has dried you should apply a top coat. When it has dried get your silver polish and draw a thin line under the color lines. ...

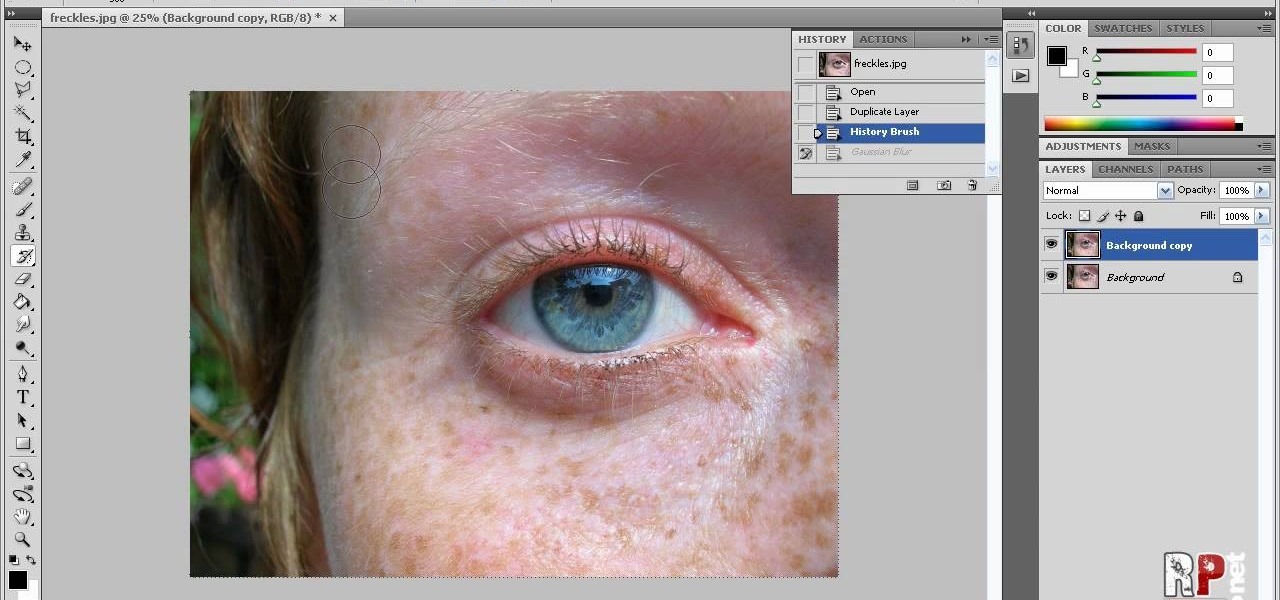
In this how-to video, you will learn how to reduce freckles in Photoshop. This is useful for editing people who have a lot of freckles. First, open the file in Photoshop and copy the background layer. Apply a Gaussian blur to the layer. Adjust it so that the freckles are no longer visible. Click okay and then open up the history palette. Click on the duplicate layer in the history window. Set the source for the history brush. Set the mode to light. Next, paint over the freckles. Now the freck...

To create a quick hair quiff, start with a triangle section from the crown to the edge of the eyebrows on both sides. Take the section at the crown and back comb with a fine comb, but pushing down through the hair and gathering hair to the root about three times. Pull the hair that is left over it and repeat with another section. Finish with all sections until only one is left at the front. For the final section, back comb one time, and smooth over the other previous sections. Use a small bri...

In this video tutorial, viewers learn how to cook BBQ ribs. There are 3 different types of ribs. The 3 types are: country style ribs, baby back ribs and spare ribs. Flip the ribs over to the backside, where the bones are and cut off the membrane.Then brush the ribs with some oil and add some seasoning to add flavor to the ribs. Cut the ribs in half for easier handling and wrap it in plastic wrap. Leave it in the refrigerator for 6-8 hours. Cook the ribs at medium heat and use a grill to cook....

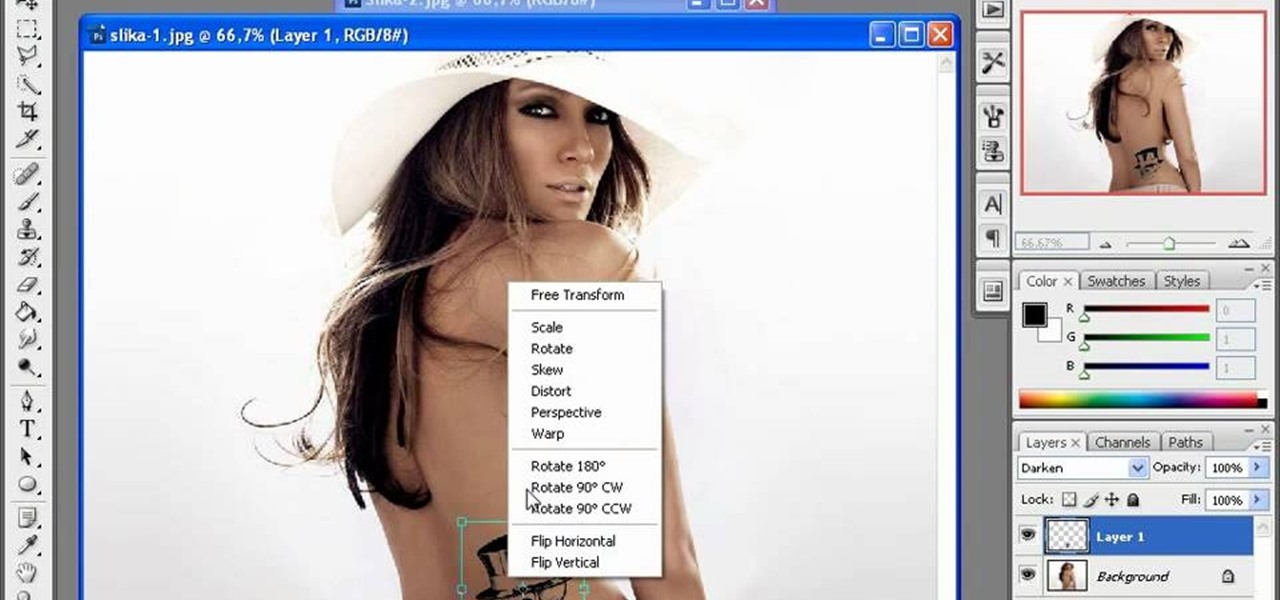
The first thing to do is open up Photoshop. Find a pic of a person and clip art you would like to use. Open those documents. On the side of the toolbar, find the brush tool to adjust the clip art correctly. Make a rectangle inside the clip art. Then hit Ctrl+c to cut the clip art out of the box and paste in the picture of the person. Then you remove the white in the picture by clicking on layers, and darken. When you do that, you are ready to shape the clip art to the body by clicking the box...

In this video tutorial, viewers learn how to tan an image using Adobe Photoshop. Begin by opening the image in the program and create a new layer. Then select the brush tool and select the tan color. Click OK and apply the color over the areas that are wanted to be tan. Then apply another layer with the same color to darken the image. Finish by configuring the Opacity to a lighter color and blend it to the image, This video will benefit those viewers who enjoy editing images to enhance them a...

Ron the Builder demonstrates how to plaster a wall. Mix the sealant with water to achieve the right proportions and spread evenly over the wall with a paint roller. Once the sealant is dry, you may begin plastering. Combine half a bag of plaster with the appropriate amount of water in a large bucket with an industrial mixer. Mix until the plaster is smooth. Pour the plaster onto a flat board. Using a trowel, scrape some plaster onto your hawk. Then, using a flick of the wrist, quickly scoop s...

This video teaches you how to use Photoshop to remove people from a picture but you can essentially use this method to remove anything you want from a picture. First, click on the lasso tool and highlight a figure you want to remove. Drag the highlight adjacent to the figure and copy the image. Now paste what you’ve copied over the figure you want to remove. This will work best and is easiest if the area next to the figure is similar to the background of the figure. If you paste the image a...

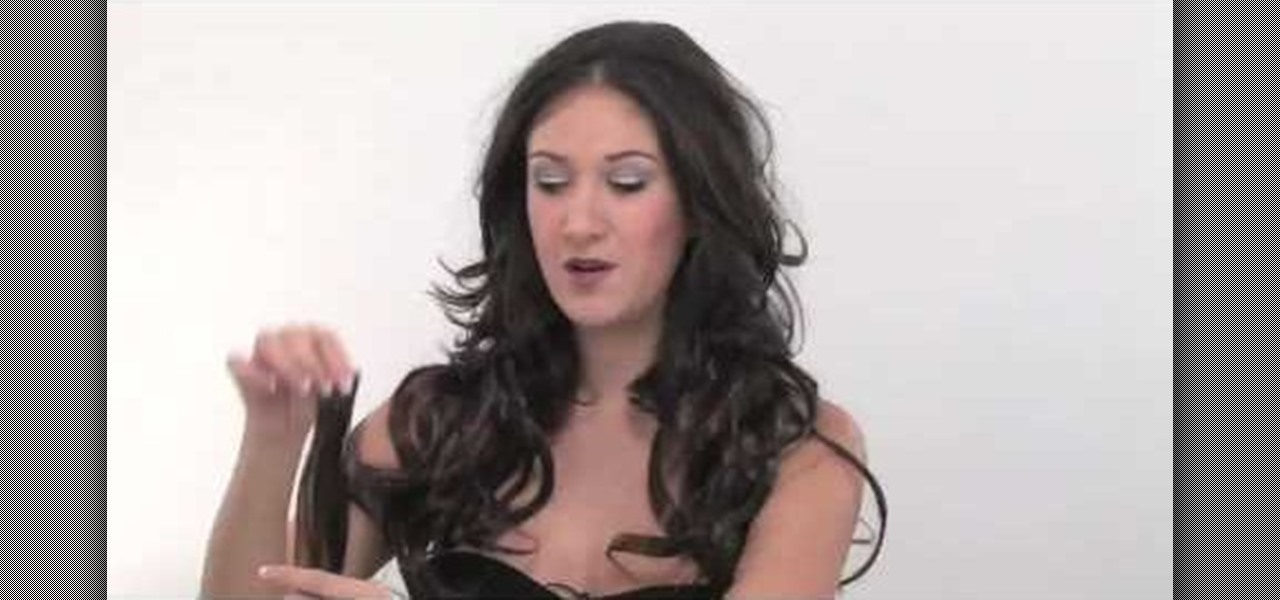
This video illustrates how to clip hair extensions. 1: First of all take the hair extension and clean your hair. 2: Hold your hair all together and clip them leaving the lower most layer. 3: Now take the extension and release the clip and tie it to the lower most layer. 4: Now release another inch of the hair and again take the extension and clip it. 5: Release the crown area and carefully clip the extension by hiding the extension clip under the top most layer. 6: Leave the top most layer an...

The video is about making a fish hook for the winter bushcraft national winter tutorial. The first step is to take a small stick and cut it so as to make it thin. Then an angle is cut at one end of the piece. The angle cut can be according to the maker's wish. Then cut out the part for catching. This small piece of stick is the hook. Take a piece of tree brush and wrap it around the hook. Wind it through the top and then the bottom of the hook until the hook is completely wrapped.

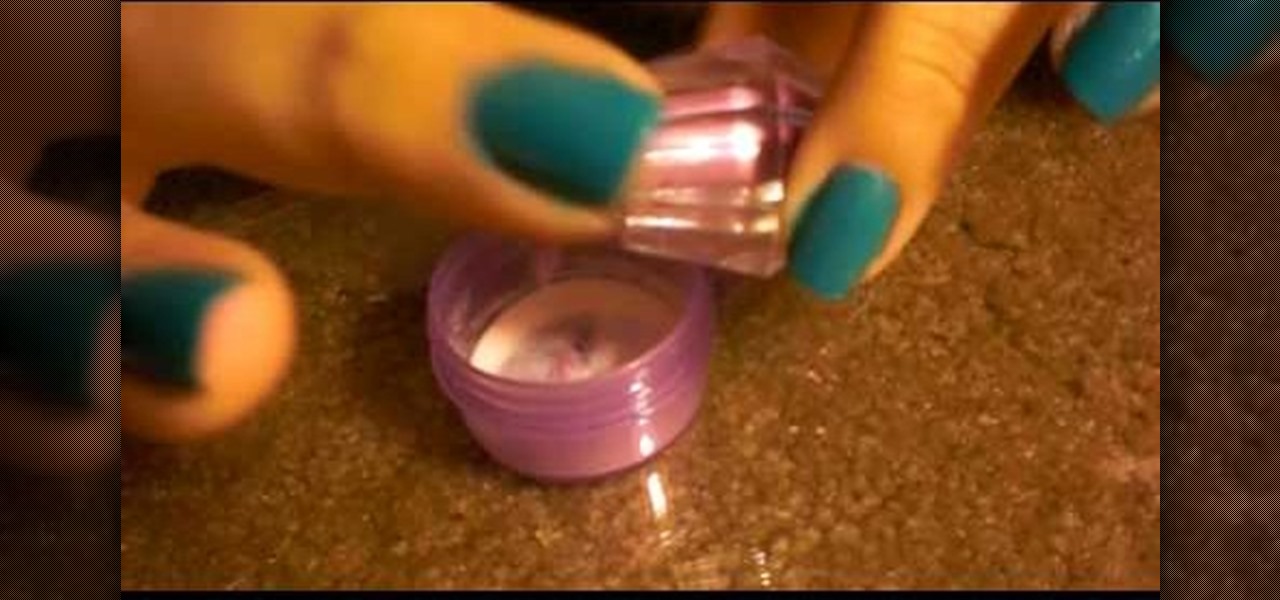
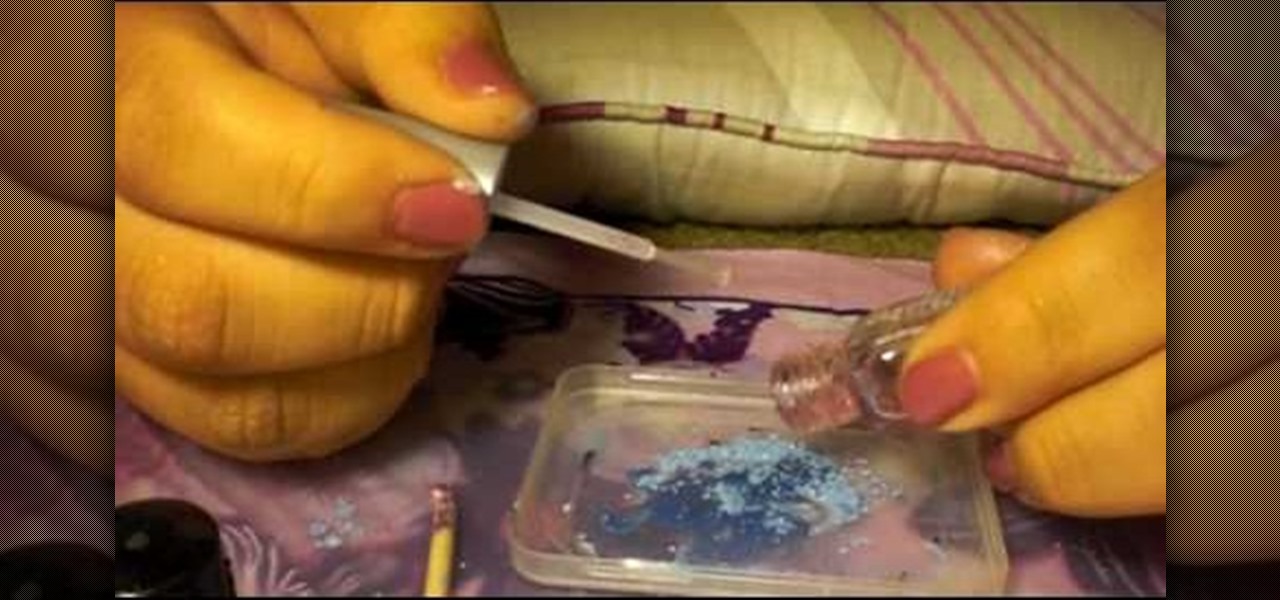
Alwaysnforever559 teaches viewers how they can make their own color acrylic for nails! First, you will need a container, a clear powder (Acrylic) and an eyeshadow color that you will like for your nails. Pour in the acrylic clear powder in the container and pour the same amount of your simmer or eyeshadow color into the container. Close this container and shake the ingredients to mix them up. Now, your powder should be a mix of the white and the eyeshadow color you put in. First, get your bru...

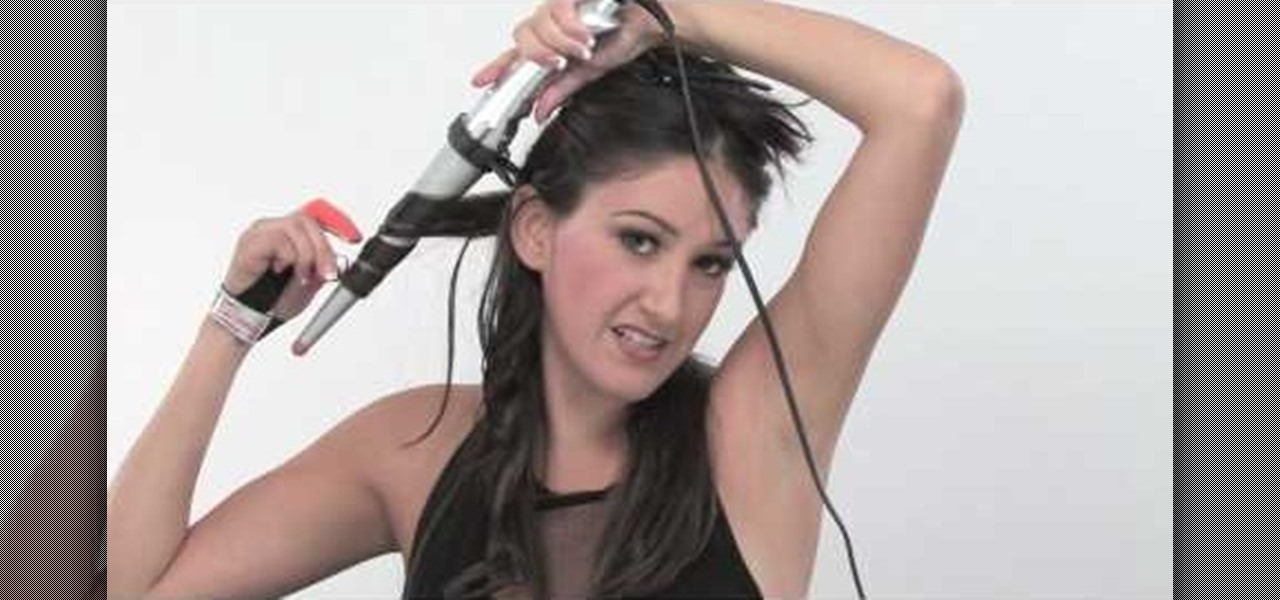
This video illustrate us how to create a Megan fox inspired hair style. Here are the following steps:Step 1: First of all shampoo and condition your hair.Step 2: Now take the hot iron curler and curlers .Step 3: Now part your hairs and take your lower partition and curl it on the curler.step 4: Similarly part down the other hair and roll it on the curler.Step 5: open all the partition and curl it on the roller. Leave it on for at least twenty minutesStep 6: Now open the curlers and comb it li...

How to paint walls with a roller

In this video, the instructor shows us how to remove acrylic nails quickly and easily. First, remove some of the acrylic using a professional nail tool, you can find this online or at a beauty supply store. Next, take a big bowl of warm water and a small bowl of pure acetone. Soak your nail in each of these for a few minutes. After this, you should be able to gently push the acrylic nail off while it is still wet. Once you have removed the acrylic, brush your nail with cuticle oil to help pre...

Make sure you nails are already clean and dry. Choose you colors. Add the lightest color first. Using a makeup sponge works great to apply the fading effect. Apply to French manicure area not straight. Reapply pink polish just at the tip of the nail. Apply glitter polish over the pink on the tip of the nail. After applying the shimmer get the nail art polish and make your deign. Make sure your brush is thinned out. Add your design then you can add your gem stones and finish it off with some c...

This video illustrate how to do Taylor Swift curls with low heat curlers.Here are the following steps.Step 1: First of all pick a very good hair styling kit, Now wet your hair lightly.Step 2 : Now take low heat curlers and part your into half inch partitions.Step 3: Now take each partition and roll it around the curler back to half of the hair strand, fold the roller to hold it into place.Step 4: Now complete the rest of the partitions in the above manner.step 5: Now blow dry the hair lightly...

In this tutorial, Jacob from AutoLavish shows us how to properly wash and maintain a car. First, clean the dirtiest parts of the vehicle first, this will make it so dirt doesn't spread onto the rest of the car while you're cleaning it. Then, clean the body wiping in round movements. Make sure to clean softly with your brush, the paint can easily chip depending on what type of car and paint job you have. Once you are done cleaning the outside move to the interior of the vehicle. Clean with top...

Try making your own nail polish with old eye shadow you don't use anymore or perhaps they are old and you don't want to throw them away.You will need a clear coat nail polish, pigments such as eye shadow or NYX pigments. Put a little pigment on a plastic lid and pour clear coat onto eye shadow. Use more clear coat than pigment. Mix thoroughly and brush on nails. If you like the color and want to keep it, take an index card and fold into a cone like shape. Put bottom of cone into the nail poli...

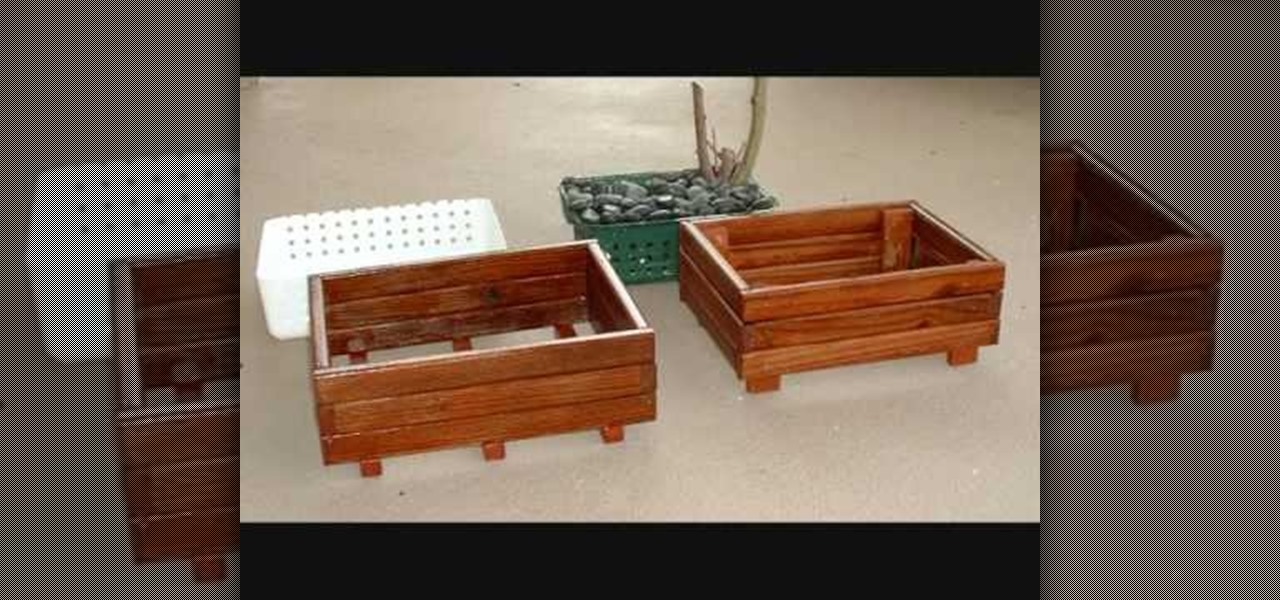
In this how-to video, you will learn how to make a wooden bonsai pot. You will need pressure treated wood made of all weather oak. You will also need a strain brush and nails. Assorted plastic bins will also be needed. Drill holes into the bottom of the plastic bin. Next, cut it to size. Cut the pieces of wood to the correct size and then line and tape them up. Next, nail the wooden pieces together. Now, place two pieces of wood on the bottom for legs. This allows air to flow beneath the pot....

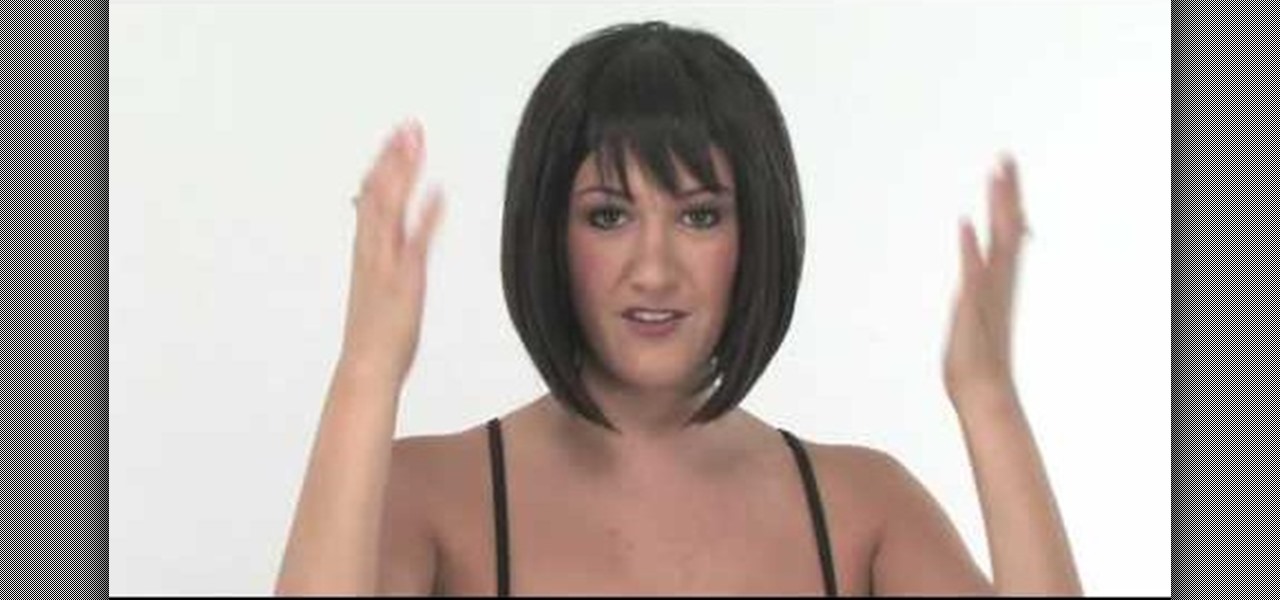
The bob is a historical beautiful hairstyle that has never gone out of style and it seems like it will not go out of style anytime soon. This video is about how to create the classic bob. To begin creating this style the hair is given volume first by parting it on the side and a piece is sprayed followed by backcombing it slightly. This process is repeated approximately four times on the side, four times in the back and four times on the opposite side. After teasing the hair, a boar bristle b...

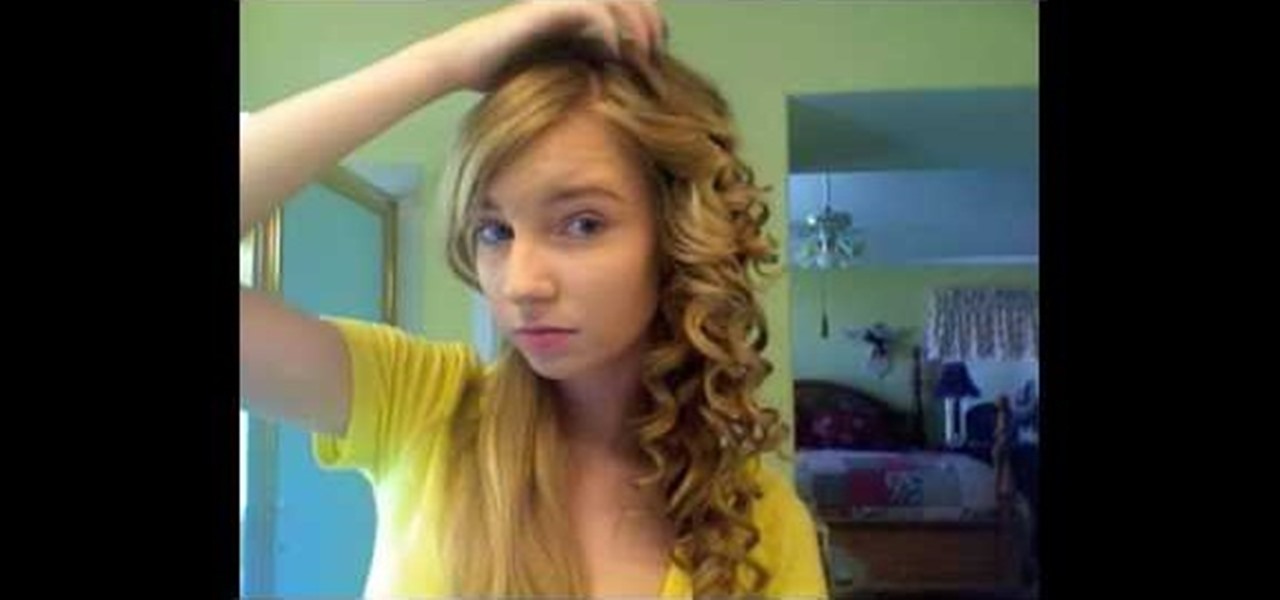
To achieve Taylor Swift's hair start off using a heat protectant spray and brush evenly through your hair. Part your hair the way you want to wear it letting your hair down in little sections. Use the wrap around method to curl you hair. This should create a nice spiral curl. Make sure to curl away from your face, do this all over your head. For the top layers use should hold the curling iron above your head while continuing to use the wrap around method. For the hair framing the face you sho...

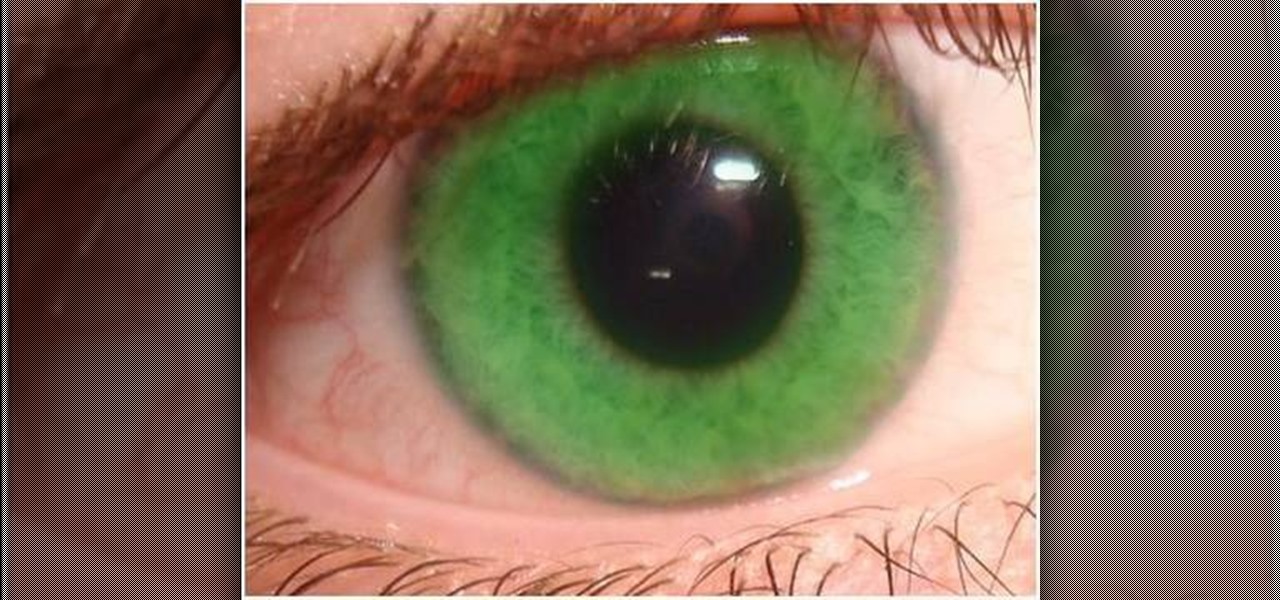
Stevmay09 will be teaching you how to digitally modify your eye color for free using GIMP. First you need to zoom in on the eyeball then click on the free select tool. Then start on the corner of the eye and make your way around the entire eye. Once you have the area around the eye selected you need to create a new layer. Make sure its filled with transparency then select the color you would like the eye to be. Then get the paint brush tool and select the icon shown then increase the scale an...

This video is about how to paint your nails with a colorful checker art design. The first thing that you will have to do is to apply the hydrating base coat on your nail. After putting the hydrating base coat on your nail, get a piece of paper for you to place the black nail polish. After placing the black nail polish on the paper, use the dotting tool and place a series of zigzags on the nail. The next step is to fill in the zigzags depending on the color you want. After filling in, make a s...

Before you start a paint job you will need to prime the surface of the wall. Priming is necessary if the wall is a dark color or stained or bumpy at all. Once you've decided to prime and paint, check out this tutorial for advice on how to go about it.

BBQ season is just around the corner, so why not mix it up a bit this year? Instead of cooking on the same old boring grill, try out the steps in this tutorial. This video will show you how to cook using wood and add a unique, smokey taste to your meat.

Garden of Imagination is demonstrating how to make a miniature knife for the doll house. This knife has a clay blade and a metal handle. The metal handle is made of a hanging earring finding. Now some black clay is taken. It is rolled and flatten and made into the shape of the blade. Now this is fixed to the handle and some glue is applied so that it stays permanently. Now the knife is ready. Now this is to be baked and after that some glaze is applied using brush so that it gets a shining ef...


