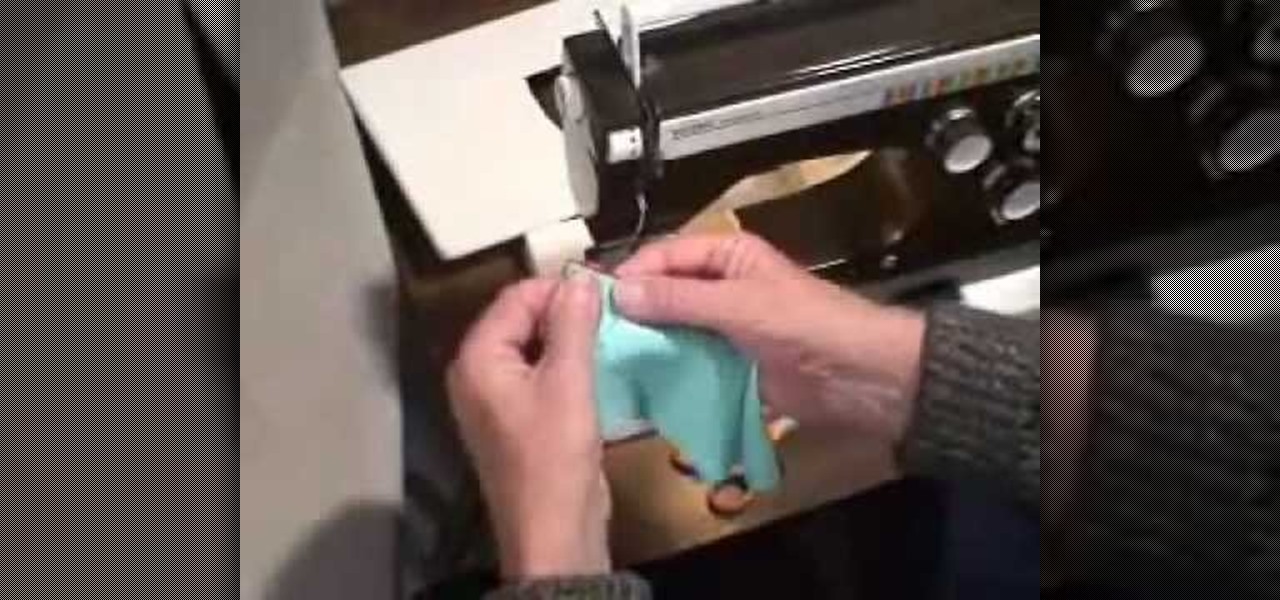
In this tutorial, we learn how to edge finish with lingerie elastic. First, grab your elastic and place it onto your fabric. Line up the elastic so it matches in perfectly with the fabric. Use a sewing machine to sew the elastic onto the fabric. Go slowly while you are doing this and lift the elastic in your hand as you continue to sew it on the fabric. When you get to the end of the fabric, the elastic will be sewn on, and you will be able to wear it! This only takes a few minutes, just make...
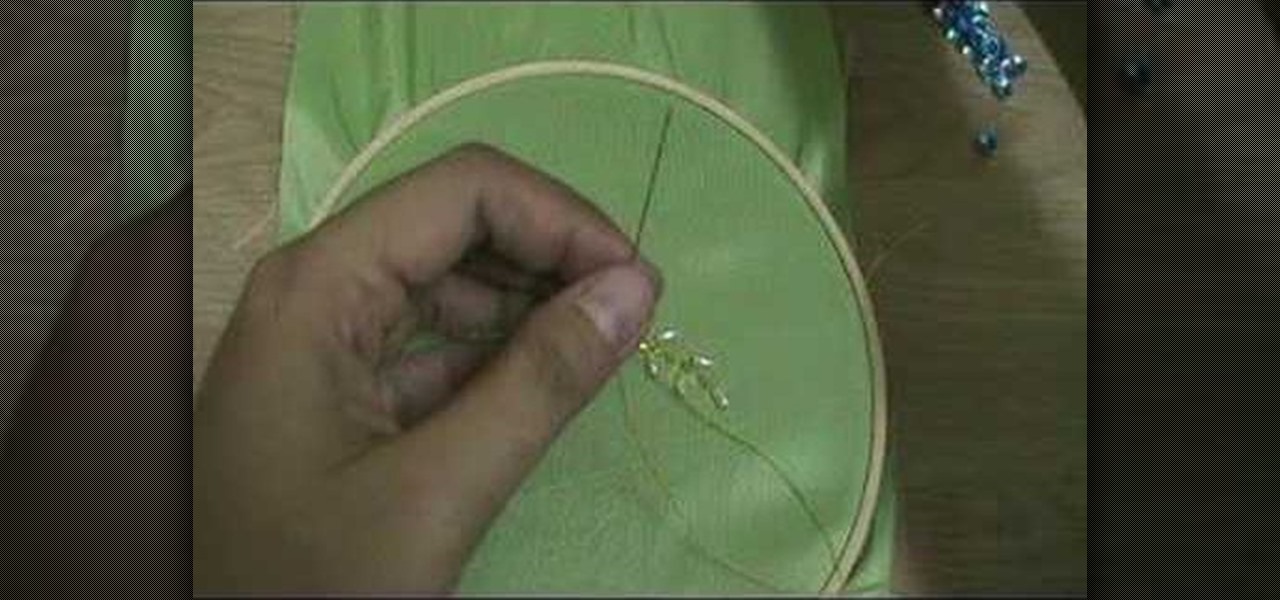
In this video, we learn how to embroider with beads and sequins. First, push the needle through the bottom of the cloth into the top where the sequin is at. After this, continue to thread in beads and more sequins. Make sure you are pulling through on the bottom so you attach the beads to the thread and they don't fall off. When you are done with this, you will push the needle through the top of the cloth, then tie it at the bottom and cut off the excess thread. When done, you will have a bea...

In this tutorial, we learn how to convert a fraction to a decimal. Start of by dividing the top number by the bottom number. You can do this by hand by writing out the long division of it, or you can use a calculator. If you choose to do this by hand, the bottom number will be on the outside of the division sign, and the top number will be on the inside. Once you have divided this out, the answer will be the decimal that you come up with. Continue to practice doing this will different numbers...

In this video, we learn how to make easy custom ornaments from clear bulb ornaments. First, you will need to grab your clear ornament, then grab some glitter glue and pour it into the middle of the bulb. Continue to fill in different colors into the bulb, then wipe off the top and shake it so the colors cover the entire bulb. The more you shake it, the more the colors will mix. After this has dried, place the clips back into the middle of the bulb, then you can hang this on your tree. This is...

In this tutorial, we learn how to prepare a PowerPoint file or presentation. First, open up the software and start a new project. After this, you will start a page that has nothing on it. Insert the title of your page as well as any images or audio you would like displayed. After this, you will be able to add in a transition that will easily make this page go to the next one smoothly. Continue on to the next page inserting your information for your presentation. If you are adding bullets for ...
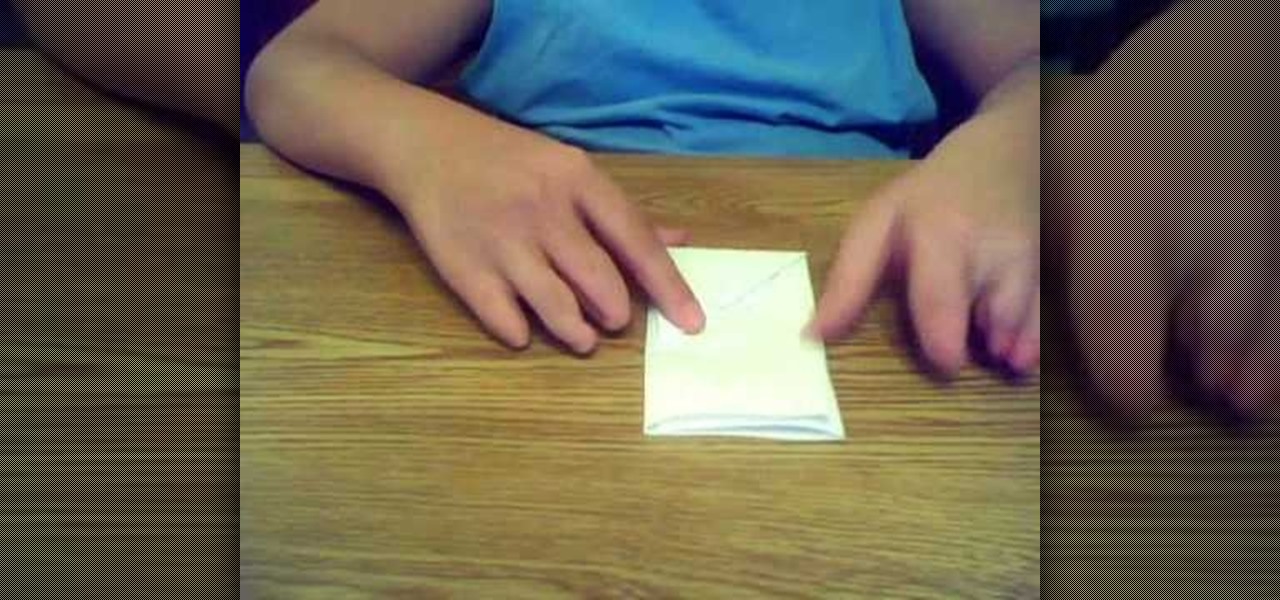
In this tutorial, we learn how to make a paper football for distance. First, take a piece of copy paper and fold it in half on both sides, then fold in half again, making a crease. Next, fold the bottom of the paper down into a triangle shape. Continue to fold this down, making a right and then left triangle until you reach the bottom of the paper. When finished, you will have a small strip of paper left on the bottom. Tuck this piece into the pocket that you created with the triangle pouches...

Gary France shows us how to properly straighten your hair in this video. Start off by blow drying your hair or simply just brushing it after the shower. Start with the underneath of the hair, then work the iron through the hair. Make sure to start at the root and end with the tips of the hair. Follow a comb through the hair until you reach the end. Continue this technique while working through all the different sections of the hair. You may need to place the iron through the hair several time...
In this video, we learn how to draw a manga chibi eye. Start off by drawing an outline of the eye with the round middle and the lines on top and on the bottom. After this, start to add in the small details of the eye, like the pupil and shine marks on it. Next, start to shade in the eye and make the lines thicker. Continue to draw in black until the back of the eye is covered black and another portion of the eye is white. Switch back and forth between different pencils to help you color in di...
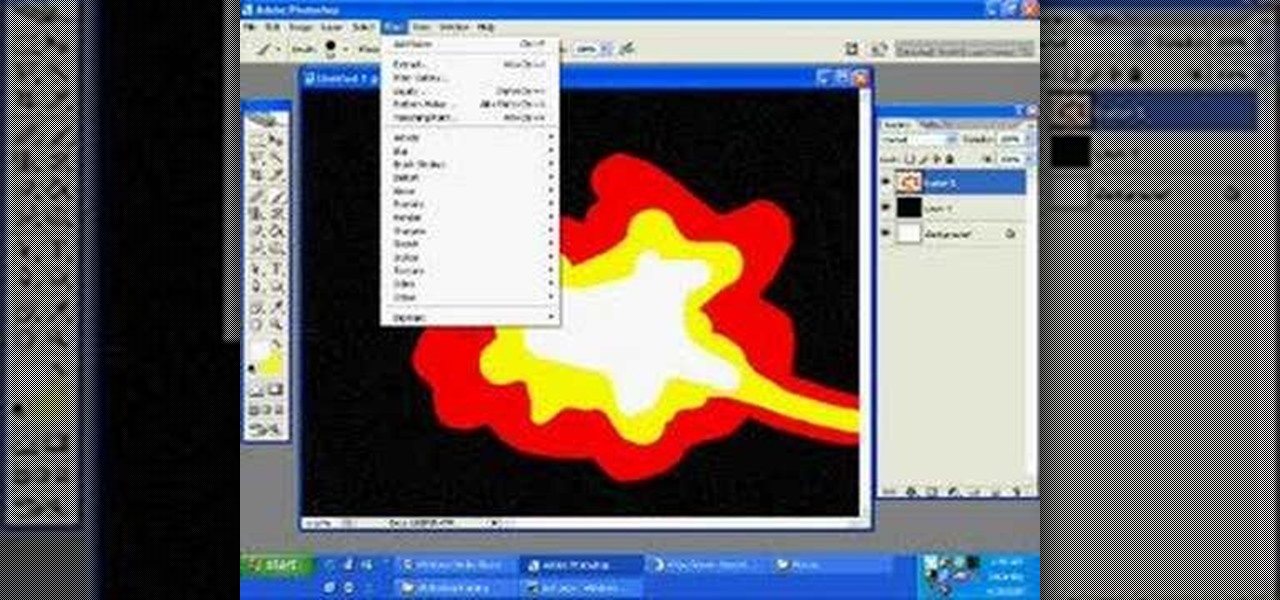
In this tutorial, we learn how to draw a galaxy in Photoshop. First, open up a new project and color the background black. Next, create different lines and circles inside of the black, and then blur out the image. Now, it will look like a galaxy in black space. Next, color a new background black and white with spots and mix it into the galaxy image that was made. Continue on to change different settings on the picture as you prefer, changing the opacity and different settings as you wish. Whe...
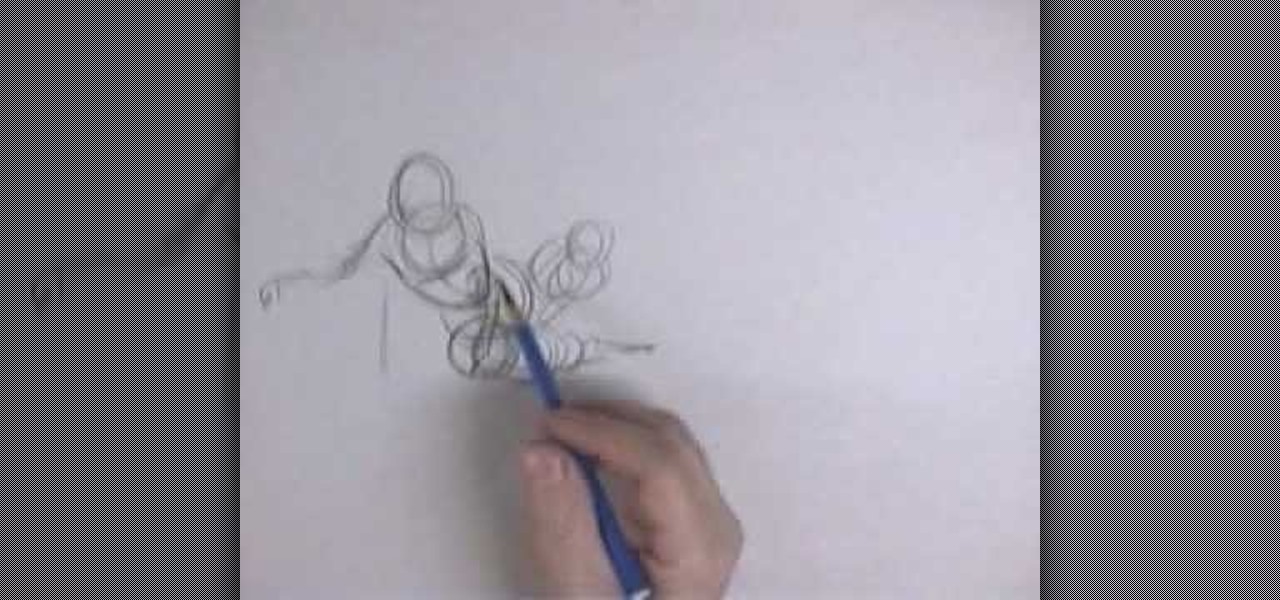
In this video, we learn how to draw foreshortened figures. First draw a circle and then continue drawing other circles to connect them together and make an out line. After you have drawn these, you will start to outline the circles so you see a body detail coming out of the drawing. Draw in the legs and the arms as well as the head. Don't worry about adding details to this, it's all about drawing just the figure. Shade on the different areas and add in lines to make the figure look more reali...
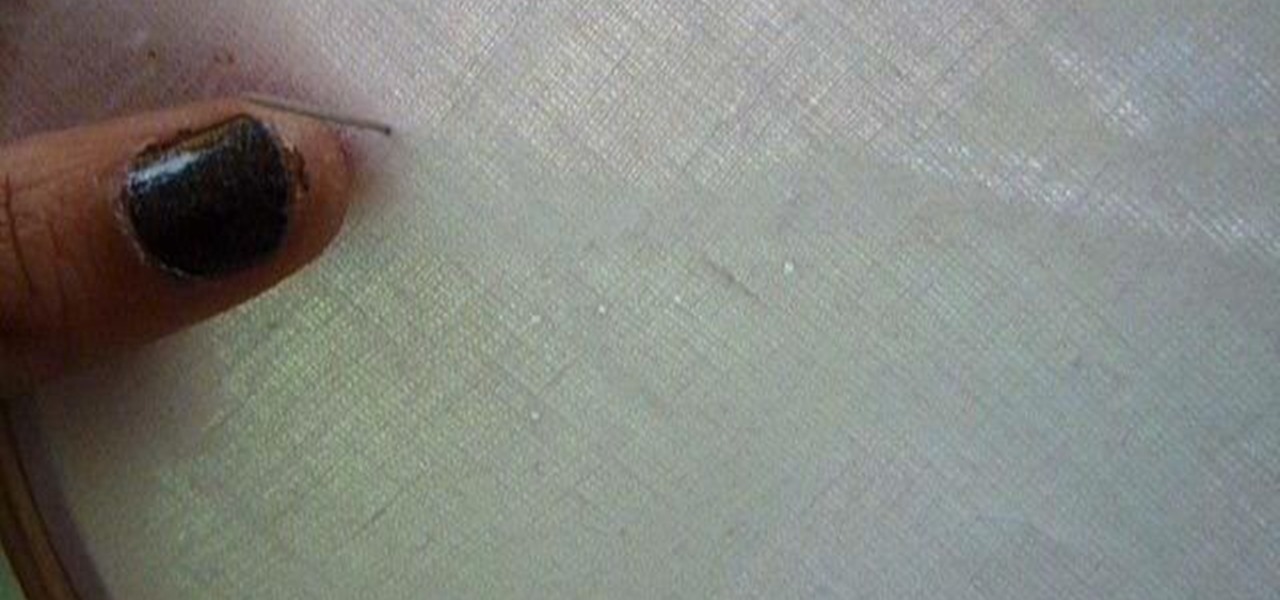
In this video, we learn how to use a big eye needle when making jewelry. This is a great tool when using stripping material. The needle is made of the eye and will work with ribbon or thread. First, open the eye of the needle, then thread the material through the opening of the hole. Next, string your beads over the point of the needle and then onto the material. Continue to do this for all the different beads you want to add, then your bracelet will be complete in a few short minutes. This m...
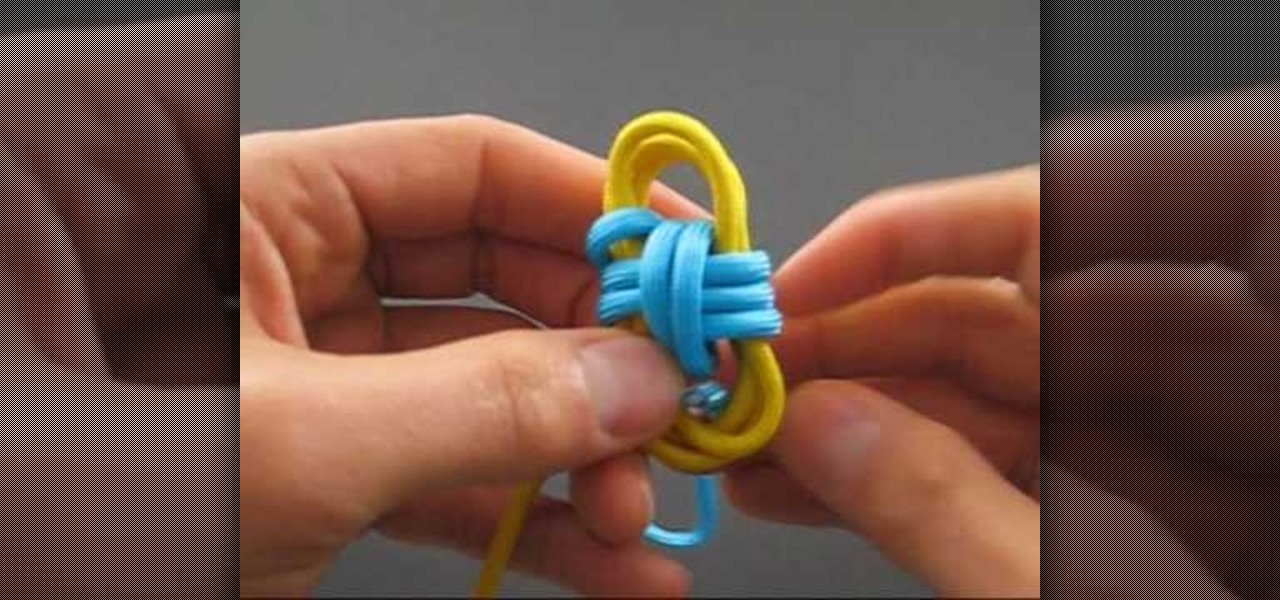
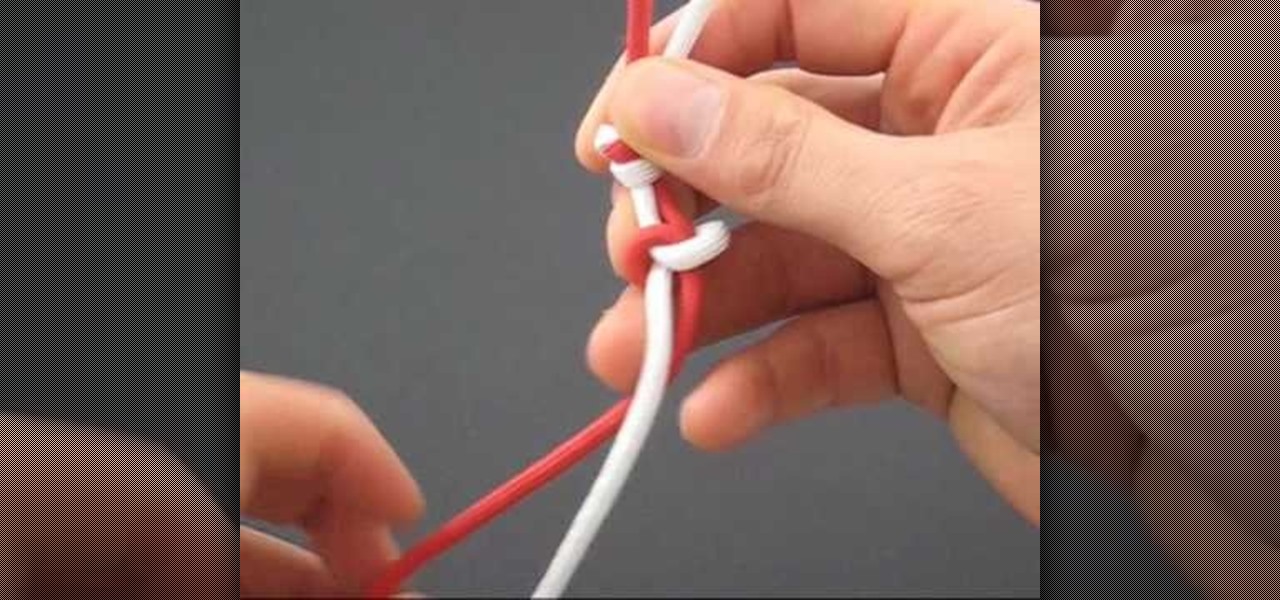
In this tutorial, we learn how to tie the two color monkey's fist knot. First, make a double overhand knot, and snip the edges off. Next, create the monkey's fist by taking one of the ropes and looping it around the fingers several times. After you do this, push the knot through the fingers and tie the other string around the entire loop several times. Push the string through the loop, then continue to tie on the opposite side around itself. To finish this up, Pull the two outside strings tog...
This video tutorial belongs to the Arts & Crafts how category which is going to show you how to do back stitch when embroidering. This is really simple and easy to do and takes no time to learn. For starting, mark five dots on the cloth. Then you stitch from point 1 towards 5. First you pass the needle from under the cloth through point #1, pull up the thread and pass it down through point #2. Now pull the thread up through point #3 and pass it back down through point #2. Then you pull the th...
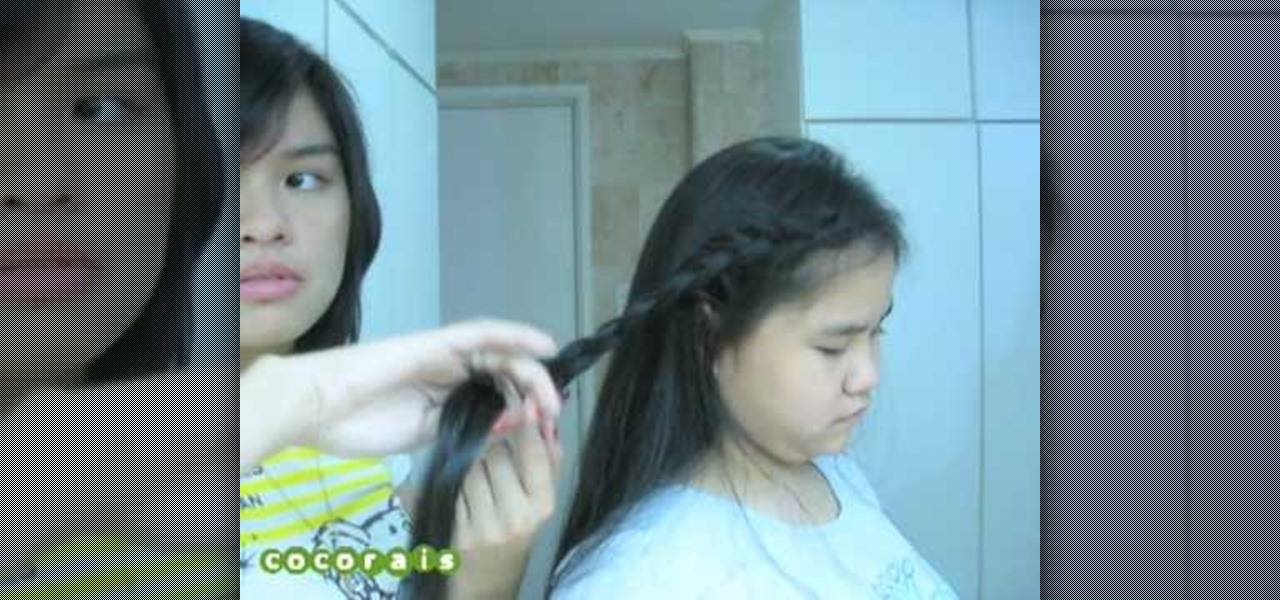
In this video, we learn how to do a yukata inspired hairstyle. First, brush out the hair, then bring the top section of the hair and start to braid it. Continue to braid it until you read the end of the hair, then tie it at the end. Now, set the braid aside and put the rest of the hair up in a pony tail. Push the hair together in a bun, then pin it together with bobby pins. After this, take the braid and wrap it around the bun, then secure it with more bobby pins. To finish the look, add in a...
In this tutorial, we learn how to do UVmapping with 3D Studio Max. Open up your image in the software, then go to "unwrap UV". Scroll down to edit and you will be able to see the basic scale. Grab the mass and scale it down, then use your element turn on to select the different pieces. The UV mapping will now turn a different color and show you where you have edited it. Continue to do this throughout the entire program. Make sure you have all other programs closed while you are doing this, an...
In this tutorial, we learn how to do an arrowhead stitch when embroidering. Start off by pushing the thread through, then pulling it under, then back through at a diagonal angle. After this, thread it back through, making the same angle on the opposite end. As you continue to do this, you will start to see arrows forming after two stitches. Place the arrows one in front of the last to make the stitch complete. When you are done, you will thread the needle through the bottom and tie it. After ...
First, bring the thread up and then make a diagonal line and bring the thread through again. Bring the thread through again below the diagonal line on the left side. Then, put your needle thread through the 'x' and make sure your loops are even. After this, bring your thread through and even up your stitch. Now thread through on the right hand side and go through the next 'x' shape. Continue to do this, and you will see the Vandyke stitch start to take form as you go on. There will be a verti...
In this video, we learn how to do sit ups to lose love handles. First you will need to lay down facing the ceiling and cross your arms over your chest. Raise your body up using your stomach and try to touch your elbows to your knees. Continue to do this and remember to breathe while you are doing this. Do as many crunches as you can, and try to do different variations to change things up. When you are finished, do more exercises and stretch your body out. Doing these every day can help you lo...
In this tutorial, we learn how to begin a new project in MS Project 2007. First go to your start menu, then click on "Project 2007". When this opens, you will see a panel on the left hand side, which is a project guide. Once you are in this project, you can open up a stored one that you were previously working on, or continue with a new one. You will have different task bars that correspond to the information you type in. Click on each individual task to see the information for each one. Ente...
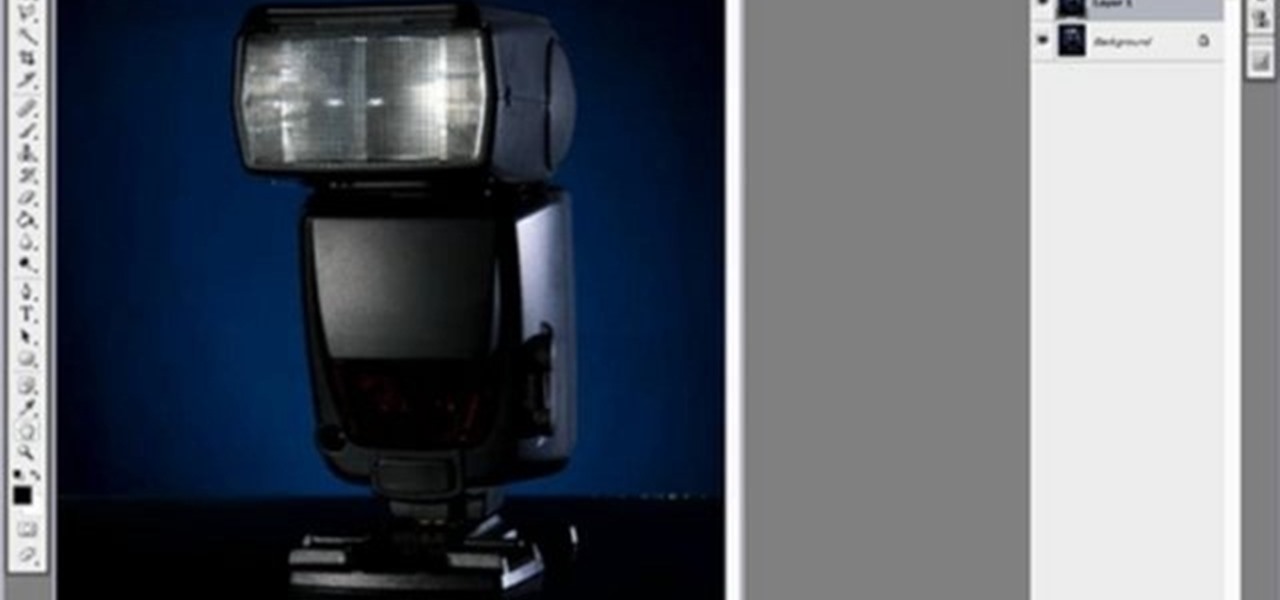
Yanik Chauvin teaches us how to color correct product shots in Photoshop in this tutorial. First, remove some of the black from the image by using your crop tool. After this, if your image is too wide, duplicate your layer and use the marquee tool to edit. Remove any dust spots from your image, to make it look more clear so you have an image that is impeccable. You can do this by creating a new layer and then adding a feather to the image. Continue to go through the editing tools available un...
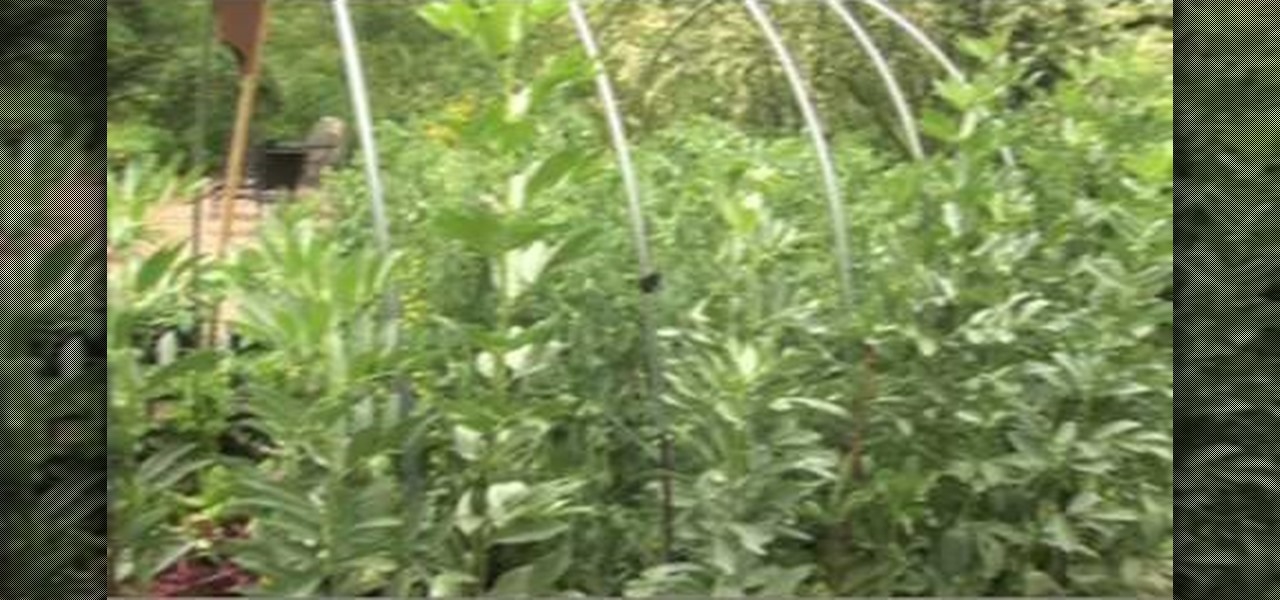
Fava beans have been around for about 5,000 years and continue to be grown to this day. They can be used in many different kinds of dishes and are relatively easy to grow.
In this tutorial, we learn how to weave a (king) cobra stitch for paracord bracelets. First, take a 10 inch cord, fold it in half, then tie a knot at the end of it. Put this on a holder, then tie another chord on the bottom of it and hold it with your knees for tension. Next, start to weave the other color chord around it by going in and out of the two sides of the first chord. Continue to do this for the entire bracelet, then knot it off at the end to finish. You can add your favorite colors...
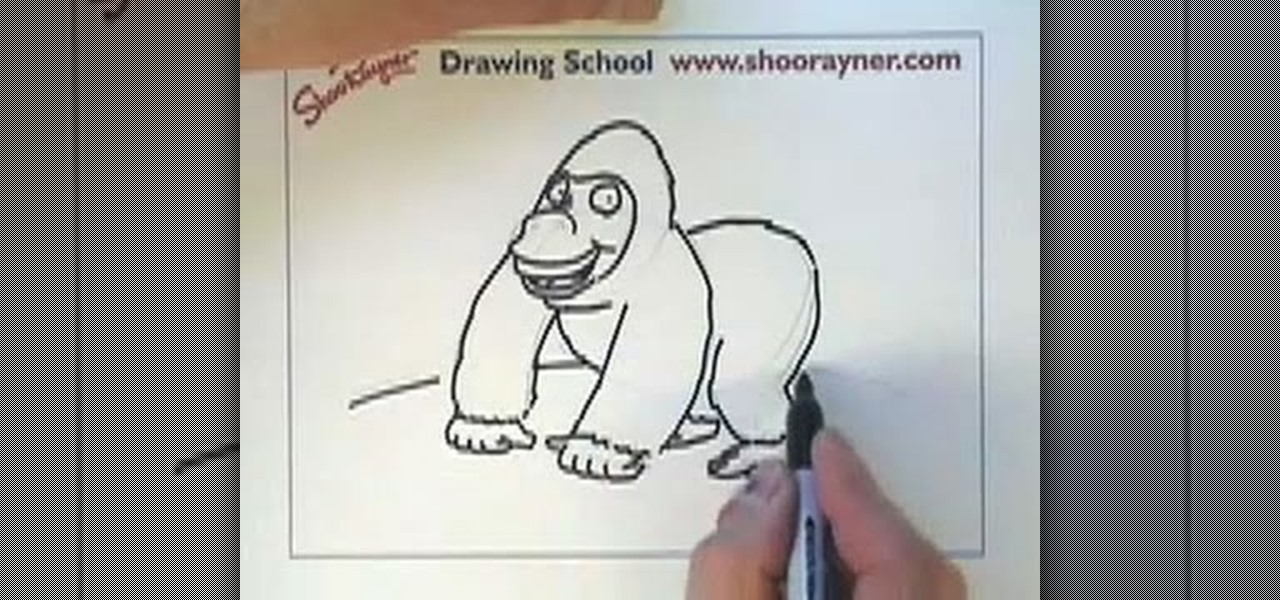
In this tutorial, we learn how to draw a gorilla. Depending on what type of gorilla you want to draw, there are various ways to change the look easily. To start, draw a bean shape that will be the body. Next, draw a smaller bean shape for the head on the side of the other shape. Now, draw the middle of the face, making eyes in the middle underneath the brow bone. Now, make the nose and mouth of the gorilla. After this, continue back down on the rest of the body and draw arms and legs for the ...
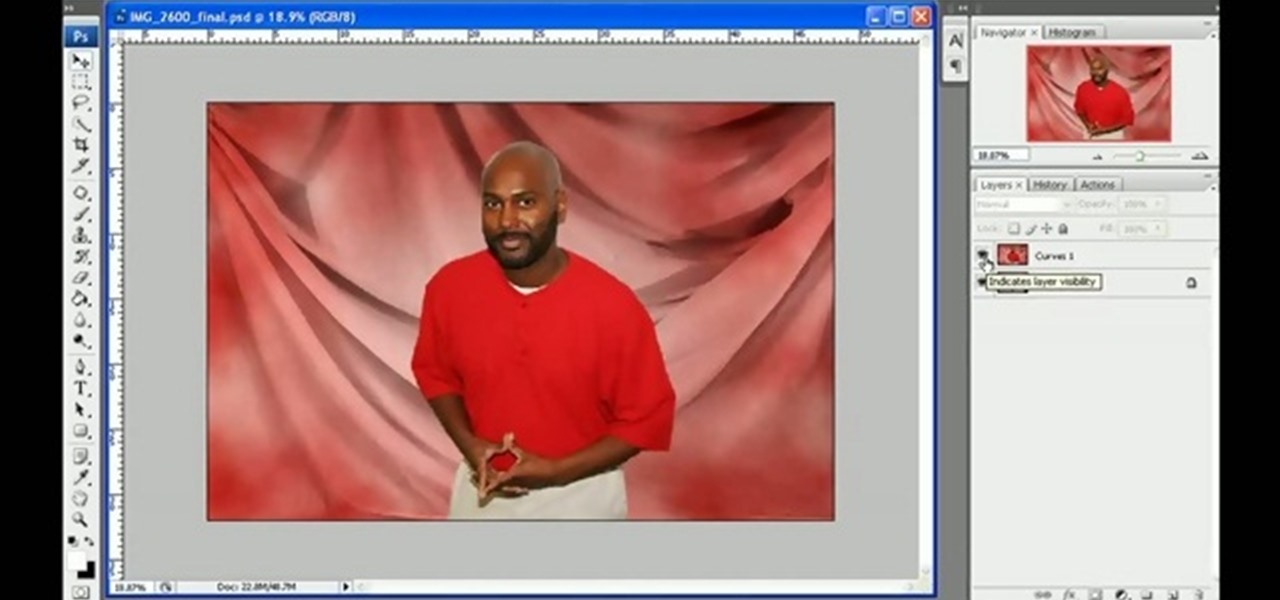
In this tutorial, we learn how to get a digital portrait backdrop in Photoshop. First, start by using the erase tool to remove the background from around the object completely. After this, fill in the background with the desired backdrop. Next, use the blending tool to blend the object's sides in with the backdrop, for a seamless look. Continue to do this for the entire object, cleaning up any blurry spots that you see as well. When you are finished, your object will have a new background and...
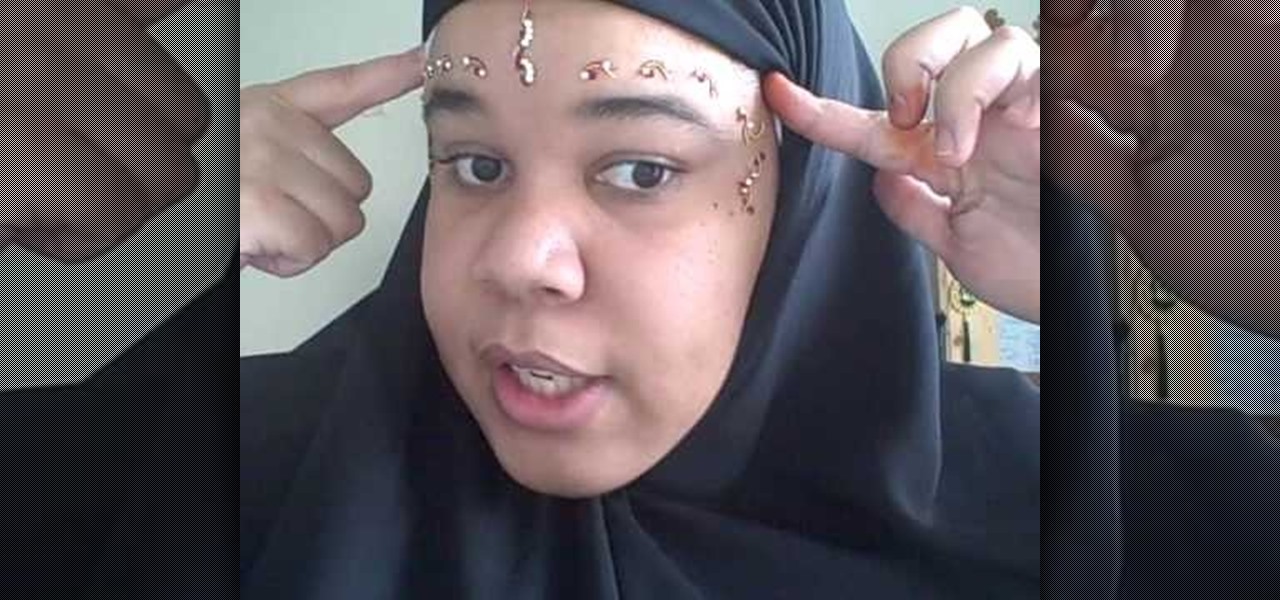
In this tutorial, we learn how to wear a peer bridal bindi. First, line a pencil with your nose, and mark the points where the points are parallel to the eye on all sides. After this, remove the bindi from the package and place the middle section onto the middle dot. After this, remove the other pieces and place them in the spots that correspond to the other marks. Continue placing these on until you have applied the entire bindi. You may need to use bindi glue to help apply these if you are ...
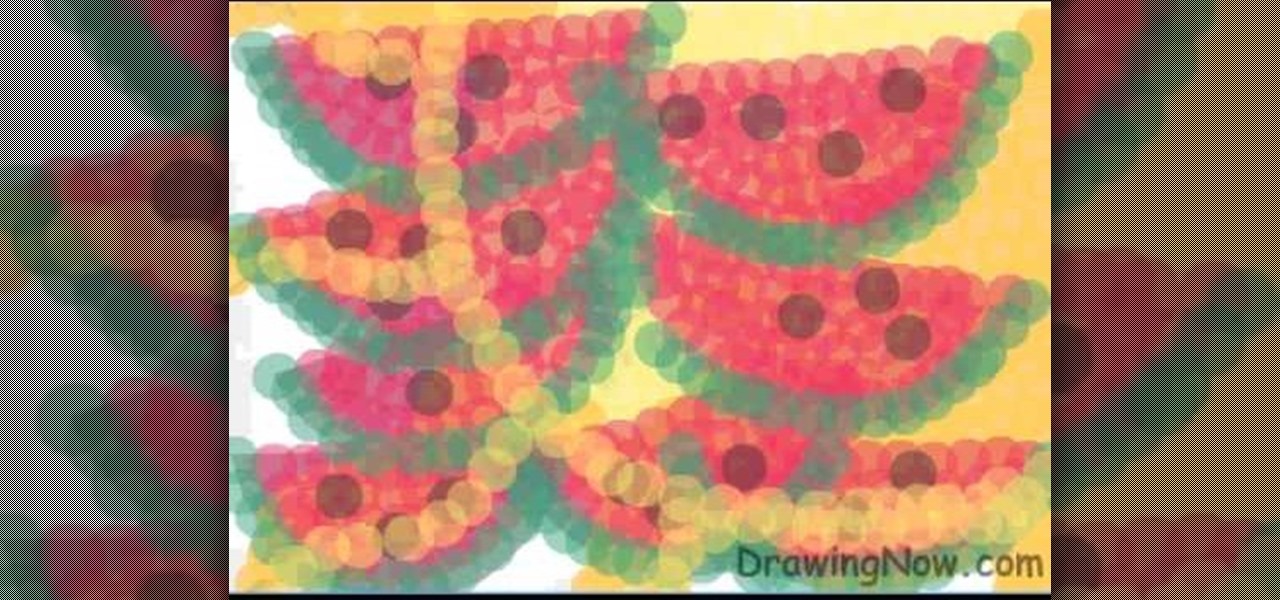
In this tutorial, we learn how to draw abstract watermelons. First, draw a circle, followed by wavy lines coming out of it just like the sun. Next, draw half watermelon shapes all over the picture you just draw. Now, fill in the picture with yellow circles on the inside of the circle shape. Use a dark yellow/orange for the second half of the circle to the bottom. After this, use the orange to fill in half the wavy lines and then use red to fill in the other half and make large half watermelon...
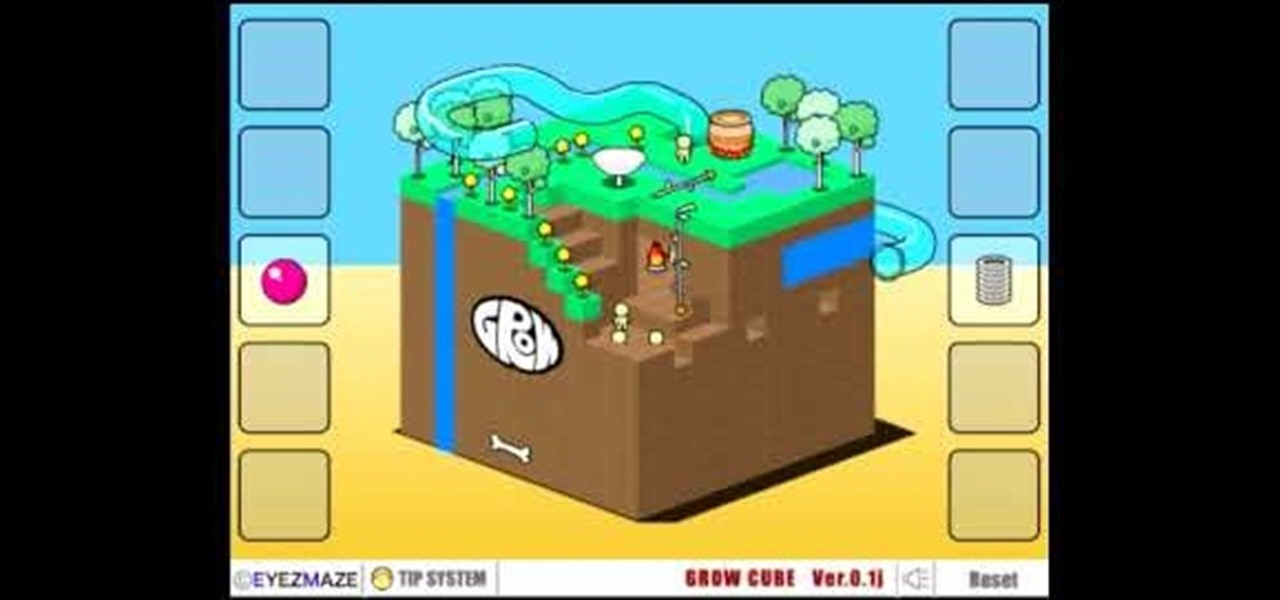
In this video, we learn how to win the Grow Cube flash game. First, make a square shape on the lower right hand side of the square. After this, start to make a line going from this, up to the top and going down to the side. Next, you will start digging on the lower left hand side, then use a tube to help you get to a new level. Keep digging in this same spot, then you will see a door appear. Use the first on the top to get a level up, then continue digging down in the same spot and you will w...
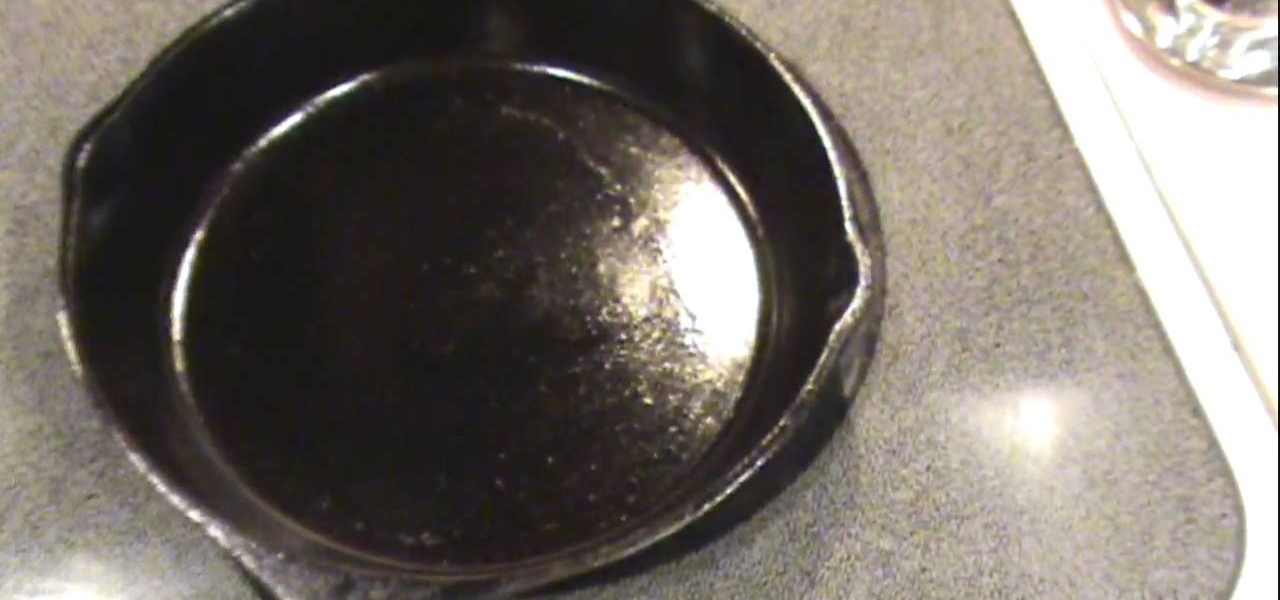
If your cast iron pan is sticky, you will need to place the pan on top of the stove. Turn the heat on high for 30 seconds to less than one minute. Then, turn it down to medium heat. This will loosen up the oil. Then, you'll need to buff out the creases and the spots. Place a little oil in the pan, approximately 1 tablespoon. Spread the oil around with a paper towel. Continue smoothing the pan. You may need to get a new paper towel, if it gets to hot.
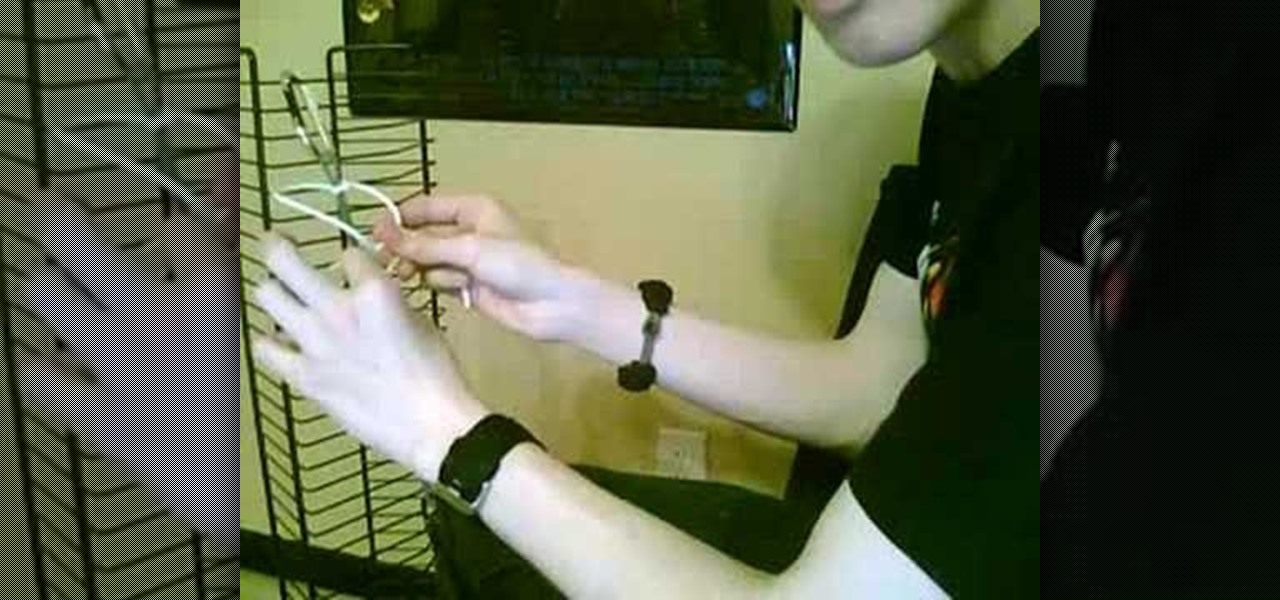
In this video, we learn how to crochet and latch hook hair. You will need a large crochet hook and synthetic hair. First, take your loose hair and make sure it's free of tangles. Form a small loop, then insert the hook underneath the corn row until it's all the way through the braid. Once the small latch goes through the hair, insert the loop to the hook, and pull the hook down, so the hair is threaded through. Pull the hair through the loop and pull to make a knot. Now, separate the hair and...
In this tutorial, we learn how to cook beef with pan-to-oven roasting. First, place your piece of beef on a flat surface and coat with olive oil, salt, and fresh pepper. After this, take the beef to a hot skillet and cook it on each side until slightly browned and charred. Next, place the beef on a baking rake and bake in the oven until it's just about cooked. After this, take the beef out and wrap it in foil, then continue cooking until it's cooked to your liking. When finished, let sit for ...
In this tutorial, we learn how to make a rose from a turnip. To start, cut at an angle all the way around the outside of the turnip. After this cut, cut a thin layer around the turnip just around the inside of the cuts that were just made. Continue to do this process throughout the entire fruit until you get to the top. Make sure to alternate from the middle of the petal, so they aren't all line up the same. When you get to the top, you will be making smaller cuts, until you finish. When you'...
In this tutorial, we learn how to clear the check engine light on your dashboard. This could be caused from an over-boost from the turbo charger that the engine does not recognize. The solution is to grab a tuner device and plug it into the car. Wait for it to power up, then go to the main menu. After this, go to "read dtc's", then find the trouble codes. It will show you what unknown codes are coming up, then you can clear them by pressing the "s" key. Now your light should turn off and you ...
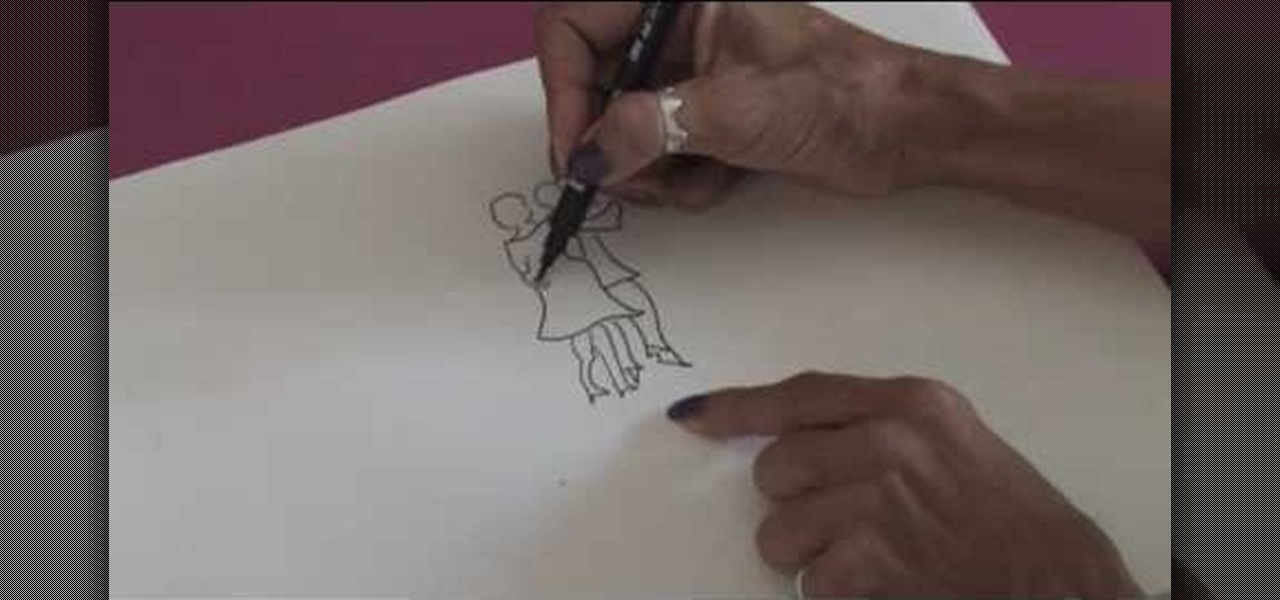
In this video, we learn how to draw people in motion. Start off by drawing a shoulder and an arm. After this, draw the body, then continue down to draw the legs. Next, draw the head on the body and draw the second body dancing with the first one. Draw the clothes on then add details to make it look more realistic. Once you add lines in around the people, it gives the illusion of them moving their feet. Draw in the dance floor, then finished with additional lines around the figured. When done,...
In this tutorial, we learn how to tie a paracord snake knot. Start out with a double overhand knot, by making a loop with two strings and tying it through. After this, start the snake knot by taking the left piece of string and wrapping it around into a loop. Then, take the other piece of string and place it inside the loop, then pull it to the left and wrap it around the other string, then push it through the loop. Continue to do the snake knot until you reach the bottom, then finish it off ...
In this video tutorial, viewers learn how to make stop motion animations. Begin by mounting the camera onto a stable surface position, such as a tripod. Then layout the figure to a desired position for the first frame. Now take a picture and slightly move the figure for the second frame. Continue moving the figure and taking frames until you have completed your animation. Then upload the frames onto your computer. Open the images in a movie editing program and make sure to set the picture dur...
In this tutorial, we learn how to draw a husky puppy. Start off by drawing the head, don't use a straight line at the top, make it look like it has hair. After this, continue and draw teeth and a tongue hanging out of the dog if you want it to look happy. Next, add ears to the top of the head and eyes to the face. Give the dog markings and pupils on the eyes. Then, add the nose on with a button shape at the top. Draw out the collar and chest of the dog, then add on the two front feet, the bel...
In this tutorial, we learn how to make a left-hand crochet Valentine's puffy heart. You will need: a size G crochet hook and yarn. Start by working a chain of three then forming a loop and doing a chain one. After this, work 9 single crochets through the center of the ring. Next, do 18 single crochets making the first stitch on a single crochet. Keep doing 18 single crochets around the circle you have created. After this, make one single crochet for a total of 18. The edges will start to curl...
In this video, we learn how to create an elegant band look for curly hair with Liz Muller. To start, you will take a comb and brush the front of your hair to flatten it out and make it straight. Push your hair to the back of your head, then take pins to pin the hair back on the head. Make sure it's tight so the hair doesn't become loose. Continue to pin the hair on the bottom, then bring your hair to the front. Do this on the other side of your head, again brushing the bangs back to make them...
In this tutorial, we learn how to style short hair in a classic Hollywood style. To start this look, pin your hair up in different layers and start off with the very bottom layer. Next, heat up a barrel roller until it's hot. Next, grab a small piece of hair and place the barrel roller into it for several seconds until you feel the curl has settled in. After this, release your hair and spray hair spray into it. Your hair will come out with more of a crimp than a curl when you are finished, de...
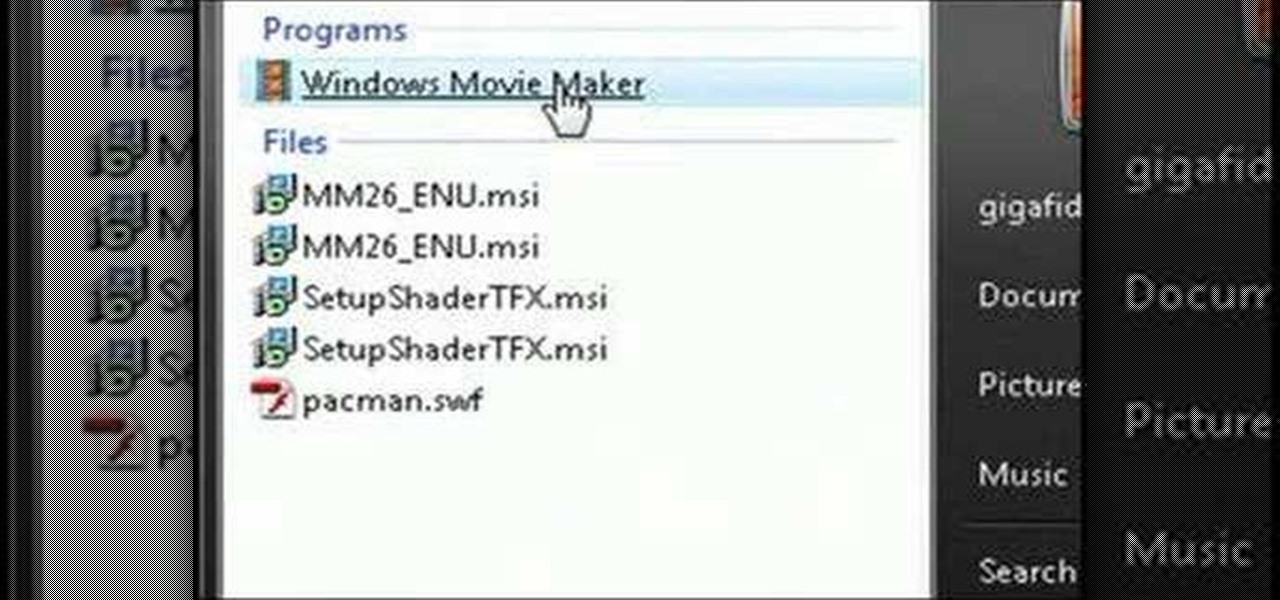
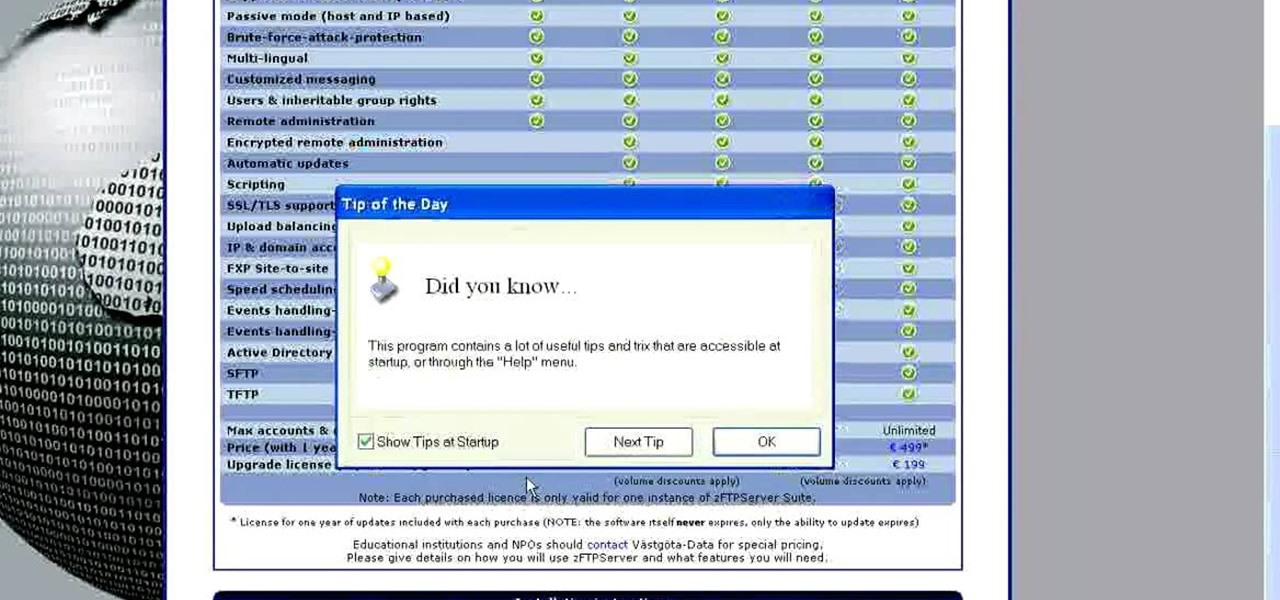
In this tutorial, we learn how to install an FTP server on any Windows computer. First, go to the website zftp server. Now, download this and install it on your computer, downloading the free version. When you install it, choose a password and enter your information, then continue to open up the program. Now open up the program and click on "run freeware". When it opens up, click on the users icon, then you can make accounts including an admin account. Create a new user for another computer, ...