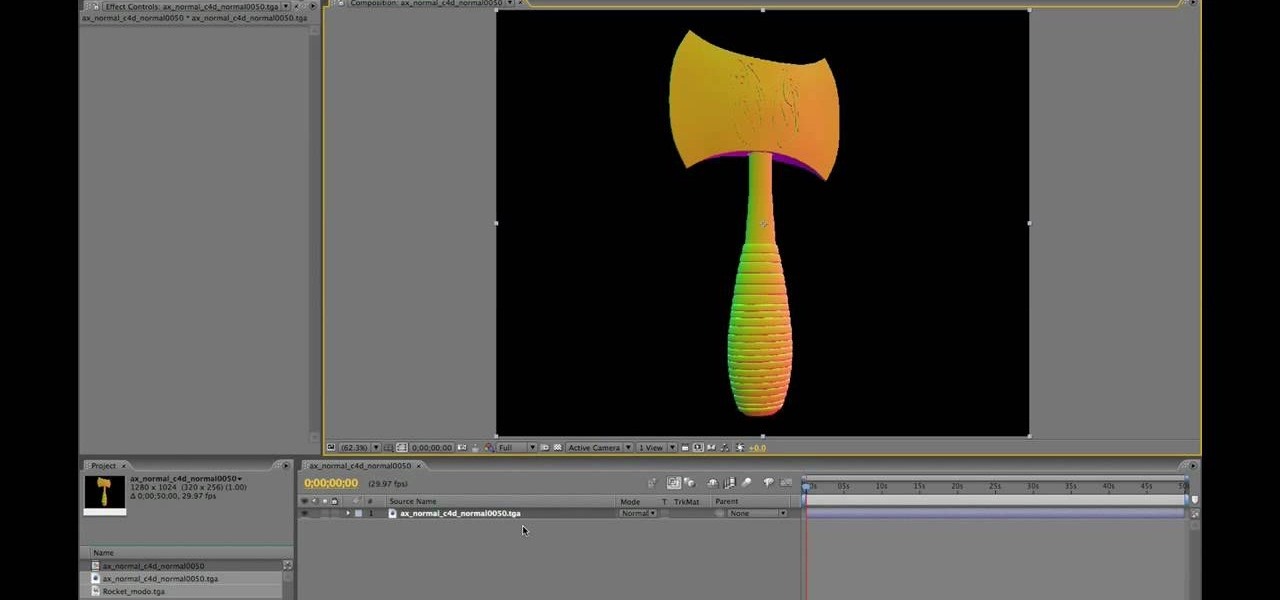
After Effects allows you to do all sorts of amazing things to your videos and images, but it cannot do it all alone. This video will show you how to use an After Effects plugin called Normality 3 to make lighting adjustments to 3D assets on the fly, having already rendered out a normal pass using either Cinema 4D or Modo (you can use other 3D software too, but those two are both shown as examples in the video). It will also demonstrate how to render out the normal passes.
Want to grab some great shots at your friend or family member's wedding? Create a glowing, diffused, soft focus wedding photo effect through the power of Adobe Photoshop CS4. Add a whole lot of "mood" to an image by softening and increasing contrast, that also features a vignette around the focal point of your choosing. The beauty of this technique is that by using adjustment layers you can have full control over the final effect's strength and color. Create the perfect wedding photo and give...

Do you admire the look of vintage photographs? How about the production of the old plastic cameras like the Diana and Holga? You can create that same photo effect with your digital photographs through the use of Adobe Photoshop! In this video, learn how to create a faux lomography effect also known as the "lomo effect". By using Blend Modes and Adjustments Layers you can achieve a pretty cool effect that can be used on any photo!
Need to color correct your photos and you're not sure how? In this video, the basics of RGB and CMYK colors are discussed as well as how to use them to color correct everything from everyday snapshots to portrait photographs. By using the eyedropper and the info palette to read the colors in the photos, you can then color correct. Based on the CMYK read out of the color sample targets, you can then adjust the color channels using a curves adjustment to achieve the kind of colors you'd like. A...

This instructional cinematography video provides troubleshooting alternatives to adjusting the focus gear on a Redrock microFollowFocus should it become too loose. There are several adjustment capabilities built into the Redrock microFollowFocus and can be tightened by watching this video. This instructional video is interesting for cinematography aficionados.
Ever experienced uncontrolled after bursts during semi auto play? Most gun triggers have four adjustments: tension, pretravel, activation point, and post travel. The wrong setting could damage your paintball gun's board. This video shows different ways of setting up a paint ball gun's trigger for efficient play and better control.

Watch and learn how to create a drost effect on images in GIMP. The end result will be a color cycled animated GIF. The theory behind this can be applied to make any other adjustments. Whatever layers you have can be cycled through continuously.

In this home repair video Bob Schmidt shows you how to make a simple adjustment to an interior door that will fall open or closed on its own.

Jerry King teaches you how to play well despite windy conditions, by making simple adjustments to your golf swing. It's all about balance and control.

This may be the simplest of all the National B License Tests in Gran Turismo 5. It's the eight one (B-8), where you simply find the line through an S-bend. If you haven't already done so, break out your PlayStation 3 and unlock these tests by purchasing your very first car.

Open the Adobe Photoshop program. Choose a picture with a head shot. This maybe something that is already in your pictures folder on your computer, downloaded from the internet or transferred from your flash drives, and those photos you may have scanned and saved in your computer.

Picture this: You finally get that awesome angle, the perfect selfie. You can't wait to post it on your Instagram, except there's one problem — it looks a little flat and the colors just seem off. Maybe it's the lights? Or maybe your new smartphone camera isn't as good as you thought? How are your friends getting those beautiful photos they've been posting on social media?

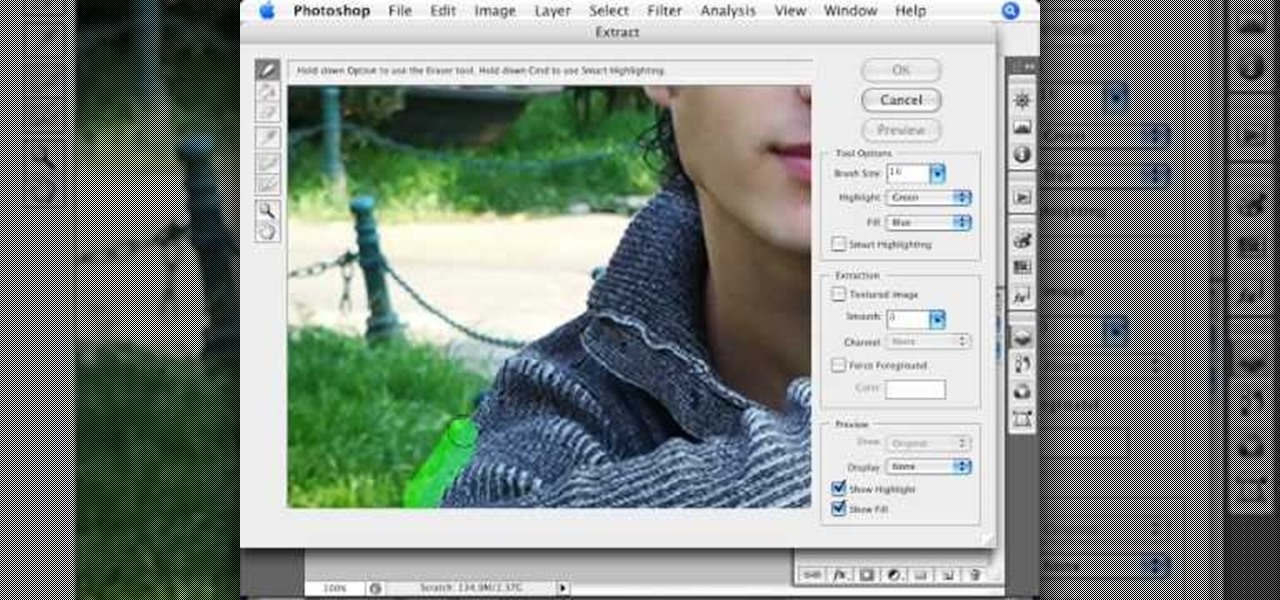
In this tutorial, you will learn how to make advanced hair selections using the alpha channels. And how to blend two different images together, using advance masking and the adjustment layers.

Video: . Valve Clearance Adjustment Tutorial Toyota Hilux, Surf 22re.

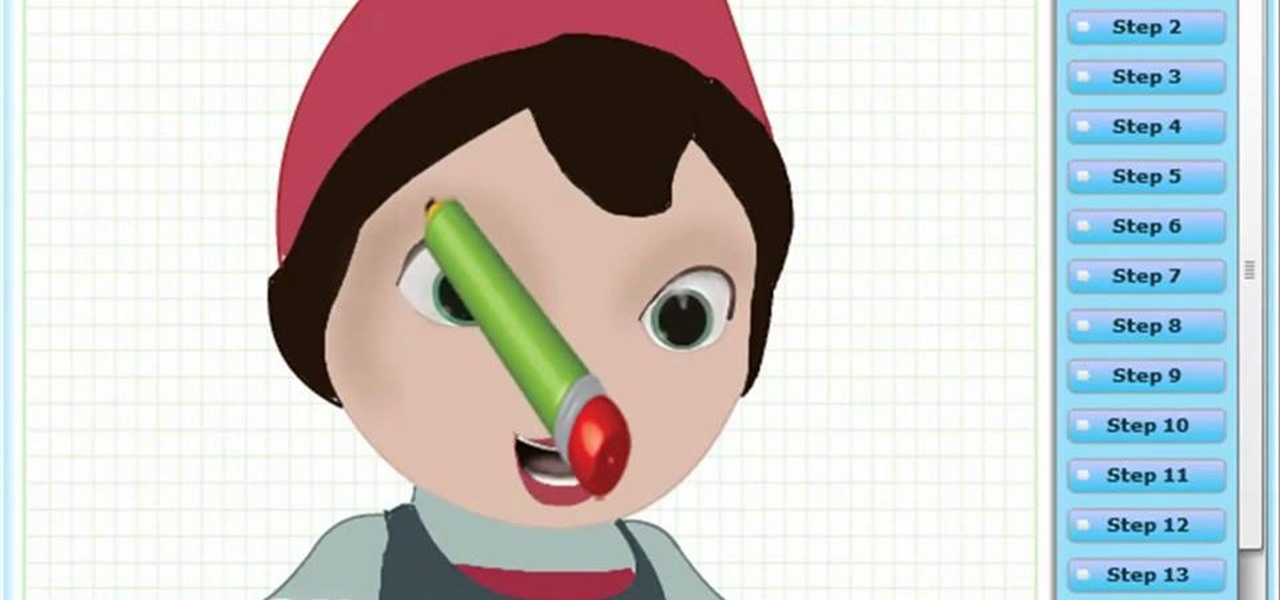
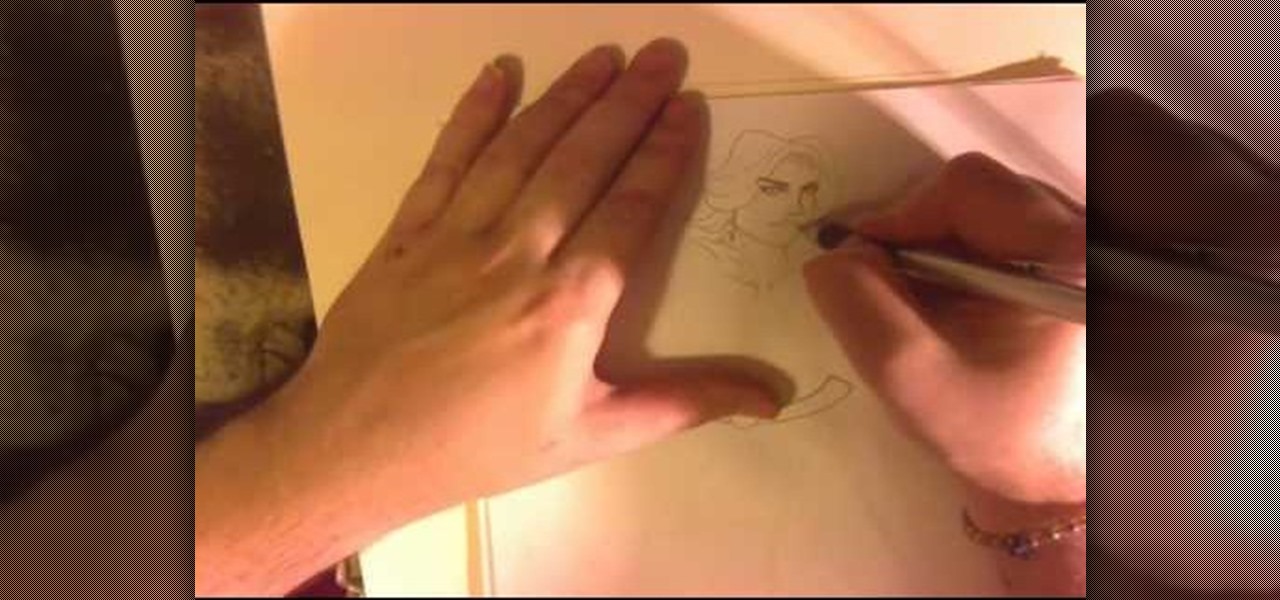
Learn How to draw Juliet from the film Gnomeo & Juliet with the best drawing tutorial online. For the original tutorial with speed adjustment and step by step instructions please visit: How to draw

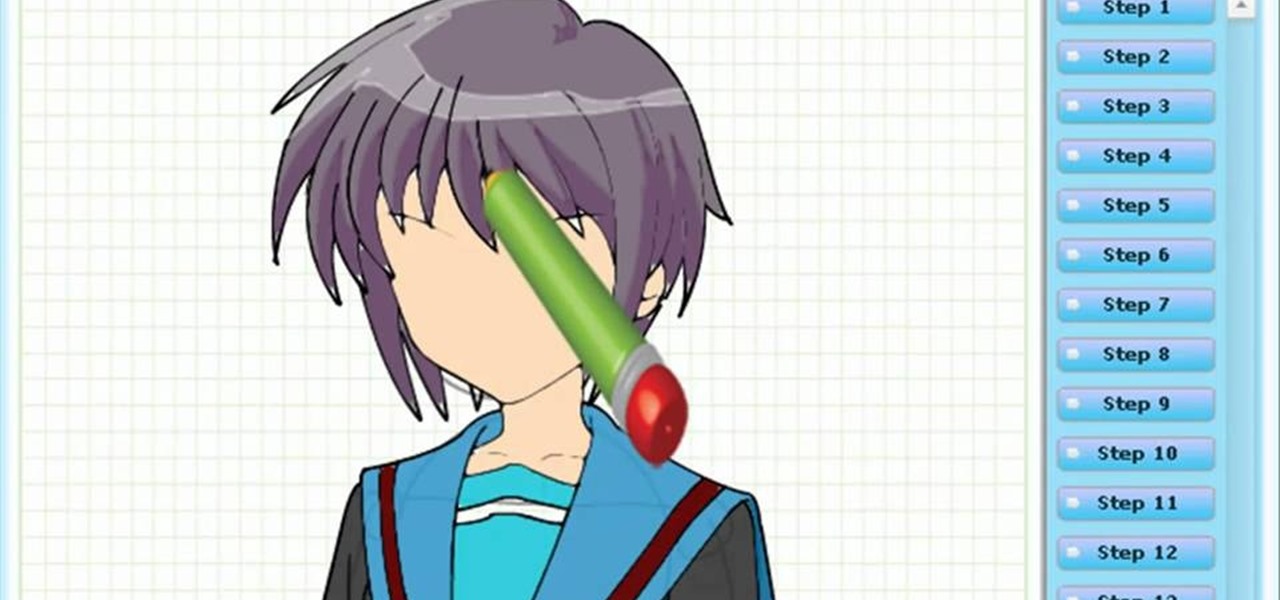
Learn how to draw yuki nagato with the best drawing tutorial online. For the original tutorial with speed adjustment and step by step instructions please visit: how to draw.

Learn how to draw yuki nagato with the best drawing tutorial online. For the original tutorial with speed adjustment and step by step instructions please visit: how to draw.

Learn How to draw Juliet with the best drawing tutorial online. For the original tutorial with speed adjustment and step by step instructions please visit how to draw.

Learn how to draw yuki nagato with the best drawing tutorial online. For the original tutorial with speed adjustment and step by step unstructions please visit how to draw

Learn How to draw Kate with the best drawing tutorial online. For the original tutorial with speed adjustment and step by step unstructions please visit: how to draw.

Learn How to draw Juliet with the best drawing tutorial online. For the original tutorial with speed adjustment and step by step unstructions please visit how to draw

Learn How to draw Bruno Mars with the best drawing tutorial online! For the original tutorial with speed adjustment and step by step instructions visit: how to draw.

Secret of the Wings (formerly known as Tinker Bell and the Mysterious Winter Woods) is an upcoming computer-animated comedy film. Learn How to draw Tinkerbell (Secret of the Wings). For the original tutorial with speed adjustment and step by step instructions visit: how to draw.

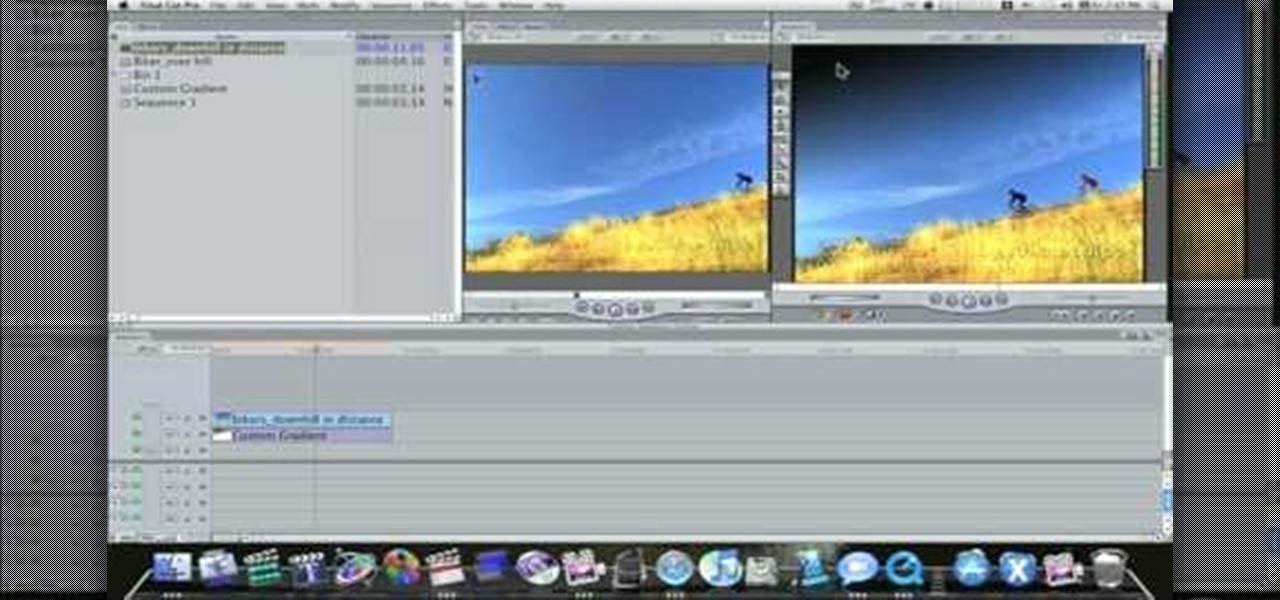
This video tutorial teaches you how to use Traveling Luma Matte in Final Cut Pro 6. To do this, you have to go to custom gradient. Open the "Find" option and type Custom Gradient or Gradient in the search field and click Find All. This will bring up a separate search window with the gradient effect you are looking for. This search window can be shown in your browser or removed from your window. The video then teaches how to use the Gradient effect. You can add the gradient effect to your vide...

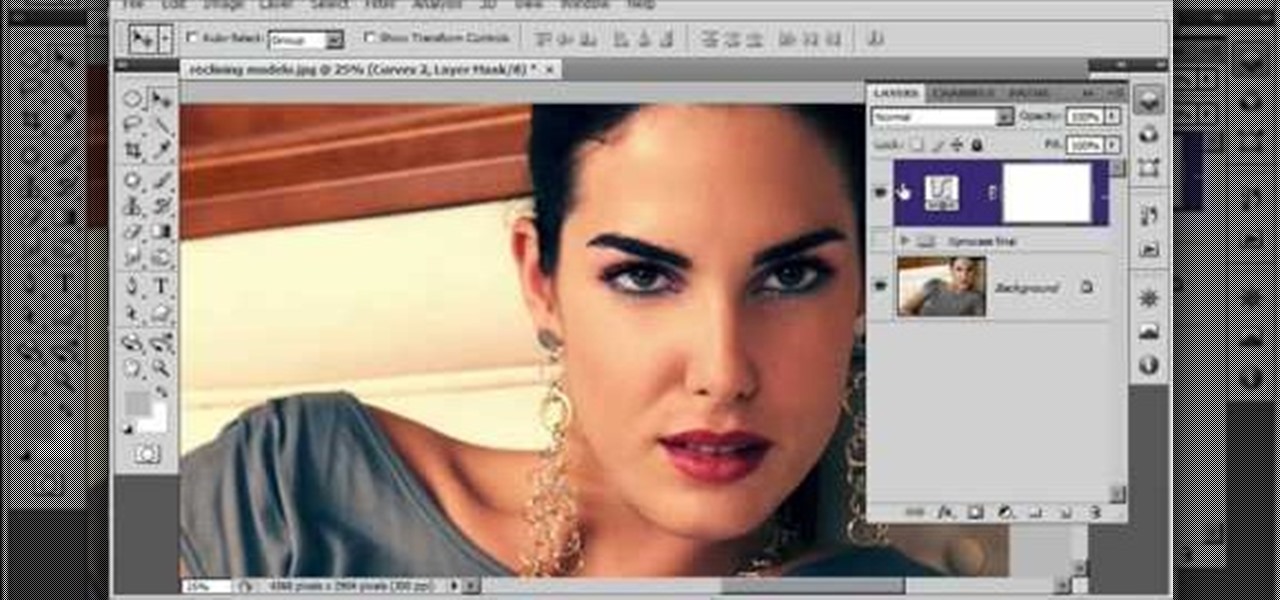
Cross processing is a Photoshop version of slide processing. The result would be you get all these weird color shifts. For reasons best known to people who run the fashion magazines, this look became very popular in the 1990s. Start by adding in a curves layer. Add a new adjustment layer for curves. If you've never used curves before it is recommended that you take a curves tutorial first as for this effect we will need to adjust individual color channels. It is not difficult but if you don't...

This video gives another iteration of a digital makeover, using Mama's Powder w/sharpen action. This series will highlight some advanced masking techniques; rubilith and quick mask modes, and adjust makeup colors using Levels Adjustments rather than Curves. Hopefully this will broaden your understanding of mixing color using a different type of adjustment, in Photoshop or Photoshop Elements.

You finally did it! You've combined all your knowledge about photography and angle to take the perfect selfie. It looks stunning, and you cannot wait to post that bad boy to Instagram. But wait, what's this? Your skin looks so uneven and — is that a zit!? I guess the selfie gods were not in favor of your skin when you snapped it. Luckily, you can fix all of those minor flaws with the help of Photoshop Express.

Cell phone contracts might seem iron-clad, but loopholes may let you get out of your plan without paying a dime.

Editing photos can be tedious, especially if you are using a similar theme for all of your photos. It takes time to select every tool, play with the bars, and find an adjustment that you're happy with. Luckily, there's a faster way. Adobe Lightroom for Android and iPhone allows you to save your favorite editing presets so you don't have to change every photo every time.

If you've just exported your masterpiece from GarageBand and found that your volume on the song is too low, then you're going to have to fix it. And increasing the levels on your "too quiet" song, you just need to get back into GarageBand and make some adjustments.

With the economy as sour as it is, unpaid internships are a fact of life for an increasing number of students and those who have just graduated from college. Often times the only way these days to get a paid job is to take an unpaid one in the same industry first.

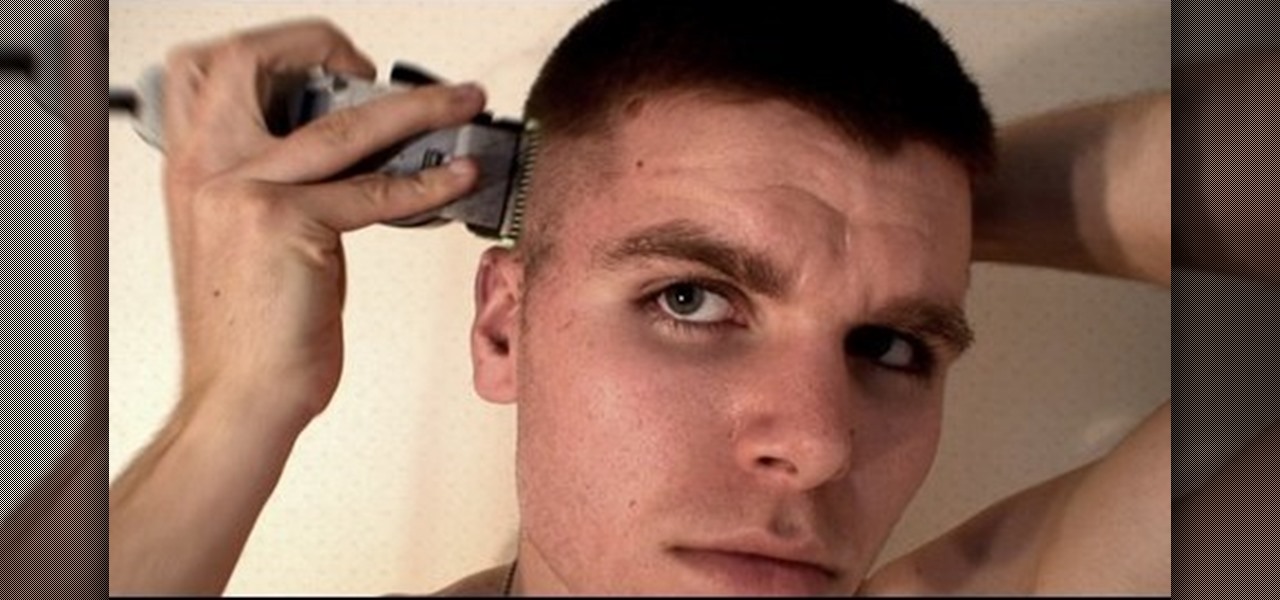
In this video, we learn how to cut your own hair high and tight. Make sure you don't miss any spots by your ears, and make sure the sides are cut evenly. If you have bangs in the front, cut from the back to the front using a shaver. If you want to get rid of your bangs, cut from the front to the back. When you're done, feel the back and make sure it feels completely even. On the razor, there's an adjustment lever, so you can use this to make different feel from the bottom to the top of your h...

In this clip, learn how to use the Format Dropdown Menu, Underline, Align Full and color adjustment buttons in the WordPress editor. Every version of WordPress brings with it new features, new functions and new ways of doing things. Fortunately, the very same technology that allows an open-source blog publishing application like WordPress to exist in the first place also makes it easy for its users to share information about the abovesaid things through videos like this one. Take a look.

Who says you can't be feminine and powerful at the same time? This female superhero, equipped with a skintight bodysuit that leaves little to the imagination, a cape, and belt, also posses a nice set of...muscles. Not the type of gal you want to mess with, she's uberfeminine yet clearly knows how to stand her ground.

First off, if you're new to electric guitars, here are some handy dandy definitions for you before you watch this video:

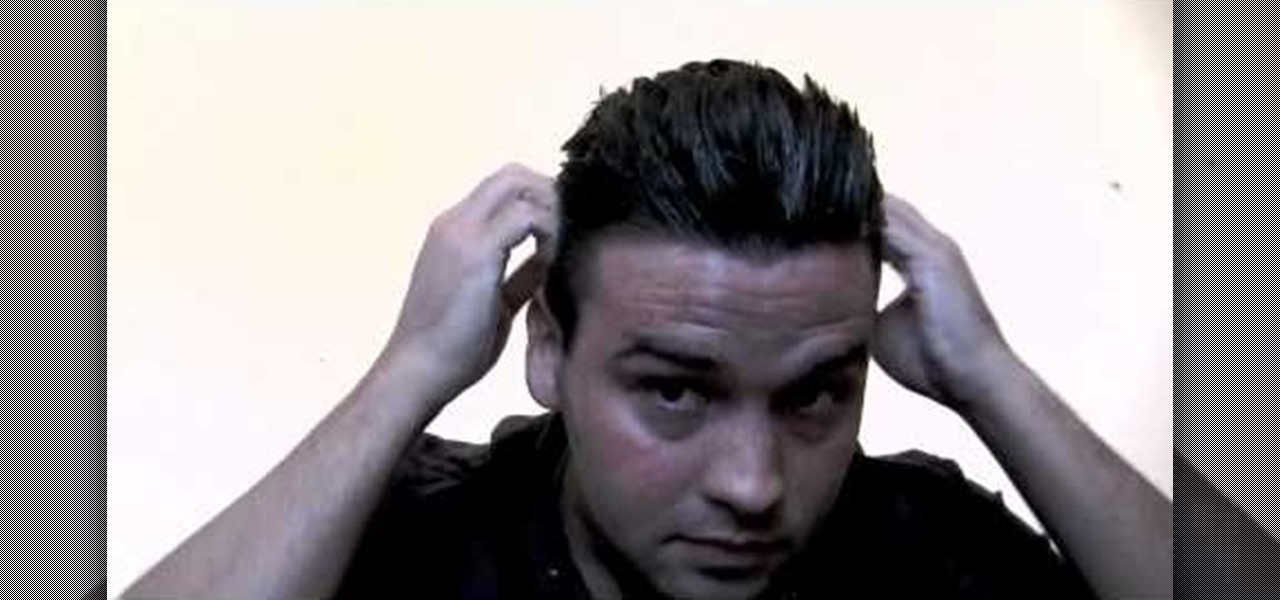
In this how to video, you will learn how to make a rockabilly slick back hair style. You will need the di fi extreme cream with maximum hold in order to do this hairstyle. First, take some of the cream and place it on your hands. Rub your hands and run them through your hair. Make sure that you slick your hair back when applying the cream. Make any fine adjustments once this is done. If it is not sticking back, apply more until it does. Use a hair dryer to hold better once the cream has been ...

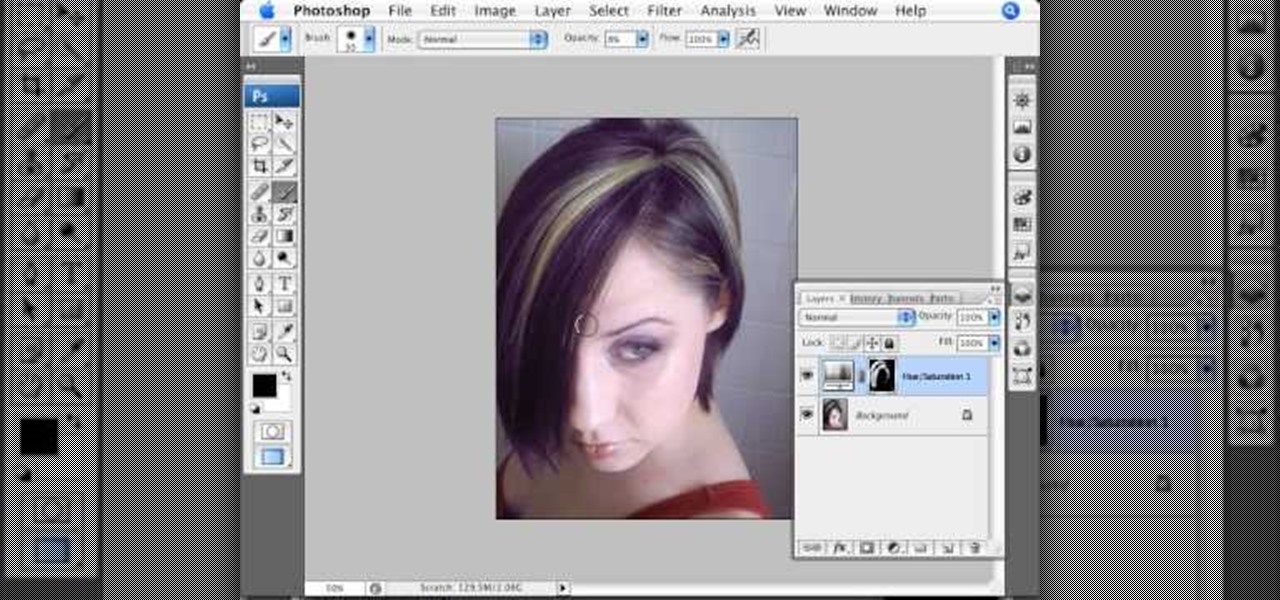
Photoshopuniverse will show you how to change a person's hair color in PhotoShop. You can achieve this by using hue and saturation adjustment layers and set to colorize. Set the saturation to about 50%. Go back to the background layer and select the color range select parts of the hair color, select the parts of the hair you want to change and with the eye dropper click it. Once the selection is made invert the selection the color will change. You can now change the hue to make it what you want.

This video by photoshopuniverse shows you how to make any photo seem as it was taken in a studio. Take the working photo and add a new layer over it and fill it in black as shown. Add a newer layer over that and add the filter> render> clouds effect. Increase the opacity of the cloud layer and merge it with the black layer as shown. Add the splatter effect and the sprayed stoke effect as shown onto the merged layer and add a hue and saturation adjustment layer and colorize it as desired. Go t...

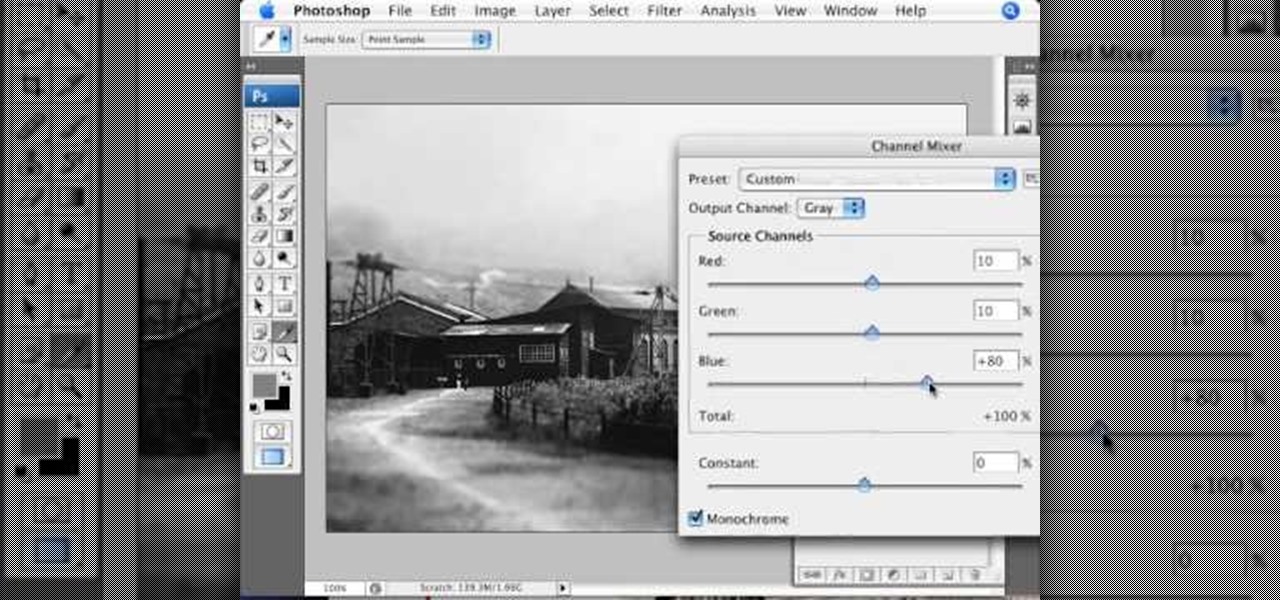
This video demonstrates the split tone effect in Photoshop. A split tone effect makes a picture look more rustic by changing the tones. First, add an adjustment layer to the picture by opening the channel mixer window. Select Monochrome and adjust the RGB values to create a black and white image to your own personal preference. Next, add another layer by opening the color balance window. Here you can change the colors of the light areas by selecting Highlights and changing the color sliders, ...


