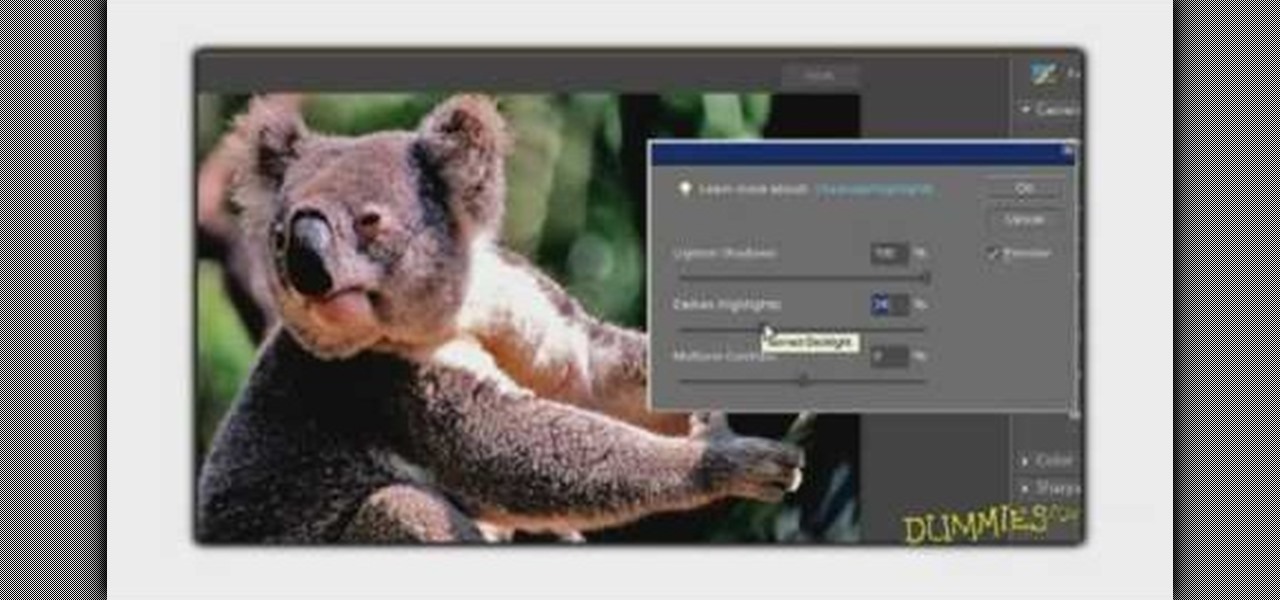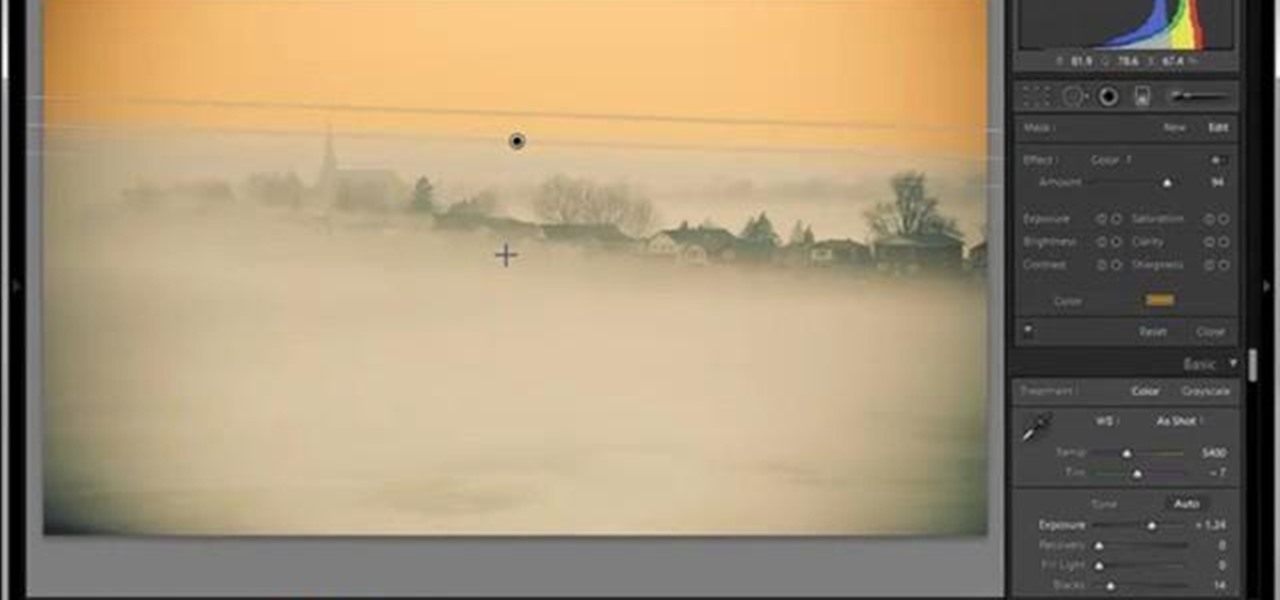
We have no doubt that famed photographer Annie Leibovitz takes perfect photos right at the photo shoot that require minimal retouching. But for the rest of us, as it is for most photographers, the photo editing process is just as important as the photo taking process, if not more important.

Kim Kardashian really doesn't need to wear all the makeup she does. As we've all seen through tabloids, Kim even looks glamorous sans makeup and just getting a pedicure at a cheap salon. But when Kim wears makeup she's smokin' hot.

You want the best quality photos you can get, and the Canon EOS 7D digital SLR camera makes perfecting your pictures easy. There is a range of technologies to enhance image quality. This video shows you the many options you can use.

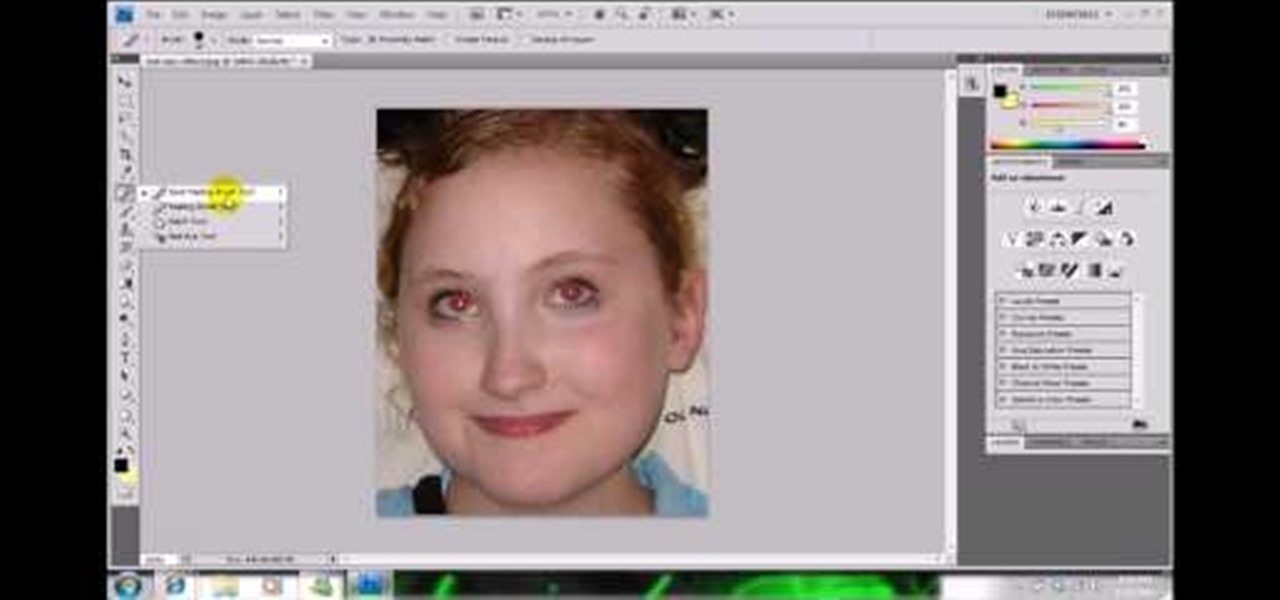
In this video, we learn how to get rid of red eyes while using Photoshop. Make sure you have Photoshop open with your picture up and you're ready to go. First, on the left hand side you will find a "healing brush" tool (which is 7 tools down from the top), click on that and then click "red eye tool". Next, you will click on each of the red eyes in your photo. After this, it will change the color of your red eye to the normal color. If the photo needs changed, you can also change the contrast ...

This video describes the procedure of making "sloppy joes." It is recommended to use ground turkey because of the texture and even the health factor of the meat. He uses pork and beef and adds a little bit of oil to a pan and browns the meat. He uses both of those meats for the texture of the fat and flavor. He lets the meat get brown and then adds the vegetables. He says to save the fat from the meat to cook the vegetables in. He adds red onion and green peppers so the colors are bright and ...

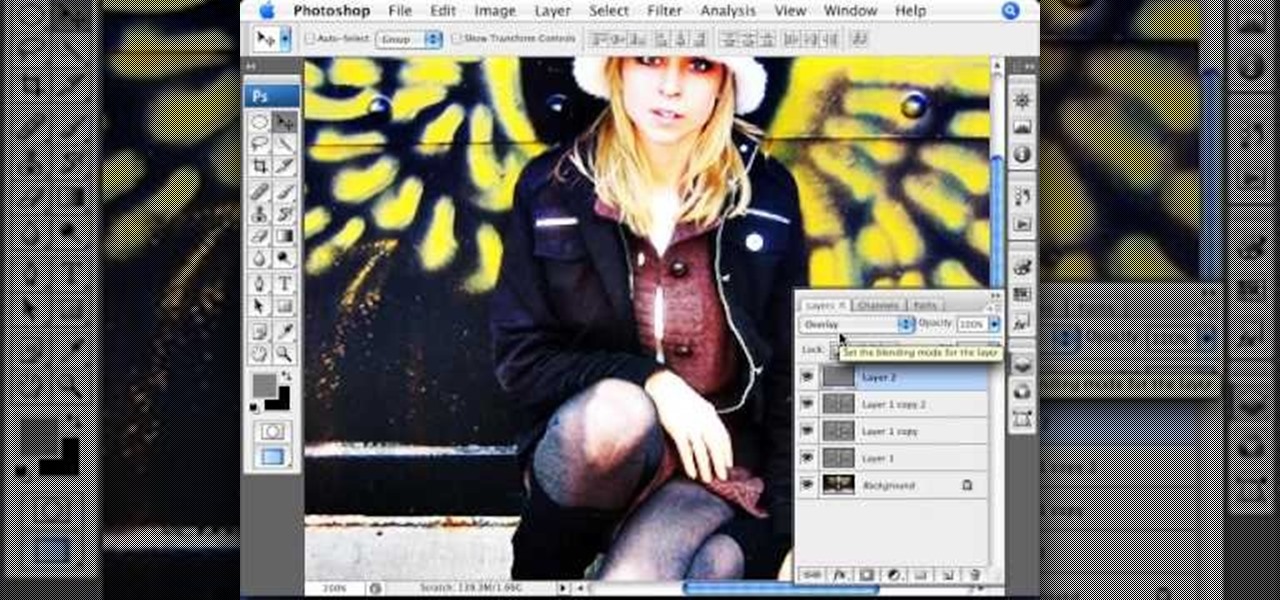
This step-by-step instructional video shows how Photoshop can be used to purposely over-process a photo and give it a more gritty effect. First, a High Pass filter is applied to give the photo a gray buzz. Next, hard light blend layers are applied to give the photo more contrast. A few approaches for applying noise filters are described next. Finally, de-saturation is applied to produce an amazing finished product. A must-see video for anybody looking to add a fantastic grunge effect to a photo!

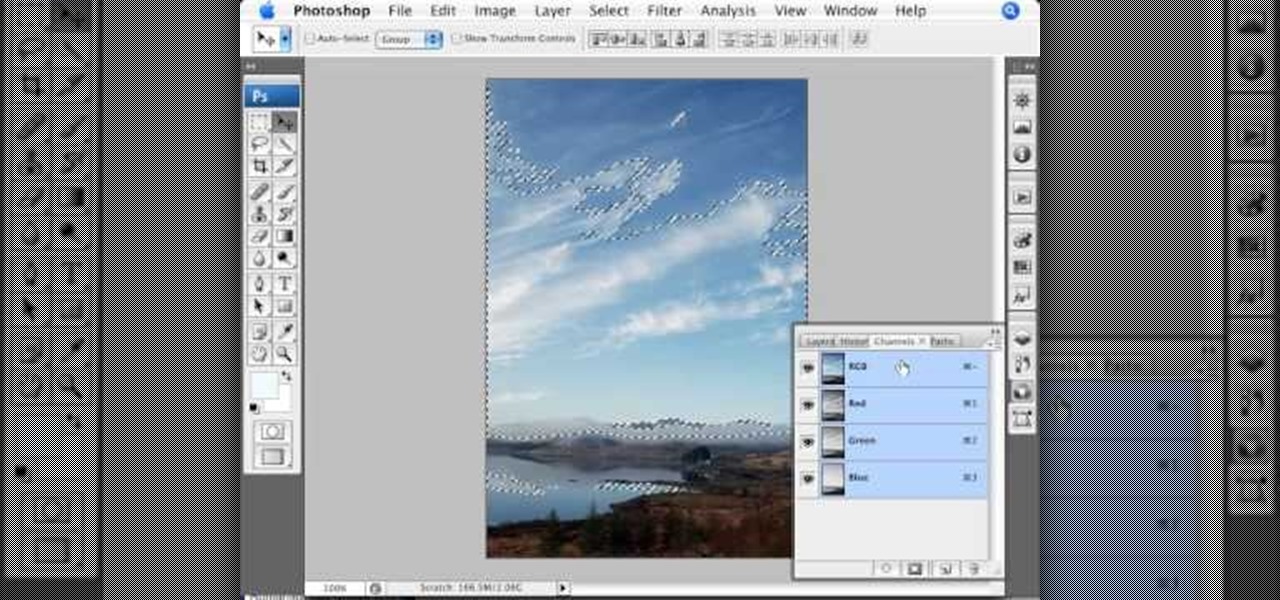
This video is about using a luminosity mask in Photoshop. The luminosity mask is used to enhance the color and contrast in photos that lack each of these. The color is enhanced or punched up. Choose the manipulation tool: channel and RGB. To choose RGB, touch control and then select RGB. Select the 100 % white or light parts of the photo, it will not select the darker or black images. Copy the light parts of the image by using control J. Choose to copy the lightest parts by selecting overlay ...

In this video, we learn how to add ray so flight through trees in Photoshop. First, open up Photoshop and open up your picture. Now, go to your channels and choose the one with the most contrast by looking at all of the options. Now, duplicate the layer and go to "image", "adjustments", and then "levels". Now, make the image a lot darker, looking at the image preview as you go. When finished, click "ok", then select this layer and press "control", then click". Go back to the regular image, th...

Learn how to make a "Resident Evil"-style Biohazard Virus with nothing except the brush tool and layer effects in Photoshop. Use adjustment layers to create extra grain and contrast to your made from scratch hi-res microscopic bacteria and learn more about those brush tool options you didn't know about.

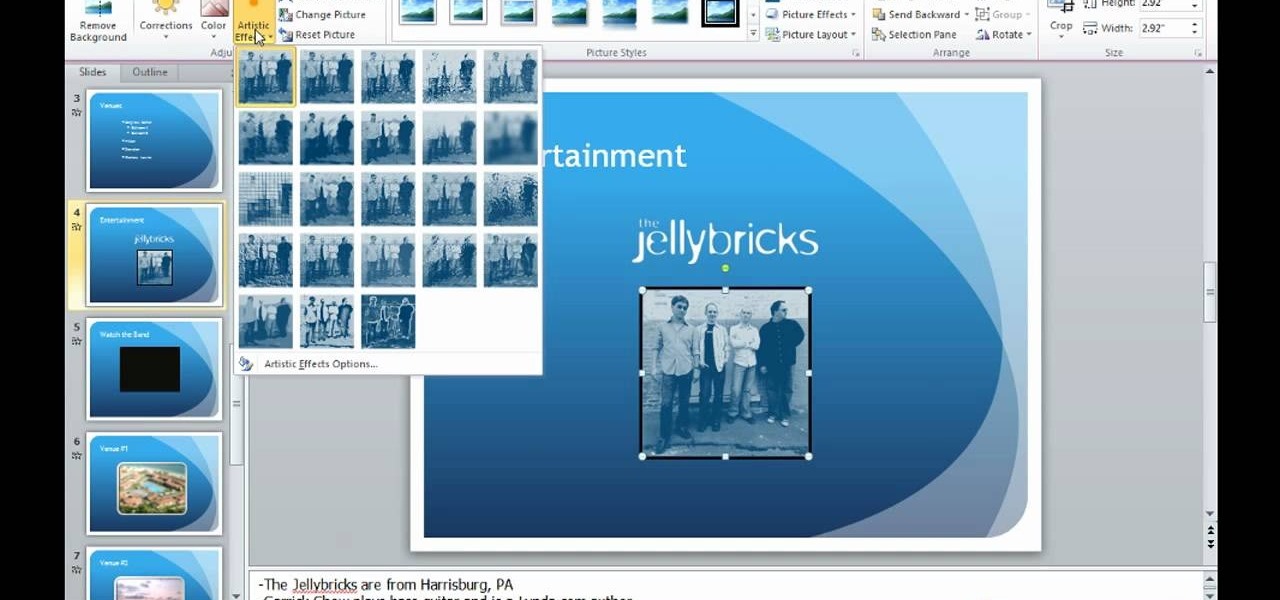
This video describes how to edit images and videos in MS Power Point 2010. For example, we will take a slide with picture added. If you want to edit the picture, first go to the "Picture Tool" button and click on the format tab. If you want to change the contrast and sharpness of the picture use the "Corrections" menu, and to change the saturation, tones, and to do recoloring we can use the color option tab, and then the "Artistic effects" which can be used to see a real time preview like usi...

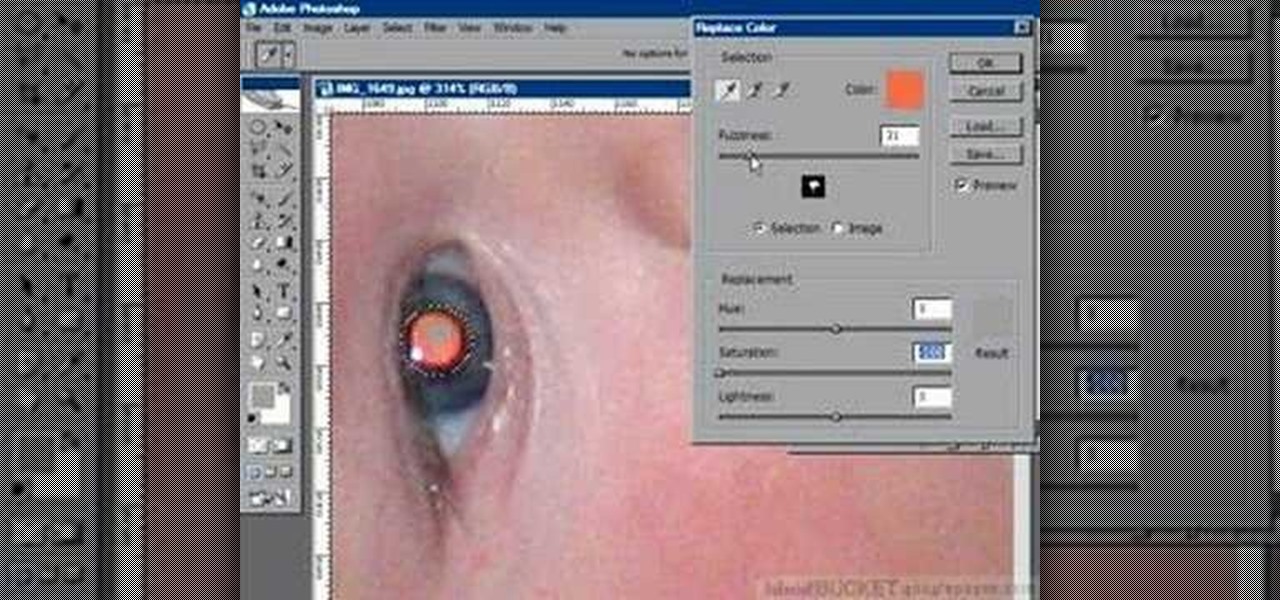
If you have a photograph with an extreme red eye problem, then you will have to take steps above and beyond using the built-in red eye reduction tool in Adobe Photoshop. In extreme cases, red eye will actually contain colors outside of the red spectrum of light. Since the red eye tool only works on this spectrum of light, you will have to manually fix extreme red eye by working on tools that are effective across all different wavelengths of light. The most effective tool at your disposal in t...

Pixel Perfect is the "perfect" show to help you with your Photoshop skills. Be amazed and learn as master digital artist Bert Monroy takes a stylus and a digital pad and treats it as Monet and Picasso do with oil and canvas. Learn the tips and tricks you need to whip those digital pictures into shape with Adobe Photoshop and Illustrator. In this episode, Ben shows you how to create fabrics in Photoshop.

Pixel Perfect is the "perfect" show to help you with your Photoshop skills. Be amazed and learn as master digital artist Bert Monroy takes a stylus and a digital pad and treats it as Monet and Picasso do with oil and canvas. Learn the tips and tricks you need to whip those digital pictures into shape with Adobe Photoshop and Illustrator. In this episode, Ben shows you how to apply localized correction in Lightroom 2.

Check out this DIY video tutorial from Curbly, the best place to share pictures of your home, find design ideas, and get expert home-improvement advice.

This software tutorial shows you how you can blend three differently exposed images using Photomatix, and then demonstrate how to use some basic Photoshop techniques to touch-up the resulting image. [Note: the Flash overlay in this video doesn't sync completely with the audio; pausing for a second and then resuming it fixes the problem.]

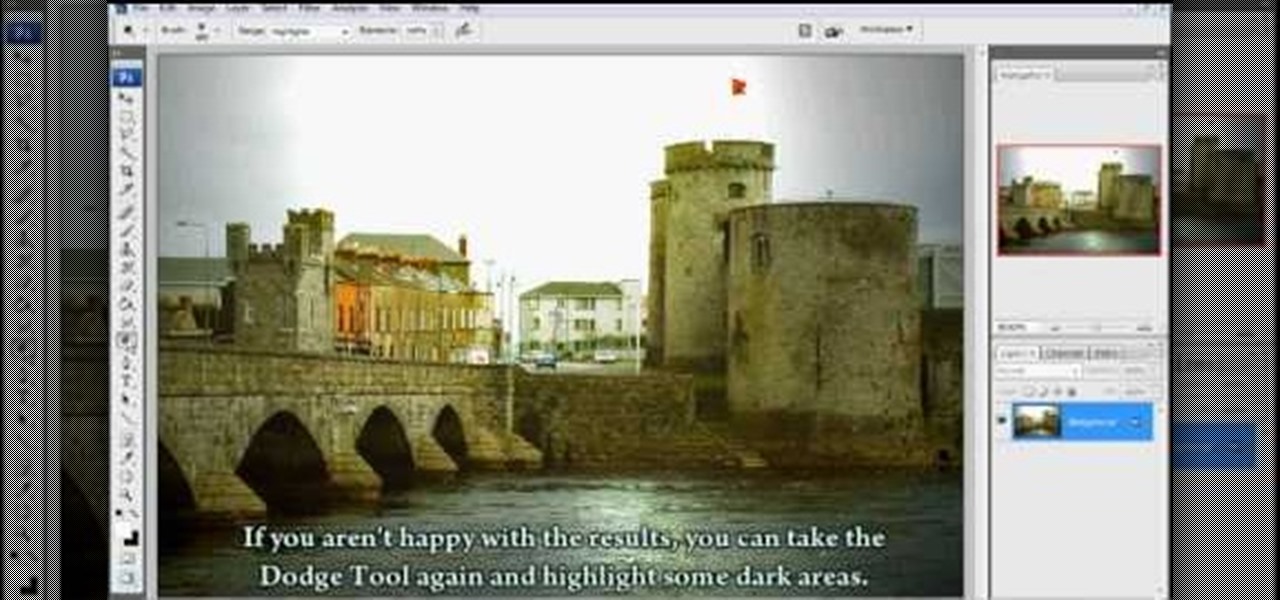
It's very easy to get a slightly blurry photograph due to a moving subject, camera shake, or just an incorrect auto-focus, but you don’t have to let that ruin an otherwise terrific picture. All it takes is a little finesse in Photoshop or another photo editing software. This guide covers sharpening a blurry image using Photoshop specifically.

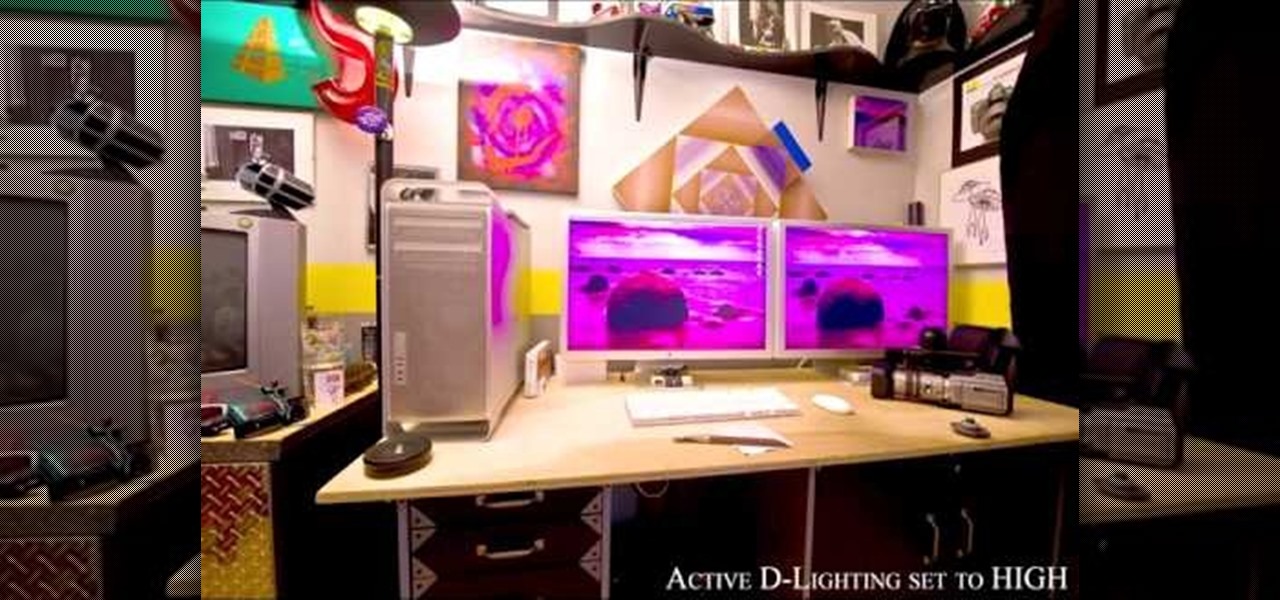
This instructional photography video explains step-by-step the features of active D-Lighting: what it can do and how it affects your images. Active D-Lighting allows you to photograph in various lighting situations for more neutral contrast results. Here is a basic explanation of the settings on a professional Nikon photo camera:

It's difficult to find that perfect lighting when you're taking a photo. You won't always have studio lights — or at all — and you're not always out during golden hour. So how can you combat lighting issues without waiting around for a well-lit condition? Do it in post. Adobe's Photoshop Express makes it easy to fix and even customize the lighting in your photos using the right adjustments.

Clicks are made on "Image",then "Adjustments", followed by "Brightness/Contrast" ; contrast is set to 30 and brightness is set to 60 to add more light to the picture. "Adjustment", "Variations" are clicked in that order and both yellow and red are increased. "Filter", "Render", "Lightening Effects" are chosen in that order and a new window appears; within which the style is set to "Soft Omni". The brightness is decreased ;similar to the way it was increased, and contrast is increased to 60. T...

Tutvid shows you how to add flare and dramatic color to your raw camera images (usually the format of a DSLR). In a step-by-step guide with narration, Tutvid takes you through the process of using CameraRaw (used as an extension of Photoshop but never really brings it in photoshop) to add desired colors to your picture. Pull up your raw file in CameraRaw, and press "Command" or "Ctrl + R" to open up the editing panel. With an example, he shows you how to bring out lights in underexposed (dark...

In this lesson, learn how to correct and enhance images with regard to exposure, contrast and color balance in Photoshop. The differences between exposure and contrast are discussed in detail along with tips on how to make less than perfect images look better.

In this tutorial, we learn how to enhance the color of your lips and eyes with GIMP. To change the eyes, use the ellipse tool to highlight each individual eye, then change the contrast of the eye as well as the color and highlights. Do this for both eyes, then save. To change the lips, use the lasso tool to highlight the outside and inside of the lips, then go to "select", "from path", and then change the color balance as you did on the eyes. Change it until it's the desired color you want, t...

In this tutorial, Yanik Chauvin teaches us how to create an old-style looking photo starting from a grayish, underexposed one, using the software "Lightroom". He starts by creating a virtual copy of it, and then he adds a Camera Calibration preset named Camera Landscape and increases the exposure. After that, he crops the image removing the blank parts of the photo, and adjusts Contrast, Blacks and Clarity to strength the image borders.

It’s like a personal photo, except classier, and you can make the model look slightly more attractive than they really are.

Maximize the display capabilities of your LCD computer monitor! Set up your contrast just how you want it by using test patterns, adjust the backlight, adjust the color display for over- or under- saturated colors, and then play with your monitor presets.

Want to capture frames from your movies? GOM Media Player has a built in screen capture feature for the video files it plays. You can even zoom in and out, adjust the brightness and contrast, and even turn your new screengrab into your computer desktop wallpaper!

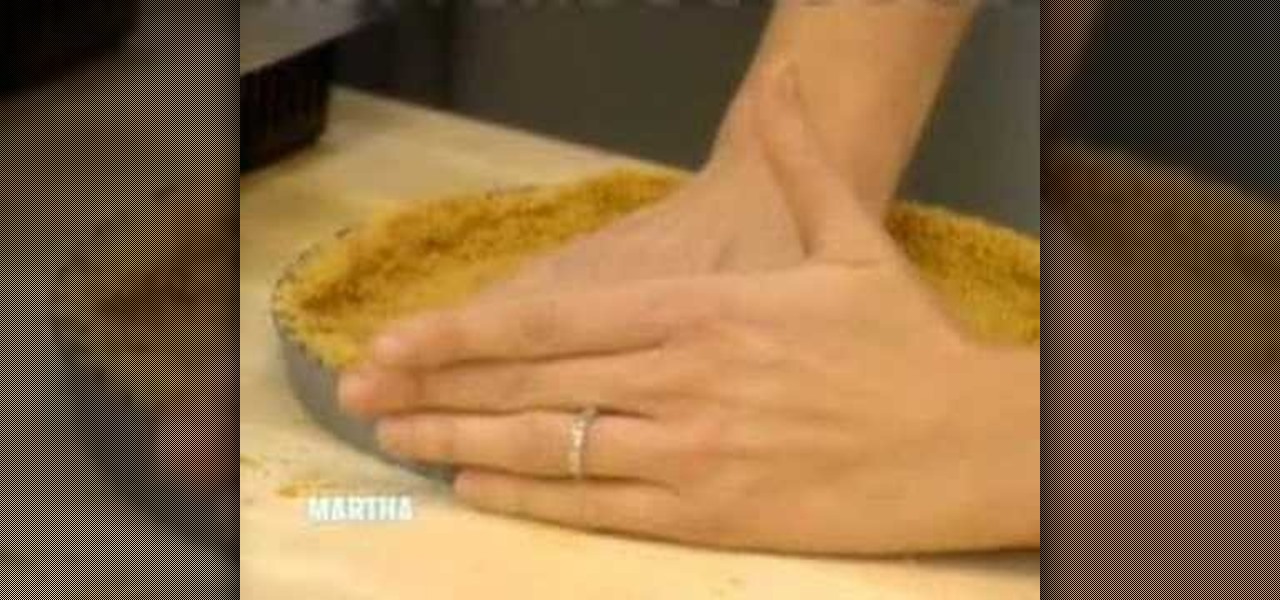
When life gives you limes, make a key lime tart! Harnessing the tartness of limes, a key lime pie offers a surprising and delicious contrast to savory summer foods like BBQ ribs and french fries.

Lemons are ripe and aplenty right now, so why not harness their delicious tart overtones by including them in a fresh springtime dessert? Watch this video by Honeysuckle Bakery to bake your way to tangy bliss.

Anyone who's worn a wig for Halloween or a theater performance knows that no only do they look pretty fake coming out of the bag, but the edges of the wig and the scalp portion contrast awkwardly with your own skin.

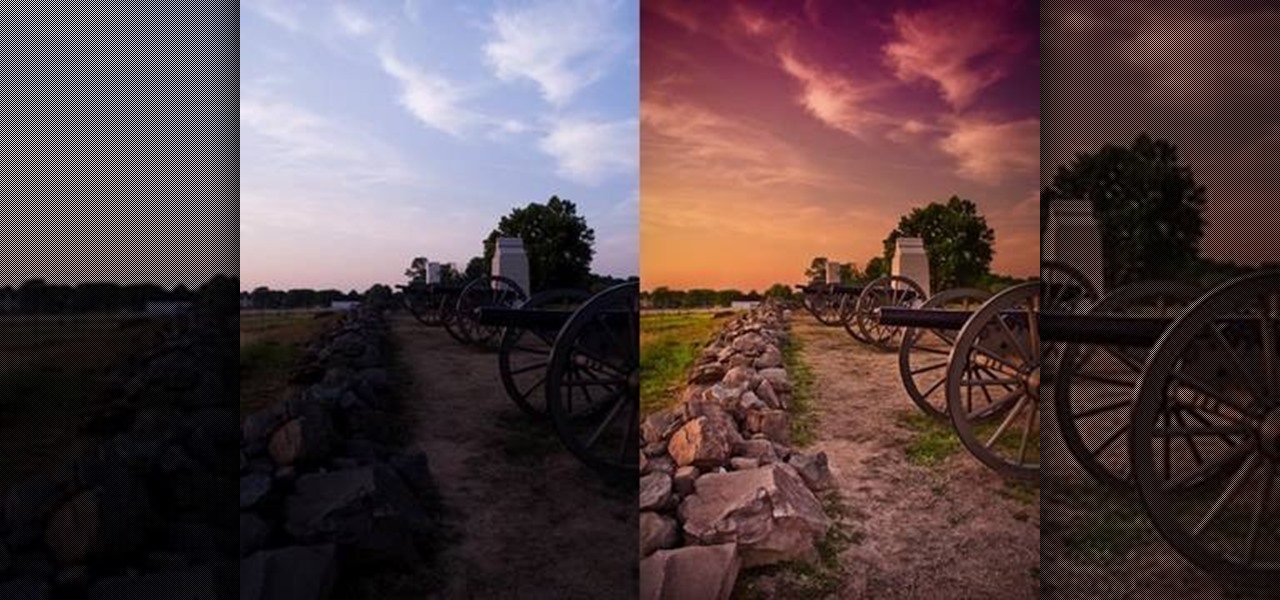
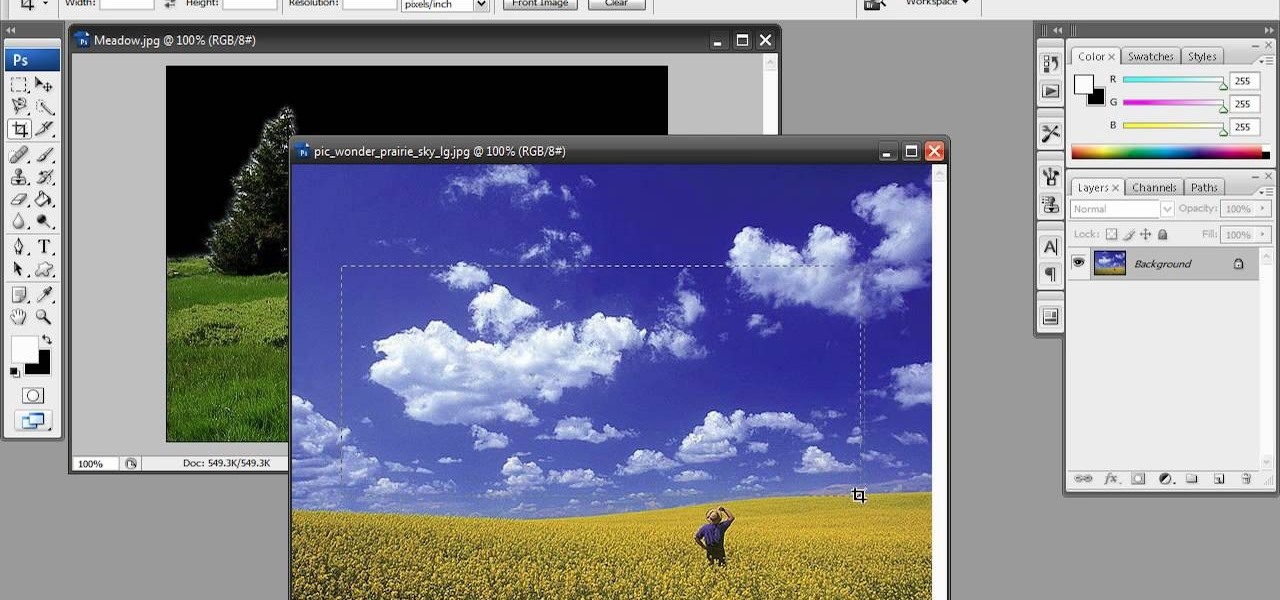
Brighten skies with Adobe Photoshop. Whether you're new to Adobe's popular image editing software or simply looking to pick up a few new tips and tricks, you're sure to benefit from this free video tutorial, which offers a step-by-step guide to enhancing dull skies using Photoshop's various color and contrast adjustment tools.

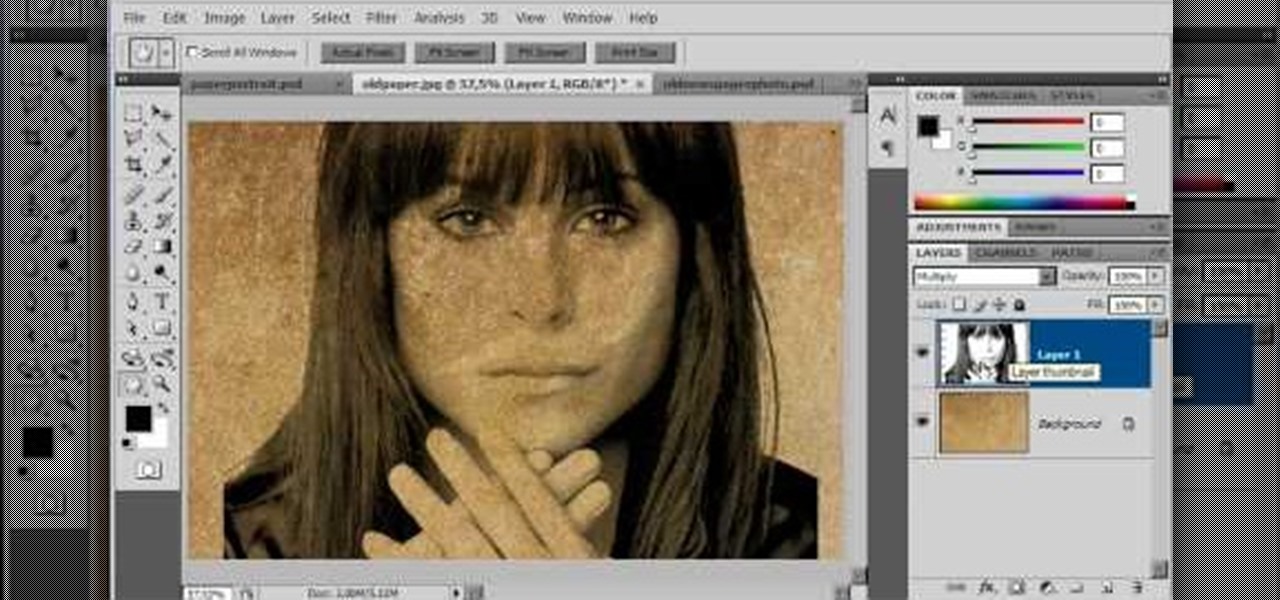
The video is about how an old stalled photographic image with faded backgrounds to a normal image. A nice clean digital image is taken and is mixed with a texture of a paper and produces a final composite image of all effects combined. The procedure is not that difficult but it needs to be followed in a proper order. First the paper texture is taken as a base and then the clean digital image is dragged onto this texture. The blending mode is adjusted from normal to multiplied blending mode, w...

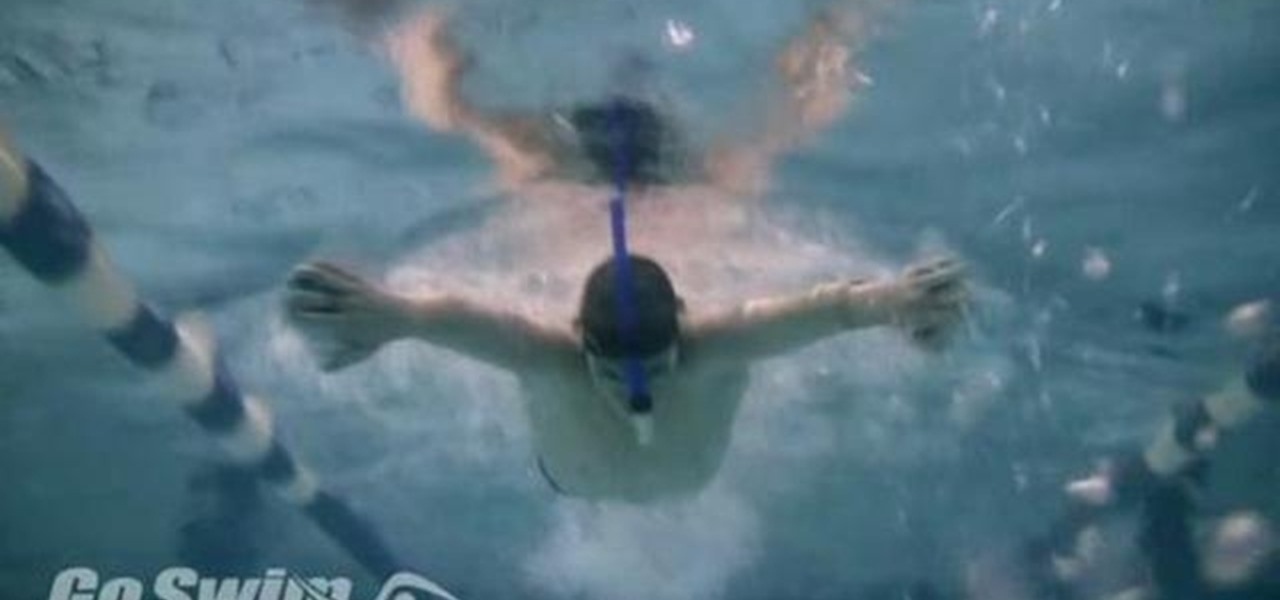
A common trait of really fast breaststrokers is that they initiate the pull prior to lifting their head. In contrast, a common trait of Masters swimmers is that they bring the head up too soon in breaststroke and leave it there too long. Learn how to keep your head down during the pull to swim a faster breaststroke.

There aren't many iPhone apps that let you change their color theme beyond light and dark appearances. They really don't need to either because iOS has a few hidden tricks up its sleeves to help you customize any app's colors either during a specific session or every time you use the app.

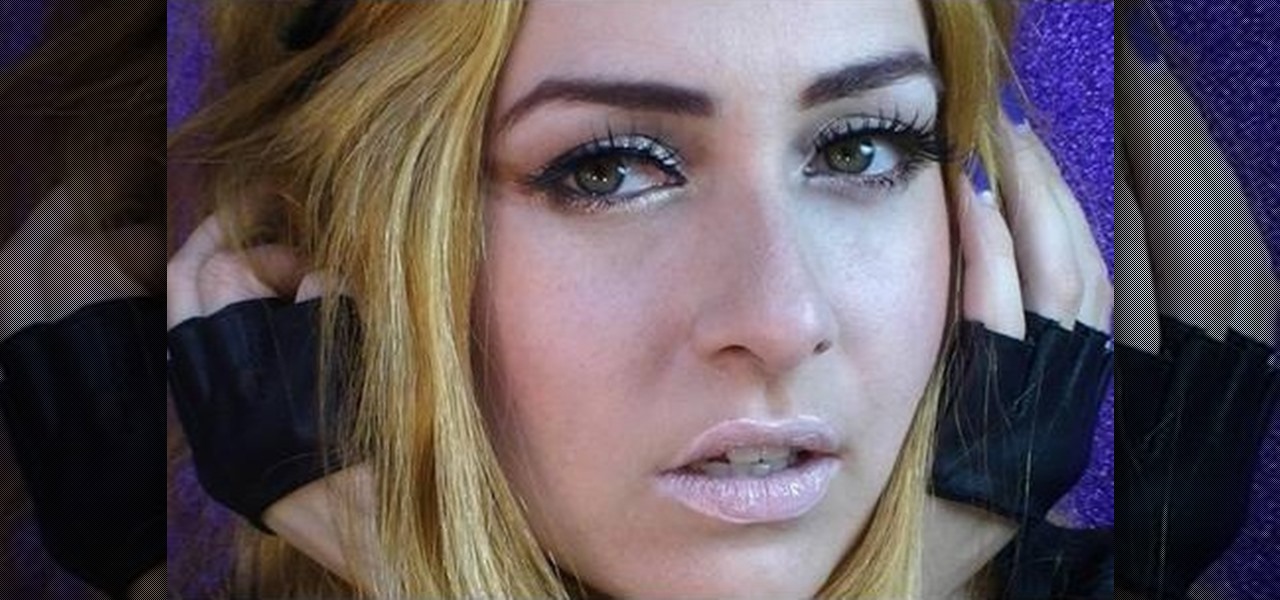
Teen pop star Miley Cyrus is not one to shy away from taking chances - in life and in fashion/makeup endeavors. Cyrus enjoys flaunting her bright eyes with shimmery shadows of gold, silver, and bronze, which contrast with her eye color in the most flattering way.

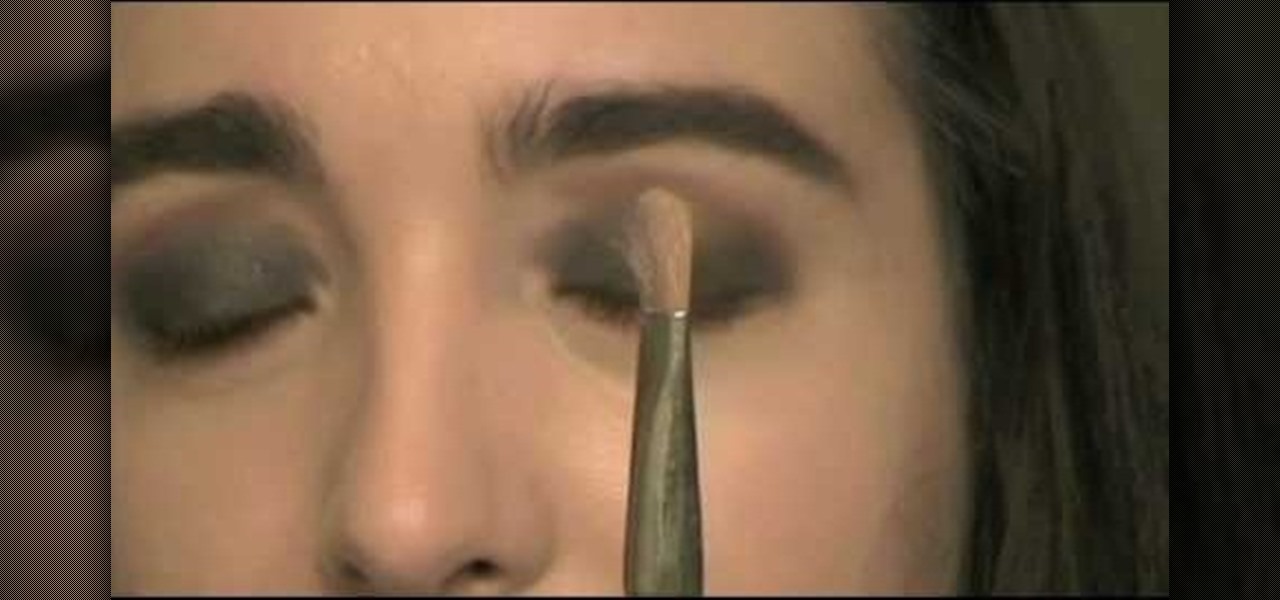
Part of the beauty of summer is the stark contrast between day (hot, sunny, bright) and night (chilly, starry). While loads of makeup tutorials can be found that will teach you how to get the "summer glow" and infuse your face with more bronzer than Mr. Armani has ever encountered in his lifetime, gorgeous summer nights are often neglected as a beauty inspiration.

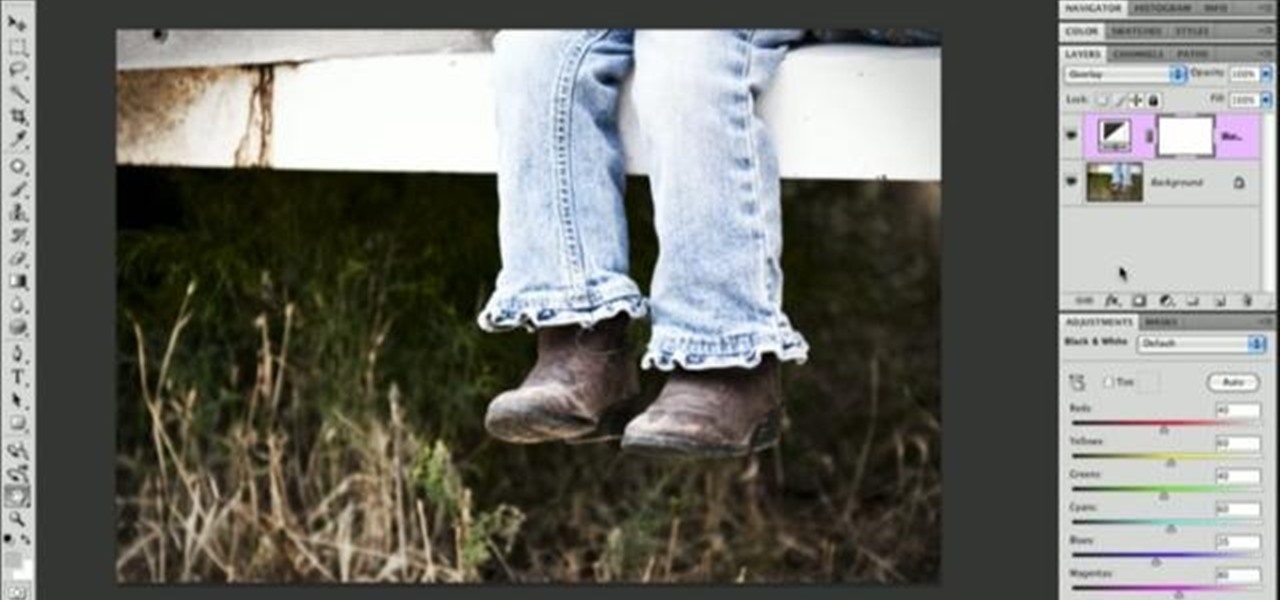
In order to add a nice contrast punch to an image using Photoshop, go to your adjustment layer and click on the black and white adjustment layer. Then go to your "blend modes" and change it to "overlay". If you find that the effect is too harsh you can adjust your opacity settings or you can switch your blend mode to "soft lights". In "overlay" using the black and white adjustment panel you can change your settings to meet your preference. If you are using a previous version of Photoshop that...

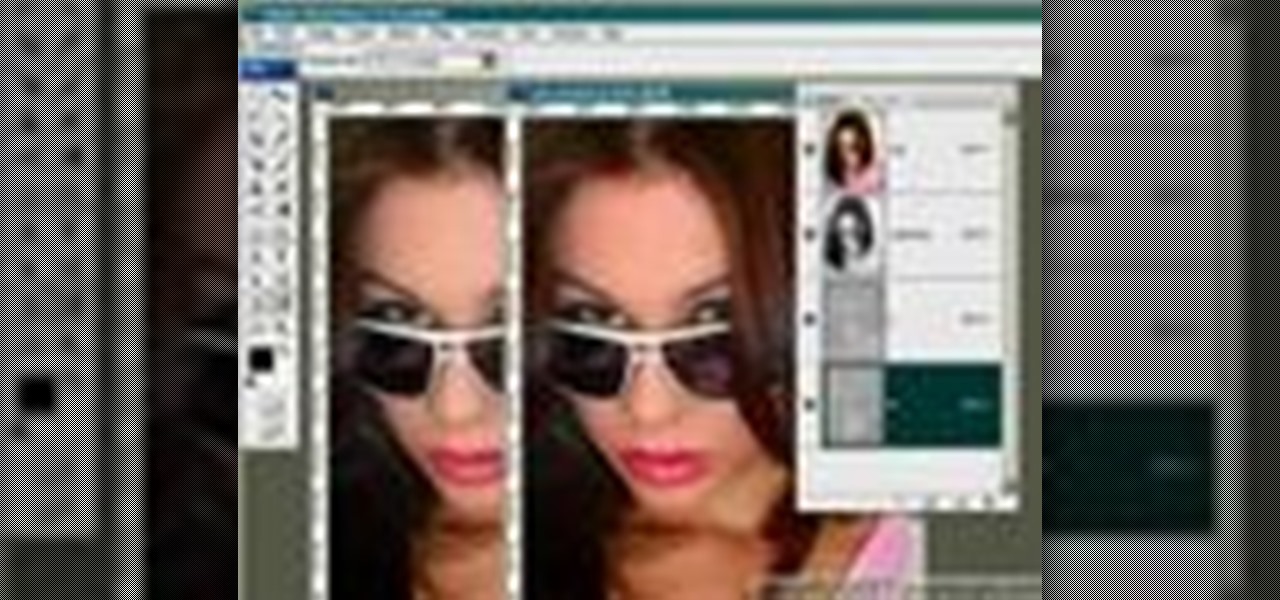
This Adobe Photoshop CS3 tutorial teaches you how perform slight photo retouching to supersaturate a photo without the distortion and bleeding. This adds a slight but noticeable saturated look of a photo which enhances the color quality. First the graphic artist adjusts the saturation. Then he creates a version copy using the lab mode versus the RGB mode. He then adjusts the contrast of the Lab mode image. Once you return the photo back to the RGB mode, you can continue altering the photo.

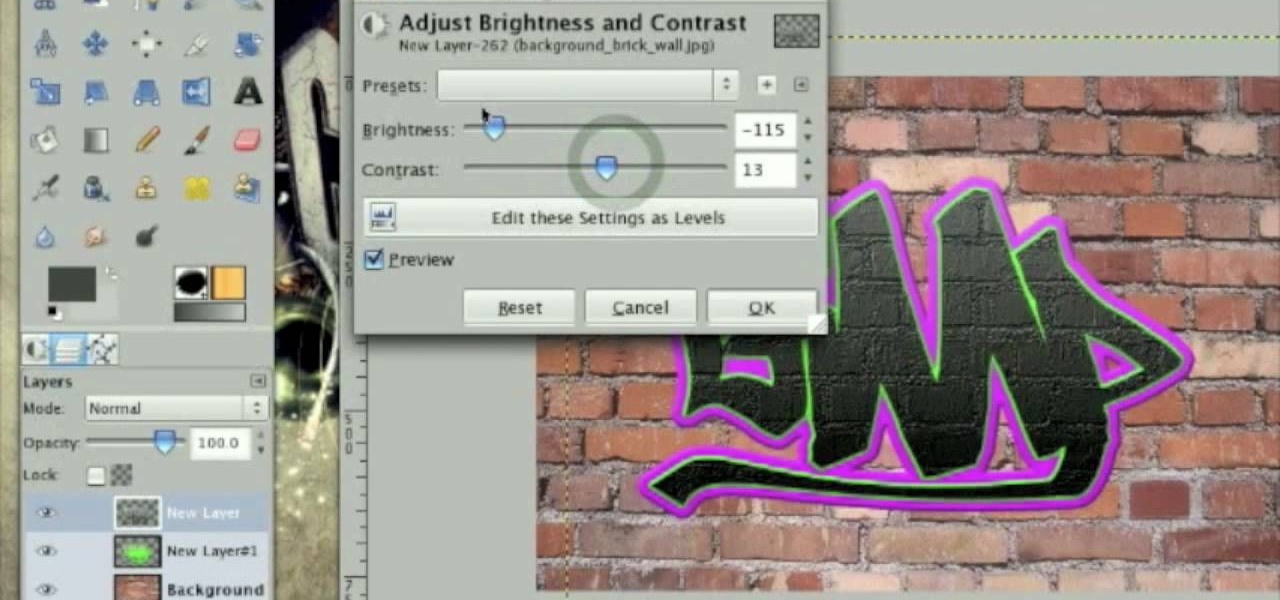
This tutorial describes how to create a realistic graffiti effect in a program called GIMP. You must first make sure that you have the font "writers original" installed on your computer. If not, you must download it to create this graffiti effect. Simply open a brick background on GIMP and put whatever text you want to have. Enhance the text by creating multiple layers and create a multi-dimensional image by creating contrast among those layers. Lowering brightness opposite layers and changin...

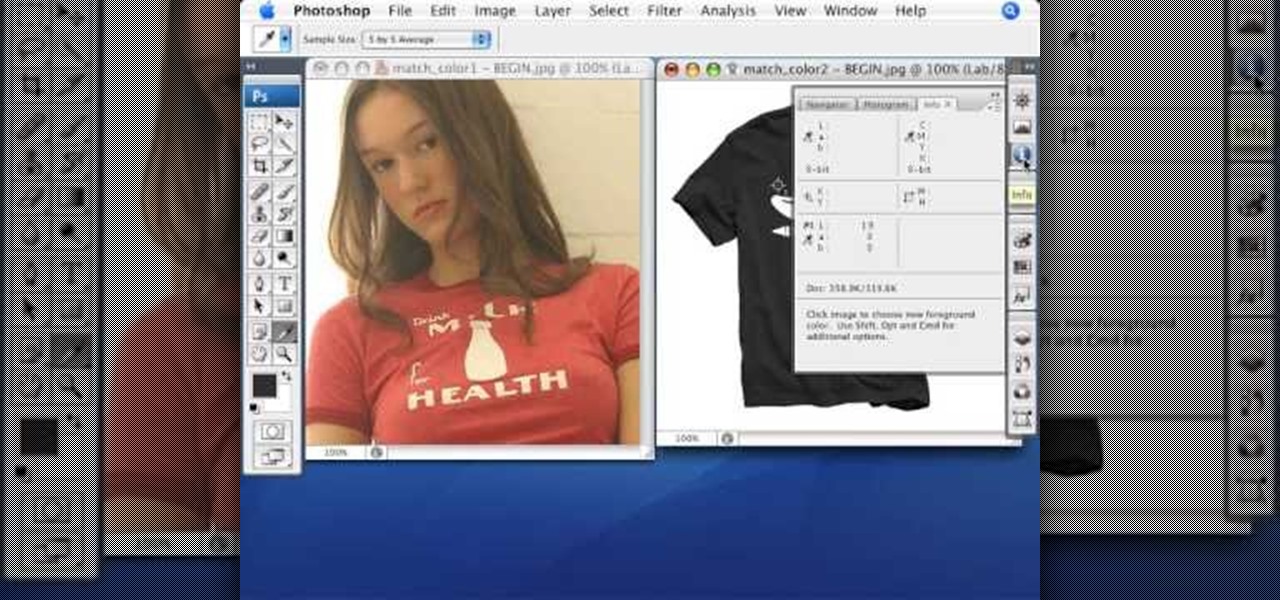
Match the color of objects on Photoshop. Take a picture of your self of one shirt that the shirt is on different color mean while choose the black tea shirt because it the traditionally one of the harder colors, change the image mode to the lab color for both images then use eyedropper tool and expose the info pallet select the neutral part of the image i.e. red. Hold down shift then we can see the icon changes then add contrast to it by hue saturation present in the layer pallet.

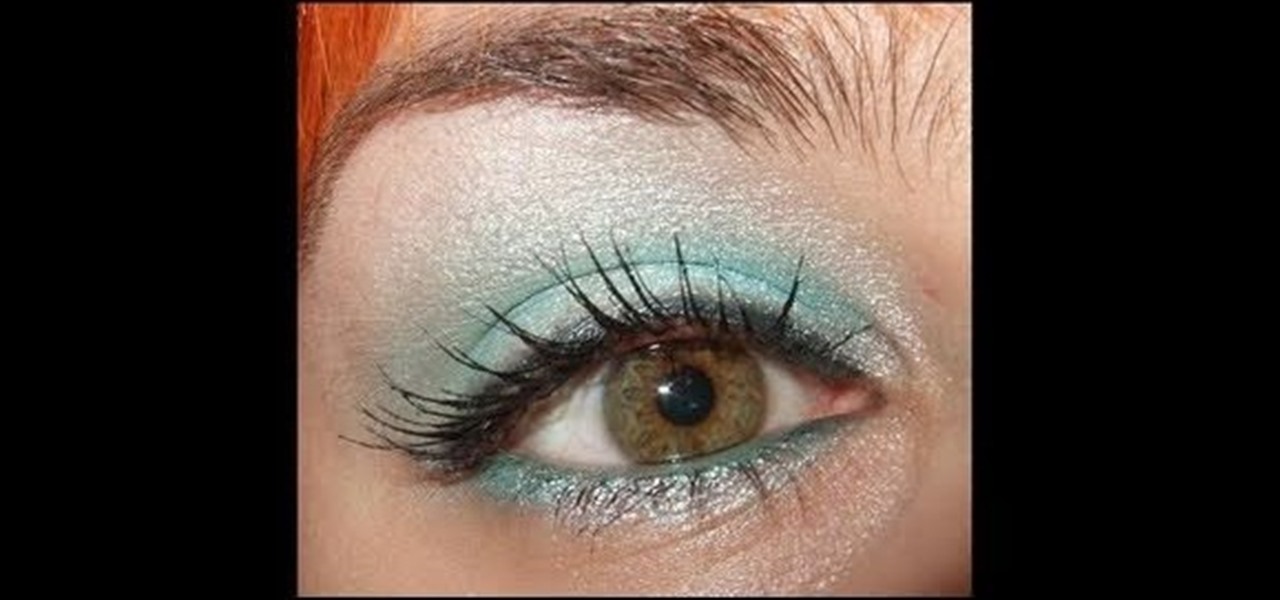
Hayley Williams is a rock chic with a soft side, as evidenced by the constant contrast between her disarming red hair and her romantic, soft makeup. While the girl amps things up when she's on the red carpet, for the most part she prefers light, shimmery colors to emphasize her pale porcelain skin.
