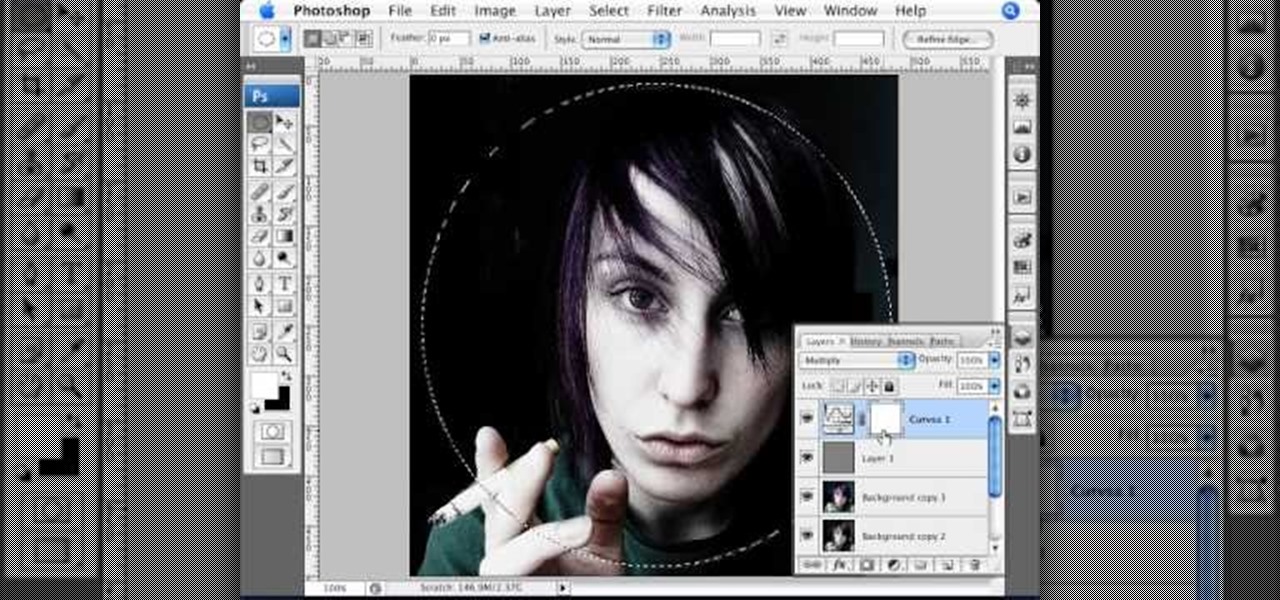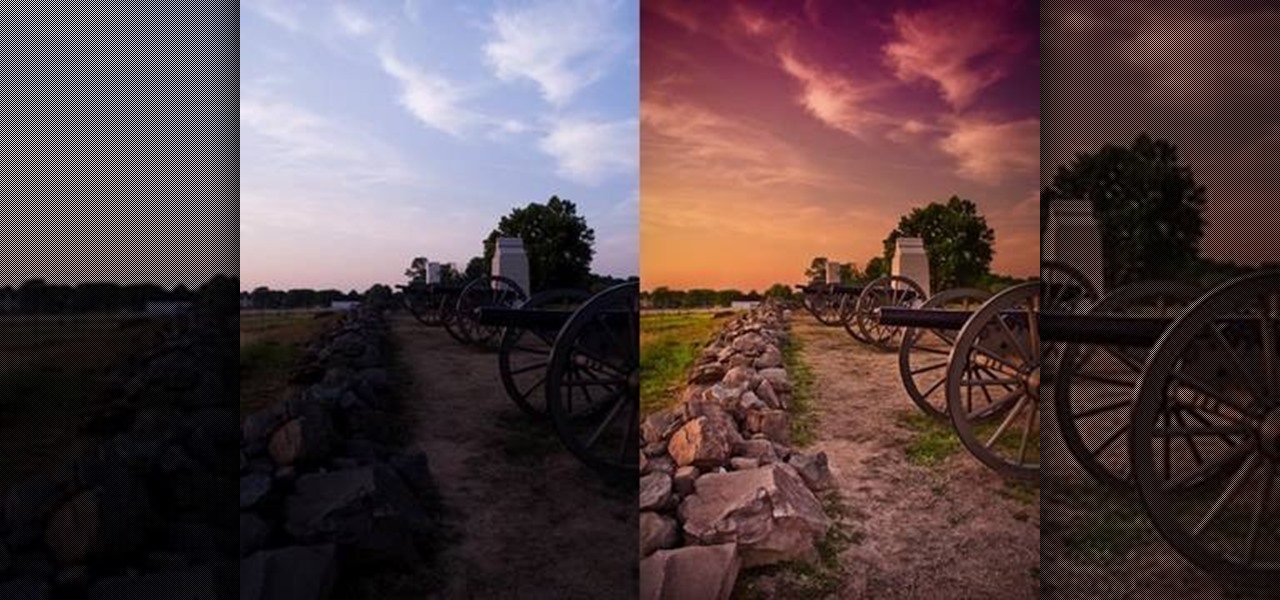
Color and contrast are two separate, yet still related, qualities of any image. With Photoshop, it's possible to adjust the color without touching the contrast, and vice versa. This tutorial by the King of Photoshop, Bert Monroy, walks you through how to do both separately.

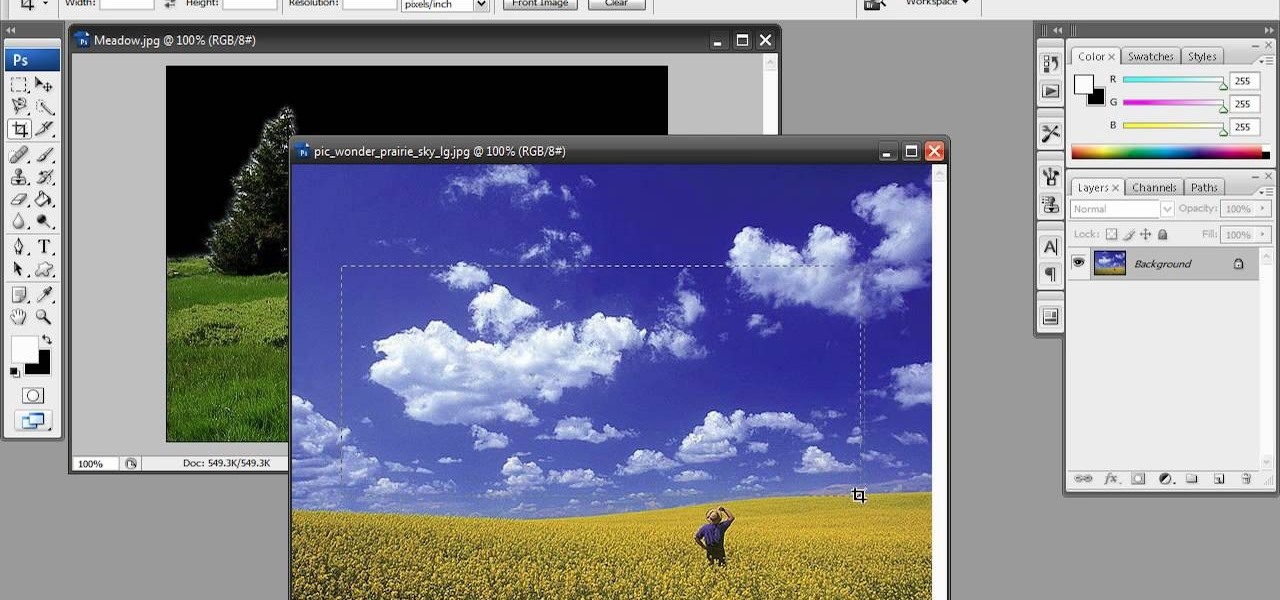
Have a beautiful photo that needs some help? In this video learn how to correct grass and sky color and contrast with a little revolutionary software program called Adobe Photoshop. Transforming brown/yellow grass to bright saturated grass and converting a dull sky to a bright blue wonderfully vivid sky with help take your photo from "just okay" to "superb".

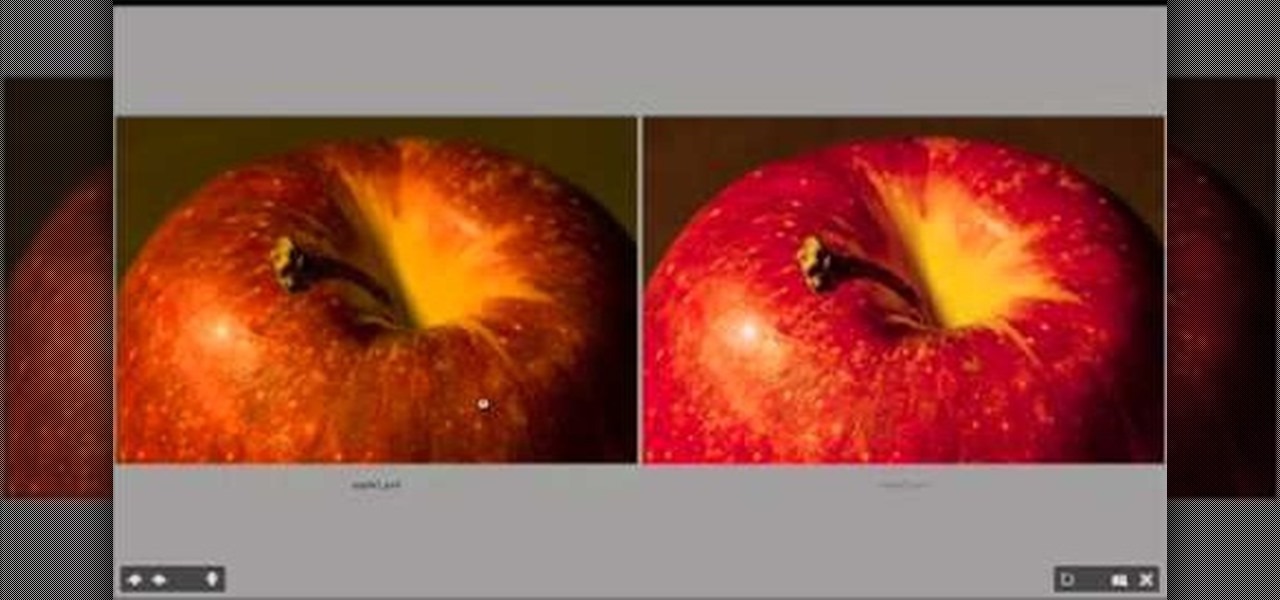
Oftentimes, a photo may not capture the true vibrancy of color in real life, but Photoshop can fix that. Photos with lots of color can be given even greater hue saturation by adding extreme contrast in Photoshop. By using multiple effects, including overlay blend modes and noise across multiple layers, a picture's color intensity can be made more bold with these techniques. By following the steps in this video, colors can be made more vibrant using extreme contrast with Photoshop software.

Watch this instructional drawing video to begin drawing forms using contrast. Contrast is only the concept of things being different from each other. Creating an interesting composition is all about drawing creating a happy imbalance of. Play with this drawing concept using color, shadow, and quantity of objects.

The personal computer is a strange and powerful entity, capable of bringing great joy. Just as often, you probably want to chuck the damn thing at the wall because it doesn't work right. If you want to pull a prank on a friend that will really upset them, messing with their computer is one of the best ways to do it. This hilarious video will show you how to do three great PC pranks quickly and easily, including changing the contrast on the monitor and pretending to edit websites using Javascr...

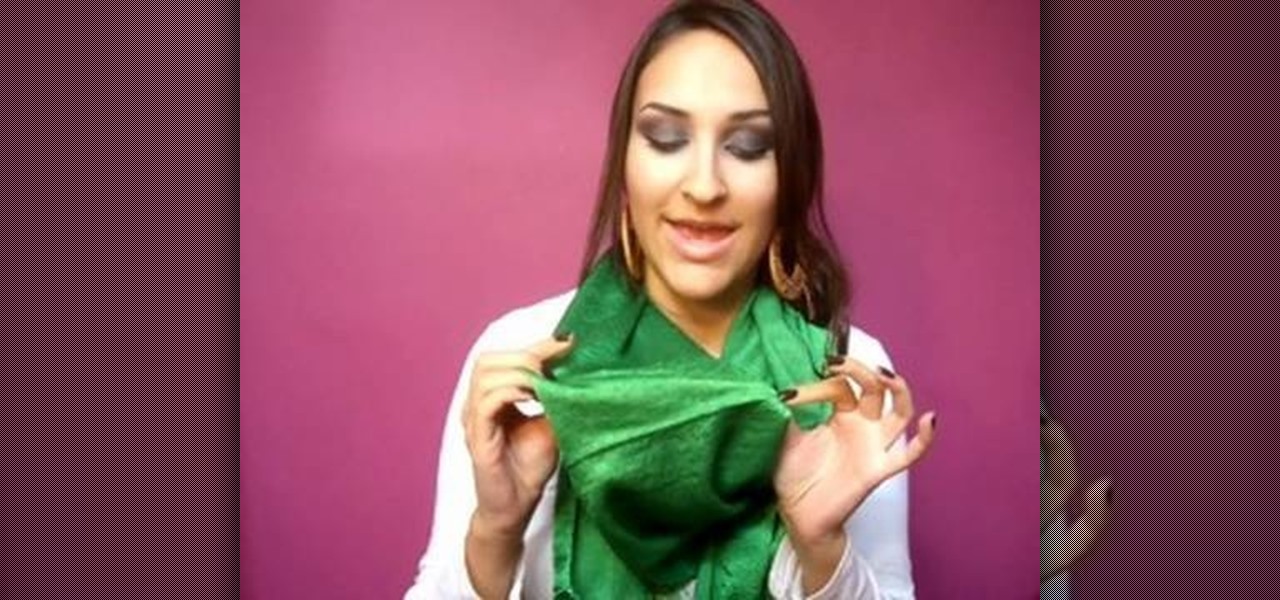
In this video, we learn how to wear a scarf by creating contrast and texture. A squared shaped scarf with contrasting patterns will look great with anything that you are wearing. To wear this, make it into a triangle, then tie the ends together around the back of the neck. Then, you can let the scarf hang down on the front to add a texture to your look. A solid color scarf is also great if you are wearing a simple top to add a splash of color. You can tie this around the neck one, then let th...

Mac OSX offers an easy solution to increasing the contrast of your display, and switching the screen from black on white to white on black. In the Universal Access section of System Preferences, under the large "Display" label, you will find a set of controls. Switching from black on white to white on black will invert the colors on the screen, making it easier to read for some people. There is a toggle to the right of that control which switches your display from color to grayscale. Below th...

In this tutorial, we learn how to enhance the color of your lips and eyes with GIMP. To change the eyes, use the ellipse tool to highlight each individual eye, then change the contrast of the eye as well as the color and highlights. Do this for both eyes, then save. To change the lips, use the lasso tool to highlight the outside and inside of the lips, then go to "select", "from path", and then change the color balance as you did on the eyes. Change it until it's the desired color you want, t...

Tutvid shows you how to add flare and dramatic color to your raw camera images (usually the format of a DSLR). In a step-by-step guide with narration, Tutvid takes you through the process of using CameraRaw (used as an extension of Photoshop but never really brings it in photoshop) to add desired colors to your picture. Pull up your raw file in CameraRaw, and press "Command" or "Ctrl + R" to open up the editing panel. With an example, he shows you how to bring out lights in underexposed (dark...

In this lesson, learn how to correct and enhance images with regard to exposure, contrast and color balance in Photoshop. The differences between exposure and contrast are discussed in detail along with tips on how to make less than perfect images look better.

If you have brown eyes then you know that colors like brown and gold are "safe" eyeshadow colors, meaning they look good no matter what (there's lots of brown and gold in our eyes, after all) and are neutral enough that you can wear them anywhere.

Color correction is a color adjustment you can take advantage of in Adobe Photoshop to alter the balance and contrast of color in a photo or other image. This tutorial shows you how you can take a shaded image and bring out the color and detail in your project.

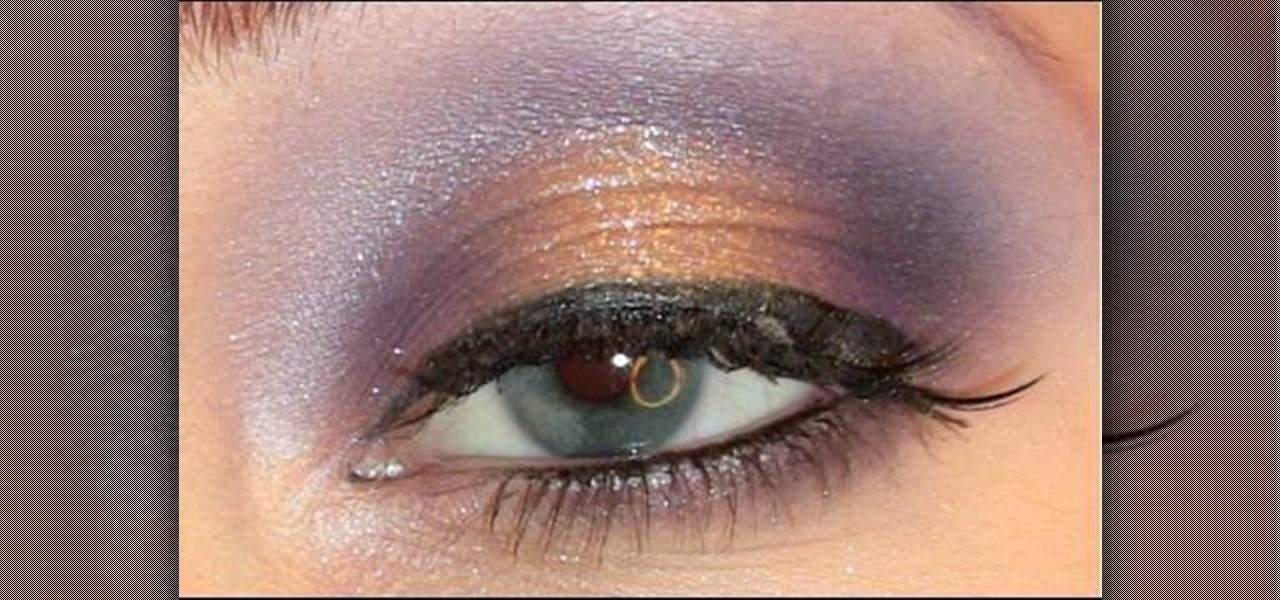
In this video, we learn how to use a Stila Jewel Palette to make a shimmery eye look. First, you will need to brush a nude color onto the lid, then grab a shimmer gray color and brush it onto the outer edge of the eye and into the inner corner of the eye. Next, grab a gold color and brush it onto the middle of the eye and nowhere else. Then, take the black color again and brush it into the crease of the eye and on the sides to create a contrast. After this, take the purple color and brush it ...

Need to convert a large number of images to rich, contrasty black & white using Photoshop? Whether you're new to Adobe's popular image editing software or simply looking to pick up a few new tips and tricks, you're sure to benefit from this free video tutorial from TutVids. For more information, including step-by-step instructions on how to batch convert color images to high-contrast black and white, watch this graphic designer's guide.

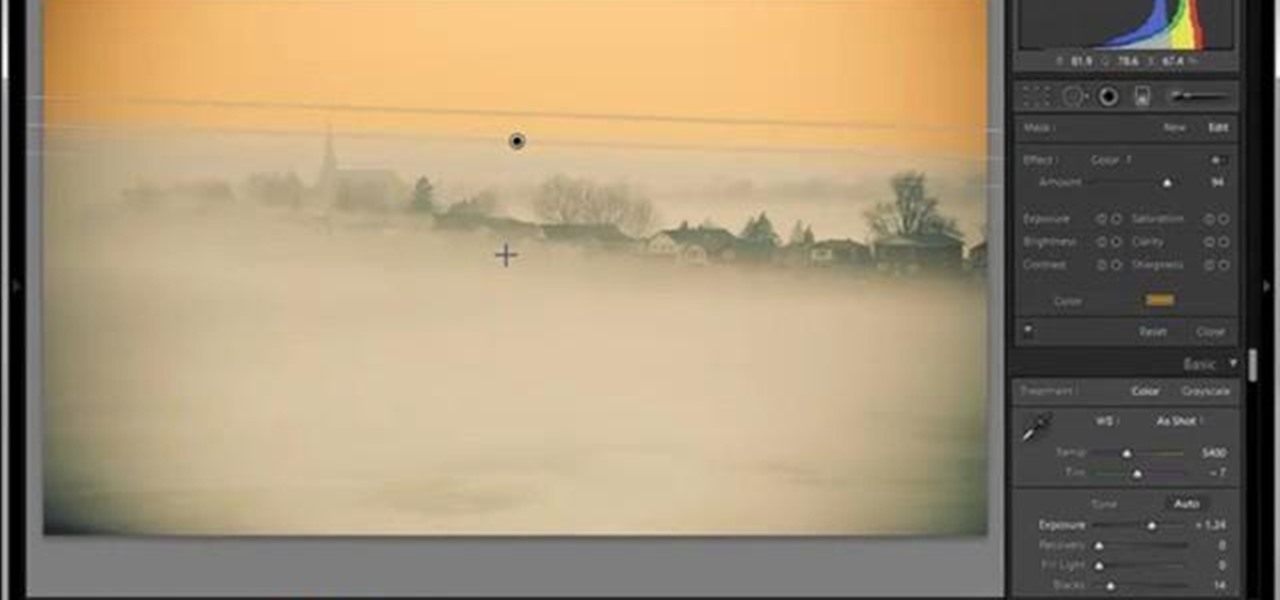
In this tutorial, Yanik Chauvin teaches us how to create an old-style looking photo starting from a grayish, underexposed one, using the software "Lightroom". He starts by creating a virtual copy of it, and then he adds a Camera Calibration preset named Camera Landscape and increases the exposure. After that, he crops the image removing the blank parts of the photo, and adjusts Contrast, Blacks and Clarity to strength the image borders.

Maximize the display capabilities of your LCD computer monitor! Set up your contrast just how you want it by using test patterns, adjust the backlight, adjust the color display for over- or under- saturated colors, and then play with your monitor presets.

In this video tutorial you will learn to use the Photoshop extract filter to extract images from the background. The trick works best for erasing mostly solid-colored, contrasting backgrounds. Photoshop also does a nice job of getting rid of the color halo problem – but you may have to do some additional touch-up work at the end.

Windows 7 provides the high contrast display feature for the monitors. To use this feature go to the desktop. Right click and select 'Personalize' from the menu. This brings up the Personalization window of the 'Appearance and Personalization' option of the Control Panel. Here you can change the visuals and sounds of your computer. Scroll down in that window till you find high contrast themes. Choose one of those themes. When you select them Windows automatically applies the theme to your com...

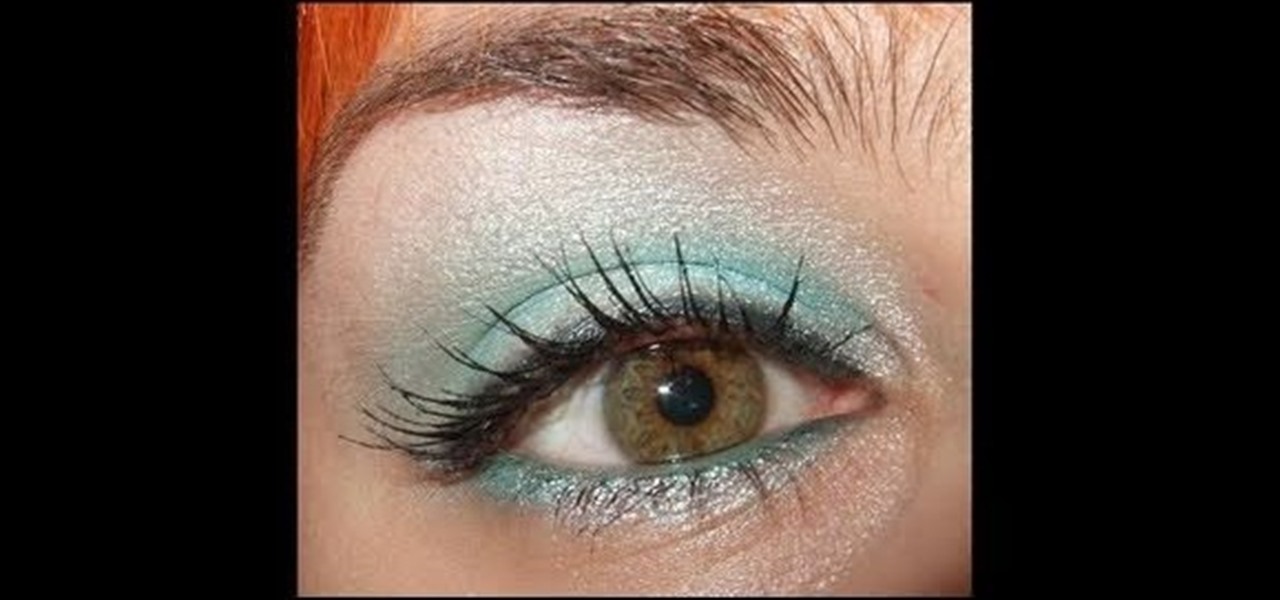
Hayley Williams is a rock chic with a soft side, as evidenced by the constant contrast between her disarming red hair and her romantic, soft makeup. While the girl amps things up when she's on the red carpet, for the most part she prefers light, shimmery colors to emphasize her pale porcelain skin.

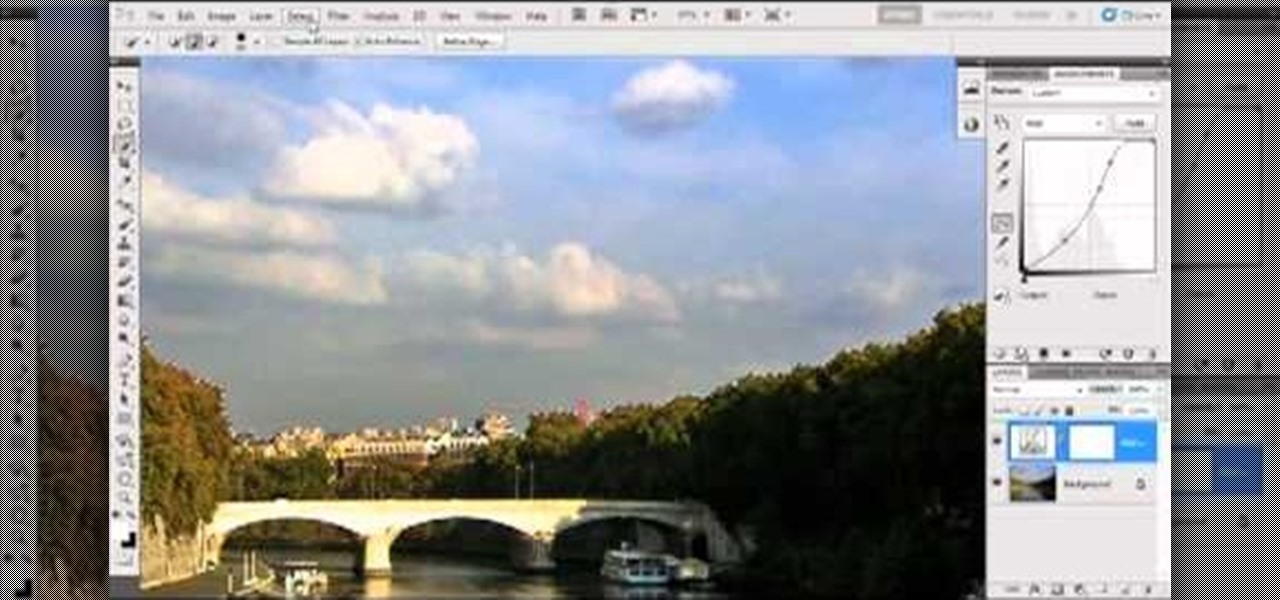
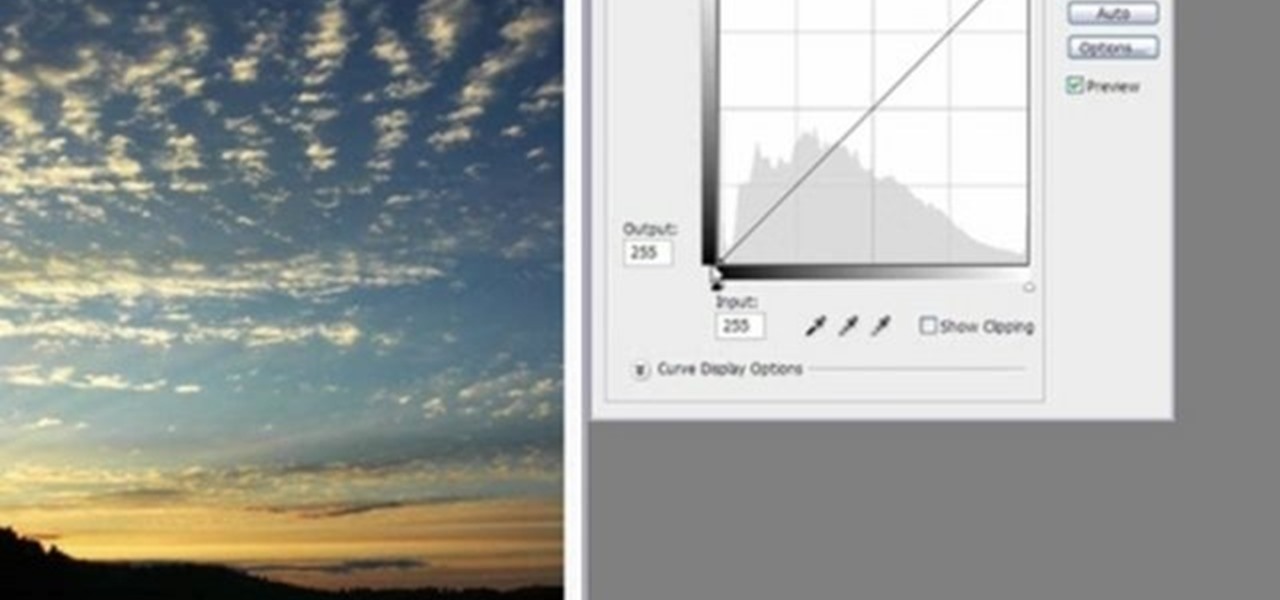
Bring out the colors in your clouds and sky images - or any other picture you want to retouch. This short tutorial shows you how to use the gradient tool in Adobe Photoshop and s-curves to adjust the color and contrast in your image.

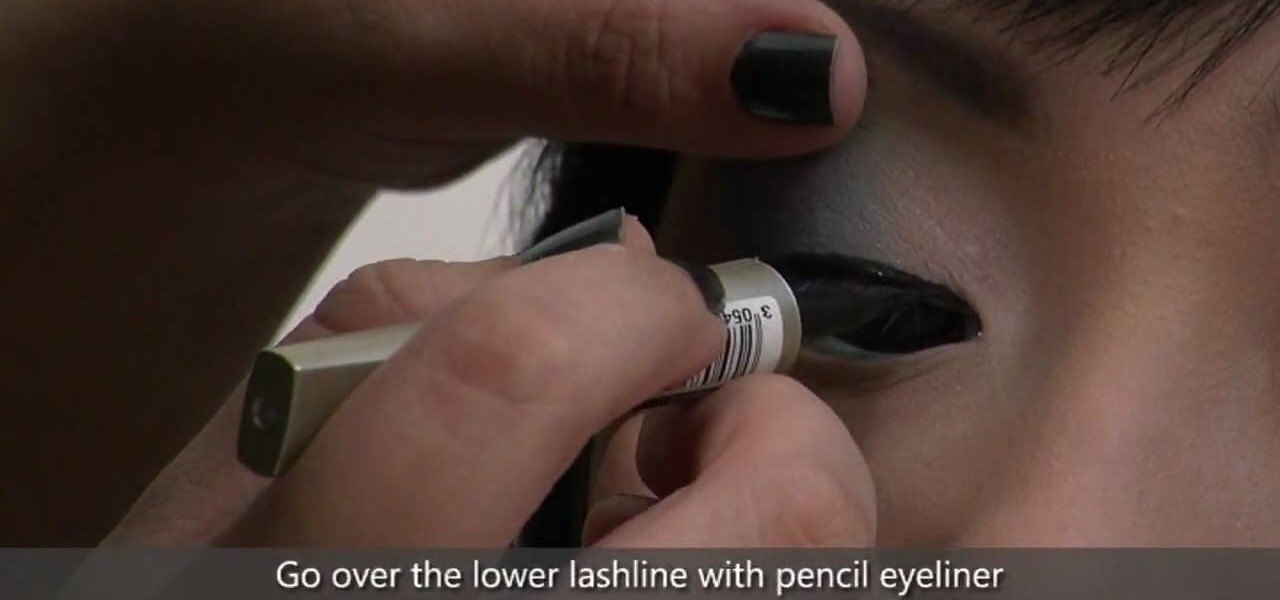
In this tutorial, we learn how to create a burnt burgundy contoured face and eye look. First, apply a primer to the entire eyelid as a base. Next, apply a shimmer pink eyeshadow with an eyeshadow brush. Next, line the lash line with black eyeliner, and then blend a burnt burgundy eyeshadow onto the outside corner of the eyelids. Circle the brush so the colors all blend into one but will still have the darker color on the outside. Next, take the same burnt burgundy color and pant it onto the b...

Taking the negative of an image in photography brings out its major contours and creates a powerful graphic contrast between white and black. The same sort of effect happens when you construct a card using only the "negatives" and no other colors.

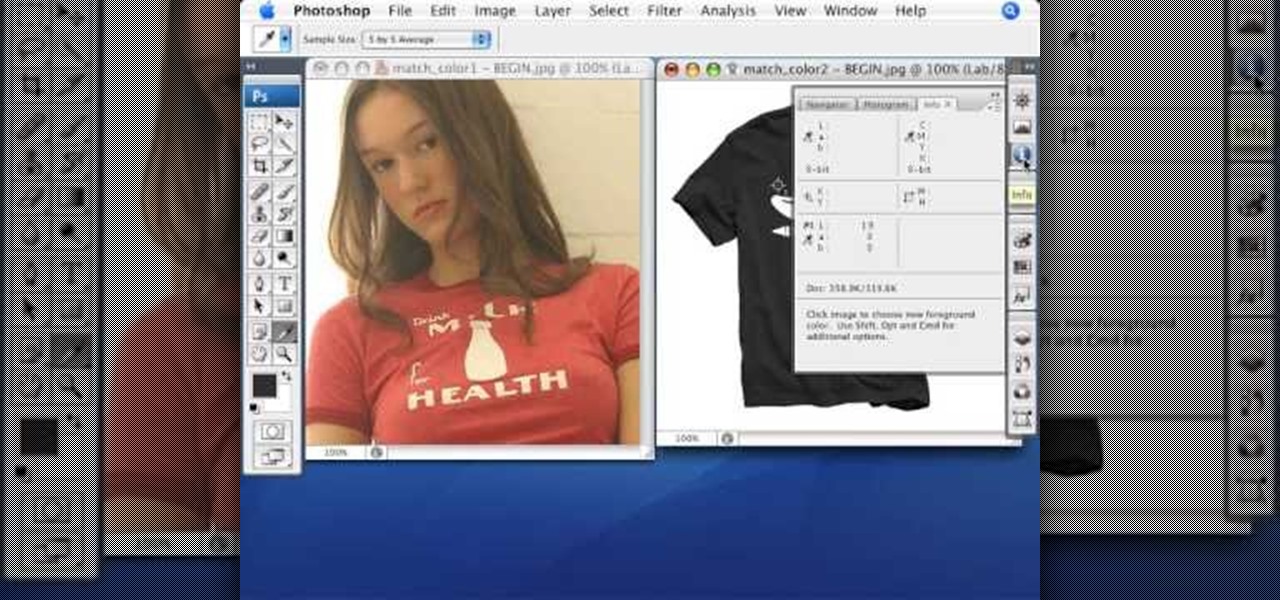
Match the color of objects on Photoshop. Take a picture of your self of one shirt that the shirt is on different color mean while choose the black tea shirt because it the traditionally one of the harder colors, change the image mode to the lab color for both images then use eyedropper tool and expose the info pallet select the neutral part of the image i.e. red. Hold down shift then we can see the icon changes then add contrast to it by hue saturation present in the layer pallet.

Ditch the needle and thread, enjoy a fun family project, and give your little crusader the ultimate crime-fighting tool. Learn how to make a no-sew superhero cape.

Brighten skies with Adobe Photoshop. Whether you're new to Adobe's popular image editing software or simply looking to pick up a few new tips and tricks, you're sure to benefit from this free video tutorial, which offers a step-by-step guide to enhancing dull skies using Photoshop's various color and contrast adjustment tools.

In this video, we learn how to change the color of clothing in Photoshop. First, click "enhance", then "adjust color", then "saturation". Now place a magnetic lasso around the shirt color you want to change. You can now use a slider to go through all the different colors, and pick that one that you want to use in the picture. Play around with the saturation, hue, and brightness to change what the color looks like in the picture. If you want to add more contrast, it will look more real like it...

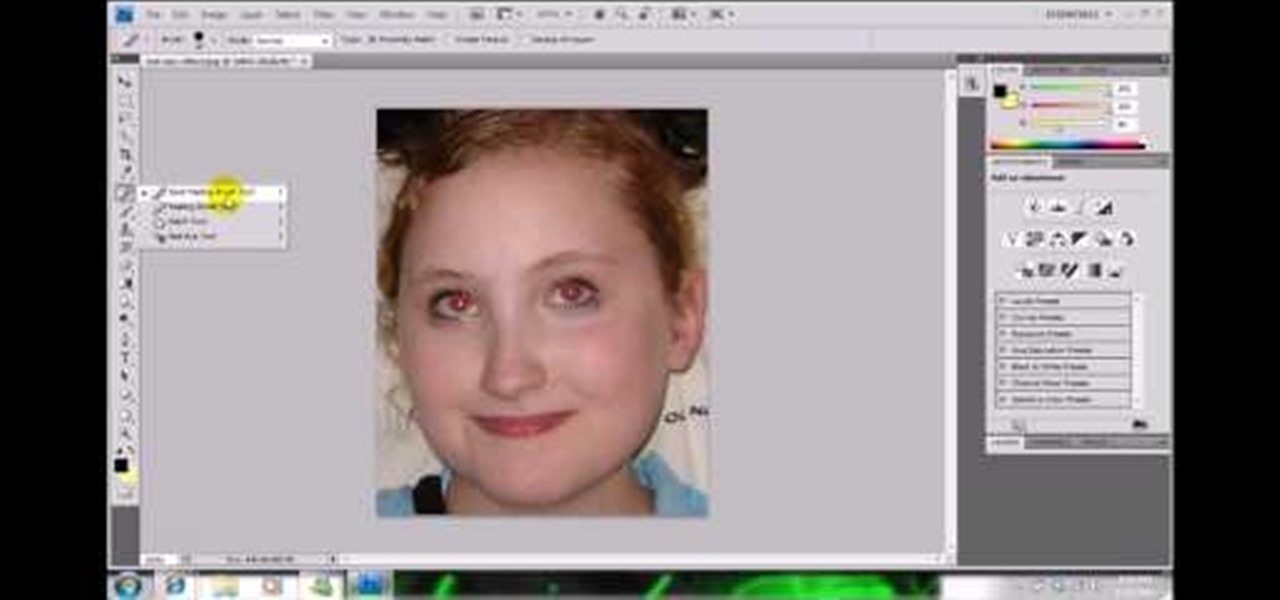
In this video, we learn how to get rid of red eyes while using Photoshop. Make sure you have Photoshop open with your picture up and you're ready to go. First, on the left hand side you will find a "healing brush" tool (which is 7 tools down from the top), click on that and then click "red eye tool". Next, you will click on each of the red eyes in your photo. After this, it will change the color of your red eye to the normal color. If the photo needs changed, you can also change the contrast ...

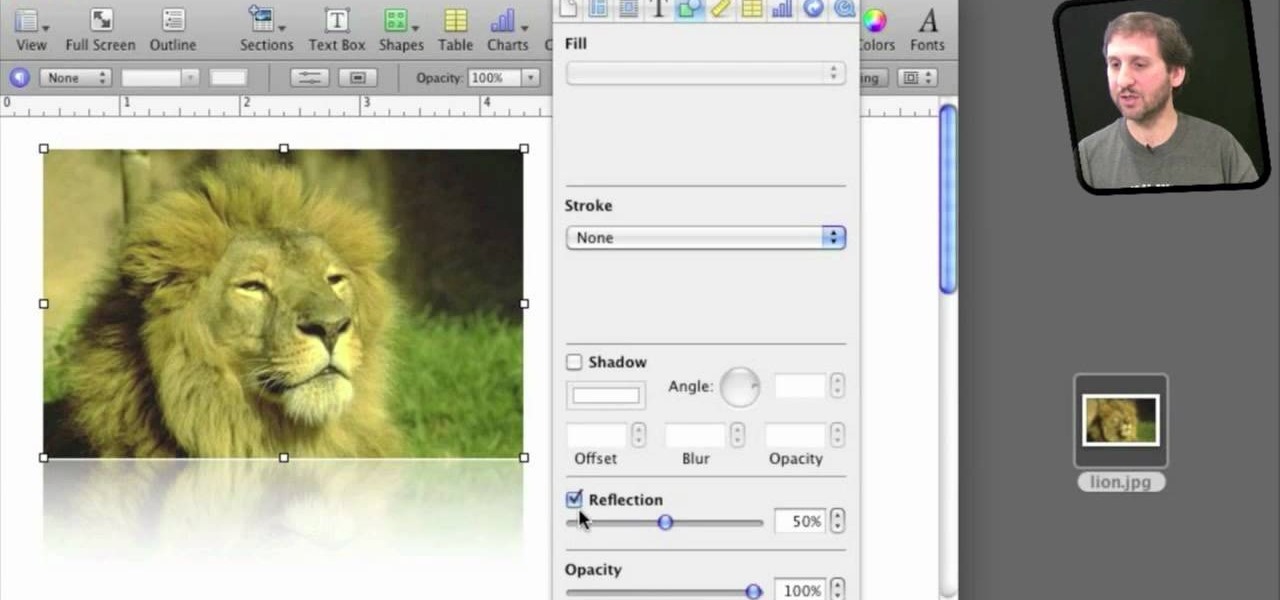
In iWork documents and pages, there's a lot of things you can do with external images. You can import them and manipulate them in various ways. These images can be resized, scaled, rotated and cropped. You can also make color adjustments, brightness, contrast, adjust image colors and place them inside of shape masks.

Watch this how to video to learn how to make chocolate dipped mini pretzel sticks. Dip pretzels in white or dark chocolate, or add a professional touch to your treats by placing a contrasting color of melted chocolate in a parchment bag with a tight point. Cut a small hole at the end. Stripe dipped pretzels with the chocolate in the parchment bag. Stripe with additional color if desired.

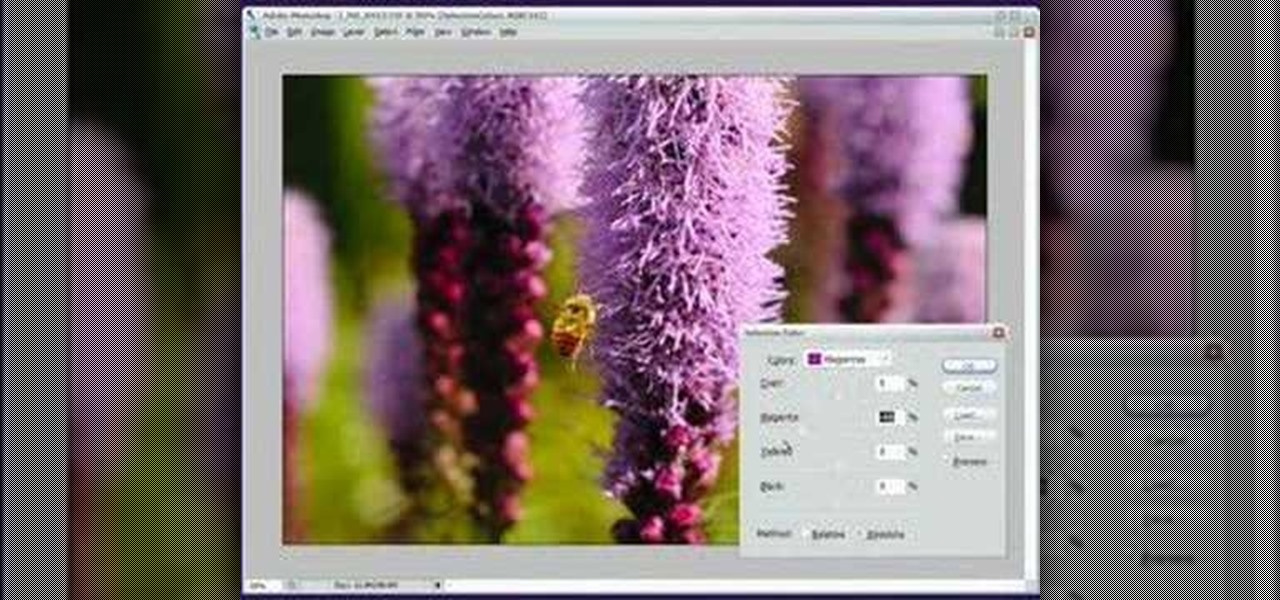
This is a tutorial that (tries to) demonstrate the power of the Selective Color dialogue in Photoshop. This video uses the dialogue on absolute instead of relative, but it works out anyway. For better results use relative.

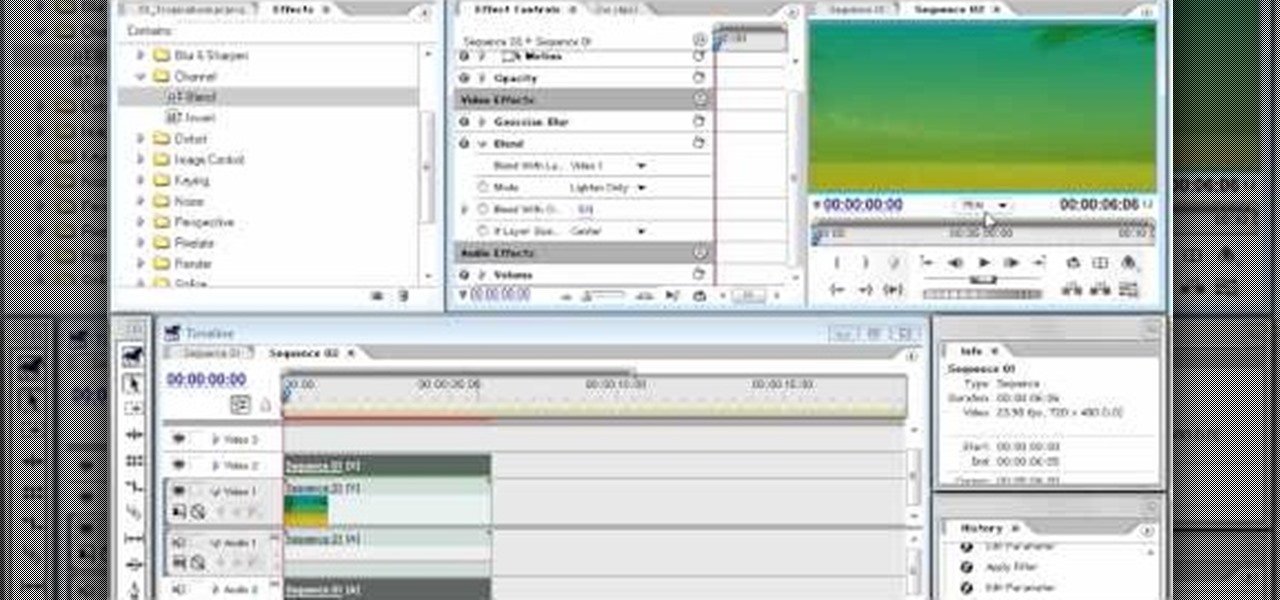
You might think that an idyllic shot like the one of the Bahamas in the thumbnail for this video doesn't need any modification to make it look tropical. You would be wrong! This video will teach you how to use Adobe Premiere Pro to give a tropical photo a more tropical look by adjusting the colors, the brightness and contrast.

Yanik Chauvin shows you how to do basic curve manipulations in both Photoshop and Lightroom. The curves are the simple adjustments for changing contrast, exposure, and color curves.

Sometimes we need to create grayscale images for better contrast effect in our designs. In this Photoshop tutorial you will learn to convert a color image to grayscale mode. You will also be introduced to the concept of channels.

In this video, we learn how to make a floral arrangement. Start off with the biggest flower you are going to use, and build around that. If you have a white flower, pick a bright colored one to go next to it. Remember to use different flowers and colors to mix and match and make beautiful bouquets. You will also want to remove the bottoms of the stems and tuck smaller flowers in between the bigger ones. Creating color contrasts can help make an eye-popping floral arrangement. You can start bu...

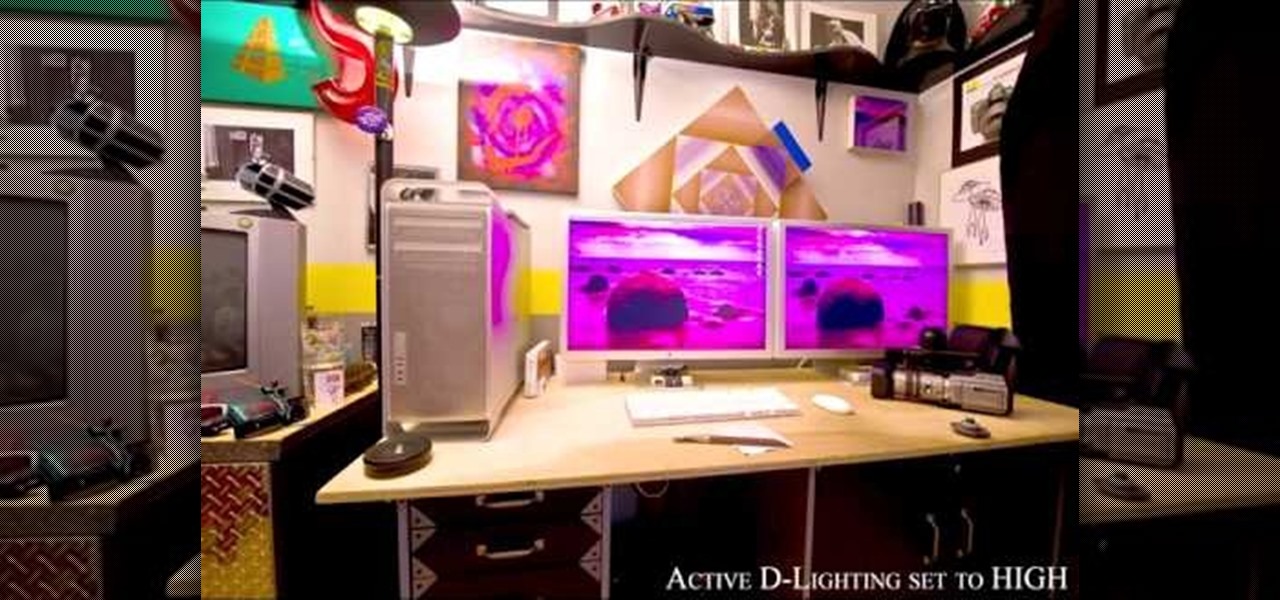
This instructional photography video explains step-by-step the features of active D-Lighting: what it can do and how it affects your images. Active D-Lighting allows you to photograph in various lighting situations for more neutral contrast results. Here is a basic explanation of the settings on a professional Nikon photo camera:

Make the most of your height with these wardrobe tips. You Will Need

It's difficult to find that perfect lighting when you're taking a photo. You won't always have studio lights — or at all — and you're not always out during golden hour. So how can you combat lighting issues without waiting around for a well-lit condition? Do it in post. Adobe's Photoshop Express makes it easy to fix and even customize the lighting in your photos using the right adjustments.

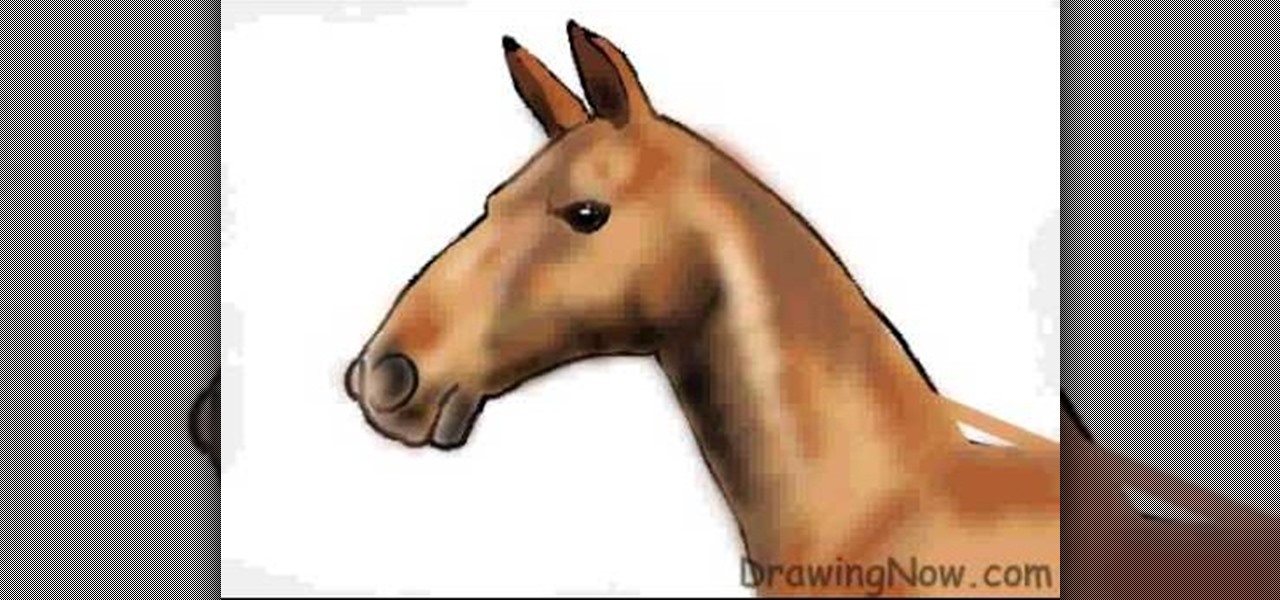
In this tutorial, we learn how to draw the head of a horse. Start out by drawing the outline of the horse's head and the neck. Then, draw in the ears and the details for the nose and the face. Next, color in the horse and then add shading along the sides of the horse and fill in the features with black. Use different colors of brown to show a contrast between the colors on the horse. After this, you will use small lines to create hair on the horse, then add in additional features. Clean up an...

In this tutorial, we learn how to draw an eye in GIMP. First, open up the GIMP software and set up a circle, then color it dark blue. Next, add in light to the middle of the eye, so it looks like a light is shining onto it. After this, make a small circle in the middle of the eye, coloring it black. When done with this, create a new layer and then add brightness to the pupil of the eye. Continue to play around with the contrast and colors of the eye, so it looks more realistic and life like. ...

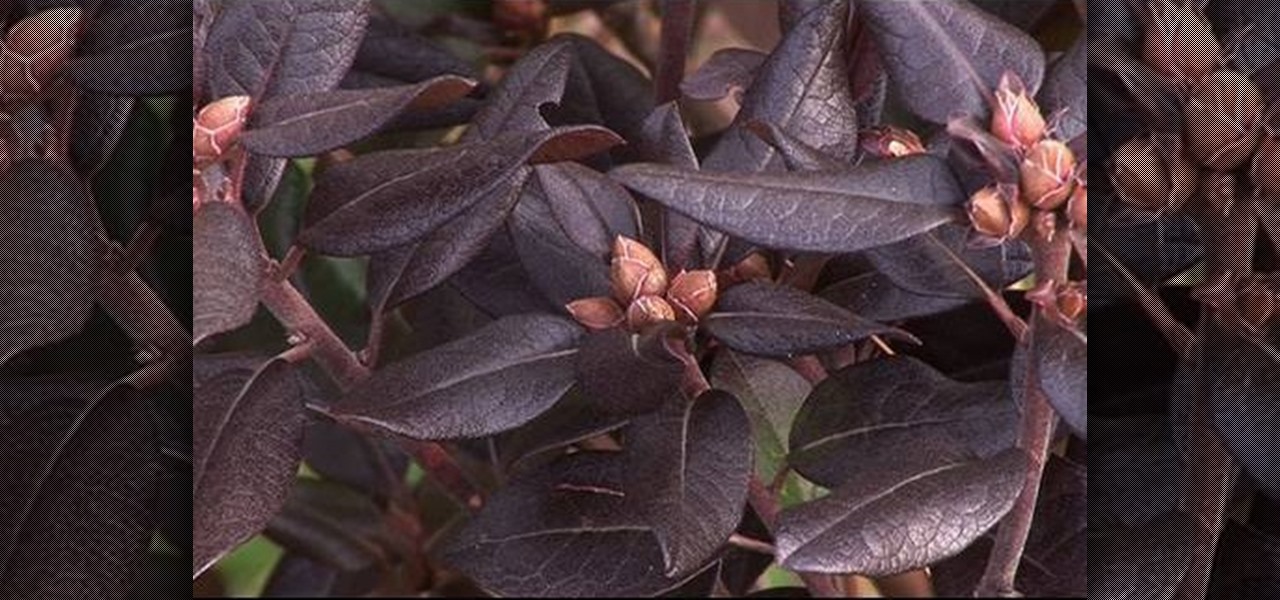
David Epstein shows a simple and yet creative way to add contrast to any garden with bare or no interest areas. To add a little extra winter color, David introduces three varieties of the "Small leaf Rhododendron" including; "Midnight Ruby", "Westons Mayflower" and "Dora Ainateis". Although these smaller leafed varieties require a little more sunlight, they do however produce flowers in Spring and hold their leaves all winter long. So, for a continuation of color throughout winter, be sure to...
