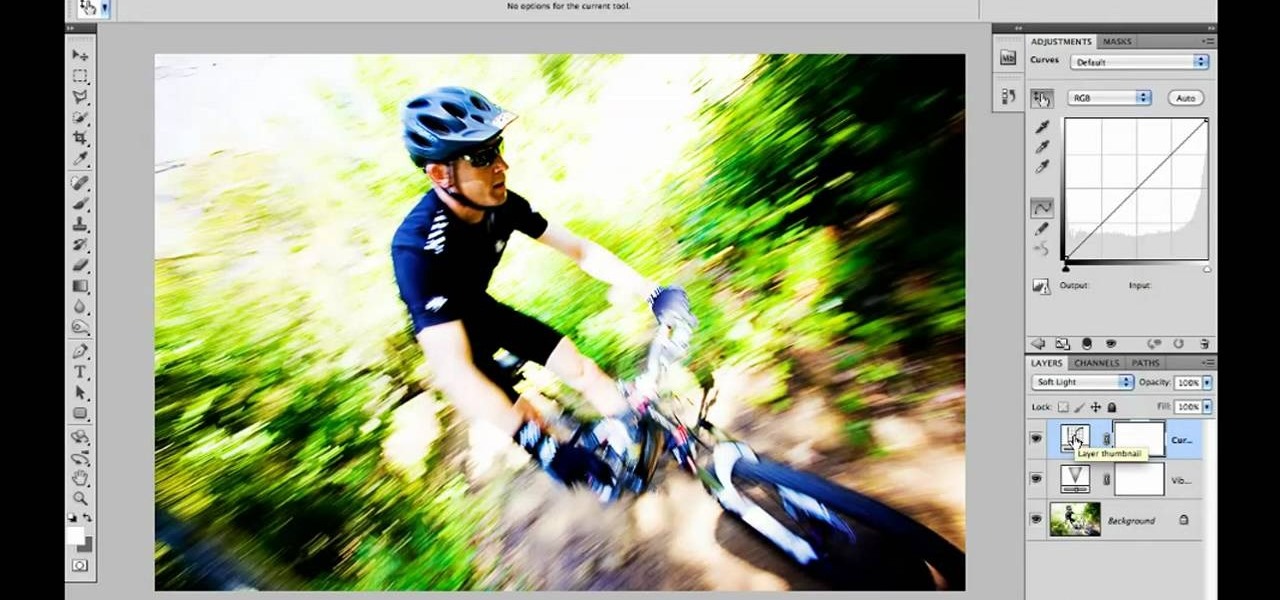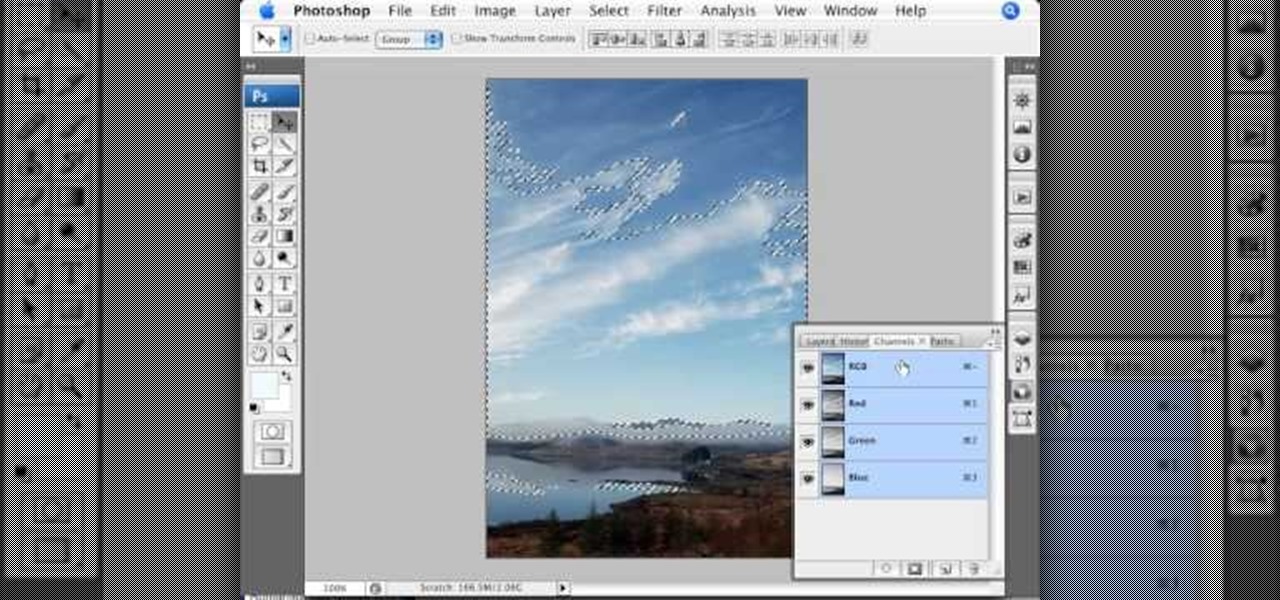
This video is about using a luminosity mask in Photoshop. The luminosity mask is used to enhance the color and contrast in photos that lack each of these. The color is enhanced or punched up. Choose the manipulation tool: channel and RGB. To choose RGB, touch control and then select RGB. Select the 100 % white or light parts of the photo, it will not select the darker or black images. Copy the light parts of the image by using control J. Choose to copy the lightest parts by selecting overlay ...

In this tutorial, we learn how to use color, texture, and style in your home. When choosing a paint color for your walls, first make sure the color is something you don't mind seeing everyday. After this, choose furniture that has different textures on it. Use a combination of different flooring materials to create contrast in each of the rooms. Use plants and paintings for decoration, but have them in popping colors to make the room come together. Use area rugs on floors, this can bring the ...
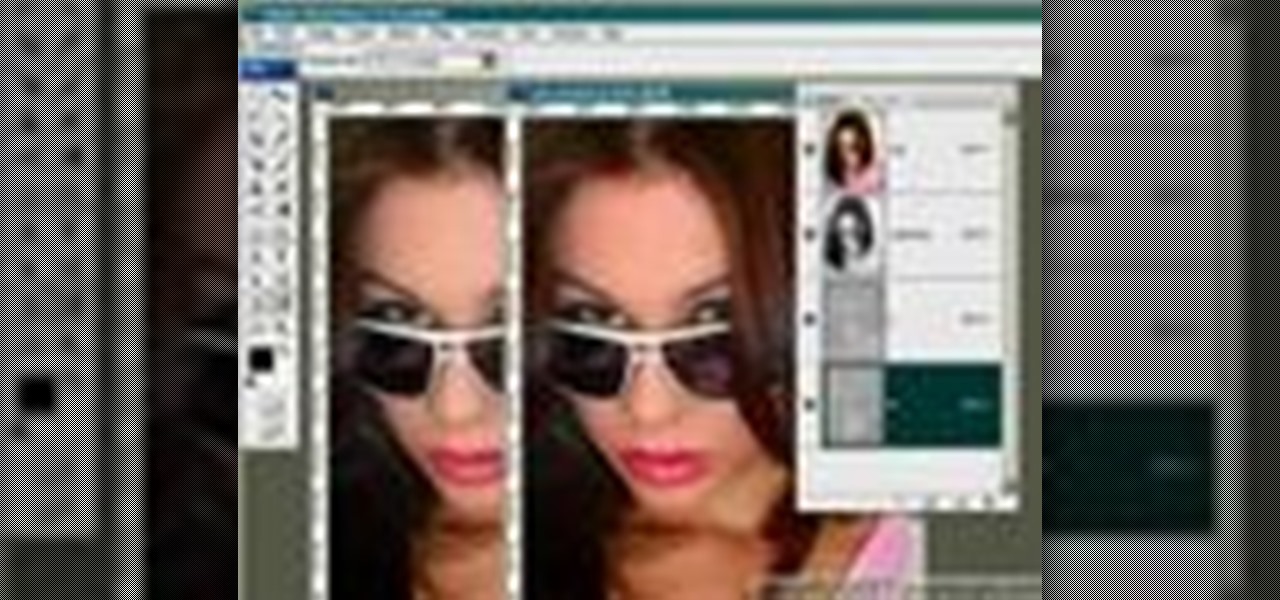
This Adobe Photoshop CS3 tutorial teaches you how perform slight photo retouching to supersaturate a photo without the distortion and bleeding. This adds a slight but noticeable saturated look of a photo which enhances the color quality. First the graphic artist adjusts the saturation. Then he creates a version copy using the lab mode versus the RGB mode. He then adjusts the contrast of the Lab mode image. Once you return the photo back to the RGB mode, you can continue altering the photo.
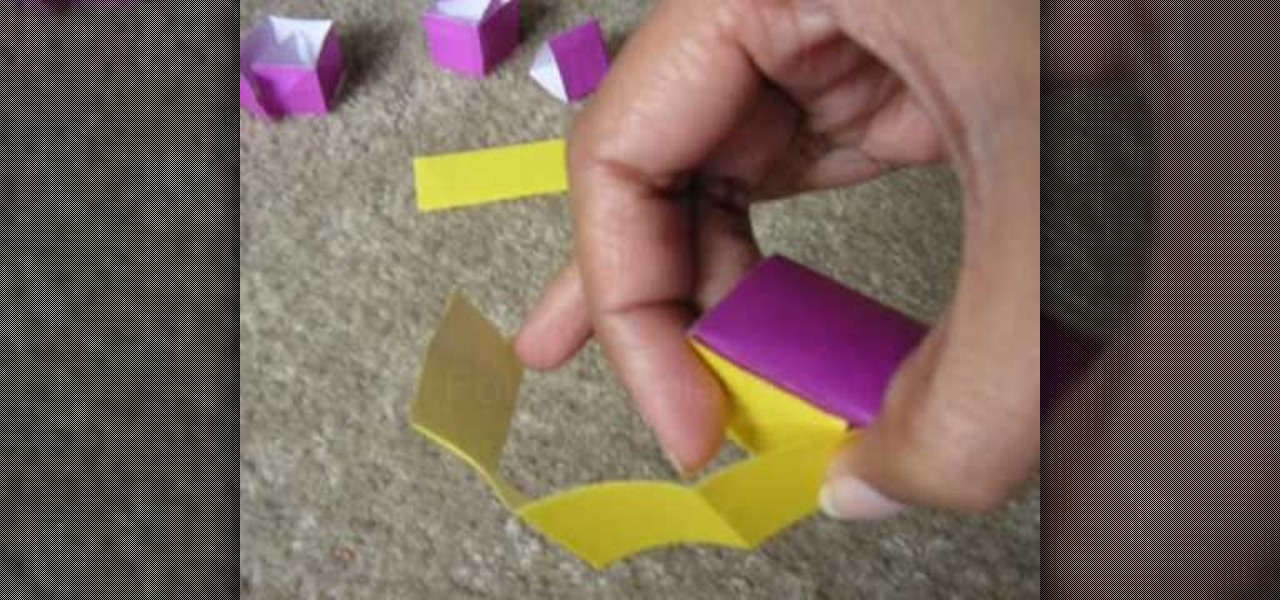
This video explains how to make an Origami Icosahedron (designed by Heinz Strobl) using 50 strips of paper. You need 20 strips of a single color for the triangles and 30 of a contrasting color to connect the triangles.
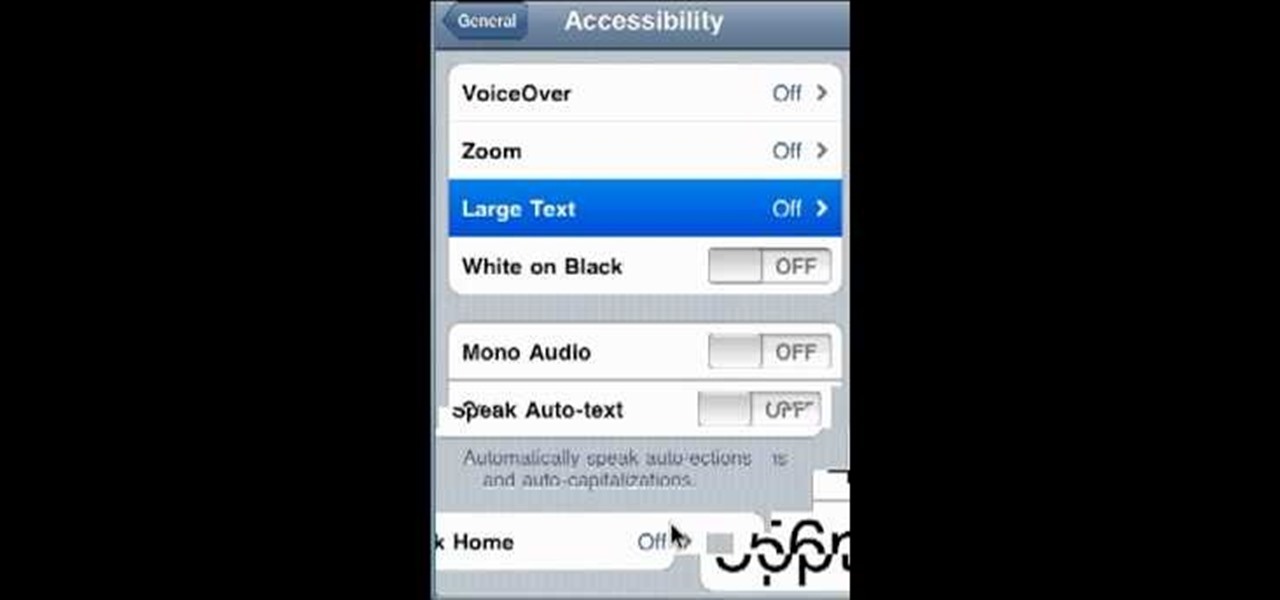
Much like Mac OS X computers, Apple iOS mobile devices like the iPhone and iPad support high-contrast white-on-black text for those with visual impairments. In this video clip, you'll learn how to turn it on and use it on your own iOS mobile device.

This clip presents a general introduction to the Sony Vegas Pro 8 brightness and contrast filter. Whether you're completely new to Sony's popular nonlinear editor (NLE) or are a seasoned digital video professional simply looking to pick up a few new tips and tricks, you're sure to be well served by this free video software tutorial. For more information, including detailed, step-by-step instructions, take a look.

Clicks are made on "Image",then "Adjustments", followed by "Brightness/Contrast" ; contrast is set to 30 and brightness is set to 60 to add more light to the picture. "Adjustment", "Variations" are clicked in that order and both yellow and red are increased. "Filter", "Render", "Lightening Effects" are chosen in that order and a new window appears; within which the style is set to "Soft Omni". The brightness is decreased ;similar to the way it was increased, and contrast is increased to 60. T...
Here is a simple trick you can play on your friends by pressing only 3 keys. Set Windows to High Contrast mode and ugly up someone's desktop.
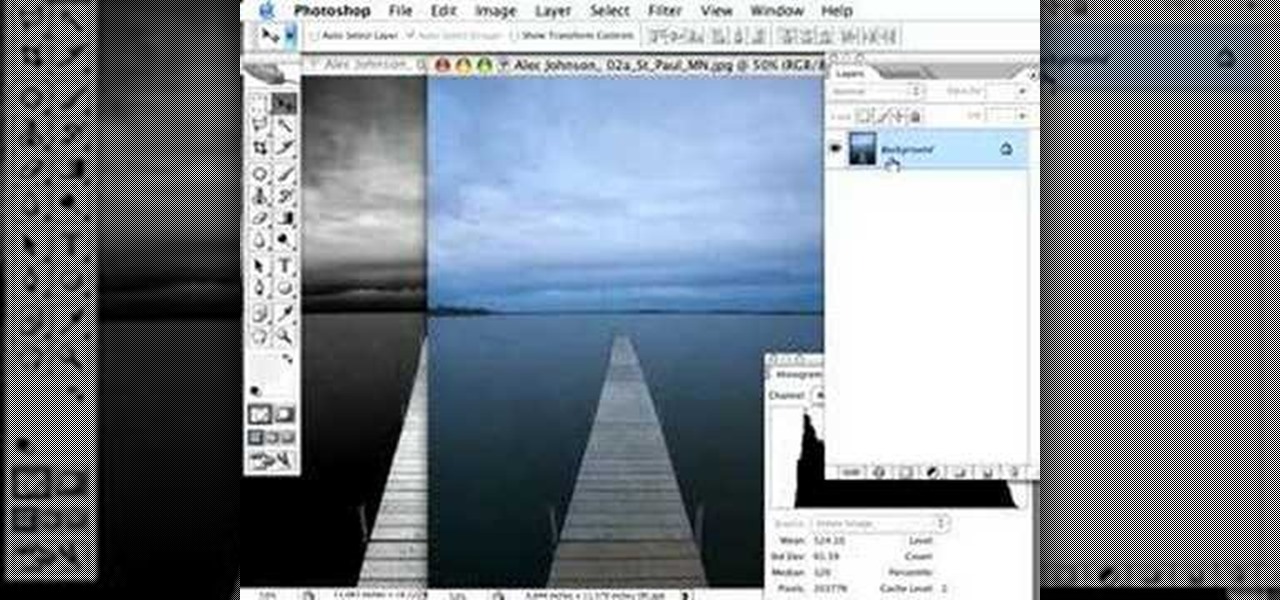
Using a series of submitted images as guides, this video tutorial looks at creating high contrast black & white images as a vehicle of communicating subject relationships. Technically, you will learn to create adjustment layers. Learn also how to use levels to adjust the tones of the image.
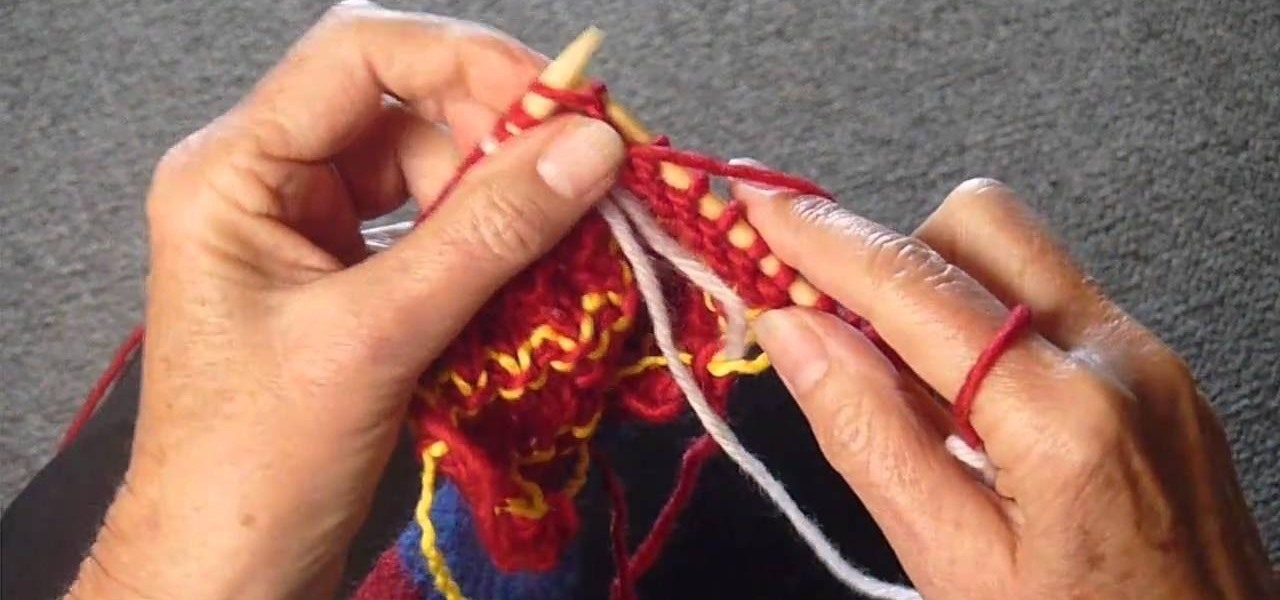
Valentine's Day is near, and Judy Topaz has the perfect project for you… a knitted heart. If you want to add a little bit of sweetness to your scarf, sweater or other knitting project, then this knitted heart will surely do the trick. Just make sure to choose a good yarn for good color contrast. Watch all four parts of this comprehensive Valentine's Day knitted heart!
Want to grab some great shots at your friend or family member's wedding? Create a glowing, diffused, soft focus wedding photo effect through the power of Adobe Photoshop CS4. Add a whole lot of "mood" to an image by softening and increasing contrast, that also features a vignette around the focal point of your choosing. The beauty of this technique is that by using adjustment layers you can have full control over the final effect's strength and color. Create the perfect wedding photo and give...
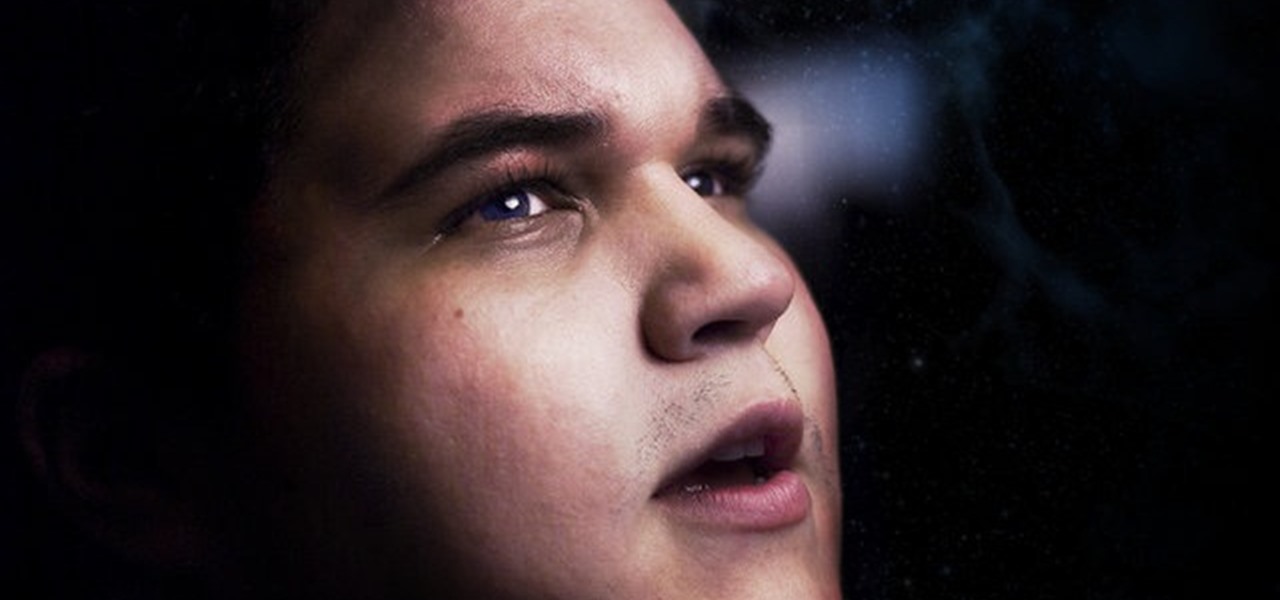
This video focuses on dramatic portraits in Adobe Photoshop. Create a dramatic-looking portrait taking a picture that you already have, maybe something that's in an interesting pose, in Photoshop using lighting effects to manipulate the way it looks, making it unworldly and stellar.
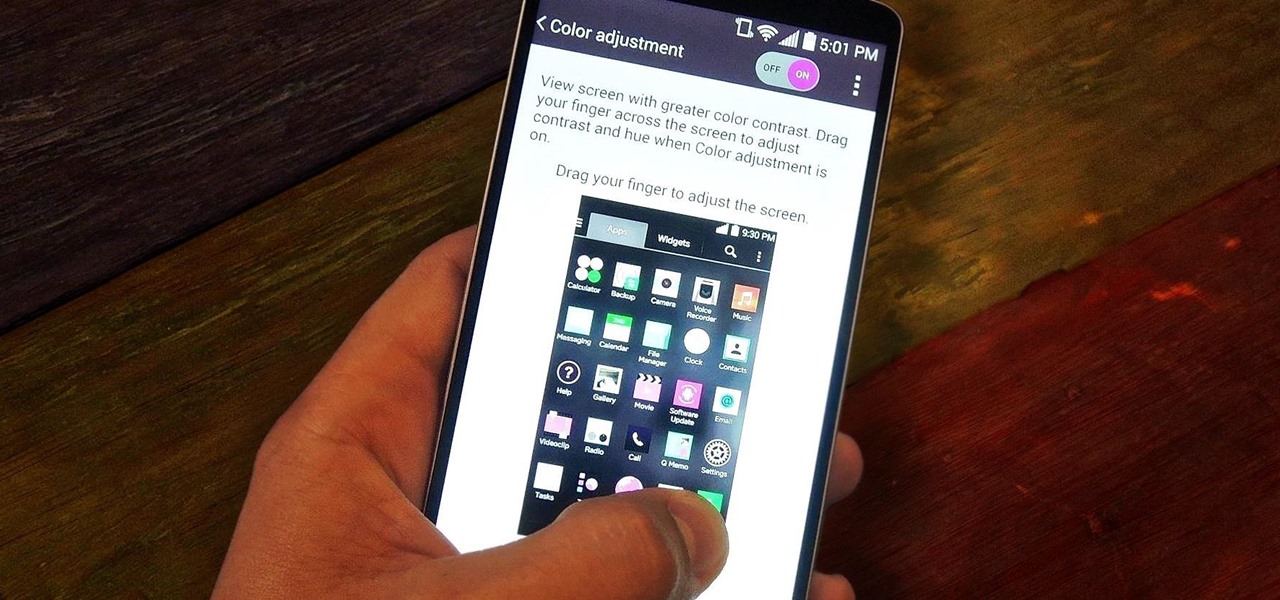
The first thing you probably noticed after turning on your LG G3 for the first time was its gorgeous Quad HD display. The G3 is the first device to offer the soon-to-be standard QHD screen, and it's a beauty. That being said, the colors can look flat and dull, especially when compared to my previous device, the Galaxy S4.
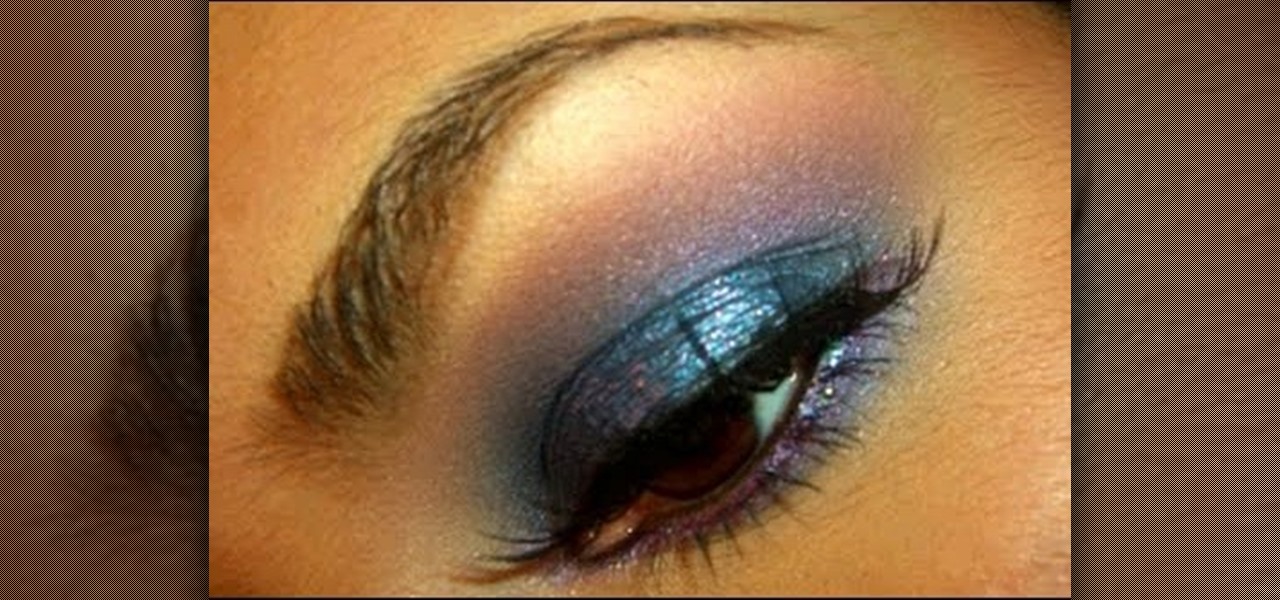
Though it may not seem like it, blue eye makeup is one of the most universally flattering shades out there. We're not talking robin's egg blue or any of the lighter shades of blue; rather, we're thinking a deep, dark navy or an electric, sparkly teal.
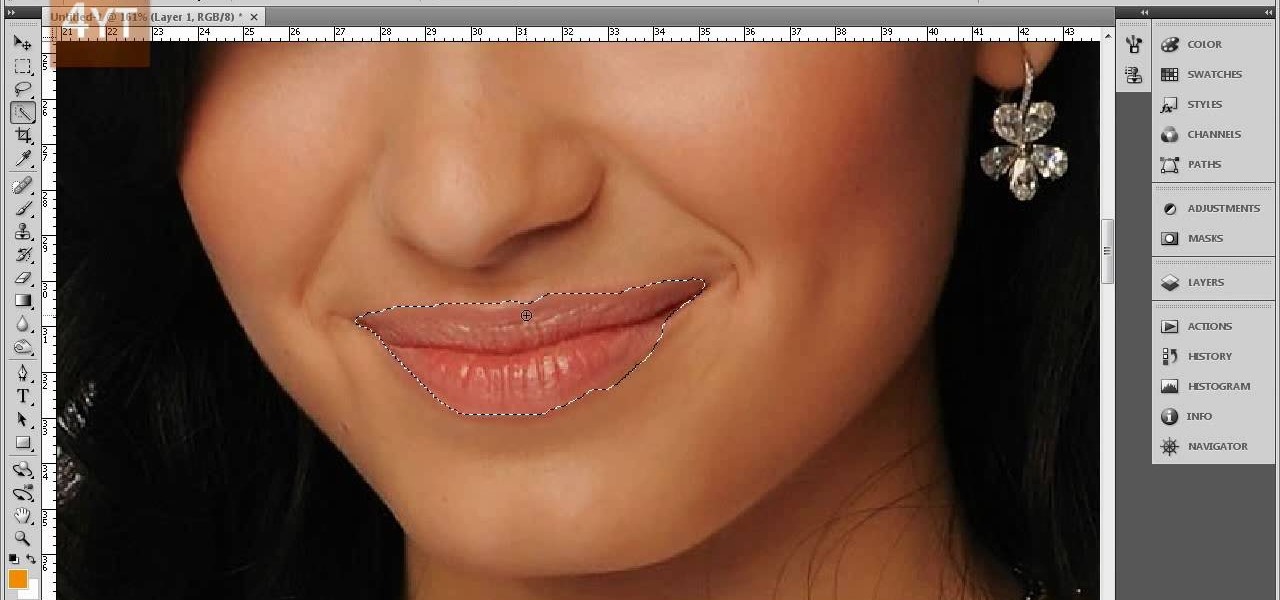
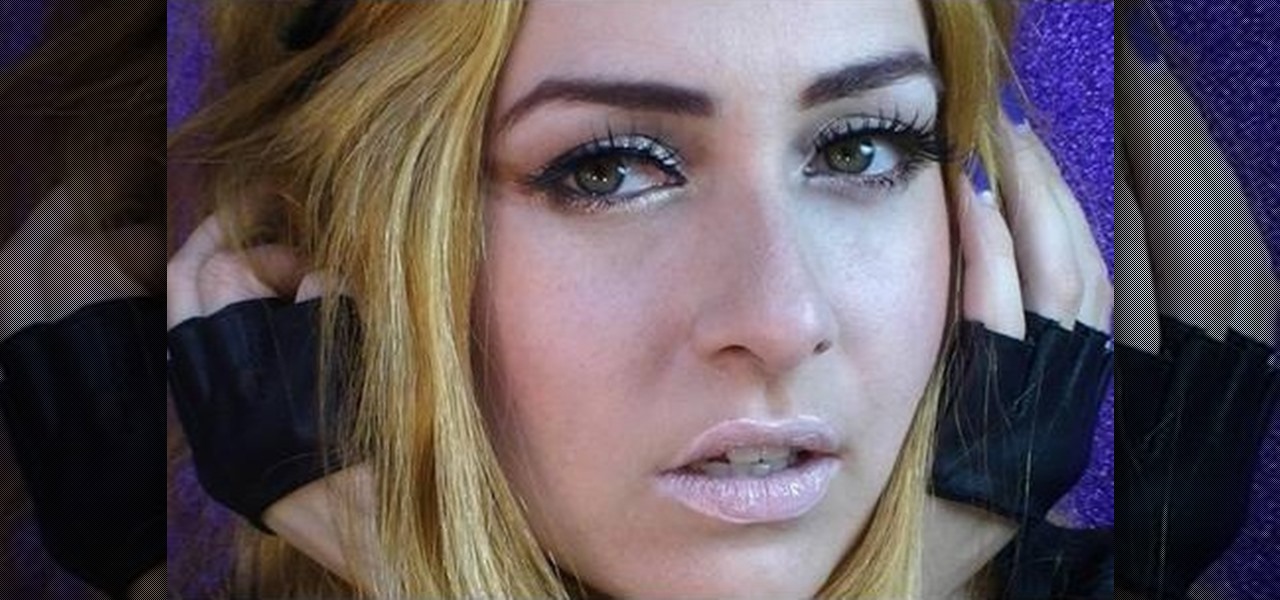
Forget to put on lipstick before a photo? Or perhaps you want to spice up an old photo of someone you love. Well their is a way, as 4YouTutorial demonstrates step by step using Photoshop CS4. First upload a photo or image into Photoshop. Next access your Photoshop layers and delete the default locked layer. After, activate the zoom tool and zoom in on the photo where the lips are located. Next choose the quick selection tool (make sure it's on plus) and drag it over her lips. This process can...
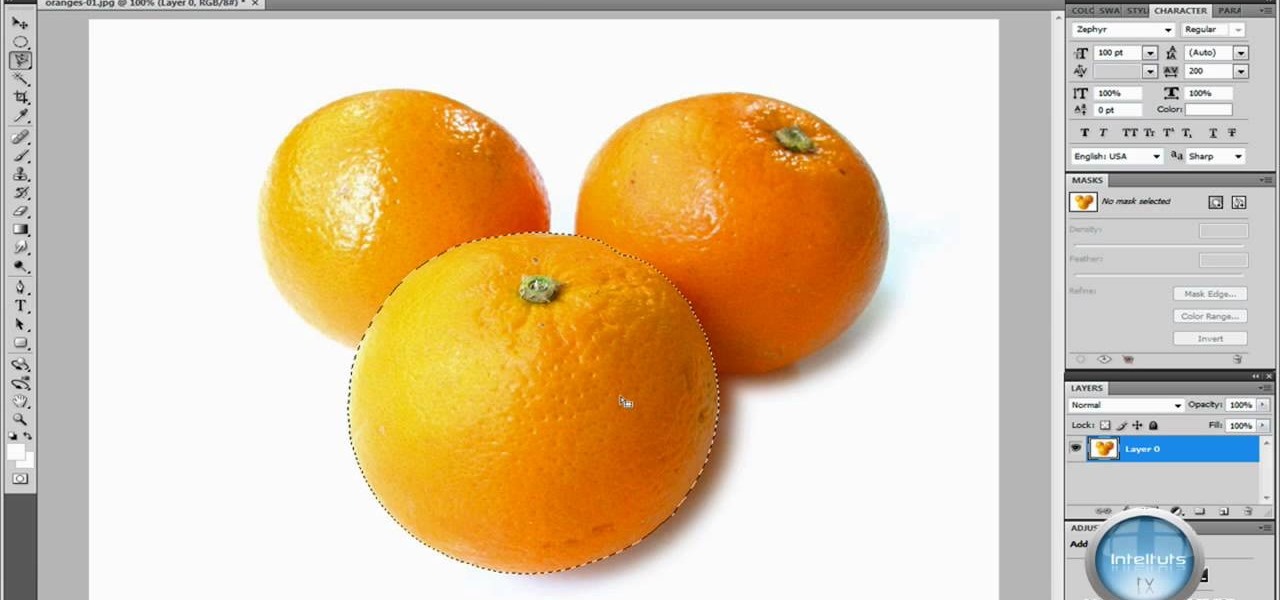
In this Software video you will see how to extract and apply color correction in Photoshop CS4. First select the object and extract it. The tool that you use to extract will depend on the type of image. For example, for oranges, select the Magnetic Lasso Tool from the left hand panel. Take the cursor, click on the outer line of an orange and drag the cursor along the outline of the orange. The tool automatically creates anchor points. You don’t have to click. But, if you want to create an anc...
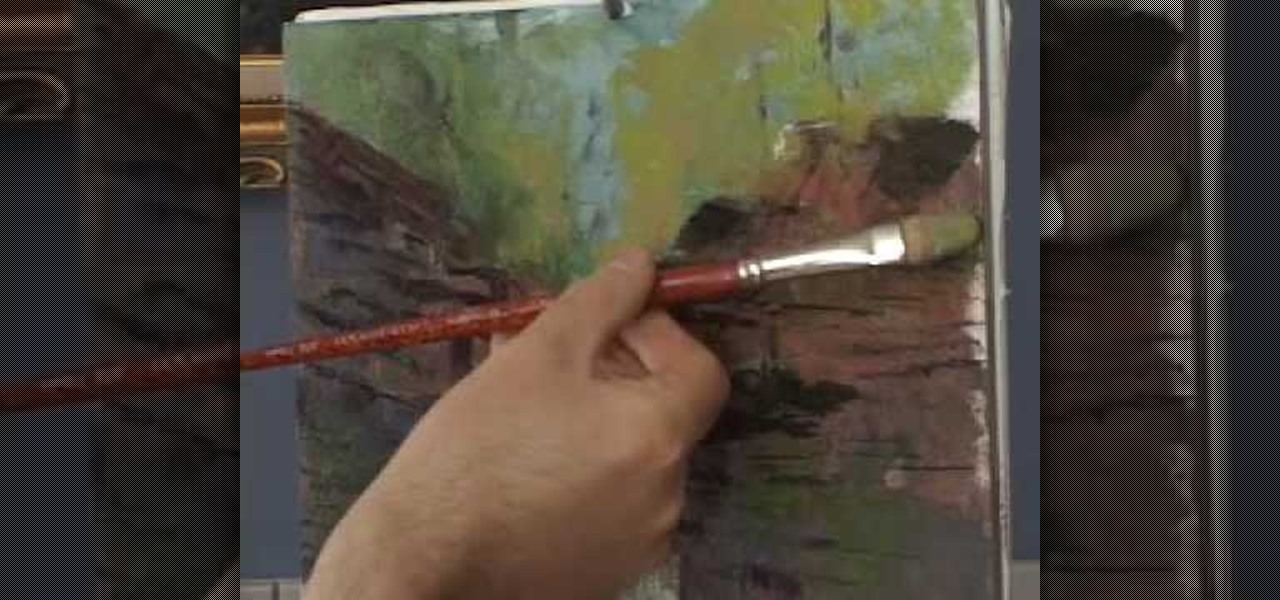
When painting the foliage make sure that you use a dry brush technique and that you use this to break up the harsh rock formations that you have created by simply pressing the brush down against the rock formation. Make sure that you don't segregate the areas in the painting. Make sure that you blend the areas together to make the picture complete. You want to take the warm, more contrasting areas and use them to break up the harsher style of the rest of the picture. You want to layer the col...
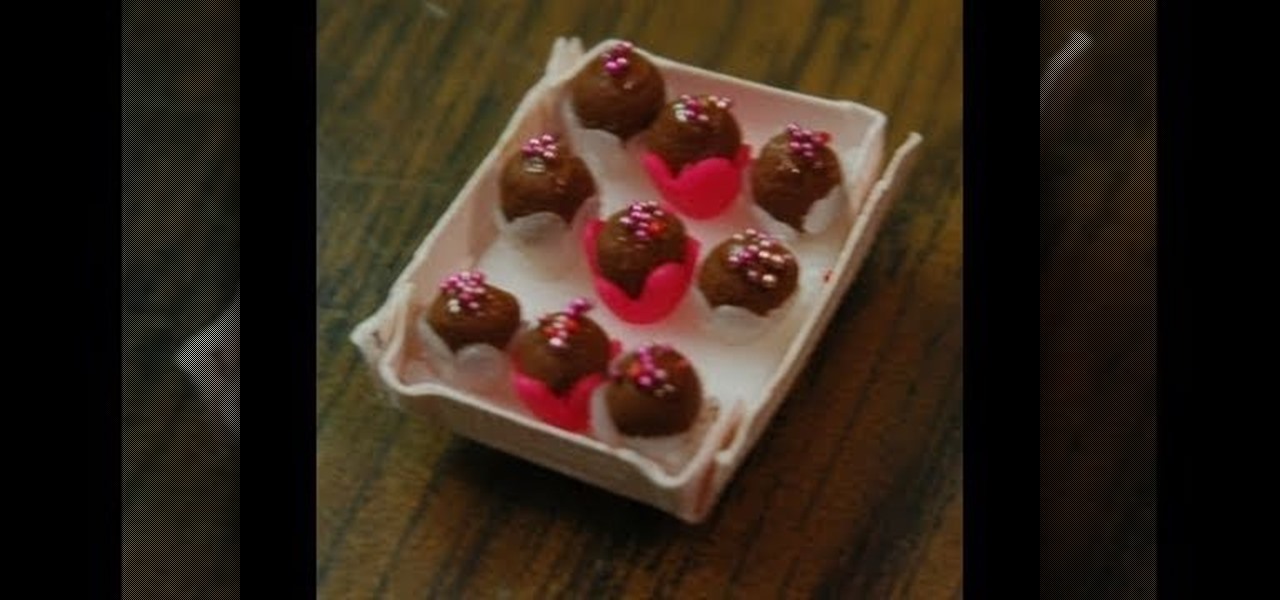
This video teaches the viewer how to make miniature Valentine swirl truffles. The most important thing to be kept in mind is that the two colors of clay being used should be of contrasting shades. The author of the video takes the viewer through a detailed, step-by-step process of making miniature swirl truffles out of polymer clay. According to the author, one can use translucent clay sheets too, but that is not a very good idea because the translucent one gets visually overlapped by the dar...
Not sure what to be next Halloween? A princess is a classic choice. Whether you’re making a costume for your little girl, or want to feel like royalty yourself, a princess costume is always in style.
1. Before applying eye makeup, eliminate under-eye swelling by applying cold compresses to your eyes for ten minutes. Any fluid retention around your eyes will cause eyes to look smaller.
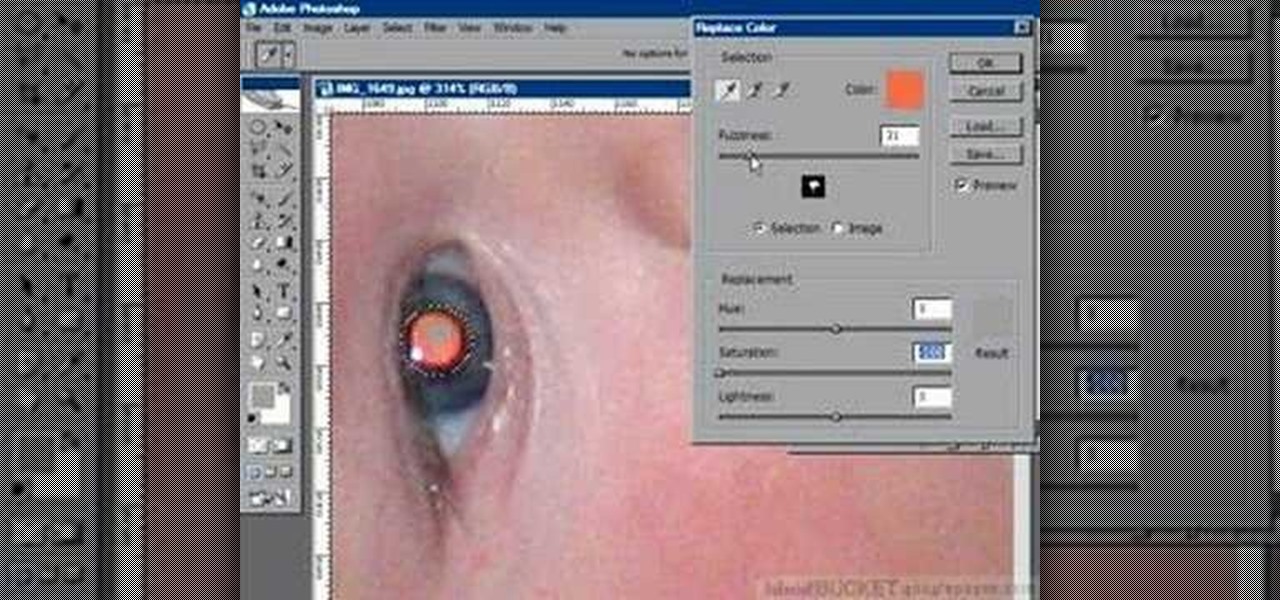
If you have a photograph with an extreme red eye problem, then you will have to take steps above and beyond using the built-in red eye reduction tool in Adobe Photoshop. In extreme cases, red eye will actually contain colors outside of the red spectrum of light. Since the red eye tool only works on this spectrum of light, you will have to manually fix extreme red eye by working on tools that are effective across all different wavelengths of light. The most effective tool at your disposal in t...
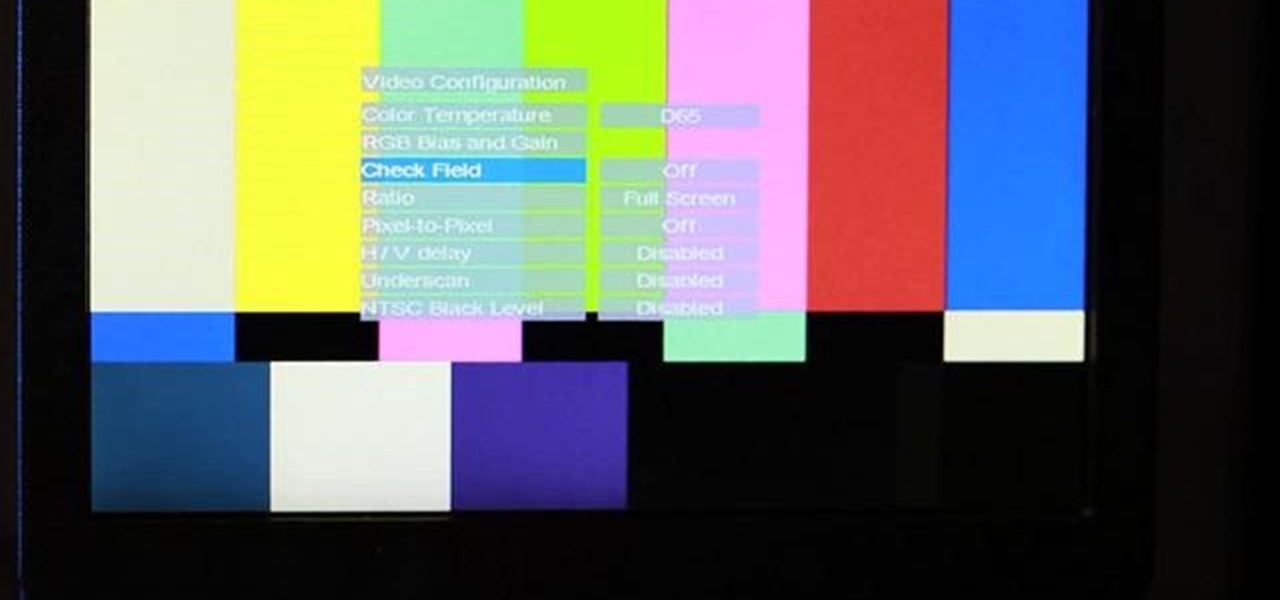
Check out this cinematography video tutorial on how to use calibrate an NTSC camera monitor, specifically a Marshall monitor.
Nostalgia sometimes gets the best of us—hence the reason we geek-out when we see emulators for SNES on Apple devices or N64 on Android.
Want to increase the vividness of a photo without also adjusting its contrast? With Adobe Photoshop CS5, it's easy! And this clip will teach you what you need to know. Whether you're new to Adobe's popular raster graphics editing software or a seasoned professional just looking to better acquaint yourself with the program and its various features and filters, you're sure to be well served by this video tutorial. For more information, including detailed, step-by-step instructions, watch this f...
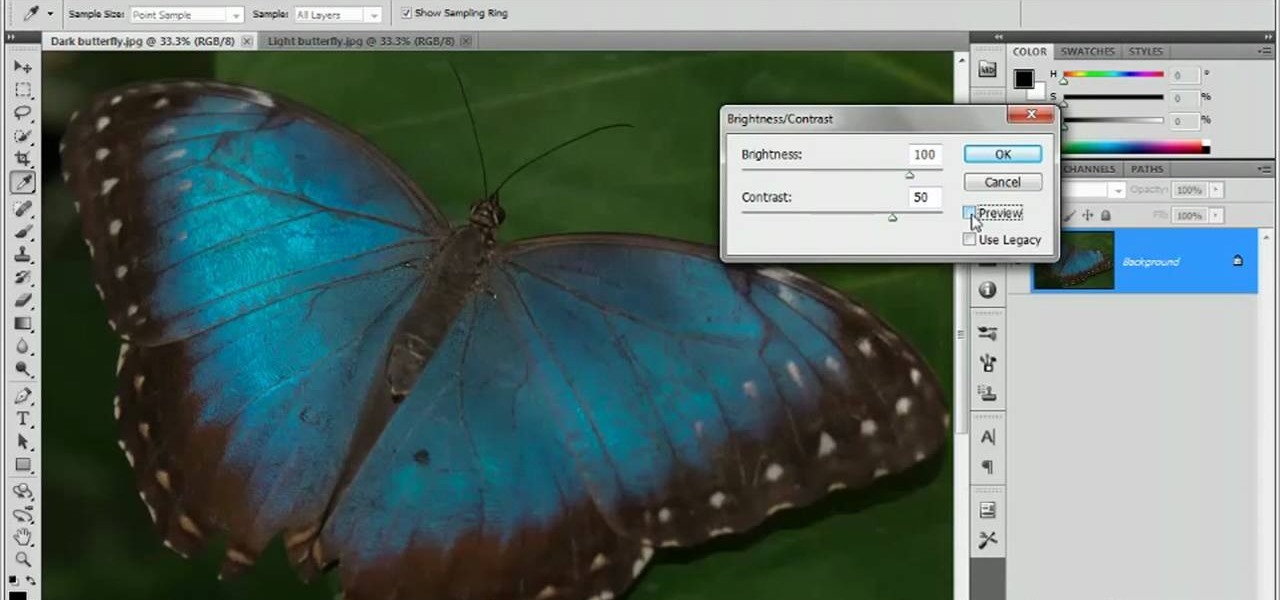
Have a digital image that's a little bit too dark or otherwise lacking in depth? Your fix is just a few mouse clicks away. This free software tutorial will teach you how to use the new Brightness & Contrast tools within Adobe Photoshop CS5. Whether you're new to Adobe's popular image editing software or a seasoned graphic design professional just looking to better acquaint yourself with the unique features of Photoshop CS5, you're sure to find something of value in this free video tutorial.
This video describes the procedure of making "sloppy joes." It is recommended to use ground turkey because of the texture and even the health factor of the meat. He uses pork and beef and adds a little bit of oil to a pan and browns the meat. He uses both of those meats for the texture of the fat and flavor. He lets the meat get brown and then adds the vegetables. He says to save the fat from the meat to cook the vegetables in. He adds red onion and green peppers so the colors are bright and ...
Do you want your photos to have a more dirty and gritty look? In this video tutorial you will learn to create a high contrast, bright and vibrant studio photo effect. This is a technique often used in the print medium.
In this tutorial, we learn how to crochet a left handed streamer hat. For the first round, you will chain four, then double crochet through the loop. After this, repeat nine times from the beginning then slip stitch to join the beginning chain 3. For round 2, attach contrasting color of yarn, then chain 2. Single crochet in the previous chain 1 then go over the double crochet. Work 2 single crochets in the next crochet 1 then work a single crochet in each space. Slip stitch to join with the b...
Teen pop star Miley Cyrus is not one to shy away from taking chances - in life and in fashion/makeup endeavors. Cyrus enjoys flaunting her bright eyes with shimmery shadows of gold, silver, and bronze, which contrast with her eye color in the most flattering way.
The way to wear hijab shown in this demonstration with a simple wrap around the head, securing the hijab with bobby pins at the back of the neck. The ends of the hijab are pulled forward to the chest. Then a thin scarf in a contrasting color can be wrapped around and tied at the nape of the neck as well. A portion of the hijab is pulled forward over it and pinned over the ear. Then one of the ends is pulled under the chin to the opposite ear and pinned to the head. The other end is wrapped ar...
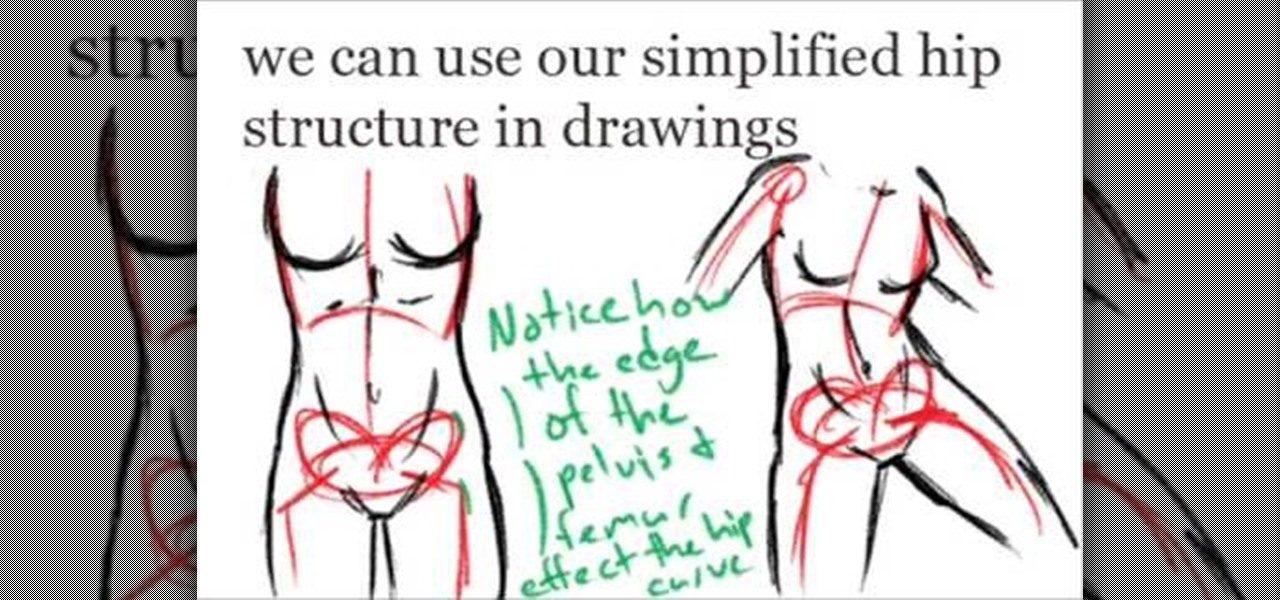
This video, which gives tips on drawing realistic hips, is helpful to people learning to draw the human form. The video starts by showing examples of bad drawings of hips and explains that these are how you should not be drawing them. It then shows a realistic black line picture of the pelvis bone on which the presenter has drawn a simplified version of it in a contrasting red color. He gives a simple description of his drawing, saying it is like an oval with butterfly wings coming from it. H...
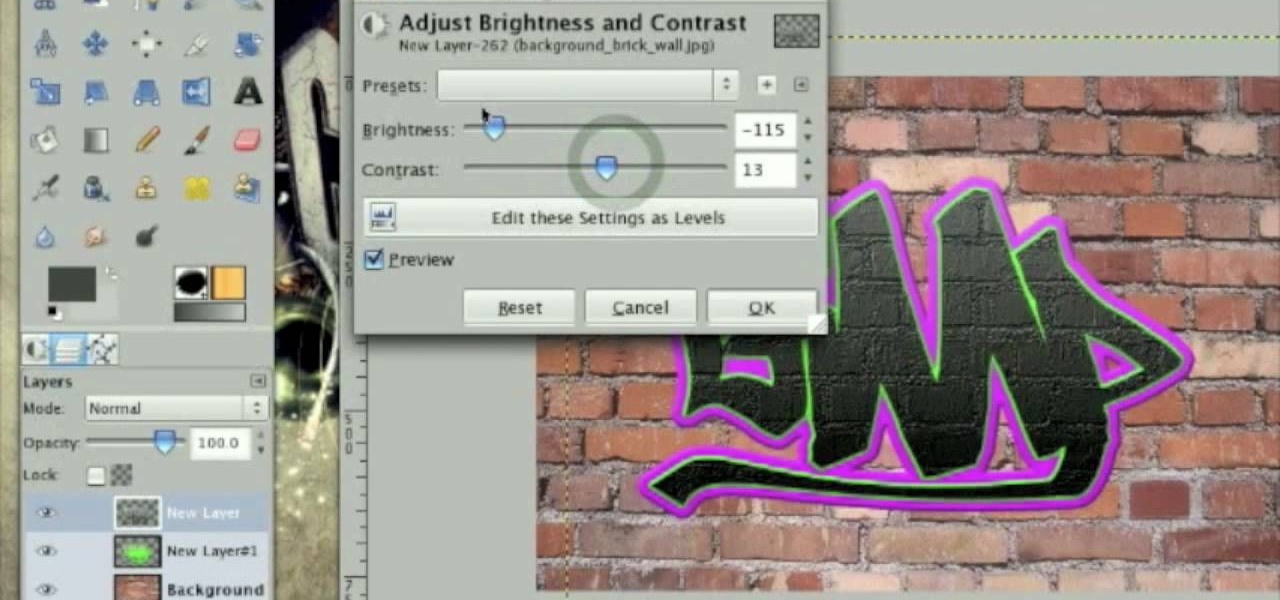
This tutorial describes how to create a realistic graffiti effect in a program called GIMP. You must first make sure that you have the font "writers original" installed on your computer. If not, you must download it to create this graffiti effect. Simply open a brick background on GIMP and put whatever text you want to have. Enhance the text by creating multiple layers and create a multi-dimensional image by creating contrast among those layers. Lowering brightness opposite layers and changin...
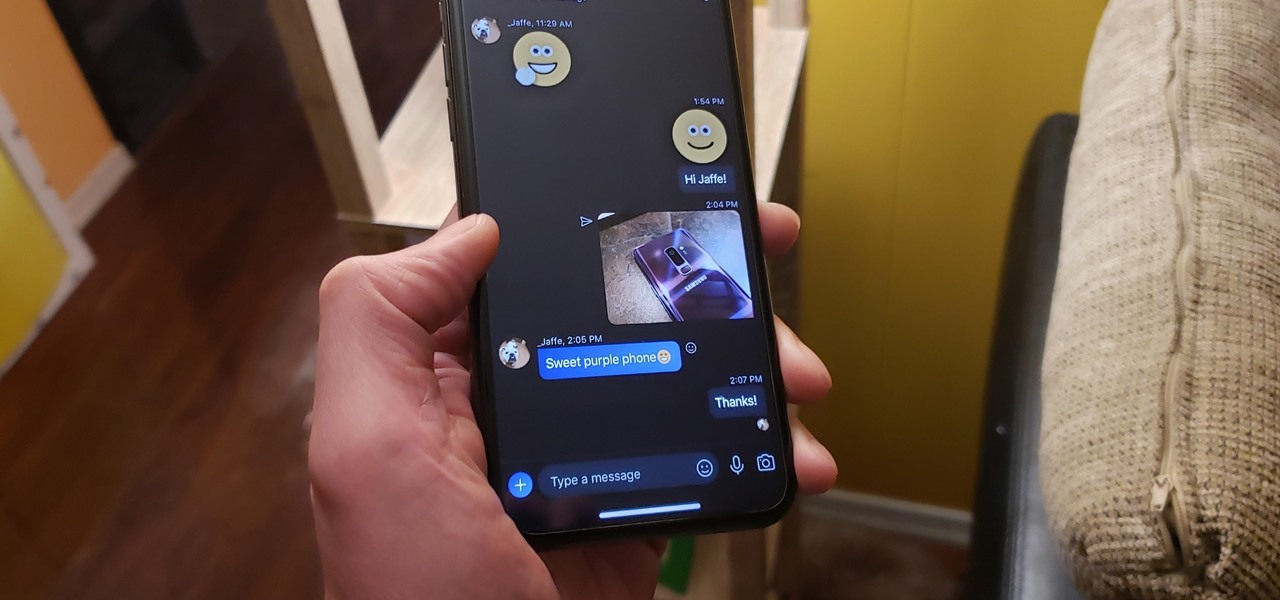
As the premiere app for chatting and video calls, it only makes sense for Skype to provide a dark theme to help prevent eye strain and minimize battery drain. Not only that, it has to also keep pace with popular messaging apps like Facebook Messenger that also have the feature built-in.
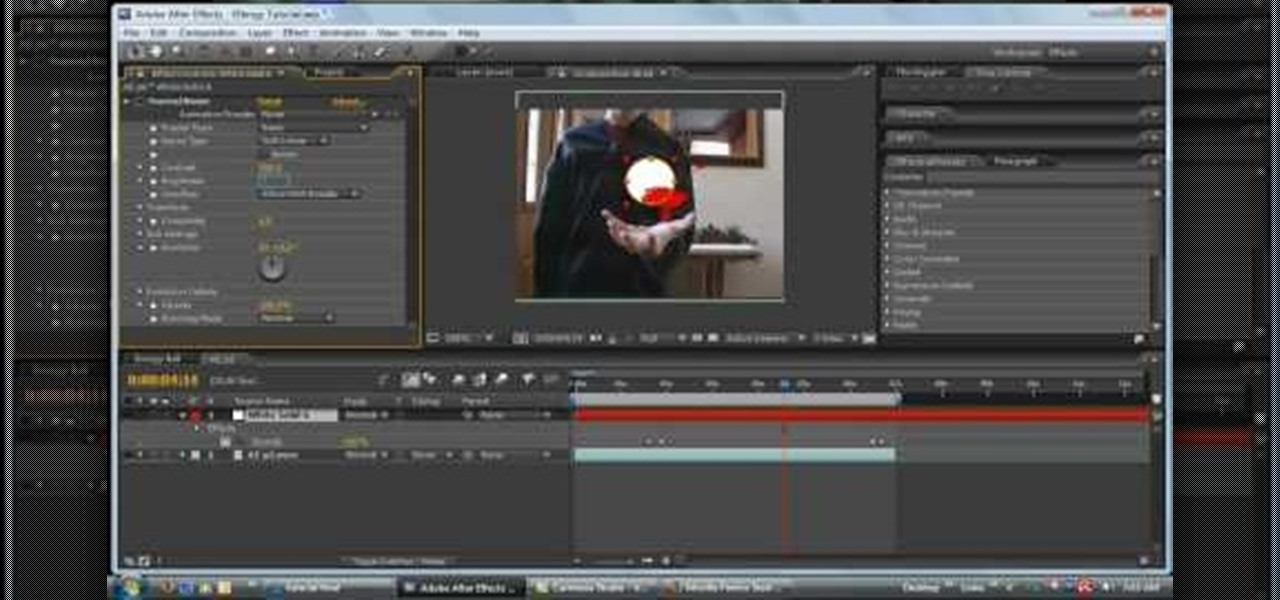
In this tutorial, we learn how to make an energy ball in Adobe After Effects. First, load a movie of someone pretending to hold an energy ball in their hands. After you do this, you will select a new setting and change the color. From here, you will select a round circle tool and add it where the hand looks like it's holding it. Then, change the effect to make the ball move around with the hand. After this, add the tracker to the hand and position it with the hand. After this, change the cont...
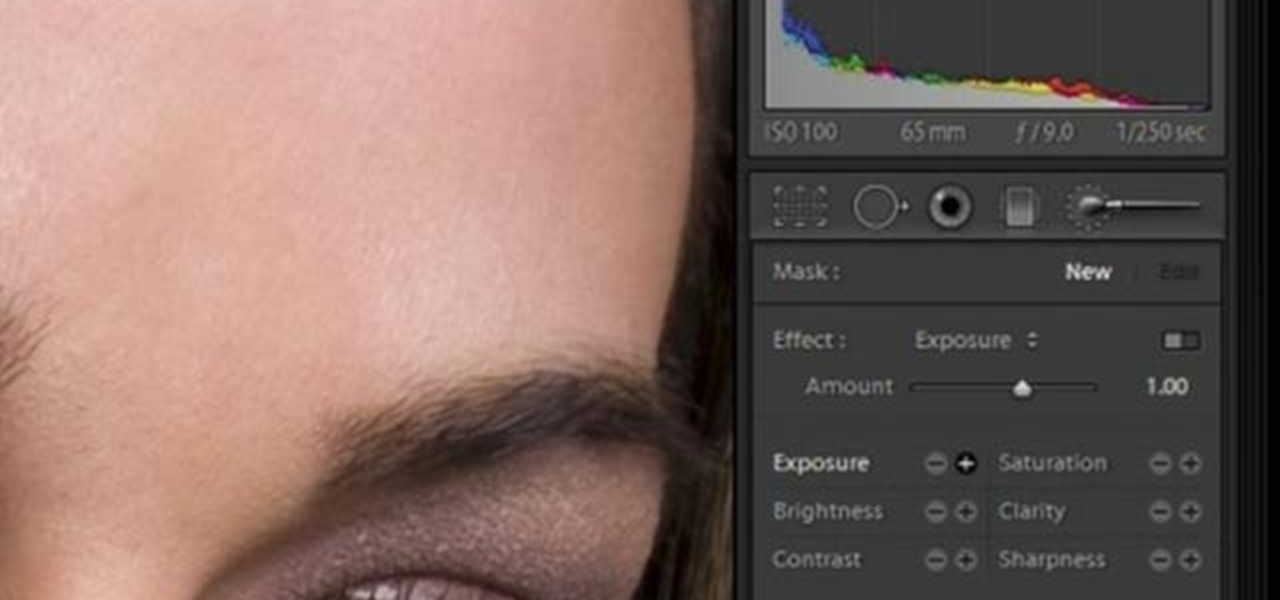
In this software video tutorial you will learn how to soften skin feature in Lightroom 2 in Yanik's Photo School. Select a photo and zoom in to the skin area. Click on the adjustment brush, or ctrl K. Here you can adjust 7 features; exposure, brightness, contrast, saturation, clarity, sharpness and color. But, if you click on the other 'exposure' dropdown menu, you will get these 7 options and additionally a 'soften skin' option. Click on 'soften skin' and it gives you the options to add nega...
First thing to do is to create a new pic image called matrix. The next thing you want to do is to change the width and the height of your picture, as well as the resolution. Pick any background color you want, take the paint bucket tool and fill the background. To get the matrix code, go to Filter, Texture, and then finally Grain. You want to set the intensity to 90, contrast to 50, and grain type should be vertical. To get the grain to be green, you press Ctrl+U, press colorize and drag the ...
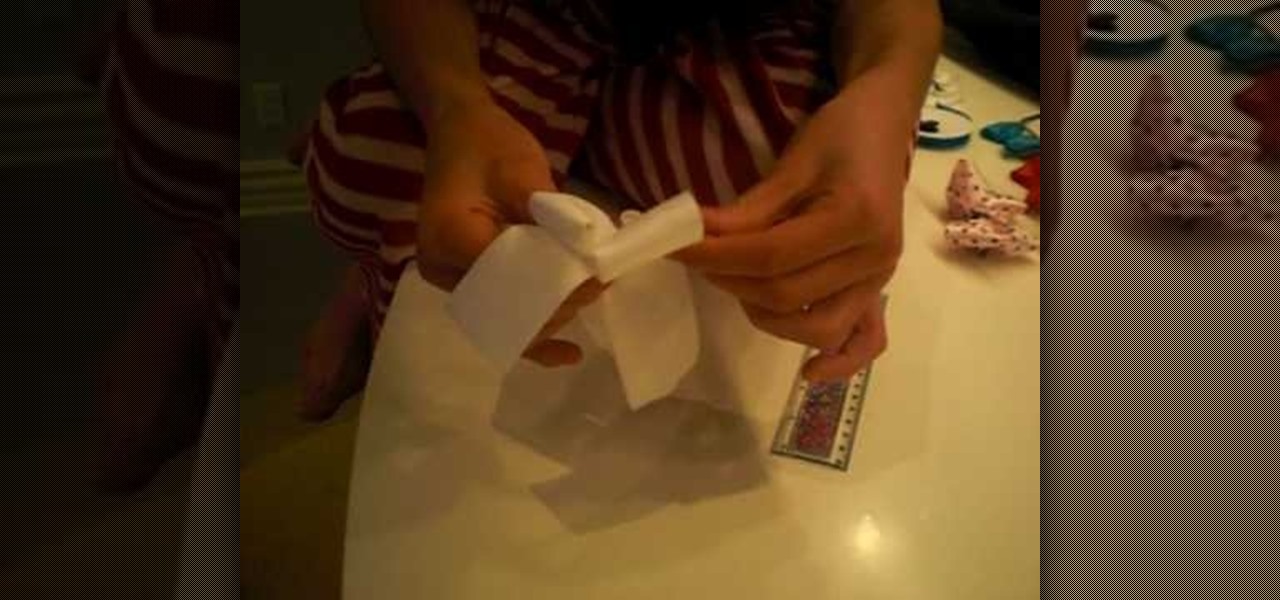
This video teaches the viewer how to make a bow for your hair. You need a few materials to do this including 12 1/2 inches of ribbon that is approximately 1 inch wide, Two to three inches of contrasting ribbon for your center piece, a glue gun, 5 inches of craft wire and a hair clip. You can chose the colors or create several different ones to coordinate them with your wardrobe. They take only about 5 minutes to complete as long as you have all the materials on hand. Make sure to have a pair ...
It’s like a personal photo, except classier, and you can make the model look slightly more attractive than they really are.
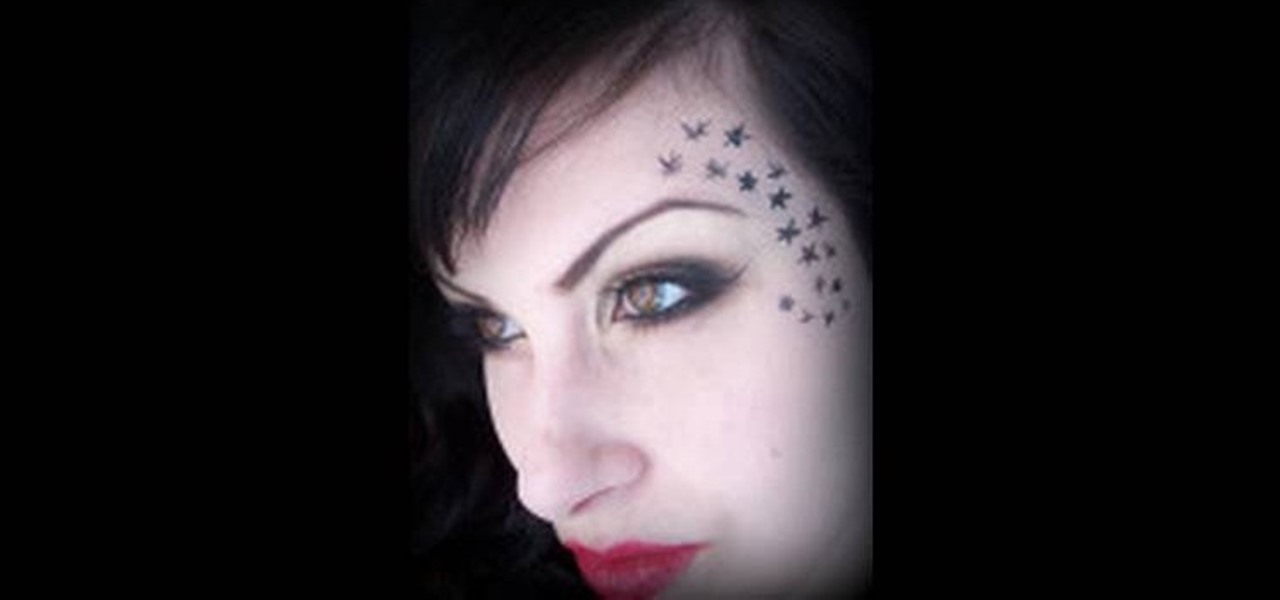
In order to achieve the Kat Von D look, first you must use eyebrow liner that gives off a strong presence. Next, a matte brown palette should be applied to three quarters of the eyelid; the remaining quarter will be used for the highlight. A pencil brush should be used (or cotton swab if you don't have a pencil brush) for eyelining the edge of the eye. A matte black color is then applied to the outer corner of where the brown was applied, to add more depth. (Try your best to blend the colors)...
Safety is everything, and for pilots, safety means checklists. Pilots need to develop a pre- and post-flight checklist for each different aircraft they are responsible for flying, to make sure everything runs nice and smooth in-flight.