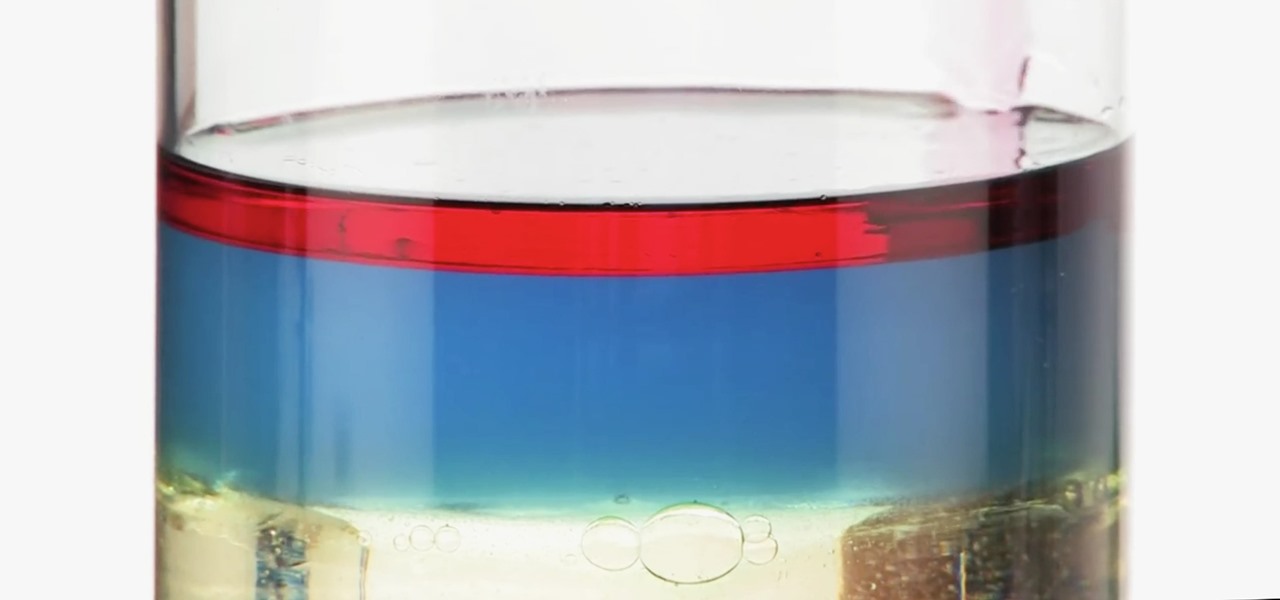
Ralph Waldo Emerson once observed that "the seed of science" was "wonder," and taking a look at this nine-layer liquid tower from Steve Spangler's Sick Science! channel, one can't help but do just that — wonder. How is this possible? Is this magic or what?
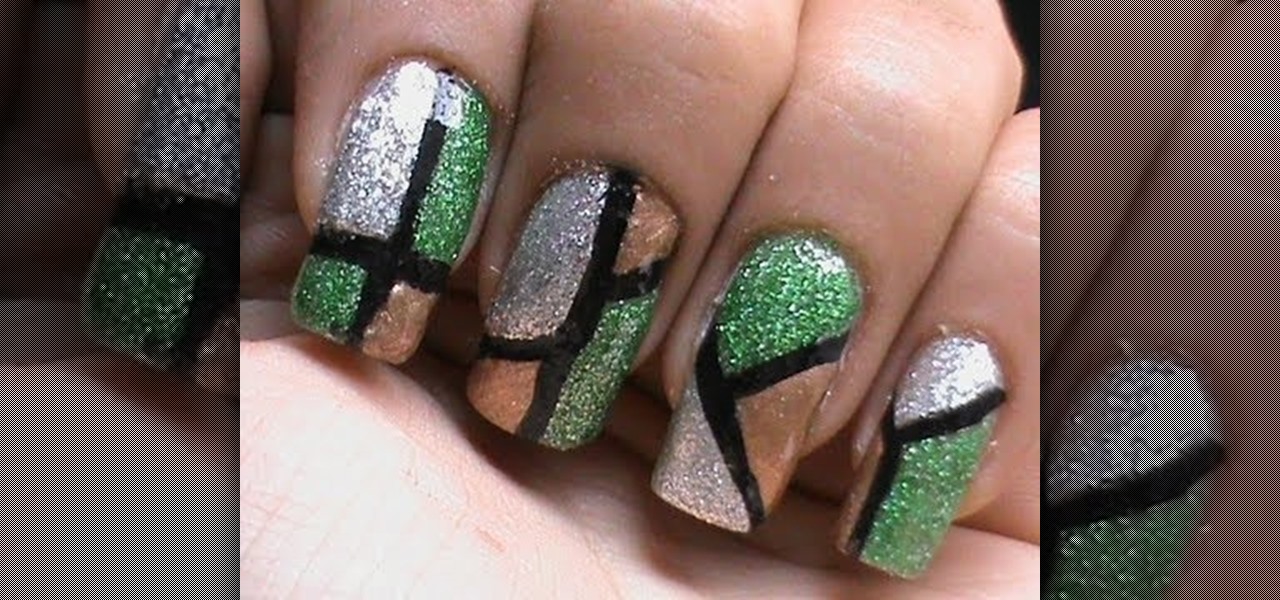
This is a very easy superwowstyle color block nails art design! I have done different patterns on each nail as you can see, and hopefully you will like the effect as much as I ... well as I hope you did from this super wow style nail art video !
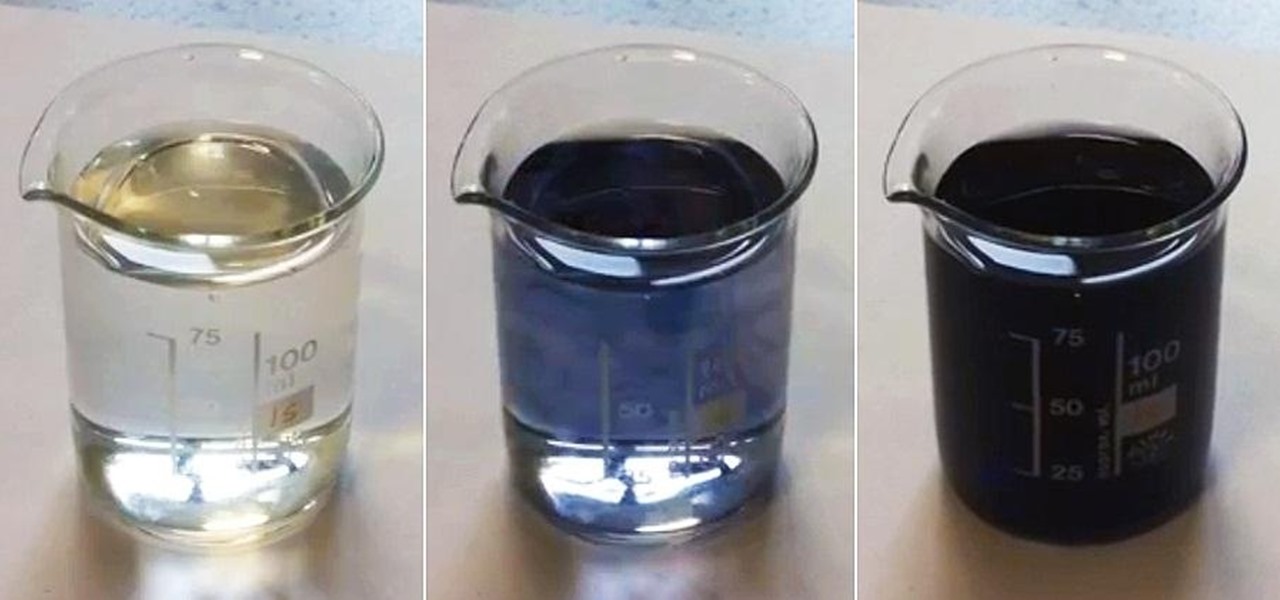
Want to make boring old colorless water brighten up on command? Well, you can control the color of water with this little magic trick. Actually, it's not really magic, but a classic science experiment known commonly as the iodine clock reaction, which uses the reactions between water and chemicals to instantly colorize water, seemingly by command. You can use different colorless chemicals to produce different colors, and you can even make the color vanish to make the water clear again.

If you have a Barnes & Noble Nook, you may be surprised to find that your eReader can do a lot more than just display ebooks, which makes it a great alternative to those more expensive all-in-one tablets that do everything (seriously, everything). If you want to get more bang for your buck, here are a few ways you can hack your own Nook.

This cute and colorful flower button is a perfect Spring craft project for the kids. Not only do you get rid of unwanted buttons but you can keep the kids busy and make a cheerful brooch all at the same time.
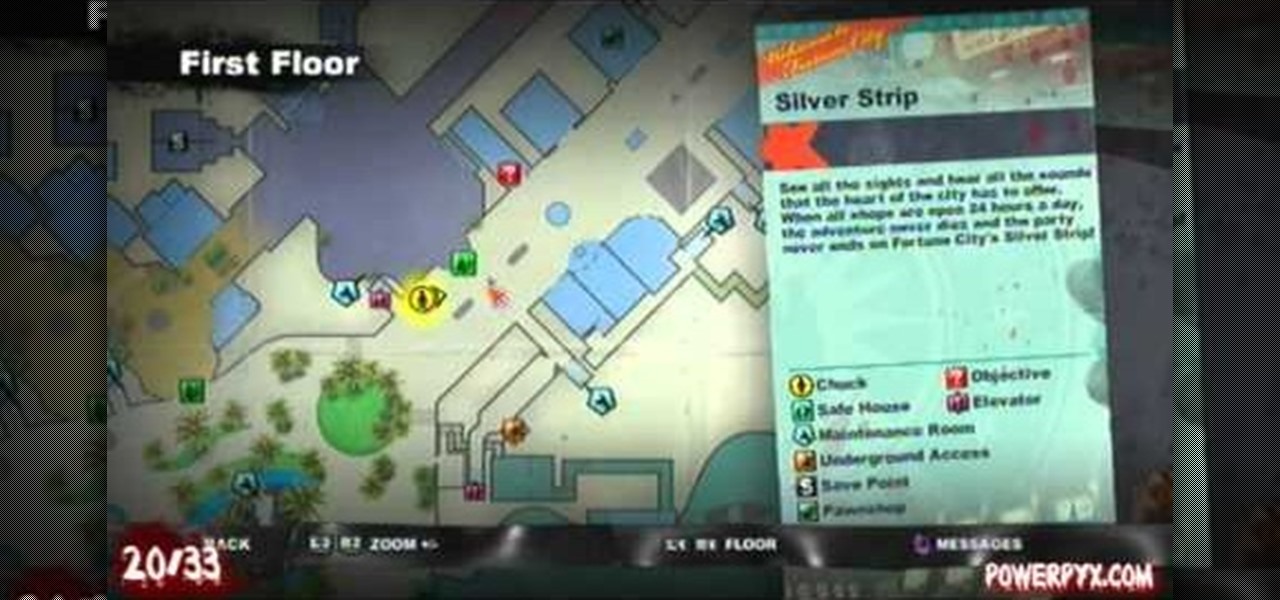
The Improper Behavior achievement in Dead Rising 2 demands that you spraypaint all of the 33 Zombrex posters hidden in the game. This take a lot of paint and lot of observation, and some help from this video. It will show you where each poster is, and the creator wrote up a handy guide to getting enough paint.

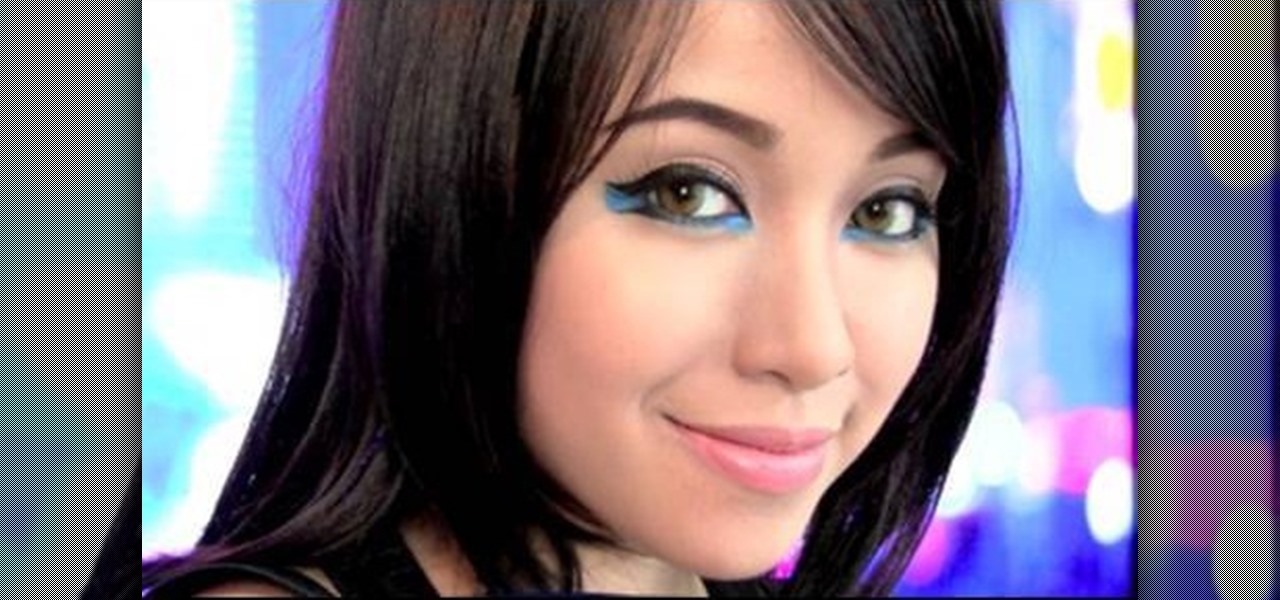
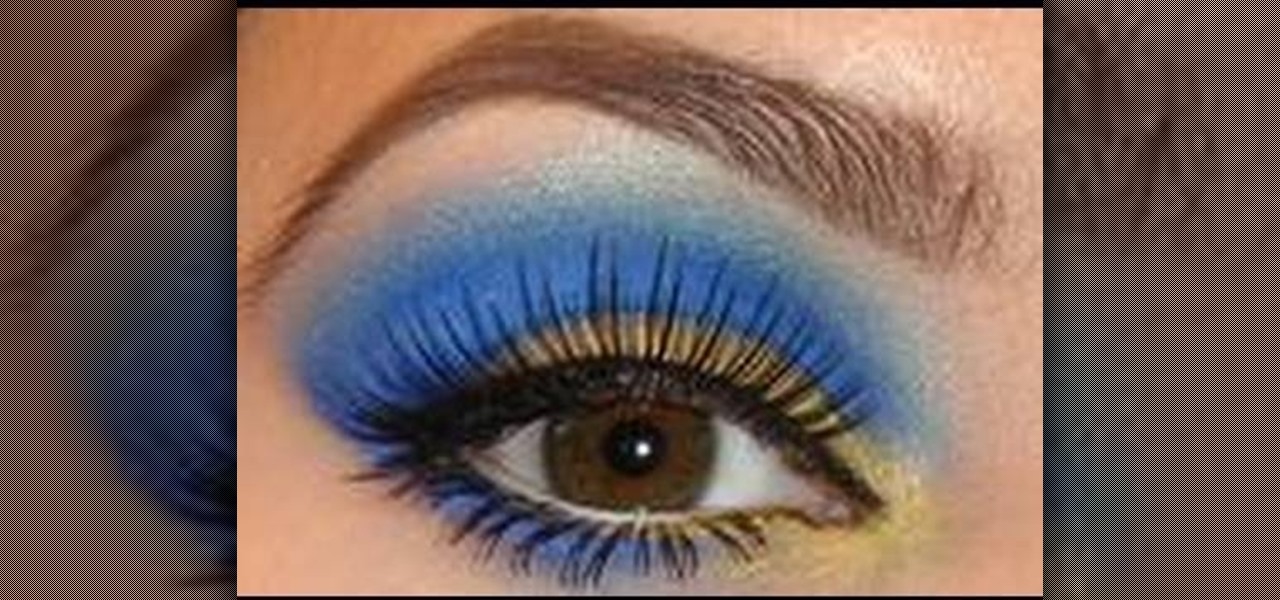
Inspired by the glittery, flickering lights she saw as she drove through the city at night, Michelle Phan came up with a luminous and sexy makeup look, which she presents here in this tutorial.
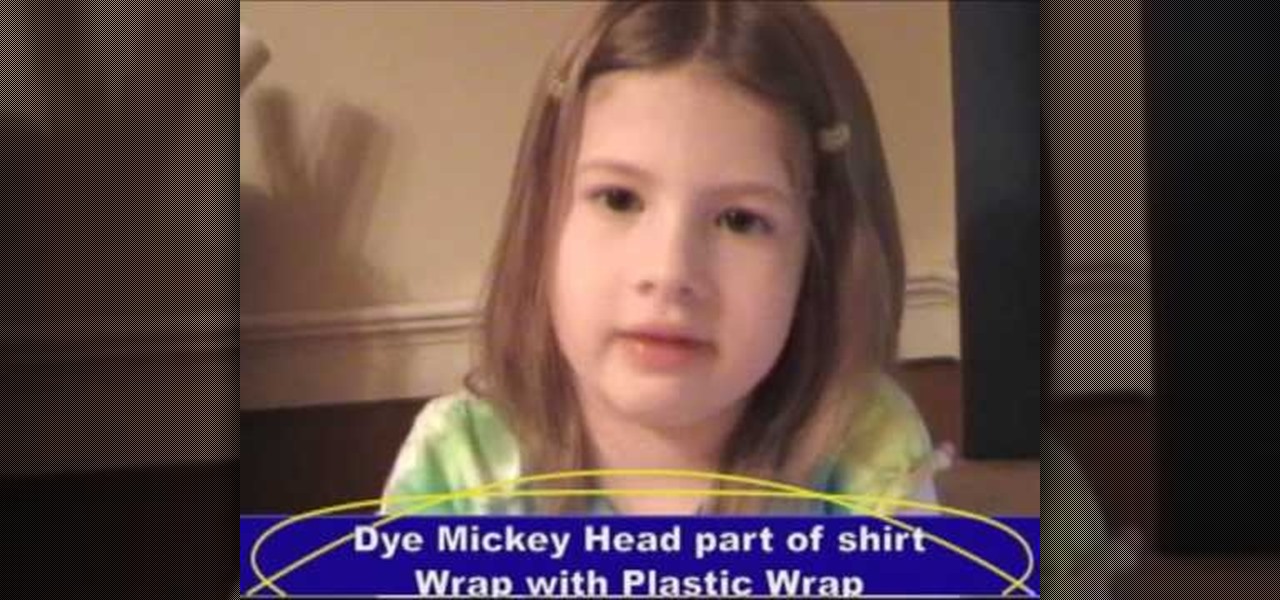
Making a Mickey Mouse tie-dye shirt is as easy as can be. First trace a Mickey mouse outline onto a plain white shirt with a pencil. Using plain dental floss and a needle, sew around the tracing you've just created. For optimal results soak the shirt in soda ash (this step is optional). On the final stitch, pull on the dental floss until Mickey's head "pops up". You will need several rubber bands for the next few steps. First tightly wrap some rubber bands around Mickey's head. Add additional...
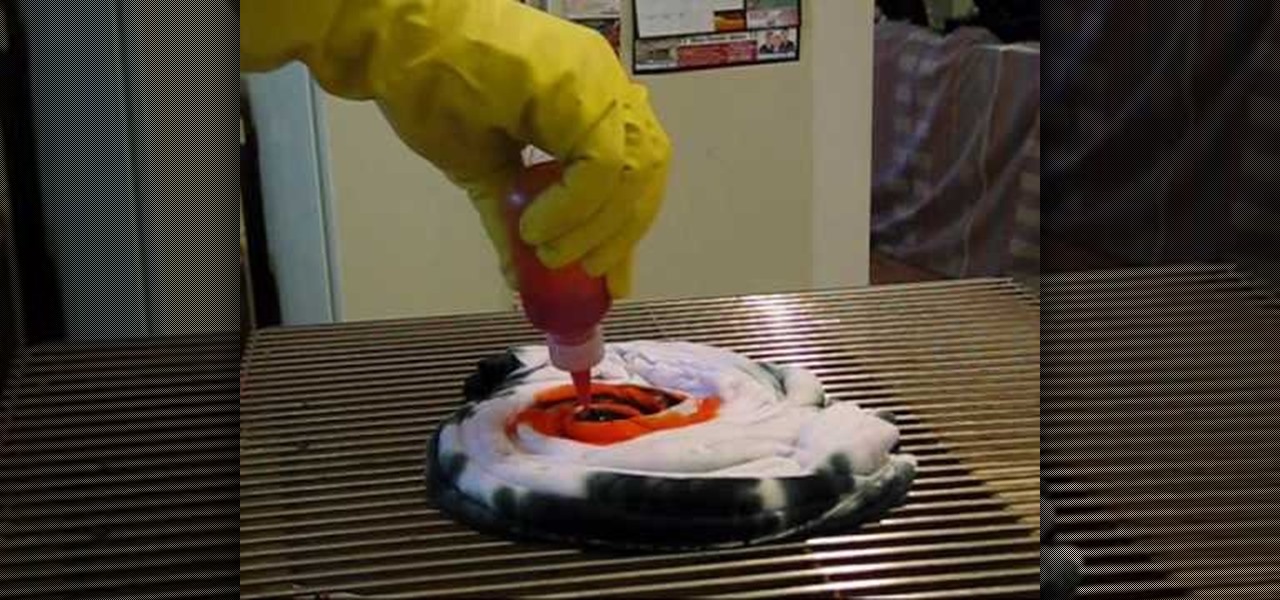
Tie dying a spider design on a t-shirt starts by folding the t-shirt in half vertically. Between one quarter and one half of the way down the shirt grab a piece of the shirt and spin around the table to create a coil of the shirt. Tie a string around the outside of the coil to make sure it stays in a disk. Set a rack on top of some type of basin that can catch liquid to work on the dyeing. Set the t-shirt coil on the clean rack. Take dye that has already been prepared in squirt tubes or syrin...
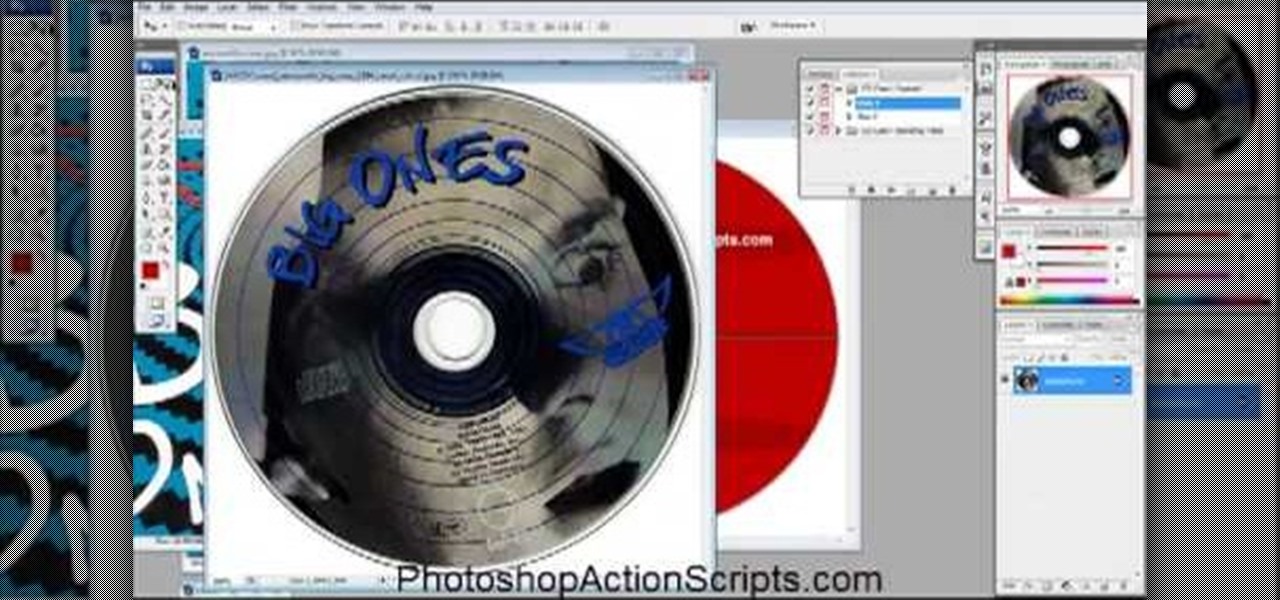
This video is about how to make a CD cover. First, open up the image that you have. Then, you need an action script. Click on the action's palette and pick which CD cover you want to do. Then you click step one which will run a template for you to set everything up and place your graphic in. The next thing to do is to slide the graphic image on to the template through the select tool. Then, click free transform found on the edit toolbar and just double click the image. The next step is to edi...
Cathie Filian and Steve Piacenza demonstrate the way of making medieval candles using tissue paper transfer technique. Steve asks you to first take a piece of tissue paper and a square-shaped chunky stamp. Then you should load the stamp with black pigment. Once the loading is completed, you should cut the tissue paper in square shape and place the shining side on the stamp and give a nice light press with your fingers. Then once you get the stamp image on the tissue, gently take it out and pl...
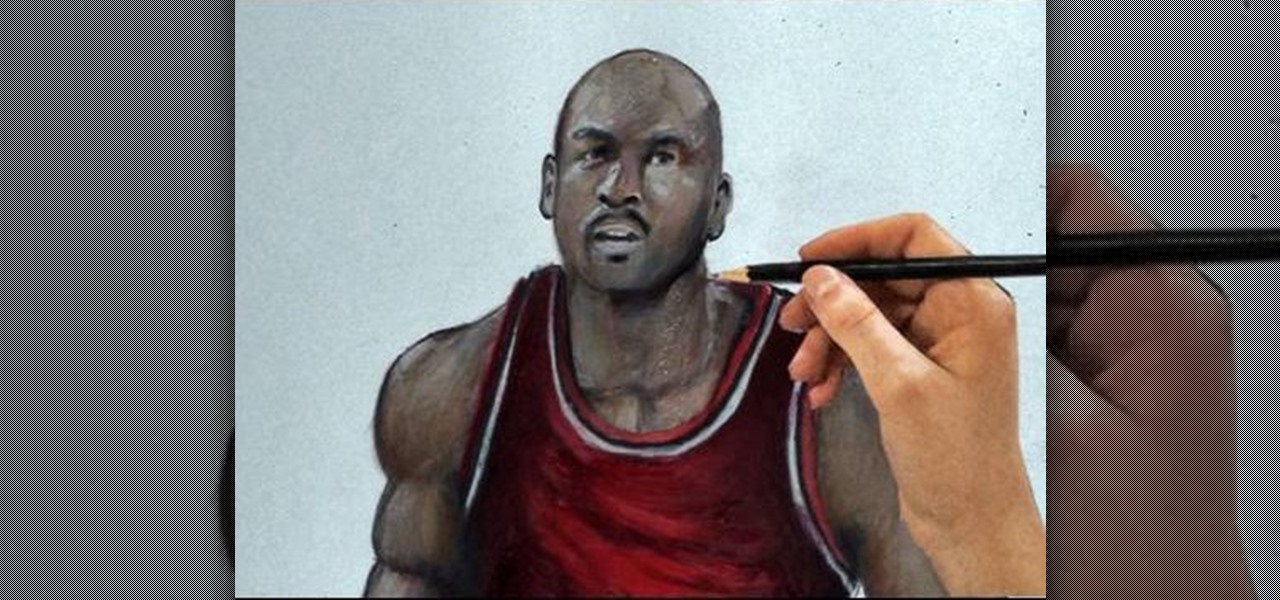
Illustration markers might be hard to use if you're not accustomed to them. You're prone to mistakes and indecisiveness. But that's probably because you don't know how to use them properly. You have to be completely comfortable with them.
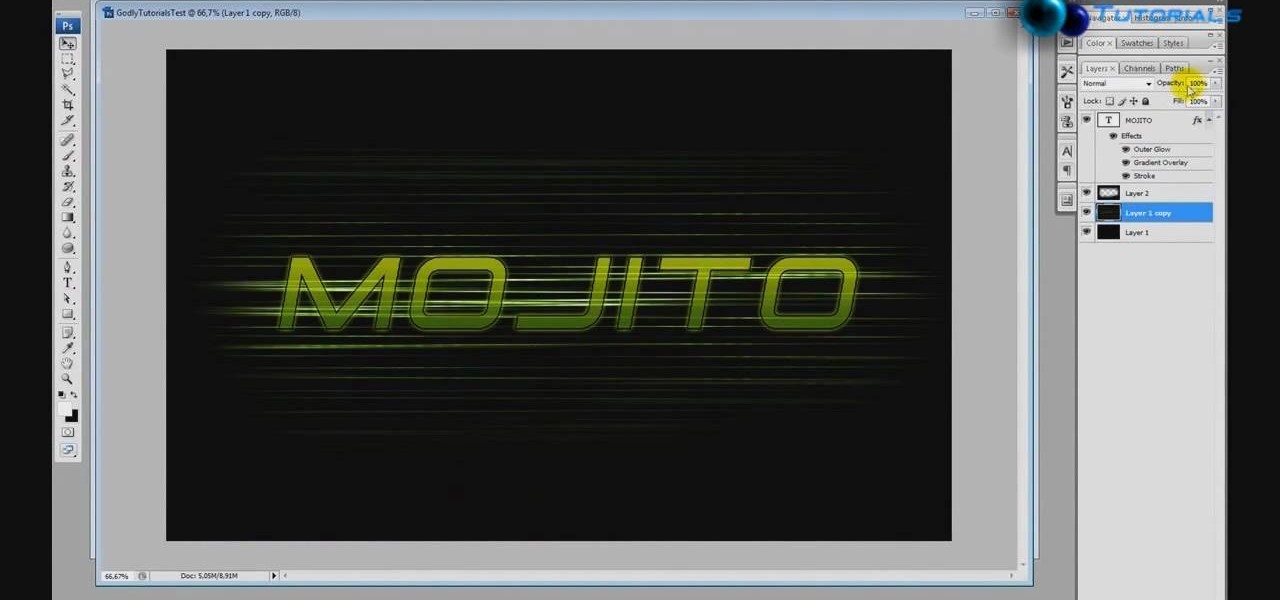
This video tutorial from TutVid shows how to create a simple movie poster text effect in Adobe Photoshop CS4.
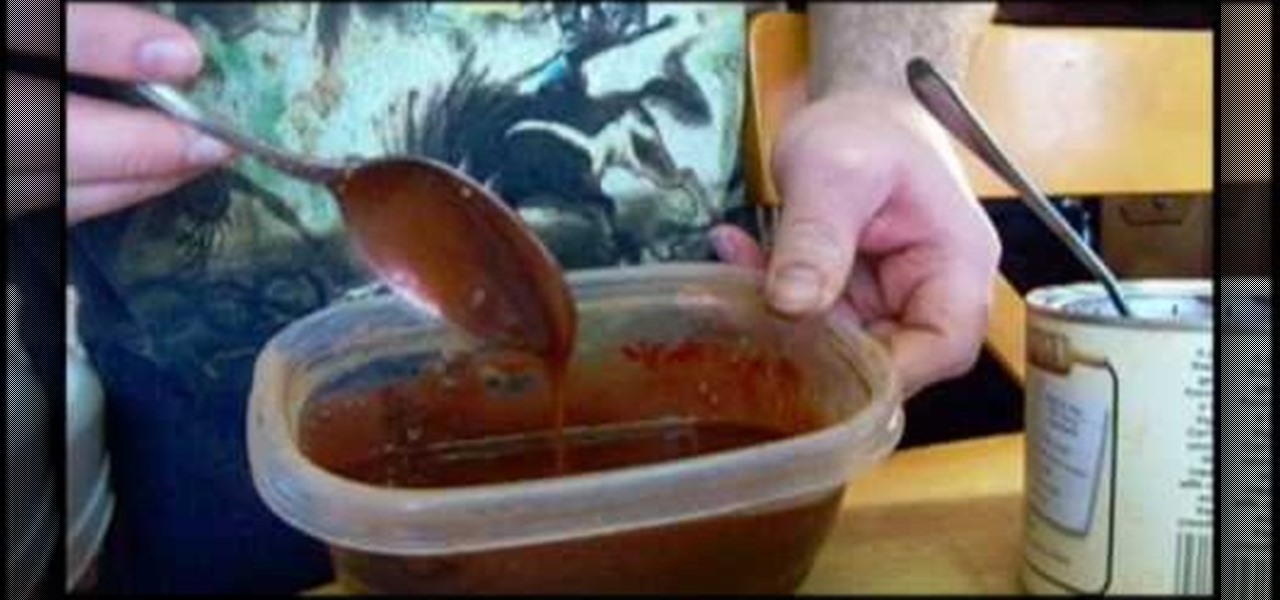
In this tutorial, we learn how to make cheap, realistic, fake blood. This is easy and cheap and looks great depending on how well you mix it and follow directions. This is safe and won't hurt you or anyone else. You will need: corn syrup (any brand or kind), cocoa baking powder, red and blue food coloring, water, and vanilla extract (optional). Start out by pouring the corn syrup into a bowl, until half way filled. Next, add in around 5 or six drops of red and mix it together. Then, add in a ...
In order to create a Cheetah girl makeup look for Halloween, you will need the following: a cheetah print scarf, pink and gold shadow, false eyelashes, foundation
To perform the color burst technique using Adirondack paint, you'll need to shake a new dabber really well. Then, you will need to turn it upside down onto a craft sheet, until the paint starts to come out evenly. Once if comes out evenly, you are ready to use. Make sure you recap it, whenever it isn't in use.
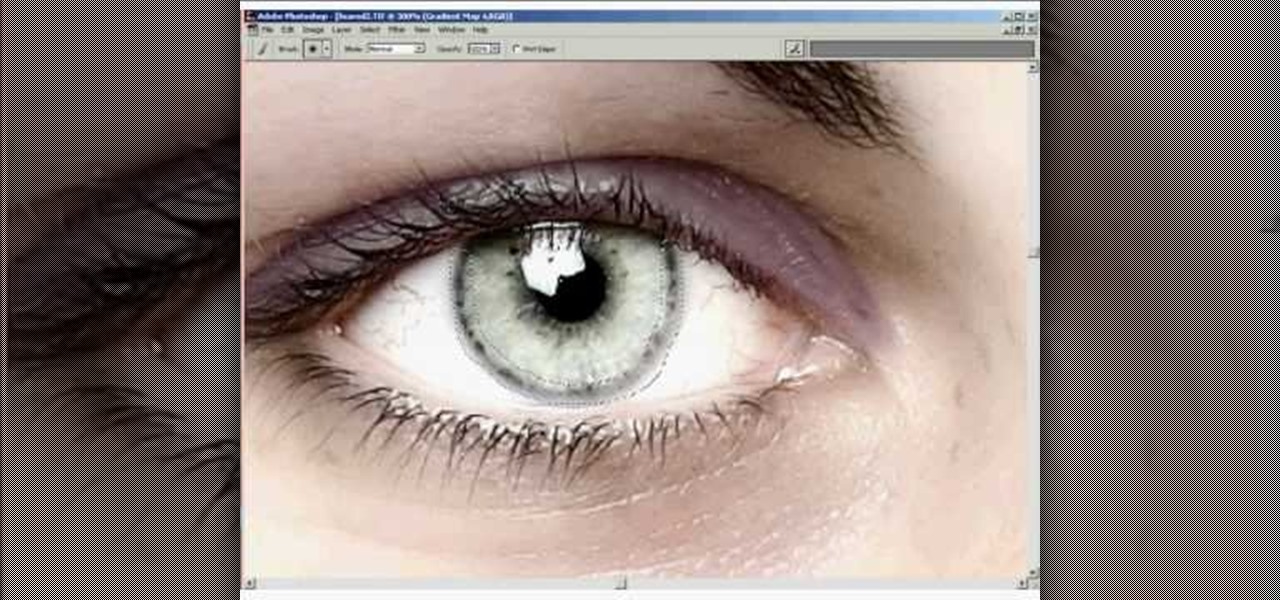
If you want to retouch or add digital make up using Photoshop you should first erase and cover up any blemishes you see on the surface of the skin. This can be bruises, blemishes, or even acne marks and bumps. Do this anywhere you feel necessary such as the face or on the body. Using the lighten tool, you can also lighten the eye color as well as the whites of the eyes. Next, you can also adjust the texture and color of the lips. You can also shift the color saturation of the picture to add r...
In this how to video, you will learn how to draw a witch. First, draw three oval shapes for the head and body. Next, draw the basic out line of the witches and legs. From there, you can add the arms, cape and broom. You can also add a bat and cat if you want. From here, you can go back into the drawing with more detail. Add the buckle and band of the witches hat. Next, draw in the curls of the hair and the eyes, nose, and mouth. Next, add in the folds of the cape. If you drew the cat, add fur...
In this editon of Tip Tuesday from Pursebuzz we are shown how to determine your skin tone. This tip is a pretty simple way to determine if you're a warm or a cold tone, and if you are pink-based or yellow-based. That's the first question you're asked if you go to a counter and you're trying to figure out your foundation colors or your blush colors or shadows, or what will work for you. The first test is the fabric test. You don't even have to buy this fabric. You could just go to a fabric sto...
This how to video shows you how to create wallpaper for your computer desktop. Open Photoshop and create a new file. Change the dimensions to the size of your desktop. Click okay and go to edit and fill. Choose color and select black. Click okay to fill the screen with black. Duplicate the layer. Once this is done, go to filter, render, and lens flare. Make sure the lens flare is in the center. Edit the settings to your liking. Click okay to add the effect on to the image. Go to filter, disto...
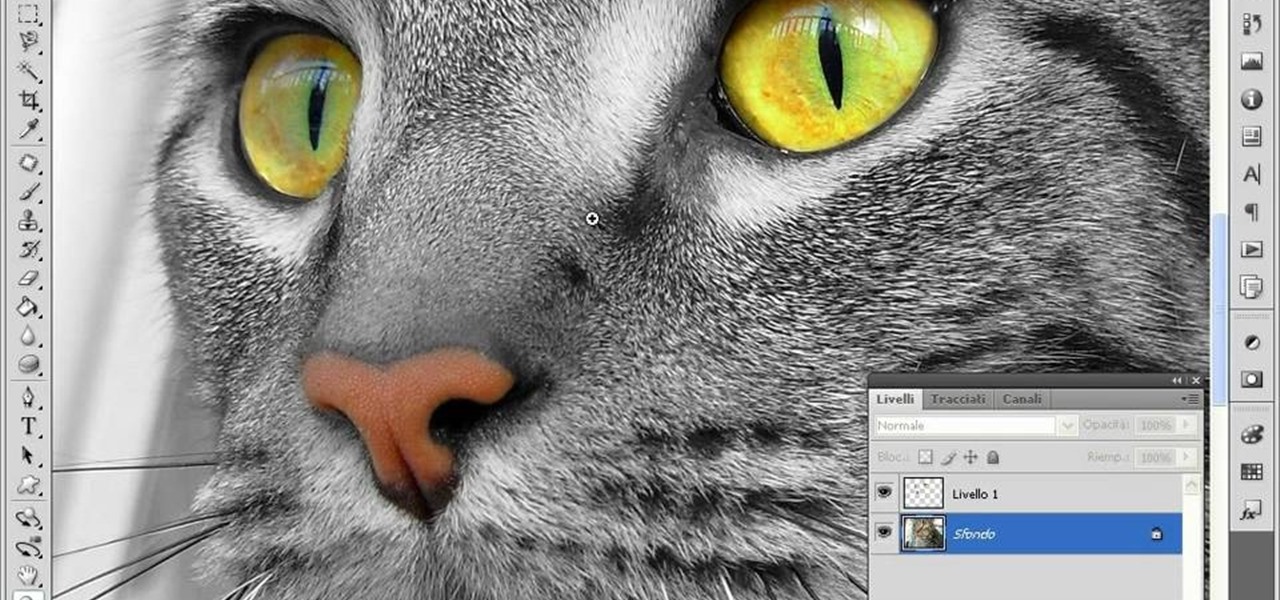
This video teaches us to make a photo black and white with coloured parts in Photoshop. This procedure consists of many steps. In the first step, we choose the magnetic lasso tool from the application. This is followed by the second step. In the second step, we draw the contours of the places we want to stay colored in the photo. Press the 'Shift' key to keep the contours selected while drawing contours across multiple places in the image. After drawing the contours, go to step three. Right c...
This is a video on how to weave in ends on kniting. First take two ends at a time, tie the new color and a half not around the current working color, and tie them. The thread the end onto the yarn needle, and go througha few of the yarn stitches. Next give it a little pull to make sure nothings coming loose. Go up to the next yarn ends, and do the same thing. What you have to make sure you do is weave the yarn through light colors. Also make sure the knots are secure, and are not going to com...
First of all you have to draw the outline using light color rough lines. Draw the face with beak and then draw the two wings hanging down. Also draw a tail at the back of the bird. Now you have to draw the outline by using a pen. Start by making the beak of the bird at the front. Make the wings with the feathers. Also make the outline of feathers to make the tail. Once the main outline of the bird is ready then you have to erase all the previous rough lines. Now you have to darken the body wi...
In this how to video, you will learn how to draw a cartoon fish. First, draw a circle for the body. Add a curly fin at the top and bottom. Next, draw a triangular shaped tail at the back. With the basic outline finished, draw in the details of the face, such as the eyes and pointed mouth. Re-trace the outline of the fish with a bumpy line. Next, draw in bubbles near the mouth. Draw details in the fins such as lines running through them. Add some texture lines through out the body. Once this i...
How to decorate cupcakes with some helpful tips
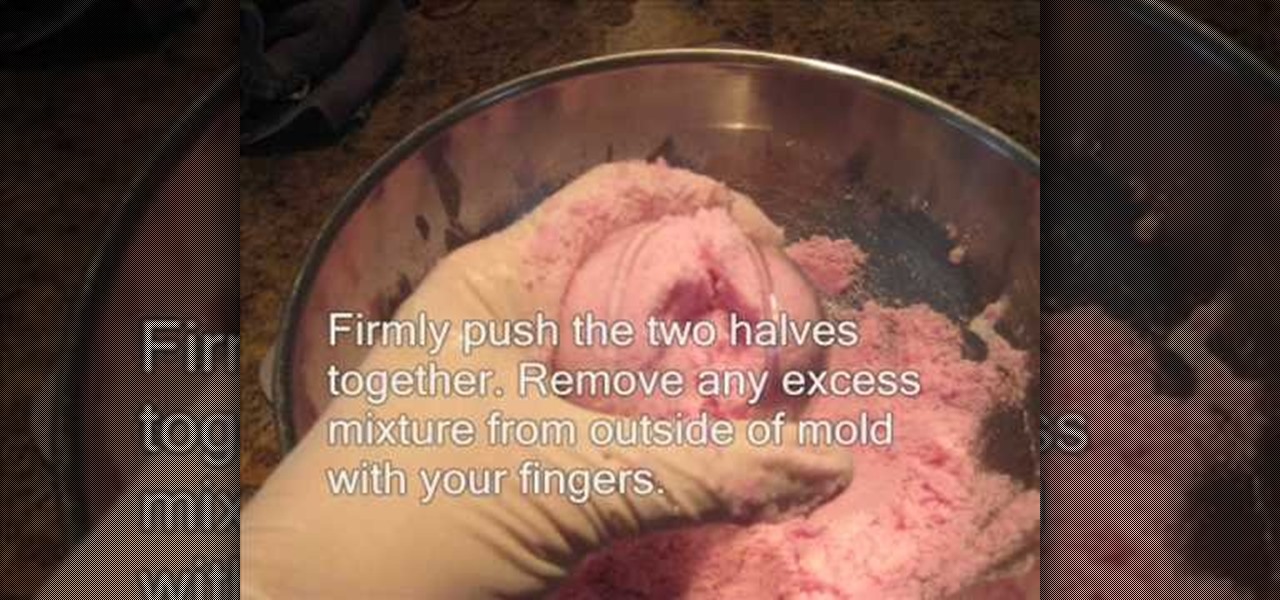
In this video, GoPlanetEarth.com shows viewers how to make bath bombs. The ingredients needed are: a half cup of Epsom salt, a half cup of citric acid, one cup of baking soda, one teaspoon of liquid glycerin, one teaspoon of water, three teaspoons of oil (the fragrance for your bath bomb), three tablespoons of sunflower or canola oil, one-fourth of a teaspoon of Borax, and food coloring (liquid). You will also need to have bath bomb molds, latex gloves, a bowl, a glass measuring cup, and pape...
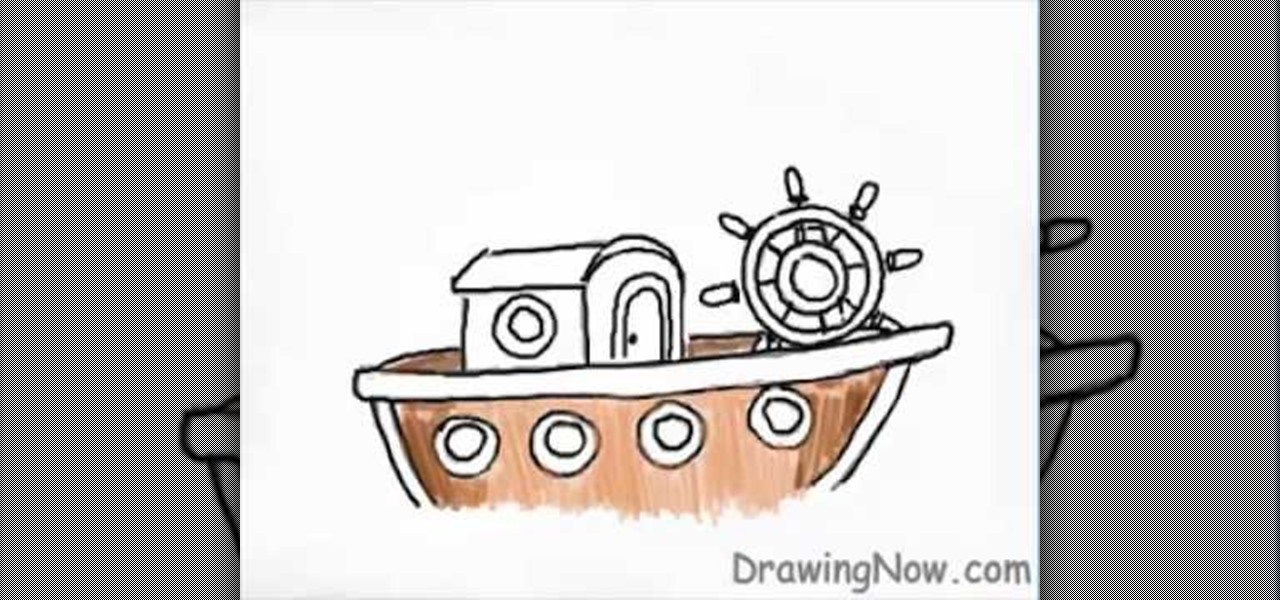
This video helps you to draw a boat. First draw the base with double lines. Then draw a cabin and a wheel. Next draw small circles on the base. Now paint the entire lines with black. Next draw spokes on the wheel. Shade the base of the boat with a lighter brown color and over-coat it with a dark brown. Paint the cabin with orange and brown color as shown in the video. Give a dark brown to the outer area of the circles in the base and fill the inner areas with black color. Give a white line to...
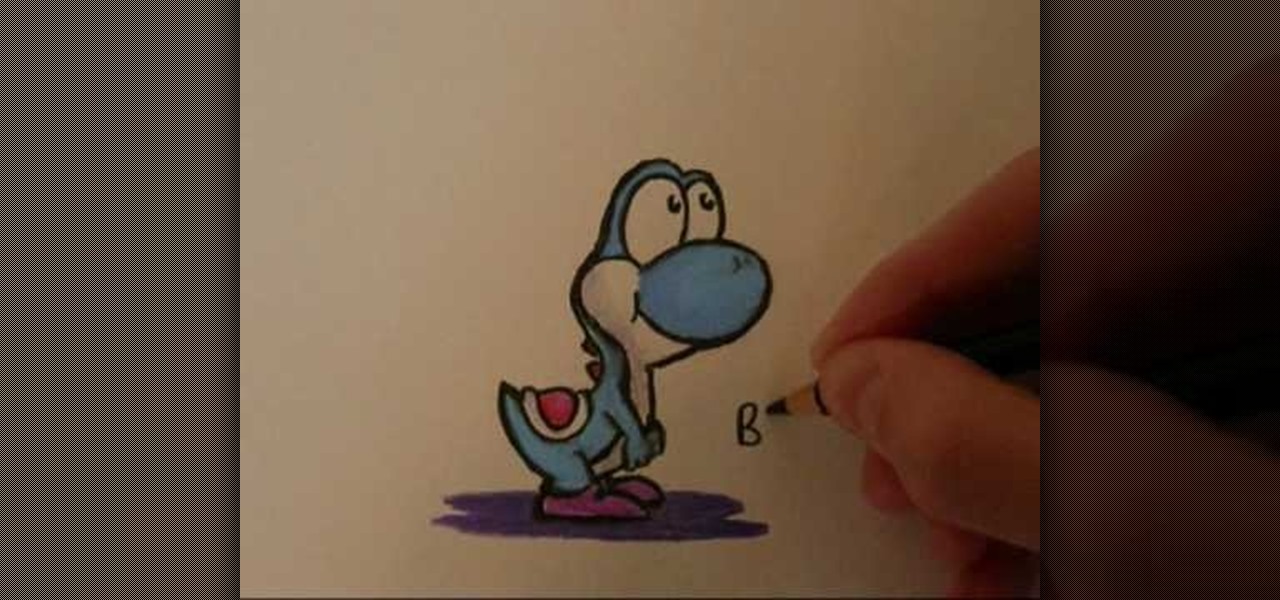
First of all you have to start by drawing an oval for the nose. Draw the rough lines so that they act as guide for your sketch. You have to draw the finishing lines later. Draw the head with the two large eyes. Make eyeballs in the eyes. Now draw the two round cheeks. Draw the body with the two arms joined at front. Now draw the tail and the legs. Now use a pen and draw the final lines. You have to start by drawing the lines thinner and then gradually thicken it to ease out any mistakes. Fina...
First of all you have the draw the outline sketch of the body. Draw the head, neck, shoulders and then the upper portion of the body. Now draw the long hair. You have to darken the eyes and the eyebrows. Now darken the outline of the face, hair, ears and the lips. Now draw the collar in the neck. Draw the tie below the collar. Then you have to draw the front portion of the shirt with buttons. Draw the collar of the coat and the top pocket. Now darken the outline of the cat and then draw the c...
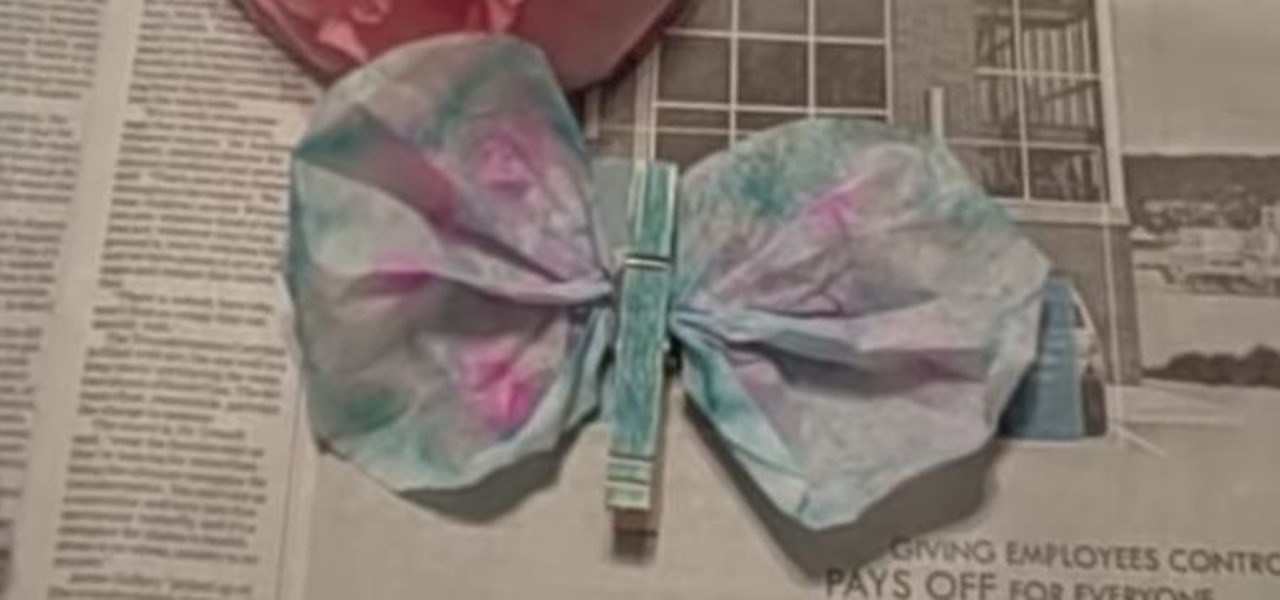
Learn to make beautiful coffee filter butterflies and flowers by watching this video by Kim Janocko. The following materials are required to make them:
Jennisse shows us how you can enhance your natural beauty simply by using your eyebrows. Start by taking some Brow Duo, and a eyebrow makeup brush. The brush should be angled, and stiff. Start by taking just a dab of the makeup, and begin shaping the eyebrow with the darker color, leaving the inner part of the brow alone. Now we take a small bit of the lighter color, and start to shade in the brow, moving towards the arch. Now Follow by taking another dab of the darker color and begin to shap...
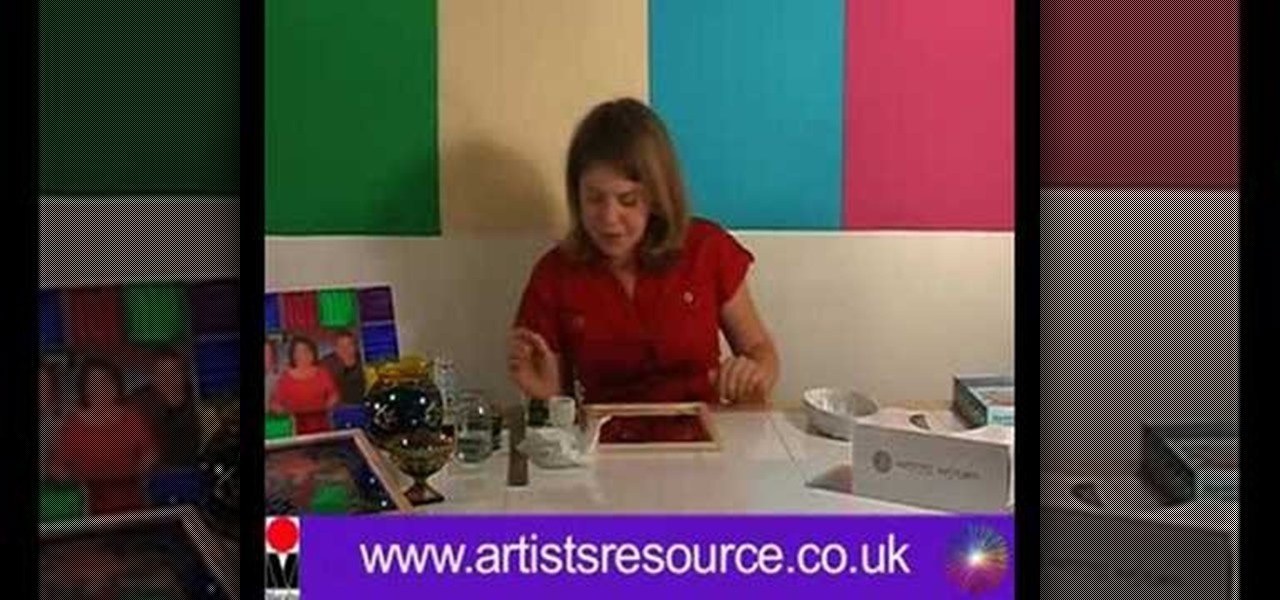
In this Arts & Crafts video tutorial you will learn how to make a stained glass mirror. This video is from Artists Resource. You will need a Marabu GlasArt kit, some spirit, a china graph pencil, scissors, a ruler, masking tape, a container to mix your paint, an object to draw an oval shape, Marabu outliner paint, a mirror and peel off dolphin stickers. Take a few dolphin peel offs and stick them on the face of the mirror; on the edges, to form a design. Place the oval shape object in the cen...
This step-by-step tutorial will teach you the correct way make a Light-Saber effect using Paint.net.In this video, you will learn how to gather the Light-Saber image, paste the image into Paint.net, choose the preferred color for the Light-Saber, and other special effects such as: sizing your Light-Saber, 'blurring' your Light-Saber, and learning the correct way to save your project.Your first step is to right click on the Light-Saber image and click 'Copy'. Next, you open Paint.net. Then you...
To make a Mario avatar begin by going to change my features. Under hair go to pate three of ten and select the middle one. For color, go to page two of three and pick the bottom middle one. For the eyes, he used the right middle one, but says that you can use really any one you like. As for eye color, again just choose whichever you like. For the eyebrows, go to page three of three and select the bottom middle one and color them brown. For the ears, use the first one available. For the noses,...
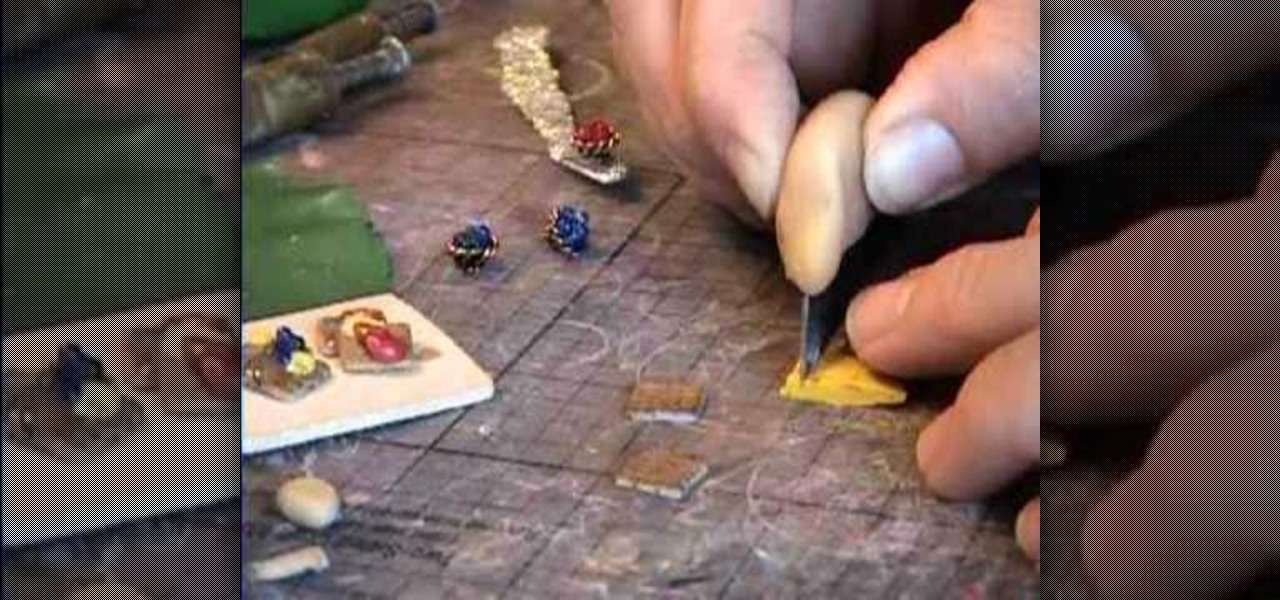
Garden of Imagination demonstrates how to make miniature blueberry polymer clay waffles for use in a doll house. Starting with a small ball of either ecru-colored clay, or pearl-white, you can blend in tiny black glass pebbles to resemble blueberries or raisins. The ball is then pressed onto a small strip of dry-wall tape that has an open weave to it, to make waffled impressions. The strip with the clay on it is run through a pasta-maker at a setting of “four” to flatten the clay into the mes...
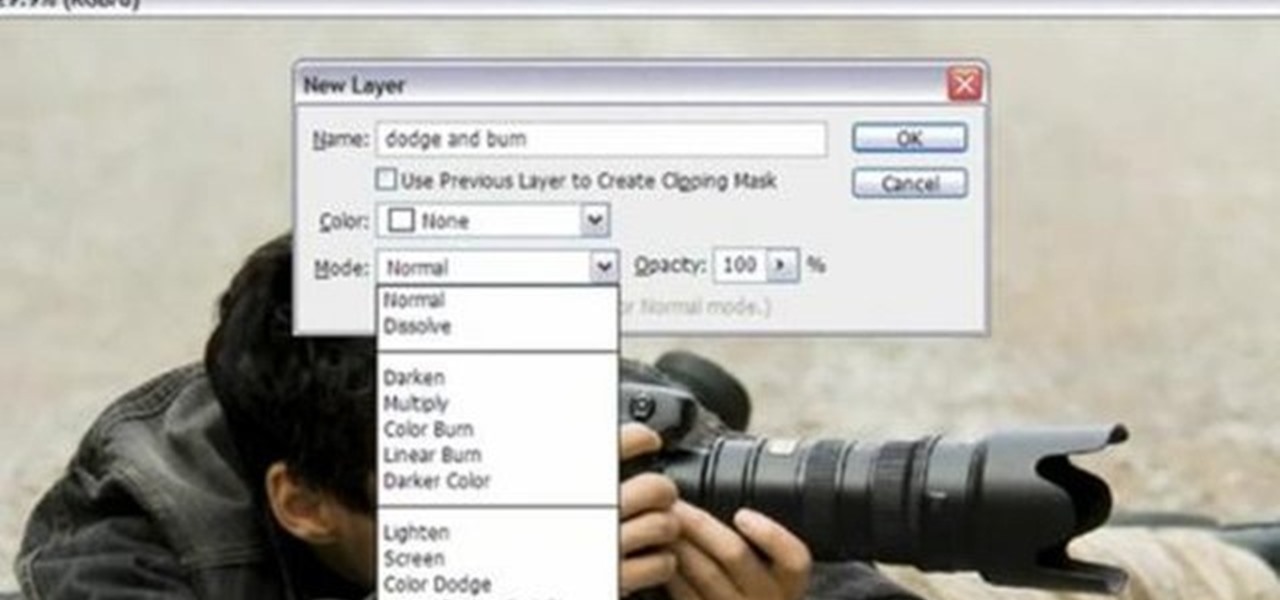
Yanik Chauvin demonstrates how to do Non Destructive Dodging (lighten) and burning (darken) of images using the tools in Photoshop. He shows the image of a man lying on earth with his camera. To start the work he wants to make a new layer which can be done in two ways either by clicking on the ‘layer’ button on top of menu or by pressing down the alt key and clicking on the new layer at button of the layer palette. It will bring up the dialogue box. He named it “dodge and burn” and from the l...
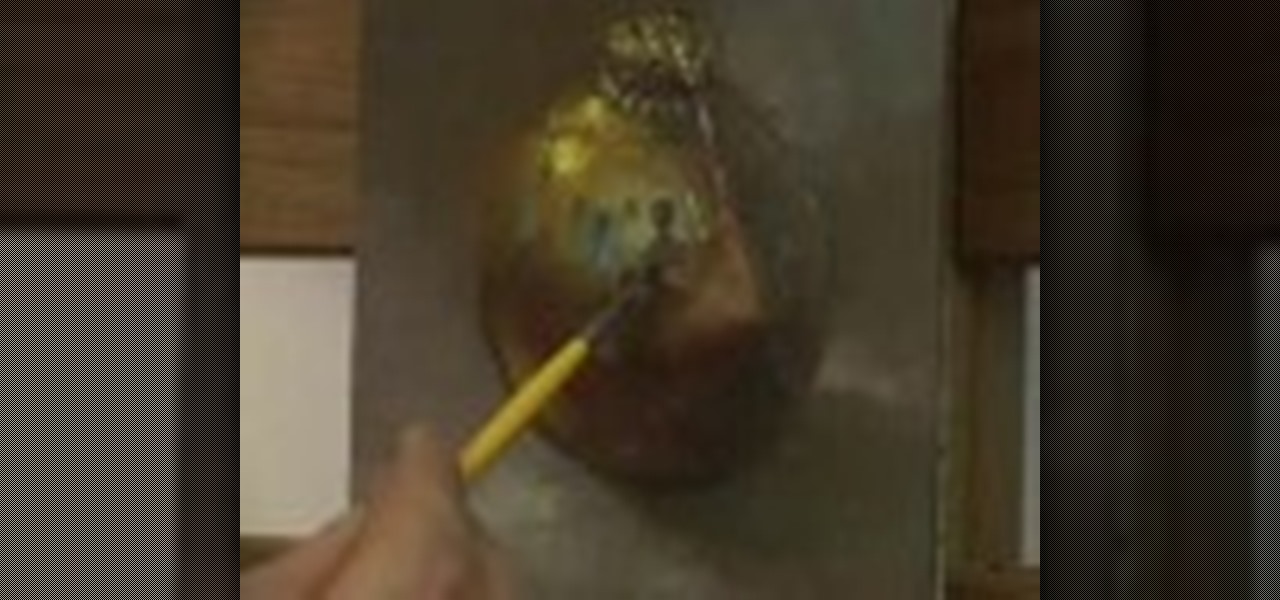
In this Painting Metallic Surfaces Hall video tutorial, learn how to paint metal objects with oil paint. This is a good tutorial to learn how to paint metal surfaces so that it looks like real metal. The examples used in this video is the painting of a pocket watch, ornament, teapot, martini glass, and more. To begin, evaluate the colors of the metal object you are painting. Make sure to pick up colors that are reflected and also make sure to pick up images that appear in the reflection of an...
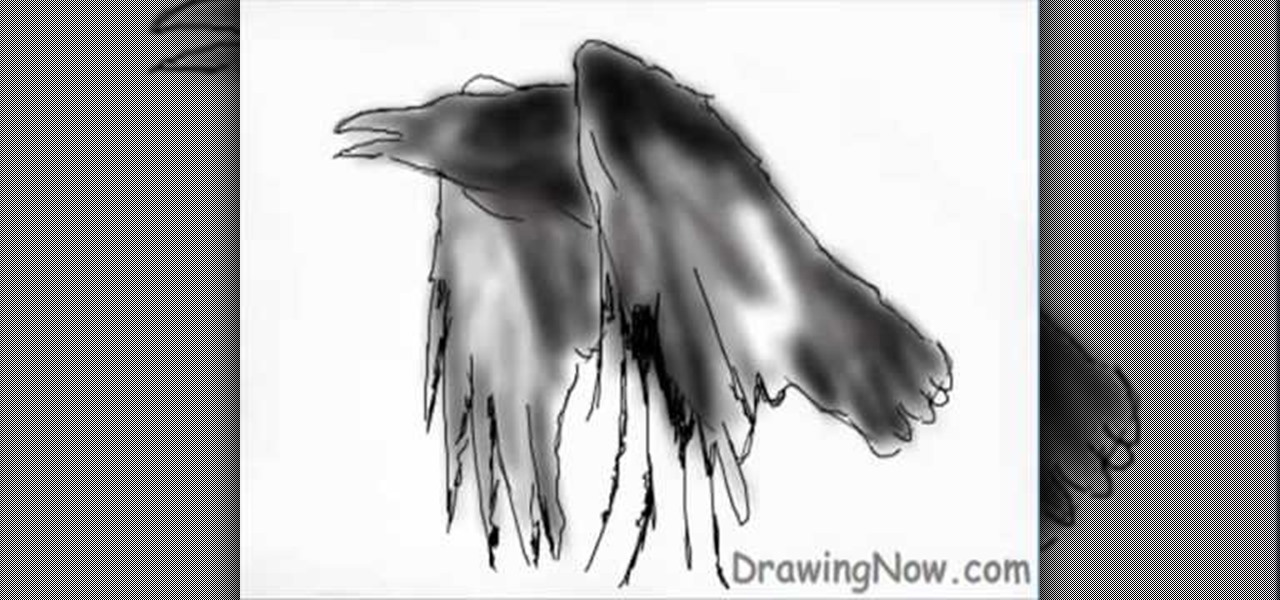
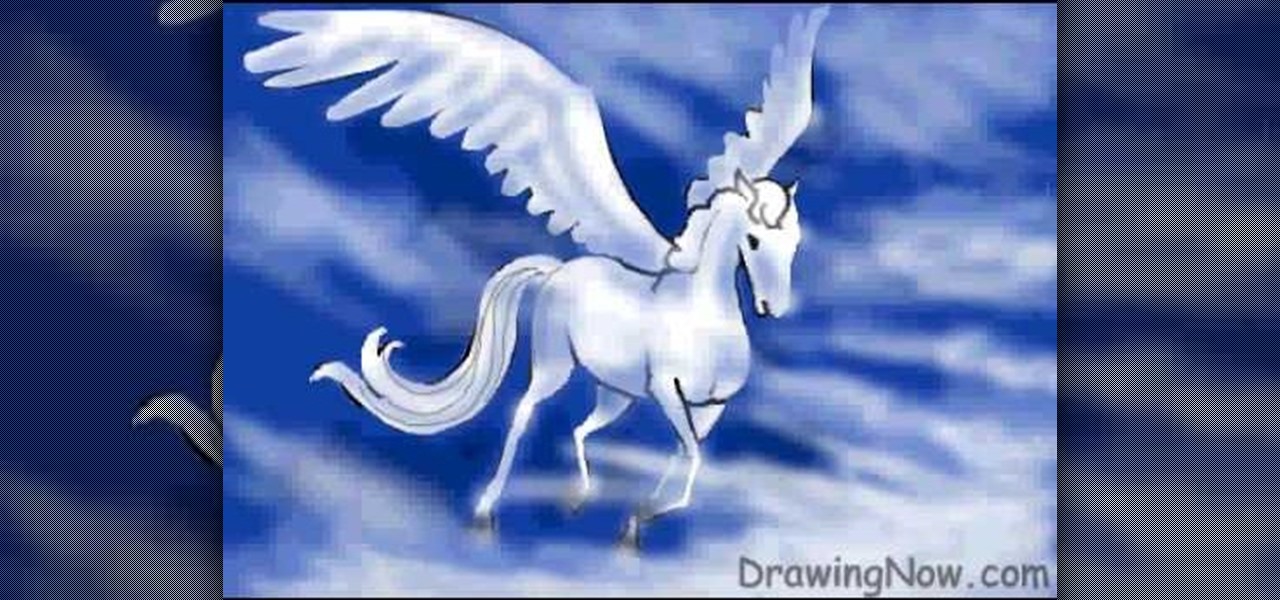
This video shows us how to draw a Pegasus, a fantasy horse with wings. Firstly draw the parts of the Pegasus roughly using light shades starting of with head, body, limbs, tail and wings. Then darken the parts previously drawn using darker shades and then add the feathers to the wings using the darker shades. Then after that erase the parts which were in lighter shade as it is considered as unwanted now. Then set the background by coloring it with blue color as the Pegasus will be usually see...
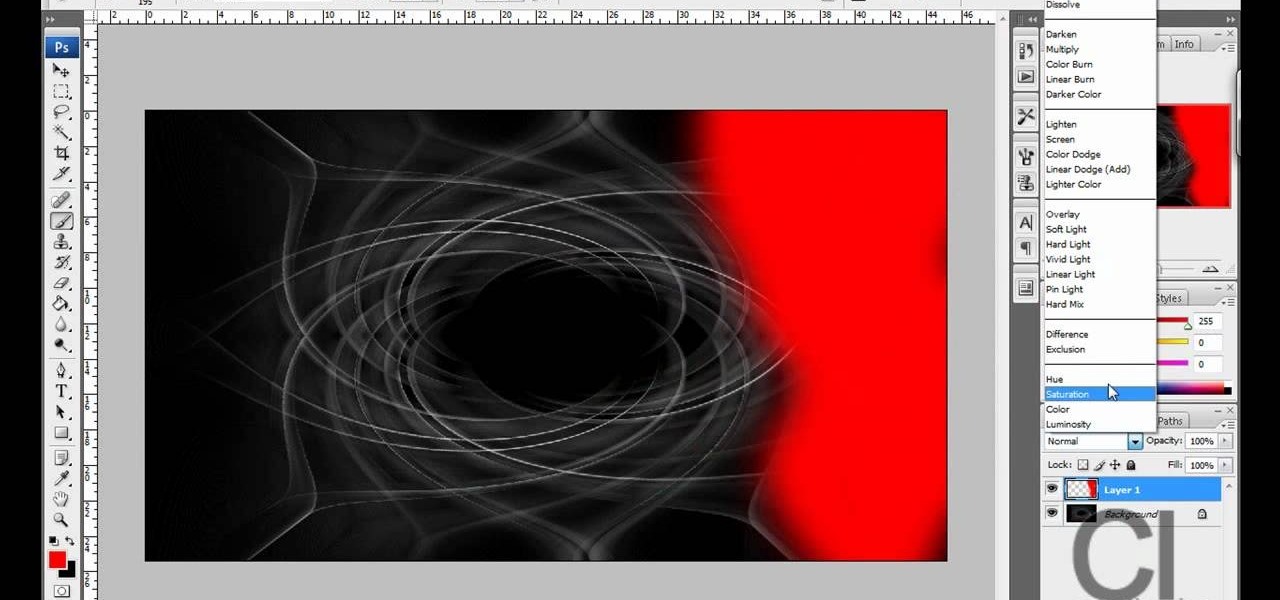
CreativeIceDesigns teaches you how to make a colorful abstract background using Adobe Photoshop. Go to File - New and make it 1280 x 720 pixels. Make the background black. Use the Lasso tool to make a star shape and fill it with white. Go to Filter - Blur - Radial Blur, amount 100%, zoom best. Go to Filter - Radial Blur. Then Filter - Stylize - Find Edges. Press CTRL + I to invert. Go to Filter - Distort - Twirl - 300 and press OK Duplicate this layer. Go to Filter - Distort - Twirl and choos...
Cross processing is a Photoshop version of slide processing. The result would be you get all these weird color shifts. For reasons best known to people who run the fashion magazines, this look became very popular in the 1990s. Start by adding in a curves layer. Add a new adjustment layer for curves. If you've never used curves before it is recommended that you take a curves tutorial first as for this effect we will need to adjust individual color channels. It is not difficult but if you don't...