Watch this video and you'll learn the simplest and most effective way of creating your own ethernet crossover cable. Starting with a general overview of what you'll be needing a crossover cable for, this video walks you step-by-step through the process of stripping the cable, separating the color-coded component cables within, organizing them for easy transfer to an rj45 adapter, and finally, crimping. Special detail is payed to organizing the colored cords, since they must be placed in preci...
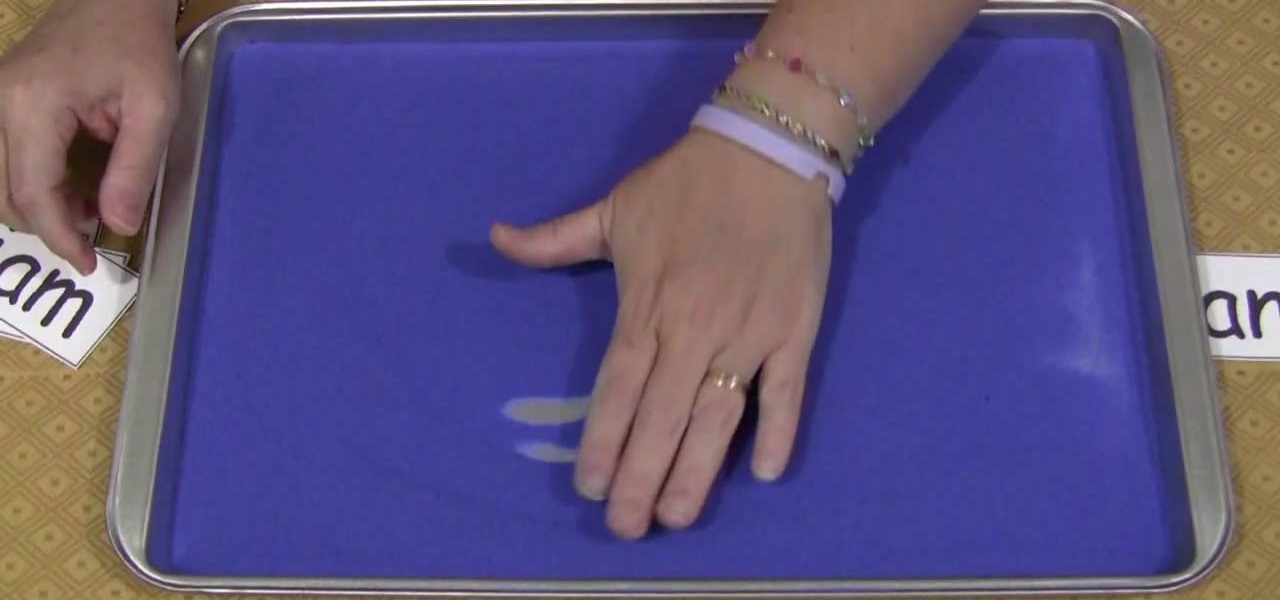
Shelley Lovett from Childcareland demonstrates sand writing as an early childhood learning activity. All you need for this activity is a baking sheet that is approx one inch deep and some sand. Colored sand makes it more fun for the kids. Shelley says the cheapest place she has found colored sand is at Wal-Mart, but it is also available at craft stores and perhaps even at Home Depot or Lowes. You spread a thin layer of the sand onto the baking sheet and try to make it pretty even. For very yo...
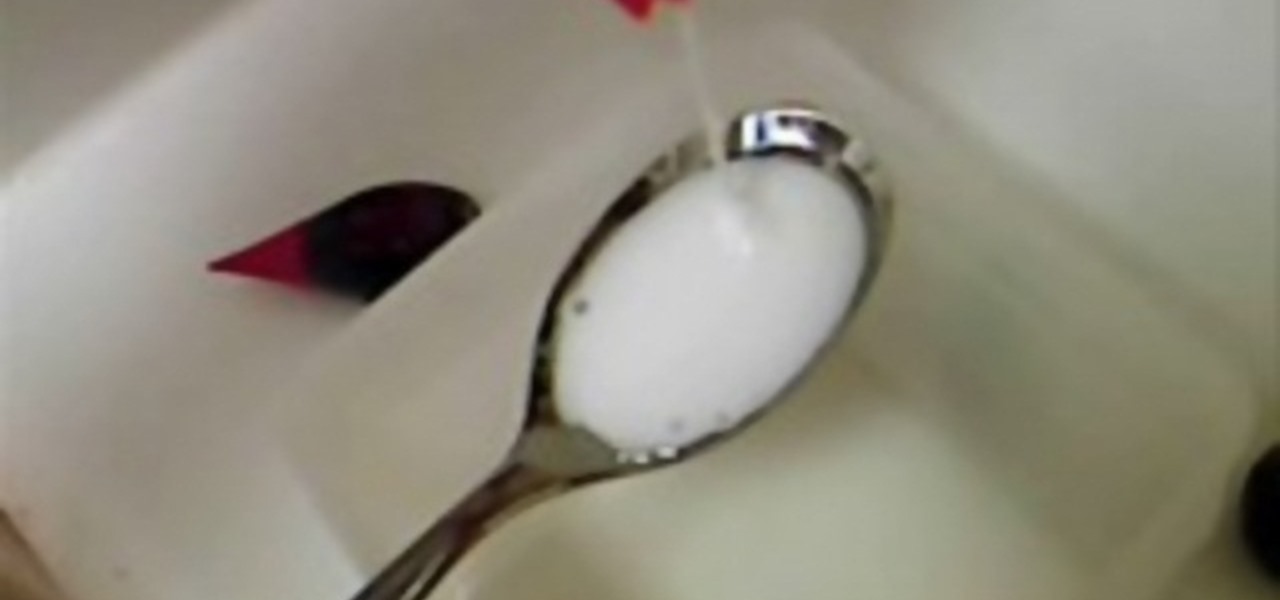
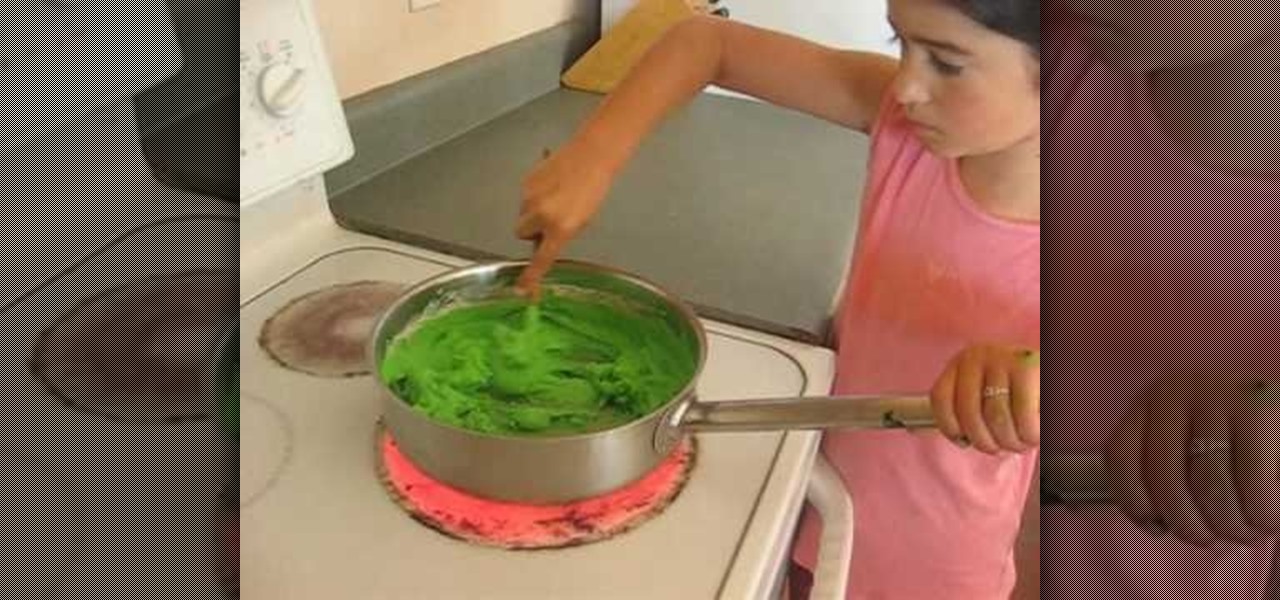
In this how-to video, you will learn how to make your own gak. All you need is borax, food coloring, and school glue. Take five tablespoons of water and mix one teaspoon of borax in a plastic container. Take one tablespoon of white glue and mix it with a tablespoon of water before adding it to a different plastic container. Add three or four drops of the food coloring of your choice. Now, mix it with a spoon and add two teaspoons of your borax solution to the new mix. Once that is done, mix i...
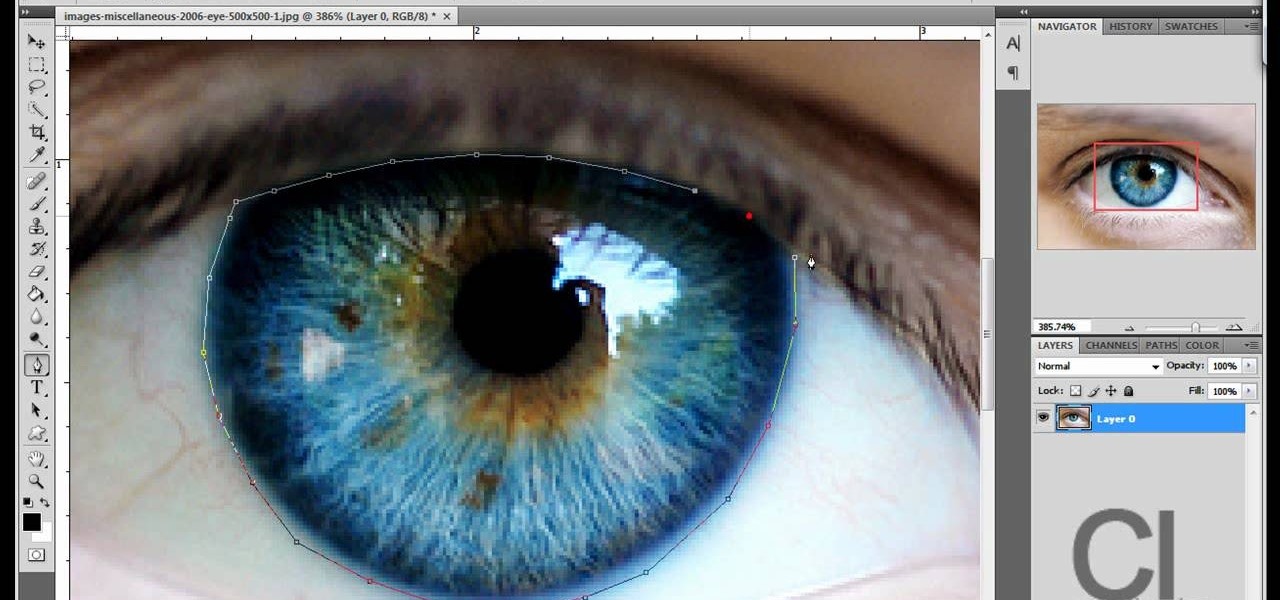
Changing the color of your eyes is very quick using Photoshop and this handy video. After using the selection tool of your choice to outline the eye (this video uses the pen tool) with a little bit of feathering, just change the hue of the eye. The video shows how to do this by pressing control + h, however it can also be selected by choosing the image menu, then adjustments, then hue/saturation. This great effect can be used as shown on close up eyes or on smaller eyes further away. Both way...
Looking to make your Xbox your own? Check out this tutorial for details on how to create your own custom designed faceplate and make a statement.
Looking for a hardcore rock and roll image but don't know how to play an instrument? Mix styles from punk rock and goth to ’80s hair bands; and get the extreme look of Japanese rock musicians without ever lifting a guitar.

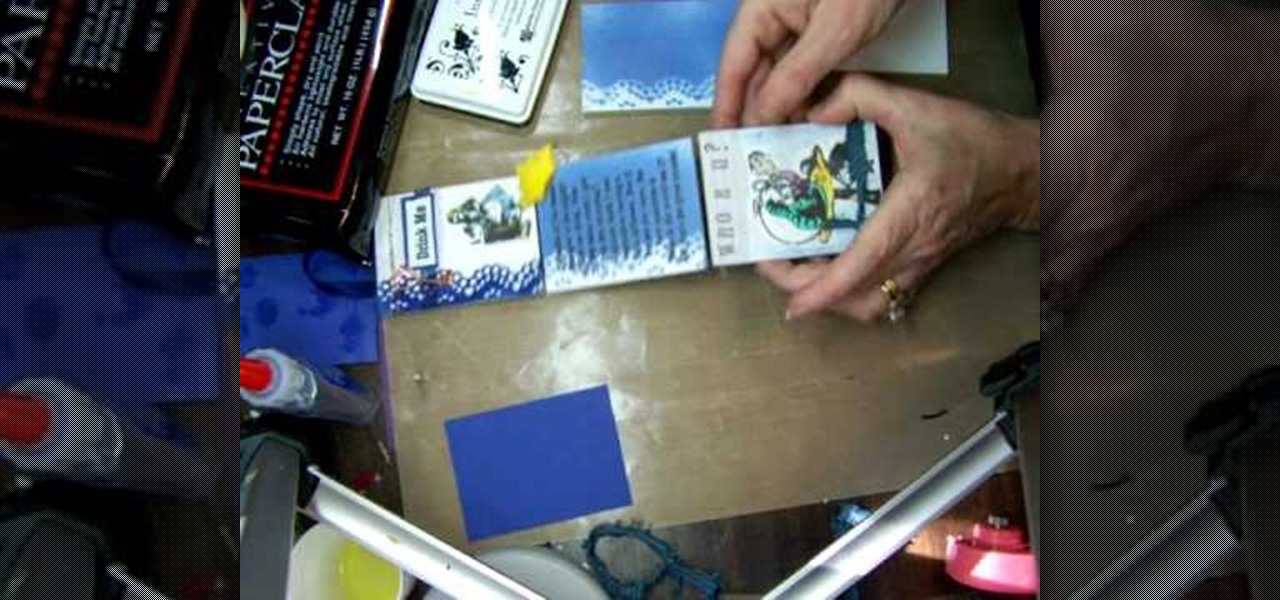
This video is about how to make a story board craft. In this case the story is about Alice in Wonderland. In this case 3 Eco art boards are taken of a suitable size of 2 1/2"X3 1/2" the left edge is decorated with a lace spray painted with Memorie mist spray, the rest of the card is also spray painted. Now from Queen Kat Designs the stampings are selected and stamped on each board as per the story. Whilst stamping Indian stamping ink is used as it does not smudges. For extra decoration paper ...
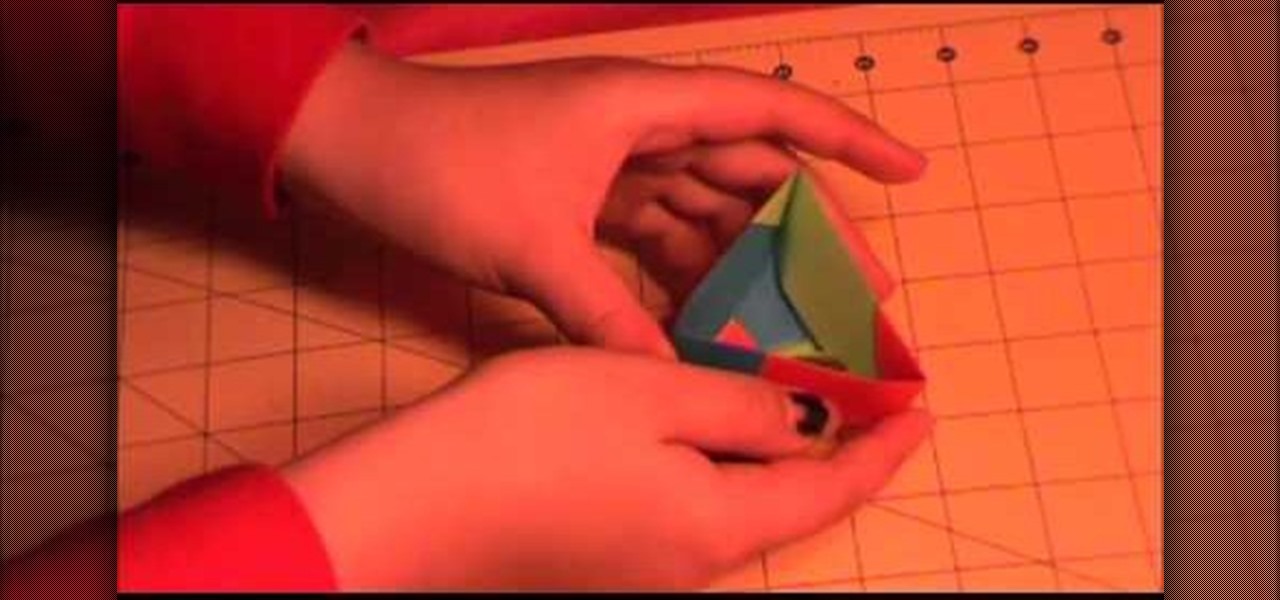
The Amazing Origami channel takes you through step by step instructions of how to build a triangle origami box in this video. Six pieces of origami paper, three different colors, are all the supplies you will need to make your very own box! First, separate the origami paper into two groups of three, all three colors should be in both groups. These groups will make the top and bottom of your box. The three pieces of paper used for the bottom will all use the same folding technique, this is als...
Anyone can go to the store and buy a bag, but how many people are going to have a handmade duct tape bag? Show your creativity and style by choosing a wacky color and show up with this whimsical tote bag.
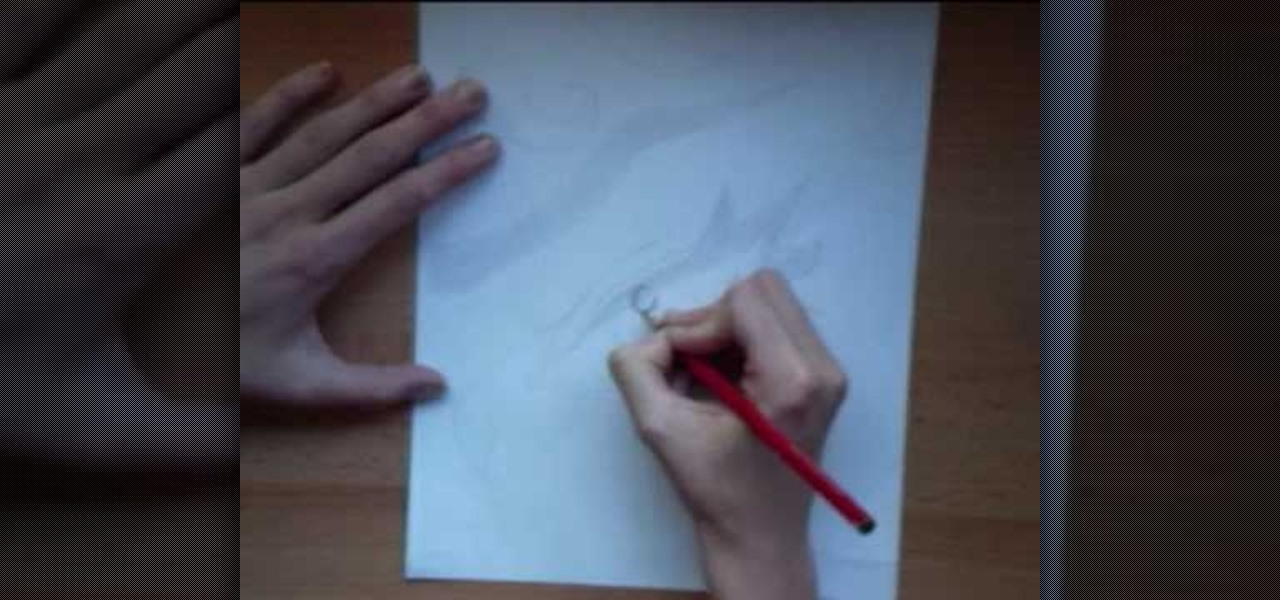
This video will teach you how to draw a fairy eye using your drawing tools and your imagination. The first thing that you need to do is to get a sheet of paper and a pencil. Now draw the sketch of the eye just like in the video. The next step is to draw the eyelash of the eye. Remember to draw a cartoonish eye because this is the eye of a fairy. Now draw all the details of the eye like in the video and you are done. You can color the eye with different colors. If you follow these steps you wi...
This is a great instructional video on how to apply star wars makeup. First you have to take off some glue stick to smudge on the second half of your eyebrows. Apply liquid green all over the face. Now apply yellowy green powder allover the face with a brush. Now contour bitches. Draw eye shadows with dark colors and eye brows with black color. Taper it out into a point both on the outer corners going up and in the inner corners going down, an Arabic kind of eye. Now set liner with black powd...
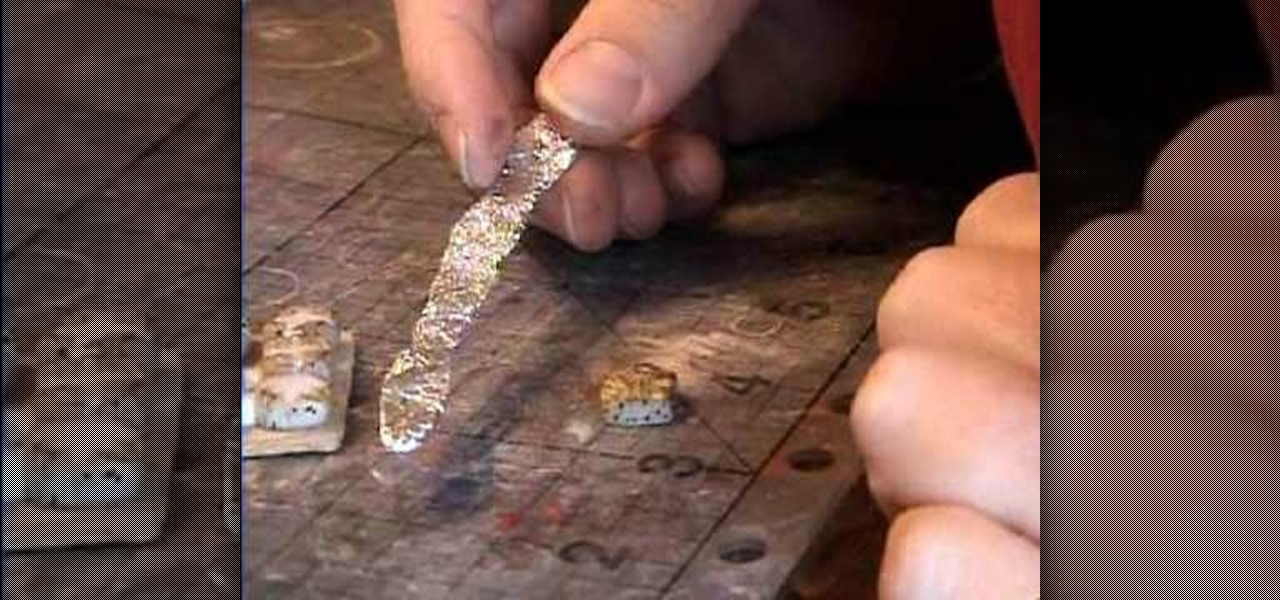
Watch this video to create realistic hot cross buns for your dollhouse! Start off with some white clay, and glass marble beads. Take your clay and make a nice little ball and pour in some of the marble beads. Squish the clay together so all the little "raisin" beads get mixed in. Roll it through the pasta machine on setting number one. Next take your square cutter and press it down on the clay. You then have your first hot cross bun. Use different colored chalks to color the bun. Then bake yo...
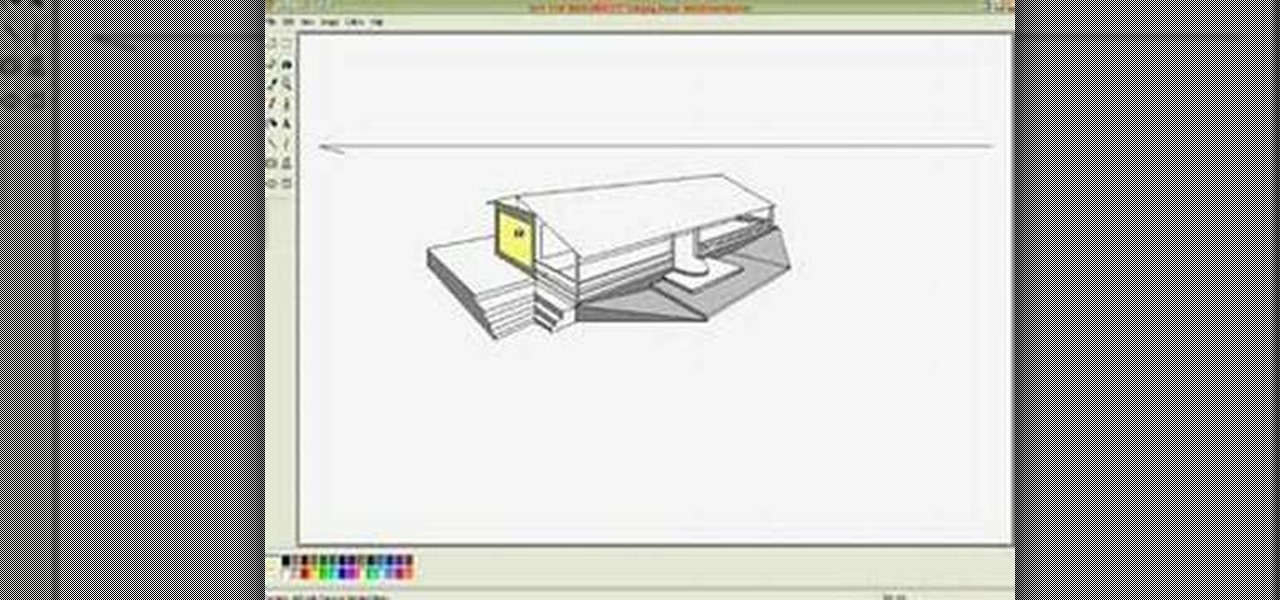
In this video, Lance Sisiolo draws a beautiful house using Microsoft Paint. He uses line tool to draw most part of the house. He uses different types of lines. He also uses curve tool to draw sky and the entrance of the house. The unwanted part of the picture is erased using erase tool. Then he uses fill with color tool and airbrush tool to paint the picture. He uses different colors to increase the beauty of sky and the house. Then some trees are added. Using airbrush tool he increases the b...
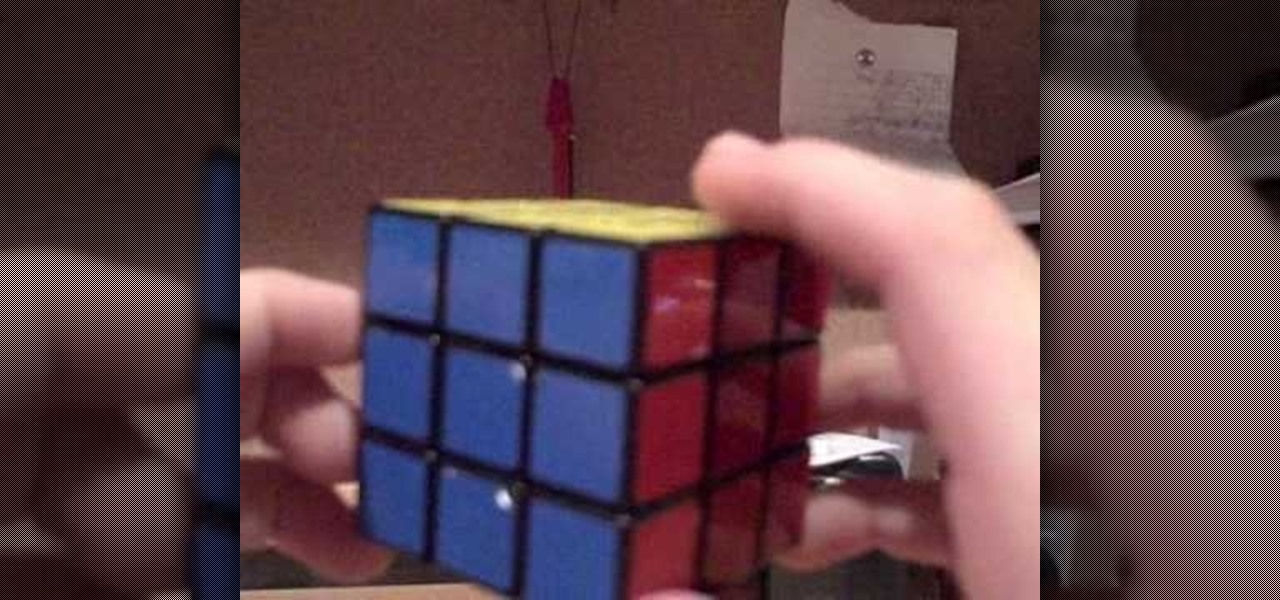
Has a Rubik's Cube got you stumped? This video demonstrates how to understand notation in a three-by-three cube. Step one of the video is to understand that there are three types of pieces in a cube. One is a center pieces, these demonstrate what the color of the side must become. Next, is an edge piece. This is one piece with two stickers. Lastly, there is a corner piece. This is a corner on the cube. It has three stickers. Finally, once you understand the notation of the pieces of the cube,...
In the video 8-year-old Emma makes the play dough. The ingredients needed for the play dough are flour, water, salt, oil, cream of tartar, and some food coloring to give it the color.
This video shows how to use Urban Decay eyeshadow palettes. You will learn how to use purple and blue together. Start by using a gel turquoise eyeliner as a base. Using a brush, apply evenly over the eyelid. From the Urban Decay Book of Shadows, apply the color Shattered over the eyelid. Now using the color Ransom, use a Mac #217 to the crease of the eyelid. To blend those two colors use a color called Fishnet, which is a hot pink. Use a highlight color from Mineral Magic to apply to the brow...
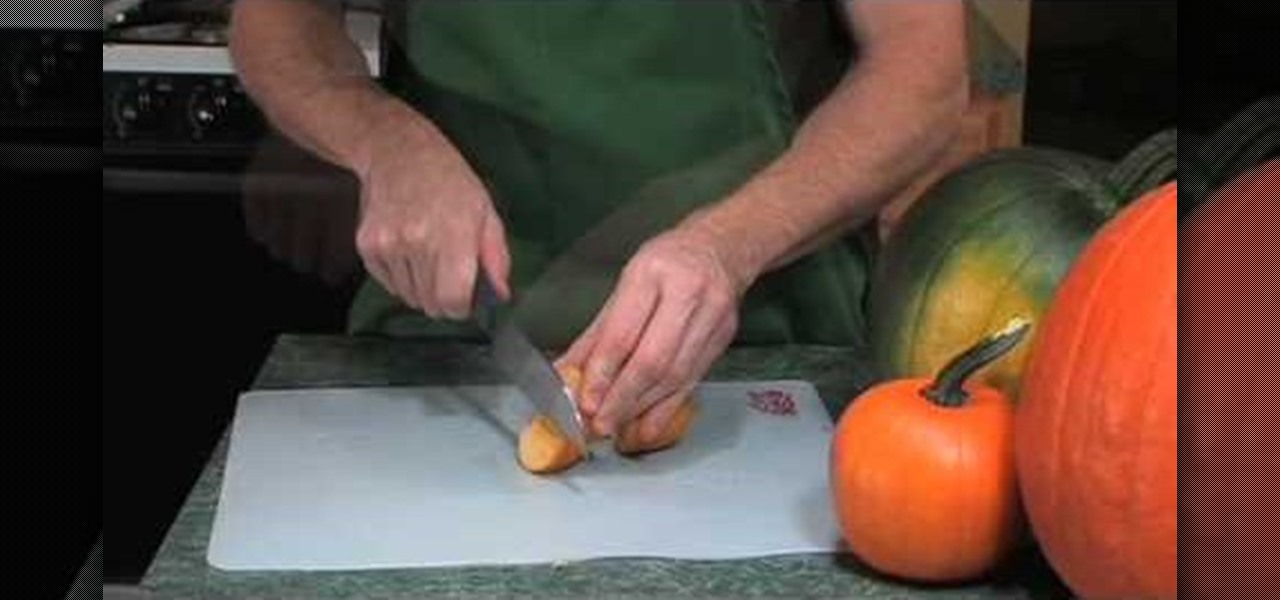
With the arrival of fall come persimmons. One of the kinds of persimmon called Fuyu persimmons, also called sharon, are in season from September through December. What you need to look out for is that they are firm and have a nice orange color overall with smooth skin. If a persimmon does not comply to this, let it ripen on the counter until it reaches a bright overall coloring and then just eat it or use it in a salad. There are two types of persimmons, the Fuyu is better suited to be eaten ...
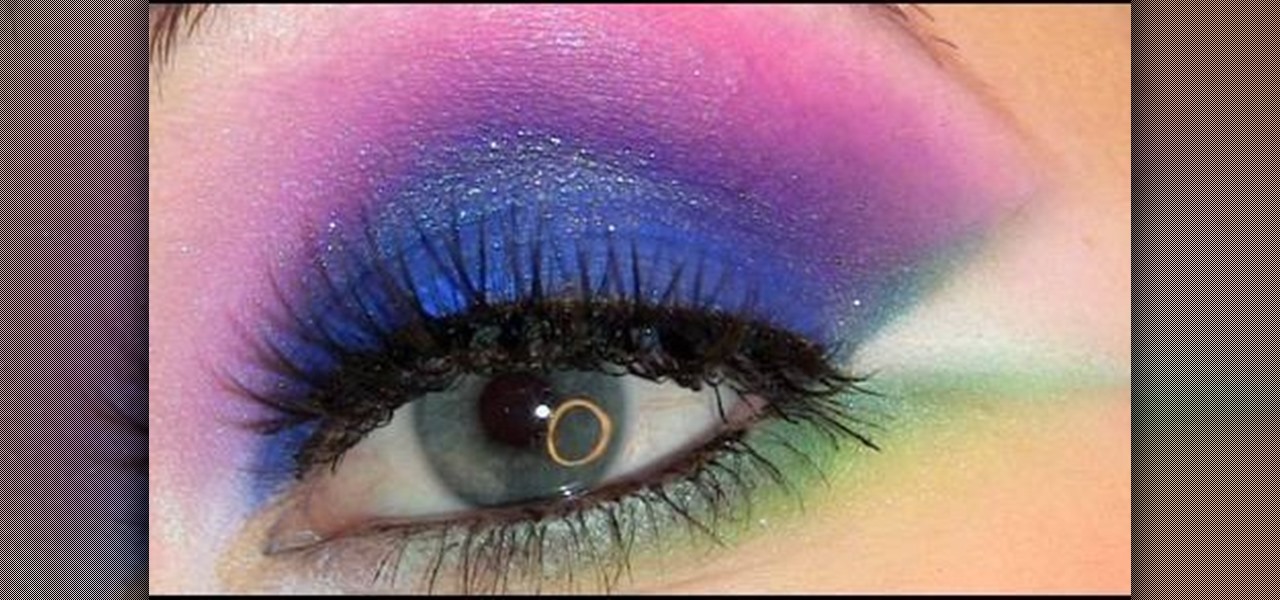
This video teaches the secrets of creating an Electro pop makeup style in simple steps. First wet a dark blue eyeshadow powder and apply to your eyelids. Now apply a pink eyeshadow using 222 brush and apply it over the blue. Now use white color and highlight under your eyebrows. Apply a green color using a flat brush under your lower lash and apply a brighter green over it. Apply a white eyeliner to the inner corner and make a triangle shape at the outer corner. Now apply some eyeliner, lashe...
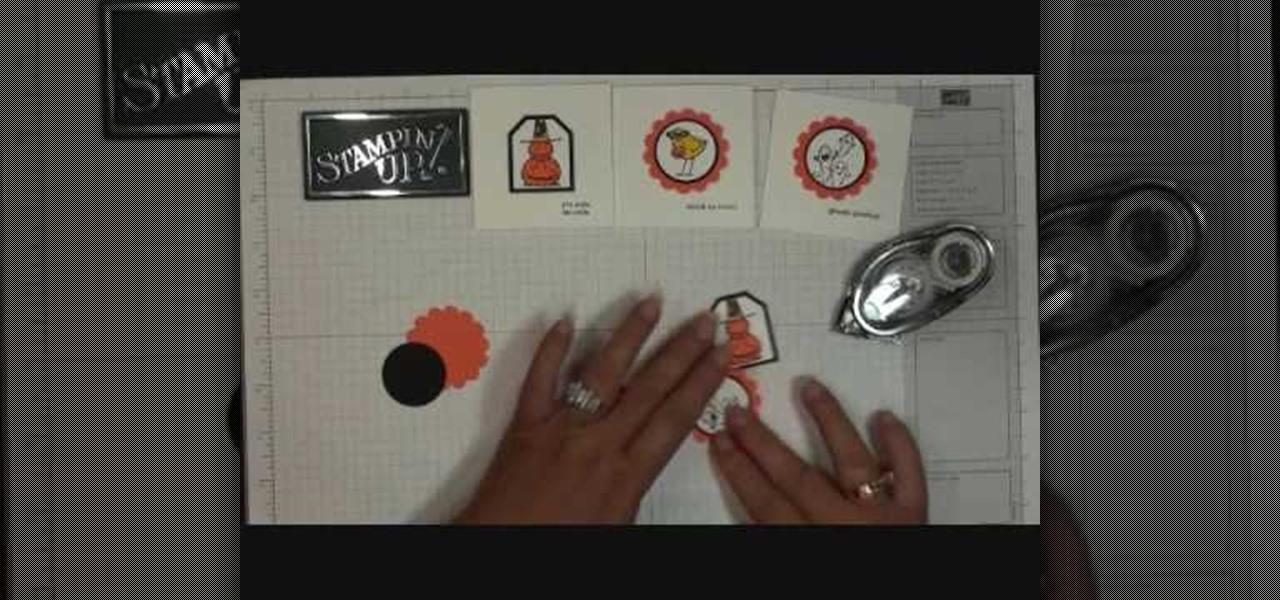
We learn how to make a fall themed thank you card with Stampin' up. The Stampin' up set she used today was the Halloween theme. Firstly cut out your stamps. Then choose the colors of your liking to color your stamps with. Thereafter, cut out your stamps in any design. Continue on with cutting a rectangle that is just a little bigger than your stamp. Glue the stamp to the orange rectangle for a background. Then you are done, but you can add even more to your stamp with glitter and sparkles.
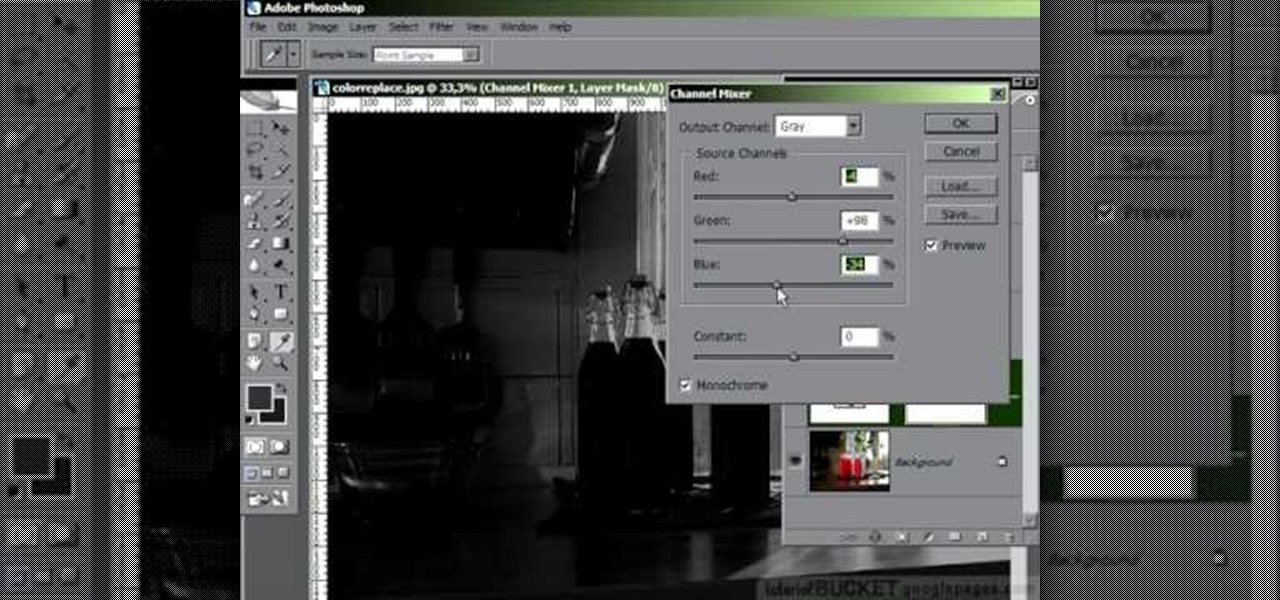
In this video tutorial, learn the several methods to get black & white images from color originals in Photoshop. The first method is the simple desaturate by going to image > adjustments > desaturate and it will wipe out the color from your image. The second non-destructive way of doing this is going into the layers palette, adding a new adjustment layer, choosing hue and saturation and dragging the saturation slide all the way down to minus (-) 100. The next method is going to the channels p...
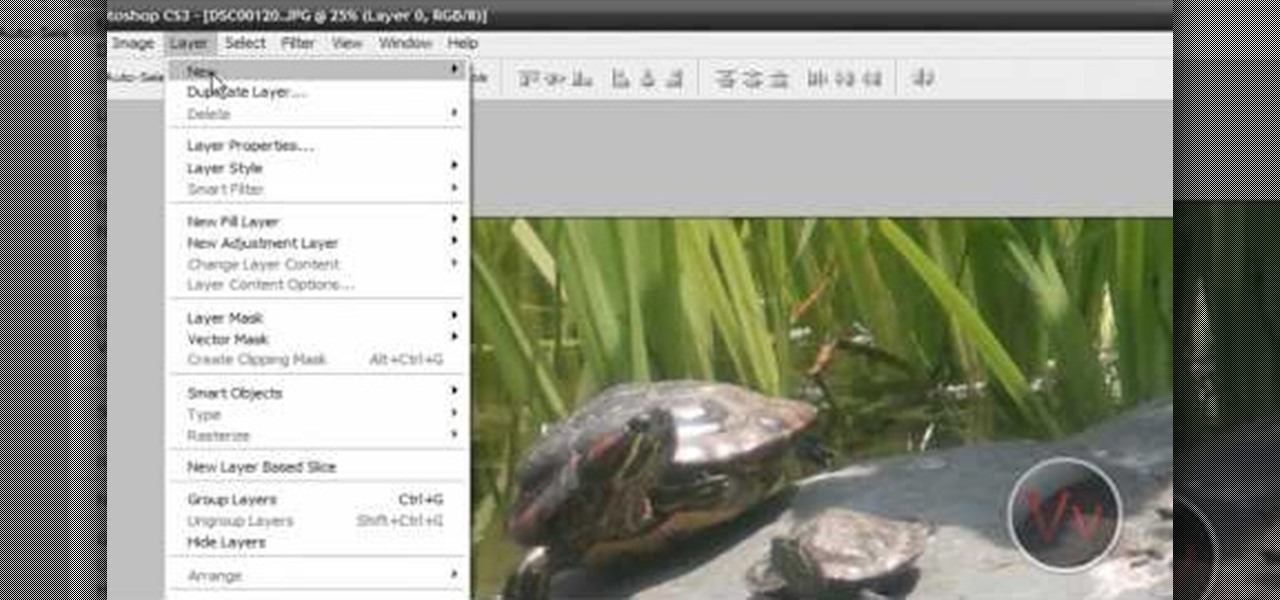
This video tutorial by VvCompHelpvV gives you two methods to achieve the Sin City effect in your photos using Photoshop. The Sin City effect is making the main subject of the photo appear colored while the rest of the photo looks black and white. In the first method the subject should be selected using a pen-tool using the settings mentioned. After that right click on the selected areas and make the feather radius 3, inverse the selection and go to image > adjustments and de-saturate and your...
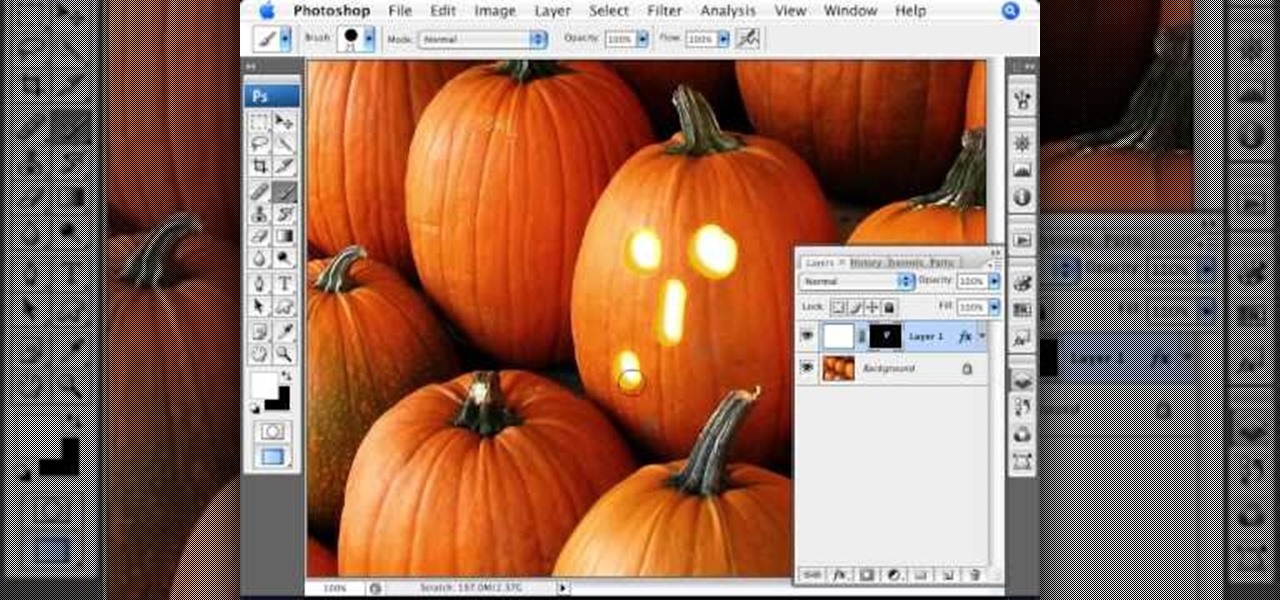
Photoshopuniverse shows the way to create a Jack-O-Lantern in Photoshop. At first you need to collect or take a photo of a pumpkin. Make a new layer, with a white background, then mask it. Fill it with black color. Now go to blending option and give inner shadow, inner glow, gradient layer and outer glow. The major color will be yellow. There will be also a thin stroke. Your brush is ready now with all its effects of a Jack-O-Lantern. After following this video, you can use the same effect an...
In this video tutorial the instructor shows how to perform basic lighting corrections in Adobe Photoshop. The levels tool is the Photoshop's most used command which has many features to it. Its most basic function is as a lighting correction tool. In this video open an image and work on its adjustment layer so that you do not damage the original picture. Now choose the levels option by right clicking and it shows a pop up window which contains a histogram which shows the population of the col...
This video tutorial by tasktutorial shows you how to create stylish text in Photoshop. Launch Photoshop and select the type tool and choose myriad-pro font light. Create a text field and type in the text as indicated. Increase the font size and location as desired. Thereafter open the layer options, choose a gradient and create a new gradient by selecting the color as required. Apply a white color outer glow change the size, range and opacity. If you want to add more text create a new layer a...
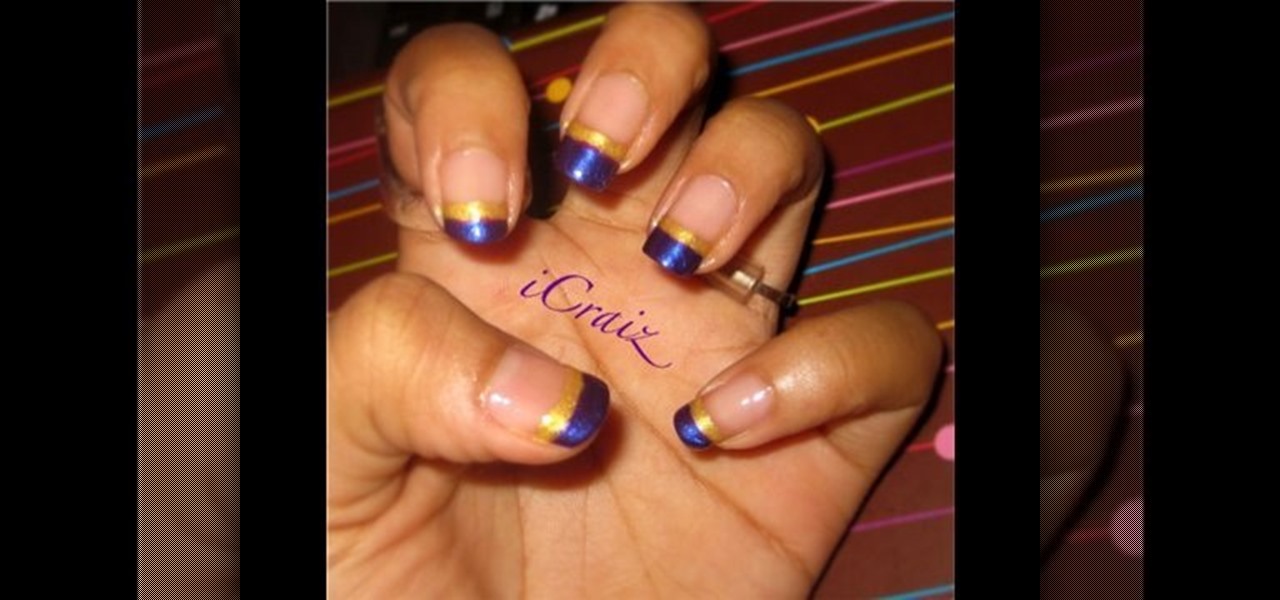
In this video, they show you how to do French nails with purple and gold tips. The nail polish used for the gold color is Ooh La La. The nail polish used for the purple color is N.Y.C. You also need a clear nail polish for a base coat as well as a skinny brush in order to paint the French nails with it. The base coat used is a Maybelline nail polish. You first apply a base of clear nail polish. Then you apply the purple nail polish to the tips. Using the brush, you apply the gold stripes. Fin...
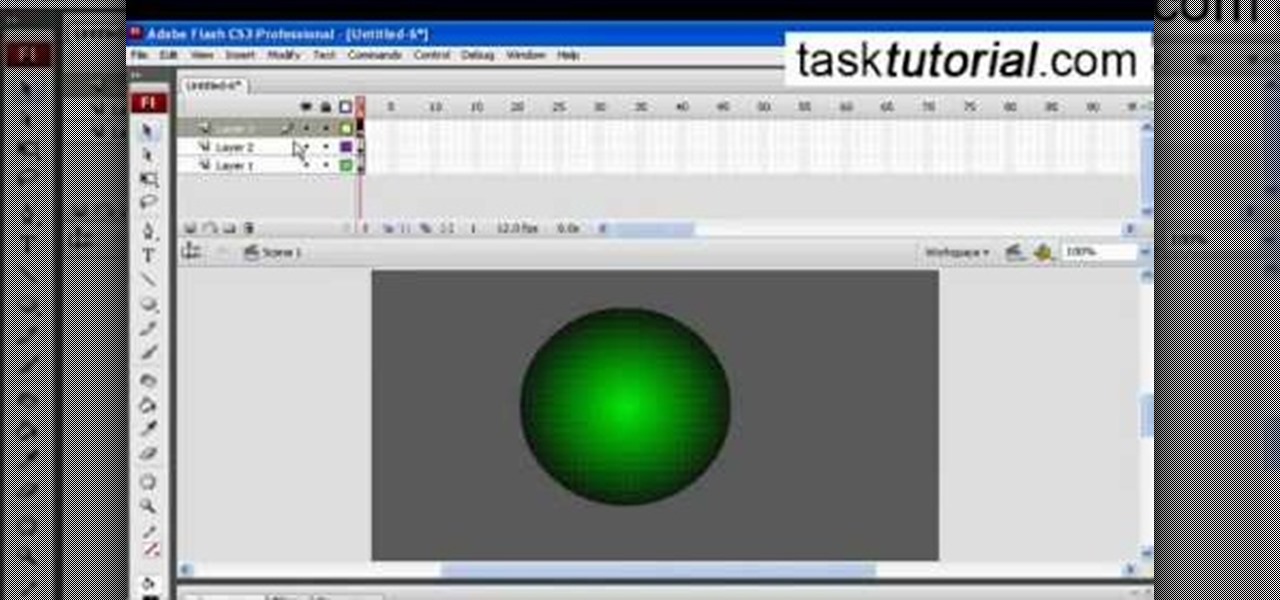
In this video tutorial the instructor shows how to create a text on a rotating sphere in Flash. To do this first create a gray background in the flash tool. Now make a new layer, select the oval tool and set the color gradient to green color and select the oval shape on the gray background. Similarly create an another sphere which will act as a mask for the text. Now create a new layer and add text to layer in white. Now move to frame 20 and make a key frame with all layers. Now drag the text...
In this video you learn the basics of how to draw a cartoon horse. The basic structure is laid out in a series of simple geometric shapes, lines and scribbles.
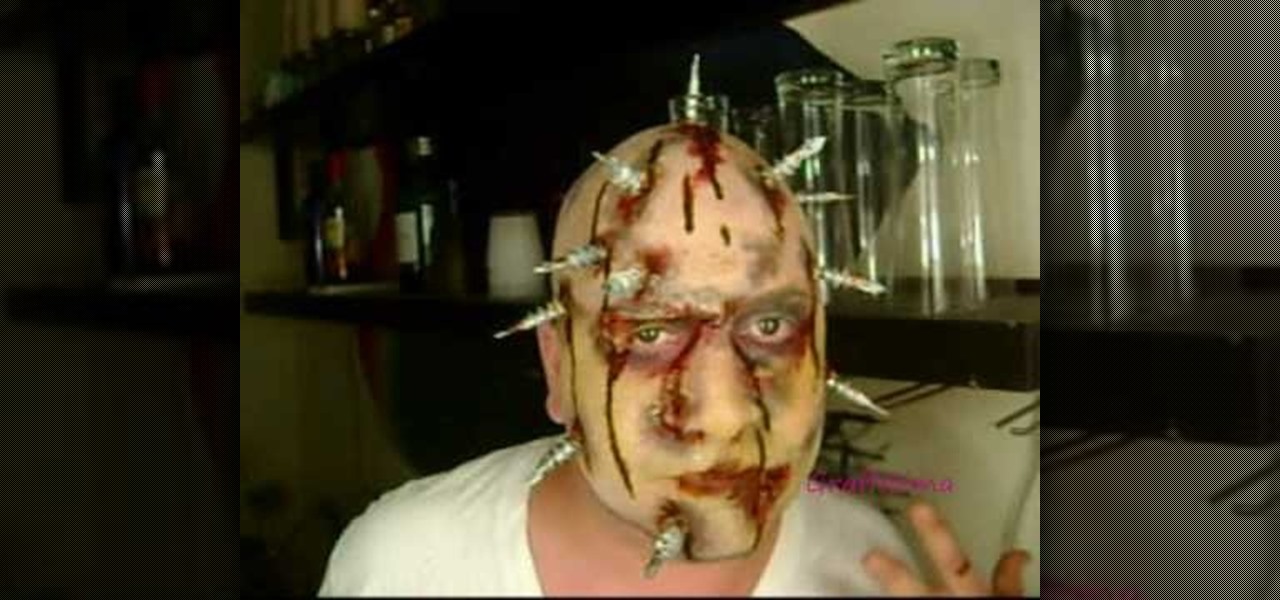
This fantastic Halloween special effect makeup tutorial teaches you how to create a bloody bolt look using mostly MAC products. The artists teaches you how to create texture and create a distressed look with the base and color makeup. He applies the adhesive and attached the scar effects and adds the "bolt props" with the adhesive. He uses a purple and yellow pigments to distress the skin further. He then takes fire red to create the blood. He also shows you how to make realistic blood with s...
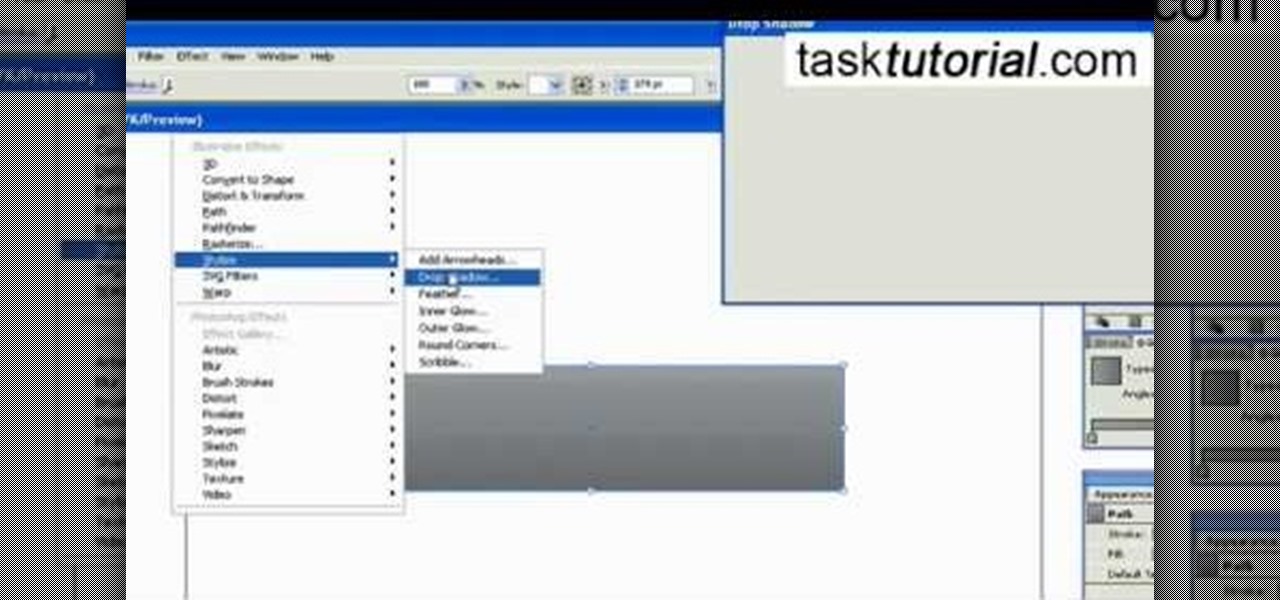
This video tutorial by Tasktutorial shows you how to create an Apple style bar in Illustrator. First, select the rectangle tool in Illustrator and draw a bar as shown. Now select the path, go to gradient and choose the black and white gradient from the swatches. Select two shades of gray and change the angle to -90 degrees as shown. Tweak the colors and go to effects-stylize and select drop shadow, change the opacity value and select black color, normal blend mode as shown. Select the type to...
This video is about how to make a duct tape purse. For this, you will have to remember only a few easy steps that are the following. Take two different colors of tape, from first take some strips and start joining one after the other; repeat same at the back side also. Fold its end; join the ends with the help of tape. Remember not to paste from the upper side as it is a purse. Take a strip of second color tape on its back side also. Paste the ends into the purse formed.
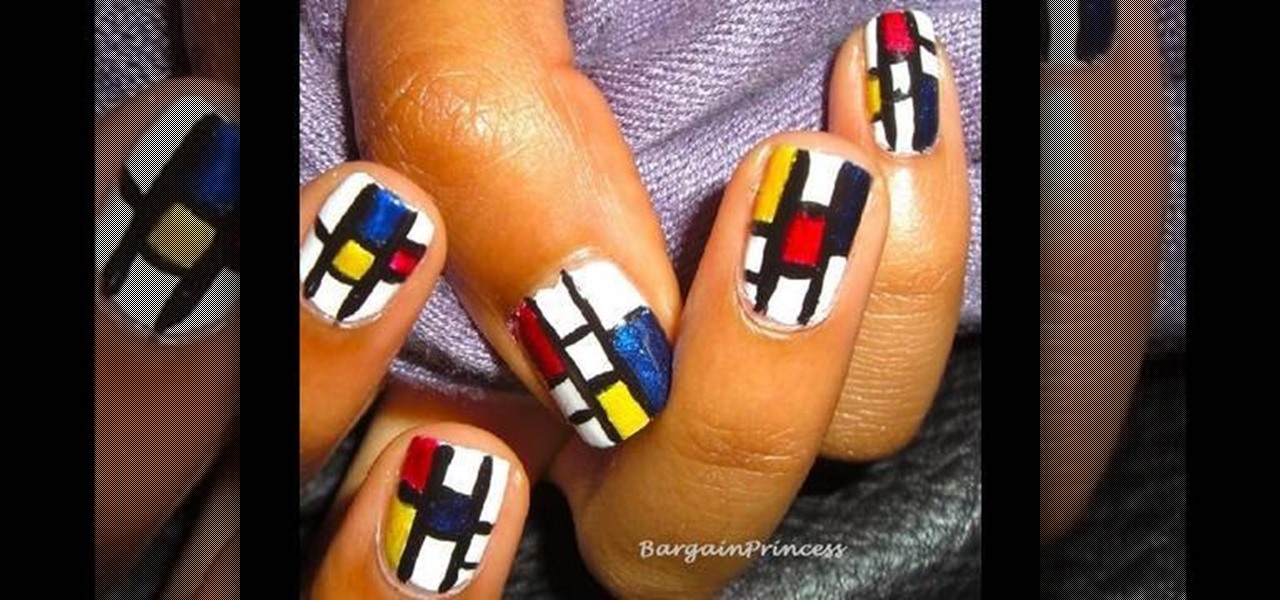
This video shows how to paint Piet Mondrian inspired block print nails yourself. Apply a white base coat and top coat. Use black nail art paint because of the thin brush. Paint two black lines the length of your nails. Then paint black lines going across the width of the nails to make random size boxes. Dab the color of paint you are going to use on a piece of paper and use the nail art brush to get the paint off of the paper and apply the different color paint to the boxes. Wait about 10 min...
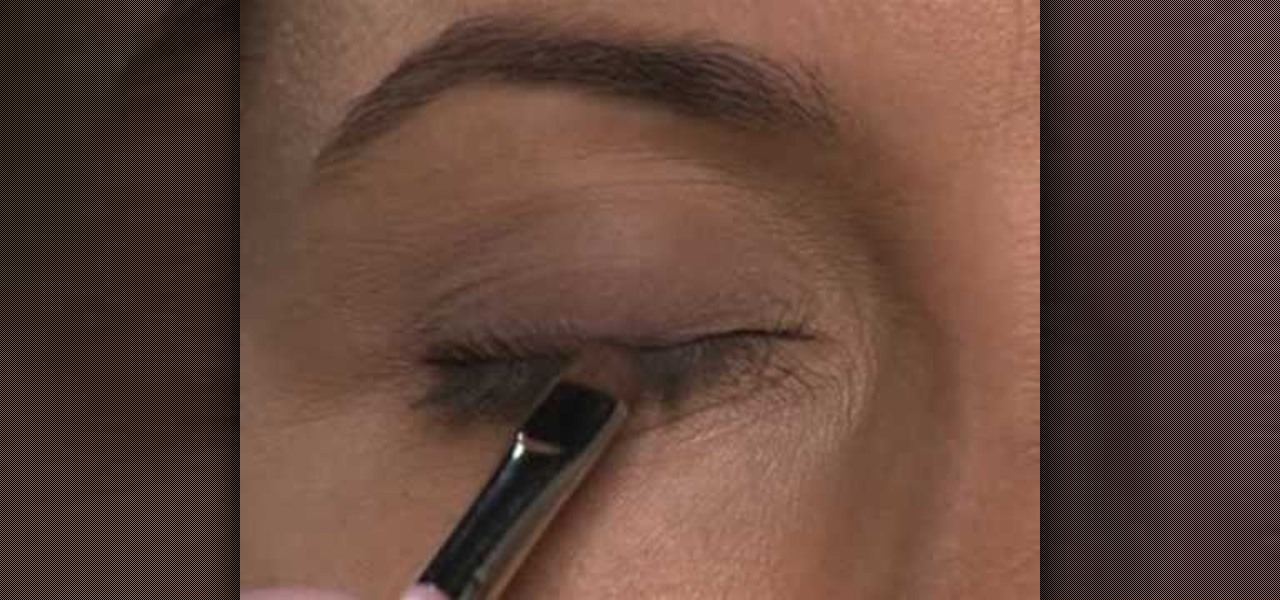
Using the improper types and colors of makeup may in fact add years to your appearance rather than take them off. This video shows some simple tips to reduce signs of aging in less than ten minutes. For example, rather than using shimmery eyeshadow, which can in fact enhance wrinkles and fine lines, use a matte colored eyeshadow in order to blend the lines in your face. Using light, non-heavy lip liner and moisturizing lip gloss will make your lips look fuller, giving you a more youthful appe...
This video shows you how to draw a cartoon smiley head in Inkscape: Open a new page.
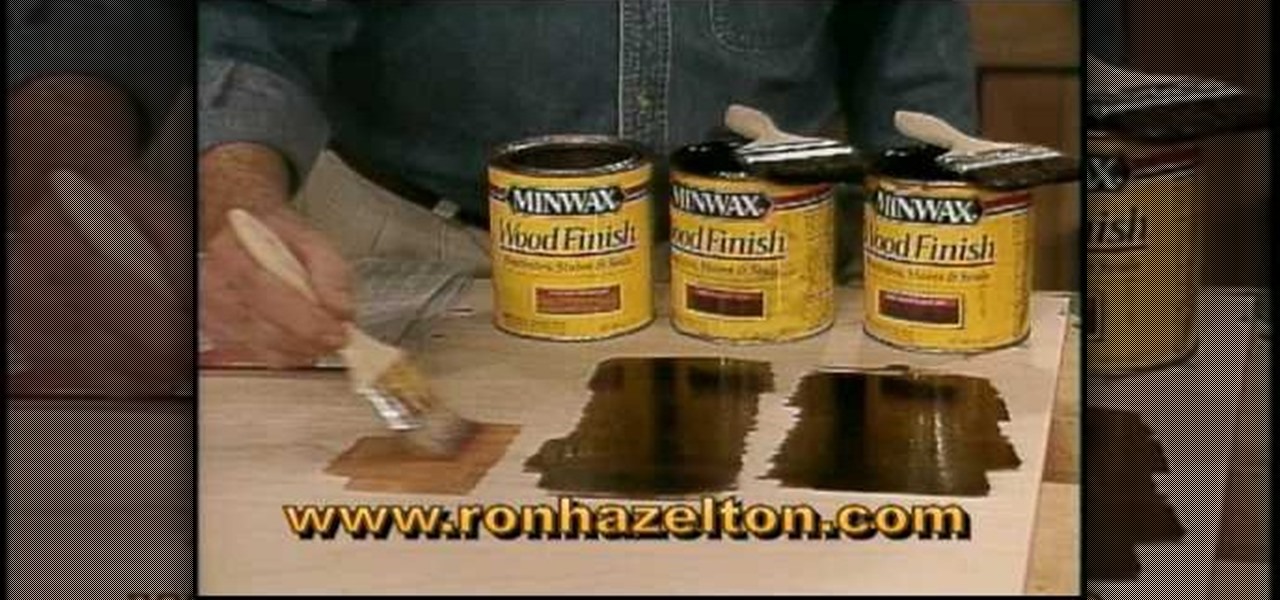
Want to create a realistic or customized wood stain for your home? Learn how to get the exact color stain you need to match existing wood finishes or to create unique effects.
Lauren, AKA QueenofBlendingMUA has joined the ranks with the other YouTube beauty gurus. Lauren is a makeup artist with a large collection of eye makeup & nail art video tutorials. Her eye makeup look span from everyday makeup to creative, more expressive party looks. Her nail art/ manicure looks are also lots of fun. Check out this nail art tutorial video to learn how to create a neon orange and dark blue nail art design. Search QueenofBlendingMUA on WonderHowTo for more beauty videos.
Go for a bug theme this Halloween! This Halloween makeup tutorial demonstrates how to apply a fun bumblebee costume makeup look. Be a queen be this Halloween. Enjoy!
Don't waste time at the store looking for the perfect photo album to put your vacation photos in. If you have iPhoto, you can do everything right from your computer. This Apple iLife tutorial shows you how to choose, organize and edit your photos, add them to a collection and turn them into a full color photo book. You do the work in iPhoto, then send it off to Apple to be professionally printed and bound - no cheesy Hallmark photo album necessary!
Some Dads, or brothers or grandfathers, jingle lots keys and coins in their pockets. Give them a hand for their pocket change and car keys with this one-of-a-kind tray. Learn how you and your child can make a nifty tray for keys and coins with this arts and crafts tutorial from Crayola. You will need Crayola Color Surge paper and markers, Crayola Color Explosion black paper and markers, scissors, glue, and your hands. Dad will love this homemade gift for Father's Day. With this how to video y...
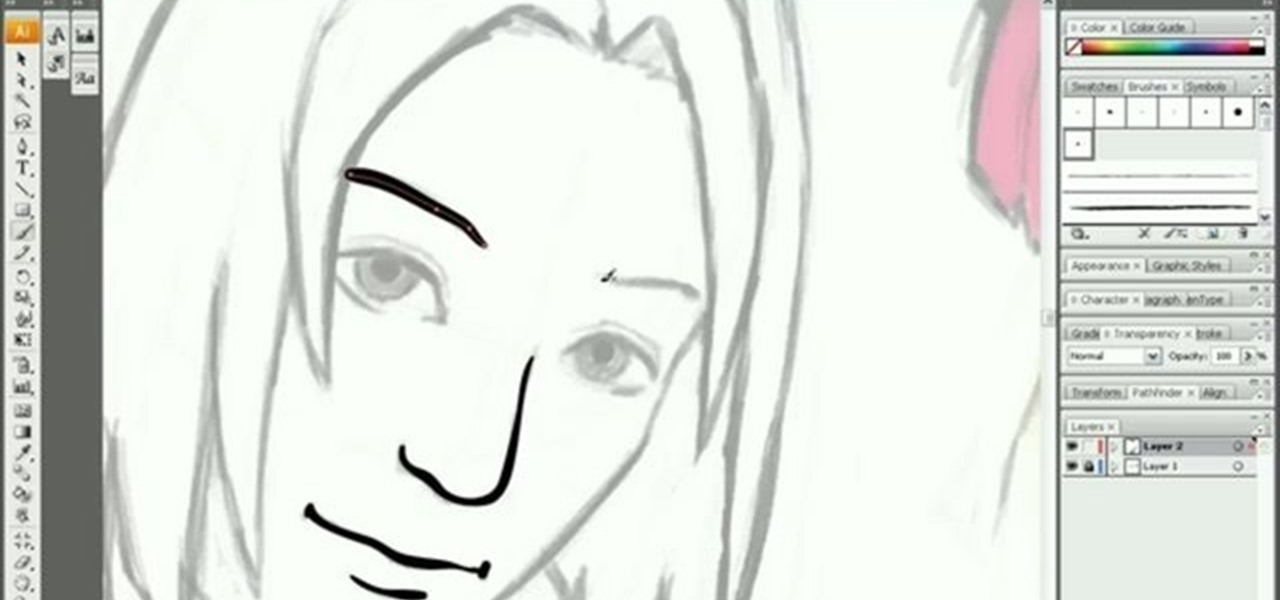
Tutorial/demonstration showing how to use Calligraphic Brushes in Illustrator to do line drawings (inking) and then import them into Photoshop as a Smart Object to retain the vector quality of the line art. By using clipping masks, we can change the color of the line art without rasterizing.
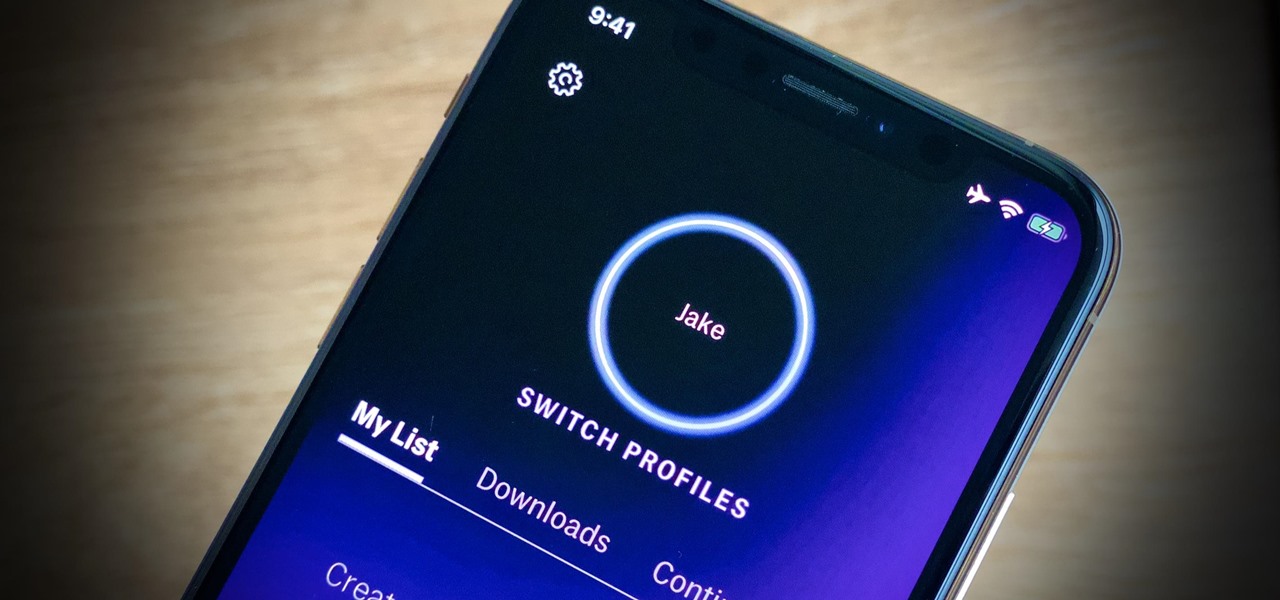
Many streaming services offer user profiles for different people in your household, some of which also include profile images. In most cases, you can set a custom profile image to better differentiate and personalize your account from the others, and HBO Max lets you do the same, albeit, with limited options.