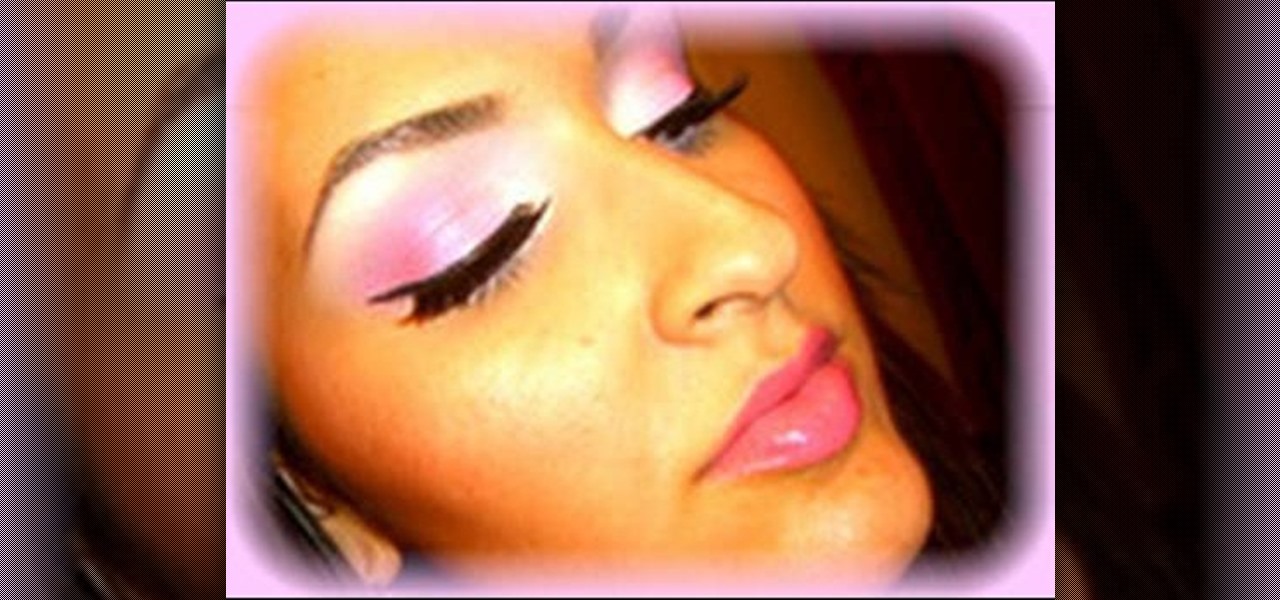
In this video, we learn how to apply ice princess pink shades with your makeup. First, apply a white cream pencil to the inner eyelid and underneath the eyebrow, then blend in. Next, take a white cream color and brush it on the inside of the lid and around the entire eyelid. Now, take a glitter pink shadow and brush it onto the middle of the eyelid. After this, take a bright pink shadow and brush it on the outer corner of the eye, blending it in with the middle pink. Now, take a lavender eyes...
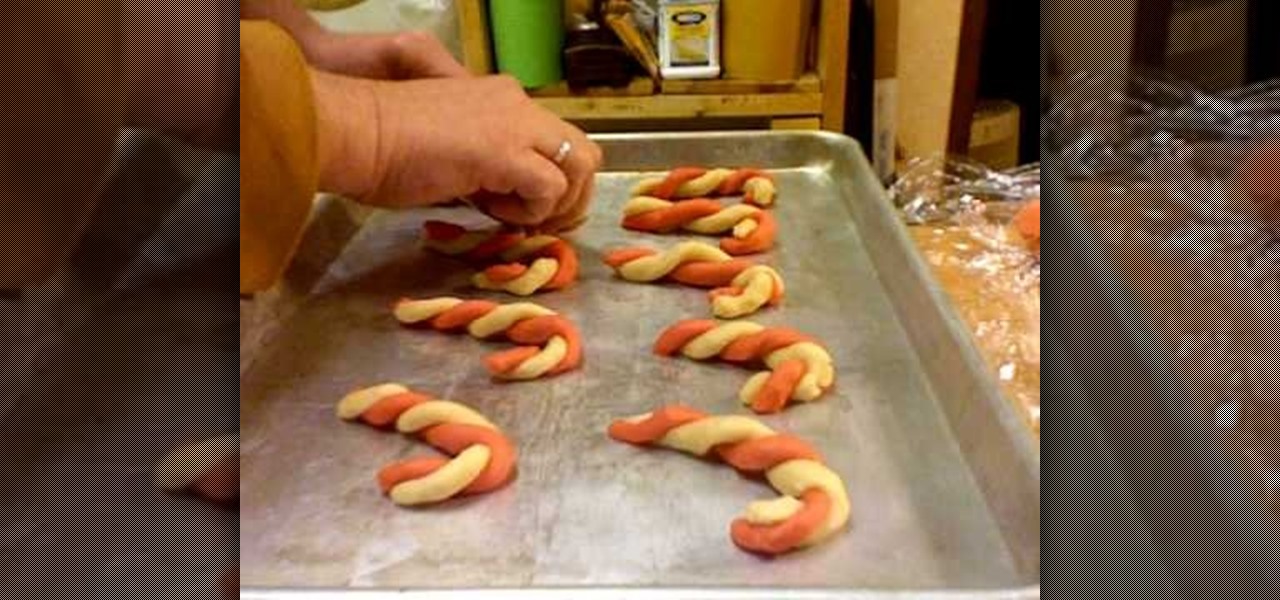
It's that time of year again! The air is a whole lot nipper, lights dance around sidewalks as you drive past shopping centers, and the scent of warm gingerbread and sweet cookies fills your nostrils when you enter your home. That's right, it's Christmas, and what better way to celebrate this festive time of year than with cookie making?
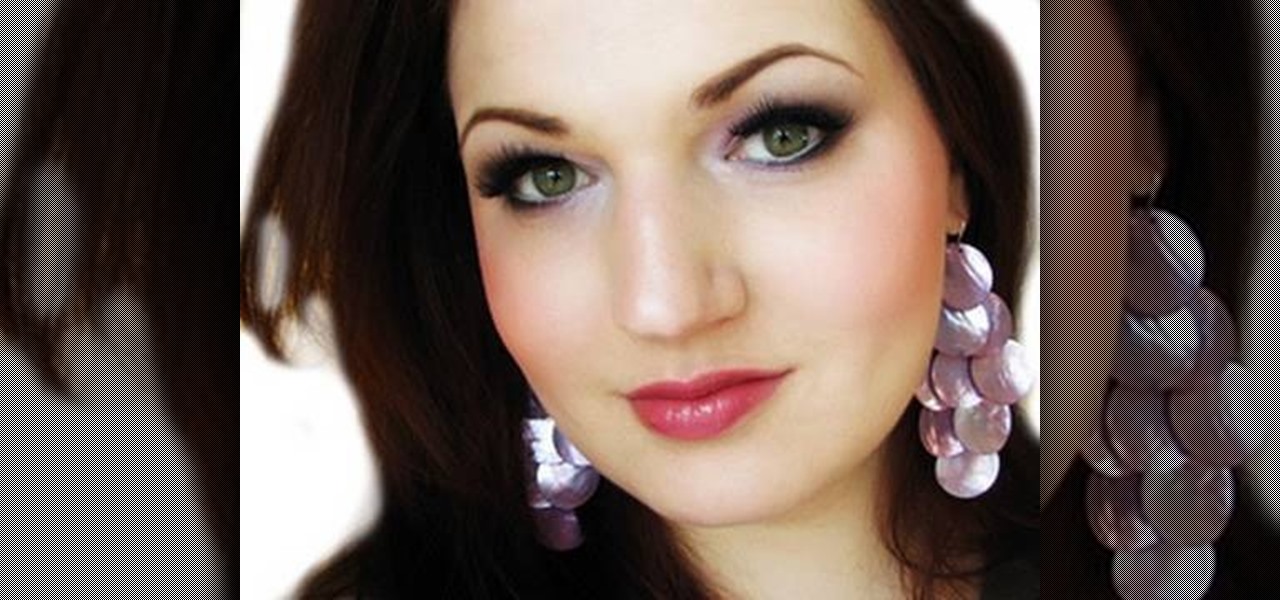
In this video, we learn how to create a fresh pink spring makeup look. Start off by applying a pink eyeshadow to the eye, then brush a purple color on the inner corner of the eye. Next, take a dark purple and gray, then blend them into the outer crease of the eye. Now, blend together all of the colors. Next, apply a layer of black eyeliner, then brush on mascara to your upper lashes. Next, apply black eyeliner to the bottom of the eye followed by mascara on the bottom of the eyes. When finish...
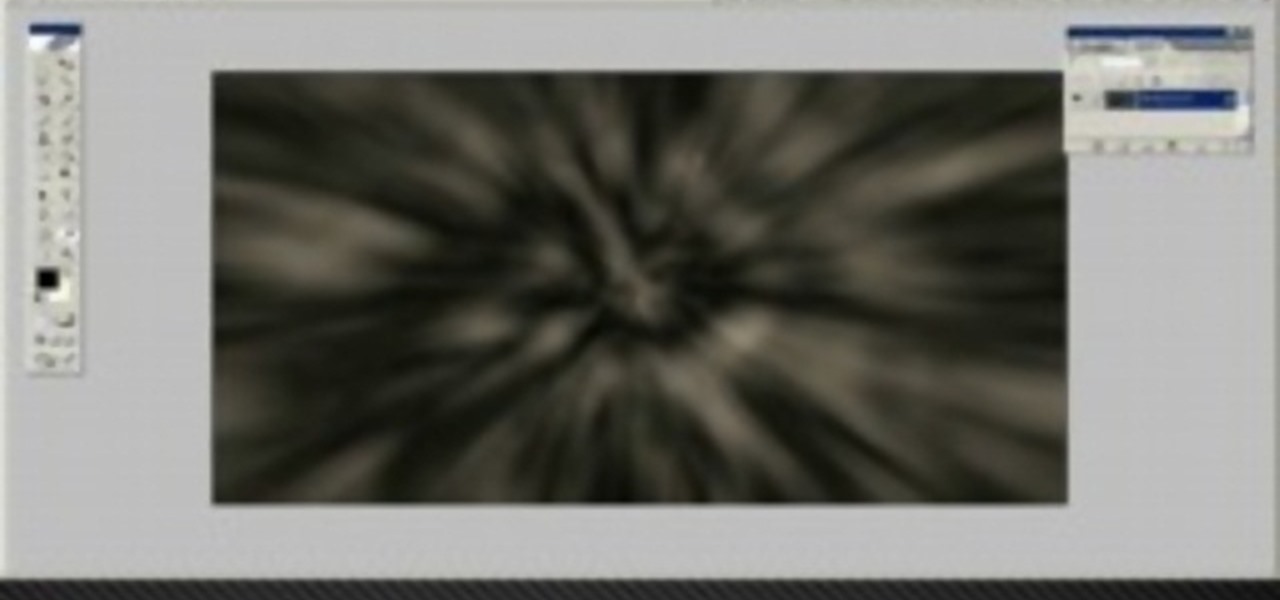
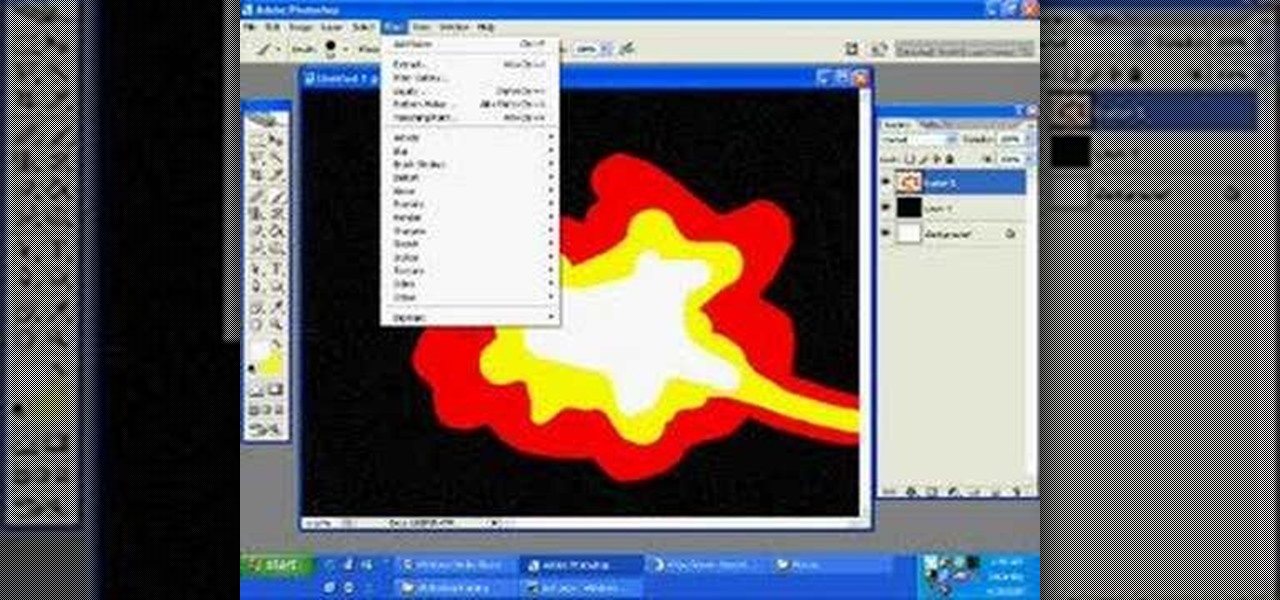
In this tutorial, we learn how to blast effect a picture in Adobe Photoshop. First, open up a picture in Photoshop, then go to filter, then blur, and radial blur. Change the amount to 77, the blur method to 200m, and the quality to best. After this, hit "ctrl+I" to invert the colors. When you are done with this step, the picture will look like it has been blasted! To make this more different, you can change the colors on the picture or add in any other settings that you prefer. When finished,...
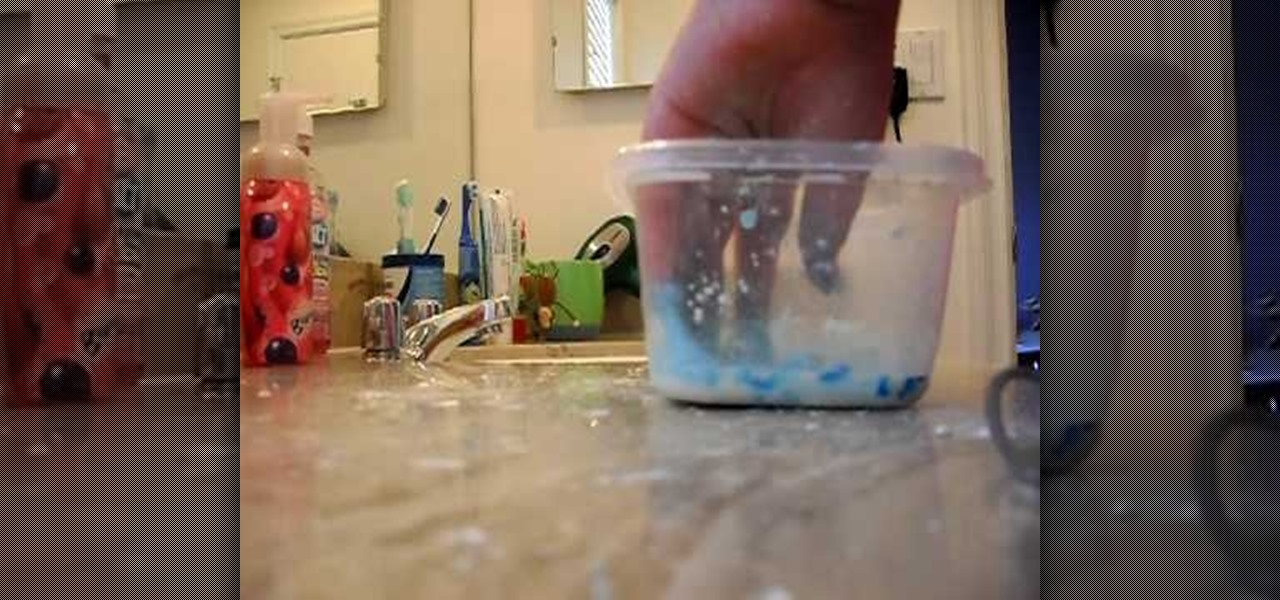
In this tutorial, we learn how to mix Oobleck. First, place some cornstarch into a large plastic bowl, then add in some water. After this, mix the ingredients together with a straw until you have a paste that forms from both of them. Don't add too much water, you want this to be more thick than creamy. Now that you have made this, add in food coloring of your choice to make this more fun, just make sure you don't get it on your clothing. After you have mixed the food coloring in with it, you ...

In this video, we learn how to draw Hamtaro. Start off by drawing the large head, followed by the body and the ears. After this, draw the arms and legs onto the character. Next, outline the drawing in a darker pen, then add in additional details. Draw on the eyes, nose, and pupils. Don't forget to draw on the paws and feel as well as lines to make it look like fur. To finish up this picture, you will need to add colors to the hamster. You can go with the traditional colors, or change them up ...

In this video, we learn how to make looming easier. First, you will want to use a table loomer to help make this much more simple. Start to thread the different colors or one color through the loomer and then grab a plate when you are done. use the side of the plate to run it through the middle of the string. When you are finished, this will help push the thread down into the looming machine and you won't have to do it manually with your hands. When you are finished, you can take out the loom...

In this tutorial, we learn how to draw Shadow the Hedgehog. Start off by drawing the head and then add in the spiked hair. After this, draw in the details of the eyes and continue down to the arms and the rest of the body. Draw in the feet and a gun in the character's hand. Now, use a pen to start drawing the outline over the pencil marks that you just made. Continue on to draw in details on the picture that make it look more realistic. After this, color in the picture with colored pens and u...

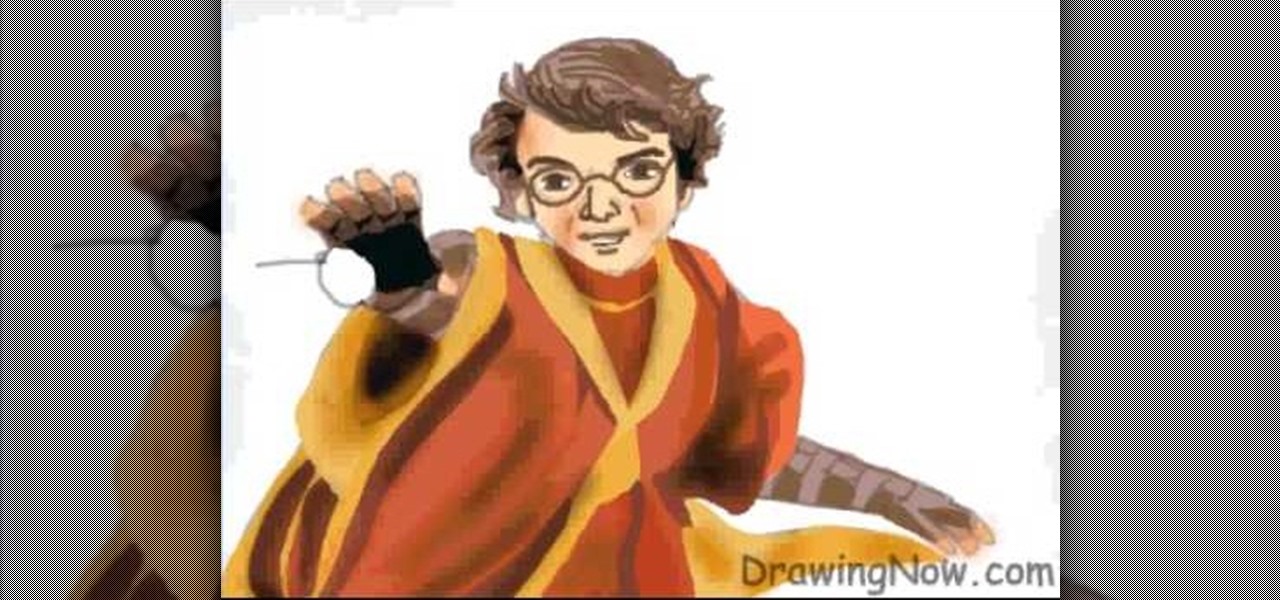
In this tutorial, we learn how to draw Harry Potter. Start out by drawing Harry's face, adding in all the details, such as: his hair, eyes, glasses, nose, and mouth. After this, start to draw his upper body wearing his Quidditch robes, and draw his arms. One arm should be reaching in the air for the ball and the other should be to his side to balance him out. After this, start to add colors to the picture. Add in his skin color, then add in his brown hair and gold and red for his sports robes...

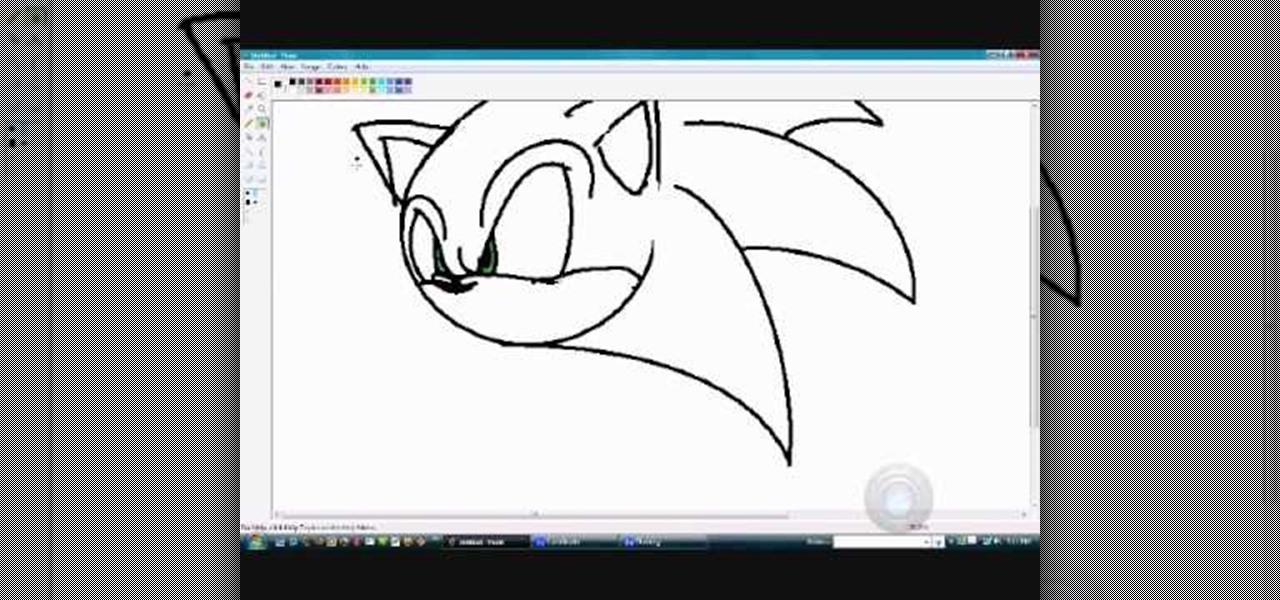
In this video, we learn how to quickly draw Sonic the Hedgehog. Start off by drawing the eyes and eyebrows. Next, draw the ears on the side and connect the head around it. After this, start going to the side to draw the three spikes for the hair. After this, draw in the nose, mouth, pupils, and inside of the ears. Add in shading where appropriate and add highlights to the top of the head. Use a black paintbrush to draw the outline of Sonic darker. After this, finish the picture by coloring it...

In this tutorial, we learn how to apply general face makeup. First, apply lotion and primer to your face before you place anything else on your face. To apply your foundation, use a foundation brush and blend together different colors of foundation. Start by applying the foundation to your face in any way that you prefer. After this, apply concealer underneath your eyes that is the same color as your skin. Use a shadow brush to blend eyeshadow onto your eyes and make sure you groom your eyebr...

In this tutorial, we learn how to draw a galaxy in Photoshop. First, open up a new project and color the background black. Next, create different lines and circles inside of the black, and then blur out the image. Now, it will look like a galaxy in black space. Next, color a new background black and white with spots and mix it into the galaxy image that was made. Continue on to change different settings on the picture as you prefer, changing the opacity and different settings as you wish. Whe...

In order to make an "I love you, Mommy" pop-up card, you will need the following: scissors, card stock, glue, and markers.

Want to know how to create multi-colored iris effect in Adobe Photoshop CS5? This clip will teach you what you need to know. Whether you're new to Adobe's popular raster graphics editing software or a seasoned professional just looking to better acquaint yourself with the program and its various features and filters, you're sure to be well served by this video tutorial. For more information, including detailed, step-by-step instructions, watch this free video guide.

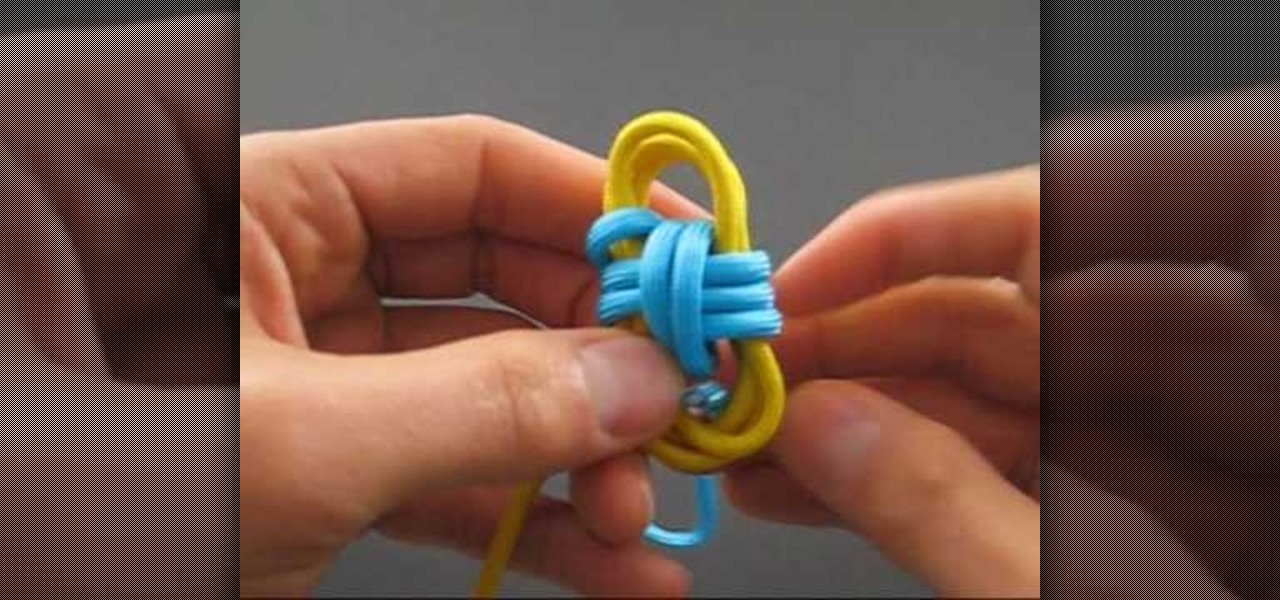
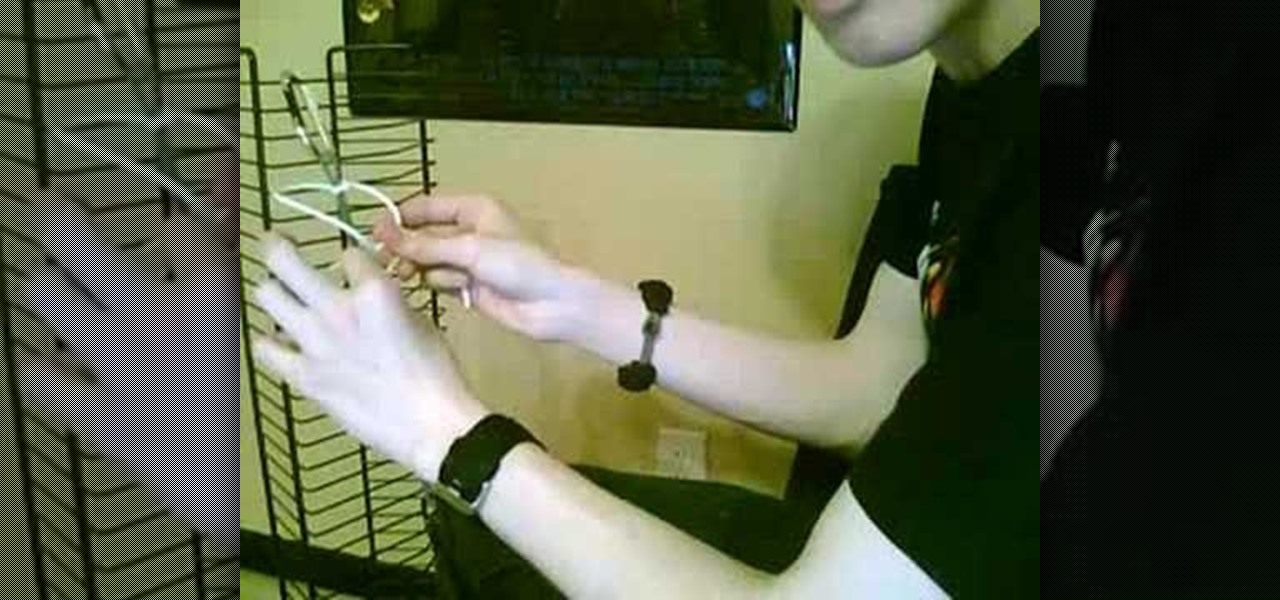
In this tutorial, we learn how to tie the two color monkey's fist knot. First, make a double overhand knot, and snip the edges off. Next, create the monkey's fist by taking one of the ropes and looping it around the fingers several times. After you do this, push the knot through the fingers and tie the other string around the entire loop several times. Push the string through the loop, then continue to tie on the opposite side around itself. To finish this up, Pull the two outside strings tog...

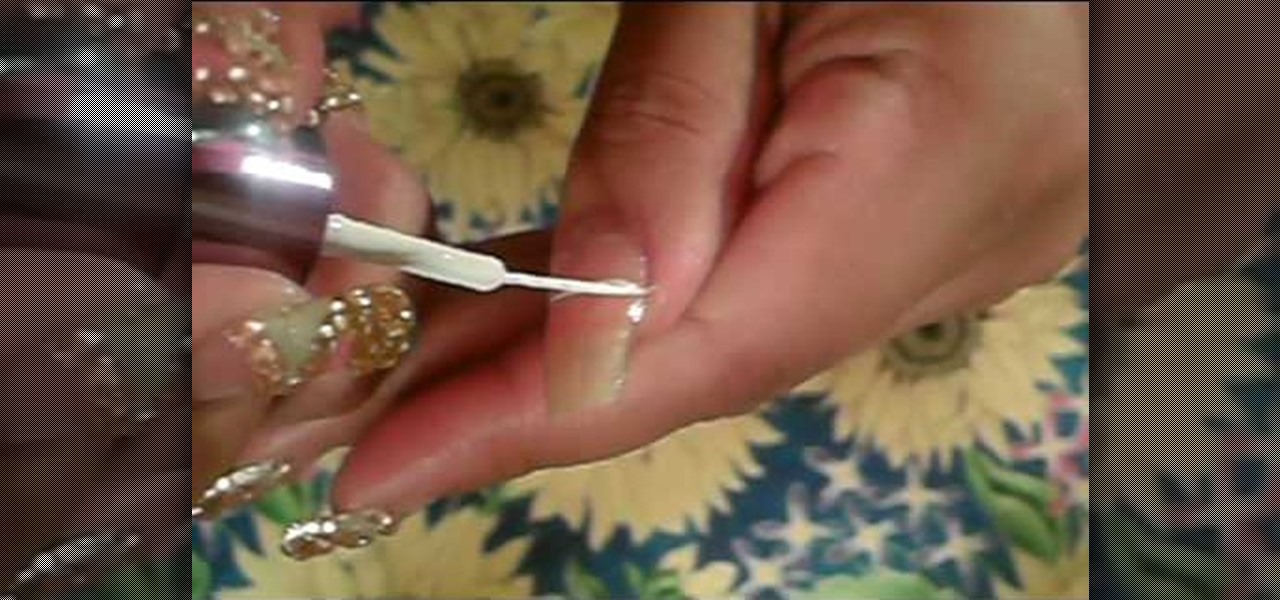
In this tutorial, we learn how to paint nail with a gold and blue rhinestone design. First, start off with your acrylic nail, then paint a white zig zag line throughout the entire nail. After this, apply a green nail polish to the top triangle of the nail. Next, apply a gold/pink nail polish to the triangle underneath the green. In the triangle underneath, apply a light green nail polish, and paint a pink nail polish underneath that. Add glitter to each of the different colors to match which ...

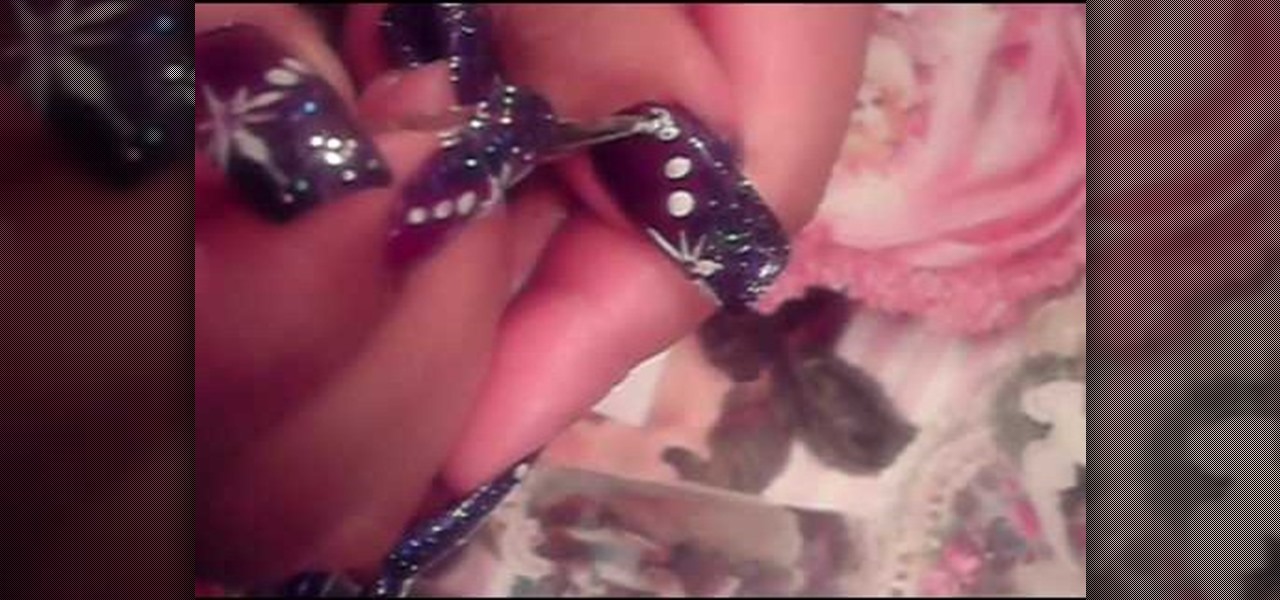
In order to do a nail art design with purple, glitter, white stars, and dots, you will need the following: 2 tones of purple nail polish, white polish, nail dotting tool, rhinestones, nail art polish, clear nail polish, and glitter nail polish.

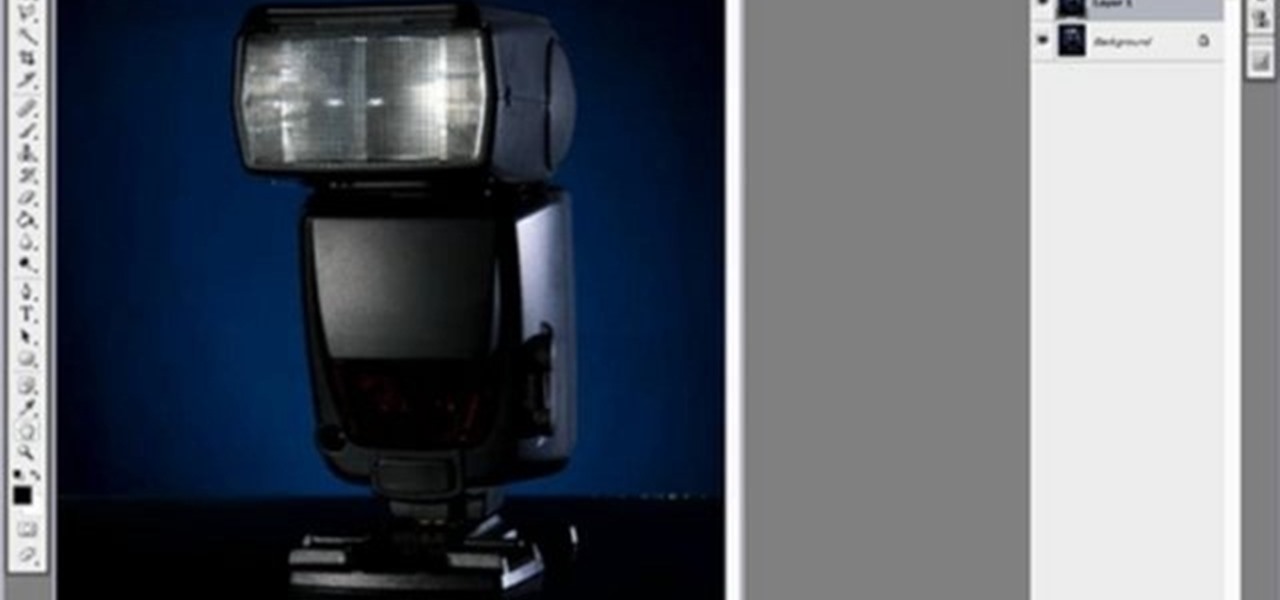
Yanik Chauvin teaches us how to color correct product shots in Photoshop in this tutorial. First, remove some of the black from the image by using your crop tool. After this, if your image is too wide, duplicate your layer and use the marquee tool to edit. Remove any dust spots from your image, to make it look more clear so you have an image that is impeccable. You can do this by creating a new layer and then adding a feather to the image. Continue to go through the editing tools available un...

In this tutorial, we learn how to weave a (king) cobra stitch for paracord bracelets. First, take a 10 inch cord, fold it in half, then tie a knot at the end of it. Put this on a holder, then tie another chord on the bottom of it and hold it with your knees for tension. Next, start to weave the other color chord around it by going in and out of the two sides of the first chord. Continue to do this for the entire bracelet, then knot it off at the end to finish. You can add your favorite colors...

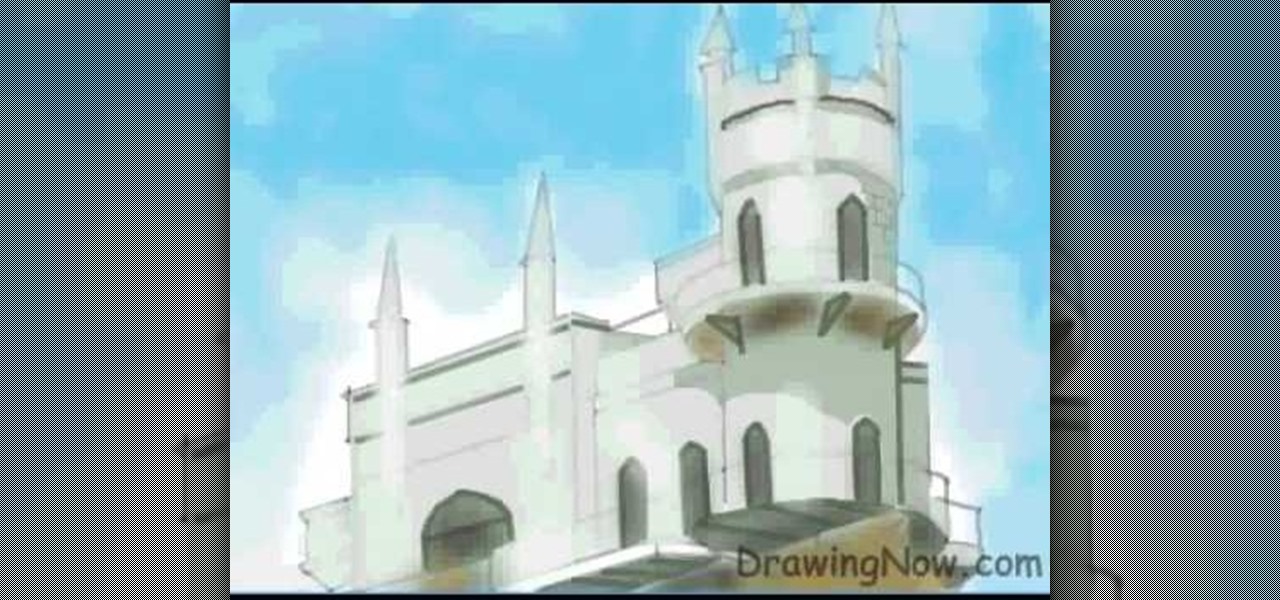
In this tutorial, we learn how to draw a castle on a sunny day. Start off by drawing the base of the castle, so you know where it will stand. Then, draw in the pillars and the top of the castle going up. After this, draw the body of the castle where the main entrance is. Now, start adding more details to the building, adding in the windows and doors, as well as the points on the top and stairways. Then, color the entire castle gray and add in bricks. Shade the doors, windows, and other areas ...

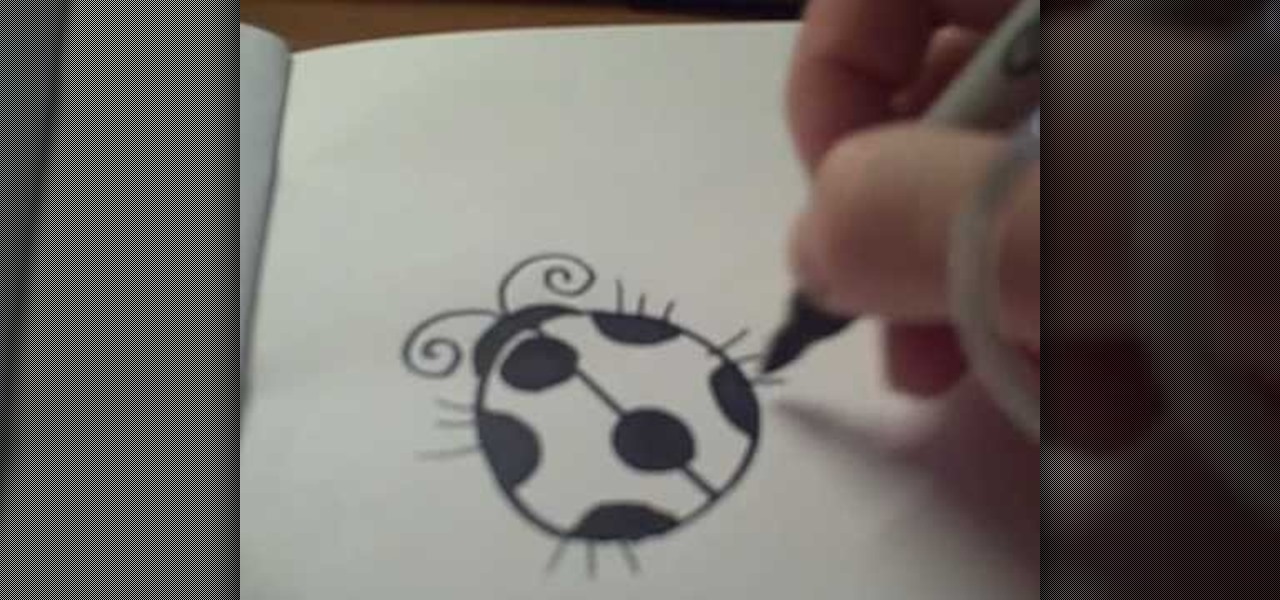
In this tutorial, we learn how to draw a cartoon ladybug. Start out by drawing a circle, then draw a line down the middle. Next, draw and color in some dots all over the circle. After this, make a head by making a half of a circle over the straight line. Now, add antennas to the head and color in the head. You can also add in legs to the ladybug if you prefer, or keep them off. When you are done with this, you will have a cute ladybug in just a few minutes. This is a very easy picture for kid...

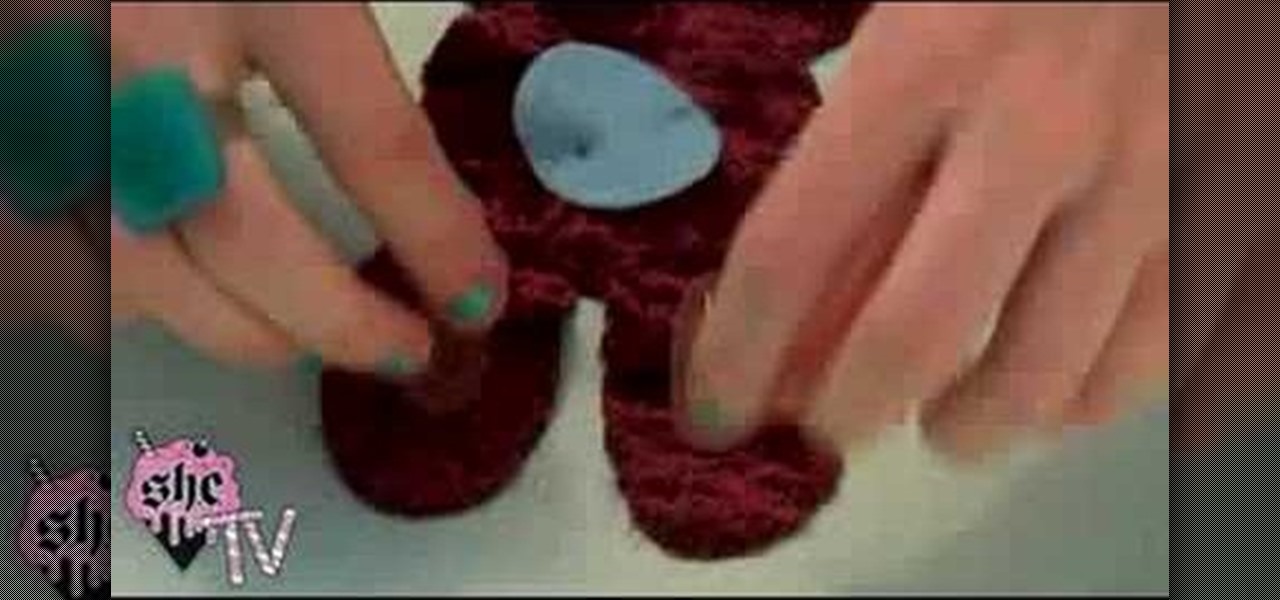
This video teaches us how to make a plush rabbit. Start off with a piece of fabric, then cut out the shape for the bunny out of this fabric to make two sides. After this, cut out the color for the eyes out of various other colored fabrics. When finished, sew the eyes onto the bunny and then sew both sides together. After this, fill the bunny with stuffing and then sew the entire thing together. When you are finished, you will have a small and cute plush rabbit that is not only made cheap but ...

This video tutorial is in the Arts & Crafts category where you will learn how to make a multi-layered embossed floral gift card. Take a piece of 11 x 8 1/2 inch Stampin' Up card stock and fold it in half. Next you punch out layers of colored paper of rose red, very vanilla, regal rose and blush blossom colors of different sizes as stated in the video using the Boho Blossom Paper Punch. Now you take a Sizzix Big Shot Die and cut out a craft paper and set the cut outs aside. Now you got to stam...

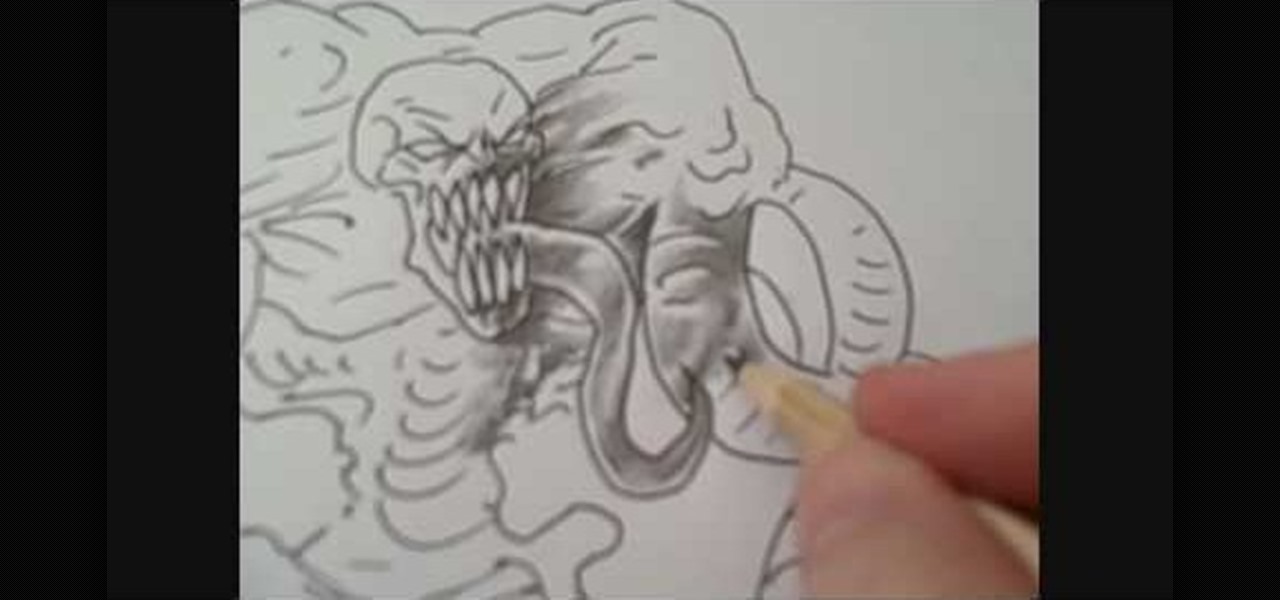
You know how in kindergarten you loved nothing more on a hot summer afternoon than to sip your Juicy Juice while scribbling wildly onto your favorite coloring book? Well, this tutorial stems from the same idea. While outlines, as provided in coloring books and yourself later as an artist, are a great place to start a picture, they certainly don't count as a finished product.

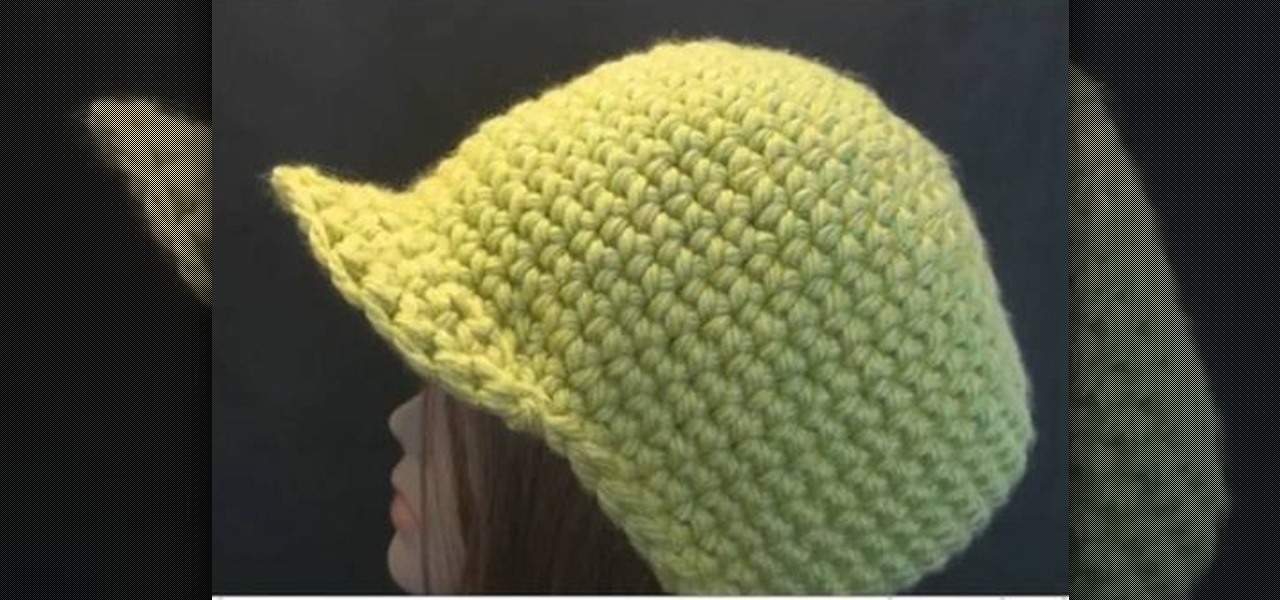
You usually don't hear the words "skater" and "crochet" in the same sentence, but these two rather opposite realms collide within this crochet tutorial. You've probably already seen newsboy caps before: lots of skaters don it because it's cool and also very comfortable. But did you know these skater hats can be made with yarn?

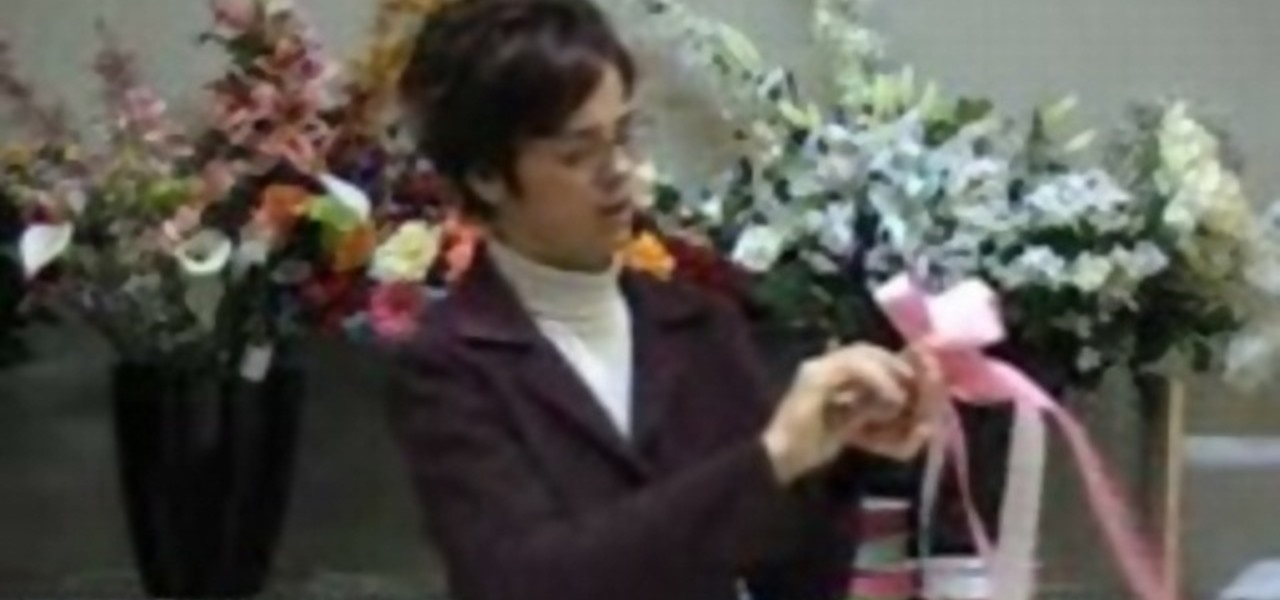
In this tutorial, we learn how to make a double bow with Sandy. First, take two satin ribbons of different colors and place one on top of the other. Leave a long tail, then make a large loop and scrunch it in. Make a loop on the top and a loop on the bottom. Each should get a half a twist and be opposite of the one you made before it. Practice with a single ribbon before you do this one. After you have six loops, create four more to make a bigger bow. When finished, you will have six large lo...

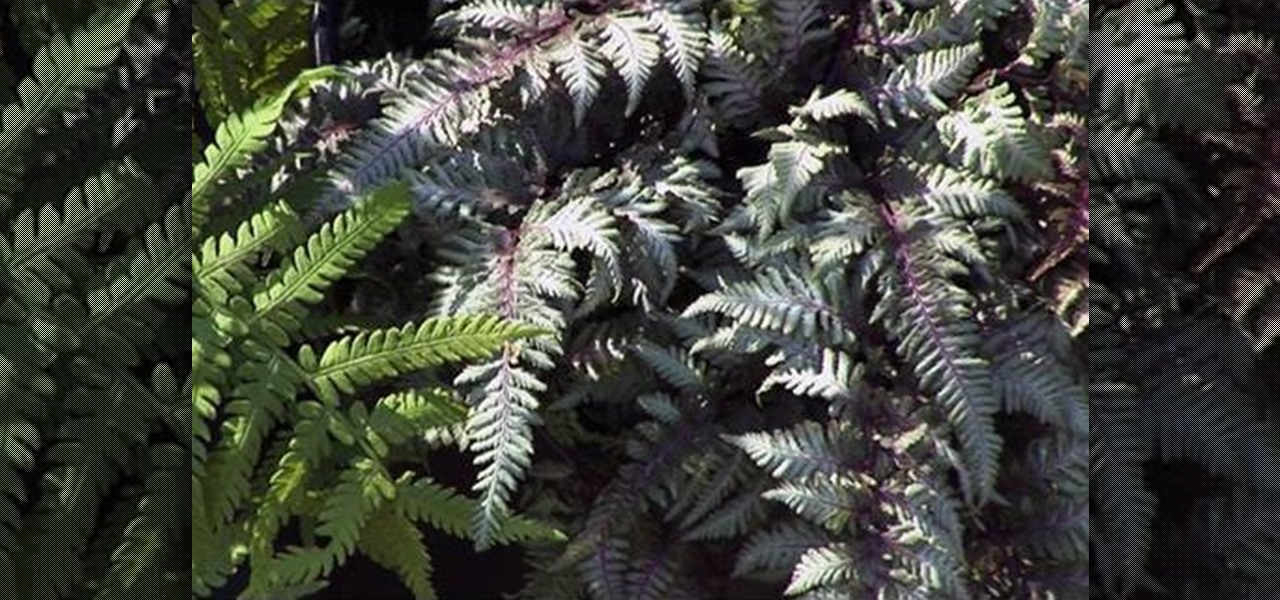
In the plant world, not all things are green. This also is especially true for ferns. These plants can grow in a variety of different colors and differ from many other types as well.

The ring of lights on the front of the XBox 360 console is one of its most distinctive features, but almost everyone has the same old green LED's. I say almost because it is possible to install a custom RoL board in your console that can have any color of lights you want! This video will show you how to install a custom RoL board after you've ordered one of eBay or some other outlet.

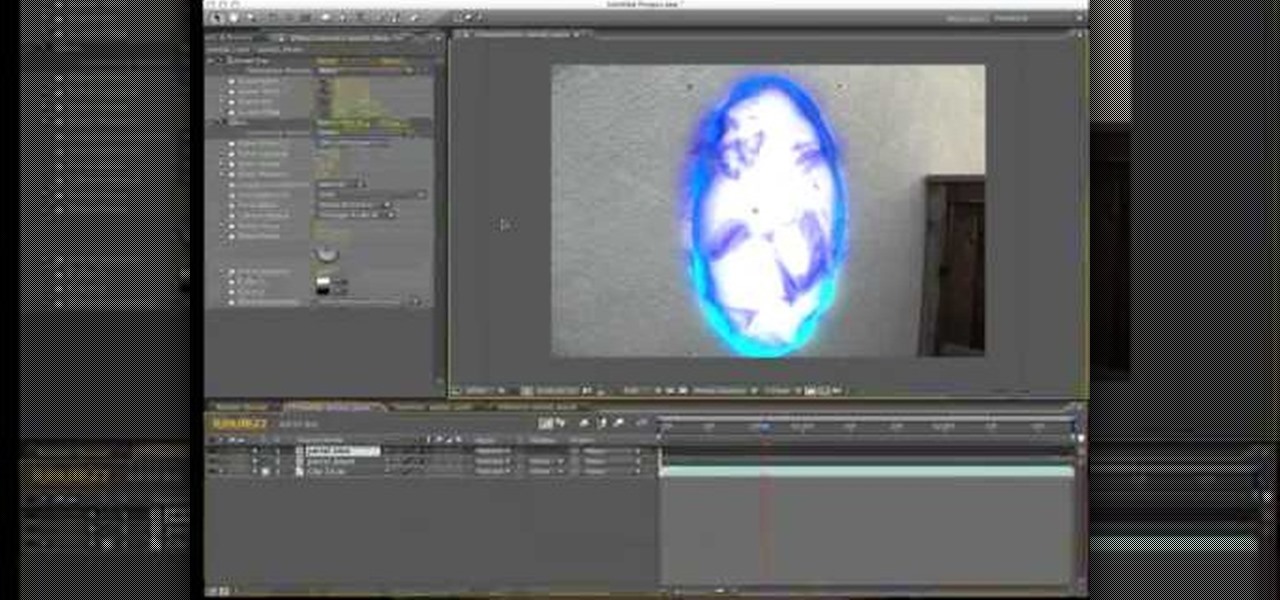
If you've ever played through Valve's amazing first-person puzzle game Portal, you probably have dreams and nightmares about orange and blue portals appearing in the walls around you. Do you want to recreate the effect in a film? This video will show you how to create your very own colored wall portals on film using After Effects.

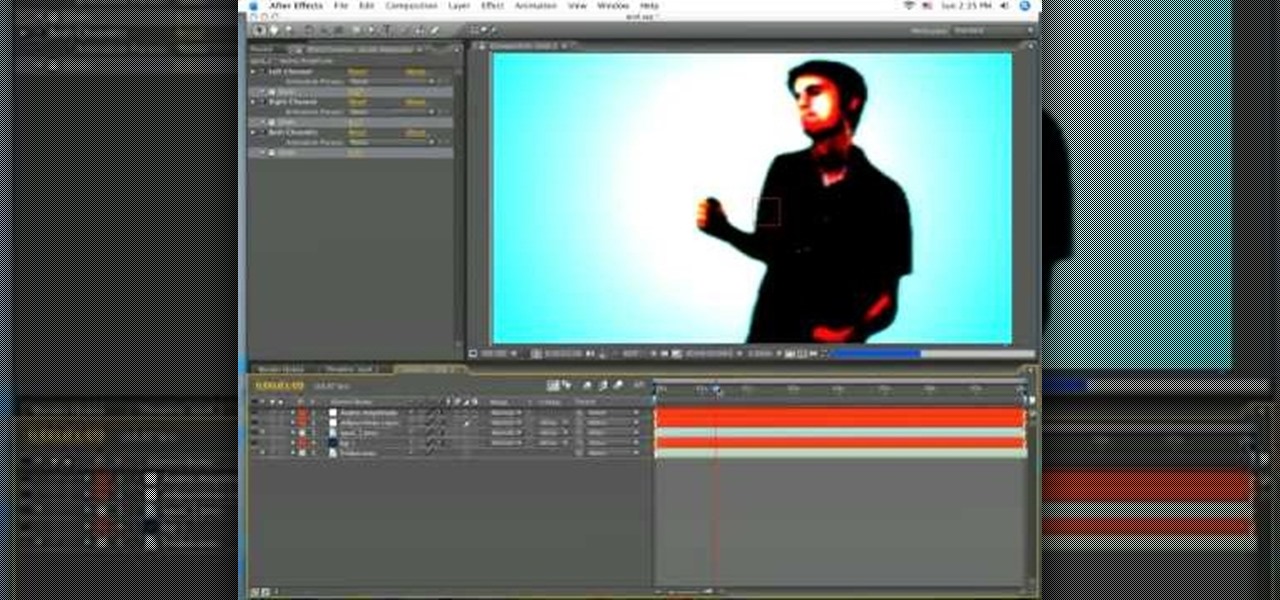
Apple's iconic silhouette people-dancing-against-colored-background iPod commercials may not rule the airwaves anymore, but they still look really cool. This video will show you how to recreate the effect of these commercials in After Effects using greenscreens. Now all you have to do is learn how to dance and you can film your own little iPod commercial!

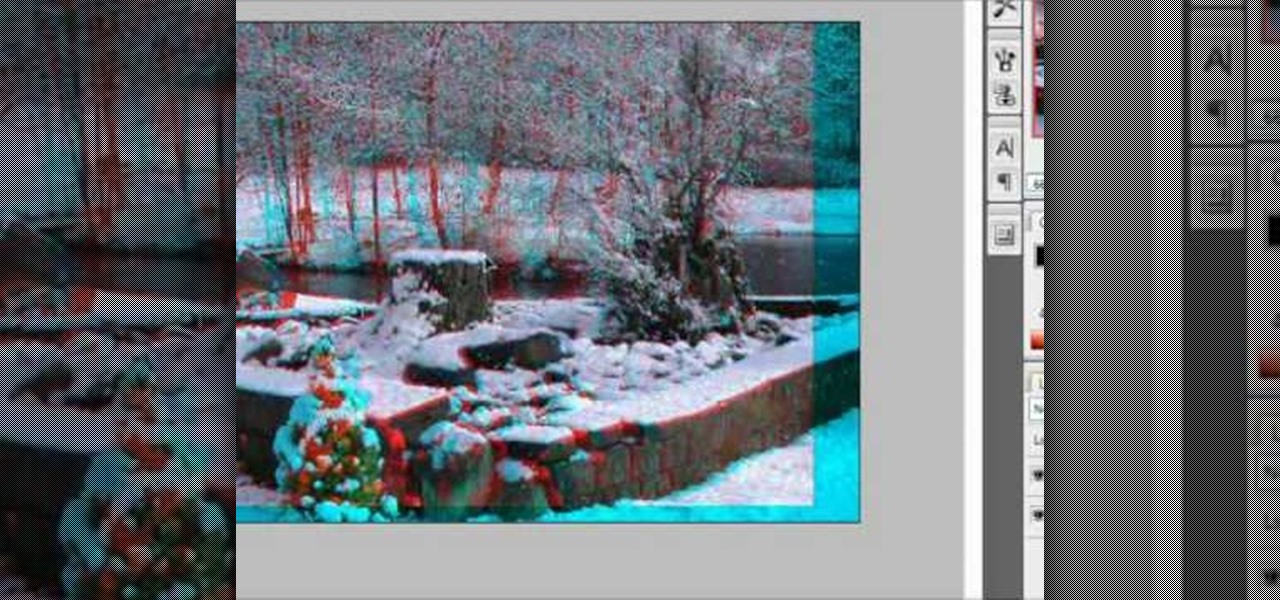
3D glasses are enjoying a renaissance right now, but the new ones are a far-cry from the red-and-blue affairs of your youth. Old-fashioned 2-color 3D pictures are called anaglyphs, and still have a very nostalgic appeal to many people. This video will show you how to make stereoscopic anaglyphs using Photoshop, allowing you to create all sorts of cool images to use that old pair of 3D glasses on.

In this video, we learn how to perform a color changing card trick. To do this, you need to take a card and put it in the palm of your hand. If your hands are smaller, use smaller cards than poker size cards. Now, bring everyone's attention to the deck of cards that's in your opposite hand. Bring the hand with the card in it over the deck in the other hand, and quickly replace it, so they think it magically changed what kind of card was in your hand. Make sure they can't see the card in your ...

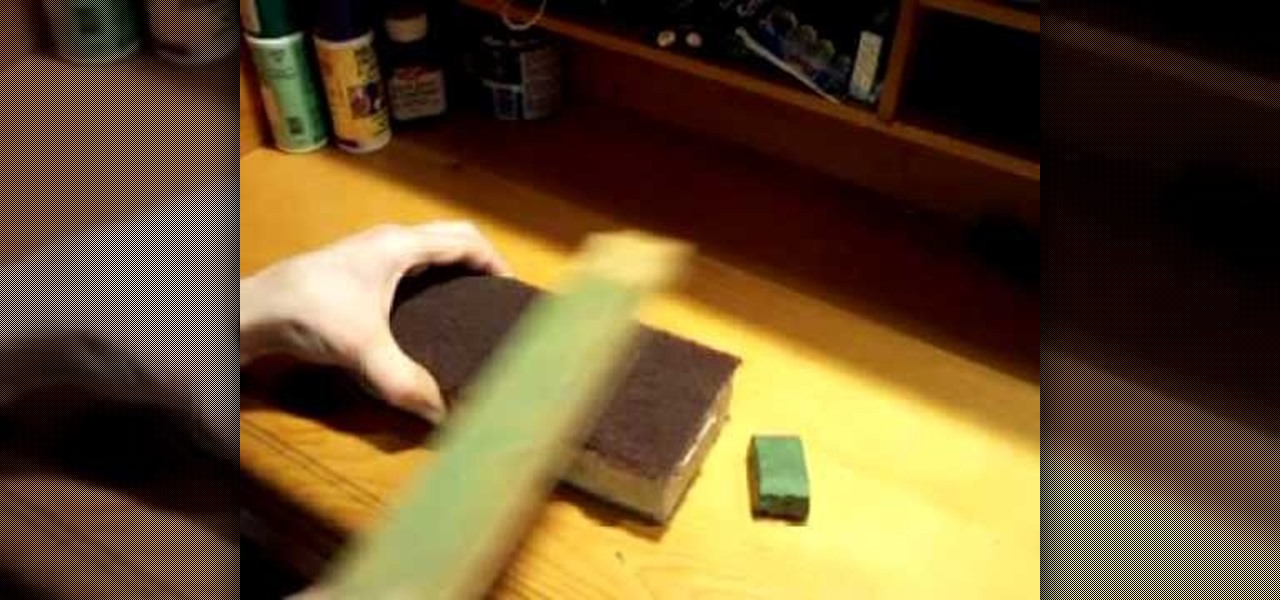
In this tutorial, we learn how to apply sharpening compound to a hone. First, remove the old compound by scratching the hone on scotch bright. Keep doing this until the compound is off and the hone is soft. To reapply, start coloring the compound on. Work your way from the top to the bottom, moving in an up and down motion quickly. Make sure you apply enough to where the hone is a darker color of green instead of a light green When you are finished, you will have newly applied compound within...

In this tutorial, we learn how to get a Kidsongs inspired makeup look. First, you will take a yellow pigment and brush it onto the inner crease of the eye. Now add a green pigment next to the yellow and blend together. Now apply blue pigment to the outer eye and blend it into the crease with the other colors. Apply a pink and red eyeshadow to the bottom of the eye line with a small eyeliner brush. Finish with a purple color on the end of the eye. Line your eyes with black eyeliner and use fak...

In this tutorial, we learn how to make a tissue paper flower. You will need: pipe cleaners, scissors, and tissue paper (three different colors). First, twist three pipe cleaners together to make a stem. Next, cut your tissue papers all into the same size, mix colors to get a prettier flower. Now, layer the sheet and fold the papers as many times as possible. Cut the ends in a triangle shape, then spread the papers again and fold up again in the alternate direction. Now using your papers and p...

Contrary to popular belief, you don't need a bunch of black and brown liners and shadows to create a sexy smokey eye. Brown and black are the colors everyone thinks of when we mention "smokey eye," but other colors work just as well.

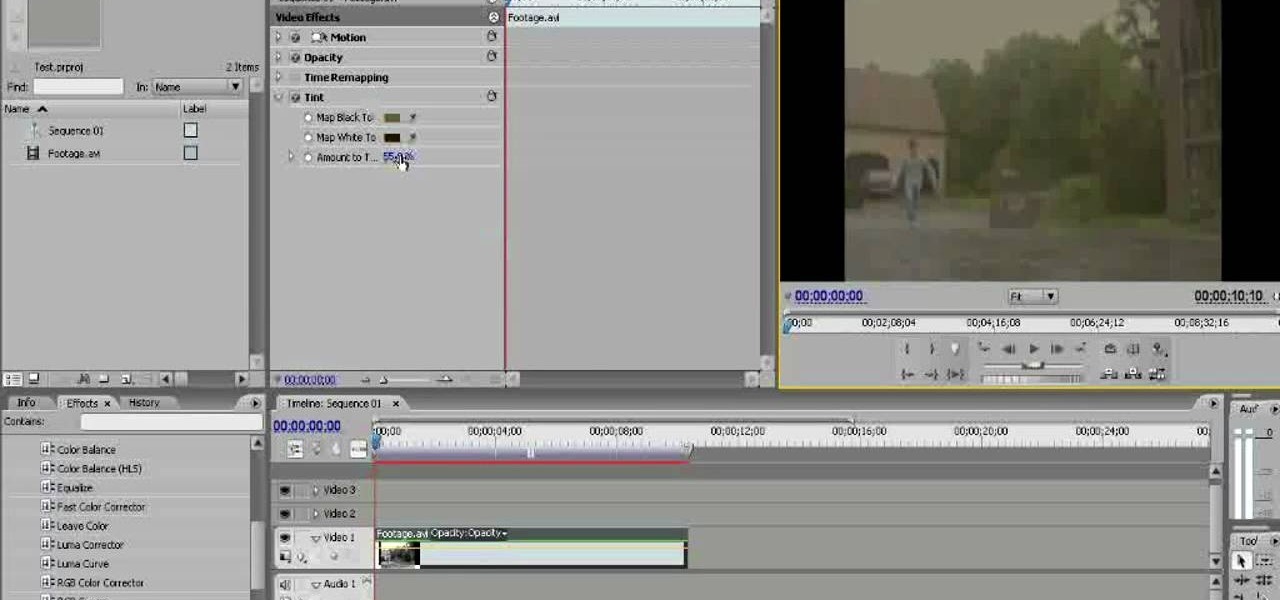
Old TV's were not famous for their high-fidelity color, but the brown-saturated look they made standard now evokes a lot of nostalgia among viewers. Because of this, it may behoove you, the filmmaker, to know how to simulate that color effect without having to actually use crappy cameras or televisions. This video will show you how to create an old TV effect while editing using Adobe Premiere Pro CS3. Embrace the nostalgia!

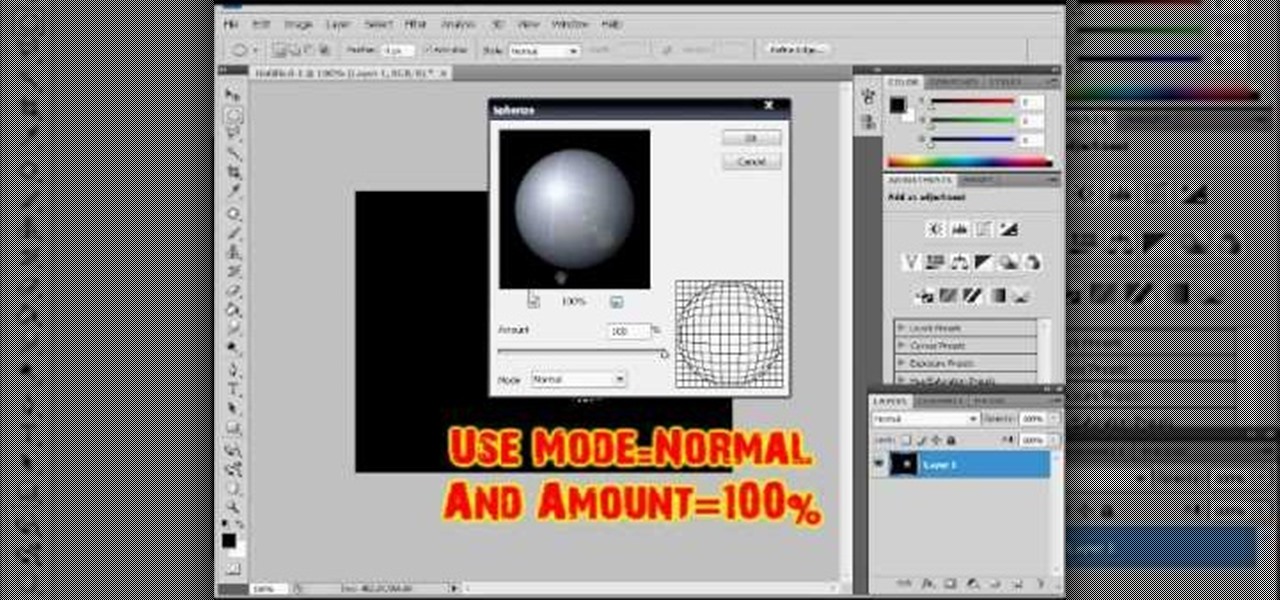
In this video tutorial, viewers learn how to make a shiny glass ball in Adobe Photo-shop. Begin by creating a new document with the default size and a transparent background. Then paint the entire background in black. Now select the marquee tool and create a circle anywhere in the background. Now go to filter, click on Render and select Len Flare. Make the lens flare 105 mm prime with 141% brightness. Then go to Filter, click on Distort and select Spherize. Use normal mode and set the amount ...

In this video tutorial, viewers learn how to paint sand. Users will need a palette knife and paint brush. The colors needed for the sand are: iron oxide, pure white, burnt umber and burnt salmon. Collect all 4 colors on the palette knife and apply it lightly onto the canvas. If it is too dark, add some more white paint. Then use a paint brush to smooth out the edges and blend the sand together. This video will benefit those viewers who are interested in art and painting, and would like to lea...

If you've ever suffered from acne you've probably also suffered from choosing an acne product that actually works. Some cleansers and moisturizers are too drying, others are harsh and stinging, and some feel good on skin but just don't work. But if you've ever stumbled upon tea tree oil, then you know that this natural oil both moisturizes and helps relieve acne with no unpleasant side effects.


