This video explains how to paint nails with a cobalt blue and flower dot design. The first step taken before applying the paint is to do a white wash manicure. The instructor begins by covering her makeup sponge in a dark blue color and then makes many small dots along the whitened part of the nail. The instructor then makes many more small blue dots along all of the boarders of her nails. After the blue dots have dried a white coloring is used to make flower pedal like designs within the blu...
This video illustrates the method to Make a nuno felt purse. You need colored paper, a piece of cloth and a pair of scissors to make it. This process is comprised of the following steps -Step 1Cut a oval shaped figure from the sheet of colored paper. Make a crease in the middle and fold the paper.Step 2Cover the paper with the cloth piece. Stitch the end of the piece of cloth and cut the cloth in a proper manner.Step 3Make the oval shaped figure into a rectangular figure. Add some nuno paste ...
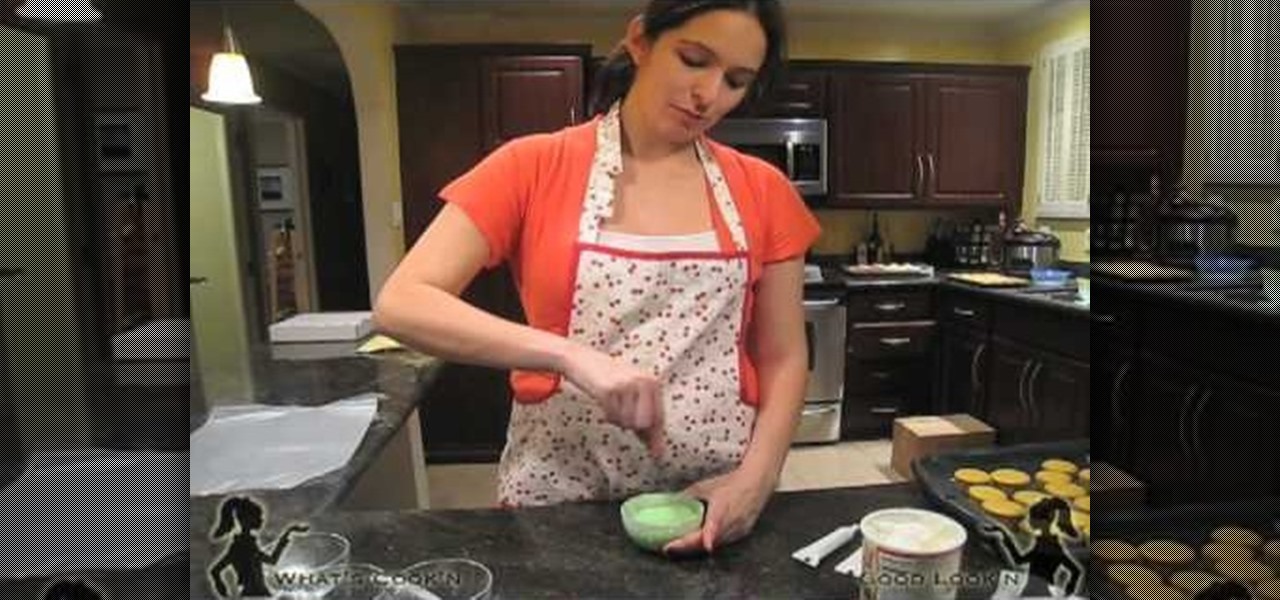
Stephannie teaches us how she prepares her "not so famous" mini cupcakes for a nephew's birthday party. After mixing up the yellow cake mix and putting it into a large plastic bag, you cut the end off the bag and squeeze the batter into cupcake cups within a pan. You should then proceed to cook them at 300 degrees F for 15 minutes until they are done. With a bit of humor Stephannie shows us how to mix food coloring into white frosting and a neat icing trick. By placing it in the microwave aft...
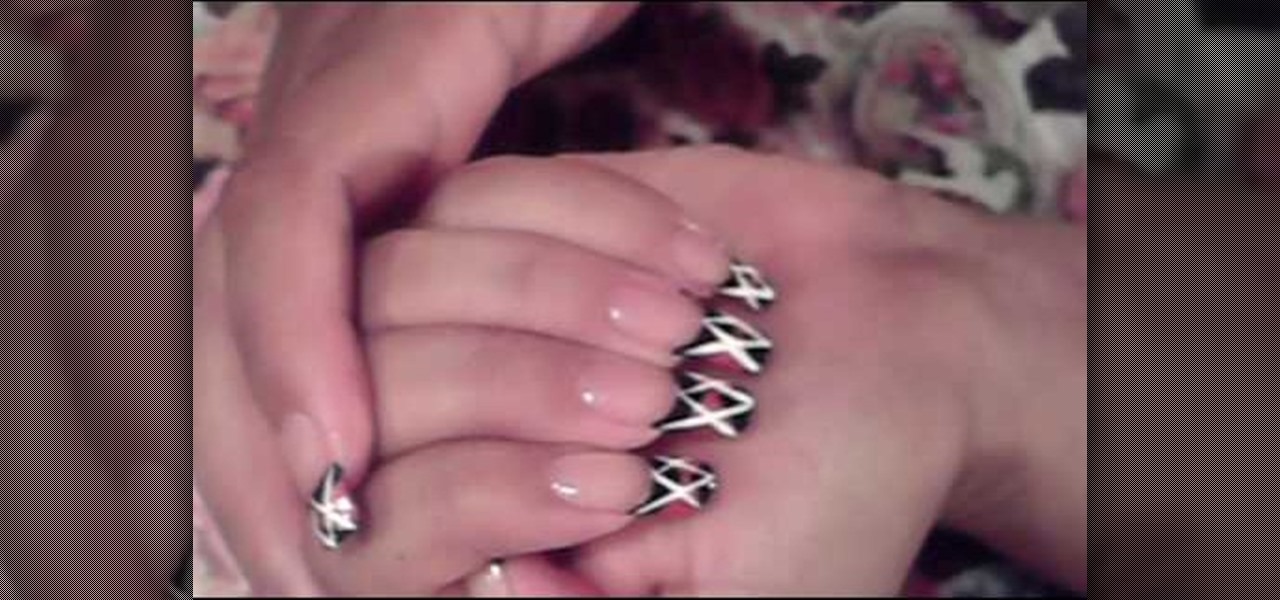
this short video shows how to paint nails in a black, pink, and white art design. The steps are simple and easy to follow. The first thing to be done is a regular black, French tip manicure. Once the black French manicure is completely dry, a pink thin tip nail polish is taken. From the middle of the nail , on the black tip, draw a V mark facing sideward on both sides. The next step is to fill the two "V"s, inside with the pink color. Once dried, with the white thin tipped nail polish, a line...
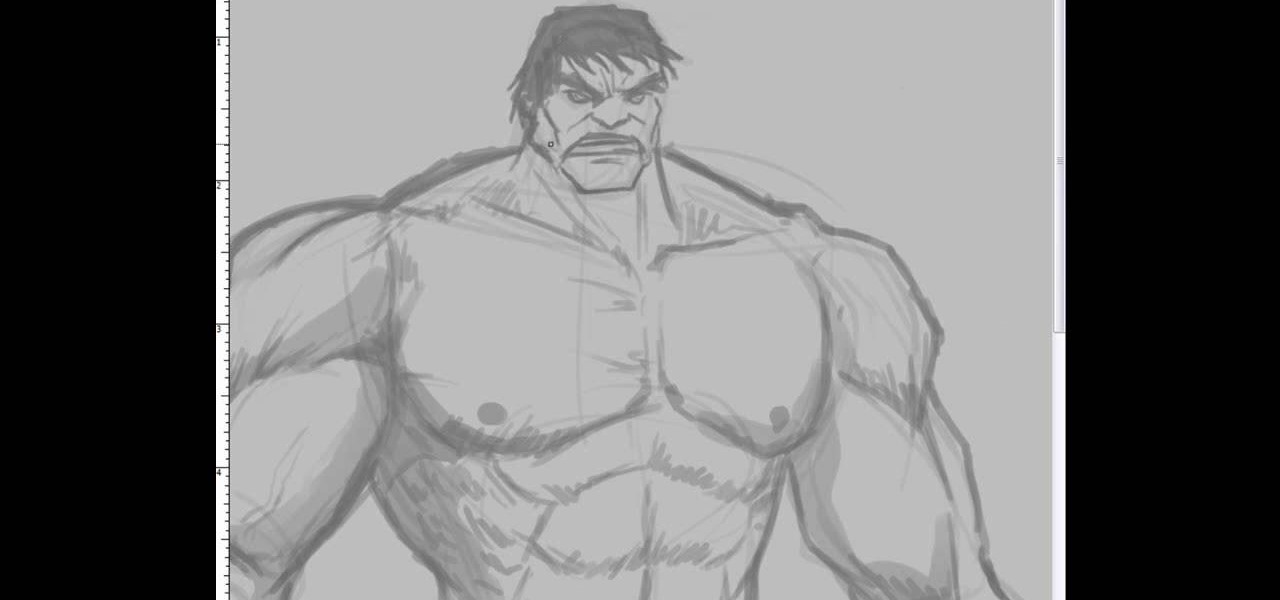
This video illustrate us how to draw the incredible hulk. Here are the following steps:Step 1: First of all take a sheet of paper, pencil and pencil color.Step 2: Now draw a square with round edges representing the face of the hulk. Within the face draw eyes and a big mouth and hairy eyebrows.Step 3: Now from the bottom of the circle draw an oval with wavy structure on it showing the six-pack abs of the hulk.Step 4: Now from the down side of the abdomen extend two legs with muscular legs and ...

This video is a tutorial on how to paint nails with cheetah print and rhinestones. The tools shown by the instructor consisted of nail polish and makeup sponge. The first step taken where to cover the tip of the nail in a white polish with a burnt orange colored finish. A sharpened pencil is used as an art tool to shape round circles onto the corners and center back of the nail made of a dark brown nail polish. The instructor then takes a glittery gold color to make river like patterns runnin...

In this two-part video tutorial, learn how to paint a neon orange & silver nail art design with the help of a nail professional. Although this orange & silver color scheme is used, one can choose any two colors they like to complete this look. Use this video as a guide and get this simple nail manicure done in no time!

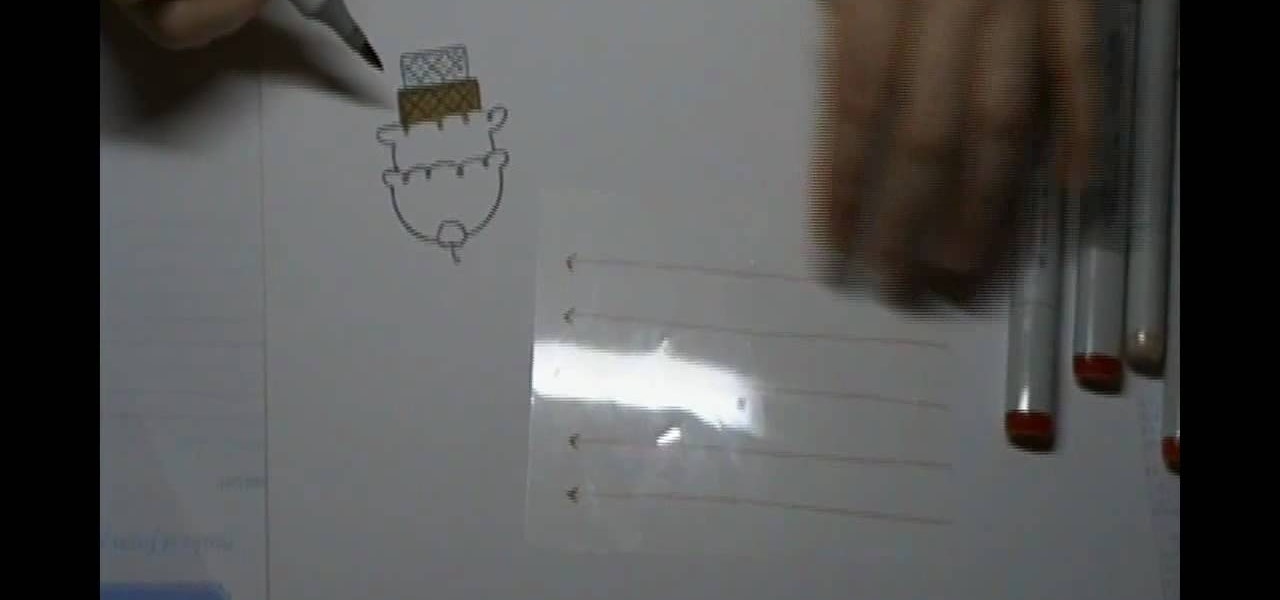
This video shows you the basics in understanding how to use Copics pens. In this video you'll focus on the basics of coloring. You'll learn the do's and dont's in order to achieve a perfectly colored piece for everyone to enjoy. This is a great video if your familiar with Copic pens or just curious how to properly use them.

Danielle Proud shows you how to make a beautiful Christmas table centerpiece for your Christmas dinner! Your guests will be amazed at how incredible your table looks. This amazing display catches light and looks simply magical. All you need is an old pair of deer or elk antlers, some sticky-backed crystals, and a little time and creativity! First, take your antlers and sand them until they are smooth and the color you like. Then, take different sized crystals, even different colors if you pre...

Learn how to make a simple Ghillie suit in easy steps. 1. First find out some burlap bags and cut them up. 2. Now dye your burlap by choosing the proper colors that are suitable to the environment you are going to be in. 3. After selecting the dye color, soak them in it, let it dry and string it. 4. Now attach a netting to your selected base and then tie on the dyed burlap strings to the net. 5. Finally make any changes if needed and then test it out to finish.

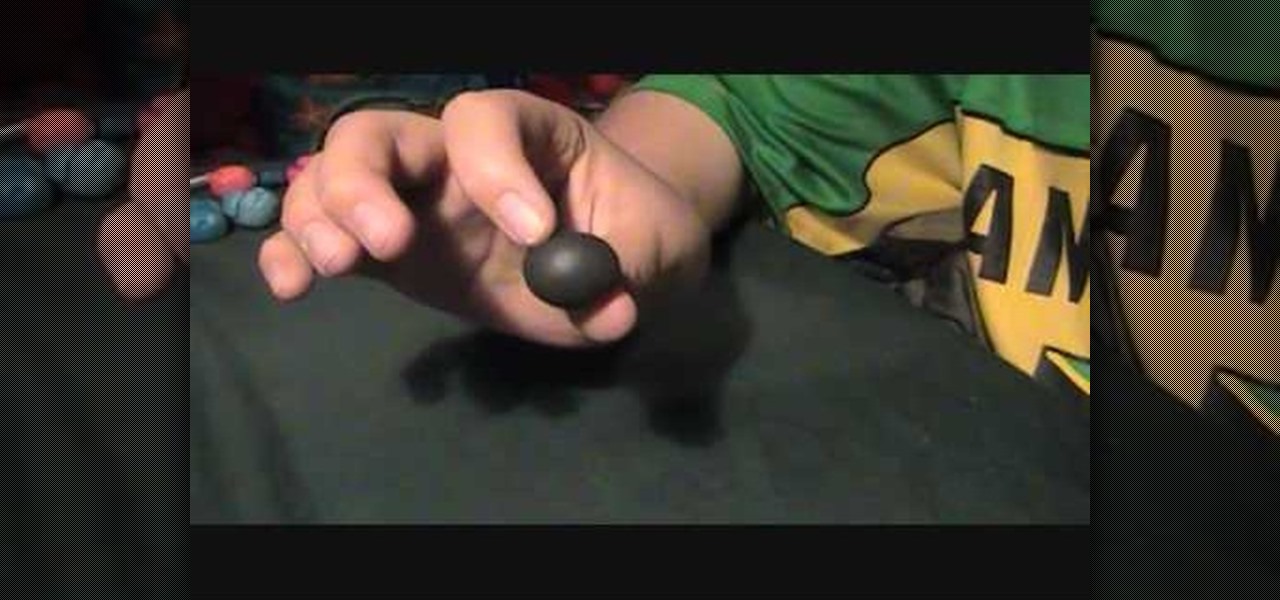
This video shows how to make a bay girl and boy head made of clay. The first thing you need to do is get a small round ball of clay that is a skin color color. Then you get the small black beads and place it firmly on the ball they will act as the eyes. Then make the eye creases on the side of both eyes. After that you add the other physical features like nose, mouth, ears, and eyebrows. The last thing you do is fold two square pieces of clay into the shape of a bow then place it on the top o...

Yanik Chauvin demonstrates how to create a batch using Photoshop and them Lightroom so you can decide which is faster and more convenient for you. In Photoshop, he first changes the color in the image, which he explains step by step the process, then saves the image as an action. He then shows you the process to batch the images so they will appear on your desktop. He also does the same thing with the image in Lightroom and shows you the process in which you would change the color and sync th...

Joey Logano paints the #20 Home Depot Toyota race car with Home Depot orange color. 1. Paint up the chassis. 2. Dry the paint for about 4 days using a grill specially made to fit the body of the car. 3. Bake the chassis in the oven for 160 degrees F. 4. Get some orange stickers that is exactly the Home Depot orange color. Design the body and headlights.

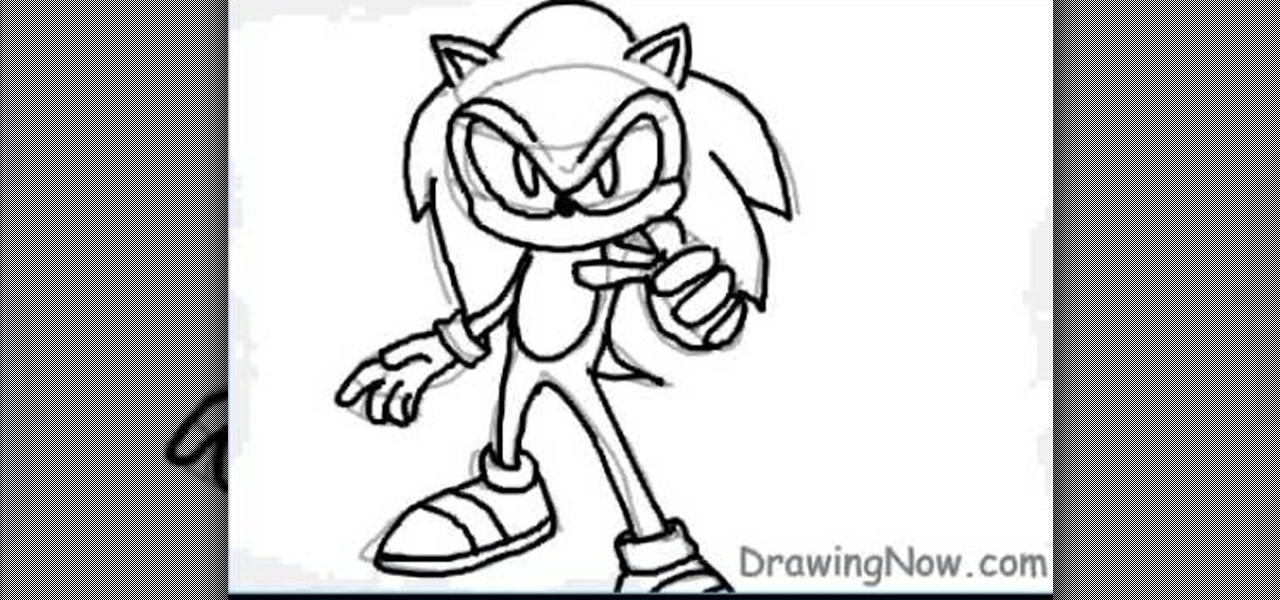
In this video tutorial, viewers learn how to draw Sonic from the Sonic the Hedgehog. Begin by drawing a circle for the head and 2 triangles for the ears. Then draw the lines for the spikes and a small oval for the stomach. Now draw the hands, legs and feet. Draw the eyes. Now draw the tail and outline the image. Add the details and delete the guidelines. Start adding color to the image. Add some darker colors around to create shading. This video will benefit those viewers who enjoy drawing on...

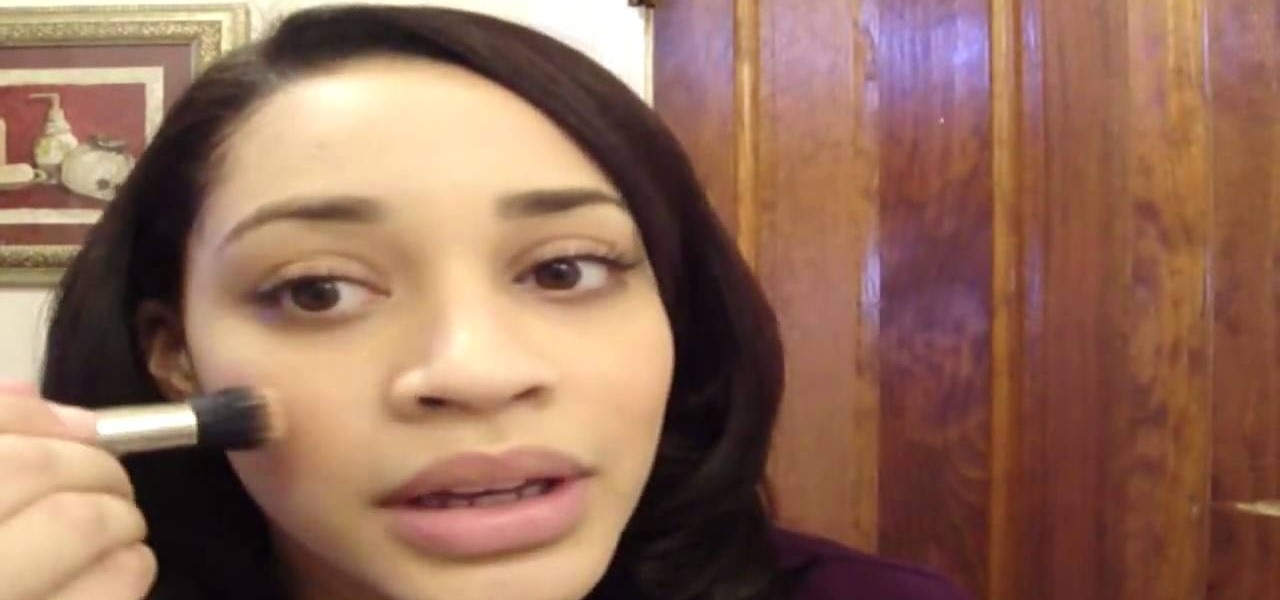
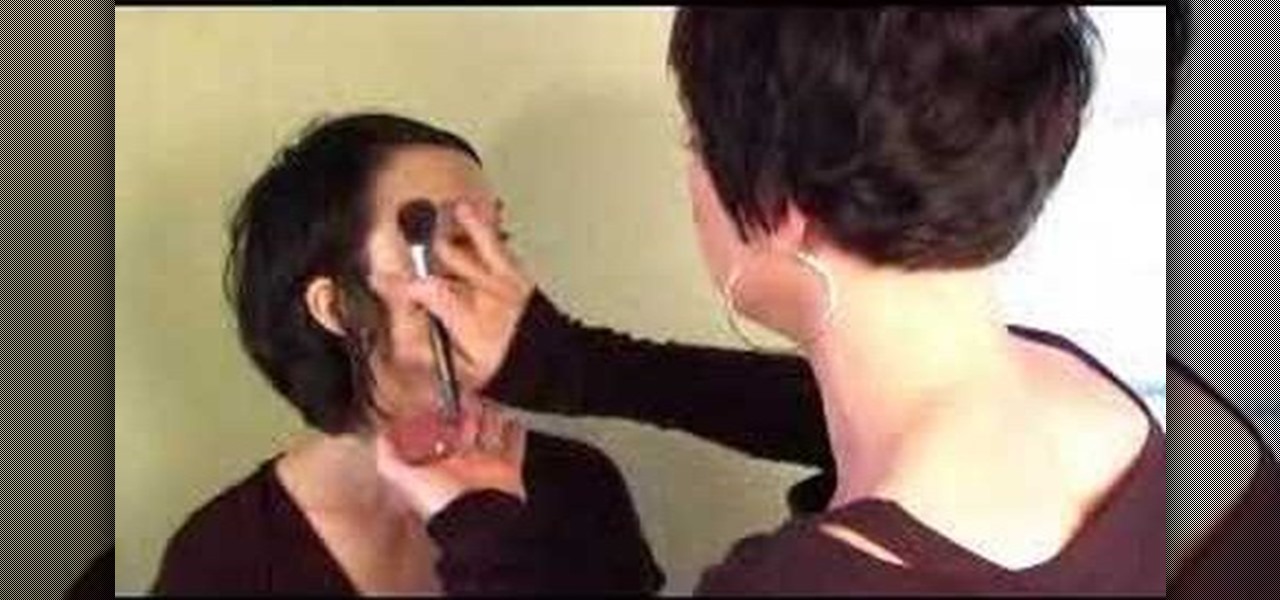
It is a demonstration of a cream blush with a # 130. We will be using a steela convertible collar and a color called camellia which is #1 and is used mostly as a blush which nice and bronzy. You firstly stamp the brush onto the blush and then lightly tap the brush onto your hand first so as to ensure you won't have too much of blush on your face.

In this video we are show how you can make old furniture look softer. It looks really easy but dirty so old clothes and cloves would be advisable. First of all take your glazing color and mix it with a white. Then take mix and mix it with a glazing medium 1 part color and 3 parts glazing medium. After it is mixed well take a brush wipe on a thin layer of the paint/glazing mix. Wiped directly after with a sponge. What will give your old furniture a softer look. But you don't have to stop there...

She teaches us how to make a beautiful jewelry pendant for a necklace out of polymer clay. She starts with kneading a black base. She then sends it through a pasta machine. After she has a black flat sheet she rolls it into a ball again. Then, she takes the other five colors and starts rolling tiny little ball. She attaches them to the base black ball. Next, she creates a snake with the colors swirling around. She sends it back through the pasta machine to create a perfectly flat surface. To ...

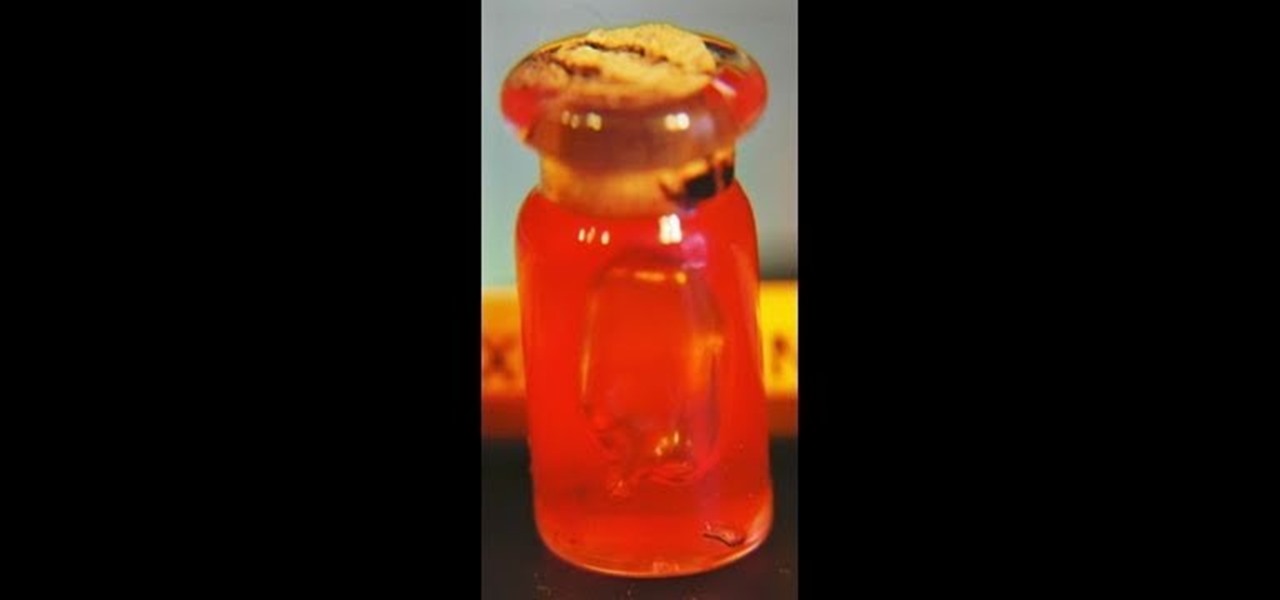
Decorating a dollhouse with tiny details is easy with this informative clip. You'll learn how to make a miniature jar of jelly for your dollhouse. Learn step by step how to use clear liquid nail, coloring gel, a syringe and Q-tip to fill a tiny jar that looks more than realistic. Using a jar from a necklace, the presenter fills it with the colored glue then takes a small amount of cotton cloth, attached with a small wire, to make it look like a jar of jelly from your pantry. This easy to foll...

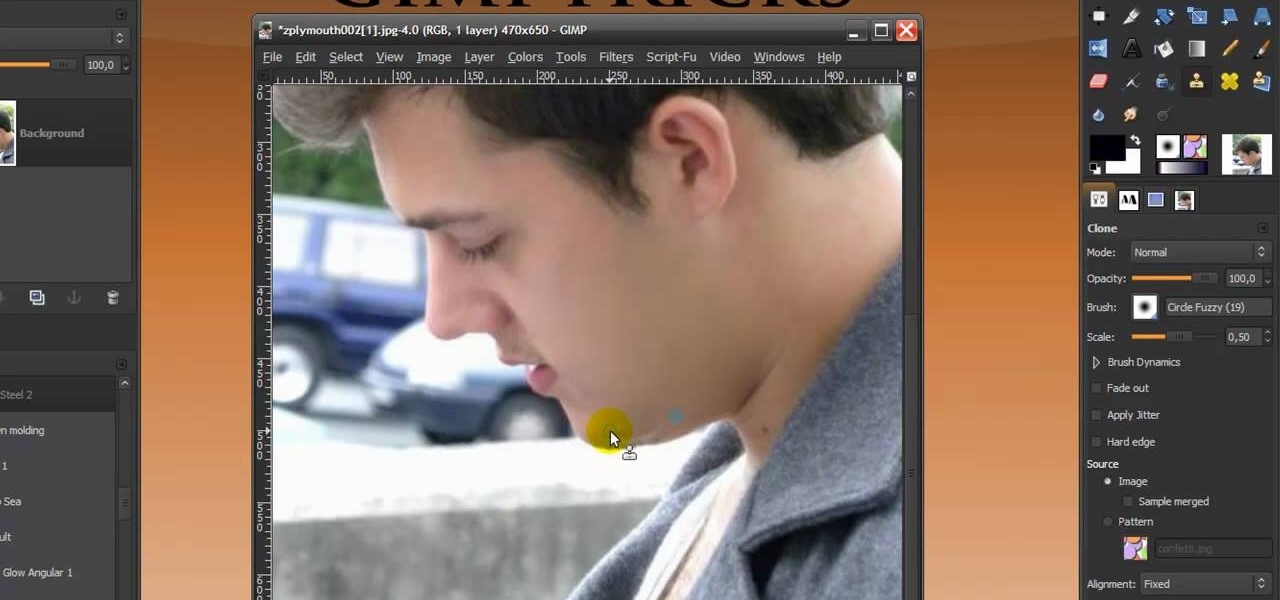
In this Software video you will see how to give someone a shave in GIMP. Learn spot removal, skin smoothening and a makeover or removing a 1 day beard. This is done using the Clone and the Healing tool. To use the Clone tool, select the tool from the right hand panel. Then to select the source skin color, you have to hold ctrl key down and click. Now when you apply it to the area you will get the same shade of the source color. So, you will need to select an area very close to the spot you ar...

This is a great instructional video on how to make a paper ribbon bow. This video teaches you step by step to make a nice paper ribbon bow. This will be very much useful for children work in school or even at home. You need color paper, scissors, gum, pencil and a set square. First you have cut the color papers so as to make about 1 inch width ring from it. You have to paste the paper ends to make it as a ring. Similarly you can make another ring with lesser width. You can make about four rin...

In this video from youngbodymind Lisa G shows us how to make yourself look younger in just 5 minutes. First start with a primer. This keeps your makeup on throughout the day. She uses a brush to apply it. Then she applies a foundation as a hydrator. It also evens out the discoloration she has which makes her looks younger. Then she applies a bit of blush. A cream blush works and she also applies it to the eyelids for some color. Then she applies a little pop of color to the lips making her lo...

This video loosely explains the method of how to make a blue colored slime from corn flour, blue food coloring, and a quantity of water which is undetermined. Quantities of ingredients to be added for this project vary and can be made up as the person goes along in combining the ingredients to produce the desired results. Ideally, the product should be of a slime like consistency, or can be described as 'gooey' in appearance. The resulting slime product should be easily stirred when it is sti...

Dragontrap uses 1/2 a yard of three different colors of fleece for this scarf project. She cuts the fleece into strips of twelve to sixteen inches in length and two to three inches wide. Then she sews the strips together lengthwise, rotating the colors of fleece. Once the strips are sewn together, she has a large rectangle of pieced together fleece This is folded in half with outsides together. She sews one edge of the scarf closed and sews all the way down the long edge of the scarf. Finally...

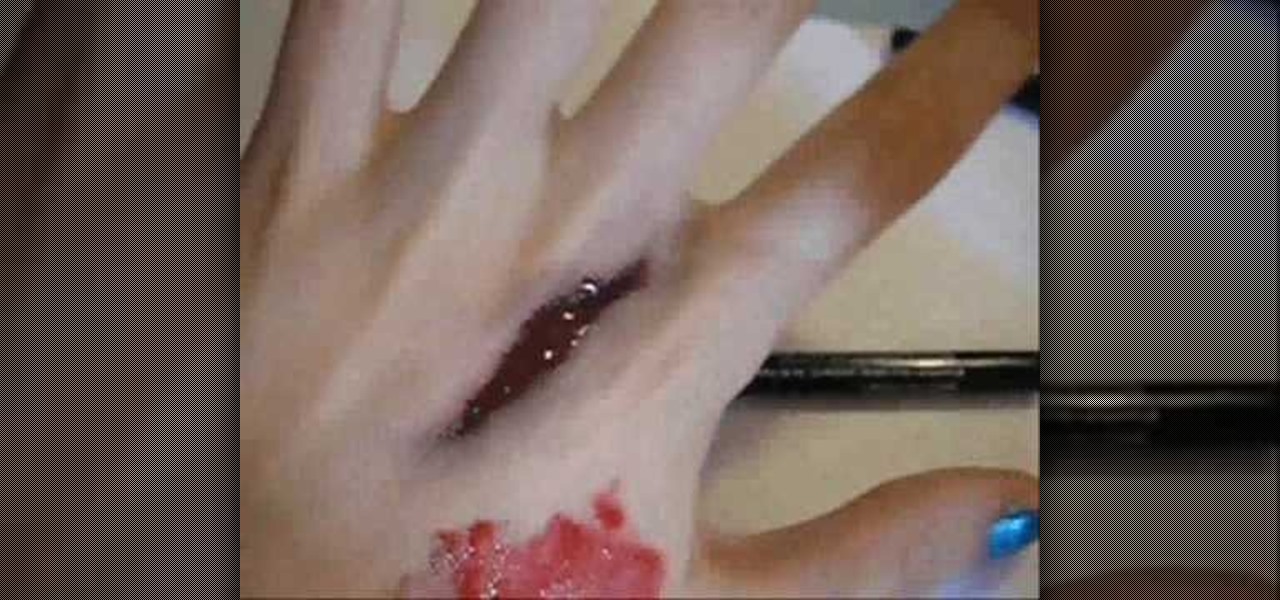
To make lip gloss look like fake blood you will need a tub of red eyeshadow, clear lip gloss, black eyeliner and red lip liner pencil. First dab a little bit of lip gloss onto your hand. Color red lip liner around the lip gloss blob. Then, flake the red eye shadow into the mixture and stir it up. Add a little bit of black eyeliner or mascara for a darker color. Apply the fake makeup blood to your desired area by caking it on. You can also use your black eyeliner to provide a wound shading bas...

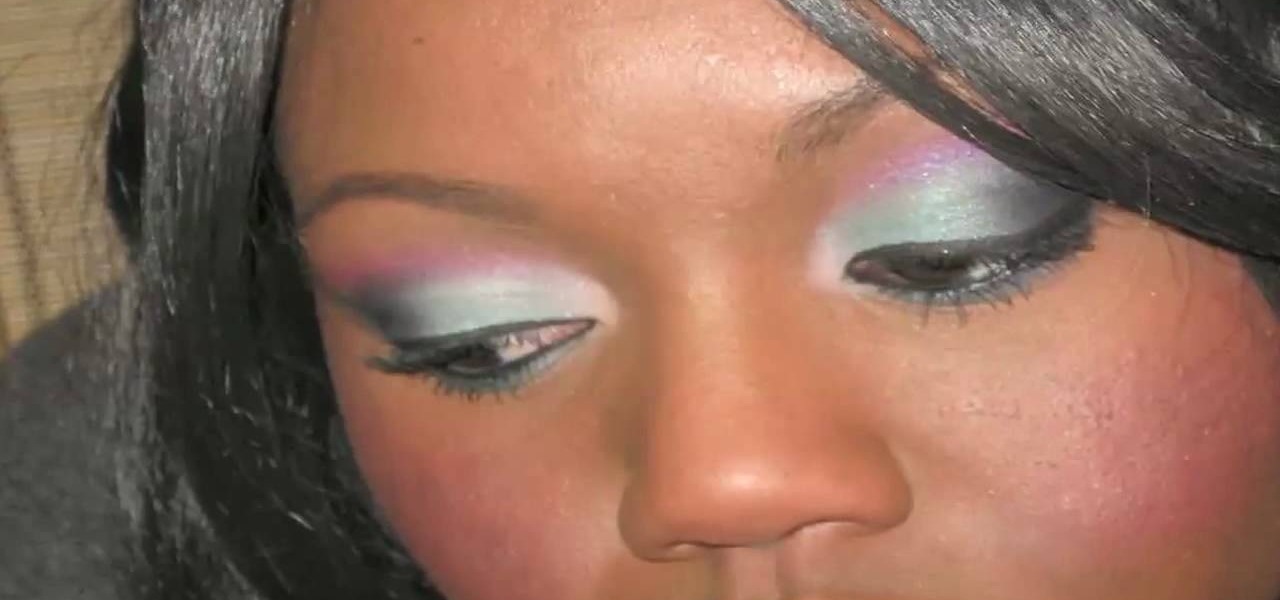
EyeXluvXmakeup shows you how to apply Hello Kitty Too Dolly makeup. For this you will need the Hello Kitty Too Dolly palette, the Hello Kitty tippy blush, Viva Glam V L/G. Using a short haired brush, you need to start by applying a dark blue color on the bottom of top eyelid. Next, use a frosty blue color and blend those two together. On the crease of the eyelid you will add pink and blend that with the frosty blue. Last, you will need to use the frosty blue under the eyes and apply blush on ...

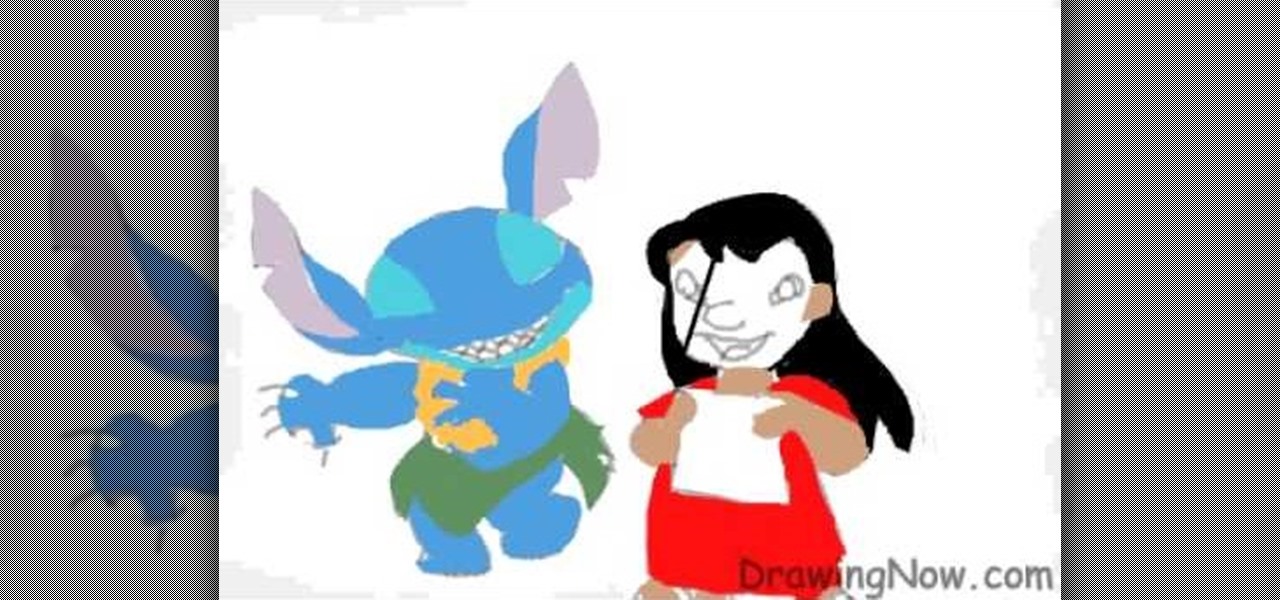
Begin by drawing an oval and attach two feathered shaped ears to head. Draw guidelines for the face. Draw the face and a marshmallow shaped torso. Add the legs and arms. Add the detail and start erasing the guidelines. Repeat the similar steps for Lilo. Once finished both characters, color them. Add a darker shade of the colors for shading. Outline the characters and add all the details. This video will benefit those viewers who enjoy drawing on the computer and would like to learn how to dra...

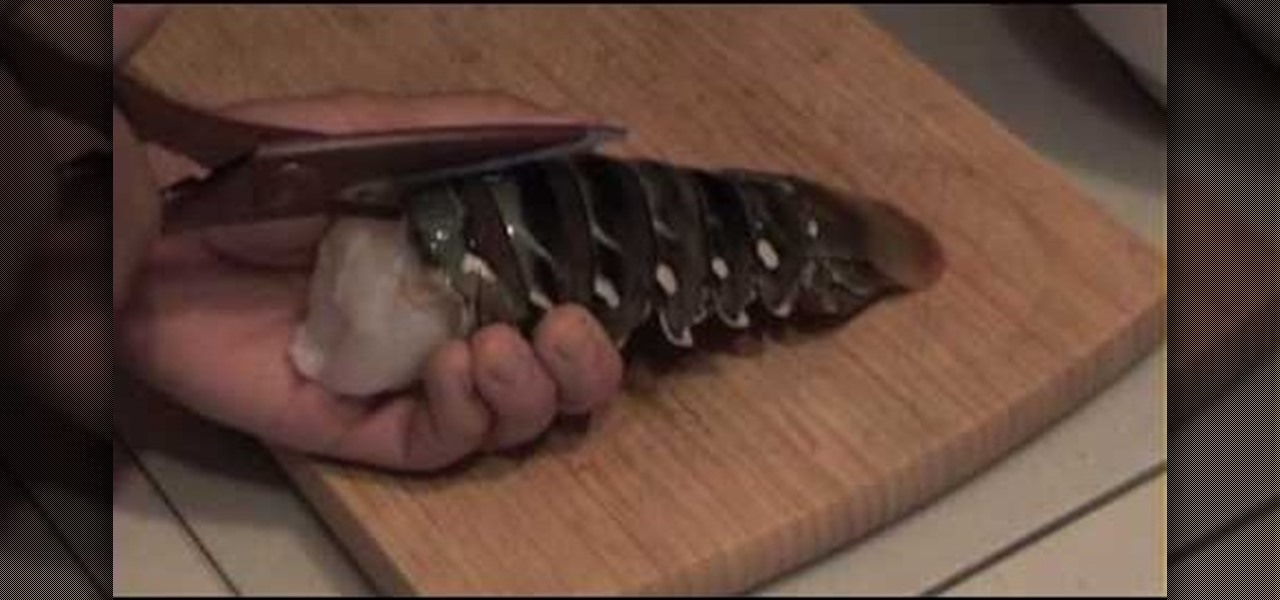
Burhop's Seafood near Chicago, Illinois offers full instructions for preparing delicious, rich lobster tails for a gourmet dinner. In the video, the lobster tails that are being used have been shipped to the United States from Northern Australia, but the instructor ensures the viewers that one can buy lobster tails at the local store. For optimal color and flavor, Burhop's suggests preparing the lobster tails with a pat of butter as well as a small pinch of paprika. Using this technique, you ...

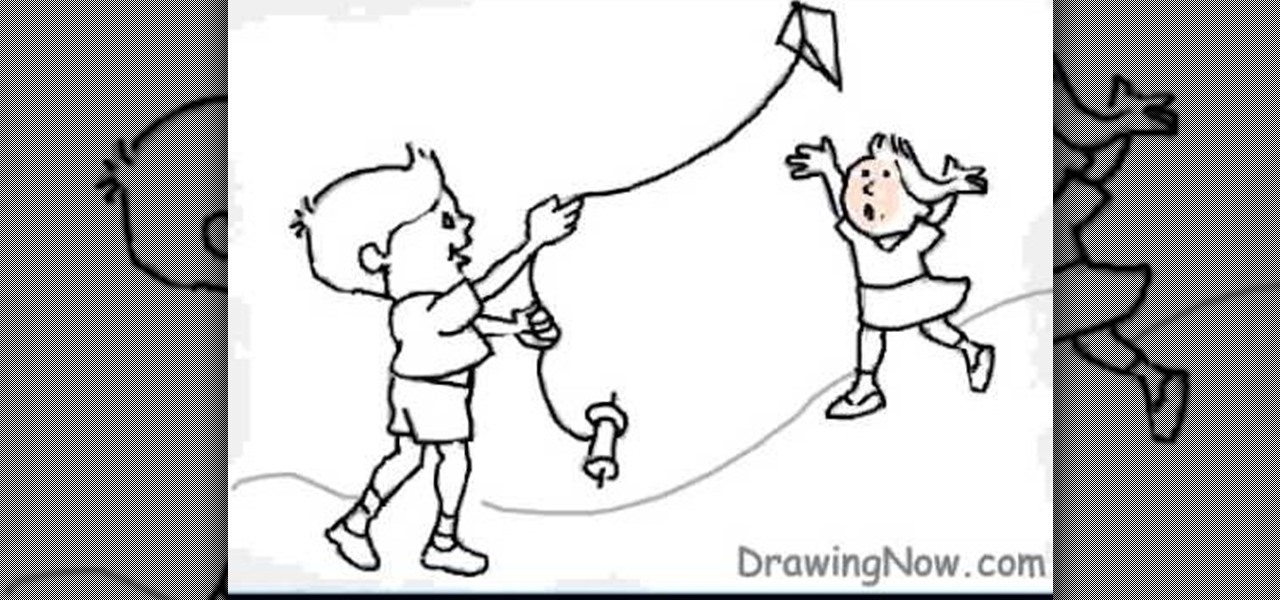
This movie is a silent animated account of how you draw the final picture (which is shown at the beginning of the clip) of two kids flying a kite. The lines are sketched roughly using pencil, and then over-inked. The original lines are erased and leaving outlines. Then you begin coloring in all the spaces just as you wish. There is no commentary and no music, but all the basic detail is there and you can follow easily the way the characters are drawn and colored from start to finish, making i...

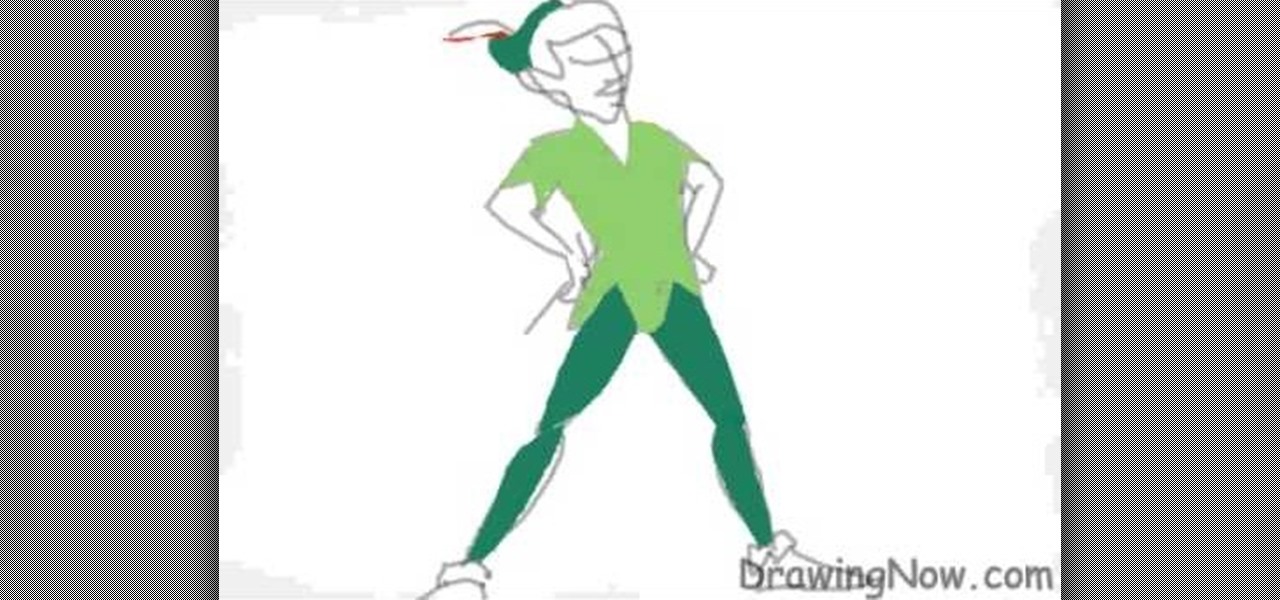
This video turns teaches how to draw Peter Pan with ease. In less than 2.5 minutes he is drawn. Not only is he drawn be he is also colored. The drawing starts with a simple outline of the head and body. Color is then added to the hair, face, and clothing. Then some simple shading is done in the correct areas, such as the hair, eyes and shirt. It is so easy one could easily draw it by hand or on the computer using a paint-like program. The complete drawing is very recognizable and also very si...

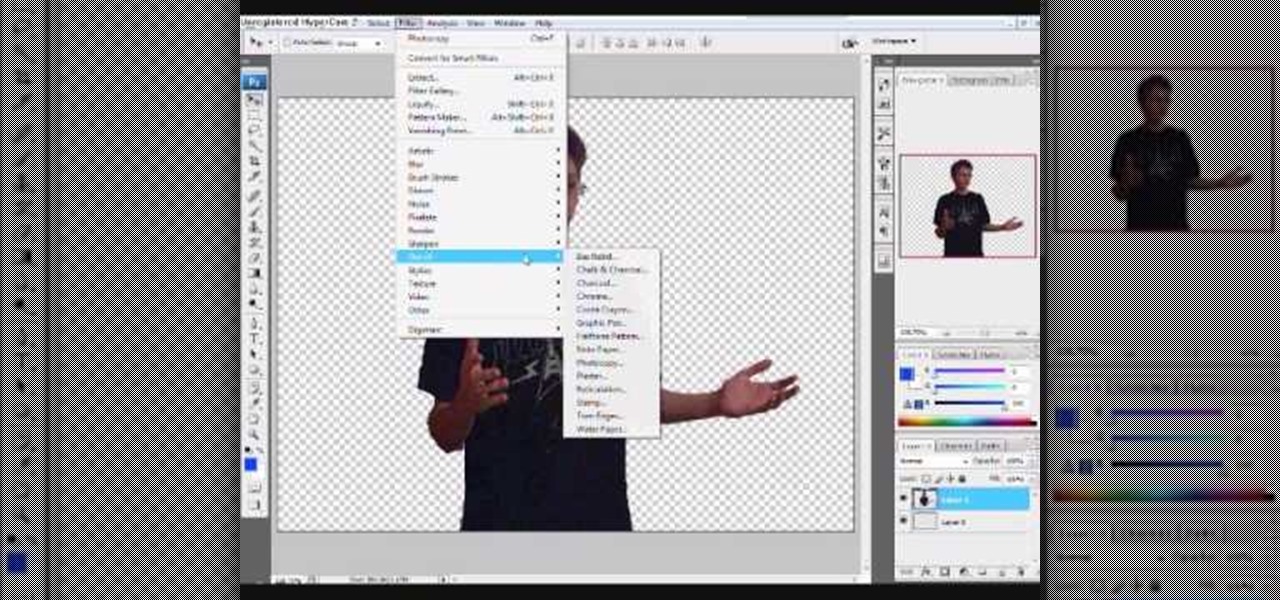
This is an animation style which takes real pictures and outlines it to make you look almost cartoon-like. To start with you want to take a picture and get a cut out of the subject with the background transparent. Then get yourself a nice color for the outline and go to filter, sketch, and photocopy. This will look roughly like a colored outline of the subject but then you want to add some more touches by adding detail (usually around 3) and darkness (around 35 is nice).

This tutorial suits for Halloween occasions, featuring Glamour Doll Eyes, which is a perfect colors for the Mad Hatter. The shadows used in this tutorial are Cloud Coverage, Shaded Orchid, Love Spell and P inky Swear. Cotton balls are used for eyebrows and eyelash glue is used for the eyebrows, to? remove it just pulled it off, you can take a cotton ball with makeup remover on it and hold it against the brow which should help loosen the glue. Other products used are Fluorescent Colored Hairsp...

In this video you will learn how to draw an angry tiger using your basic drawing tools. In order to do that just follow these steps and instructions: The first thing to do is to get a pencil and a sheet of paper. These are the tools that you will use for the drawing. Draw the head and the mouth just like in the video. Now draw the body, the legs and draw the right arm in the air. Draw all the other details and complete the sketch. Now you can start to color it. Use the same colors like in the...

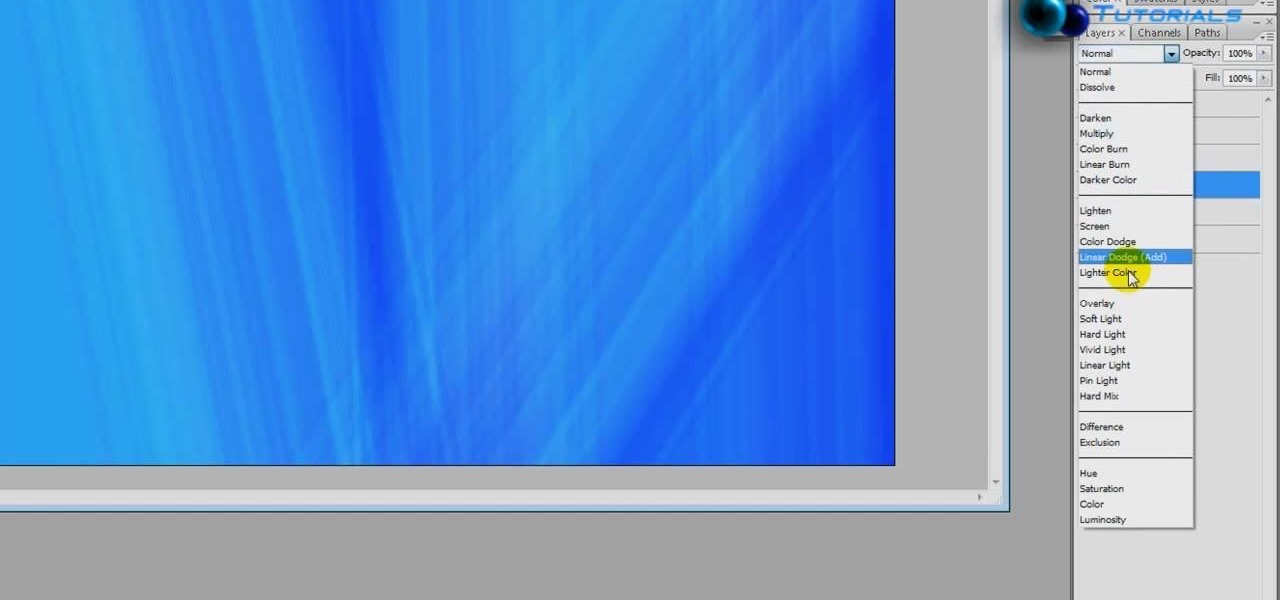
The video opens up with an introduction from the video sponsor, "Godly Tutorials. It then goes to a screen displaying the basic Photoshop screen. Once there, he opens up an image that is completely black. After that he opens up an image editing window that displays the color scale and also displays various effects. He then picks one of the crystal like effects displayed in the window as well as a color described as baby blue. Once the he changes the layer and adds another crystal effect to th...

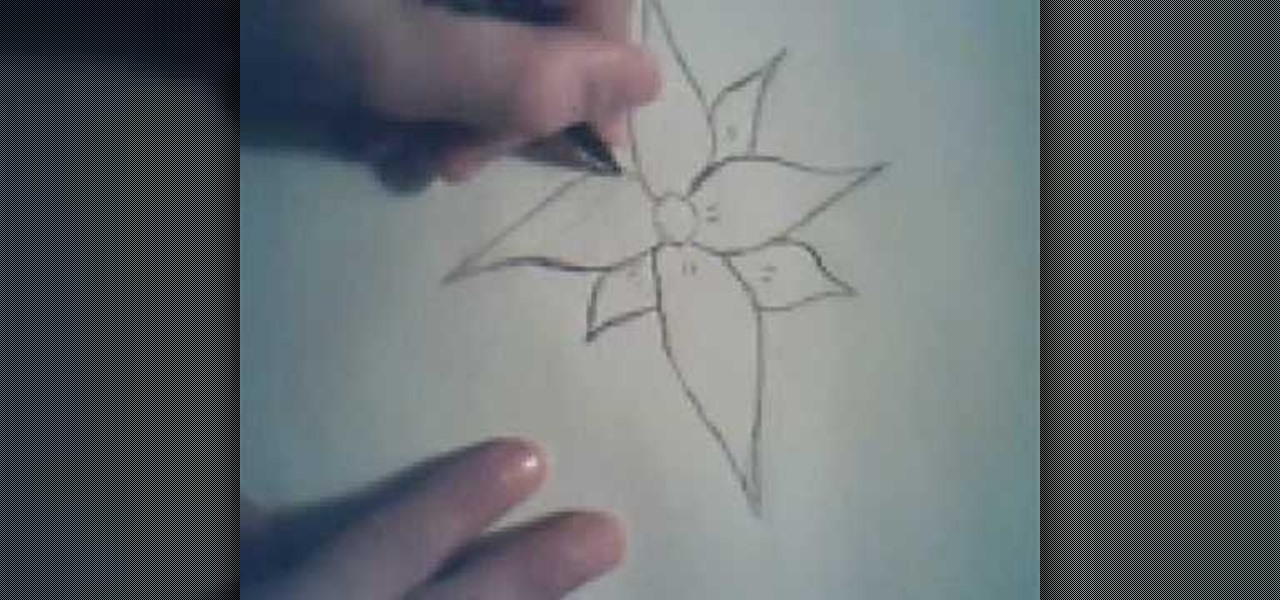
This tutorial video shows how to draw a simple flower. The tools used are only a dark colored pencil and a sheet of paper. A recurring technique used by the presenter in this video is to draw the petals first and then add finishing touches to the petals using small strokes.

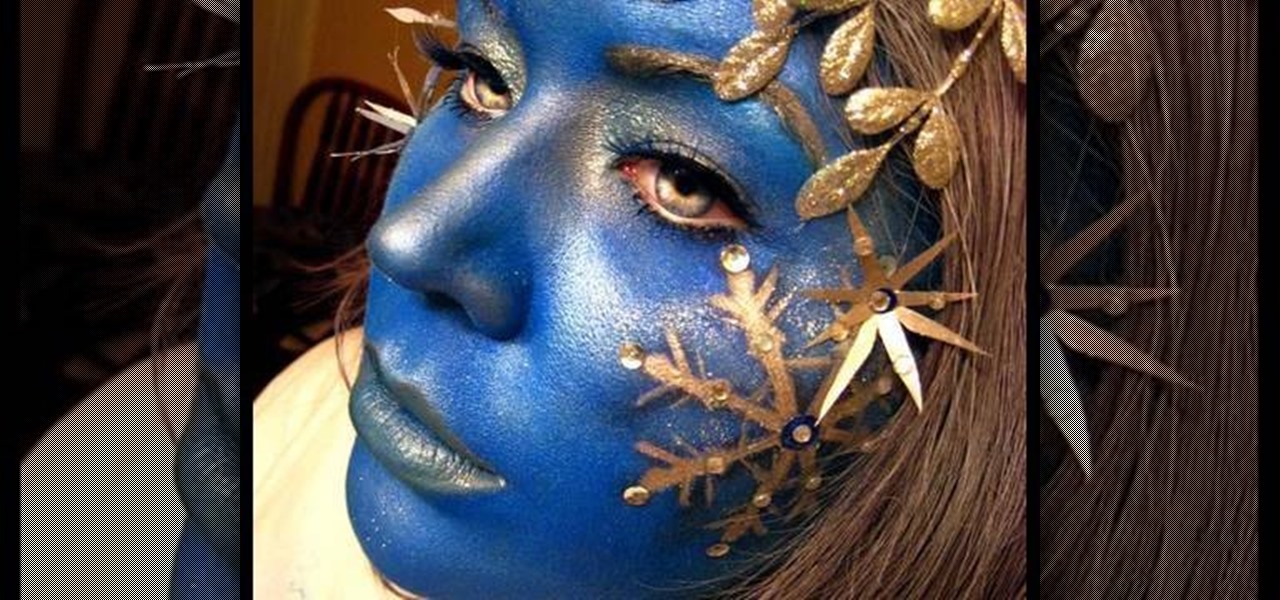
Goldiestarling teaches you how to apply a snowflake fairy makeup look. You first need to draw the snowflakes on some card stock and then cut them out. Apply those to the face using eyelash adhesive. Use a moisturizer and then a blue powder using a short haired brush. Apply a frosty white metallic color around the eyelids. Also add a darker blue around the snowflake edges. You can also add small rhinestones and glitter to the snowflakes. Use a light brown lipstick for the lips and blend it wit...

The video shows us how to draw a manga hair on a computer. Firstly draw a oval shape to represent the face though it is not important, just for the sake of using it as a reference. Then draw the outline of the hair formation using a lighter shade and then start drawing the hairdo in the way it is supposed to be and then darken it using the darker shades. Then erase the outline which you had done previously which is not needed now and then color the hairdo with appropriate colors. This kind of...

This video tells how to edit text with NetObjects Fusion Essentials Version 7.5. To edit text you must double-click on the text you are going to edit or click on the text icon on the left side of the screen. You can make changes to the text in the text properties box which will appear by clicking a button in the lower-left corner of the screen. You can change the font, text color and size, text box color and you can insert superscripts and subscripts. You can also place an image behind the te...

YouTube user DrawingNow teaches you how to draw Kim and Ron from Kim Possible. You start with a green background and use a pencil to sketch their bodies. Start with a simple circle for the head and then add ears and hair. Add the neck connecting to the body and a fist extending forward. Draw the other hand and remember the pants and shoes. Next start with an oval for Ron's face and draw larger ears, but smaller hair. He's also in an action move, so reflect that in the way he holds his hands a...

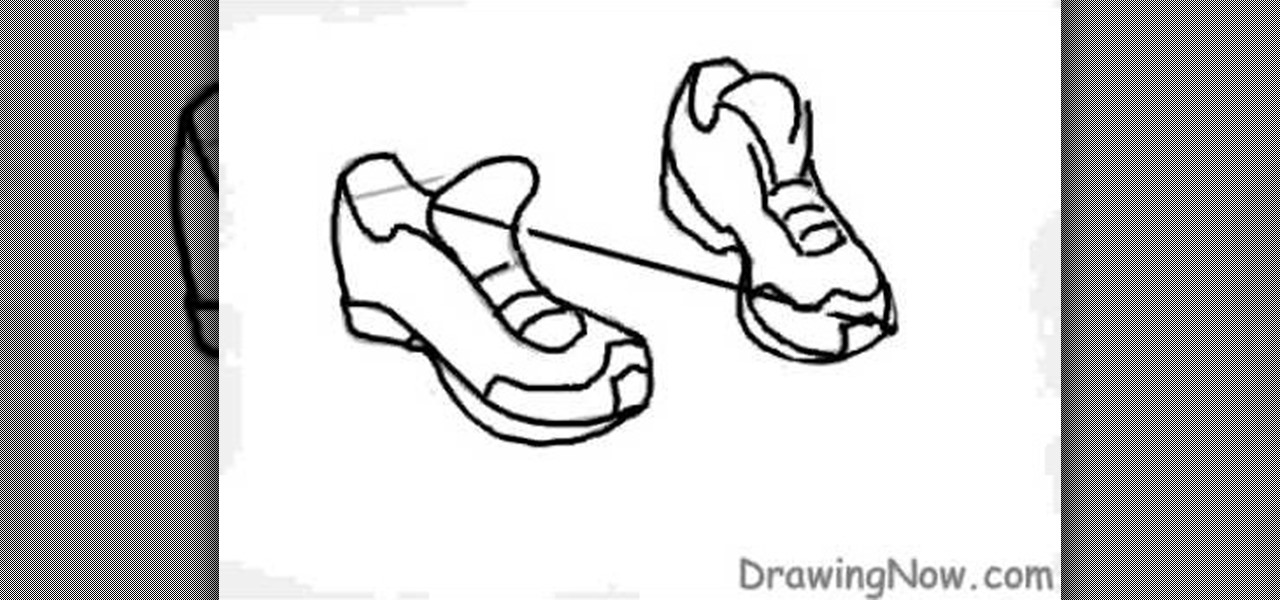
DrawingNow teaches you how to draw a pair of running shoes. Your start with two ovals, one larger than the other. These will act as the soles of the shoes. Next start sketching the shoe up and once you're happy with it, you can start drawing on top of it and erasing the original sketch. Do the same for the other shoe and start adding details. Draw the front of the foot, heel, the inside of it and the knots. Finally, all you need to do is color them in and use imaginative color combinations.

This video shows how to draw the comics character Spawn, a former CIA operative killed by his own men and afterwards recruited to be a general in Hell's army. Running at a 6x speed, you will find it easy to replicate. To accomplish this task, you'll need a sheet of paper, a pencil and red, grey and black markers. In less than 10 minutes, without any special drawing skills and simply by following the tracing and coloring shown in this video, you will finish a fully colored entire body drawing ...


