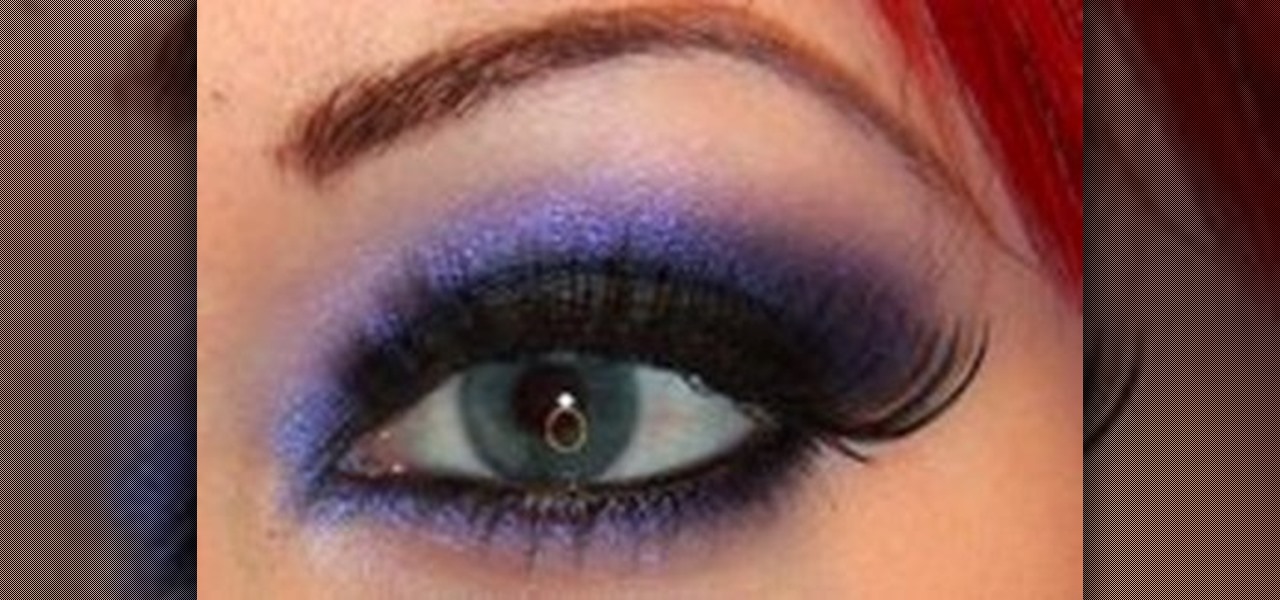
How To: Create a smokey black & violet eye makeup look
This stunning look is done by xsparkage. It's a mix of black and violet, a real eyecatcher. Watch this makeup tutorial and try it out yourself! Products used:


This stunning look is done by xsparkage. It's a mix of black and violet, a real eyecatcher. Watch this makeup tutorial and try it out yourself! Products used:

Lava lamps are as easy to make as they are fun to look at. Watch this video to learn how to make your own lava lamp at home.
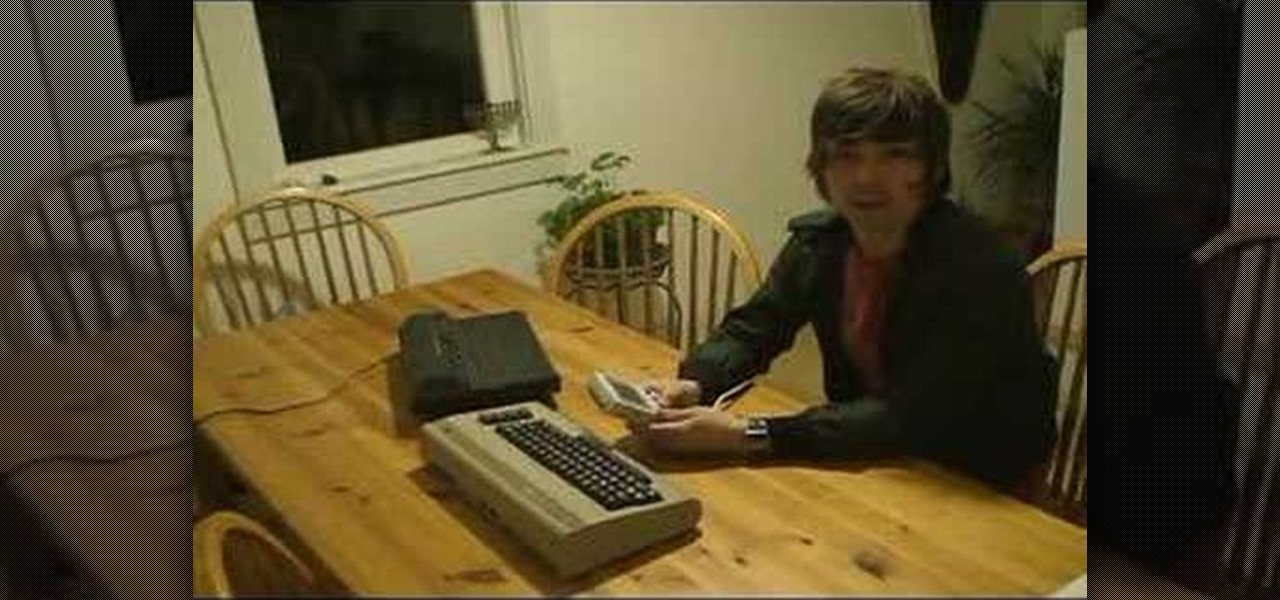
In this video tutorial from 8BITches, 8BIT Ché explains how he uses Little Sound DJ, or LSDj,—the Game Boy/Game Boy Color tool of choice for amateur & professional musicians and composers—to make hot beats! Big Pick Zel expounds on his knowledge of Gameboy history, and Li'lBIT eats dinner. For more information on making beats with LSDj and a Nintendo Game Boy, watch this video tutorial.
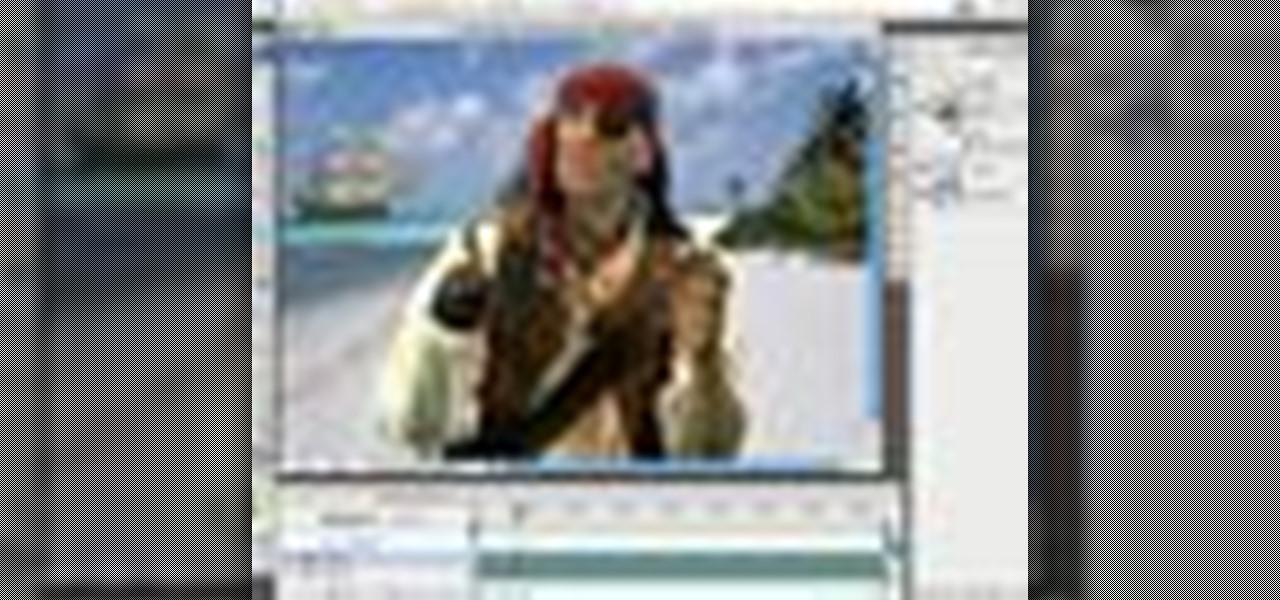
Introducing a new script from the notorious pirate, Dr. Brown! This Photoshop tutorial shows you how to use Dr. Brown's Background Remover Photoshop script. Discover amazing video compositing treasures when you use this script to remove a selected background color. Beware maties! This script works best, if you be use'n high quality video files. This script will only work with Photoshop CS3 Extended.
Studying to be a nurse? Then here is a nursing how-to video that teaches you how to collect and label a urine specimen. Every nurse should know the basics of this technique, follow along and see how easy it is to do a urine collection and label it properly. These medical tips are sure to help you pass your nursing exam with flying colors.
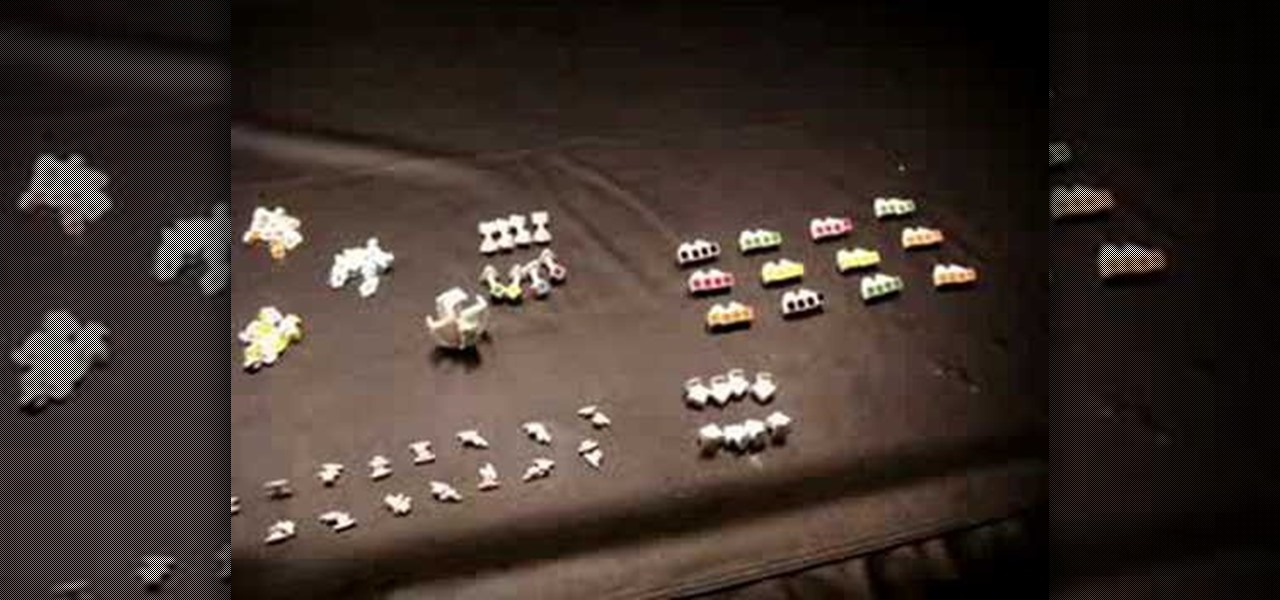
The V-Cube 6 puzzle is a uniquely designed and constructed skill game. V-Cube 6 is a multi-colored, multiple-layered cube, rotating smoothly on based axes. The player is required to discover a strategy to achieve uniform color sides on her or his V-Cube, but in this process, the Rubik's Cube-like puzzle may break, especially if you're in the process of speedsolving.

In this Adobe Photoshop tutorial, Bert invades Tinseltown. Create your own movie poster simply by using a few Photoshop tools - colorize, hue/saturate, and gradient color levels. It's show time. Create your next blockbuster movie poster in a flash.

Cat Morley and her charming Scottish accent show you how to knit in this video crafting tutorial. Learn how to cast on, hold the knitting needles, knit stitch, pearl stitch, change a ball of yarn (great for changing colors, or even when running out of yarn), decrease stitches, take back a stitch, increase stitches, and bind off. Watch this video and start knitting your own socks, scarves, mittens, and other wooly things.
Life is not always a walk in the woods, but when it is, make sure you don’t step in the poison ivy. Leaves of three, don't touch me or Leaves of three, let it be is a pretty good rule of thumb as poison ivy comes in many colors and varieties. This video nature safety tutorial shows how to look out for and prevent the uncomfortable burning that results from any contact with poison ivy.
This is a cool optical illusion that makes your business card appear to be blank on both sides but then you print color onto it with your hand. A magical way to hand out your business card.
One of the best ways to spice up your movie is to apply a visual effect to it, such as speeding up your clip, reversing the direction, or adjusting the color.
When you want to remove red-eye in a photo, simply use the iPhoto red-eye removing tool. iPhoto provides tools to correct other defects, as well.
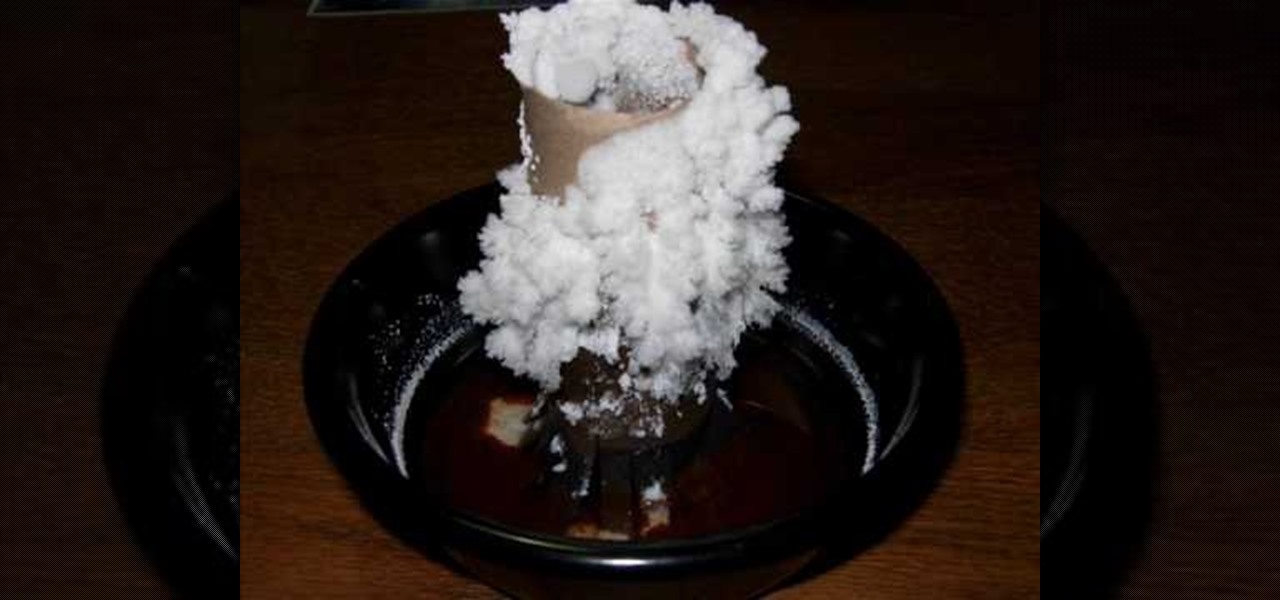
This is a timelapse of a salt crystal garden growing on a toilet paper roll. You need salt, water, food coloring, ammonia and a dish with a pourous stiff object.
This instructional video explains the basics of Chroma Keying in Final Cut Pro. This is used when you want to remove or key out a specific color from a scene. Created as a component in the Temple University Instructional Video Database.
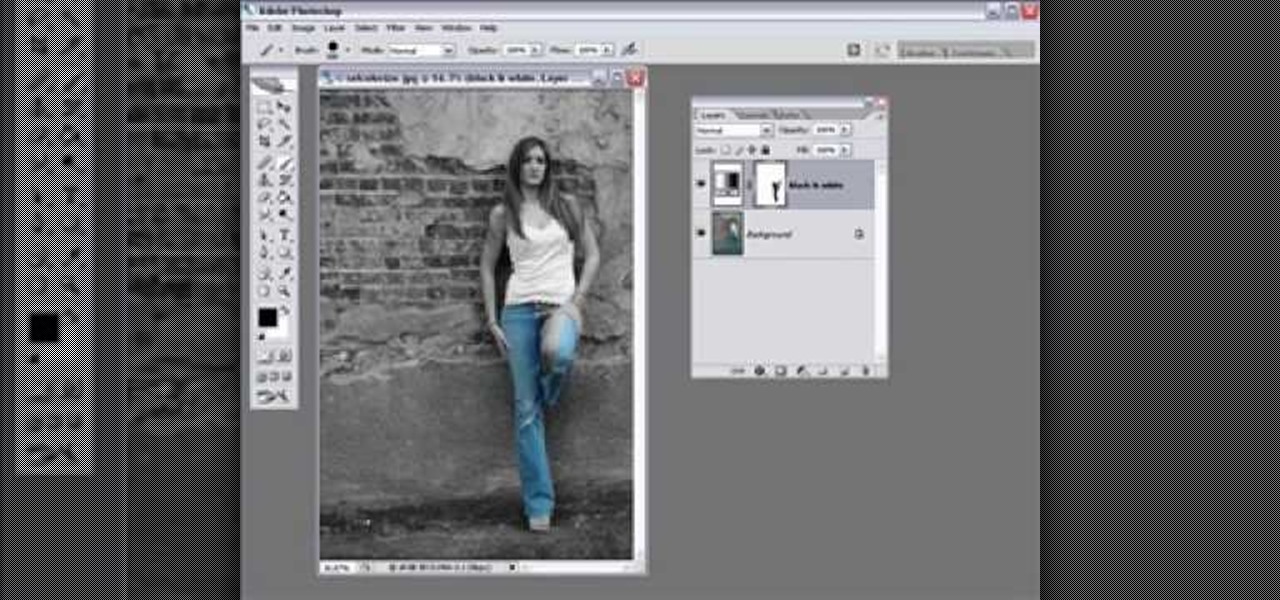
Learn one very simple way, using the mask of the Black & White Gradient Map Adjustment layer in Photoshop to conceal or reveal parts of the image in color and other parts as a black and white version.
Kipkay shows you how to make play dough. You use two cups of flower, two cups of water, one cup of salt, two tablespoons of vegetable oil, and one tablespoon of cream of tartar. Stir over low heat until the dough clumps, knead the dough, separate the dough into four balls, and then add food coloring.
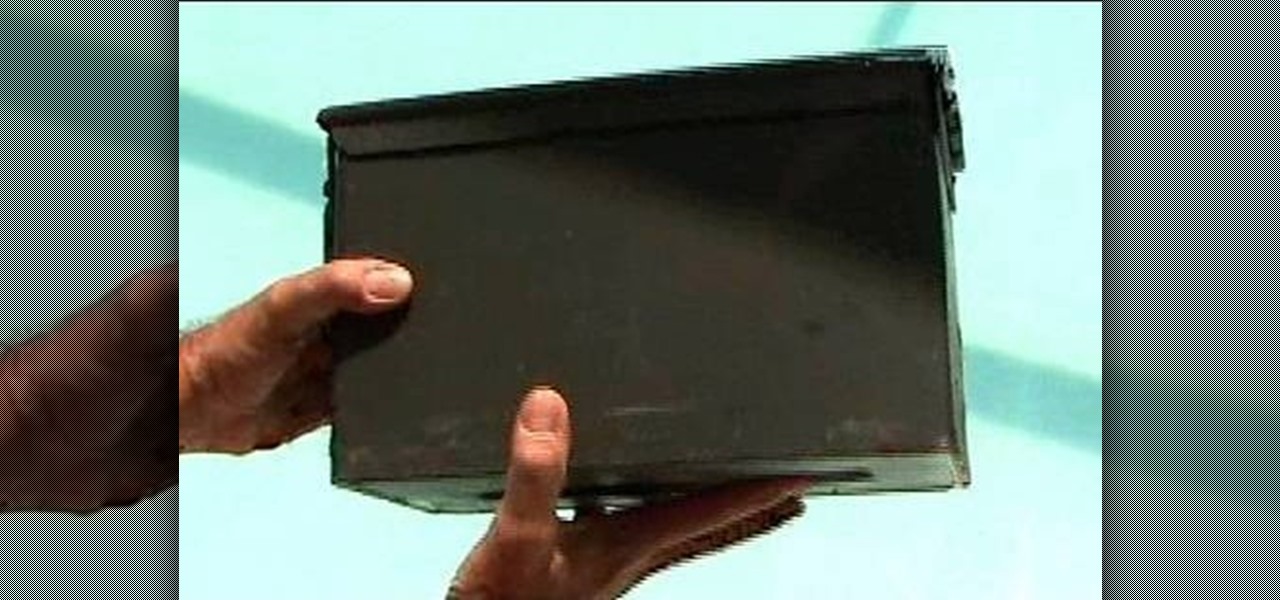
With KipKay, you can learn how to build an underwater camcorder housing and you need 5200 Marine adhesive sealant. You can use industrial primer to color the box grey which would be a nice finishing touch. He says it'll only cost $10, but find out for yourself.
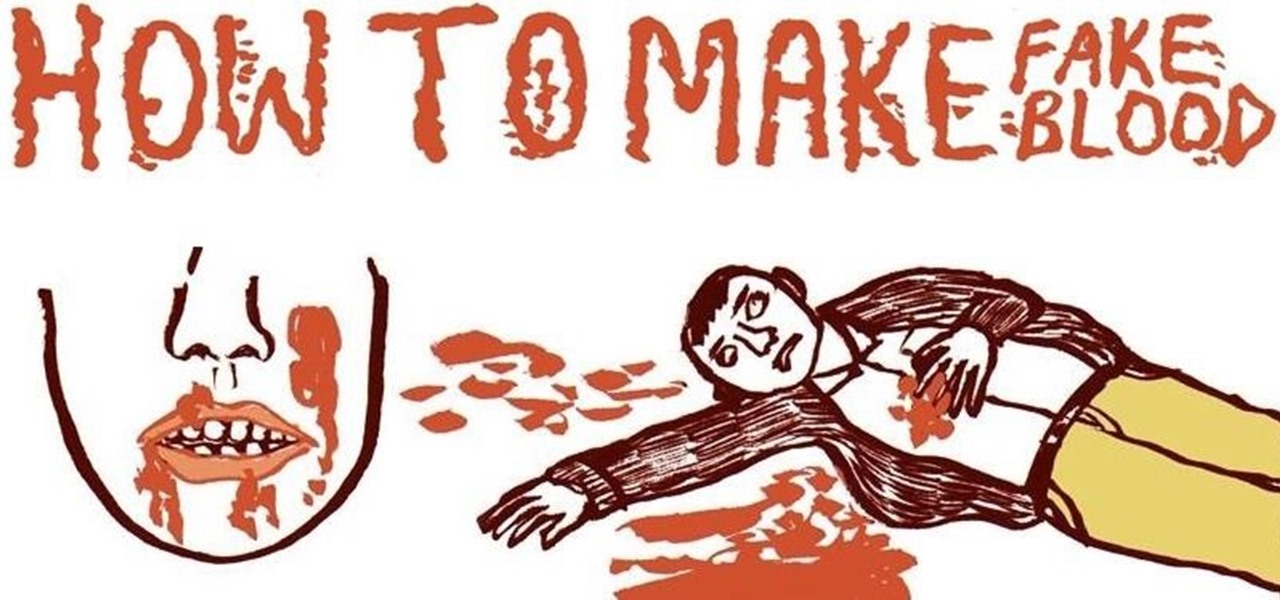
Store-bought fake blood isn't too expensive, but the consistency and color are always the same. Real blood varies, from bright red when oxygenated (arterial blood) to deep, dark red when deoxygenated (venous blood), and it can be either thick or thin. So to achieve the best special effect, you're better off making a batch of DIY fake blood yourself to get the look and texture you're going for. And it's very simple to do.

We've all seen the breathtaking, colorful photos of the Eagle, Egg and Cat's Eye Nebulae. You may not recognize them by name, but you've seen them, whether in astronomy textbooks, magazines, websites, album covers, or tee shirts. They are some of the most striking photographs ever taken from the Hubble Space Telescope (HST).

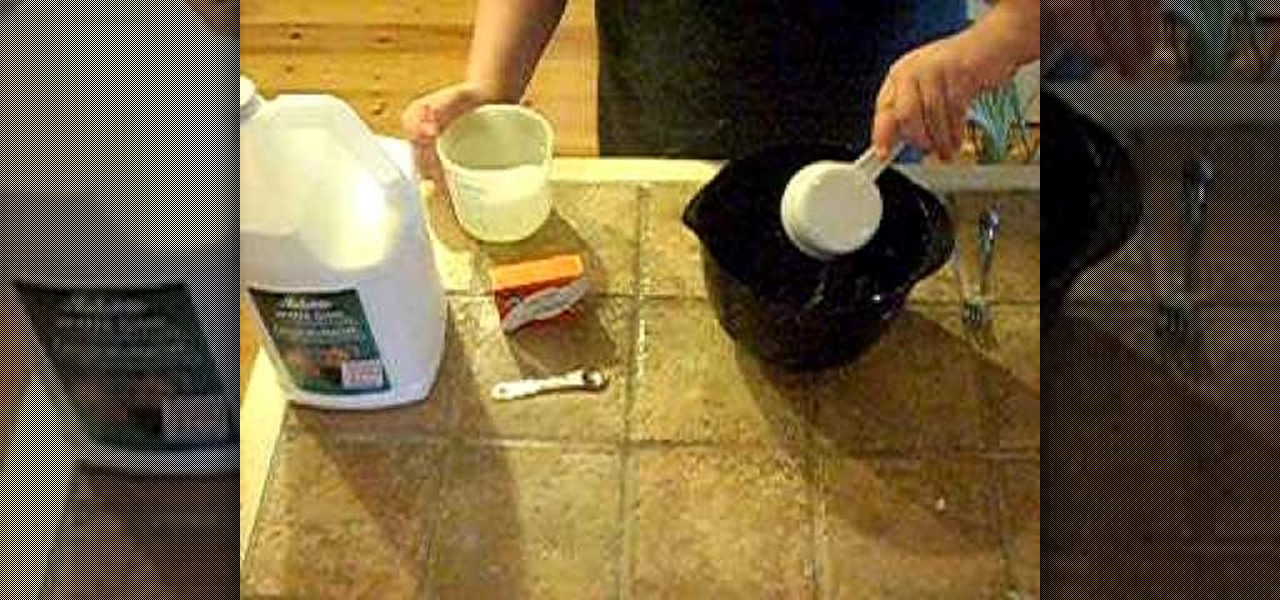
In this video, we learn how to make silly putty from scratch. You will first need to take some flour and mix it with warm water in a small plastic container. After you mix this together and it turns into a putty type of shape, you will then add in some food coloring to the container as well. Add in some borax to this and continue to mix until it's completely finished mixing together. When done, you will be able to play with this and make other colors to mix together. This is a great project f...

In this tutorial, we learn how to quickly draw Shadow the Hedgehog. First, you will need to draw the outline of Shadow, drawing in the entire body. After this, darken up the lines to make the final outline of the character. Next, draw in the details of the face and the body. Then, shadow in the sides of the character and create more details to make him look more realistic. When finished, you can choose to color him with the right colors or just keep it shaded. Add in more details if you need ...
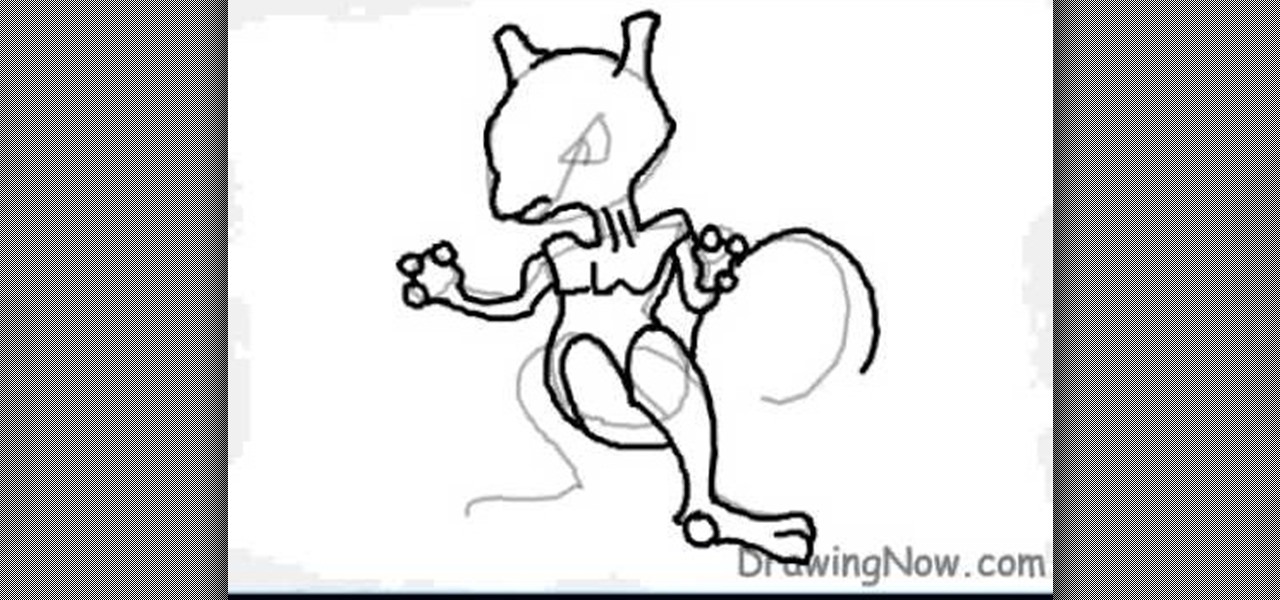
In this tutorial we learn how to draw Mewtwo. Start out by drawing the outline of the head and the rest of the body with a light pencil. Then, start to add in the details of the body and the face. Once completed, you will draw the permanent outline onto the picture over the first one and erase the first one. Next, you will color in the skin and clothing that Mewtwo is wearing. Add in shading around the character to make it look more realistic. Also make sure to use different colors on the ori...

In this tutorial, we learn how to draw Sonic the Hedgehog in Paint. First, draw a round circle for the head and then connect the spiked hair to the back of it. From here, draw in the arm and the hands as well as the body and the legs. After this, draw on the socks and the feet. Then, draw in the details of the character and the rest of the shading. From here, color in the blue and the whites on the body and then color in green on the eyes. When finished, make sure to save this and then you're...
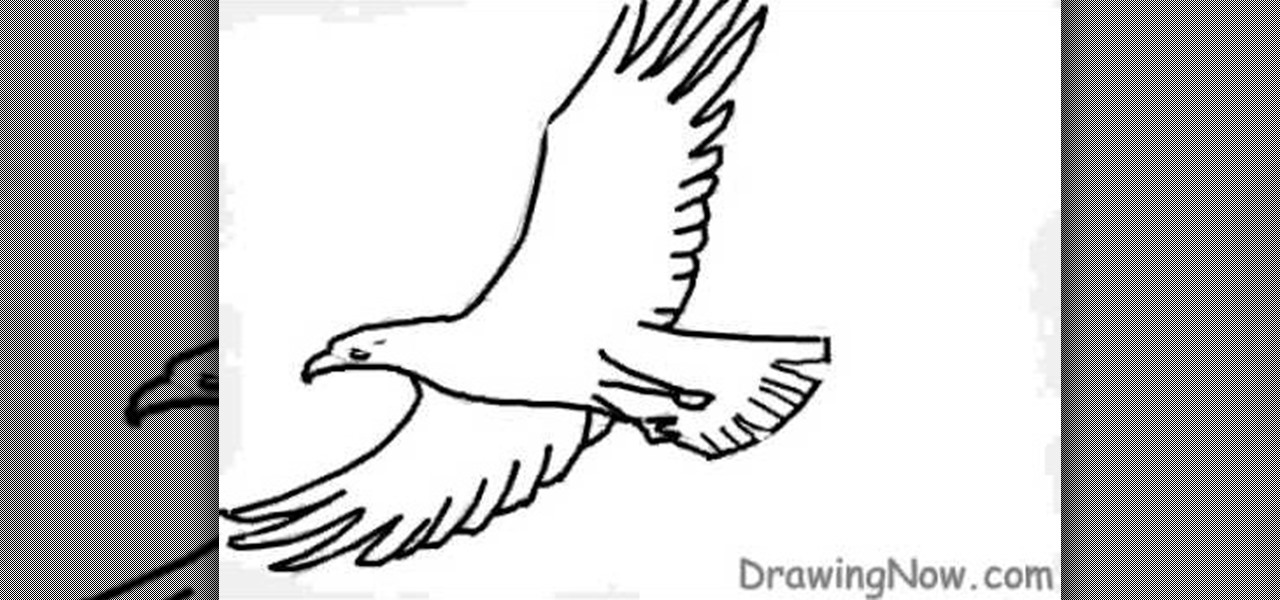
In this video, we learn how to draw a basic eagle. Start off with the outline of the eagle with a light pencil. After this, use a bold paintbrush to fill in the outline of the bird and then use marks to make the wings show the feathers better. Next, draw in the facial features and the beak, as well as the tiny feet on the bottom of the body. Next, color in the bird to be brown and then color the sky white with blue to show it's cloudy. When finished, save this and enjoy your basic eagle drawing!
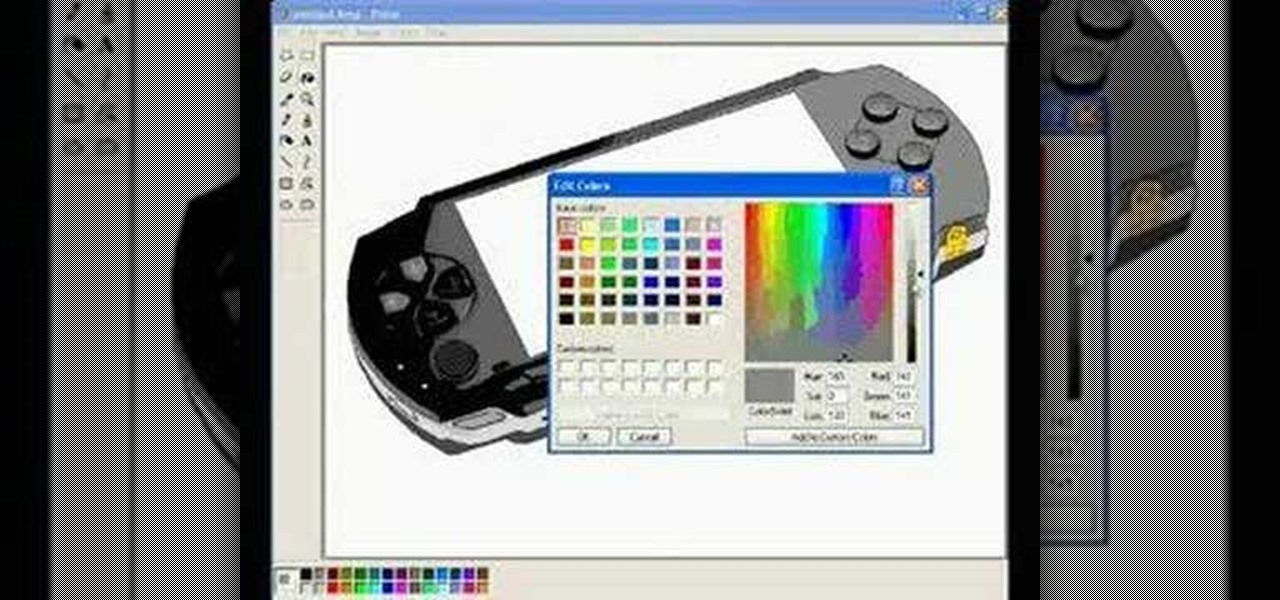
In this tutorial, we learn how to draw a PSP in Ms Paint. First, draw the outline of the PSP with a light pencil marking. After this, draw in the details to the controller. Use details to make the buttons and make them look 3D. After this, you will add in shading to the buttons and around the console. Then, add color to the front of the console in any colors that you would like. After you have added in all of the details you want, you are finished! Save this and then come back to it later if ...

In this tutorial, we learn how to heat emboss a stamped image for a handmade card. First, use the stamp to grab ink and then lay it down on a piece of card stock. After this, cover it in ink and start to add heat to it. You will see the image start to change color when you do this. It will turn to a metallic sort of color when you add the heat to it. Once you have added heat to the entire thing, you will be finished with the embossed stamp effect! Do this for any type of stamp you want and ha...
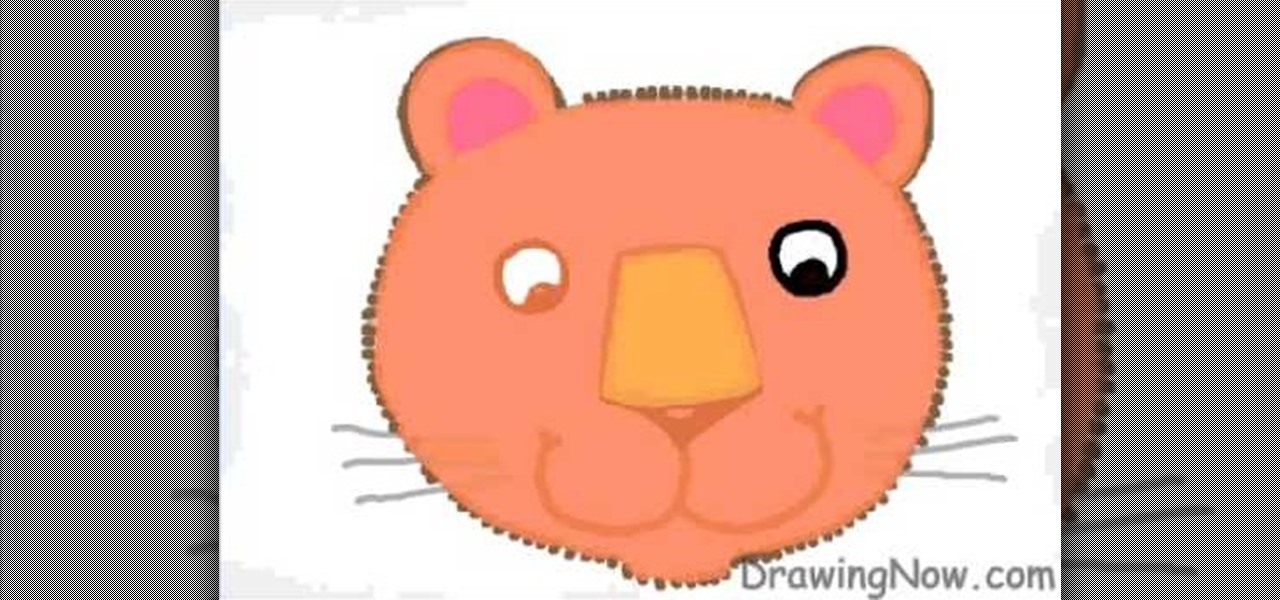
In this video, we learn how to draw a cute cartoon tiger. First, draw a circle for the head with two circles on top for the ears. After this, draw in the eyes, nose, mouth, and whiskers. Next, draw small dots around the head in brown for the fur. Then, draw over the mouth and nose with brown to match the outside color of fur. After this, color the eyes and the nose black, then add pink to the inside of the ears. From here, add in stripes to the side of the face and on the top of the head. Sav...
In this video, we learn how to make slime for under 5 dollars. You will need: a large pan, gallon of water, food coloring, and 1 c corn starch. Mix in warm water and continue to mix until everything is well combined. Keep adding more water to corn starch until it's the consistency that you would like. After it's hot and a slimy substance, add in some food coloring that you would like. After this, pour the slime into individual containers and allow it to cool so you can use at a later time. Wh...
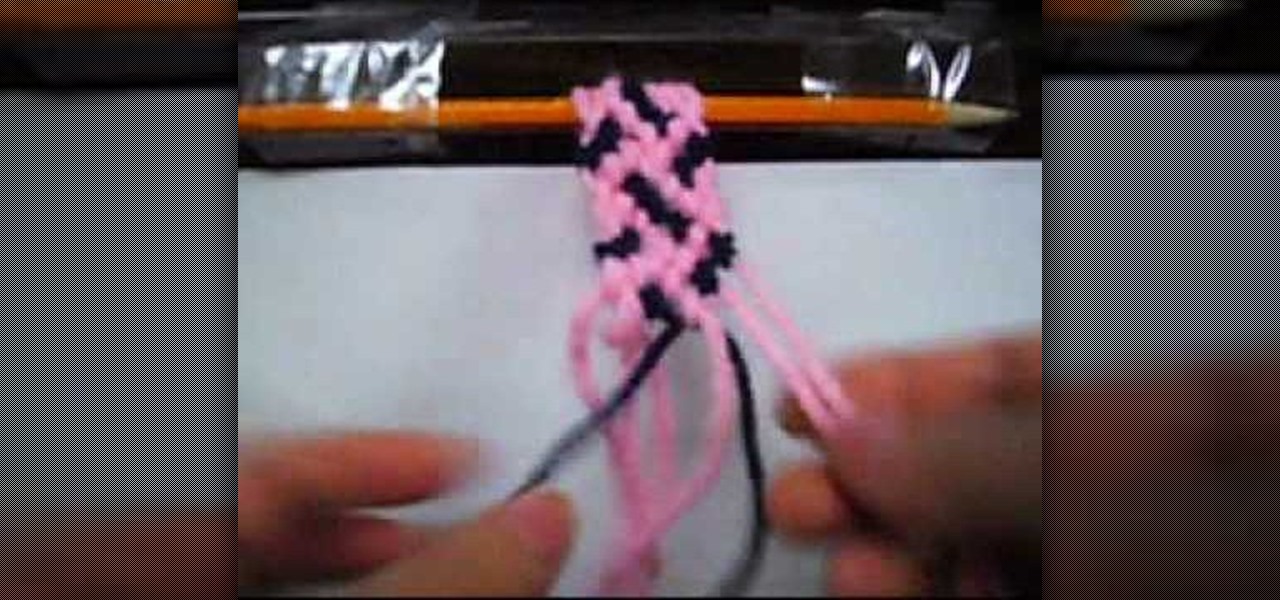
In this tutorial, we learn how to make a confused-style friendship bracelet. First, you will need to clip down your thread on the top and then start to braid the thread together. You will need to have two different colors, white and blue. Then, you will tie the right and left side together and start to braid the middle of it. Then, you will start to braid the bracelet together until you reach the bottom. When you are finished, you can tie this around your wrist and wear it whenever you would ...
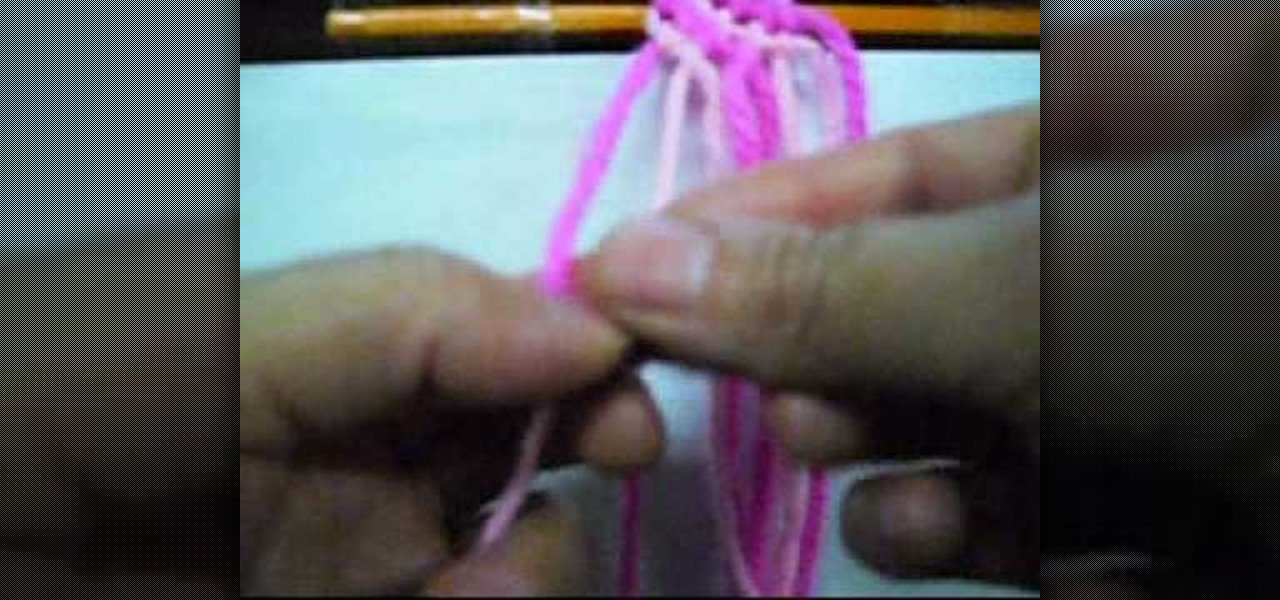
In this tutorial, we learn how to make a dual-colored line friendship bracelet. Start by creating knots in the strings going from left to right. After you have covered all of the strings on the bracelet, you can start to braid. Make sure the strings are clipped at the top to keep them in place. When you start to braid, take the two to strings on the left, and braid them in with the others going from left to right. Then you can continue to do this process until you reach the end of the strings...
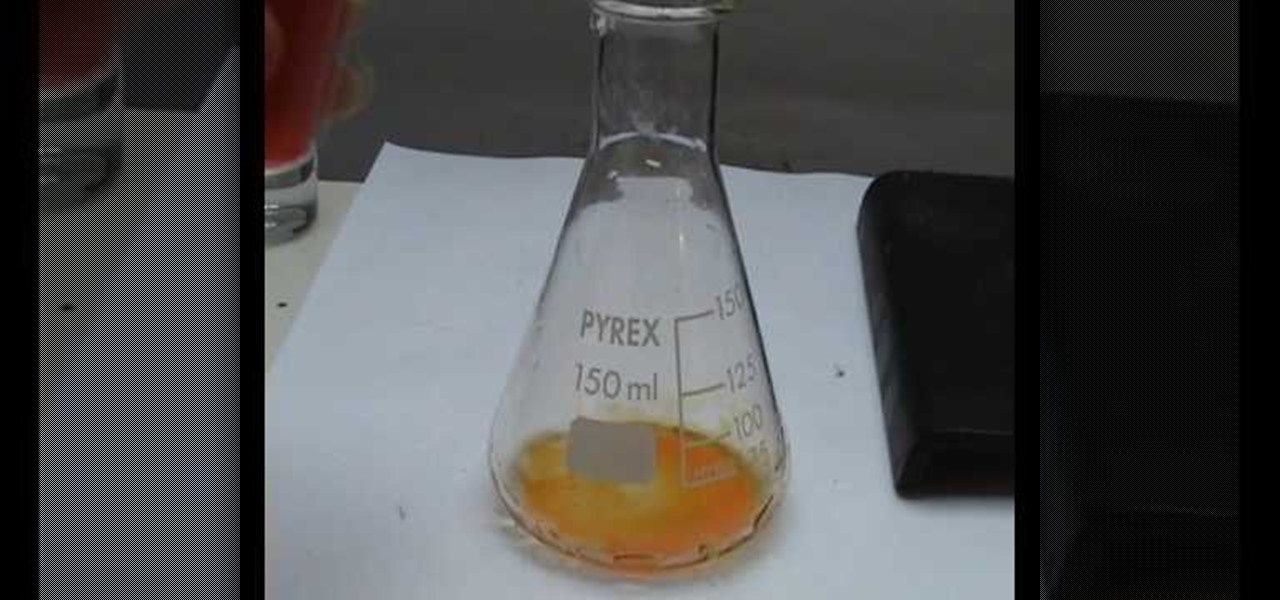
In this tutorial, we learn how to make a chemical indicator from kitchen items. First, make an indicator by grabbing some red cabbage and some vodka. Now, heat up some water until it's boiling, then place a smaller beaker inside the water with vodka inside of it. Place the red cabbage inside of the smaller beaker, then stir it up and let sit for 10 minutes. A lot of the color will come out with the cabbage being inside of the alcohol. After this, pour this into a storage bottle and pour the w...
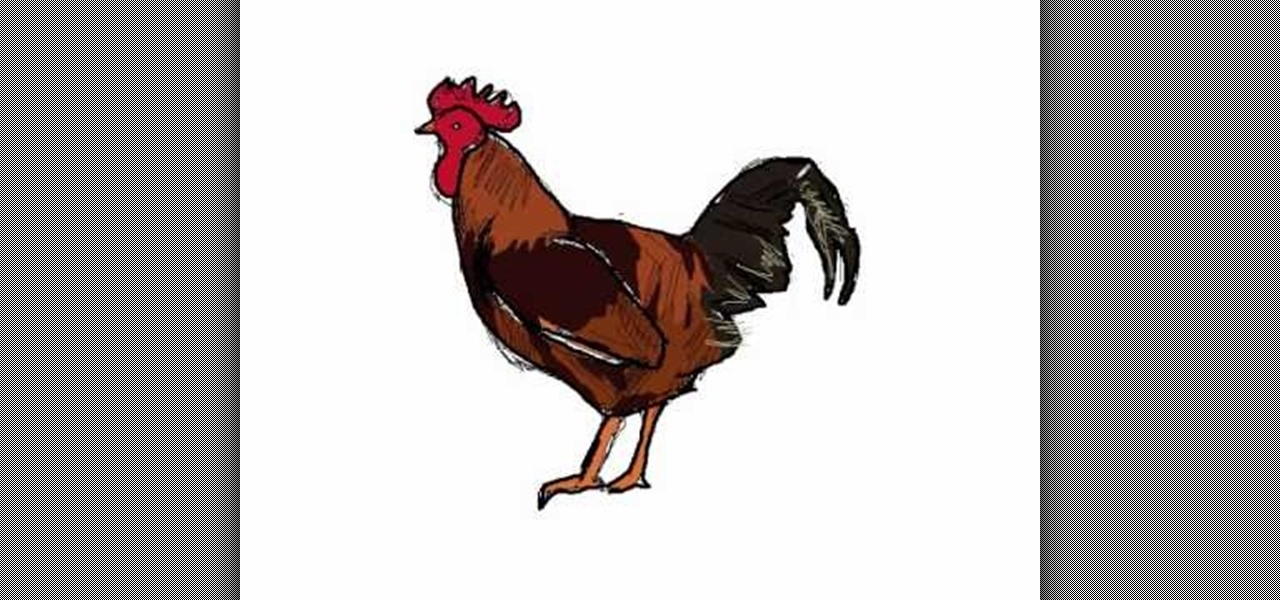
Most would (unfortunately) picture Vincent Gallo when "gallo" is spoken aloud. But it's actually a Spanish word, which translates to rooster, and even cock, which just happens to bring up connotations of the swollen controversy over Gallo's film "The Brown Bunny".
Vault Boy has been around for a long time now, and appeared in the few but proud Fallout games as their mascot and skill-demonstrator. Pay homage to this plucky little guy by creating an XBox 360 Avatar in his likeness using the materials below and following the steps in the video. He looks a little skinny to me, but you can change it if you want right?
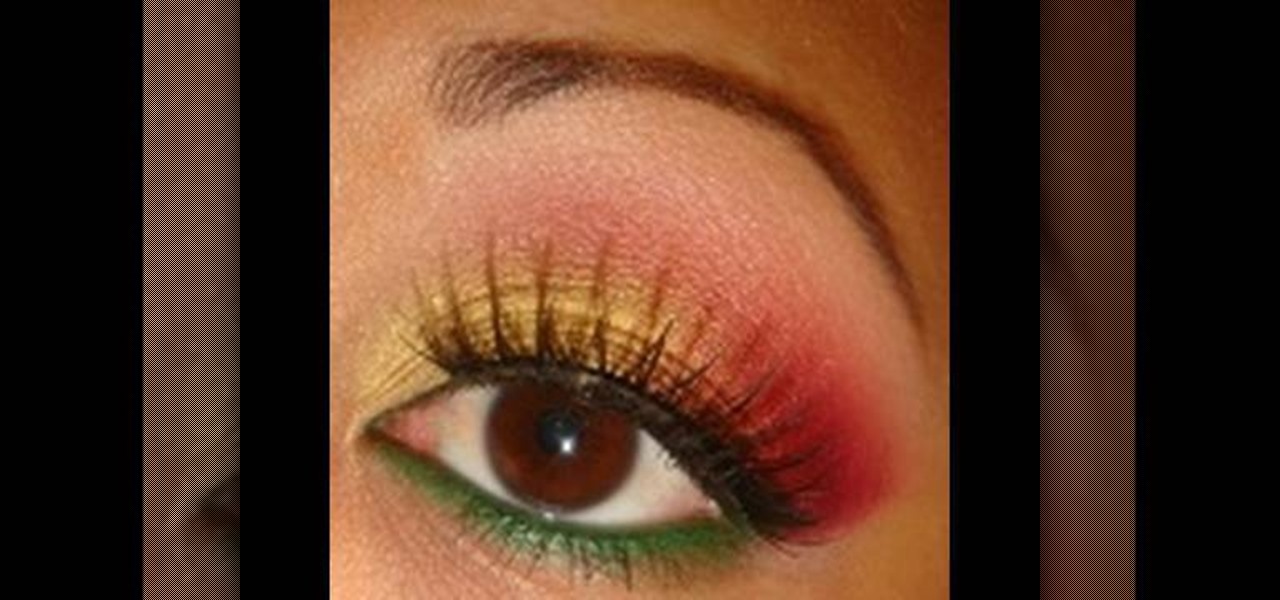
In this video, we learn how to apply red, green, and gold shades for Christmas. First, apply a light concealer underneath the eyes and primer on the lids. After this, apply a gold shadow to the inner crease of the eye to half of the lid. Pat this color on so it's bright, then apply a pink shadow to the middle and outer edge of the eye. After this, apply a bright pink to the outer edge and blend it into the crease and with the gold color. After this, take a green eyeliner and line the bottom o...
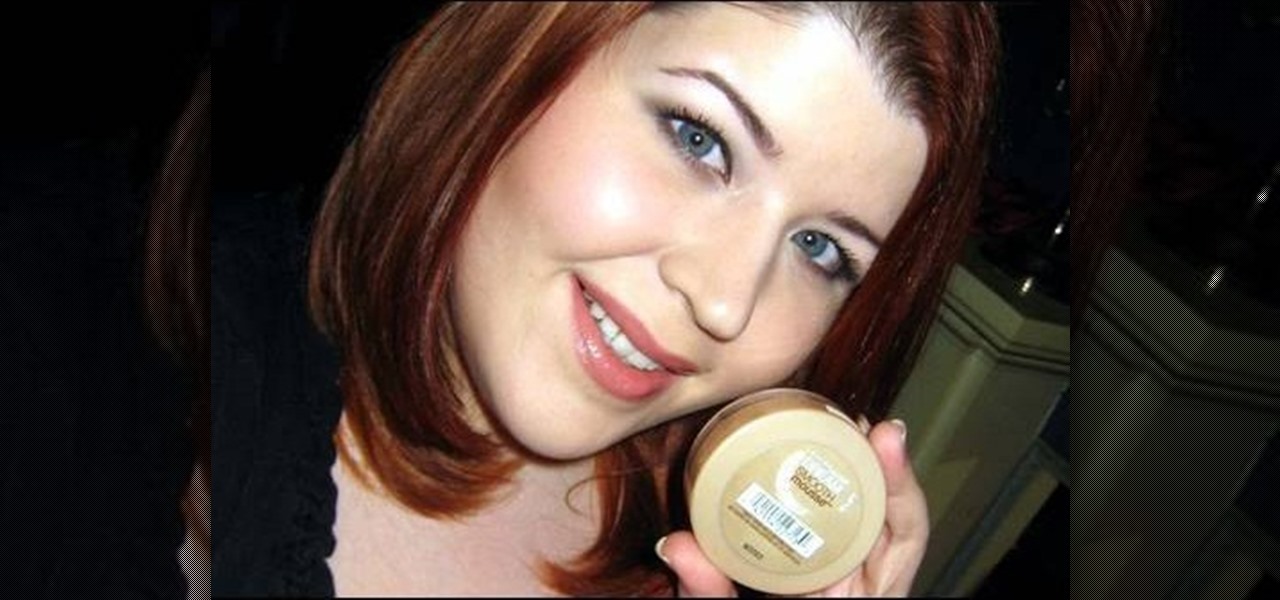
Applying foundation is one of the most basic and most important makeup skills a girl needs to know, yet for many women this is the hardest step. Problems with application, such as not matching the foundation color with your skin color, not choosing the right formulation, and not applying correctly result in foundation that looks fake and caked on.

In this video, we learn how to use pink and greens for a Barbie makeup look. First, you need to prime your eyes. Next, apply a pink eyeshadow above your crease. Follow this by highlighting with a frosty white underneath your eyebrow. Apply a green base to your lids and lower lash line next, then add a bright green pigment over this. Now, apply a sparkly burgundy color to your crease, then blend in with the other colors and apply black eyeliner. Apply false eyelashes, then mascara to the top a...
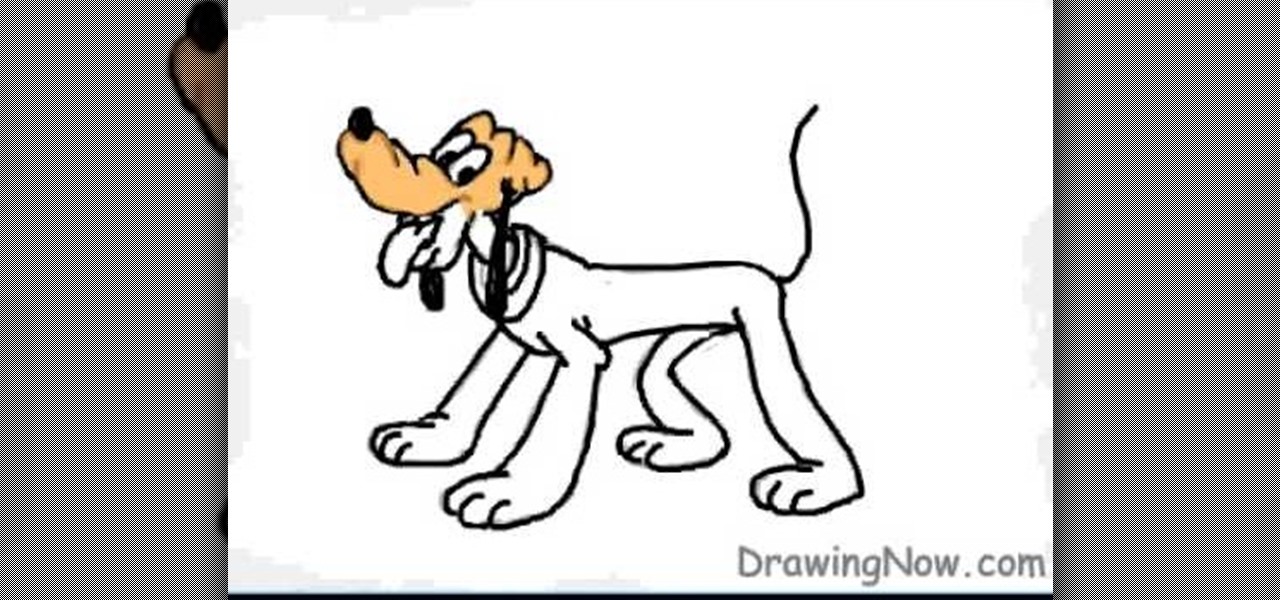
In this tutorial, we learn how to draw Goofy. First, draw the nose and then draw in the face. After this, start to extend the face down with the neck and a collar. After this, draw the back of Pluto and then his four legs like he's walking. Next, draw a darker line over the picture, then draw a tongue hanging out of the mouth and eyes and ears. Make sure to draw the tail, then start to color the picture with Pluto's signature colors. Add in any additional details, then save your picture onto ...

In this video, we learn how to apply green emerald eyeshadow. First, you will need to apply a light green eyeshadow to the entire lid. Brush this on so the color is bright and noticeable. After this, brush on a darker green in the outer crease of the eye and the outer v of the eye. Next, brush on a sparkly green shadow over both the colors and blend them together. Now, apply black eyeliner to the top and bottom of the eye. After this, apply black mascara to the top and bottom lashes, then cur...
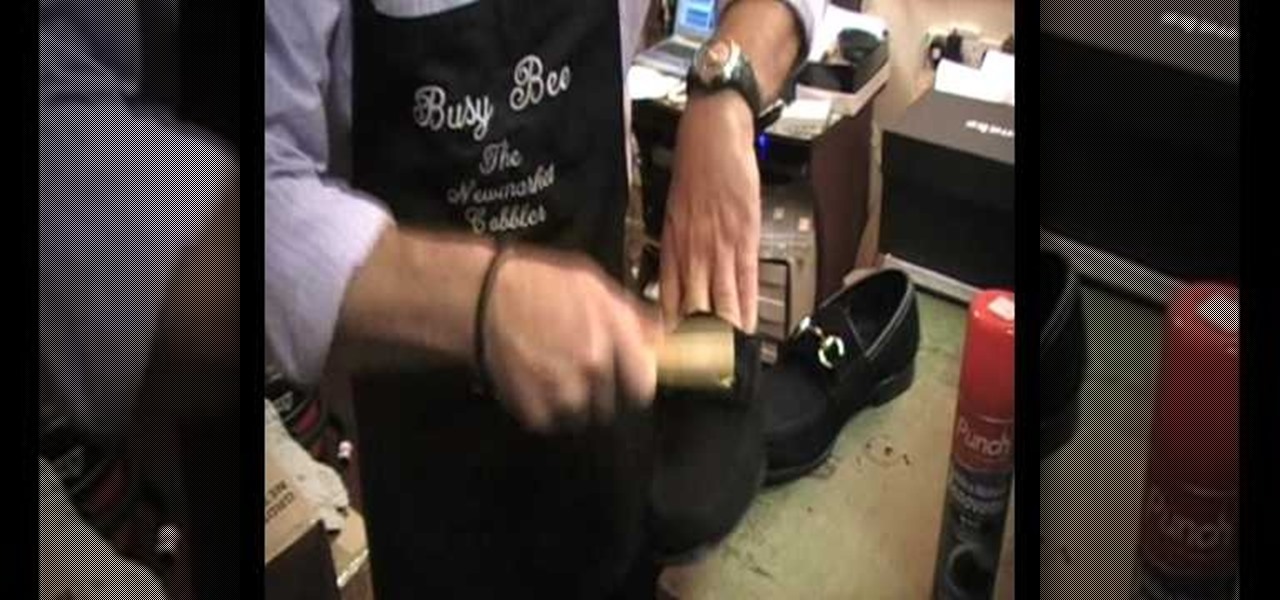
In this tutorial, we learn how to clean black suede shoes. First, remove all the dirty from the shoes. After this, spray on a lot of shampoo to the shoes, then brush with a suede shoe brush. After this, use black suede dye and spray it all over the entire shoe. Make sure you have plenty of color, so your shoes don't turn out different colors. To finish this up, use a rag to clean off the metal parts on the shoe, then you will be ready to wear them! This method only takes a few minutes and wil...