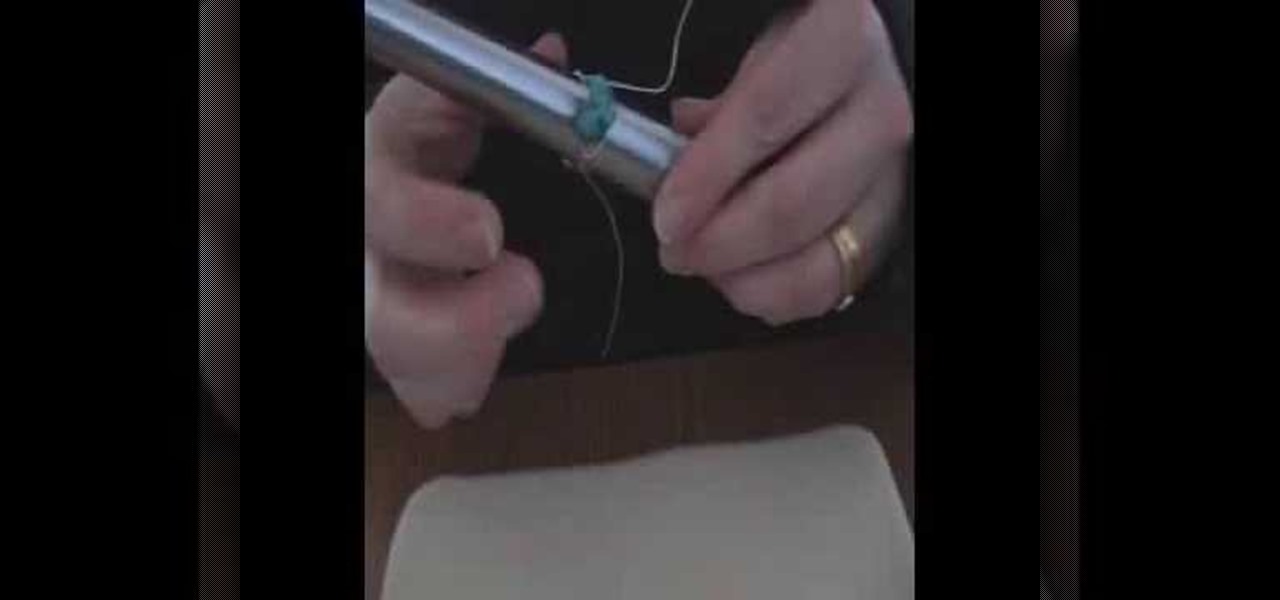
In this video, we learn how to make friendship bracelets adjustable. First, tape both sides of your bracelet onto a flat surface. After this, bring both ends into a circle shape at the ends. Now, take any color of string and make a loop with it over the ends of the bracelet. Now, put one end over the other and then put it through the bracelets and into the loop. Then, pull the end of the thread and put the bottom over and under the top piece. Then, put it through the bracelet and tighten it. ...

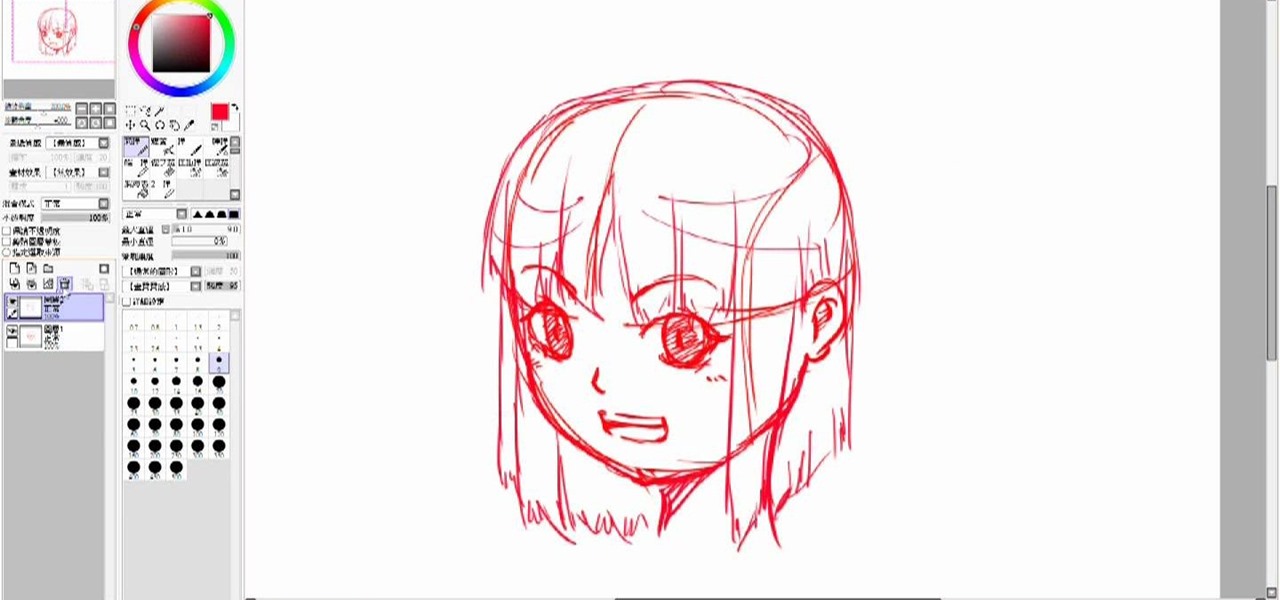
In this video, we learn how to draw a manga chibi eye. Start off by drawing an outline of the eye with the round middle and the lines on top and on the bottom. After this, start to add in the small details of the eye, like the pupil and shine marks on it. Next, start to shade in the eye and make the lines thicker. Continue to draw in black until the back of the eye is covered black and another portion of the eye is white. Switch back and forth between different pencils to help you color in di...
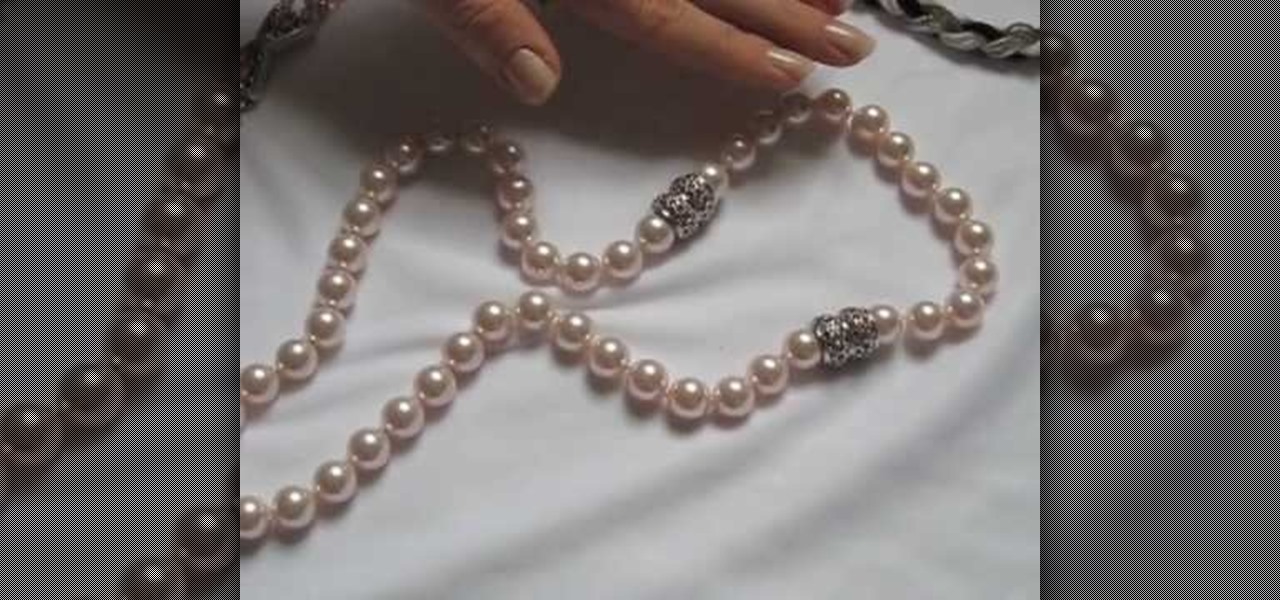
Jewelry clasps don't seem all that important, right? After all, when compared to the shape of your beads and the color scheme of your jewelry piece, a clasp is merely the finisher, something that helps close off your necklace.
Cherry blossoms aren't just special because they're Bath and Body Works' best-selling scent of all time. No, in addition to their delicate floral smell, cherry blossoms are special because they are the first flower buds to open in spring. Spring officially stars when you see the cherry blossom trees bursting into color, and what a wonderful way to celebrate the new season!

In this tutorial, we learn how to draw Timmy Turner. Start off by drawing the head, making the front round and the body will be a triangle shape. The back of his head should be a triangle as well. Draw two large circles on the face, followed by arms and legs coming off of the body. Next, draw ears onto his face followed by a shirt and pants on his legs. Draw Timmy's mouth with a large smile and two teeth at the top. His eyebrows should almost touch in the middle, then don't forget to add on h...

In this video, we learn how to draw Charmander. Start off by drawing the large eyes with lines inside of them. After that, you will connect the head around it, followed by the nose. Next, you will draw in the rest of the body including the feet. Draw in the tail with flames coming out the end of it. Add in lines around the body to make the figure look more realistic, then draw in pupils for the eyes. When you are finished, you can color the character or just leave it how it is and shade in on...

In this tutorial, we learn how to do UVmapping with 3D Studio Max. Open up your image in the software, then go to "unwrap UV". Scroll down to edit and you will be able to see the basic scale. Grab the mass and scale it down, then use your element turn on to select the different pieces. The UV mapping will now turn a different color and show you where you have edited it. Continue to do this throughout the entire program. Make sure you have all other programs closed while you are doing this, an...

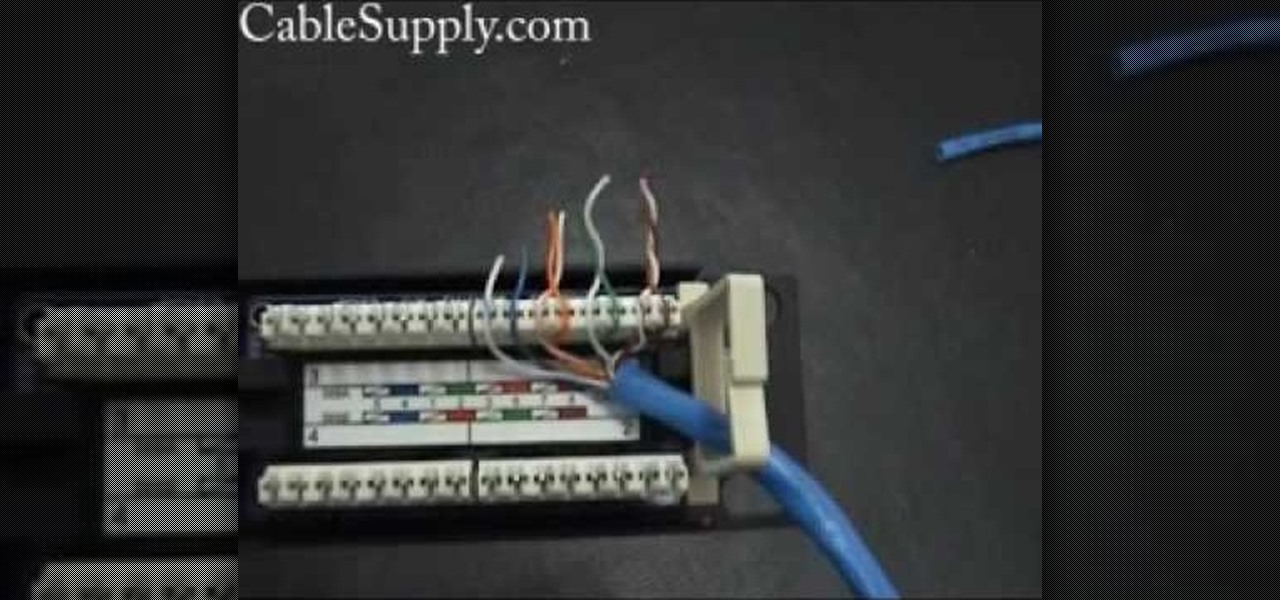
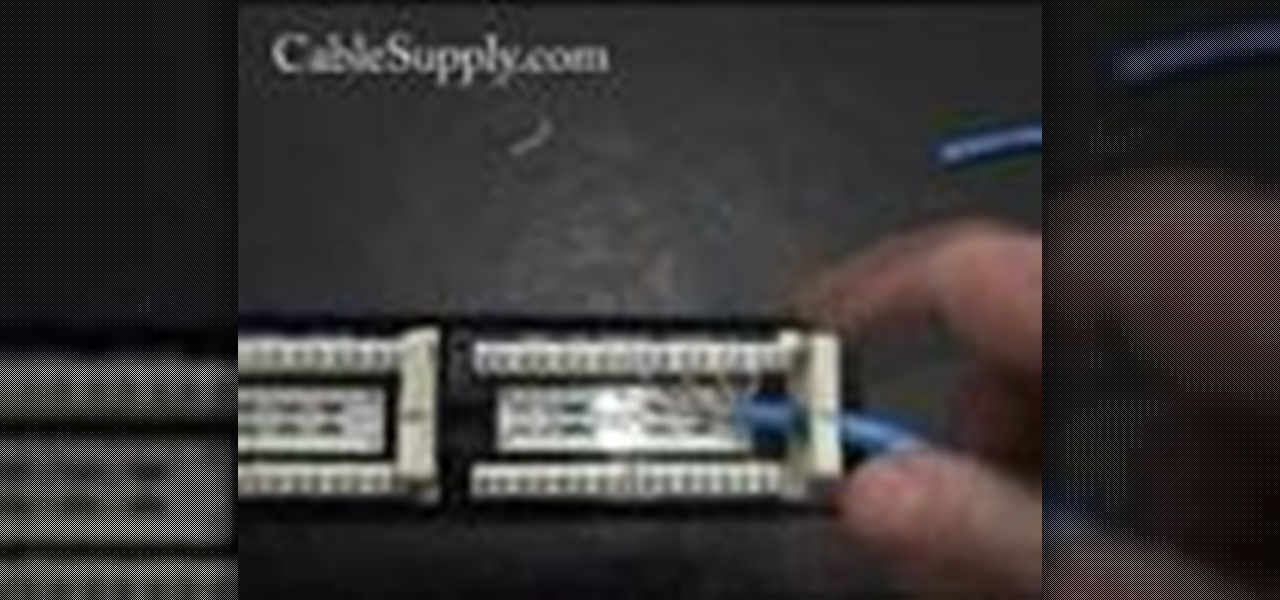
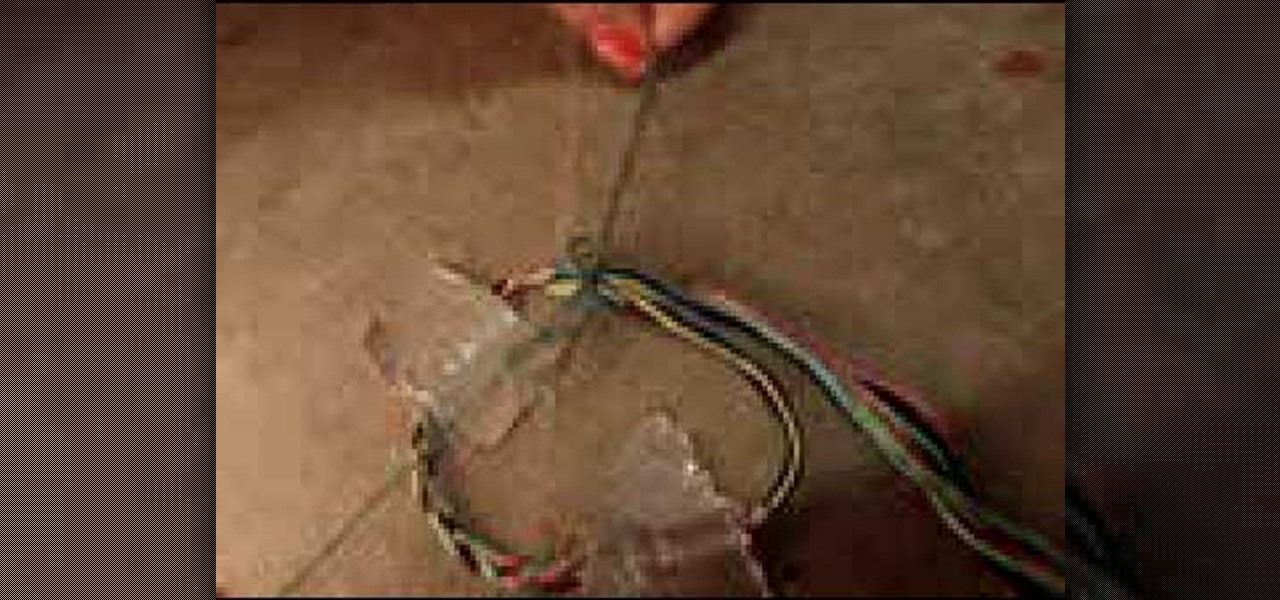
In this video, we learn how to punch down a 12 port patch panel. Start off by grabbing your cable and using scissors to cut off the outer covering of the cable. Next, use the wire scissors to cut off the end of the wires (about 1-2 inches). After this, place the stripped down wires into the appropriate spots that correspond to the colors that are on the 12 port patch panel. After you finished this, you will need to grab your punch down tool. Use this tool to push down on the wires, then it wi...

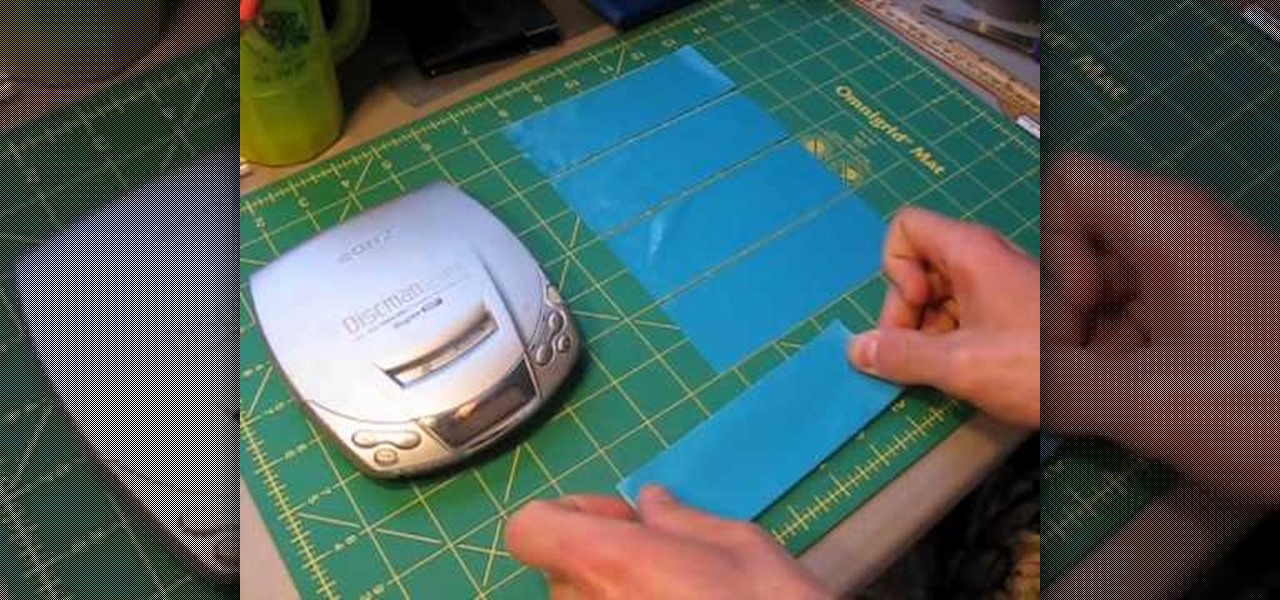
In this tutorial we learn how to make a duct tape CD player holder. First, measure your length, width, and height of your CD player. After this, cut out the color duct tape you like in strips that are the right size for your player. Now, take your first two strips and stick them together. Now, take the third one and apply it to the bottom, flip it over and stick another one on top. Keep overlapping these with several strips until you get to the height of the CD player. After this, place the s...

In this tutorial, we learn how to draw a cartoon critter. Start out by drawing a little fat body with two arms and two legs. Next, draw on two large bunny ears on the head and create eyes that are giving a mean look. After this, create the mouth to be open with sharp teeth inside. Next, use a dark paint brush to outline the image and draw a gun in the bunny's hand. Draw details onto the critter by making hair and a belly button. After this, paint in any colors you would like, then save and pr...

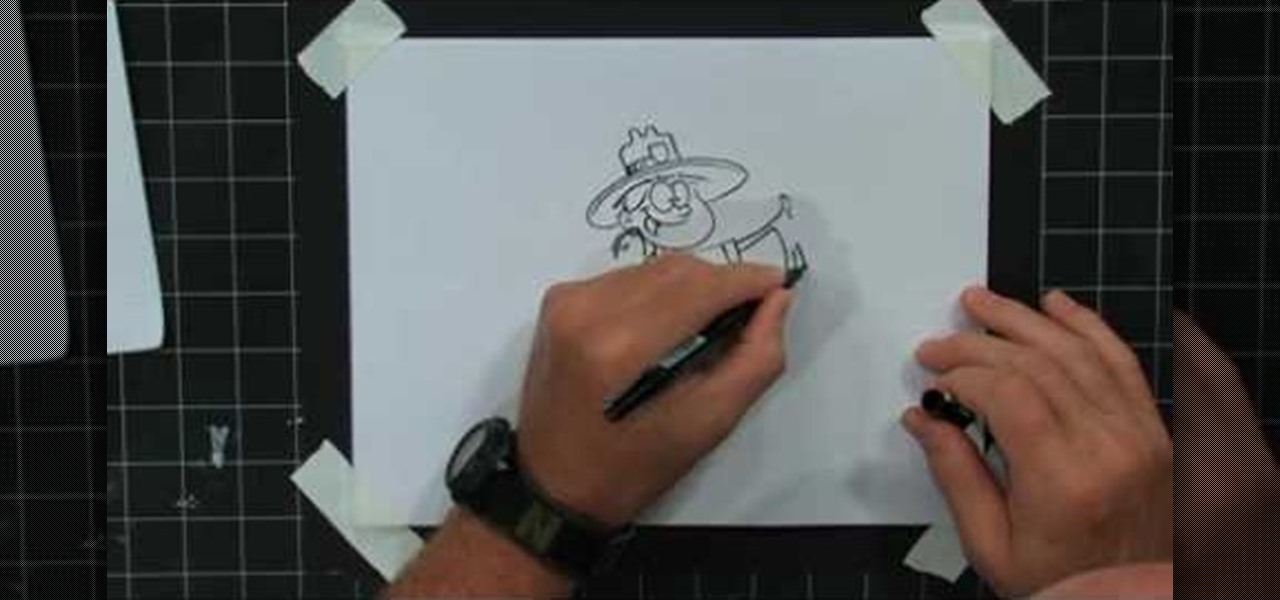
In this tutorial, we learn how to draw a cartoon park ranger with Bob Ostrom. Start off by drawing two eyes touching each other, and a nose coming off of the second eye. Next, draw a large mouth for the smile, and now draw the head around the character. Draw ears on, then give her a park ranger hat and long hair. Next, draw a neck coming down from the head, then draw the chest and arms. Draw a park ranger shirt onto her and a badge as well. Keep drawing down until you make the legs and shoes....

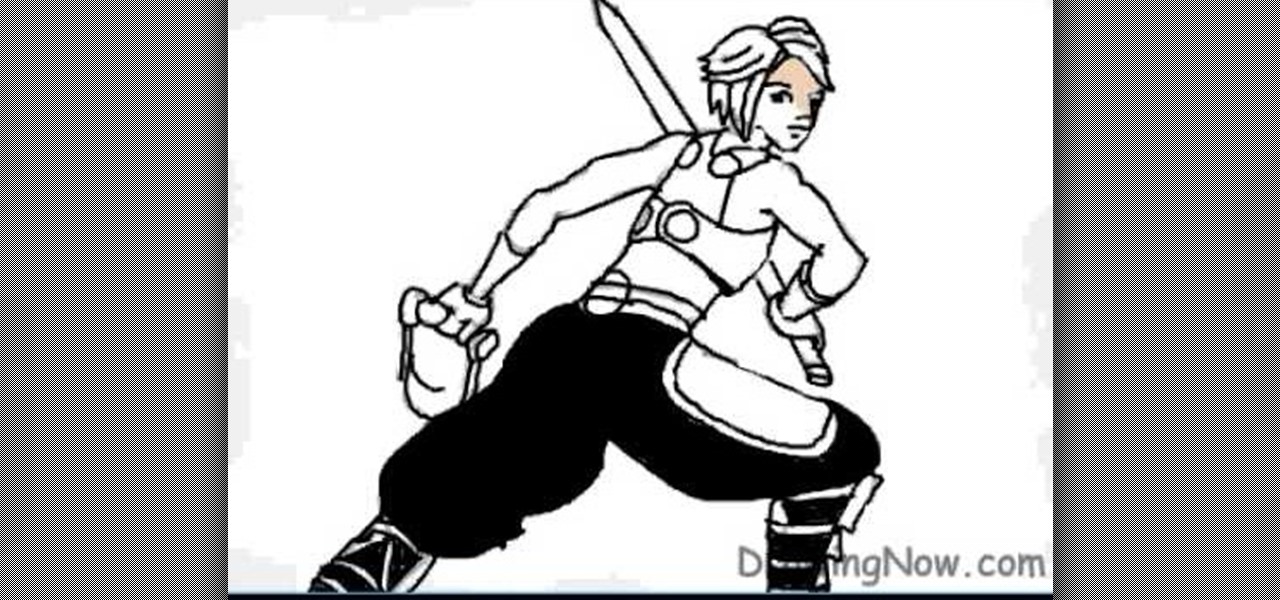
In this video, we learn how to draw a Final Fantasy character. Start out by drawing a rough outline of the entire body, starting with the head then doing the rest of the body and ending with the hands and arms. After this, draw over the initial markings with a black paint brush. Draw in eyes and hair, then start to draw in the details of the body armor and clothing. Make sure to draw on pants and make a sword that the character is holding. After this, fill in the painting with different color...

In this tutorial we learn how to draw a manga face. Start off by drawing a circle, after that add a cross in the middle as a reference point for where to draw the eyes, mouth, and nose. After you do this, you can start adding in further details to the face to make it look more realistic. Don't forget to add in lines on the face for wrinkles and pupils to the eyes. Ears should be placed on both sides of the head and don't forget to draw in hair as well. Outline the pictures with a darker brush...

Jim teaches us how to punch down a 24 port patch panel in this tutorial. You will need: cable scissors, a punch down tool, and 24 port patch panel. Now, strip the cable by cutting it and stripping down the wires. Now, attach the wires to the port punch panel by following the pattern of where the different colors are at. When you have these connected, use the punching tool to punch the wires down, then it will cut off the excess wire from the panel. When this is all done, you will want to tie ...

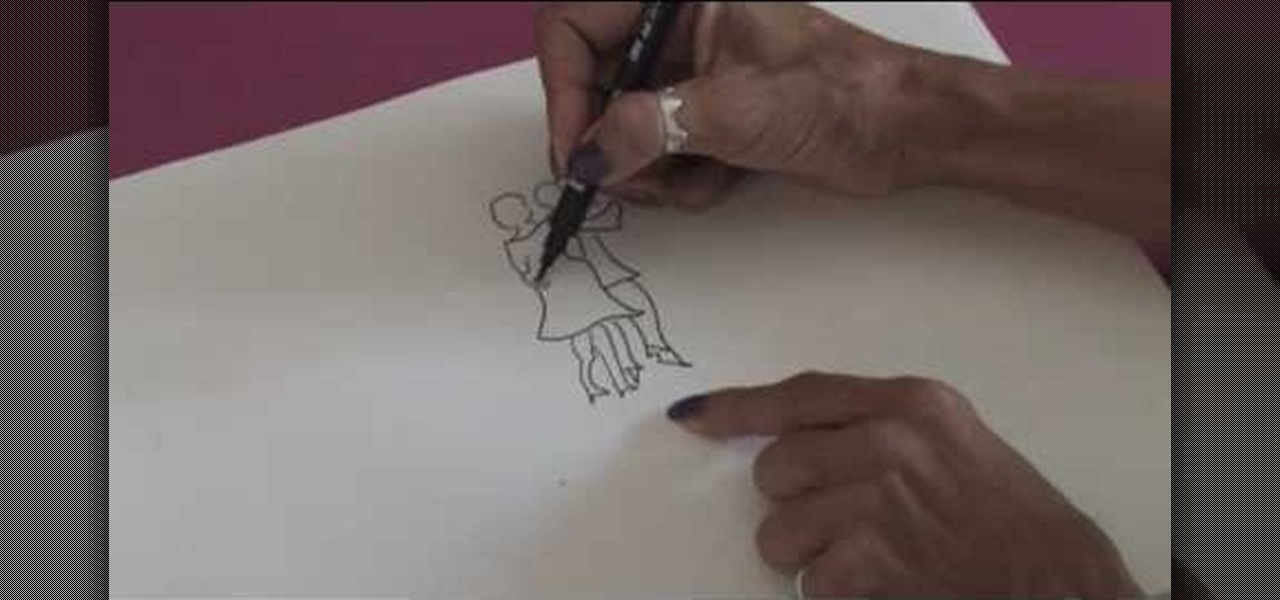
In this video, we learn how to draw people in motion. Start off by drawing a shoulder and an arm. After this, draw the body, then continue down to draw the legs. Next, draw the head on the body and draw the second body dancing with the first one. Draw the clothes on then add details to make it look more realistic. Once you add lines in around the people, it gives the illusion of them moving their feet. Draw in the dance floor, then finished with additional lines around the figured. When done,...

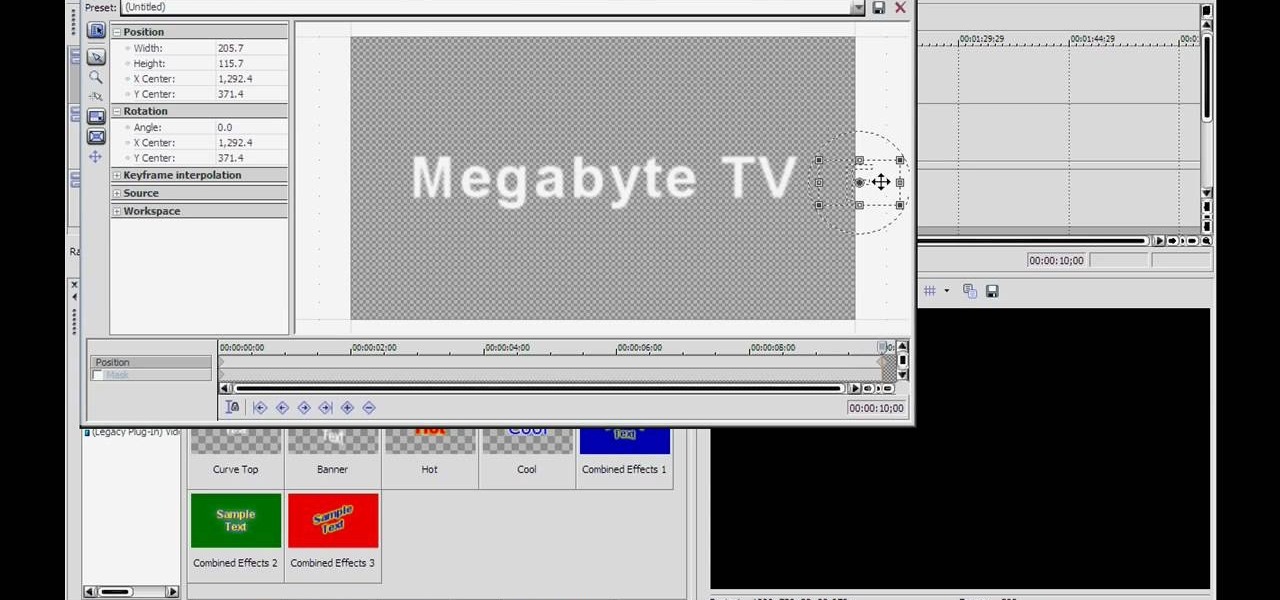
In this tutorial, we learn how to make crystal text in Sony Vegas. First, drag in your clip in the software, then right click on the track area and insert a new video track. Now, go to "custom", then "sony height map". On amplitude, change this to .76. On the first level, change the mode to multiply. Now, drag your text into the second video track and replace the text with what you want to write. After this, change the color and make sure it fits into the screen. You can also make it scroll a...

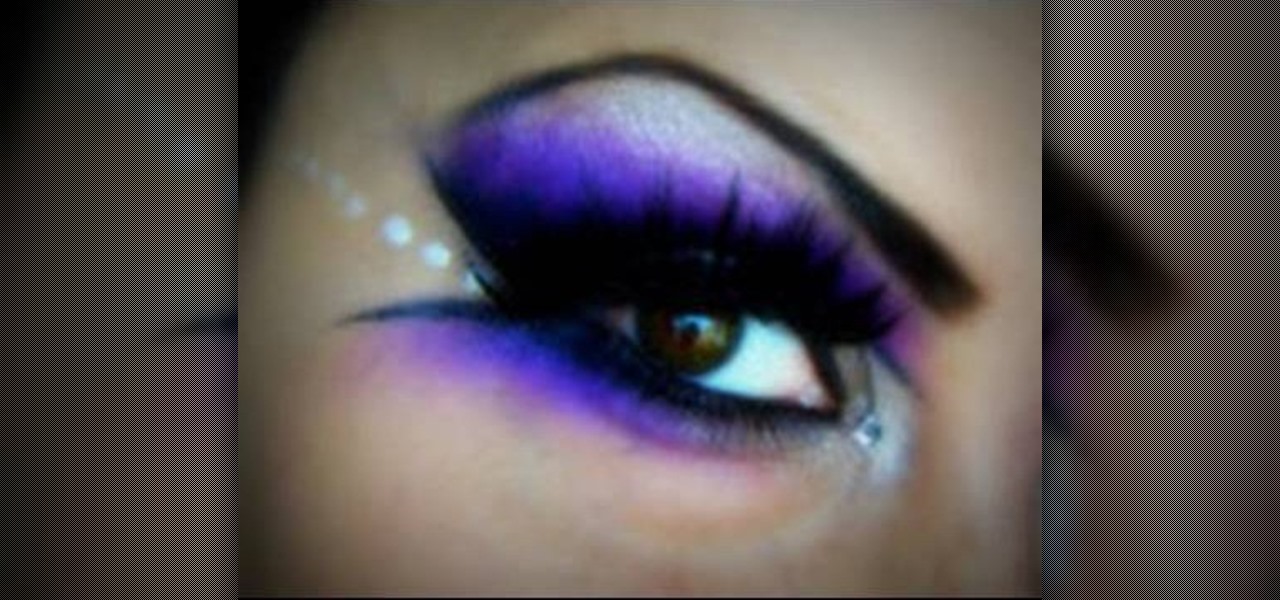
In this tutorial, we learn how to mix purple & silver for a dramatic makeup look. First, apply primer to your entire eye lid. After this, use purple paint and brush it onto the outer edge of the eye and the crease on top. Next, paint the purple under the brow bone, and then paint a darker purple underneath the first purple. Use light blue on the inner edge of the eye, then paint purple underneath and add eyeliner to both the top and bottom of the eyes. Use a small black brush to outline where...

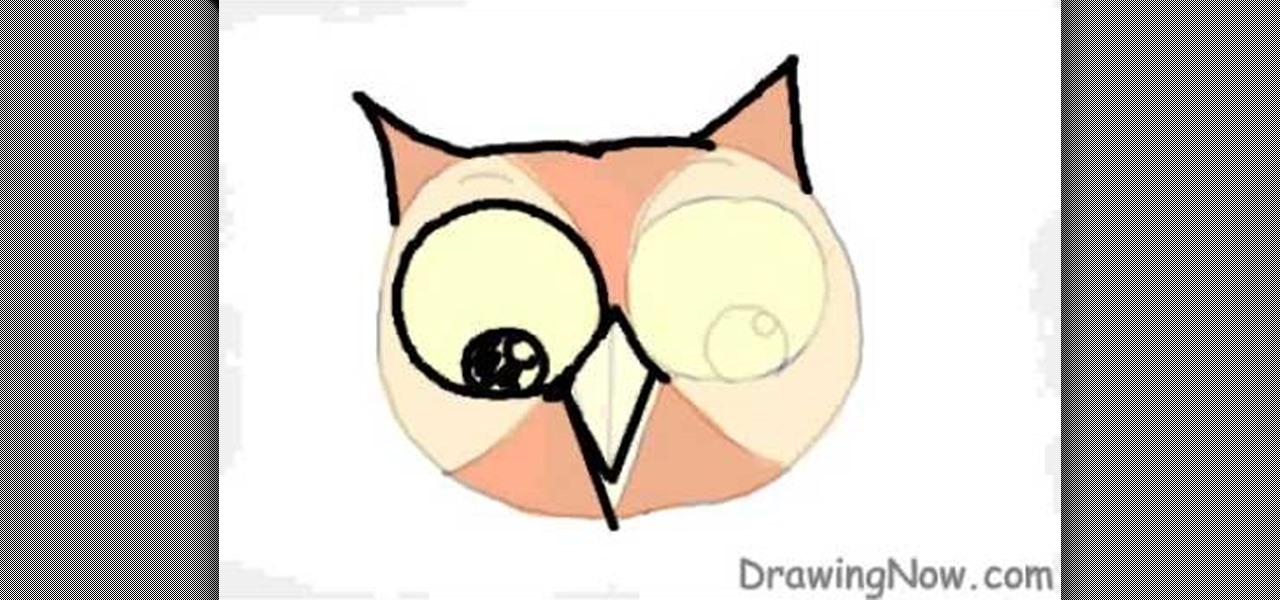
In this video, we learn how to draw an owl on a computer. First, draw a circle, then two small triangles on both sides of the top of the head. Next, draw two very large circles in the middle of the face, separated by an upside down triangle and two large triangles on either side of that. Next, add pupils to the eyes, and add a line in the beak. Outline the eyes, beak, and eyebrows after this. Color in the owl brown and light brown, then add small black lines to the sides to make it appear lik...

So after much hard labor and patience, you've finally thrown your first vase, fired it carefully in the kiln, and let it harden to a fine finish. What to do next in your pottery making journey? While a beautiful vase is a beautiful vase no matter the finish or color, applying a glaze is like putting on makeup: sure, you don't NEED it, but having it on dramatically improves and accentuates your features, making cheekbones more sculpted, eyes wider and brighter, and lips more well defined. In t...

Walk into L.A. hotspot Kitson any day of the week and you're sure to find a teeming collection of celebrity endorsed jewelry, at least half of which are bohemian and breezy, made out of skilled wire wrapping and exotically colored gemstones. They're pretty, yes, but unless you have a celebrity's budget they're also hard to attain for the average person.

In this tutorial, we learn how to decorate your jeans with embroidery. First, you will lay your jeans flat on a surface, then trace out the space you want to make on a piece of paper and cut it out. After this, place the paper on an embroidery sheet to transfer the design. When finished, cut the embroidery out. After this, use a needle and the same color thread as the design to sew it onto the desired spot. When you are finished, you will have a unique embroidery that you designed! This can b...

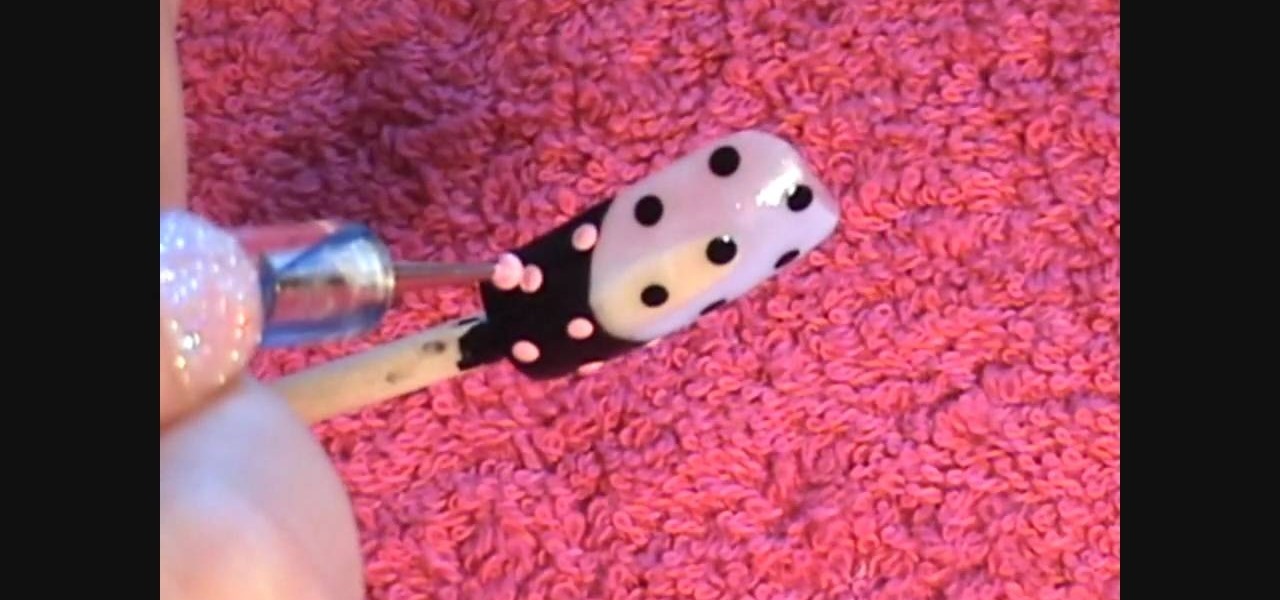
In this Beauty & Style video tutorial you will learn how to create cute polka dot acrylic nails. For this you will need acrylic paint and acrylic nails. First paint the lower part of the nail with black paint in a curved manner. Then you put three black polka dots in the unpainted area along the centerline of the nail. Now put two more black dots on either edges of the nail. Then you put light pink dots over the painted area in line with the black dots. Paint the smile line and the bow with l...

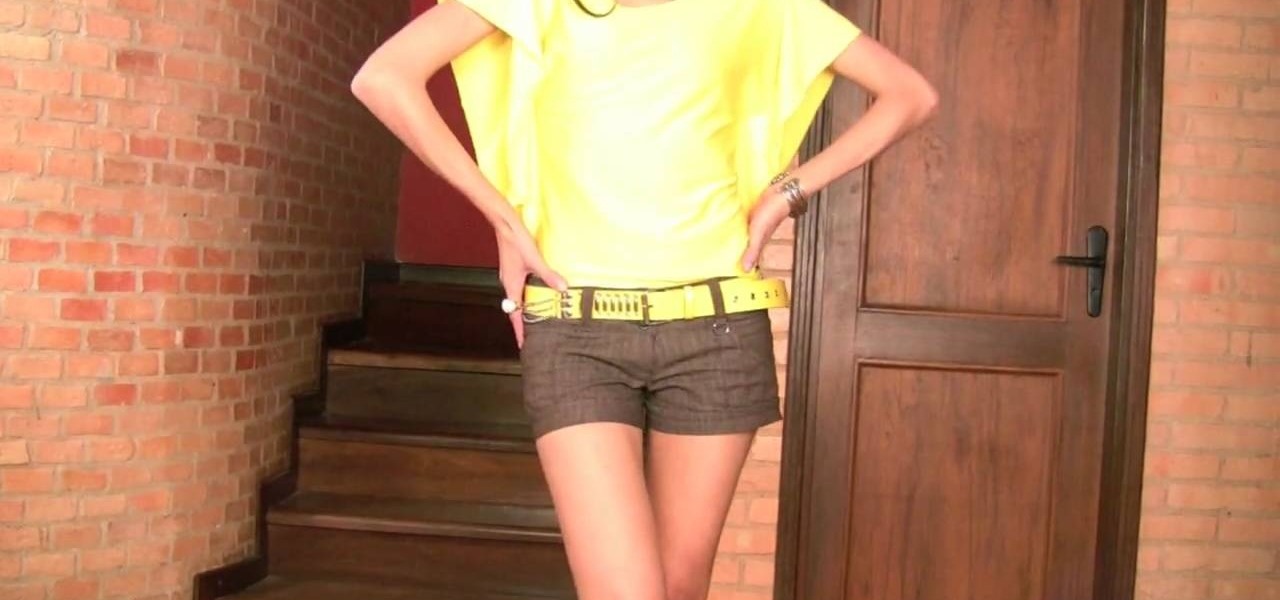
In this tutorial, we learn how to make a stylish bat sleeve. First, take a large piece of fabric and measure it from your shoulder to the armpit on the other arm. Now, fold the fabric up and mark pins where you want the cuts to be. Now, sew the seams where you placed the pins. Do this for both sides and when you are done you will have bat sleeves on a blouse in just a few short minutes. You can do this on any color of fabric and use different types of fabrics as well. Just make sure to measur...

Kandee shows us how to apply a glamorous makeup look for your wedding in this video tutorial. To begin, apply foundation to your entire face, followed by a blush on the apples of the cheeks. After this, fill in your eyebrows to the appropriate color that matches your hair. Next, you will want to apply a silver eyeshadow along the brow bone and on the entire eyelid. Next, apply eyeliner to your top and bottom lashes. Now you will apply a black eyeshadow to the outer edge of your eye and into t...

In this video tutorial, viewers learn how to draw Obi-Wan from Star Wars. Begin by drawing a circle for the head and rectangular shape for the jaw. Then draw a line 1/3 way across the circle. Draw the eyes on the line and the nose just underneath the line. Now draw 2 lines from the ends of the eyes to the rectangular shape. Use those lines as a guide to draw the length of the mouth. Then add the ears, eyebrows and beard. Now lightly draw the hair. Finish by coloring and shading the image. Thi...

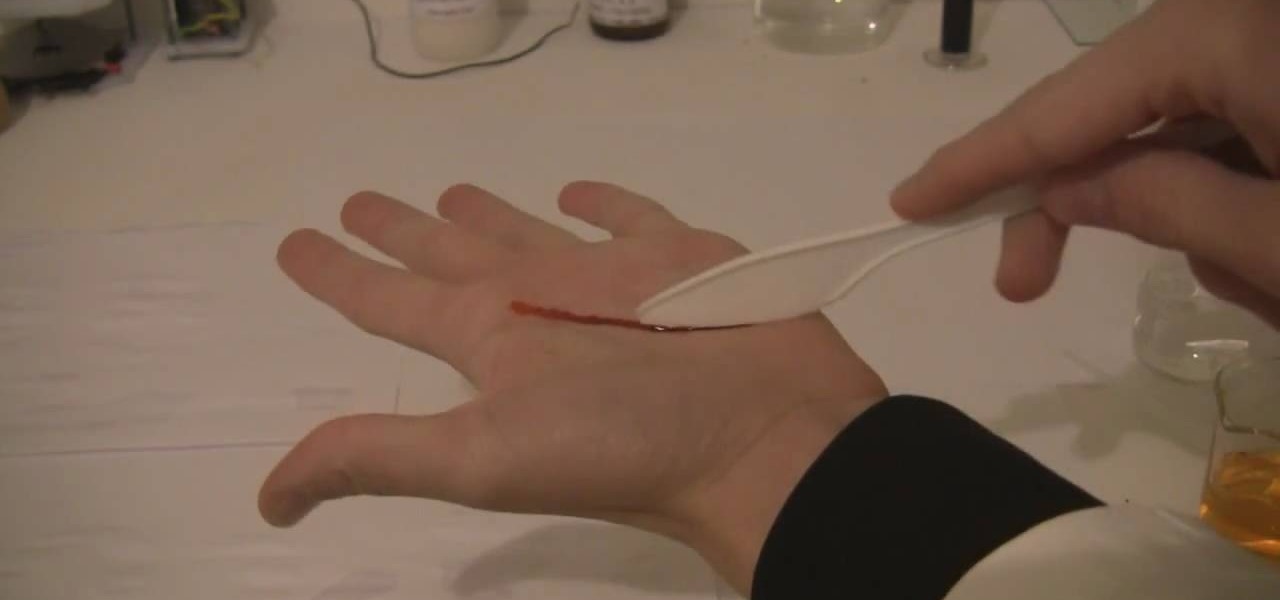
In order to make fake blood, for special effects or for Halloween, you will need the following: Potassium Thiocyanate (KSCN), Iron (III) Chloride (FeCL3), which is also known as ferric chloride or may substitute Iron Nitrate (Ferric Nitrate). You will also need water or dihydrogen monoxide.

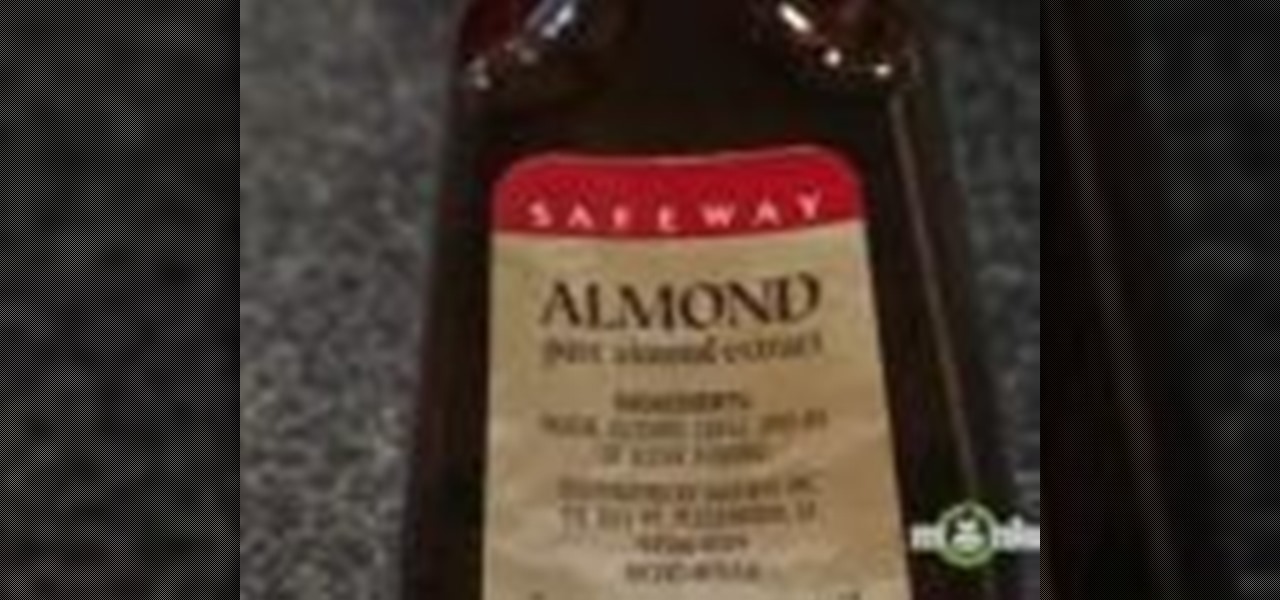
In this tutorial, we learn how to make tasty whipped cream with Marie. First, put in heavy cream to a mixing bowl, then add in almond extract. Whip this mixture with an electric mixer until you get heavy folds in the combination. Start out at a low speed so you don't get splashes going everywhere in your kitchen. It will take several minutes to get to the right consistency. When the mixture starts to grow, gently fold in your sugar to the mixture. Only add in a small amount at a time until al...

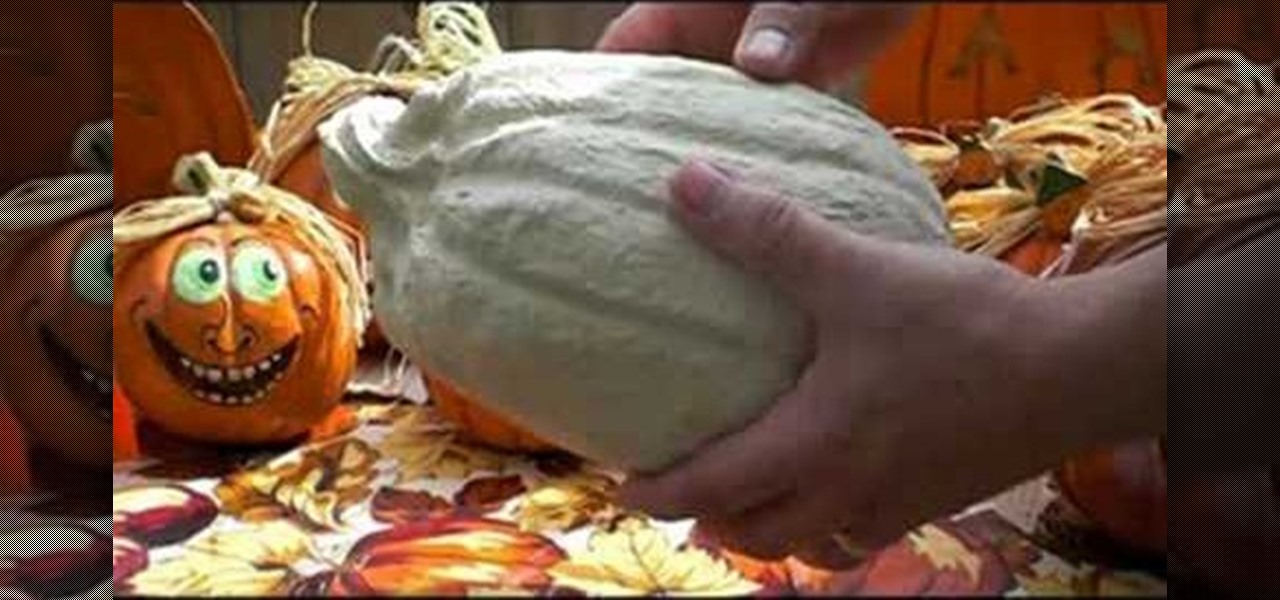
In this tutorial, we learn how to make paper mache Halloween pumpkins. You can purchase the pumpkin already made in the correct shape. When you are read to paint it, use orange pain and then a darker color in the creases to make it look realistic. You may need to smooth the pumpkin out before you paint, to make it easier to paint. Let the paint dry when finished, then add a gloss on. You can also paint on faces and different designs if you want to spice things up. You don't have to paint them...

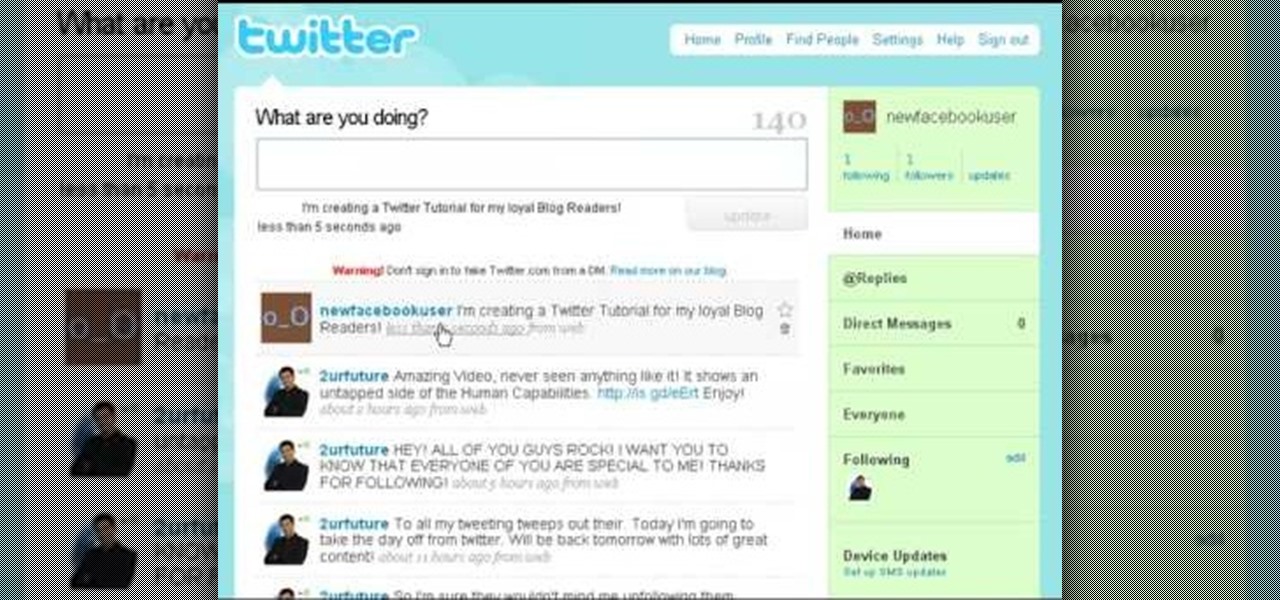
In this tutorial, we learn how to get started on Twitter. First, log onto Twitter, then click on the "join" button towards the bottom. On the next page, enter in your username you want, as well as a password and your email address. After this information is entered, click on the sign up button. next, you will be able to enter in your other social networking emails, so you can see if your friends from there are using Twitter. For the next step, you will be brought to your home page, where you ...

In this tutorial, we learn how to draw a fun bunny doodle. To begin, draw an upside down triangle with two straight lines coming out of the top middle. Next, draw a half circle over the eyes, then draw two large bunny ears on top of the half circle. Then, connect the curls on the end of the ear to the bottom of the head. Now, do an additional line to make the inside of the ear. After this, draw another circle around the bottom of the face, then draw a line with two humps at the bottom of the ...

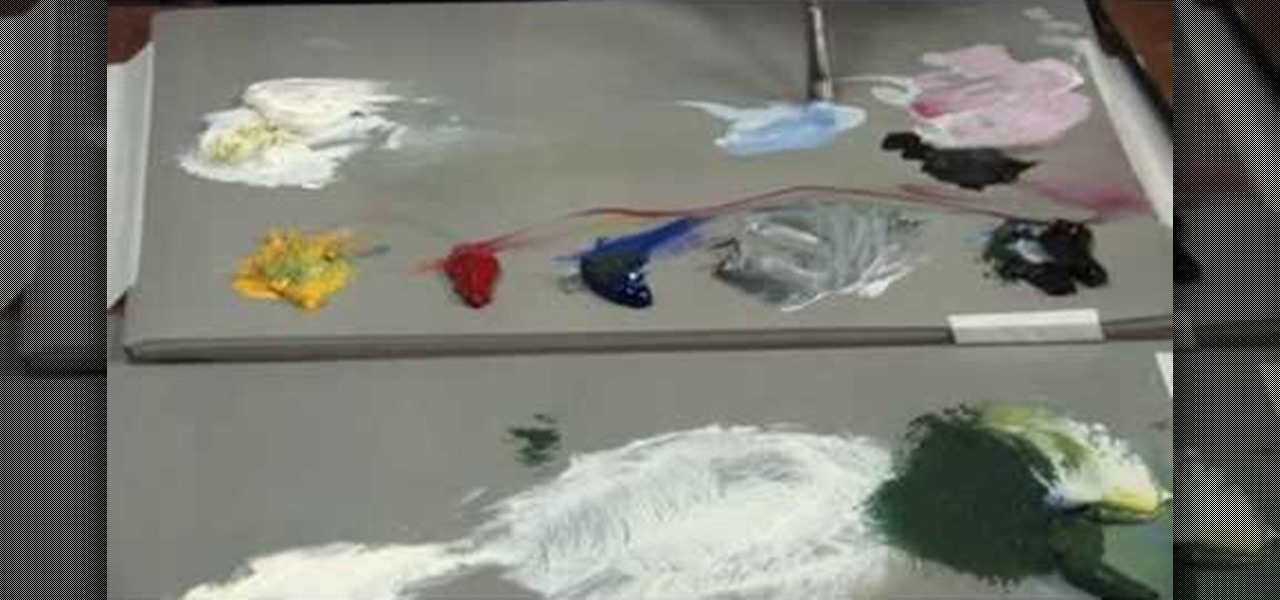
Wilson Bickford teaches us how to paint believable rocks in this tutorial. To begin, you will first start with an easel and several paints. Wet your small paint brush with a mixture of brown and black and paint a rock shape on the paper. You will do this by drawing many lumps and bumps to make it look like a natural rock. Use white paint on the side of the rock to give it a light glare where the sun would naturally hit it. To finish the rock, paint on browns to it, to add a dirt color and mak...

In this tutorial, you will learn how to utilise UV maps for both root colour and hair length. This guide also offers a quick look at polygon selection tags and organising a scene with hair objects as well. Whether you're new to MAXON's popular 3D modeling application or are just looking to get better acquainted with Cinema 4D and its various features and functions, you're sure to enjoy this free video software tutorial. For more information, and to get started using this trick in your own Cin...

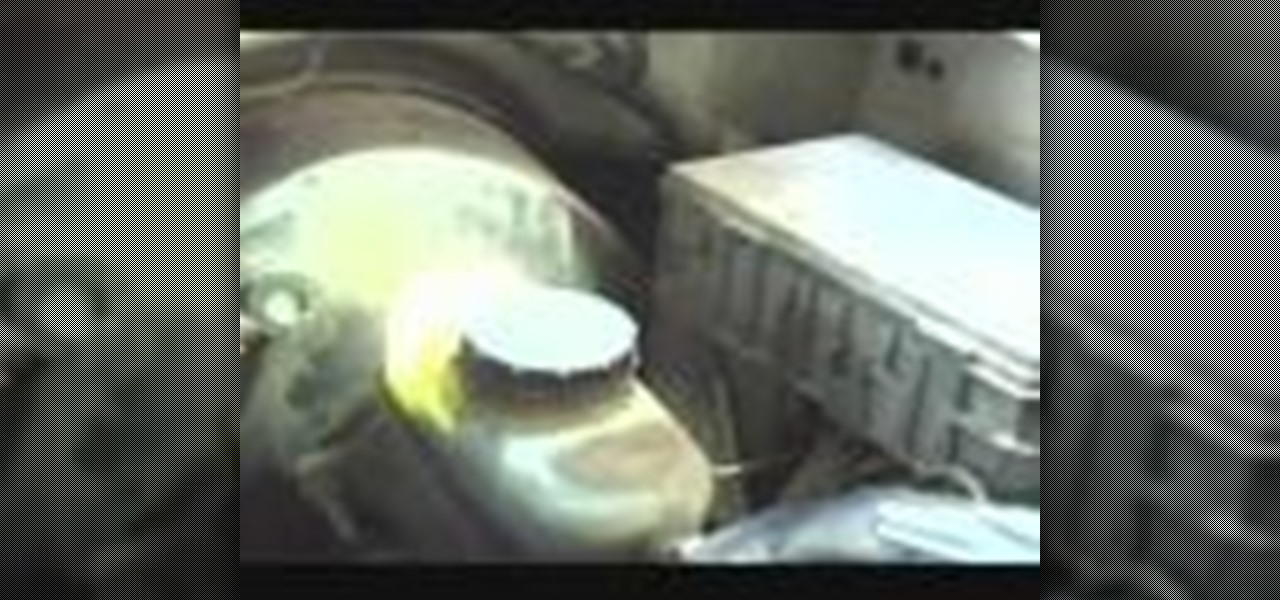
In this Autos, Motorcycles & Planes video tutorial you will learn how to check your brake fluid. There are two things that you need to check; the quantity and the quality of the brake fluid. Locate the reservoir for the brake fluid and check the level of the brake fluid inside the reservoir. The level should not be low. If it is low, fill in more fluid to bring it up to the max level. It also has a sensor that will tell you when the fluid level is getting low. To check the quality of the flui...

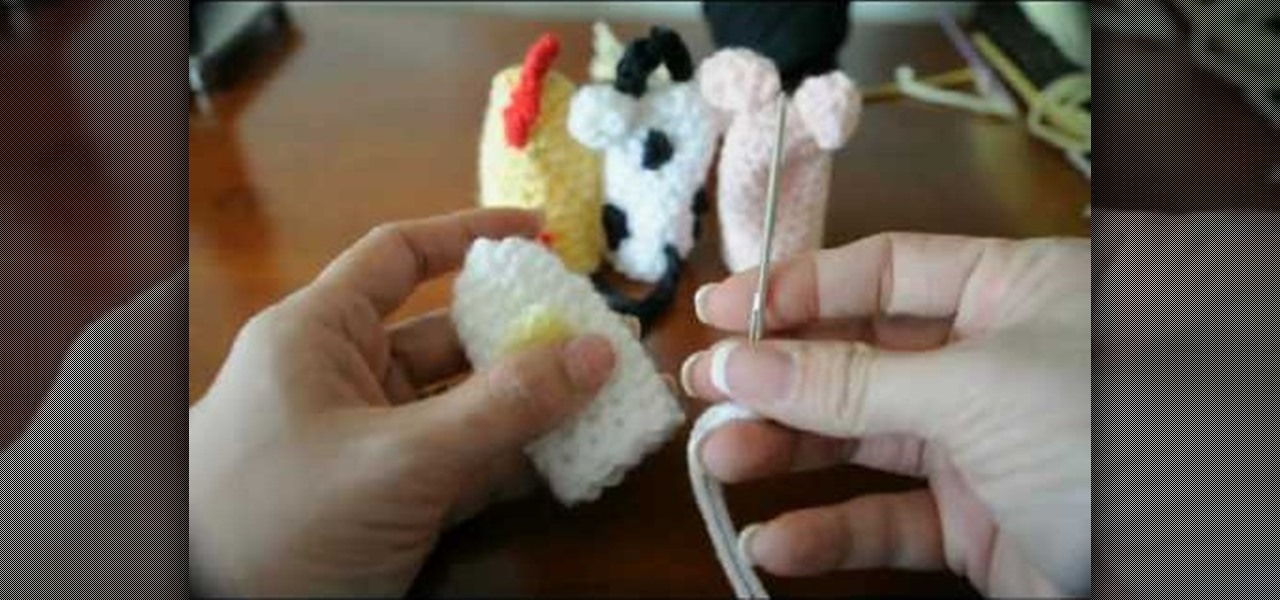
In this tutorial we learn how to crochet a duck finger puppet. In order to make the bill, start with three stitches on the front where you crochet a front loop to work with. Start with the open end facing you, and pull a loop up with your yarn, like a slip stitch. Now, chain one and single crochet into that on your first stitch. Single crochet in the next stitch and in the last one as well. Now, go into the center stitch and single crochet in that making a point at the beak. Now, slip stitch ...

In this Arts & Crafts video tutorial you will learn how to make a growing flower pot card. First you make a flower out of a tea bag. Then cut out a piece of paper in the shape of a flower pot. Now take a couple of sheets of 8x4 card of the same color. Score one card in half and fold it. From the other card cut out a piece equal to the size of an A5 card, which is 14.85 x 10 cms. Now glue the flower pot shaped paper on to this card. Now cut a long strip of the card, 30 x 3 cms and fold it in h...

Share your Mexican pride or simply make a cool graffiti tag of your friend Mex by watching this graffiti tutorial by Wizard. Wizard shows you how to do a basic graffiti version of the word "Mex."

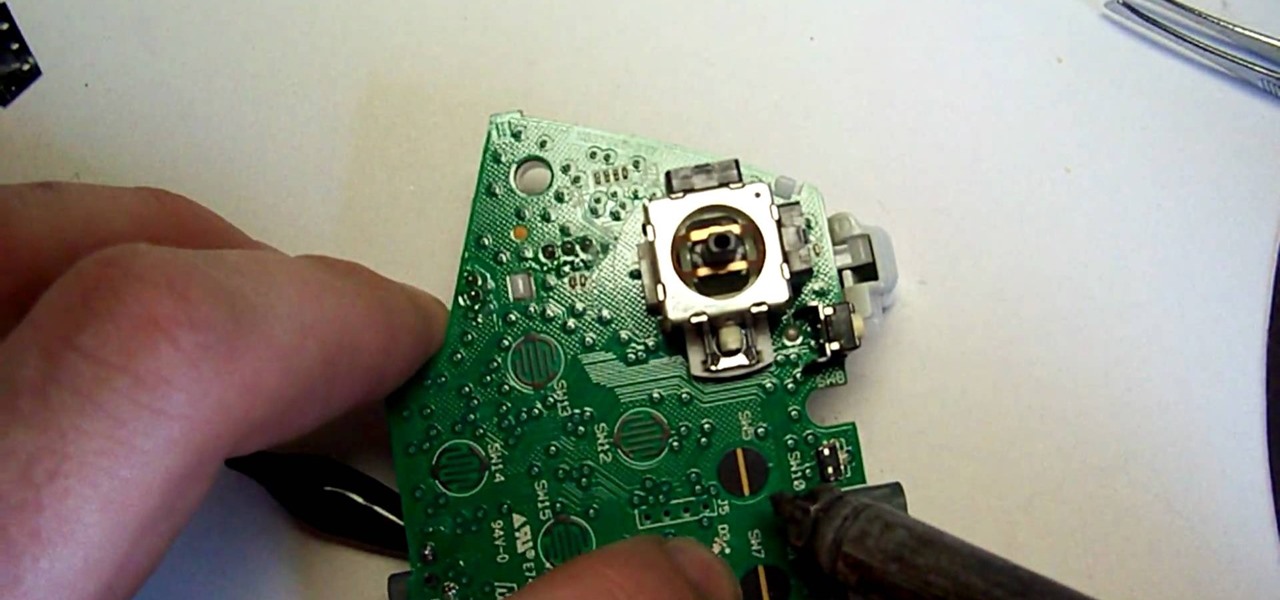
The LED's mounted behind the big X button on the XBox 360 are not very bright and kind of a bland vomit-like color. Why not replace them with a royal blue or perhaps fire-engine red set? This video will show you how to mount whatever new LED lights you wish on the control board inside an XBox 360 controller. This will give it some much-needed flair and make your controller distinguishable from those of your friends.

This video shows us how to make a DIY long vest out of a scarf in no time! You will need: a wide scarf, matching thread, other colored thread, safety pins, needles, and scissors. First, measure yourself shoulder to shoulder and add 15cm to that number. Next, measure 30cm on each side from the very middle of the scarf. Now, mark that spot with a safety pin and measure out another 30 cm on both sides, marking those spots as well. Now, bind the last two safety pins and sew from the bottom up to ...

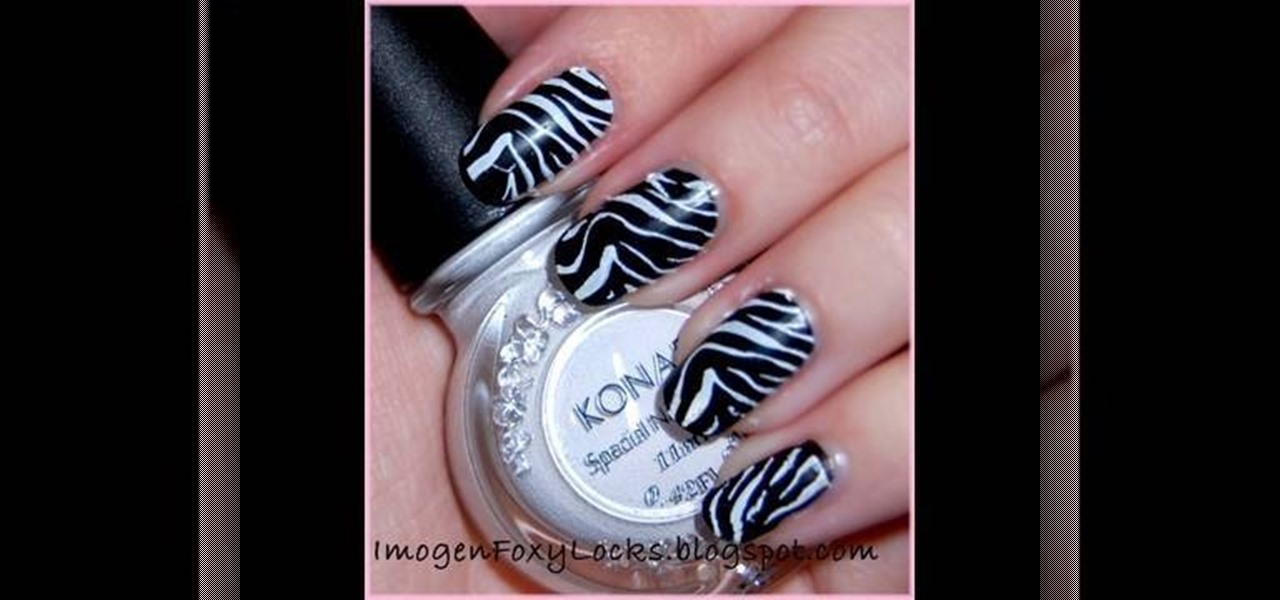
In this tutorial, we learn how to do a Konad zebra nail design in 5 minutes. You will need: Konad white nail polish, stamper, zebra stamp, and scraper plate. First, place white nail polish onto the zebra stamp until it's all over the stencil. Then, use the scraper to remove the excess nail polish. Now, stamp the stamper onto the stencil and then stamp it onto your nail. You can clean up the excess white nail polish with nail polish remover on top of a Q-Tip. Before you begin this, you will wa...

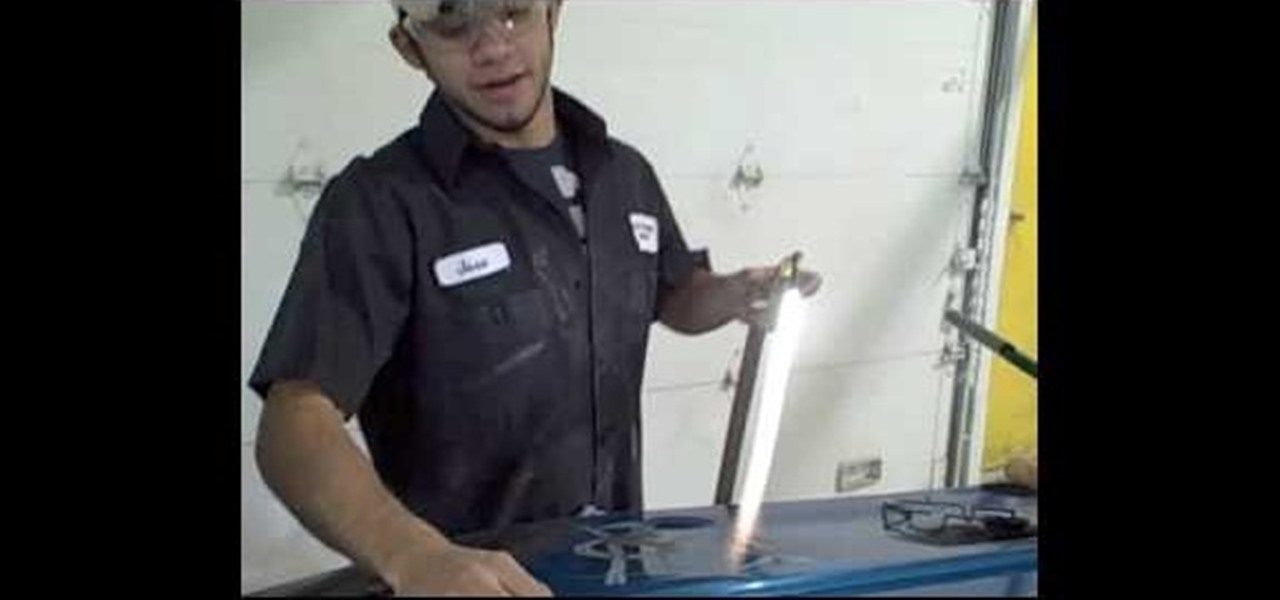
This video tutorial is in the Autos, Motorcycles & Planes category which will show you how to heat shrink metal with oxy/acetylene. A stud nail gun or a heat inductor may also be used for heat shrinking. Metal popping in and out is called oil can effect, which is caused by stretched metal. You got to shrink that part of the metal to remove this defect. For doing this, first you set up everything correctly, light the flame and adjust the gas flow so that the flame is of blue color. Heat an are...


