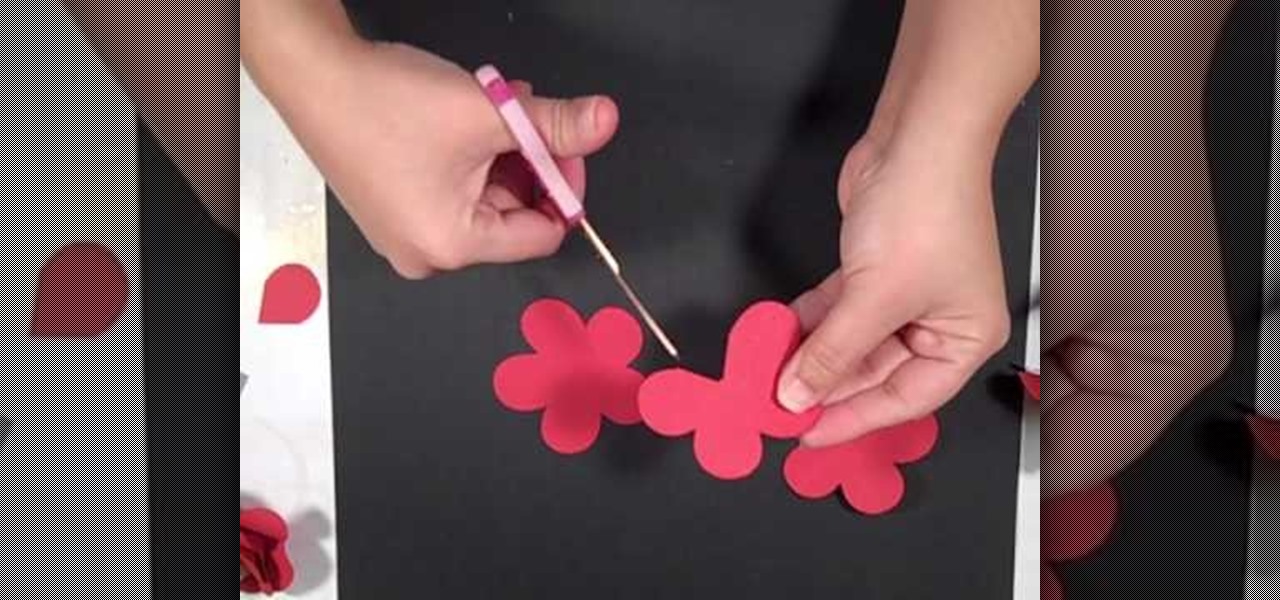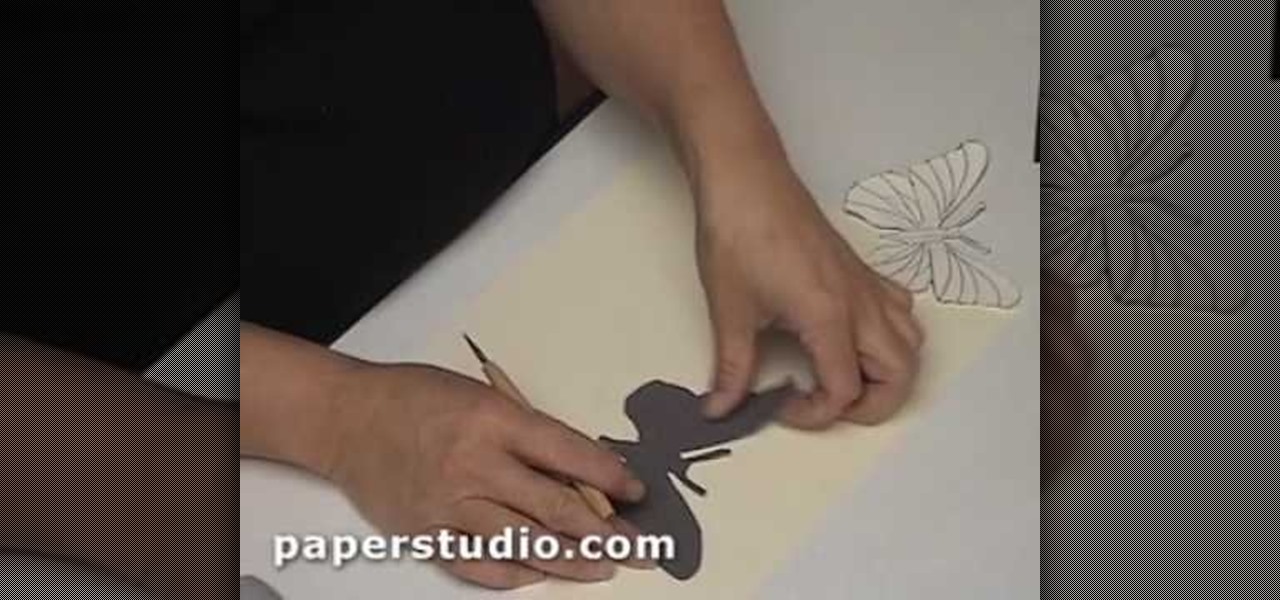
These decorative paper butterflies make the perfect fall arts and crafts project and year-round ornament to decorate your home. Learn how to use a template, cut out the design, and then score it to give the butterflies their unique 3 dimensional look. You can also add this butterflies to a scrapbook or a personalized card.
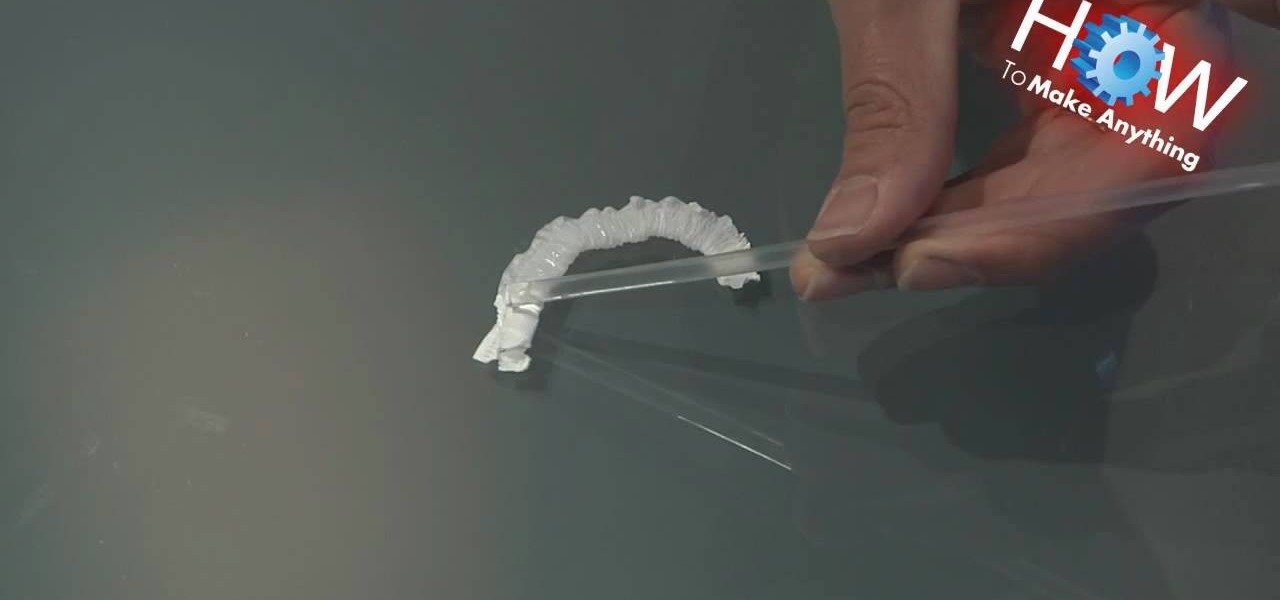
Check out this amazing practice which shows how to make a simple slingshot paper with schoolboy material... you can almost see your teacher screaming !
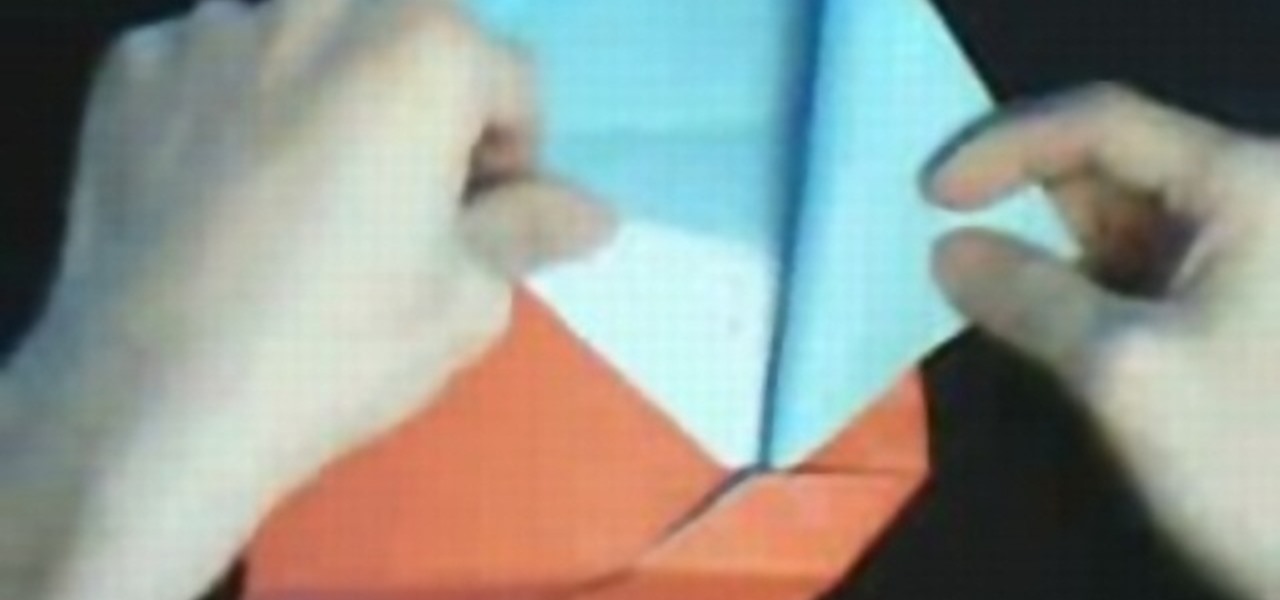
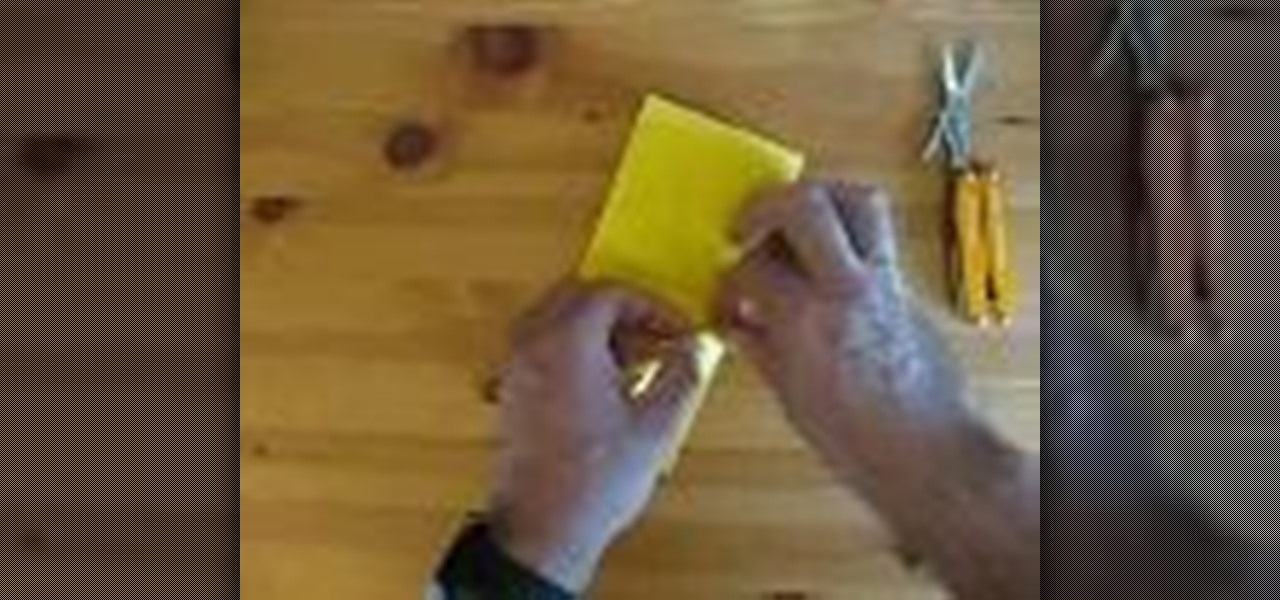
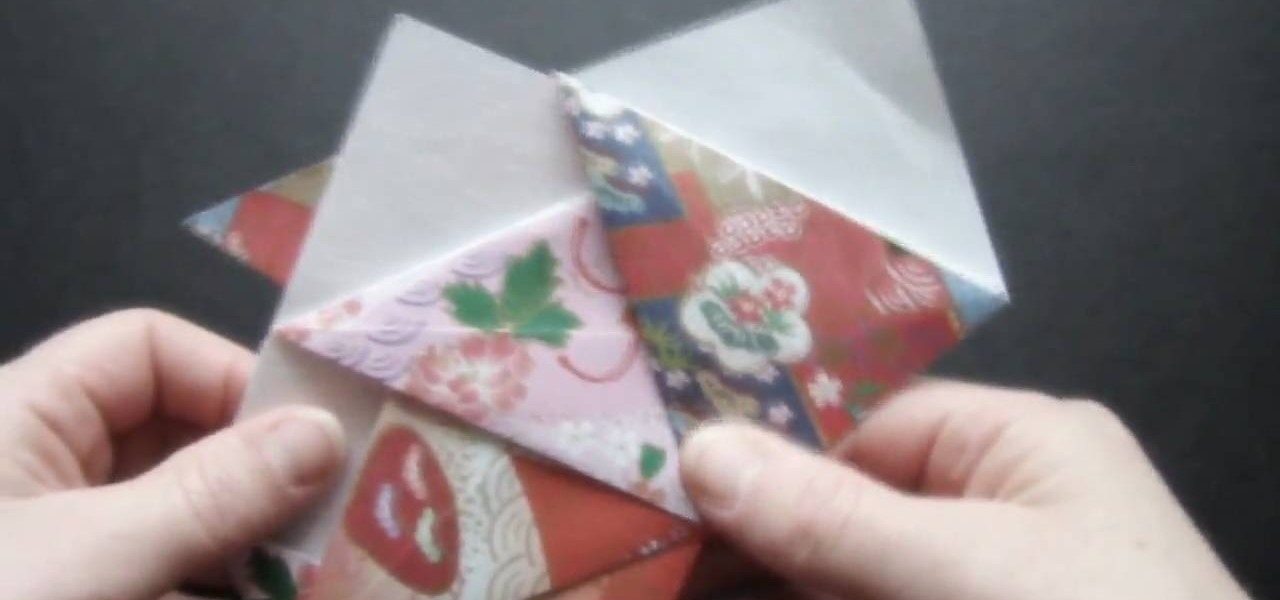
There's no glue required for making this perfect DIY envelope. Learn how to fold your own beautiful envelope with a piece of A4 paper.
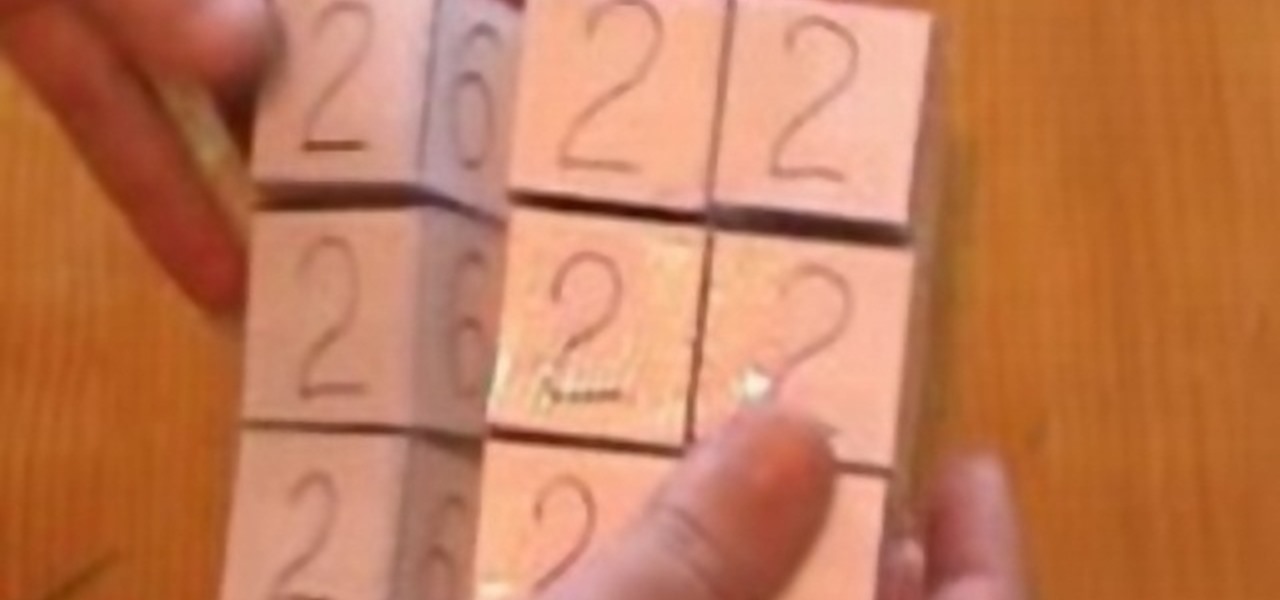
A puzzle of sorts, this paper box toy uses 9 numbered cubes to create an IQ toy that will baffle you.
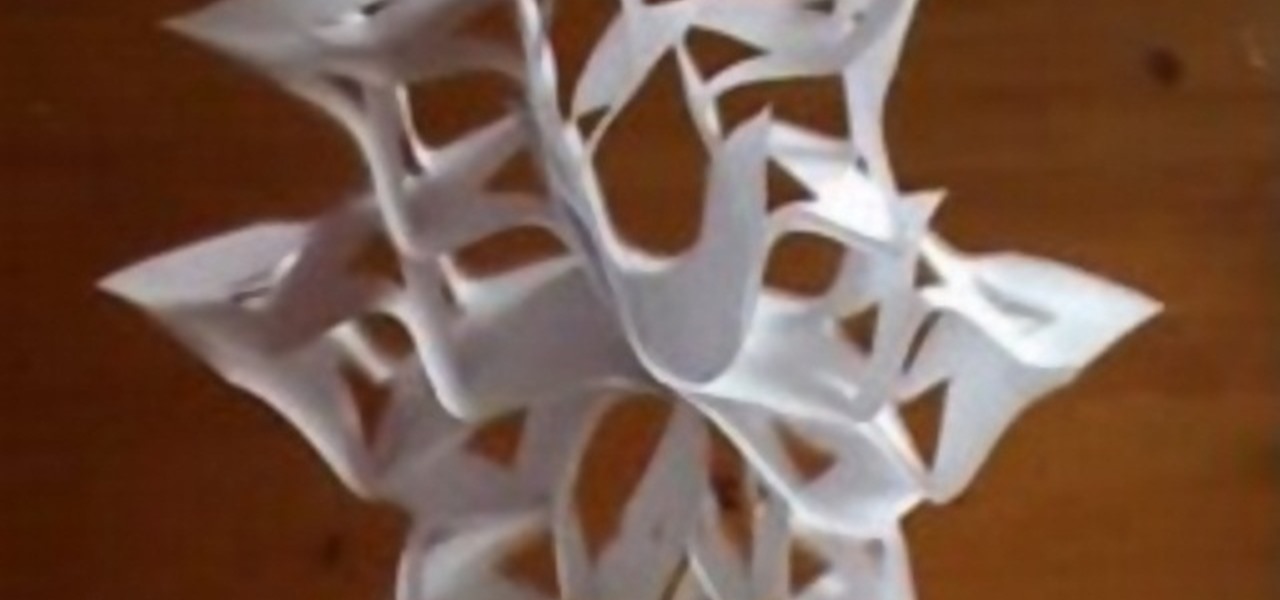
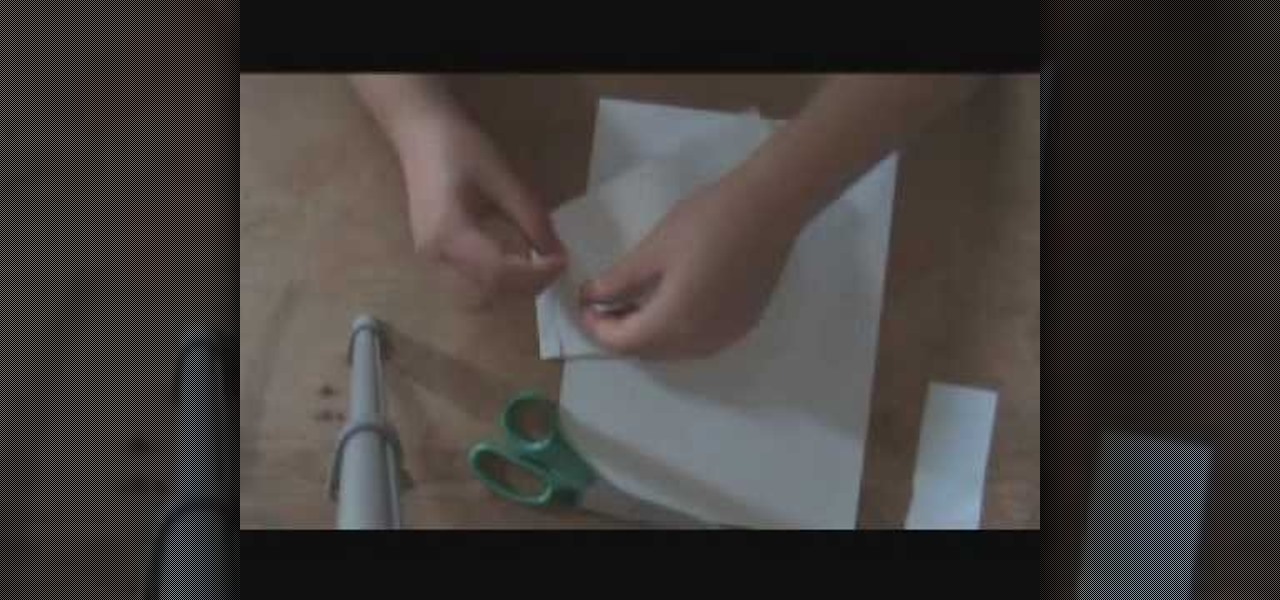
Check out this video to learn how to make a 3D paper snowflake for the holidays. Follow the text at the bottom of the video as supplemental instructions. Remember to use your scissors.

Make an easy one paper flower calender, not using any glue. Use twelve pieces for every month. You may want to watch the video more than once.

Check out this video to make an optical illusion paper toy. Don't be dismayed by the intricacy, just read the text on the bottom of the screen!
How to video about how to make an amazing paper hat. For people who love easy amazing things.
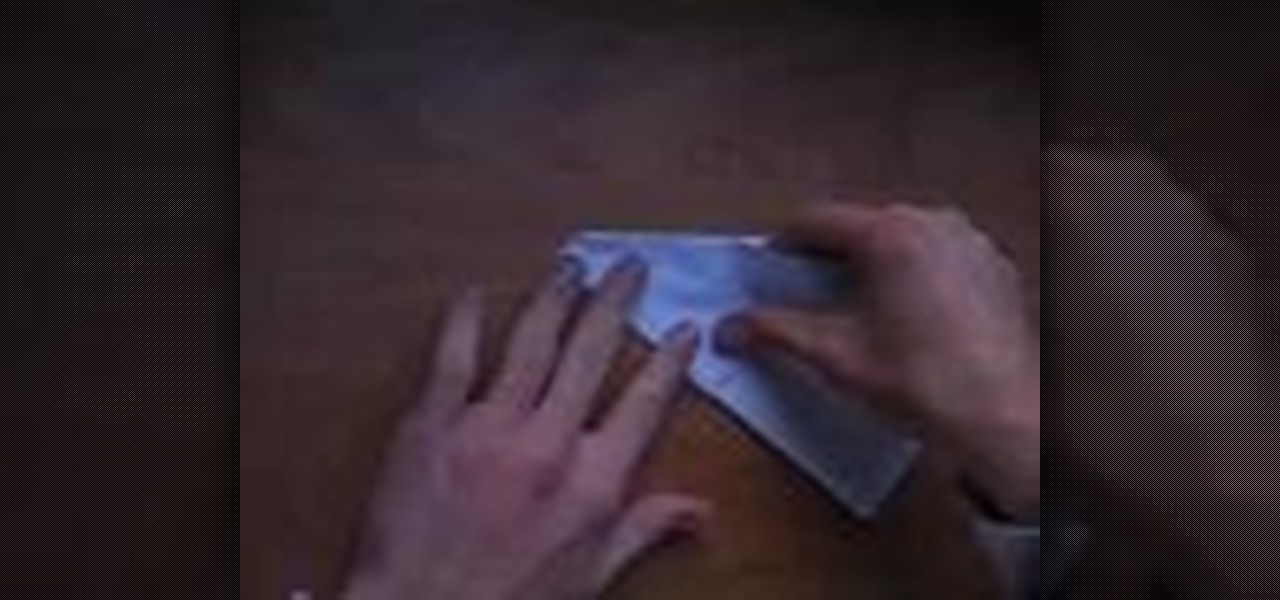
This instructional video will teach you how to fold your very own wallet out of a piece of paper. This wallet is recyclable, durable, and extremely useful if you've lost your other wallet.
Make your own Optimus Prime out of paper. It even transforms!
If duct tape wallets aren't your style, maybe a paper wallet will be more suited to your back pocket. This video will show you how to cut, fold and tape to creative a wonderfully easy paper wallet, complete with pockets. This is a completely functional wallet!
This video shows us how to make a paper ninja star easily. Firstly you need is 2 sheets of paper, tape and scissors. Firstly take the first piece of paper and fold it into half and then fold it in half the same way. And then fold it in half in the opposite way and then do the same with the other piece of paper. Now using a scissor cut the closed end of the paper and make sure you don’t cut off too much and then in the second cut you have to make a one sided pointed and go diagonally to the ot...
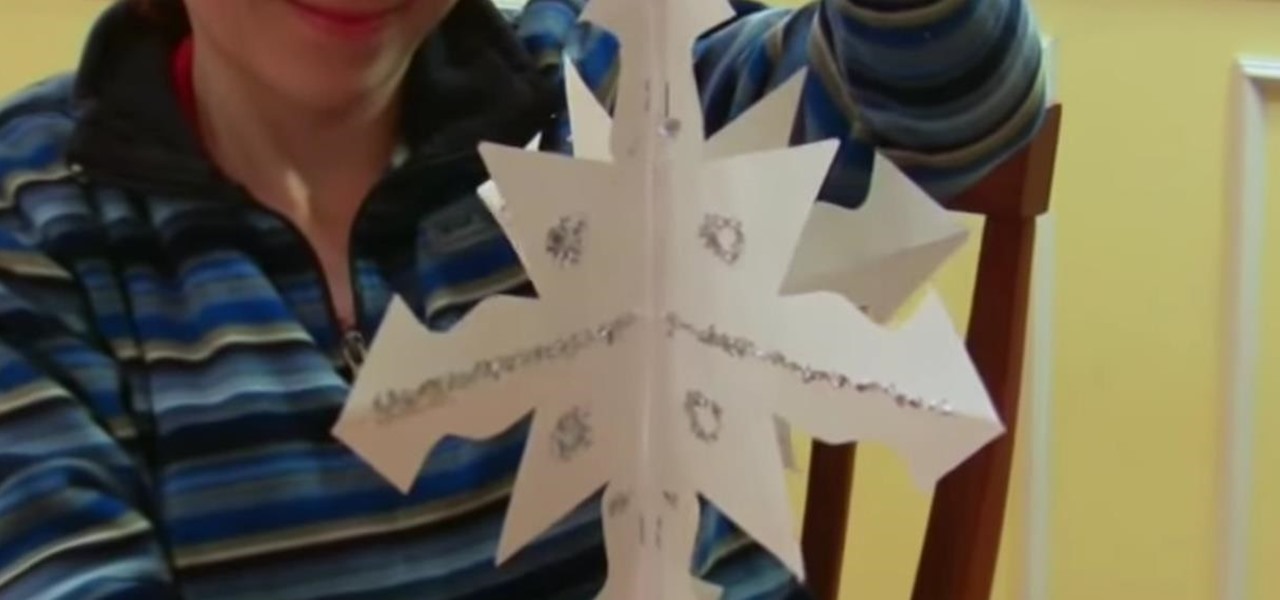
This isn't your grandma's paper snowflake! Get creative and add a new dimension to your winter decorations. You will need two 8 by 8 inch pieces of white paper, a pair of scissors, a stapler, string, glitter, glue and iridescent cellophane. This is a fun holiday craft project. Makes a nice Christmas decoration.
Remember making paper boats when you were a kids? If you don't here is a how to video to remind your the step by step process. This how to video tutorial will shows you how easy it is to make a boat out of a piece of paper.
This tutorial arts and crafts video will teach you how to make really sweet bows from wrapping paper for Birthdays, Christmas or any occasion you can think of. This method also gives you a great way to have your bows coordinate with your wrapping paper, too!
This is a video tutorial on how to make 5 and 6 point stars with paper. Learn how to fold and cut any kind of paper to craft both 5 and 6 point stars for decoration, card making, or even scrapbooking.
Can any activity be more charming and whimsical than flying a kite? Ever since we saw the kite flying scene in "Mary Poppins," we've always had a distinctive, old timey attraction to the park hobby. And thankfully, you don't actually need to purchase a kite to fly a kite. All you need is some paper and string.
You can learn how to quickly make a paper airplane. You fold one piece of paper in half, unfold it, and then fold two triangles on the inside. The airplane should be able to fly if you follow all the instructions.
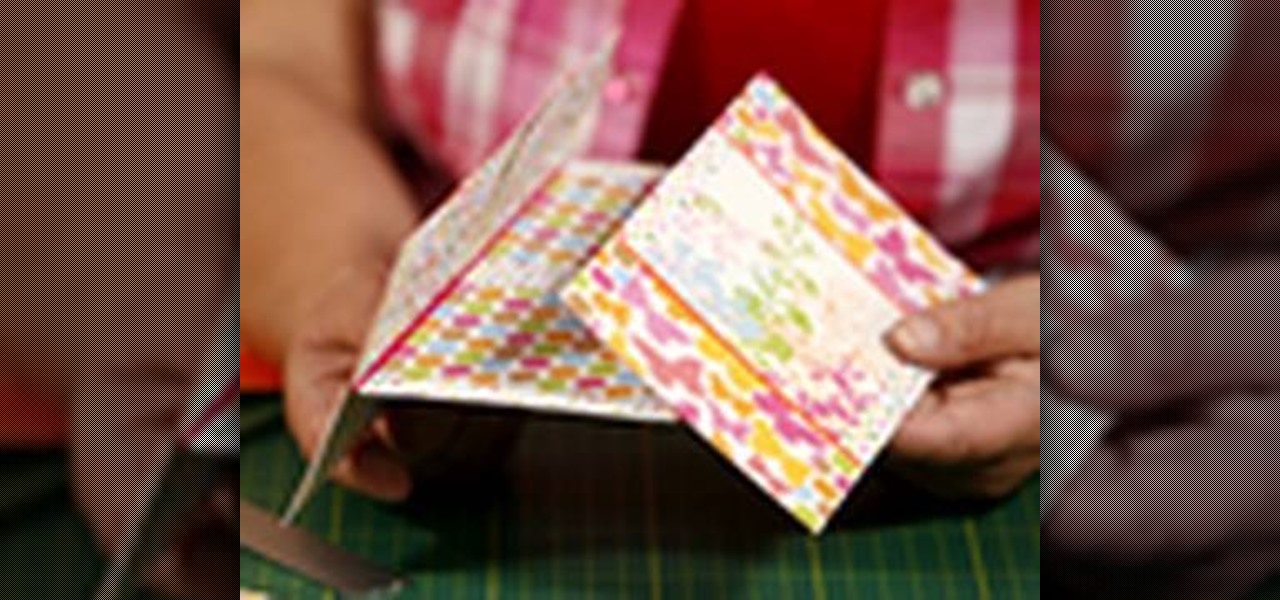
Store your cards or ATC's in style with these fab paper card wallets. Corinne Bradd demonstrates how to combine clever folding techniques and fabulous papers for a fantastic project that would make an ideal gift for any keen crafter. Easy to embellish, it can be made in several different sizes, including one so small it can be hidden amongst the boughs of the Christmas tree.
In this tutorial, we learn how to make an endless card. An endless card is a card that folds a ton of different ways, so it can be used over and over again without having to replace it. To make this, you will first need to take a piece of card stock and score it where you are going to fold it in the middle. After this, take a smaller piece of paper, then score it so you can fold it into three different squares. Do this again for another sheet of paper. After this, you will want to adhere to d...
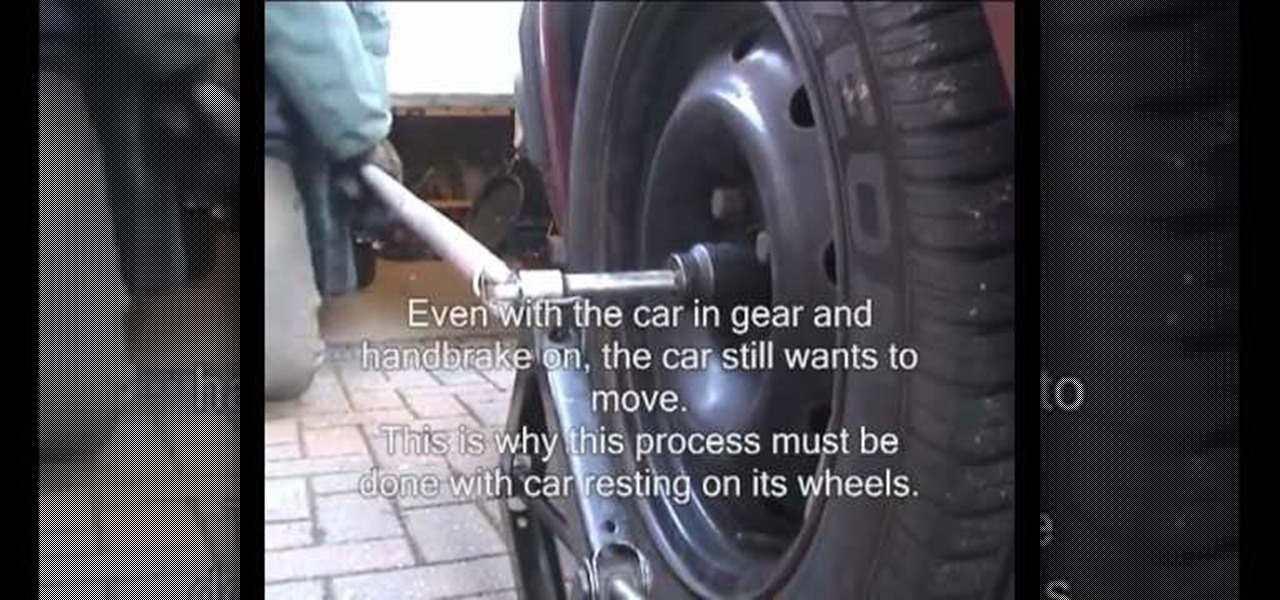
Ever found yourself in need of removing the driveshaft hub nut on your front-wheel drive car? It's not quite like removing the lug nuts, because it's much bigger. Well, it can be really easy to remove the driveshaft hub nut, and this video tutorial will show you the secret.
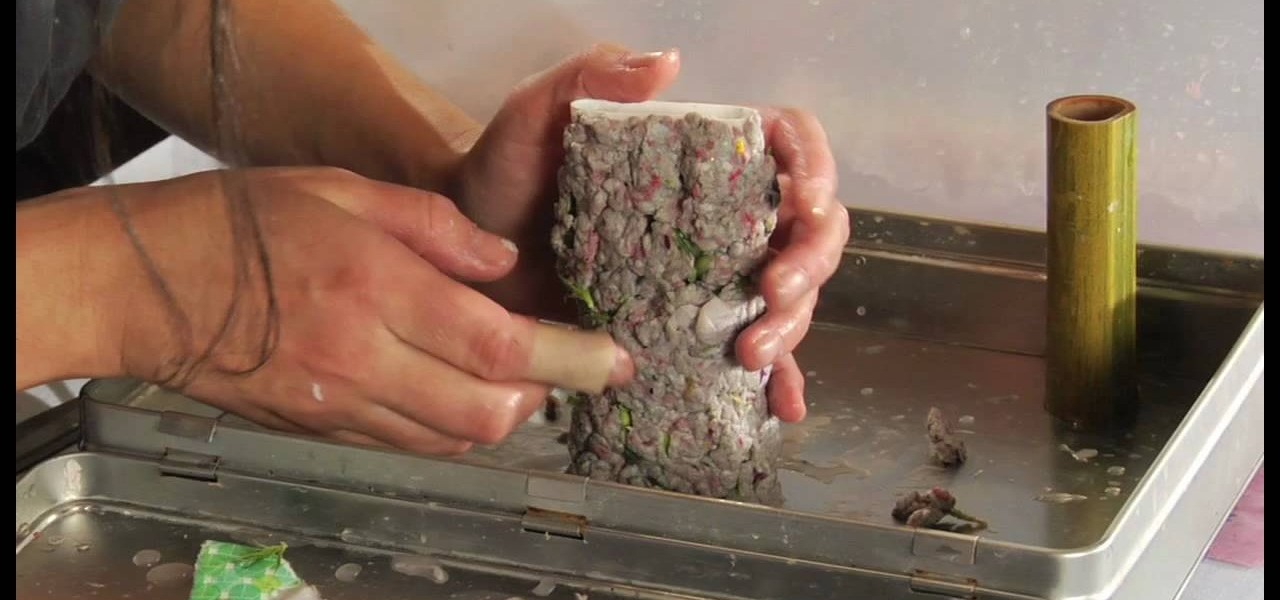
Finding the right vase is almost as hard as finding the right flowers to go into that vase. The shape has to be aesthetically pleasing but it must be functional, too, able to support the lengths of various types of flowers.
Don't fret too much if your watermark is barely noticeable when you're finished with this project - the less obvious it is, the better a job you've done. Watermarkers are present in many types of paper, especially the monetary kind. If you hold up a ten dollar bill you'll see a watermark of Thomas Jefferson's face on the right, proving the bill is real.
Looking for a fun, creative gift to give someone for Valentine's day? Then, this is the perfect tutorial for you!
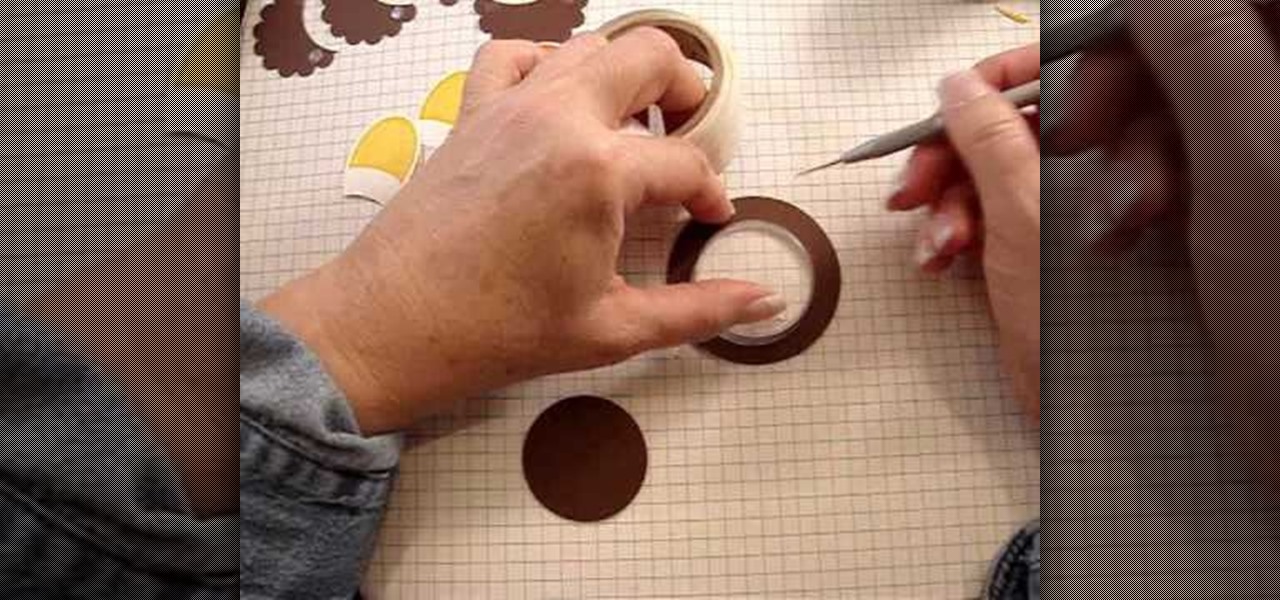
This video shows how to make buttons from paper scraps. You need some patterned paper scraps left over from scrapbooking. The best working surface is a Teflon sheet. You also need some shiny glaze product, a pin, and a punch, for example a circle punch, but square, hearts or flowers will do just as well. You need scissors too. Cut or punch out several button shapes. Use a small hole punch to make two holes or four holes in the centre of the button. Use the pin to clear the glaze nozzle. Add t...
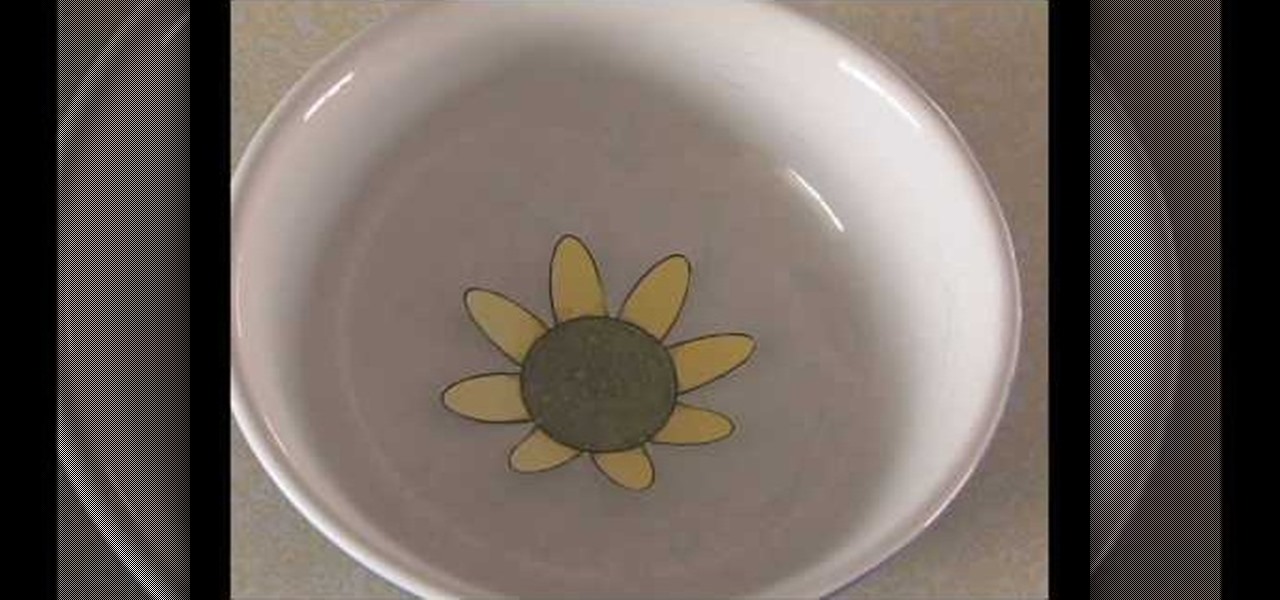
This video shows us how to make a blooming paper flower. To start, you shall first draw a flower on your computer, using paint or other similar program. The flower should be simple, a circle with eight identical pedals arranged around it. Print your drawing and, using a pair of scissors, cut your flower out leaving no excess paper. Take each pedal and fold it inwards towards the center of your circle. Now, get a bowl that will easily accommodate your flower and fill it with enough water to al...
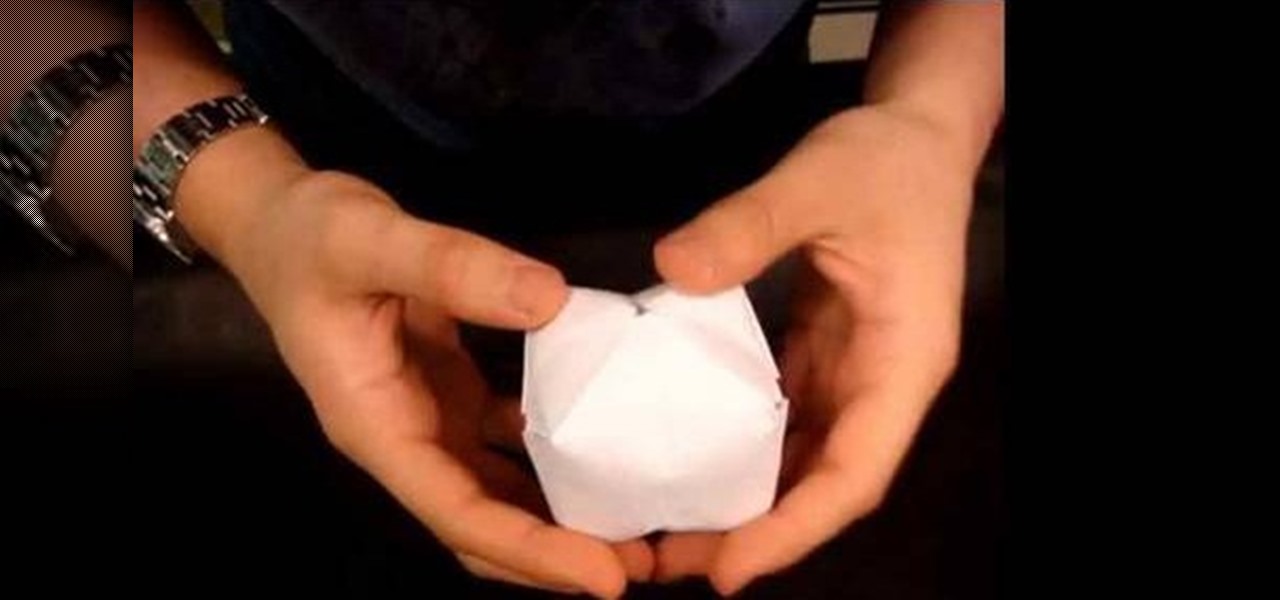
In this tutorial, we learn how to use the ancient and honorable craft of origami paper-folding to make a water bomb we can then employ to soak our poor, unsuspecting friends and families. The materials are very simple, just some printer paper and water. But the results can be devastating. (Of course, you could also just make a paper balloon without filling it with water and throwing it at somebody. But where's the fun in that?)
Don't spend a lot of money on gift wrapping this year! You can take a stack of plain brown paper bags and use inexpensive markers, paint and seasonal stencils to decorate them for the holiday season and turn them into decorative gift bags.
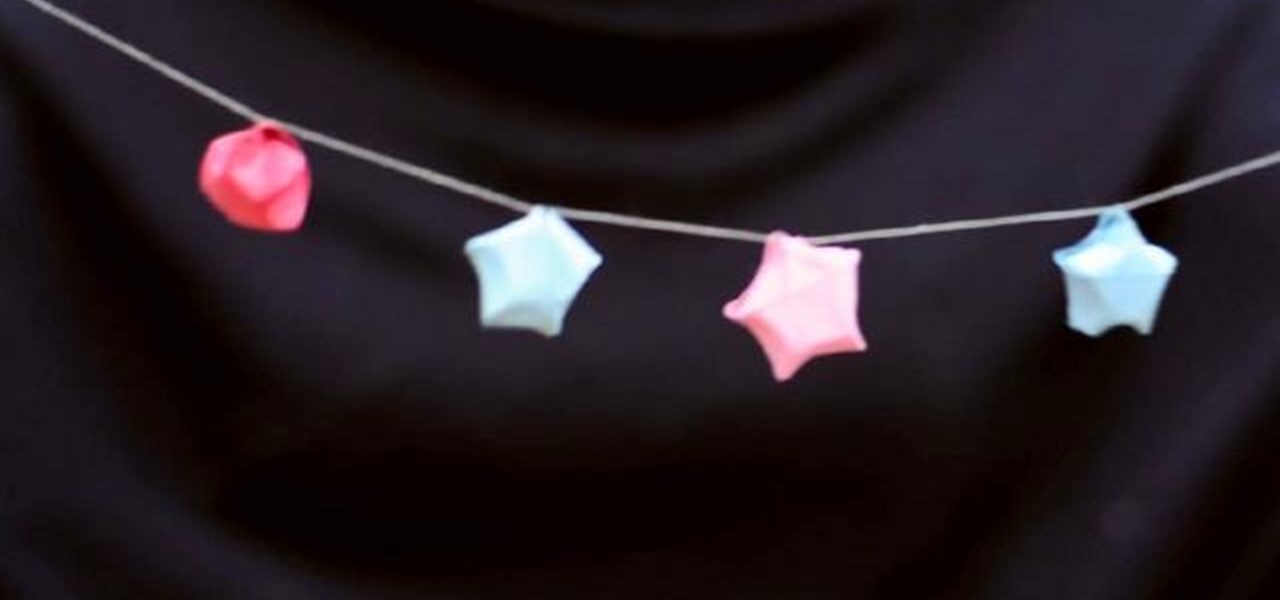
Have a green Christmas this year! Instead of buying more mass produced holidy decorations, make your own! This short video shows you how to make your own Christmas garland of tiny stars using recycled paper. Any festive color will do for these stars!
This is a fun and easy project you can do in an afternoon. Why spend money on expensive ornaments when you can go green to decorate your Christmas tree this year? All you need is some festive paper and thread.
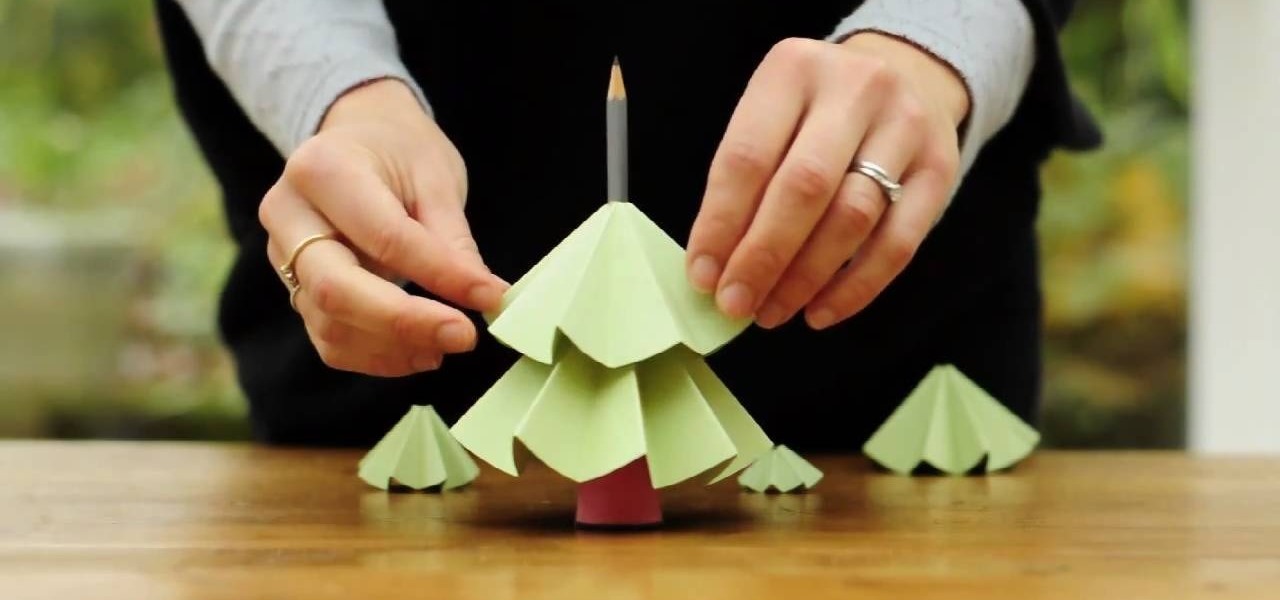
This tutorial shows you how to take several circles of recycled paper (from sixteen centimeters to four centimeters in diameter) into a lovely Christmas tree decoration. Fold each of them in half several times, cut a hole in the tip, then just stack and decorate!
All you need is some stiff paper, like craft paper or card stock. Then follow this video to fold two pieces (make sure they are roughly the same size) into a lovely and easy gift box. Then wrap it and stick it under the tree!
By using the Sweet Treat cups, cardstock and a few extra crafting supplies, you can incorproate delicious jelly beans (or any other small, autumn-colored candy) into a crafted paper turkey. This is a great little decoration to put on the kids' table this Thanksigving season!
Looking for your next craft project? Why not a bright and festive paper box? This video guide from Dawn of Dawn's Stamping Thoughts will teach you everything you need to know. For all of the details, and step-by-step instructions, take a look.
Want to create complex paper cut outs that a die cut machine just can't handle? One option is to use the Craft Robo, which will let you create your own welded shapes and patterns on your computer and then cut them out on your paper.
Origami a whole fleet of these and you'll have your own army of unstoppable origami war machines that can blow up some paper aliens.
Looking for something to toss at your teacher but don't have much time while her back is turned? No problem! You can assemble this paper airplane in the time it takes for her to write her name on the chalkboard. In 30 seconds or less you will have a totally flyable airplane to send flying through your chemistry class.
Attention aspiring ninjas! Before you report for duty be sure to arm yourself with enough ninja stars to last you for days. In this video, learn how to make a ninja star (for throwing) out of paper.
Sure, individually wrapped straws of the sort found at your favorite café, diner or fast-food joint might seem like a colossal waste — and actually be a colossal waste, for that matter — but there's no denying that there's a lot of fun to be had with the straw wrappers themselves. With this tutorial, for instance, you'll learn how to make a cinchy paper inchworm.
This is an instructional video that demonstrates how to make an origami spinning top. You need seven square pieces of paper, and she uses 6"x6" sheets. First fold the paper diagonally. Fold the short edges to meet the long edge. Unfold it and use that as a guide for the next fold. Fold the top triangles down and tuck on corner into the pocket. Make seven exactly the same. She shows how to slide one folded piece of paper into the next one and fold the edges over each other to hold them togethe...