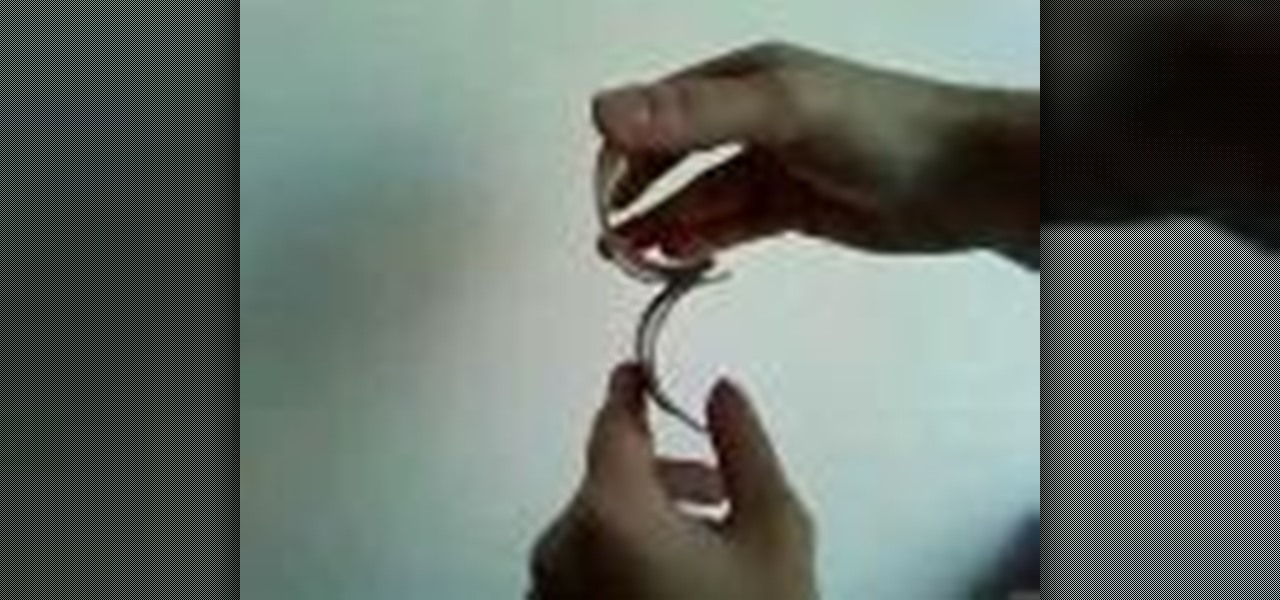
Title says it all you have to make the cotton buds more loose on the paper to make it explode. This is a how-to on making ammo for your paper launchers and projectile guns. This ammo explodes into cotton buds when it hits its target. Very cool effect.
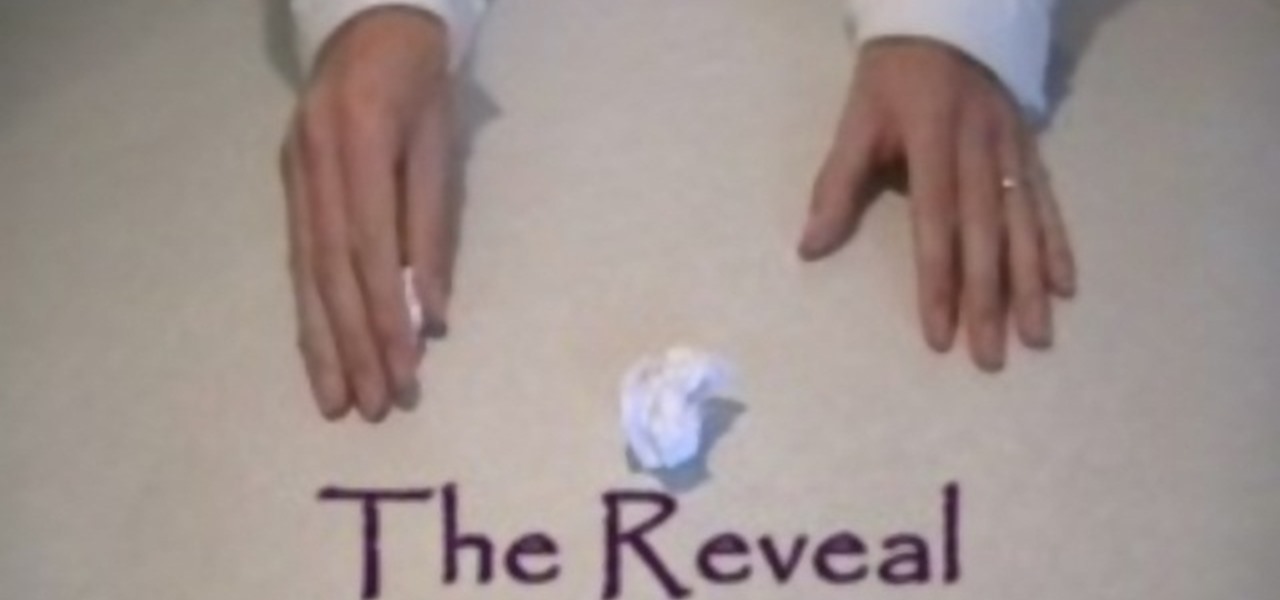
Easy trick that confuses people. You can do it now with a sheet of paper! This is a basic up-close slight of hand magic trick. You can use any prop, but here they use rolled up paper balls. Simply switch the balls and hands you're holding them in and swiftly confuse your onlookers.

In this how-to video, tag along with Karen from Yasutomo as she creates a scrapbook wallet that's perfect to keep in your purse. She uses origami paper folding techniques and one sheet of 12" x 12" patterned scrapbook paper. Plain manila tags from the office supply store are the background for photos that are just right for the pockets of the wallet. You end up with a brag book that's worth bragging about. Watch this video crafting tutorial and learn how to make a tag along scrapbook wallet.
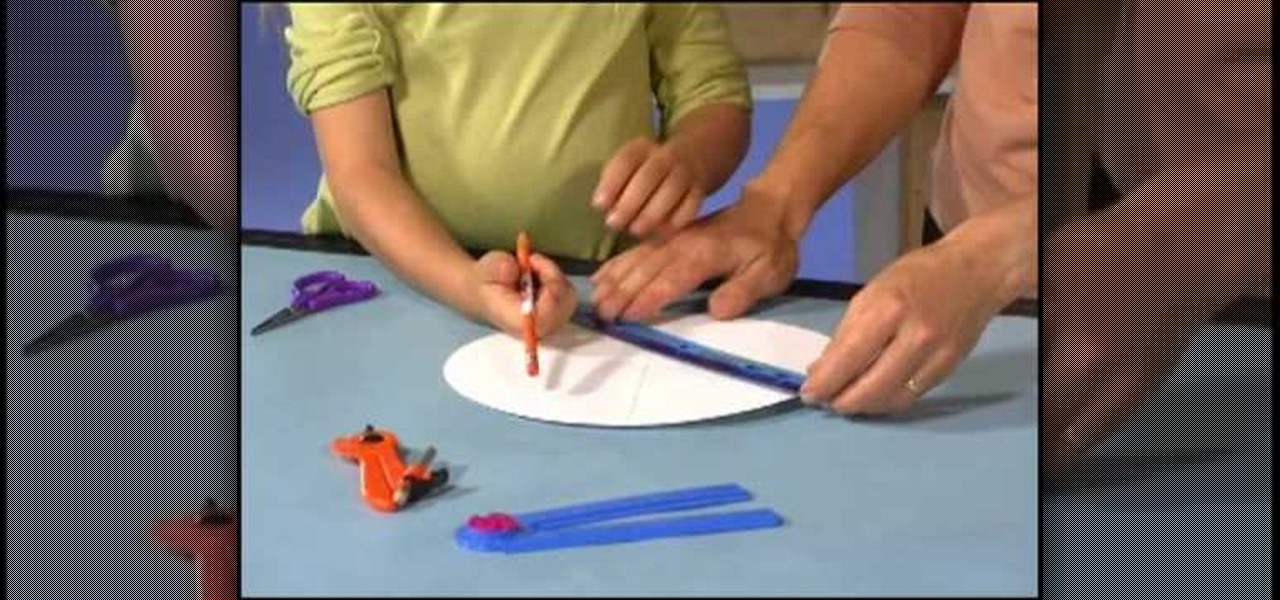
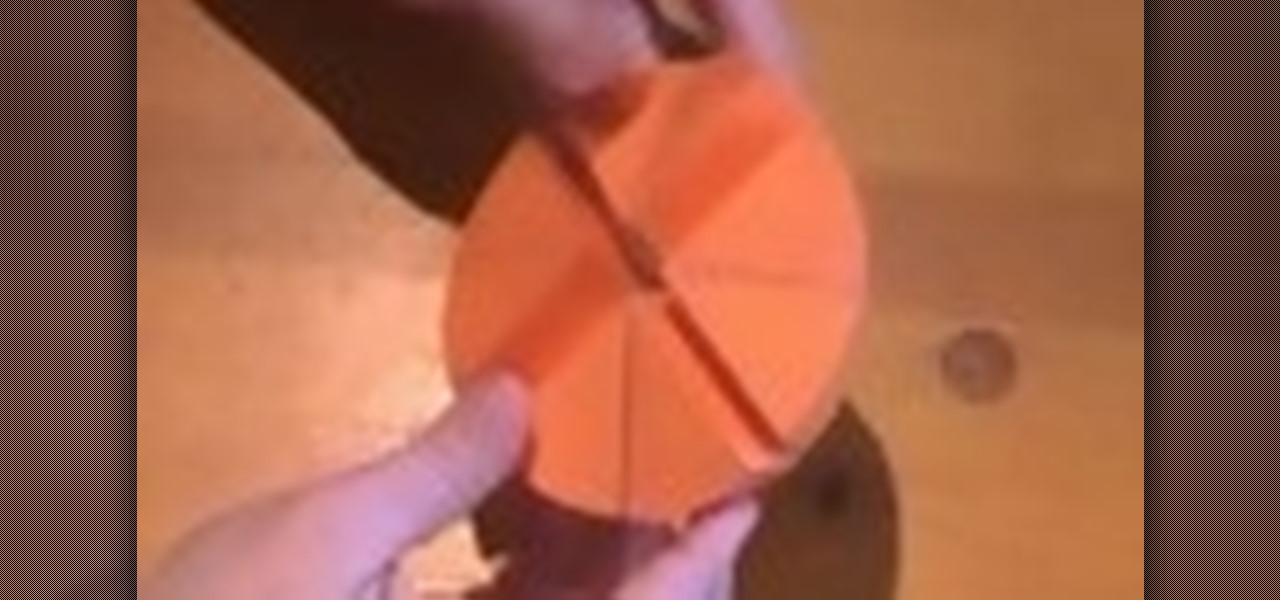
Bring all of the colors of the rainbow together with this cool color spinner. You and your child will learn how to mix colors to make new colors with this fun arts and crafts project from Crayola. You will need white poster board, a paper plate, a circle maker or compass, scissors, a ruler, markers, crayons, colored pencils, and tape. With this how to video you can teach your child about colors and science with this paper color spinner.

Not sure what to origami today? Watch these two how to videos to learn how to fold a crow out of origami paper. Give Japanese origami folding a try with this how to video tutorial on folding a crow, use black paper if you'd like.

Not sure what to origami today? Watch this how to video to learn how to fold a paper cup out of origami paper. Give Japanese origami folding a try with this how to video tutorial on folding a cup that can hold water.

Origami is the traditional Japanese art of paper folding to make just about any shape imaginable. All you need is a square of paper. Watch this video origami tutorial and learn how to fold a paper cicada.
Sue at Paper Source demonstrates how to decorate a switch plate. Everyone has scrap paper and probably some ugly light switch covers too. Transform a plain cover and add a little bit of flair to your home. Watch this video interior design tutorial and learn how to decorate a light switch plate cover.
This fun family craft shows you how to make a beautiful flower arrangement with your kids. Paper flowers are a fun activity and great gift for grandma, mom or a little girl friend! Watch this how to video tutorials to learn about making tissue paper flowers with your children.
The Professor of Silliness returns with some paper. All you need to do is draw or fold a bow out of a piece of paper. You can then act out an old favorite amongst silent movie fans, "The Rent." You can say the lines yourself, or have someone hold up cue cards for the audience. "The Rent" can always be performed as a pleasing dinner trick.
Watch this instructional video to fold an origami speedboat. You will need one large piece of origami paper. This instructor has designed a realistic speedboat pattern for the paper. He holds the origami paper in front of several completed origami boats, creating a sporty ocean scene.
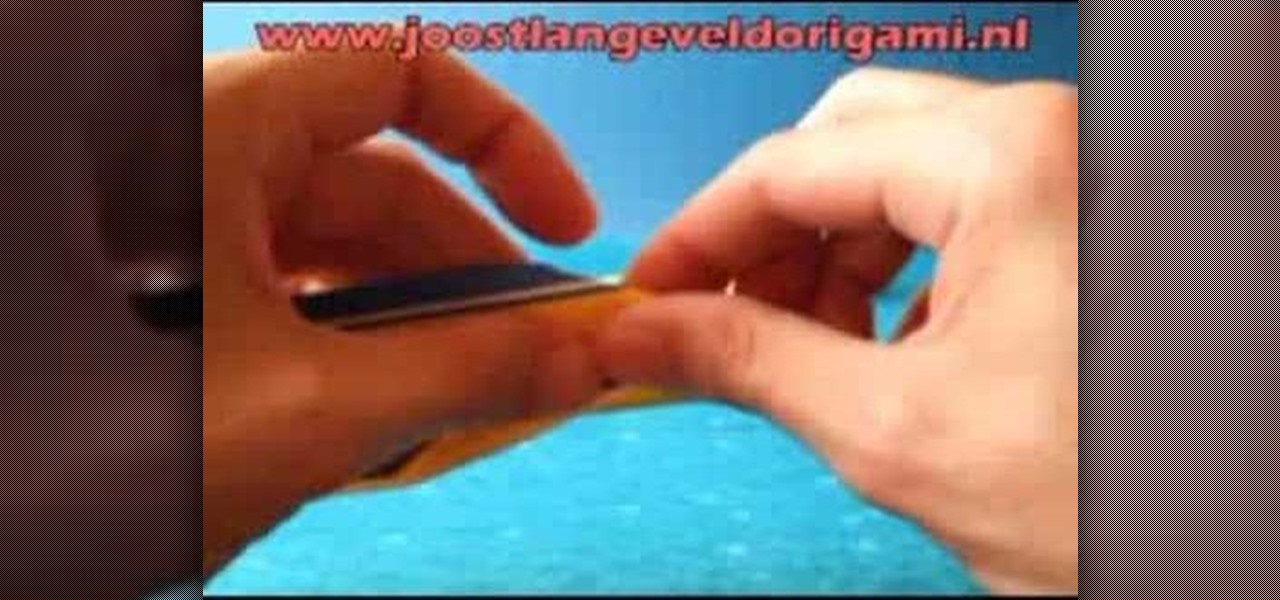
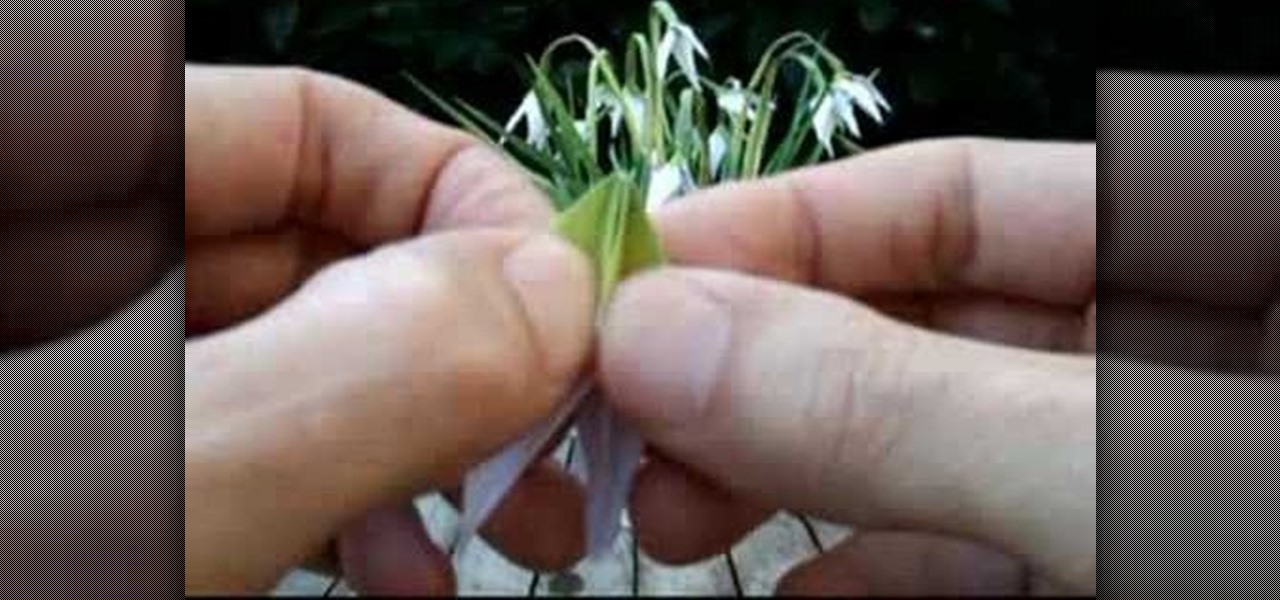
Watch this instructional origami video on how to make an origami snowdrop, folded and designed by Joost Langeveld. The flower of this snowdrop plant should be folded from a triangular piece of paper. The snowdrop flowers in the background serve as ready inspiration for this tiny origami project. A final twist of paper brings the origami flower to life. Additions of green paint and a green paper stem perfect the illusion.
Admit it, you want to fold a JKF-188 jet plane (It's not really origami, because you need scissors). This video tutorial shows how to take an ordinary piece of office paper and create a really fancy paper airplane: the JKF-188 jetplane.
This is a fun activity that children can do. Parents Magazine and Better TV shows you how kids can make a beautiful Mother's Day Bouquet. You will need paper plates, scissors, paper clips, colored paper and colored pens.
Check out this how-to video if you want to origami a model constructed by using a rectangular paper. Maybe you are an expert at origami or maybe you don't know the first thing about origami; either way, check out this fun, origami instructional video for mastering an origami model constructed by using a piece of rectangular paper.
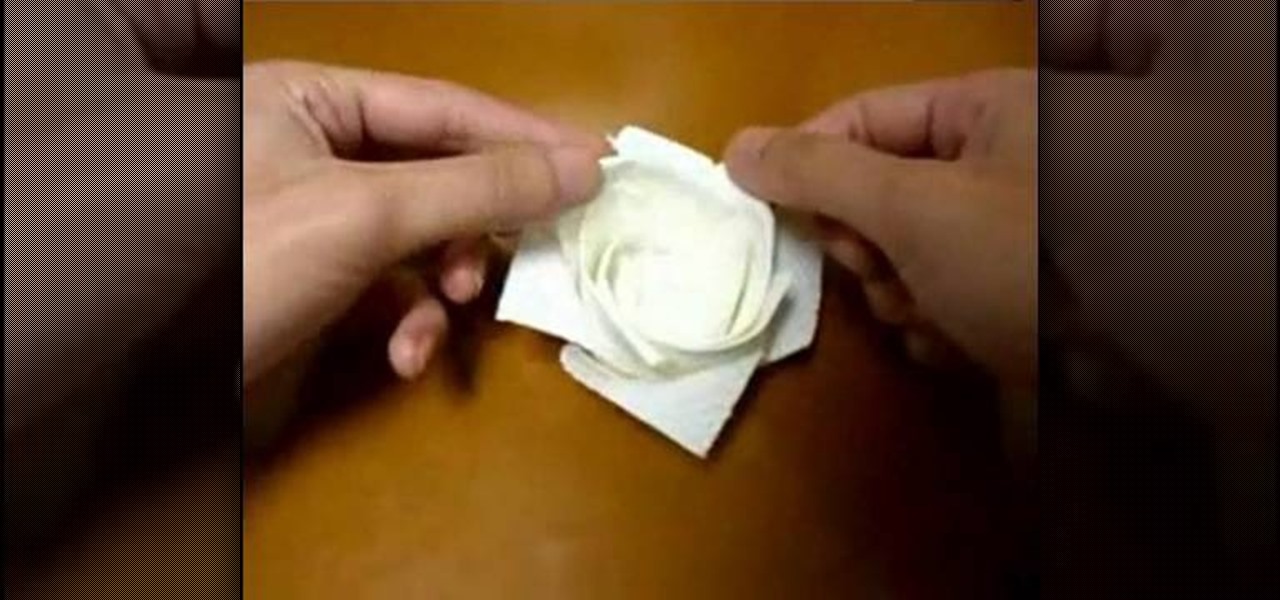
Learn how to use a paper towel to make an origami rose. You need just one square paper towel to make your origami rose.
This is a good instructional video on how to fold a tiny paper crane. Paper used was cut to about the same size as a penny.
Here is how you make a paper fan, this is very easy and only takes one sheet of paper. Watch and learn!
Easy project on how to make a paper cup by folding a sheet of paper. This cup will hold water if folded correctly.
Make an amazing paper toy that can take on multiple shapes and appears to turn inside out. This how-to video will show you just how to make this perfect paper puzzle that will amaze anyone.
These are step-by-step instructions on how to fold a Japanese paper ball (Kusudama). These are very cool origami decorations and can be hung all around the house, and these paper balls are also an excellent decorations or Christmas tree ornaments. This modular origami model requires 34 - 46 units.
This is something creative and useful to do with the mountains of paper constantly delivered. Try these different origami projects to recycle paper.
Hungry for some hard boil eggs? Did you know you could use wet paper towels to cook them? Find out how to steam your eggs with wet paper towels to cook them in under five minutes.
You can learn how to build a helicopter from paper using origami. You need a piece of paper and a pen, with which you will have to draw a picture of a helicopter. The helicopter should actually be able to fly.
You can learn how to make a magical magnetic toilet roll. To do this, you need a paper roll, a piece of paper, glue, and scissors. You cut the roll into two pieces, connect the roll to the piece of paper, and mark the middle gap to make inserting the third stripe more accurate.
In this video, we learn how to turn a composition book into a decorative notebook. First, measure your composition book, then measure out that same size on a piece of decorative paper. Next, put adhesive on the back of this on all four edges, then diagonally. Now, you will have a solid attachment for the paper to be placed on top of the composition notebook. Use a straight edge to push it down and it's completely flat. Then, use scissors to cut any excess paper off of the edges and corners. Y...
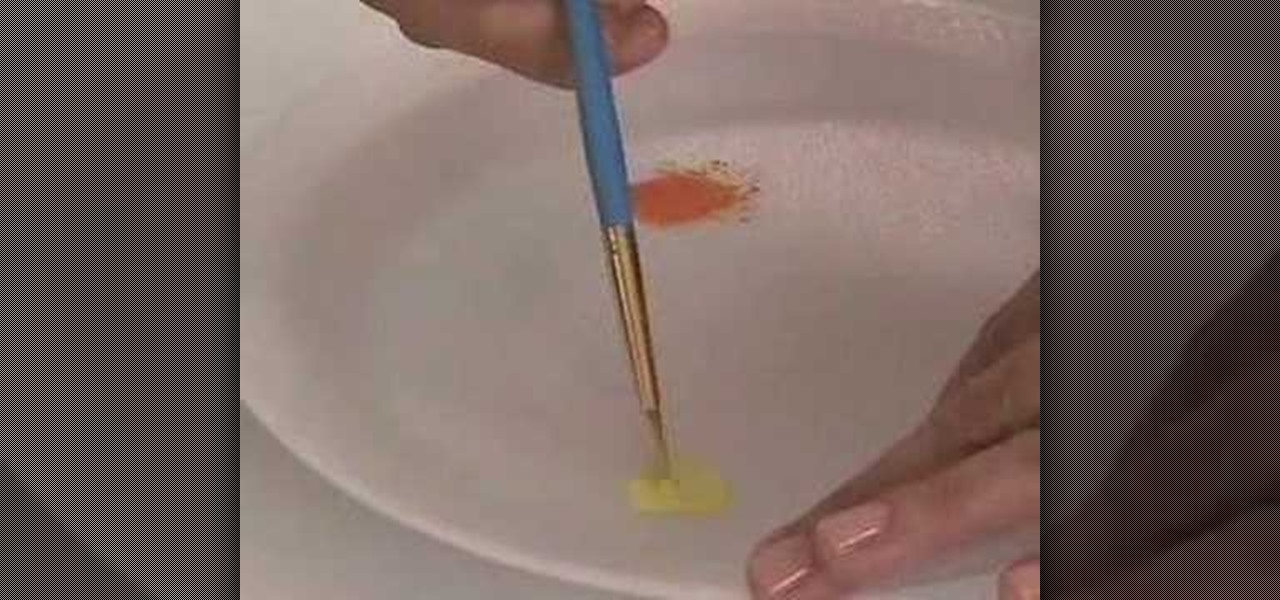
In this Arts & Crafts video tutorial you will learn how to use the cross stitch 'n paint technique. It combines simple back stitching and water color painting. Most of the materials are found in your kitchen. You will need wax paper, paper towels, and a plate to use as your paint palette, some water colors and paint brushes. After choosing your design, back stitch the outline on the fabric. Place the white paper towel over the wax paper and spread the stitched fabric over it. Now you are read...
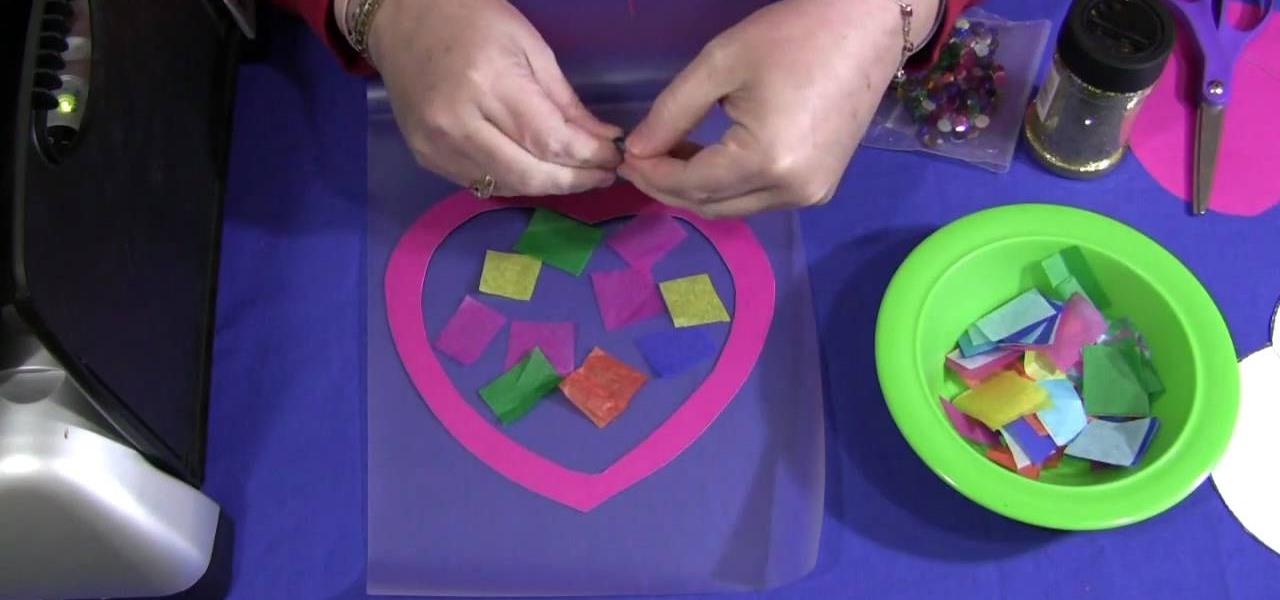
In this video, we learn how to make a sun catcher with your kids. First, you need laminating paper, two paper hearts, and scissors. First, cut the center of one heart out by sticking your scissors in and making your way around the heart. Next, place the outline of the heart inside of the laminating pouch, then decorate the inside of it how you prefer. You can use whatever you want to decorate the inside, including: glitter, crayon shavings, tissue paper, etc. Next, place the paper inside of a...
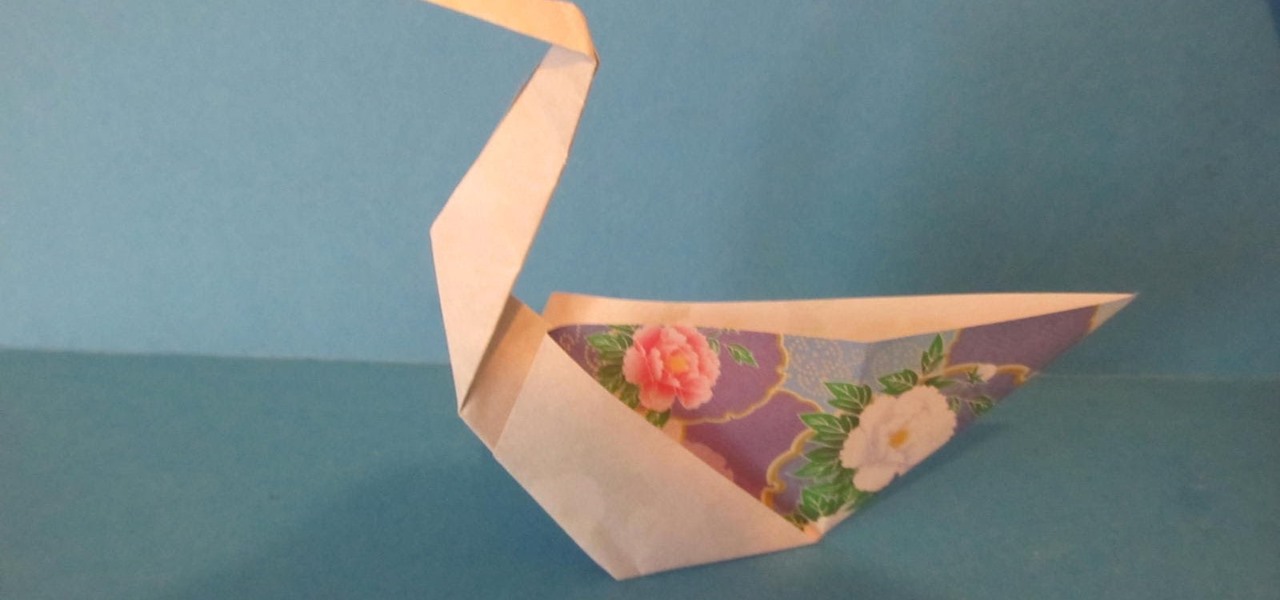
This video shows us how to fold a simple origami swan. Here are the following steps: Step 1: First of all take a paper and then crease it diagonally and then open the crease and then fold the paper on the crease line so that a cone is obtained with a triangle on the top.
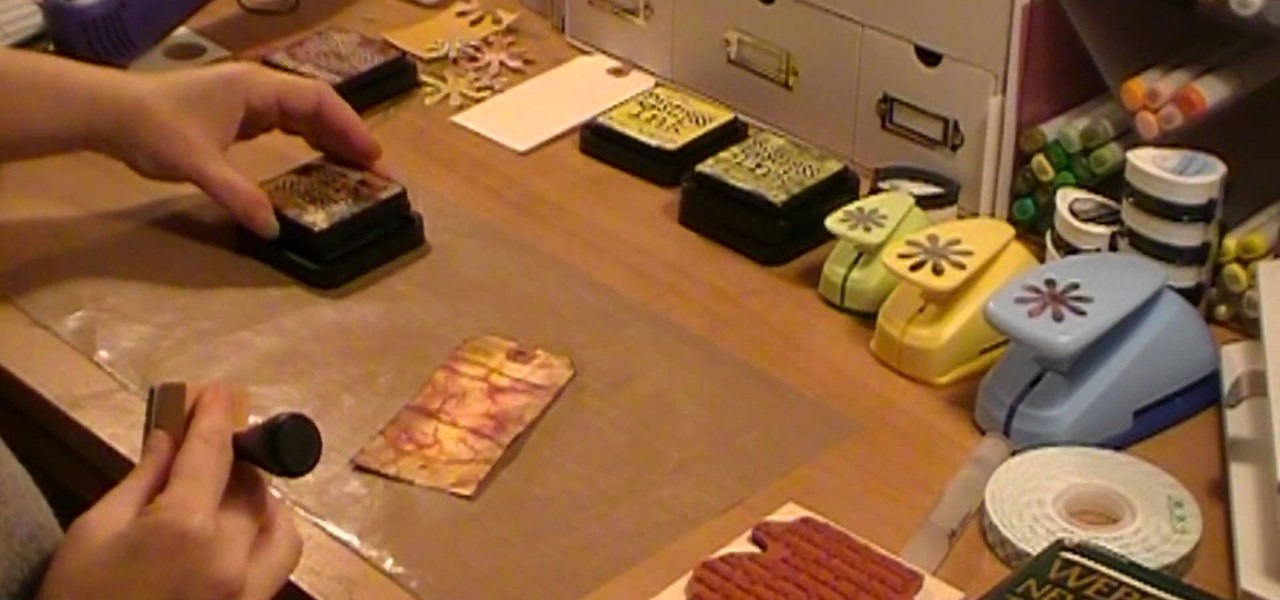
This video illustrate us how to make a Tim Holtz inspired tag with distress inks and water. Here are the following steps:
This is a video tutorial showing its audience how to make a New York City Skyline punctured paper lamp shade with ThreadBanger. The first step is to gather your supplies. You will need paper, puncturing tools, two wire rings, ribbon, tape, bull nose clips, tape, foam, and scissors. Then you will take your graphic paper and lay it on top of your plain sheet of paper and on top of your foam. Next with your puncturing tools punch holes all around each graphic so that you get your design. Then ma...
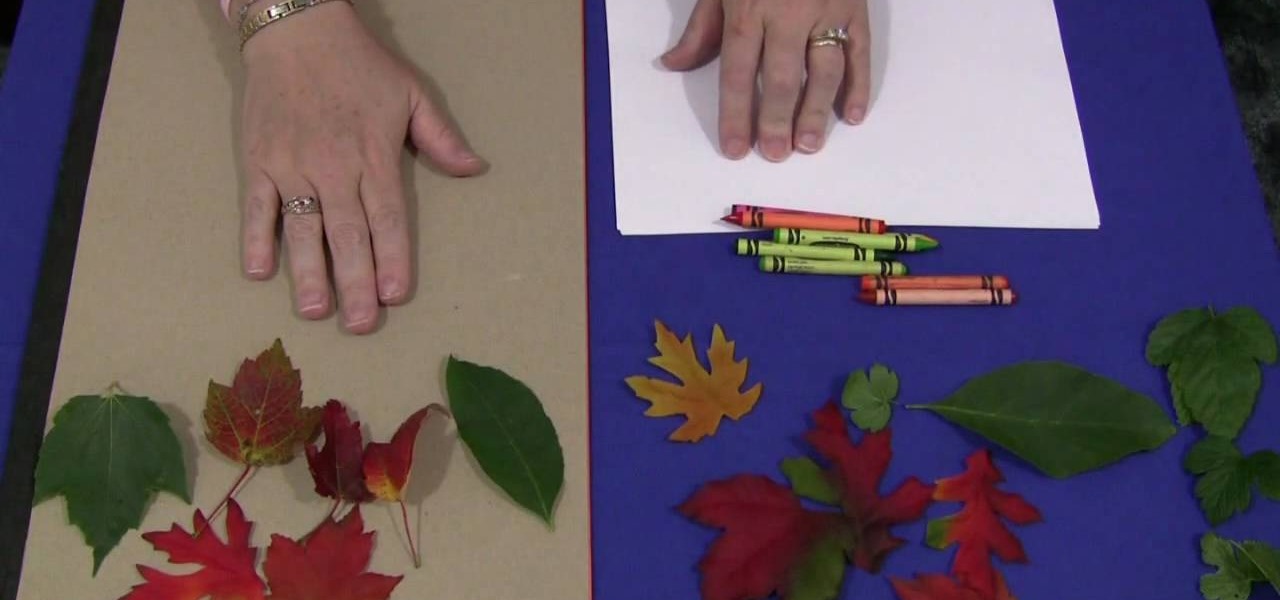
In this Family video tutorial you will learn how to do leaf rubbings for a children's activity. For this you will need a flat surface. If the table top in slightly uneven, put a sheet of construction paper on it. The materials you will need are sheets of paper, crayons and leaves. You can also use fabric leaves if your area doesn’t have any leaves. Take a leaf; put it upside down on a flat surface so that the veins are on top. Put a sheet of paper over the leaf and hold it down with one hand....
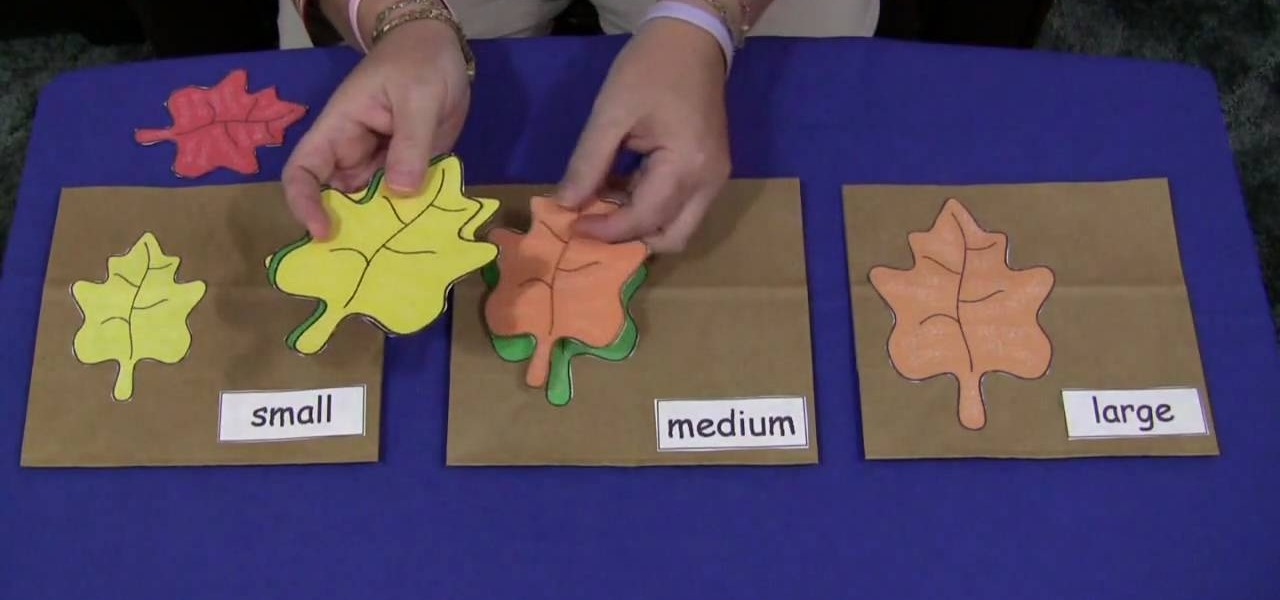
Shelley Lovett shares a great children's fall activity to help develop math skills - leaf size sorting bags. All that is required is three paper bags and some construction paper. Use the construction paper to cut out three different-sized leaves, and to make three labels saying 'small', 'medium', and 'large'. Then simply glue the small leaf and small label on one bag, medium leaf and label on the next bag, etc. To make the loose leaves of the three different sizes they place into the bags, si...
In this video tutorial, viewers learn how to make a foam collage. The materials required for this project are: card stock paper, several different colors of foam paper, scissors and glue. The project focuses on preschool, kindergarten, and elementary school crafts. Begin by cutting the pieces of paper foam into different shapes and sizes. Then simply apply glue on the pieces and stick it onto the card stock paper. Continue doing this to cover the entire sheet of card stock. This video will be...
Adorn any headband, broach, pair of earrings, or pendant with these adorable handmade paper flowers! Learn how to make these precious accessories step by step using this two-part video tutorial as a guide. Step out in style & unique to your friends by dressing up regular store-bought accessories with your own hand crafted creations!
Learn how to wrap a textblock in this video tutorial. Wrapping the block allows you to protect the book's inner pages while you are working on the outside of the book. All you need to do is use some butcher paper, or any other kind of heavy duty paper you may have on hand. Lay the spine flush against one side of the paper. Open the front cover and fold the bottom sides into the book. Tape these ends together. Then, with the excess paper on the non-spine portion of the book, fold those ends in...
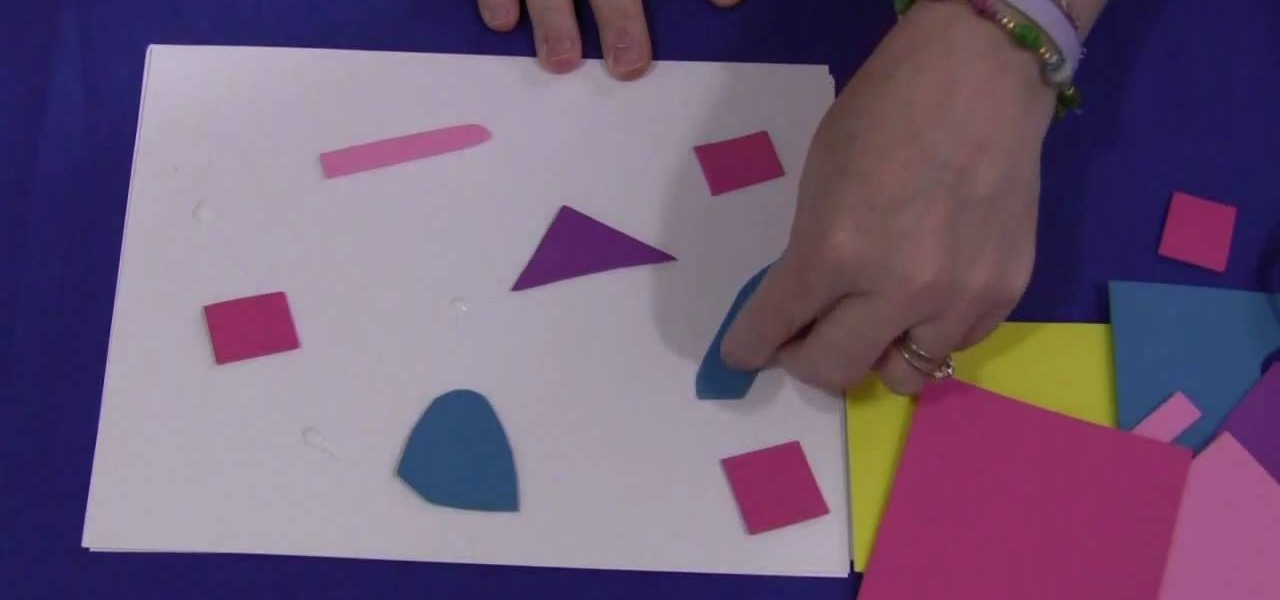
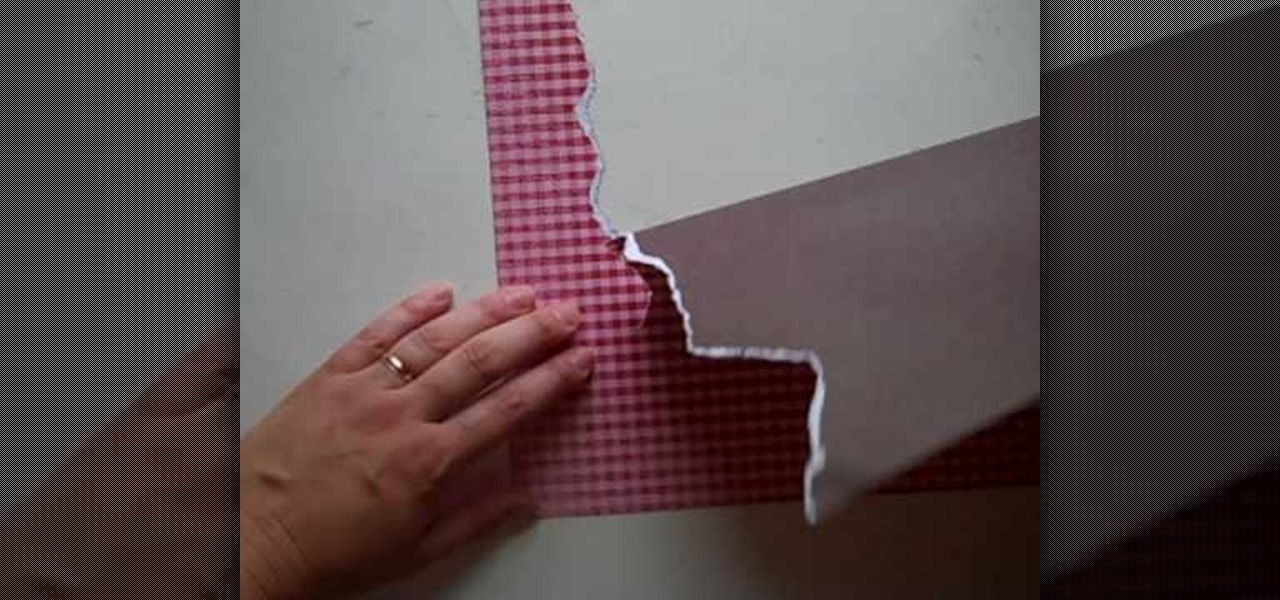
Want to create scenery to decorate your scrapbook? You can use torn paper to create this effect cheaply and easily. This video describes how. For example, if you want to create mountains, choose some brown paper, and tear in a jagged pattern, using your finger as a guide. If you want white-capped mountains, tear with the front side facing you. If you don't want white-capped mountains, turn the paper over and tear. You can also create other scenery. The woman in the video creates scenery such ...
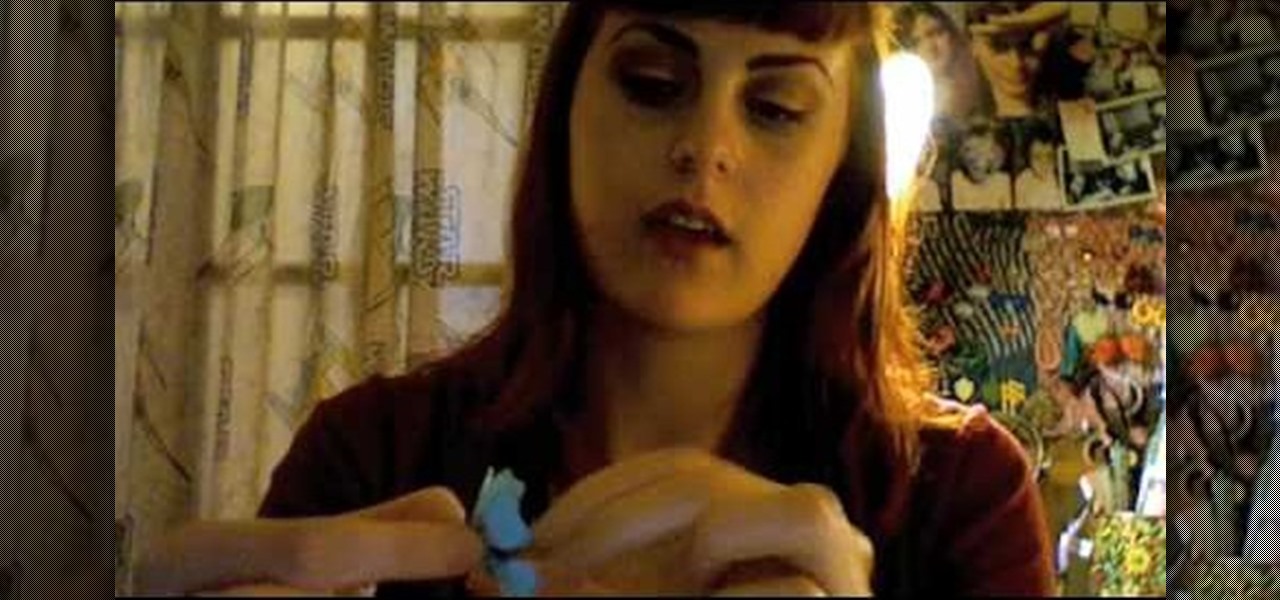
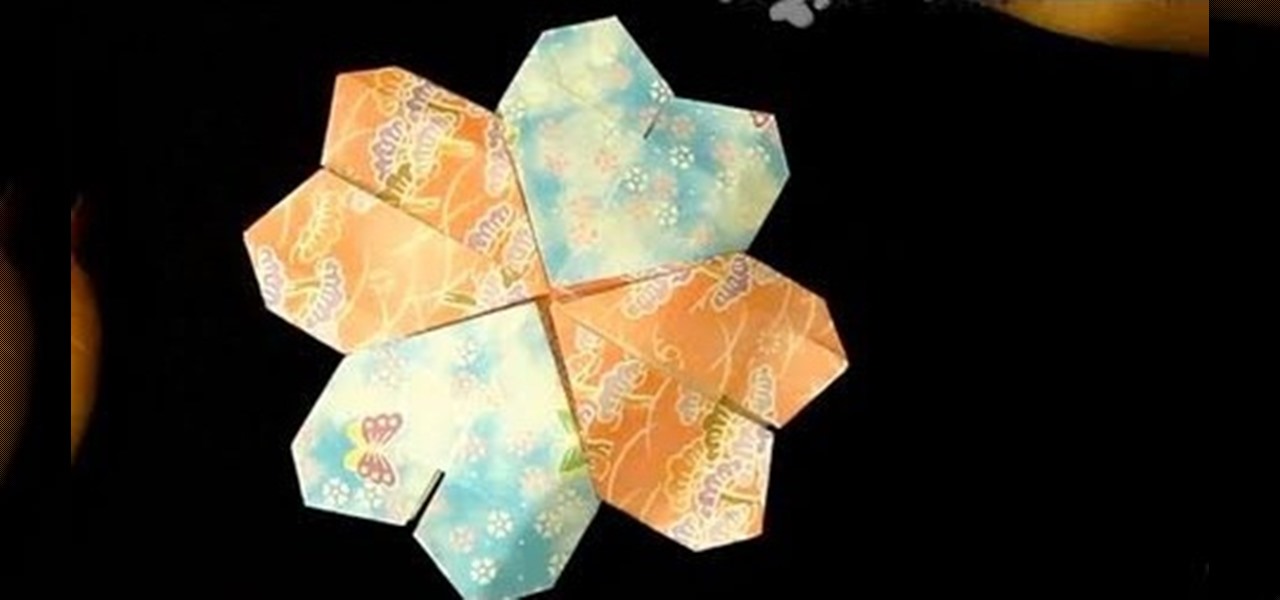
To fold an origami mandala heart you need to follow the steps below. First cut 2 triangles out of the paper you have, fold one of the triangles in half. Then, unfold the folded in half triangle and fold the top of the triangle down about two thirds of the paper. In this stage you will be making folds 3 and 4. Next, fold both of the side corners of the paper up to the top, creating the picture below. Now you will make folds 5 and 6. Then, turn the paper around. Now just fold the top flaps into...
This video illustrates the transfer of paper patterns on woodworking projects with Lowe's. If you have a pattern in a piece of paper for the woodworking project. Draw the grid for the pattern in a piece of paper. Even though, the piece of wood is six times larger than the pattern in paper. Draw the grid in the wood with One and half inches by the use of ruler. Then check out each and every box of grid in a pattern, trace the shape of each boxes in the wood. After finishing all the grid boxes ...
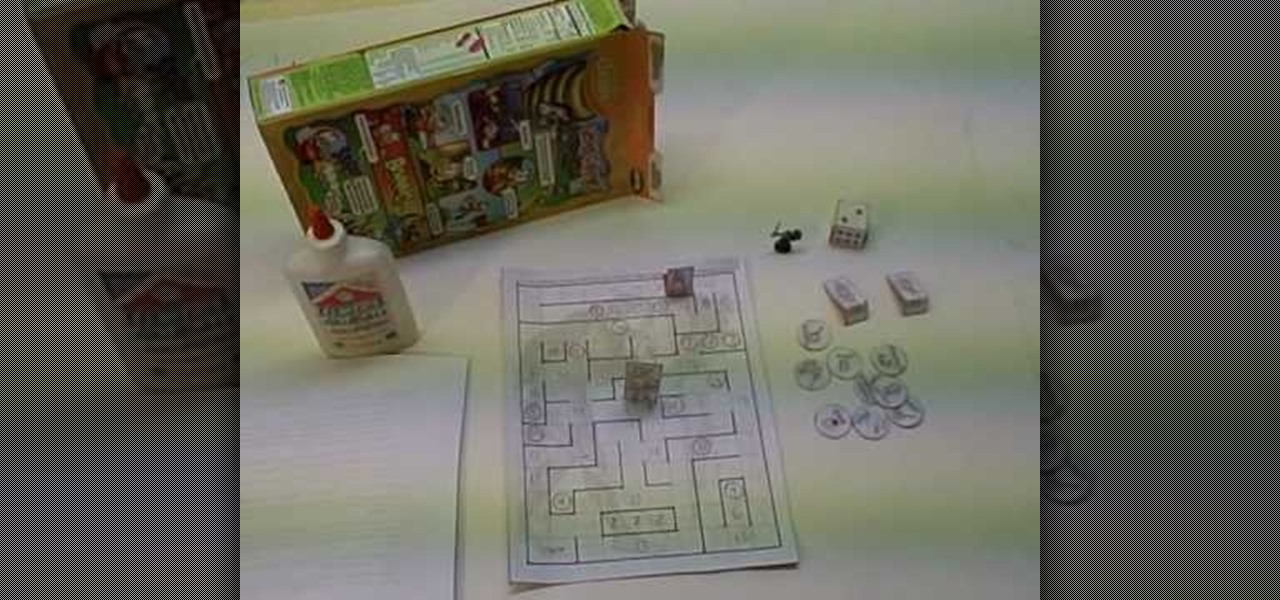
Check out this video tutorial to see how you can make a paper role playing game. This is a fun little fantasy game that you can download and print on your computer, then cut out, assemble, and play! It is called "Enter the Labyrinth and Rescue the Princess".