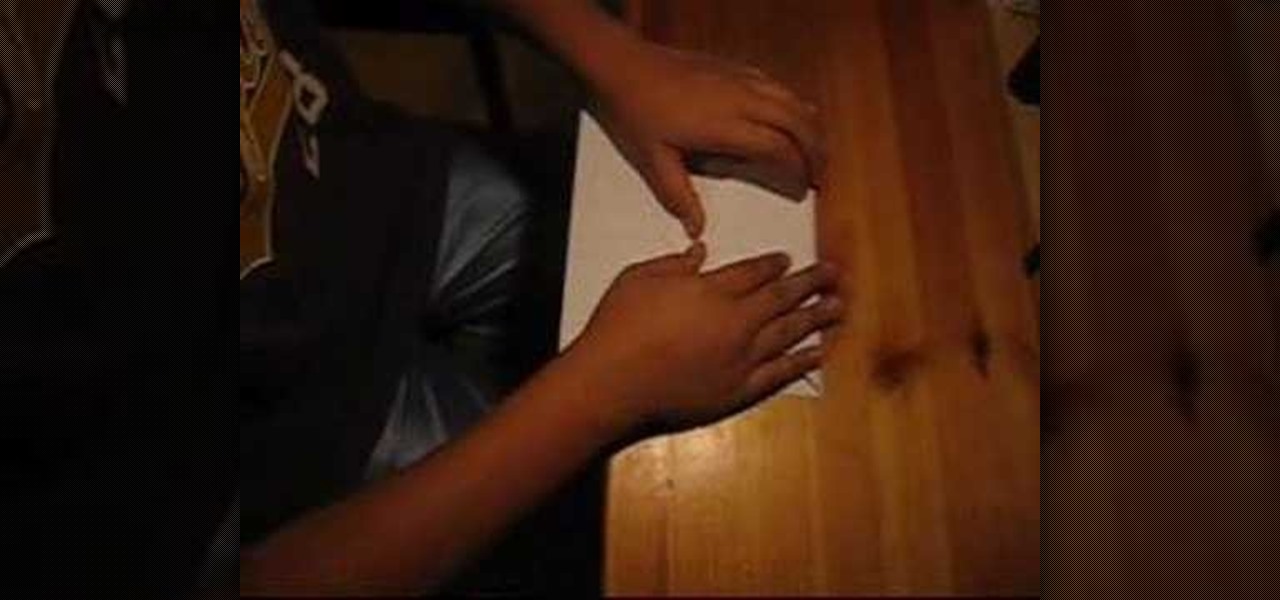
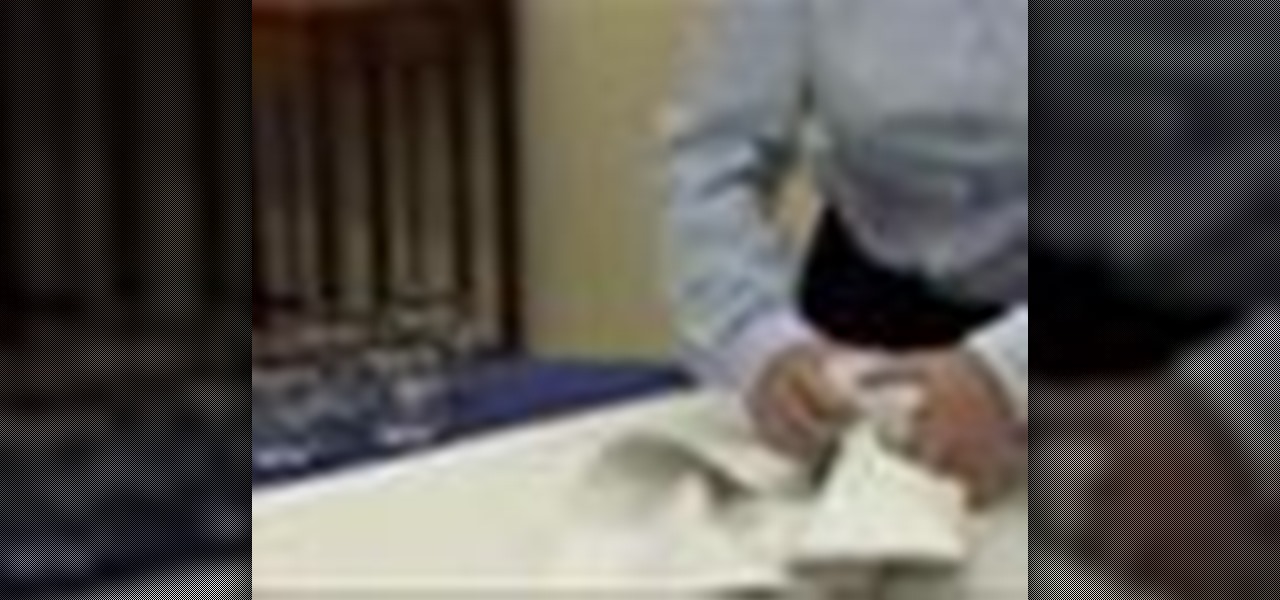
In this tutorial, we learn how to make a paper football for 1 dollar. First, grab your paper and fold it in half length wise. Next, make sure the crease is nice and clean, then fold it length wise once more. Now, fold one of the corners up into a triangle shape, marking the crease exact. Fold this up again and keep doing this until you get to the end. Once you reach the end, fold the other end in twice into the pocket you see. Crease this, then stand it upright and flick it with your other fi...
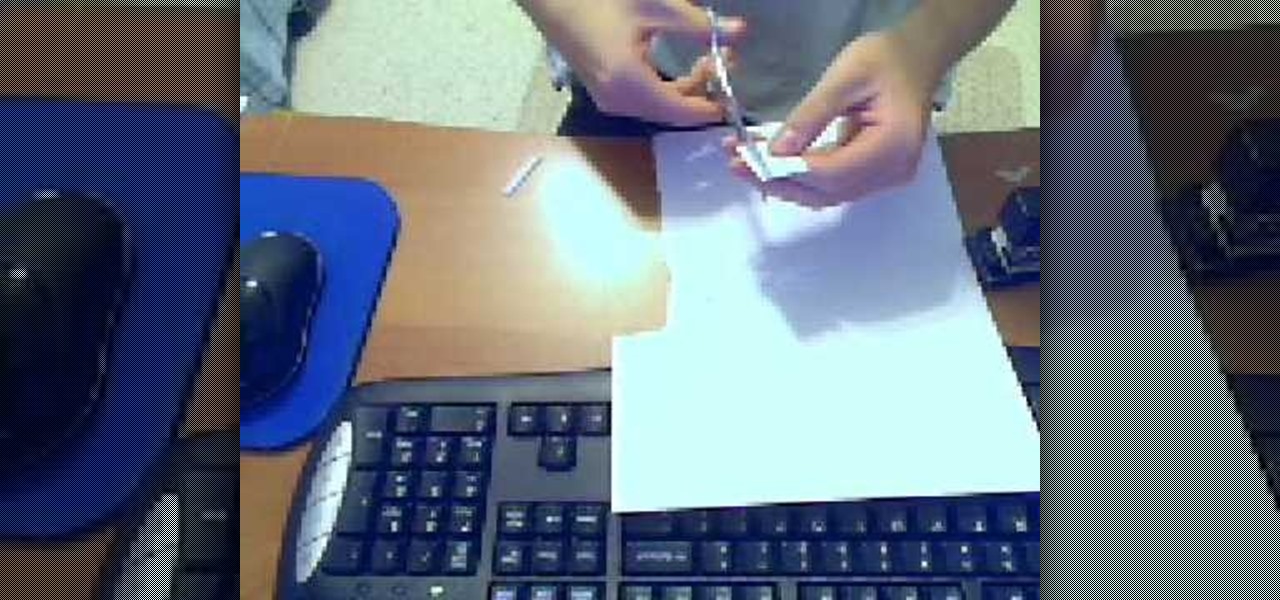
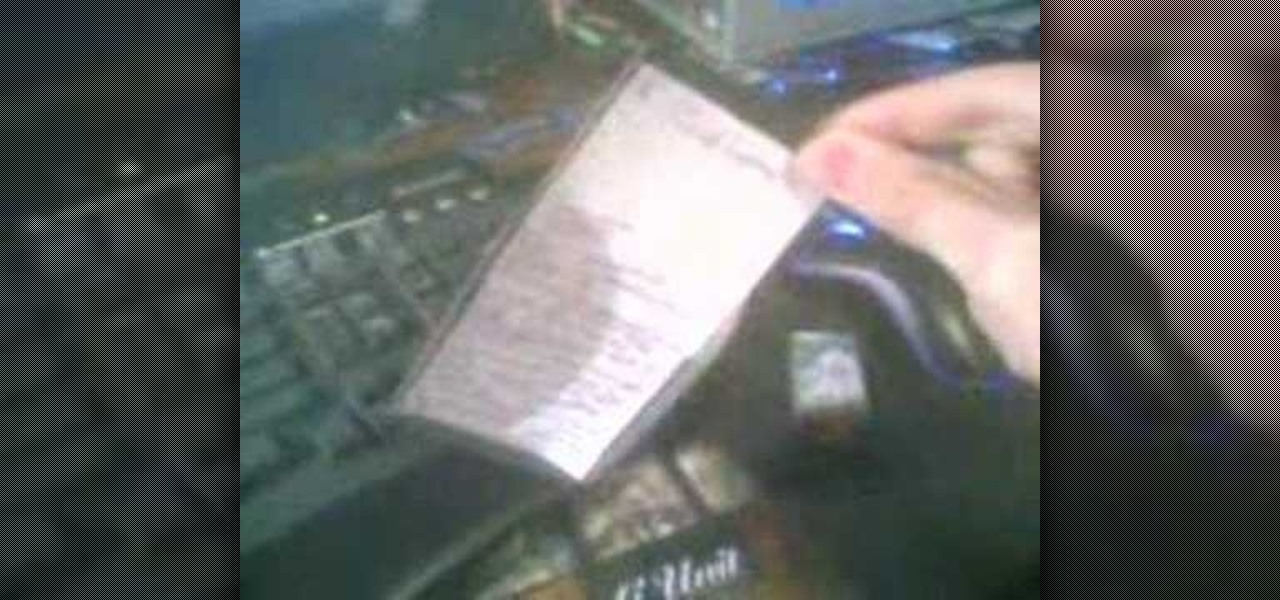
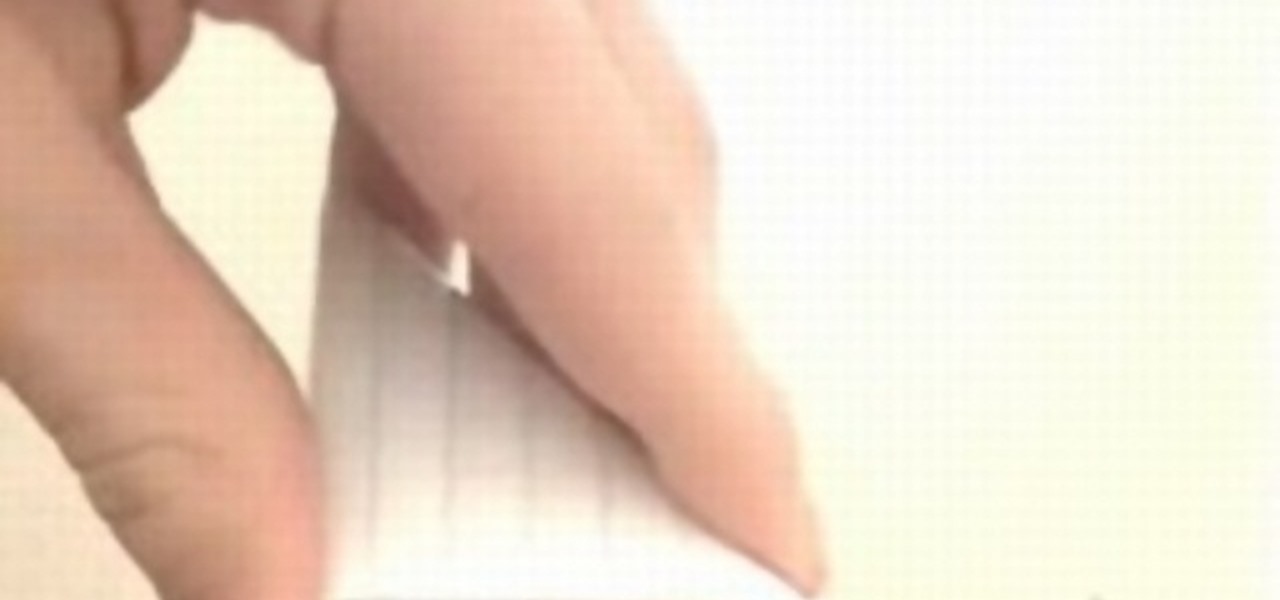
In this tutorial, we learn how to cheat on a test with a small paper. To make this, you will need printer paper, scissors, and a stapler. To start, cut a strip of paper out of the sheet, then fold it up into a small booklet and staple it together at the top. Cut off any edges to make it fit into the palm of your hand. After this, you will have a booklet that pulls apart and you can write inside of. Write answers to tests in this, then to hide it, place it in the palm of your hand between your...
In this tutorial, we learn how to crate a good thesis statement for a research paper. Make a clear thesis statement so you give the reader something to hang your argument on. You will want to choose a category and give the details very clearly. People read very quickly and will create their own meaning from what you write, so be very clear so they can't have an argument about what you are writing. The reader will appreciate understanding of the paper and have a new relationship with the paper...
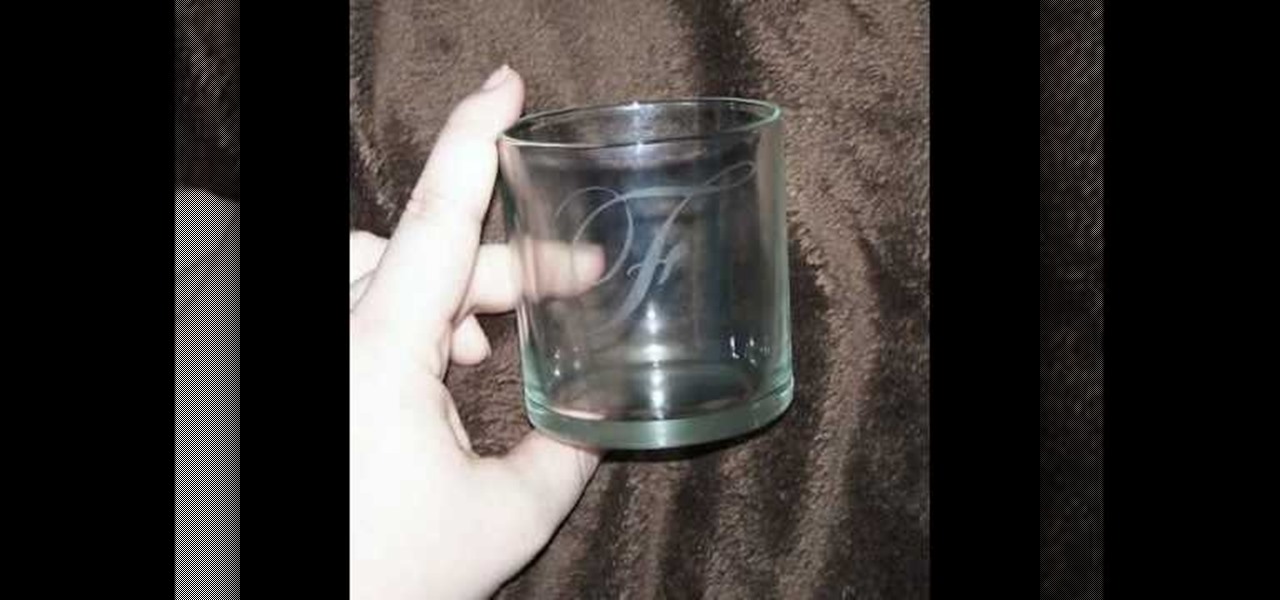
In this video tutorial, viewers learn how to etch glass in 5 minutes. The materials needed for his procedure are: contact paper, Armour Etch and a paintbrush, glass and a sink. Begin by cutting the contact paper face up on a circuit mat. Cut it on medium speed and pressure. Then put the contact paper on glass. Work carefully to prevent any wrinkles and bubbles in the design. Now put the etching cream on in a dabbing motion. The etching cream will not run into areas that are not stuck down. Fi...
In this video, we learn how to properly pack glass for moving. Make sure you have a table or work area that has a furniture pad on it. Now, place packing paper onto the bottom of a box carton for glasses and china. Glass should be on the top of the box while plates should be placed at the bottom. Put the glasses into a rolled piece of paper until secured, then place upside down into the box. When finished, add crushed paper to the top of the first layer to avoid any glass from breaking. Make ...
Homemade French fries! They are the best. You will need: russet potatoes, canola oil (good because it can get hot and not smoke}, cooking thermometer, deep fryer or a pan or skillet that will hold 3 to 4 inches of oil, knife, paper bags or paper towels, salt and pepper.

In this video tutorial, viewers learn how to pack lampshades. Most lampshades are packed into 4 cu ft cartons. Begin by placing crushed paper into the bottom of the box. Then place clean sheets of packing paper over each side of the box, making sure that the flaps and inside wall of the box is covered. Now carefully place the lampshade top-down into the box. Then spread clean packing paper over the shade. Now gently place the smaller shade into the larger shade and pack in the remaining packi...
This video tutorial demonstrates how to make an Origami necktie and a shirt card. Begin with a square two sided paper. Fold the paper in half, forming a triangle. Open it back up and use the center fold as a guide. Take one corner and fold it in toward the center fold. Repeat this on the other side. You end up with a kite shape. Turn your paper over. To make the front knot of the tie, fold down the smaller corner toward the center about a third of the way. Fold the point back up toward the to...
In this Arts & Crafts video tutorial you will learn how to fold a hexagonal, six-point paper star with origami. Take a hexagonal sheet of paper and fold in half from all corners. Then fold each side inward up to the center point. Open up all the folds. Now fold one side up to the center point. Then fold one corner back over itself and fold the next side of the paper up to the center point. Continue like this for all sides and you will now have a smaller folded hexagon. Then lift up each flap ...
In this Arts & Crafts video tutorial you will learn how to make a lily flower from folded paper with origami. For this, you need a square sheet of paper. First you fold it in half and then fold it in half in the other direction. Next you fold it diagonally across to form a triangle. Then fold it again across the other diagonal. Open up the paper and push the diagonal folds inwards slightly so that the center point is pointing upwards. Then press the folds in to form a triangle. Take one of th...
This video demonstrates how to make your own custom t-shirt. First you start by placing a magazine on the table. First of all stenciled out whatever you want on a freezer paper. Next take the freezer paper shiny side faces down on the writing paper. So now you will be able to see whatever your drawing or text through the freezer paper. Next take the X-acto knife and cut out the letters. Next remove the peices from the freezer paper. Next place the stencil on the shirt and then iron the shiny ...
In this Arts & Crafts video tutorial you will learn how to fold a Heavy Rain-style paper origami bird. For this project, you will need a square sheet of paper. Fold it diagonally across both diagonals. Open it up and fold one corner up to the center point of the paper. Flip it over and fold the other three corners to the center point. Now fold all the four corners to the center point. Flip it over and now fold it in half as shown in the video. Then you pull out both ends from the center and w...
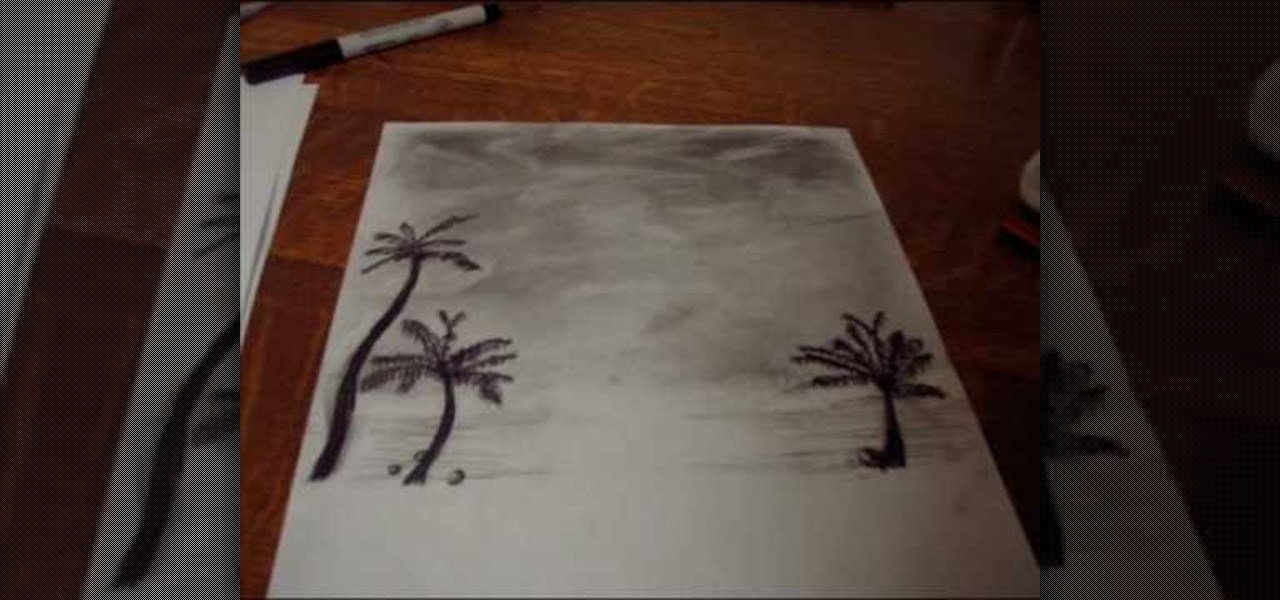
In this how-to video, you will learn how to create a drawing of a palm tree setting. First, you will need two pieces of paper, charcoal, and cotton. Use the one piece of paper to add charcoal to your cotton. Next, cover the piece of paper you are using for the drawing with a wash of charcoal. Next, use an eraser to create images of clouds. Next, draw the palm tree with the charcoal on the lower half of the paper. Add as many palm trees as you feel necessary. Finish the drawing by doing the fi...
In this Arts & Crafts video tutorial you will learn how to make a folded paper ostrich with origami. For this project, you need a square sheet of paper. First you fold it diagonally across to form a triangle and cut it off in two. Then take one piece, fold it in half to form a smaller triangle, open and fold down along the centerline from the top of the triangle. Open it up and again fold along the centerline from the base of the triangle. Now fold from one of the corners up to the intersecti...
In this Arts & Crafts video tutorial you will learn how to make a ring from folded paper with origami. For this, you need a square sheet of paper. First you fold it diagonally across to form a triangle. Then fold it again across the other diagonal. Open it up and fold two corners up to the center point. Fold them in once again so that each side is divided in to four. Open up all the folds and fold one corner back up to the center point. Now fold this triangle twice over in a manner as shown i...
Box Tops are a great way to help your kids school generate more money. A formula can could help you keep your box tops neat and Tidy. Take paper off of can then tape paper to the side of the can. Then you can decorate as you please to match the decor of the room your putting it in. Scrap book paper works as a great paper. You can also use stickers to complete this. For the lid you can spray paint them but first you should cut a hole in the lid so the box tops can slide right in. You can make ...
This video illustrate how to make Chinese paper lanterns with origami. here are the following steps.Step 1: Take a string for holding the lanterns.Step 2: Now take a square sheet of paper and fold it diagonally so that two diagonal intersecting crease are formed.Step 3: Now hold the crease together and push it upwards to form a triangle.Step 4: Now fold the triangle into two equal triangles, do the same with the other side also.Step 5: Now fold one triangle and crease it to the center, repeat...
Take a square piece of paper to begin. Fold in diagonally in half to form a triangle. You then fold both ends up so that it will form a smaller diamond shape. You then repeat what you just did, but folding two of the ends up again to meet the other side. Fold your piece of paper in half again revealing another smaller triangle. Flip the paper over and unfold the smaller pieces that you folded up to meet the ends. Pull these apart and then fold down in the middle. Bend in the 4 pointy corners ...
This video illustrates how to make a temporary tattoo with black eyeliner. This process includes the following steps.Step 1Take the picture you want to make tattoo of.Step 2Reverse the picture and paste it on a paper.Step 3Take a tracing paper and trace the outline of the picture using a eyeliner.Step 4Now reverse the tracing paper and paste it on the place you want.Step 5Now take a cloth, wet it and place it on the tracing paper so that you get the outline of it on the place you want.Step 6N...
This video illustrate how to fold a paper frog. Here are the following steps.Step 1: First of all take a sheet of paper and fold it into half diagonally forming a triangle.Step 2: Now roll back the paper and fold this triangle it into half so that a smaller triangle is formed..step 3: Now fold back the triangle and make it into two equal halves.Step 4: Now take the corners and fold them all to the center and open it from the center to the joined line.step 5: Hold back the triangles out of the...
Childcareland demonstrates how to make a cupcake shaped book in this video. First, make a pattern page from a regular piece of paper. It should be designed like a cupcake. Place the designed pattern on top of a thicker paper like construction paper or card stock. Place five pages of regular paper behind the thicker page and finally place another thicker page at the back of the stack. Glue the cupcake pattern to the top, thick page, slightly to the left side. Then staple down the length of the...
This video illustrates the method to Make a nuno felt purse. You need colored paper, a piece of cloth and a pair of scissors to make it. This process is comprised of the following steps -Step 1Cut a oval shaped figure from the sheet of colored paper. Make a crease in the middle and fold the paper.Step 2Cover the paper with the cloth piece. Stitch the end of the piece of cloth and cut the cloth in a proper manner.Step 3Make the oval shaped figure into a rectangular figure. Add some nuno paste ...
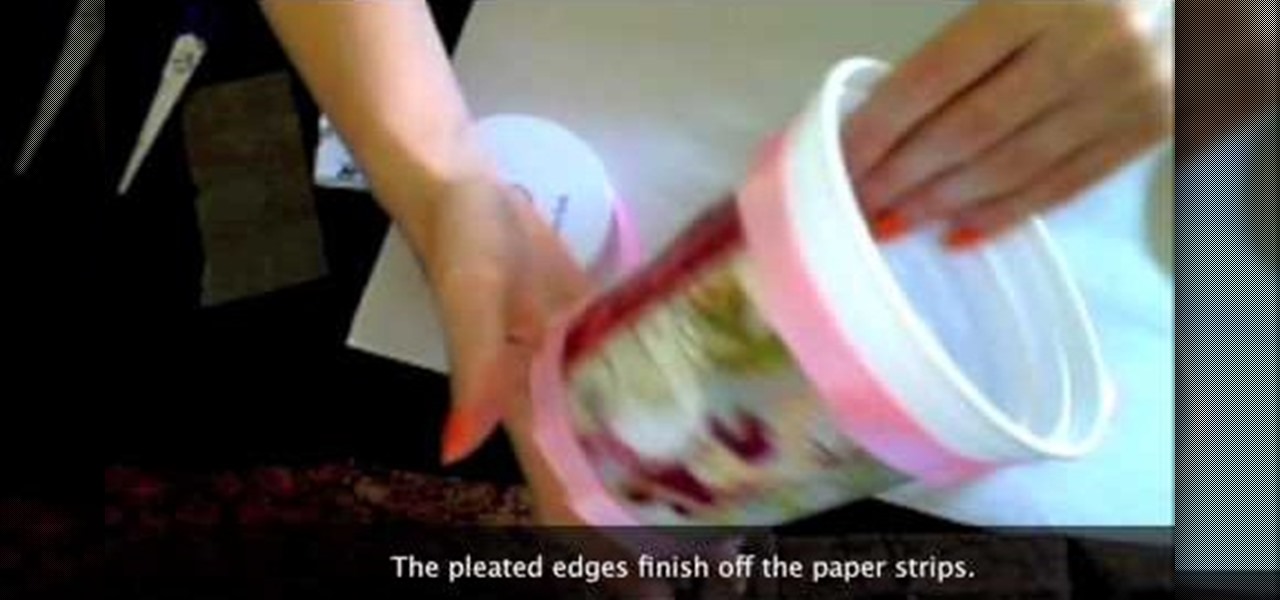
Creativity Prompt demonstrates how to turn a yogurt container into a mini-album. First, measure the lid's diameter. Then, cut a corresponding circle from your patterned paper. Use Mod Podge to adhere the paper circle to the lid and seal it with another layer of adhesive. Next, cut a bunch of different 4 x 1 inch strips of patterned paper. Adhere the paper strips to the yogurt container with Mod Podge. Seal it with another layer of adhesive and set it aside to dry. Measure the bottom of the co...
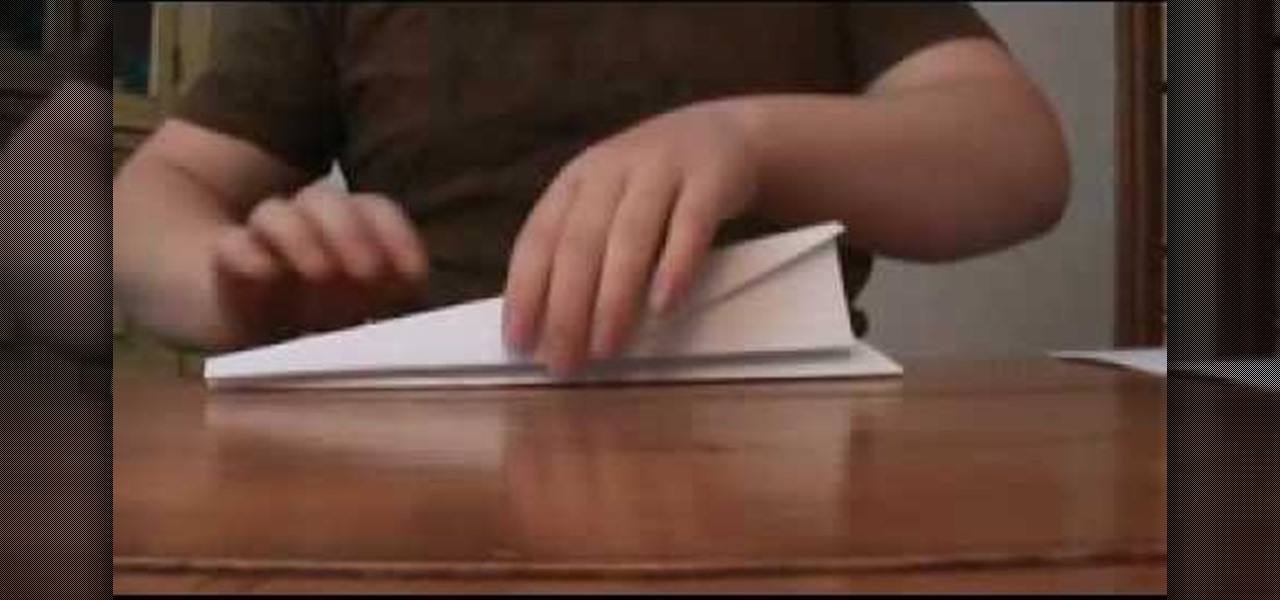
Making a paper airplane that will fly far is useful for throwing in a competition. If you want to know how to do that you should watch this. 1. Roll the right corner toward the middle of the rectangular paper and then flatten it. Do it on the left corner. 2. Fold the paper in half (lengthwise). You should have two big wings now. 3. Fold the left wing into half (lengthwise). Do it also on the right wing. You're done. After following these simple steps, you can now challenge your friends.
Maria from [www.stamininspirations.blogspot.com stampininspirations.blogspot.com] shows us how to make a 4x4 mini double accordion picture album. You will need a 4 x 9 in. piece of designer paper, a 4 x 9 in. piece of card stock, a 3.5 x 8.5 piece of designer paper, two 3.5 x 12 in pieces of card stock and two 4 x 4 in pieces of chipboard as well as some smaller pieces of designer paper and card stock and some ribbon. Rubber cement, a scorer and some double sided tape are also needed. Maria s...
Learn how to cheat on a calculator test with a calculator in simple steps. You will need: a scientific calculator, a ruler and a small paper. 1. First remove the cover of your calculator and measure its length and width using the ruler. 2. Now cut a piece of paper with the exact measurements taken from the cover. 3. Write all you need on the paper and fix it in the cover carefully. 4. Make sure the paper does not fall out and then put the cover to the back of your calculator. 5. Finally test ...
Stampinmama1 shows us how to soften edges of paper with ink sponges. When you sponge, you get a little softer look onto the paper. You're going to want to use a round stamping sponge and you would want to cut it up into six pieces to have more control over them. Rub your sponge directly onto the pad, grind it on pretty hard. Go right along the edge of your paper, ink it up again and keep going. You will get a soft feathery edge instead of a fairly bland edge with no soft look to it.
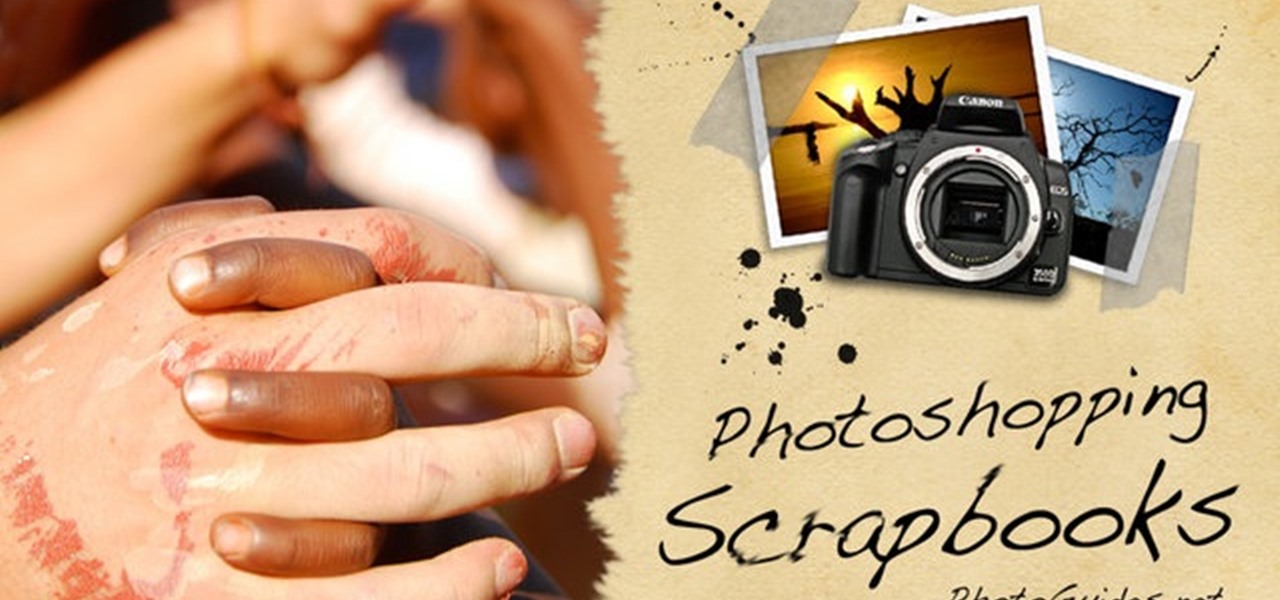
This Software video tutorial shows how to create scrapbooks in Photoshop. This video is presented by Ash Davies from PhotoGuides. This tutorial has 4 components including how to tear the paper, how to add sticky tape, how to hand draw and how to spill ink. To complete this tutorial you will need to download the Paper file and the Sticky Tape file from PhotoGuides. It is available to all members. Open up the paper fie in Photoshop. Open the photos you want in your scrapbook and drag them onto ...
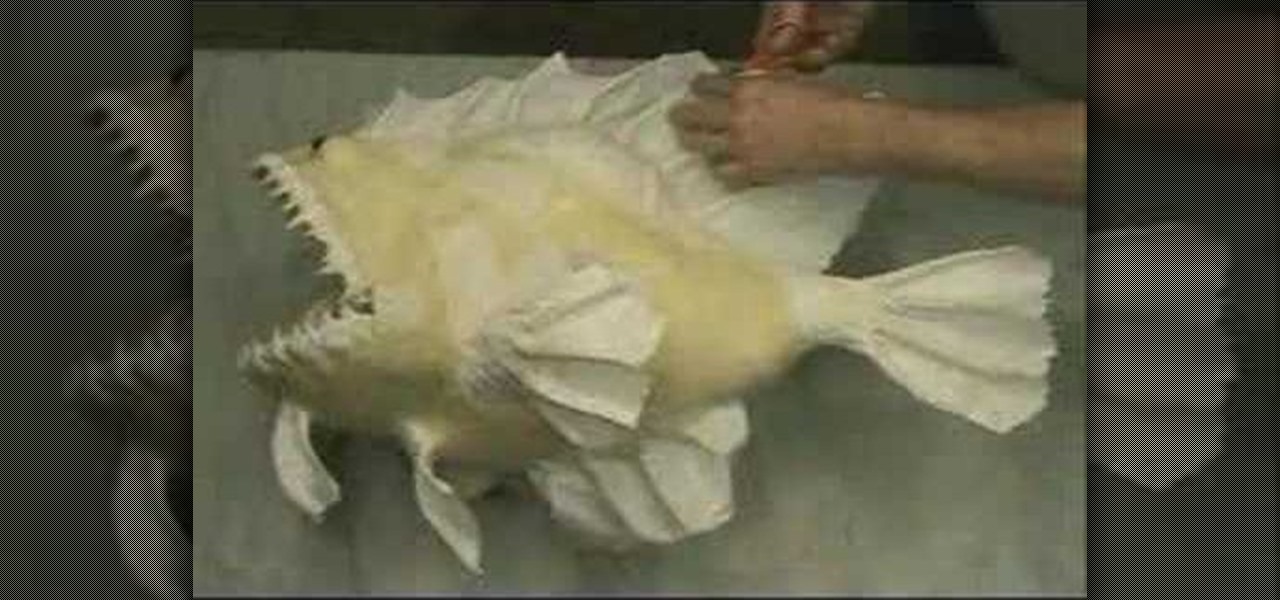
In this video you get to watch a talented mache artist make a fishwichwich from paper mache. It is fast paste but you get the idea of how he does it. Starting with the paper mache materials, the paste and paper, he makes the body and head in several pieces. He pastes these together and uses some sort of stick to make its spikes. He covers the spikes with mache so they have a more realistic look and starts to smooth out the features of the fish. Once the body is done, he's got the teeth and so...
This video tutorial shows how to transform a paper bag to a picnic bag designed with Frankenstein's face on the front. The ending result of the tutorial is shown in the beginning. The materials needed are listed after the example, including the total number and color of each material needed. The tutorial starts by cutting down the paper bag and folding the top of the bag. Handles for the bag are then cut out and stapled onto the top of the bag – one on each side. To prevent the staples from a...
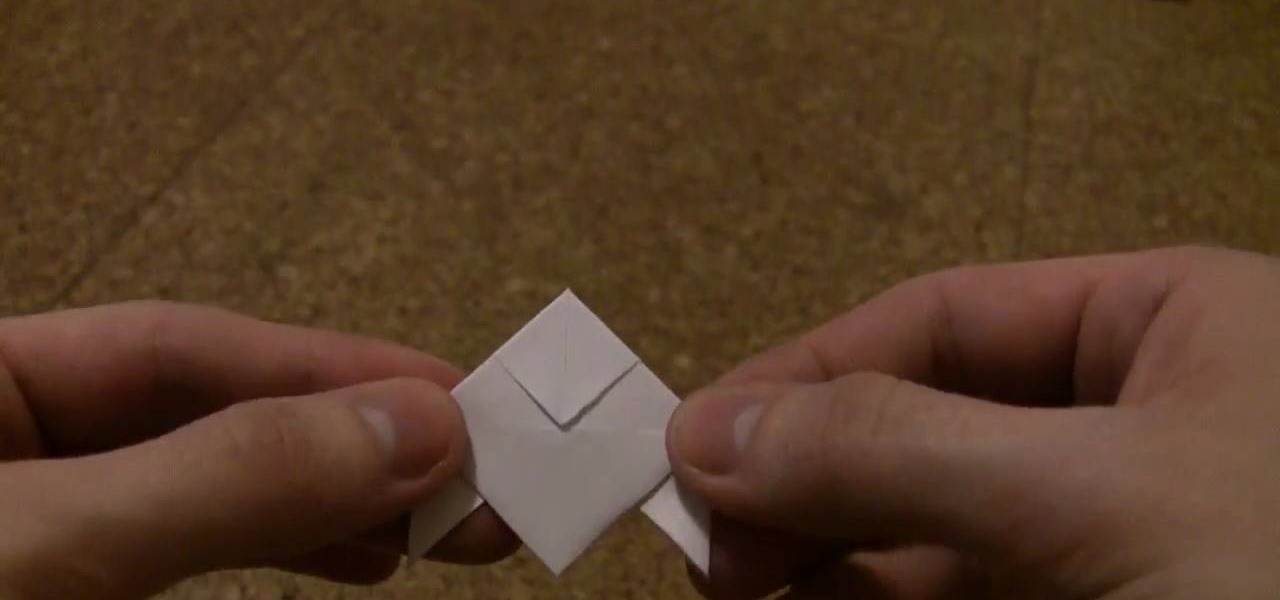
This video from Origami in 30 Seconds demonstrates how to make a paper box in 30 seconds. Start with a square piece of paper and fold it diagonally to make triangles from both corners. Unfold it, and fold each corner into the middle. Unfold two of the sides and fold the edges of the other sides toward the middle. Turn it over and fold the triangular corners back so they touch in the middle. Fold the corners over backwards. Take the two sides and pull them out, and fold the outside corners in ...
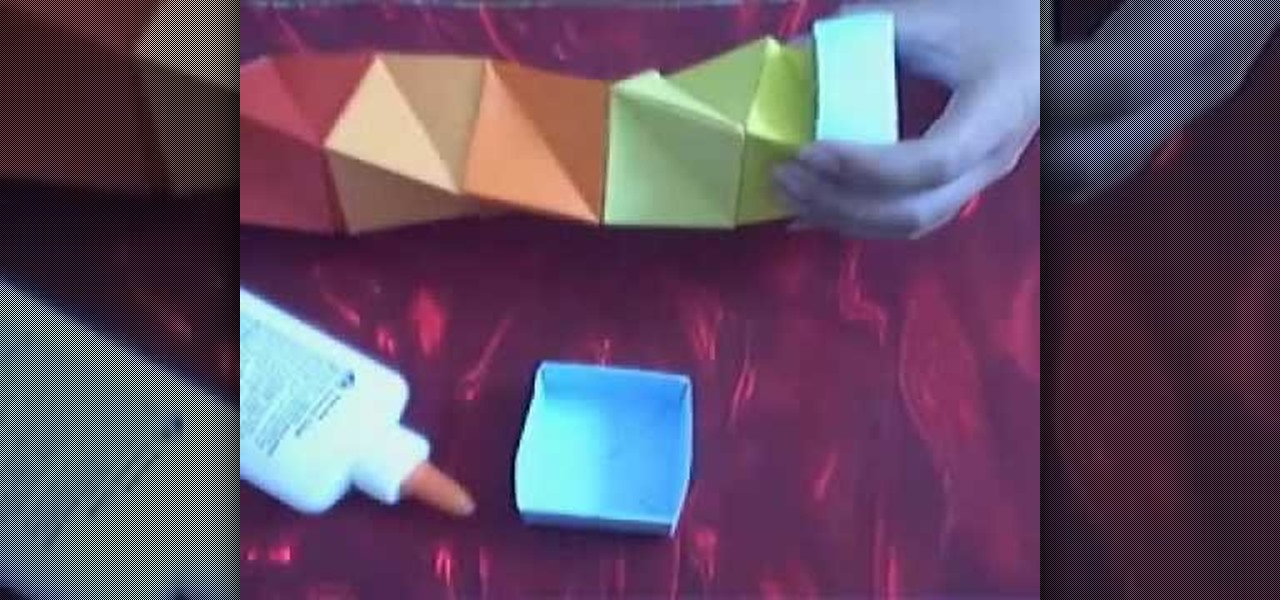
The box requires 2 6"x6" sheets of paper in 12 colors, that is 24 sheets in total, as well as one 6.25"x6.25" and one 6.5"x6.5" piece of paper, both preferably of the same color. Construction will also require some paper glue at certain points. The construction of the box is sectional; there is an outer box, with the inside "concertina" mechanism formed from 12 identical units glued together. The sectional nature of the construction would lend itself well to people working in groups in a clas...
In this video you will learn how to make a cool looking paper box in a couple of minutes. To make the box you need to follow these steps: 1. You will need to bend the sheet of paper exactly like in the video.
Hulldo teaches you how to draw lined paper in GIMP. First you create a new document and make it 600x600 pixels. Make the background a bluish grey. Create a rectangle in the middle of the document. Now you want to add a blue horizontal line. You will want to then duplicate that layer until you're at the bottom. You can add a stroke to the rectangle or use a shadow to make it look like it's on top of a regular piece of paper. You also have to leave some space at the top and bottom to mimic a re...
This origami box looks rather simple to make. You take a piece of paper and fold it into a triangle. Be sure to make the fold visible to see. Take the extra piece from the triangle and fold it up so as to form another crease. This extra piece will be removed in order to create the box. After you remove the extra piece refold the paper along existing fold to reform the triangle. Then fold the triangle in half, making sure that the edges meet perfectly. Then unfold the paper and take the corner...
This instructor teaches you how to make a square origami paper box or container with simple instructions. The video gives you beginning skills in the Japanese art of paper folding. The folds demonstrated are well demonstrated and simple to perform. Also offered are tips to make the creasing of your hand folding more precise with ease. In less than three minutes you can learn to make a useful container to hold all your odds and ends by using a simple sheet of paper. Make a set for yourself or ...
Follow this video to learn how to make your own paper airplane that can really fly. Acquire a sheet of A4 paper and fold it in half. Afterwards fold two of the edges towards the center line set out when folding. These should be folded in the form of two triangles. After doing so fold them downwards, towards the center line lower down. Fold another two triangles towards the center, one from each side. At this point a small edge will be formed at the tip of the two folds. Simply fold it upwards...
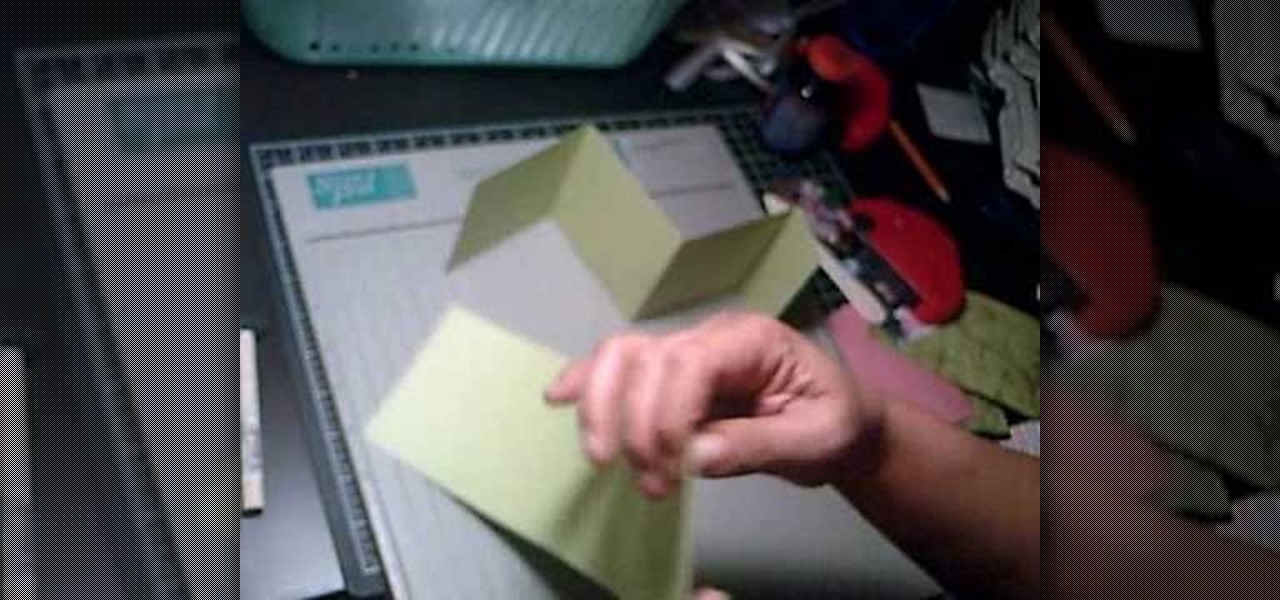
Learn how to make a simple paper box with this short video. You will need some strong paper like construction paper or light cardboard, a pair of scissors, and tape. For a neater box you will also need a ruler. First you will draw the shape of the box, which looks like a plus sign. Use a ruler for straighter edges. Then you will need to cut out the shape and fold along the lines. Add decorations to your box if desired. Last, you will be taping it to form a box shape.
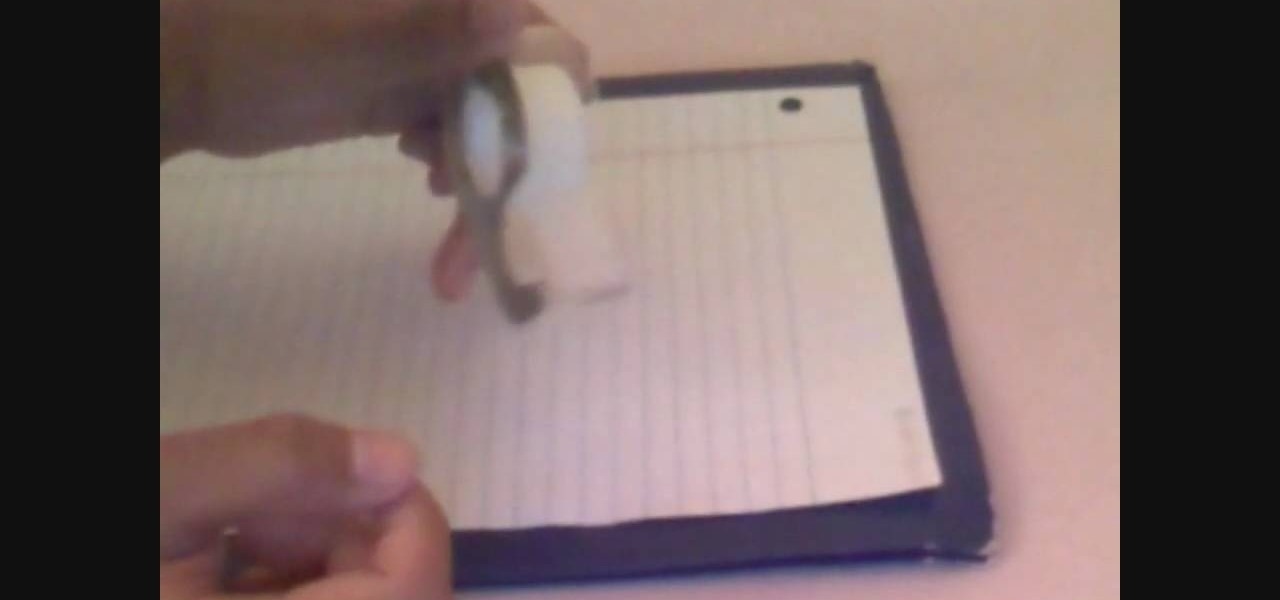
If you are not afraid of cheating during an exam or test follow these tips on how you can cheat using tape. Acquire tape, pen or pencil and non-construction paper. Start by writing your notes in the top part of the paper where there is a blank area. Afterwards cut a piece of tape and stick it onto the paper on the part where you wrote your notes. Once you have done this peel the tape slowly from the paper. The notes will be included on the tape practically. Afterwards just stick that piece of...
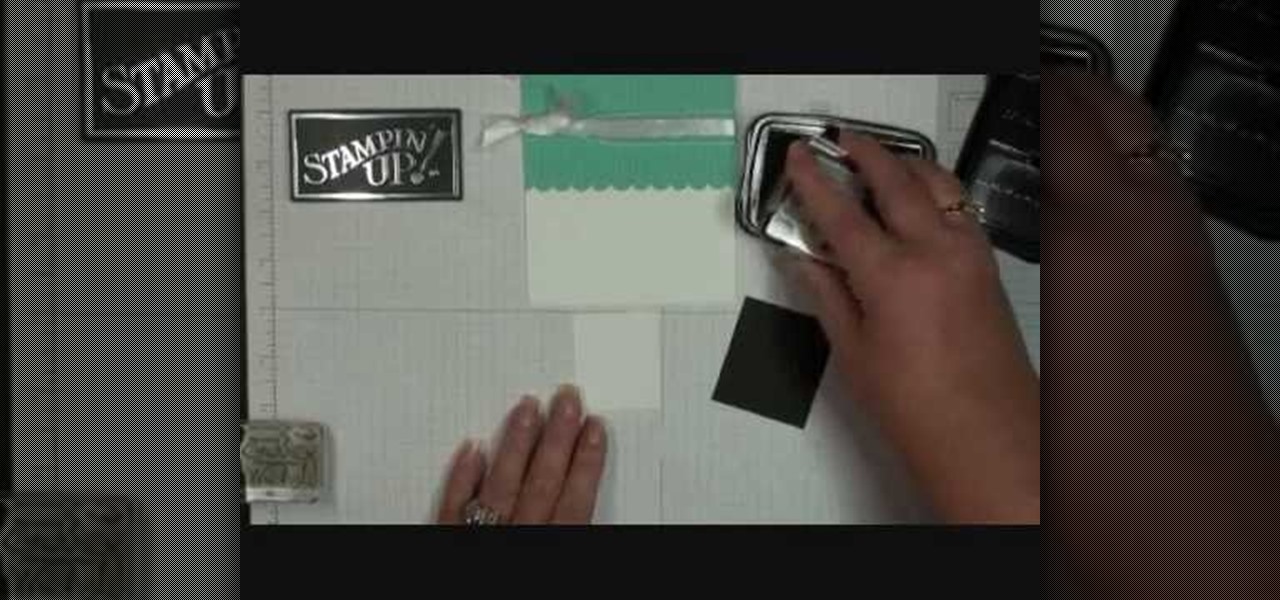
Demonstrator Dawn Griffith offers a short tutorial on how to make a simple and cute birthday card. First you will use white paper to make your base card. Then use a scallop edge punch to scallop some green designer paper, which you will glue to the top of your card. Tie some white ribbon around the top and trim for a clean look. Use a greeting stamp to stamp a message onto the bottom right front of your card. Create a center image by adhering white paper on black card stock, stamp the white p...