
How To: Use a stapler to make a 3D paper snowflake
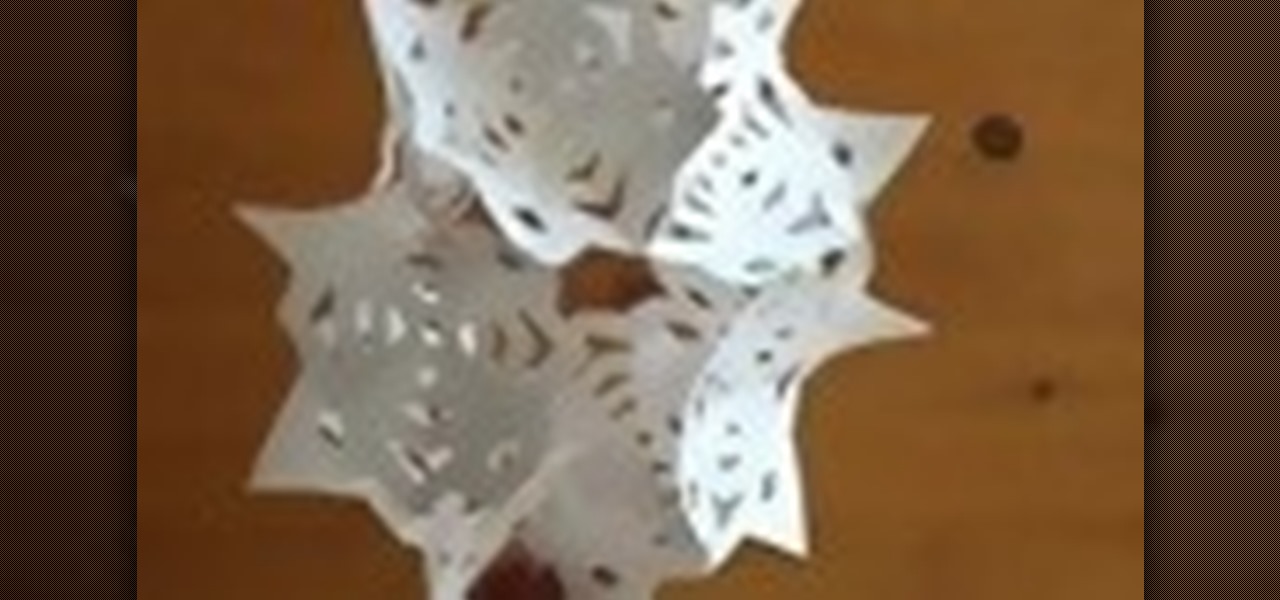
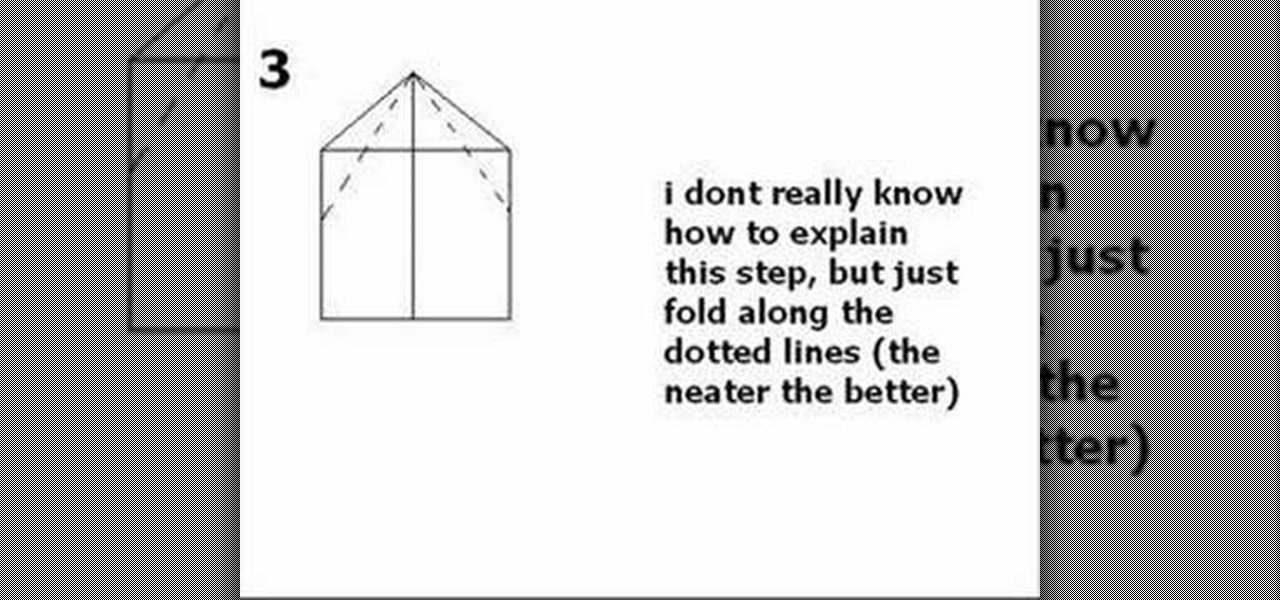
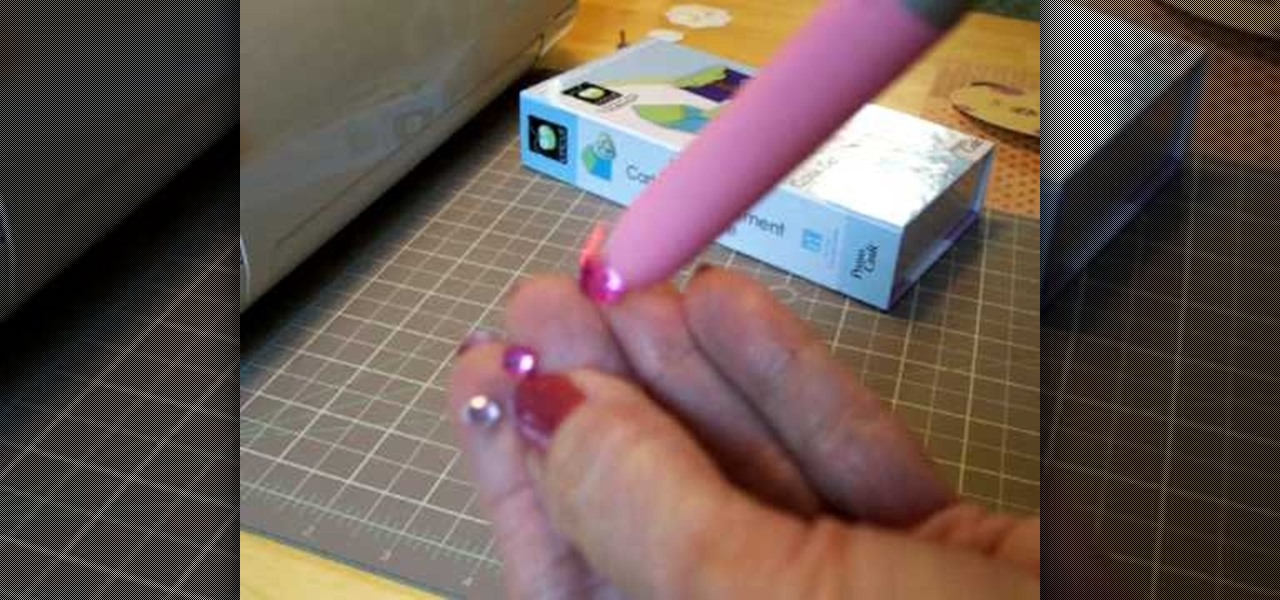
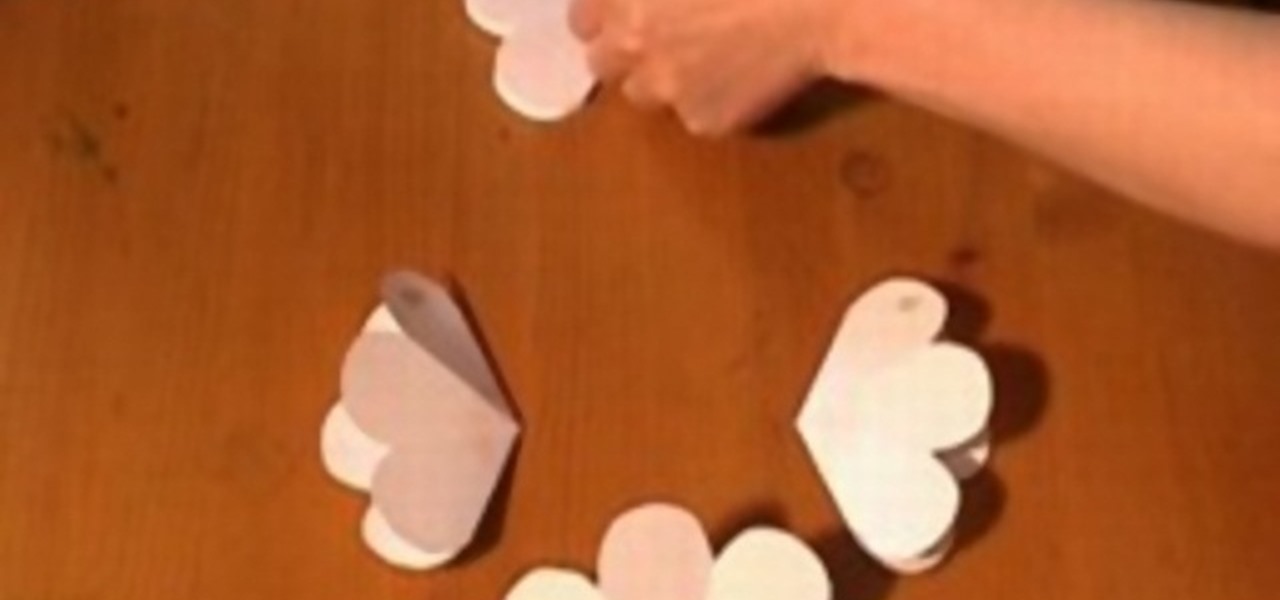
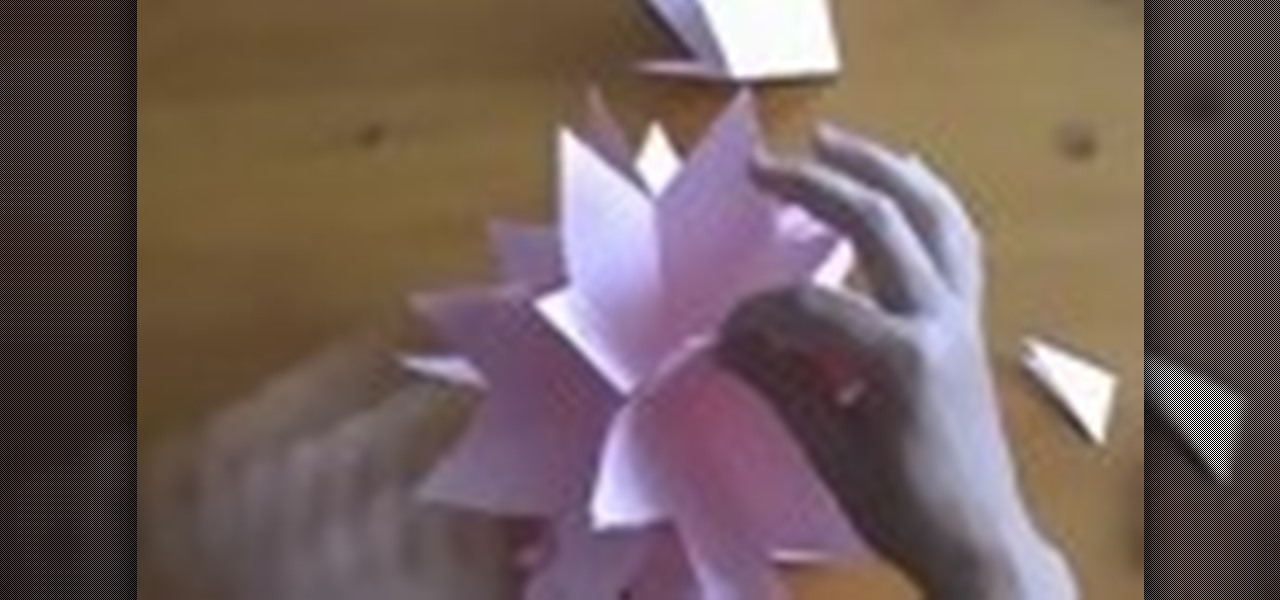
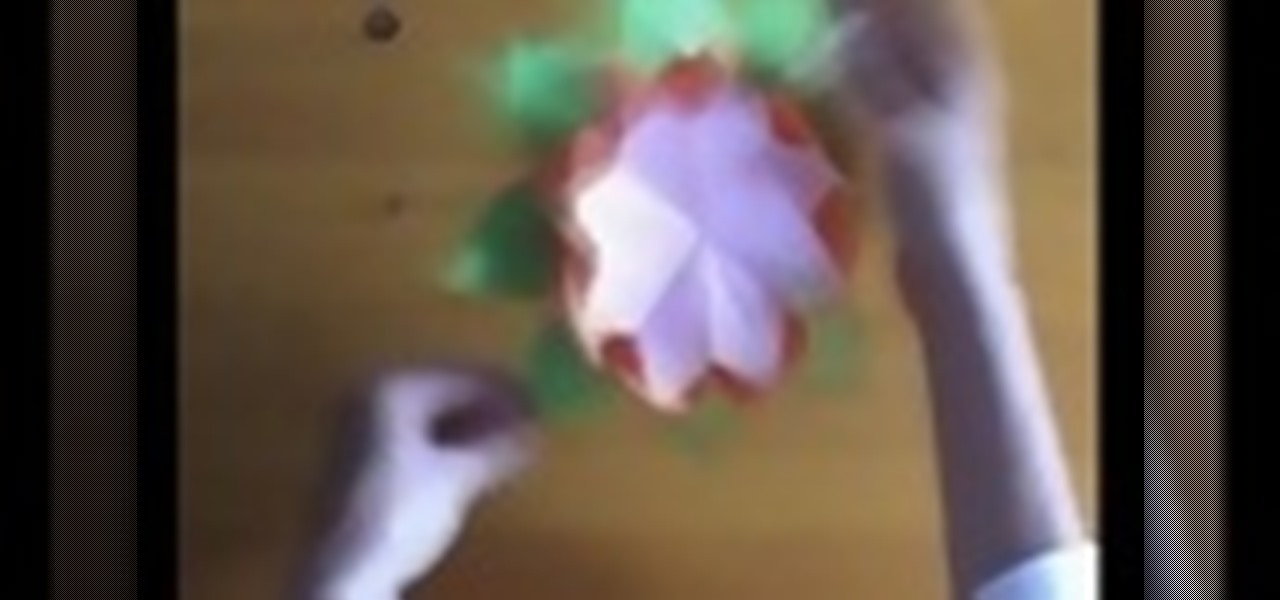
Make a 3D paper snowflake using origami techniques and a stapler. You need ten 4x4 squares of paper.

Make a 3D paper snowflake using origami techniques and a stapler. You need ten 4x4 squares of paper.

Love roses and complicated craft projects? Make a beautiful decorative paper rose using origami, the traditional Japanese folk art of paper folding. This 26-minute free origami video lesson presents complete instructions on how to make your own roses from folded paper. For more information, and to get started making paper flowers yourself, take a look!
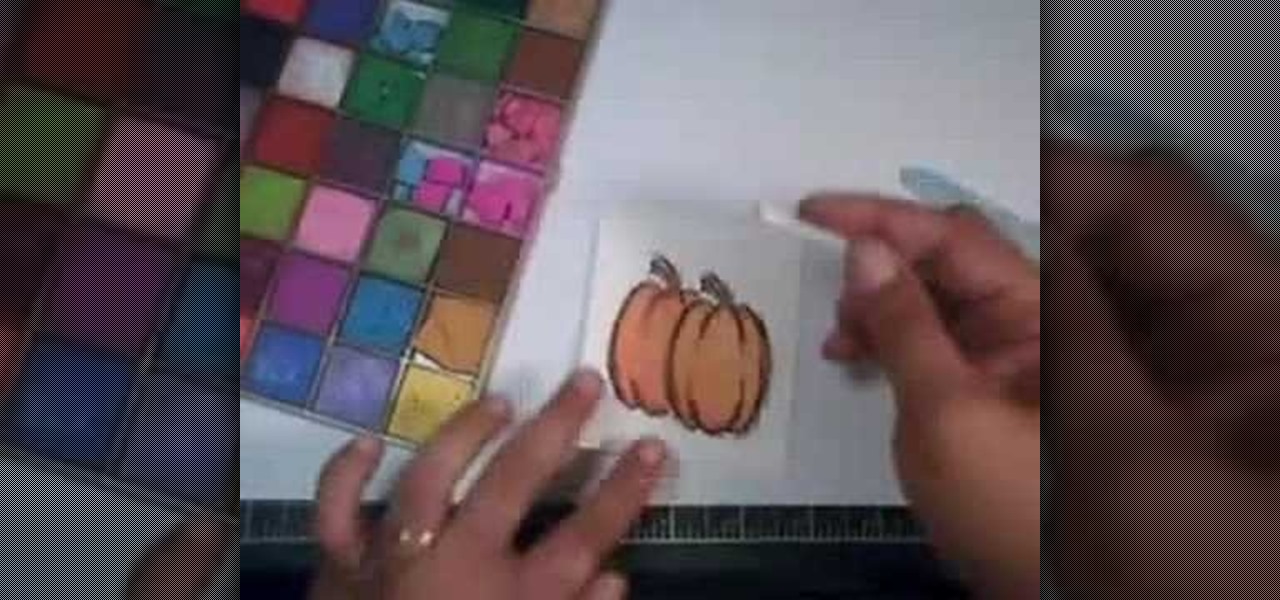
In order to create a watercolor effect with Stampin' Up markers, you will need the following: Stampin' Up markers, Stampin' Up pastels, stamps, color spritzer tool, a water resistant ink, cotton swabs, a blow dryer, aqua painter brush, and watercolor paper.
Fold a paper bat! With this guide, you'll learn how to make a simple paper bat using origami, the traditional art of Japanese paper folding. For more information, including a step-by-step overview of the folding process, as well as to get started making your own paper bats, watch this free origami lesson.
Want to add an avian specimen to your paper menagerie? Have extra paper and time to match? This video tutorial presents a complete, step-by-step overview of how to make a crane using origami, the traditional Japanese folk art of paper folding. For more information, and to get started making your own paper birds, watch this arts-and-crafts guide.
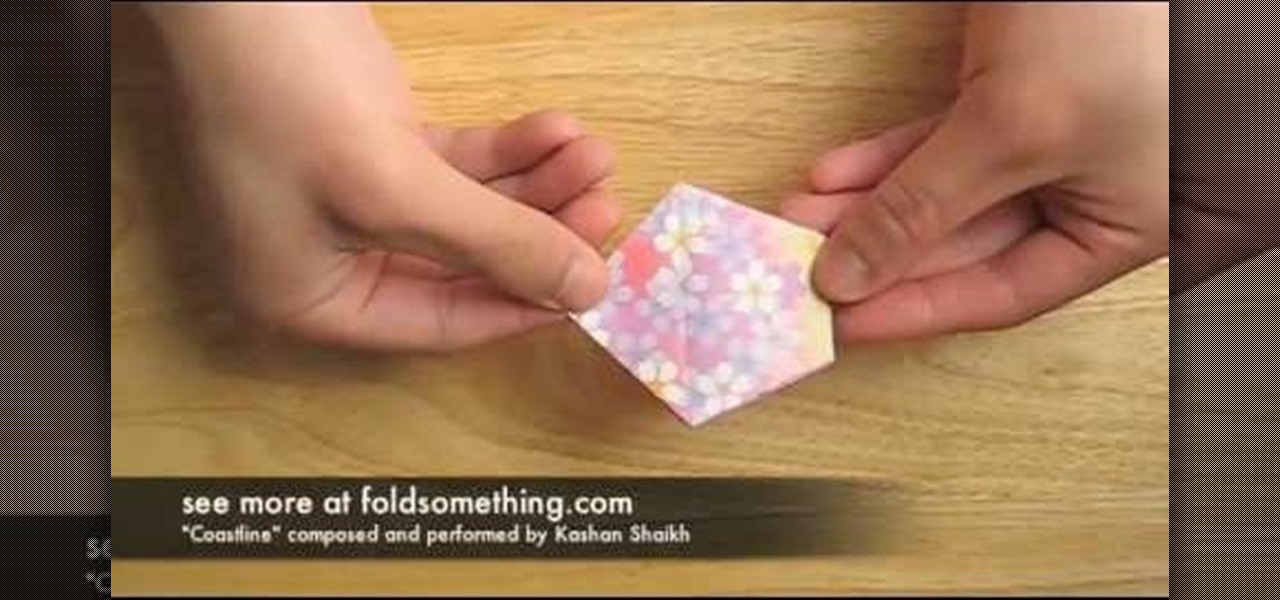
Looking to add a rare and exotic specimen to your paper garden? Make a paper cherry blossom (or sakura) using origami, the traditional Japanese folk art of paper folding. This free origami video lesson presents complete instructions on how to make your own cherry blossoms from folded paper. For more information, and to get started making paper flowers yourself, take a look!
In this video we learn how to make a speedy paper airplane. First, fold the paper in half and make a crease in the middle. Next, fold the corners down on the top. After this, fold these into another triangle going half way down the paper. Then, fold the tip all the way down so it rests on the opposite side of where it started. Do one more fold like the ones you did in the second and third steps. Make sure you are making crisp creases in the folds that you make. After this, fold the tip to the...

In this tutorial, we learn how to make a Halloween card using Cricut Paper Doll. First, cut a skeleton out of the PaperDoll Dressup package, then cut it out two more times. Glue these together to make the skeleton thicker, so it pops out of the page. You can place this next to a paper sentiment that says "bone to be wild", with a black card stock underneath it. You can use die cuts with a view papers to make it look more interesting. Use any other type of decorations you like to decorate your...
In this tutorial, we learn how to make a paper Christmas tree. Start out with a square piece of paper, then fold corner to corner and open it, then fold it on the opposite corners and open it. Now, turn it over and fold it side to side on both sides. Now, the paper will automatically fold into it's shape because of the creases you made. Now take each of the four flaps and flatten them out with your finger. After this, cut your trunk out of your tree at the bottom, then cut slits on the side o...

Paul shows us how to make a gigantic three dimensional five-point star out of paper. First, glue A4 sized paper together to make a long strip. Make a U-shape on one end, cross the shorter end under the strip and make a knot by placing the end into the loop. The knot now looks like a pentagon. Flip the pentagon over and over until the end of the strip so that the paper strip is bundled into the pentagon shape. Stick the end of the strip to the pentagon shape. Press the centre on each side of t...
In this how-to video, you will learn how to make Cobra-style paper airplane. All you need is a regular piece of paper. This style is useful for hitting targets or flying straight. Fold the paper in half vertically and unfold. Take the top corner of the paper and fold it to the edge of the middle crease. Repeat with the other corner. Take the tip of the center and fold it to the horizontal line created by the folded corners. Make sure you make tight folds. Open it up and make a fold horizontal...

In this video tutorial, viewers learn how to make a plain paper clip into a spinner. The materials required for this spinner are a paper clip and a pair of pliers. Take the paper clip and straighten it. Now use the pliers to bend the tip of the clip at 90 degrees. Then bend it 90 degrees to left side and start bending the wire into a circular shape. The shape will look like a pretzel. Now bend the end tip of the wire 90 degrees to the opposite direction of the first bend. You should end up wi...

Cardcrazy09 teaches us how to make a graduation card. You take a piece of black card stock paper and stick thin white paper edges on each side, like a window. You then use the Cricut to make a star and the word Congrats. This will go on the left, on top of some black printed moxie paper. The right side of the card also features a piece of moxie paper, with graduation hats pattern. There are also nail heads stuck on top. The last idea is to also include money to your son/niece.
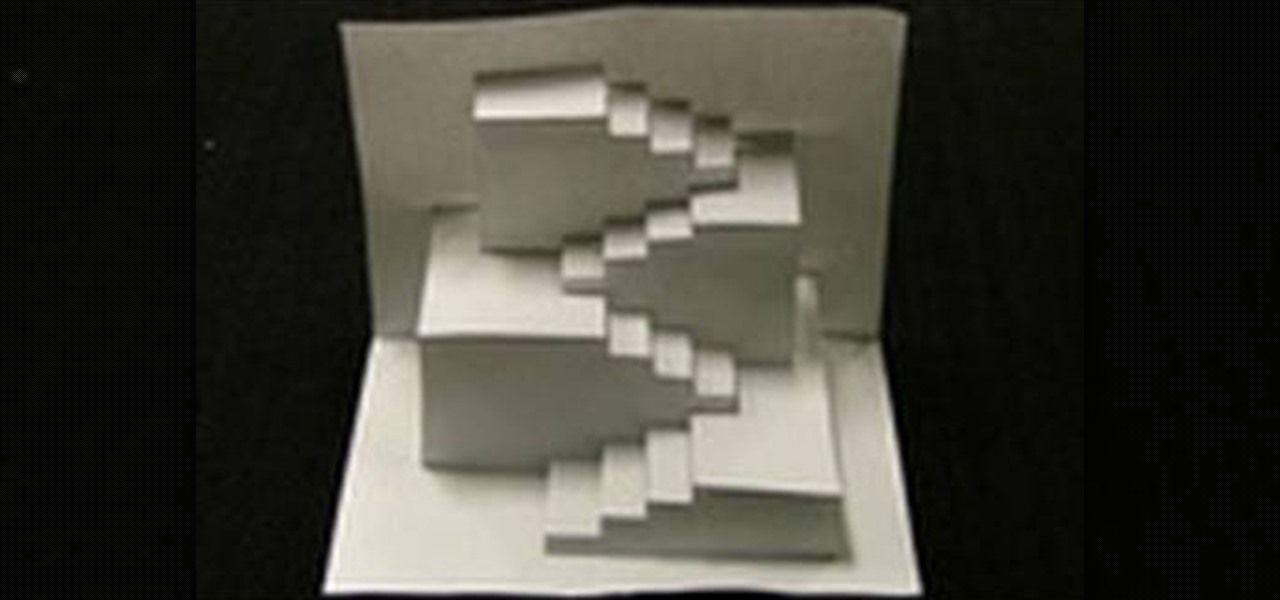
This video shows us how to create an amazing 3D design using a single sheet of paper. You will need: cutter printed template of the 3D design. Procedure: Download the template using this link. Print the template. Cut all the solid lines on the template. Fold all the broken lines on the template as shown. Arrange the paper in such a way that it looks like the 3D design shown on the video. Follow these steps and you will have your very own amazing 3D paper design!

Corynne from The Crafts Channel teaches how to make a stylish bird motif in minutes. You'll need: Colored/printed papers, scissors and glue. Get a colored paper. Draw a whatever bird image You like at the back. Cut with scissors. Get another colored paper of different color and draw a wing. Put a glue on the wing and glue it onto another colored paper. Cut it leaving 1/2 an inch over the first wing to have layers. Decorate bird as what You want Your bird motif to look like. Follow these steps...

This is Part 1 in a series from FollowThePaperTrail. In this arts and crafts how to video the host will lead you through the process of preparing the materials necessary to create paper roses, from punched or die cut flower patterns. She teaches you how to soak the materials, once they've been cut, and spray them with starch so that they retain their shape. Following up on that she demonstrates the techniques she uses to form the flower patterns into a more three dimensional shape.
Watch this video as it gives easy instructions on how to make a mini paper airplane that flies far. -Get a small piece of paper. 4X8" would be best.

In this video tutorial, viewers learn how to make a 3D flower pop up card. The materials required for this are 5 pieces of paper, scissors and glue. Begin by folding the paper in half 3 times and then fold down the sides to a triangle. Now fold a bit of the triangle flap up to make a slimmer triangle. Then cut around the top with a half circle shape. When opened, it will be a flower shape. Cut one of the pedals off and decorate it. Make 7 more flowers and glue the points together. Now take a ...
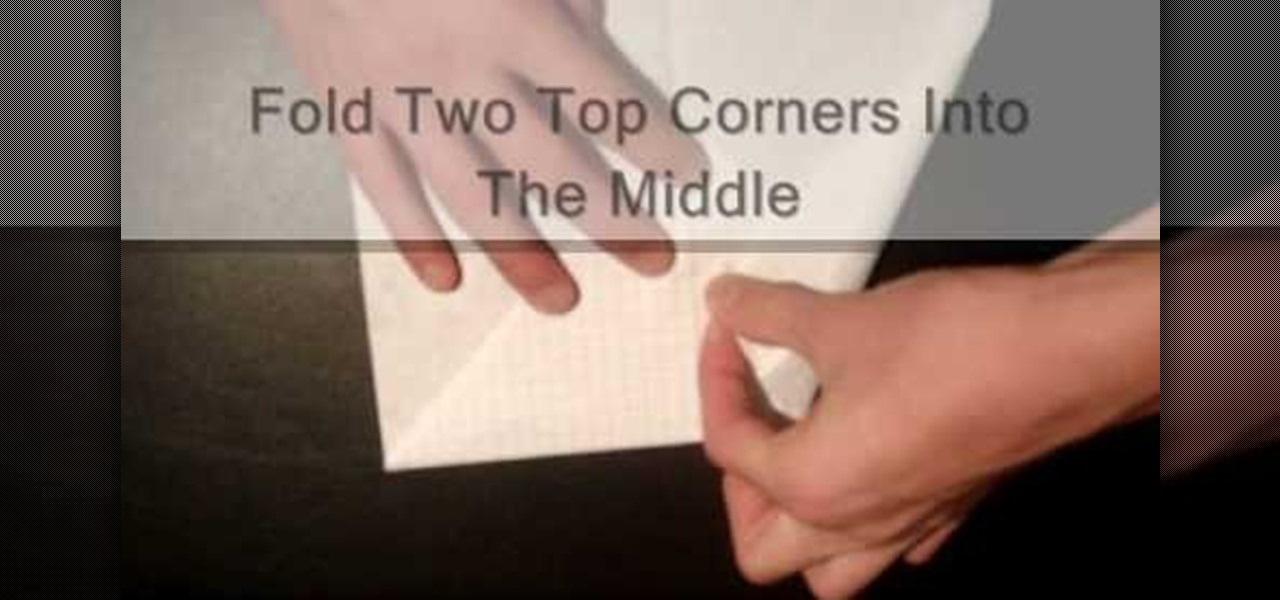
This video shows a step-by-step demonstration on how to fold a moth style paper airplane. First fold the paper in half the long way. Unfold the paper, and fold the two top corners into triangles toward the middle crease. Fold the triangle down. Fold two top corners into the middle and fold the triangle up. Fold the plane in half and fold the wings up. Flip the plane and fold the wings again. Open the plane and you're done. This demonstration is easy to follow, with words on screen, so you'll ...

Learn how to make a pop-up snake in minutes and surprise your children. 1) Get two pieces of paper of the colors you want. Also get a CD or something similar. 2) Get a paper and fold it in half. 3) Draw a circle on the paper using the CD and a marker or pen. 4) With the help of scissors start cutting the circle in a spiral fashion. 5) Fold the other paper in half. 6) Glue the tail of the snake on one side of the paper and glue the head of the snake on the other side. 7) You can use the other ...

Learn how to create and design your own paper handbag.
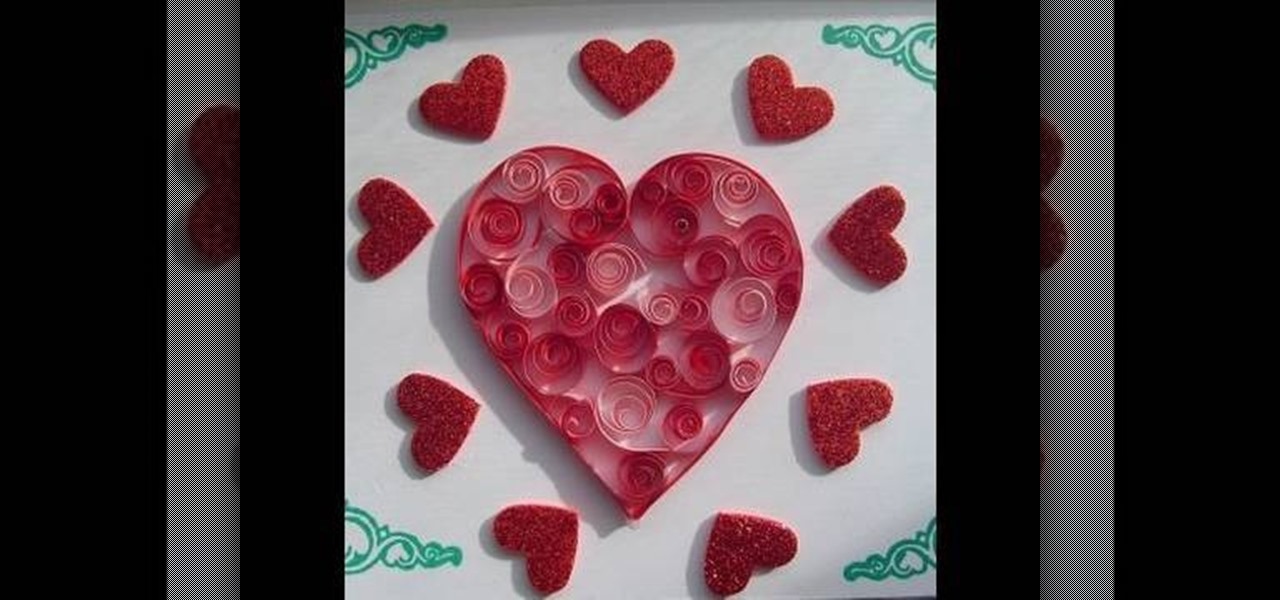
We know you probably haven't quilled anything since fifth grade, but that doesn't mean you should leave this paper curling skill to your tender elementary school years. In fact, quilling adds quite a lovely feminine touch to any project.

Remember those gold old days when you would craft bunches of red and pink valentines at home with your mom from construction paper and then tote them to school, bursting with excitement to see what pretty cards you'd receive in your Valentine's Day mailbox?
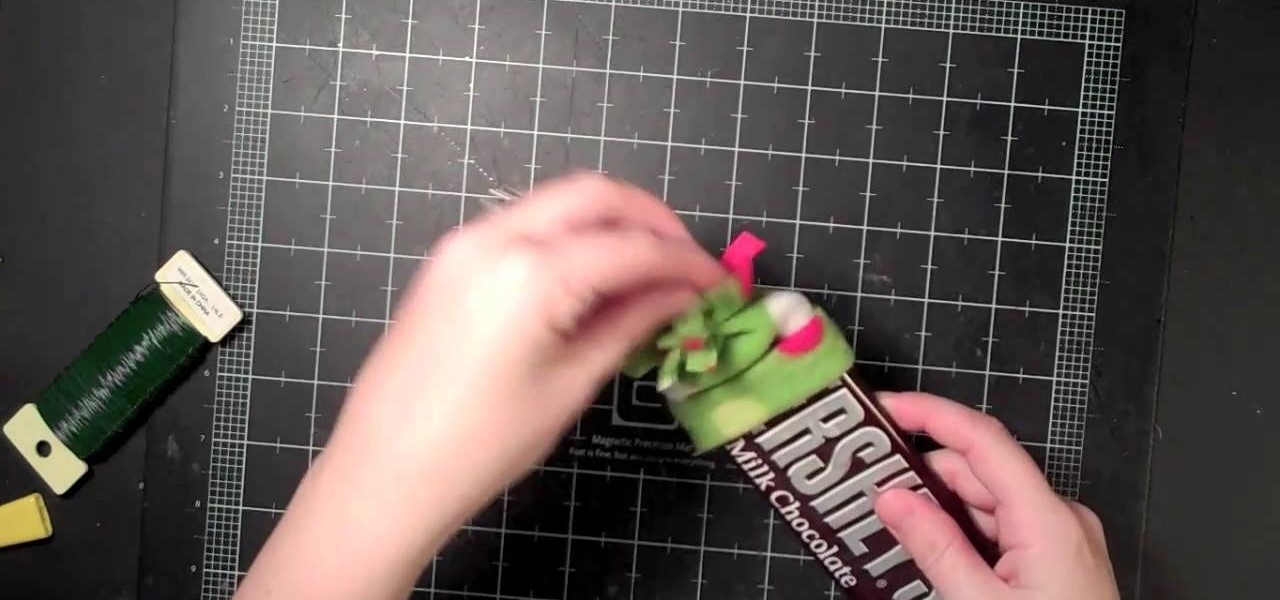
On a budget during this holiday season? Don't fret; you can gift literally dozens of people without breaking the bank by giving them chocolate bars. No, we're not talking about just handing Aunt Sue a Reese's Pieces.
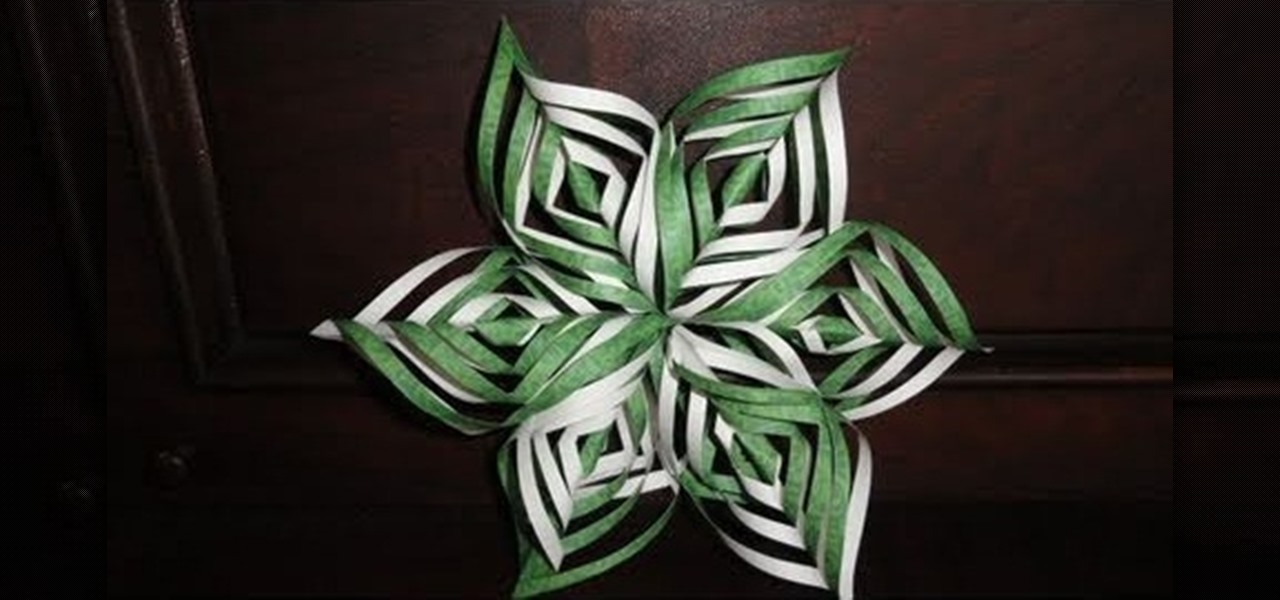
Oh Christmas tree, oh Christmas tree...how beautiful would a Christmas tree be, though, without any ornaments? If you've finally hit the tree lot and picked out the perfect grand fir, make sure it shines bright by decorating it with several of these intricate lacy snowflake decorations.
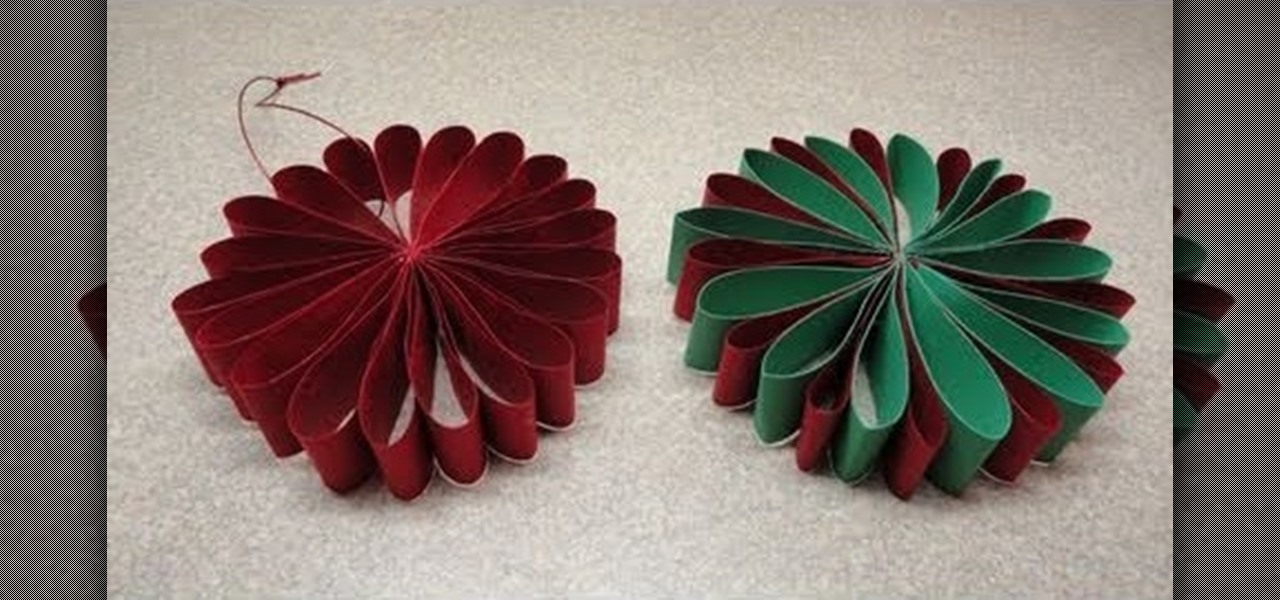
Have your Christmas tree up finally but have very little time to adorn it? Not a problem. Instead of resorting to those cheap shatterproof ornaments you can get at any drugstore, put a more homespun - and beautiful - touch on your tree this year by crafting your own ornaments. Check out this video to learn how to make paper flower ornaments.
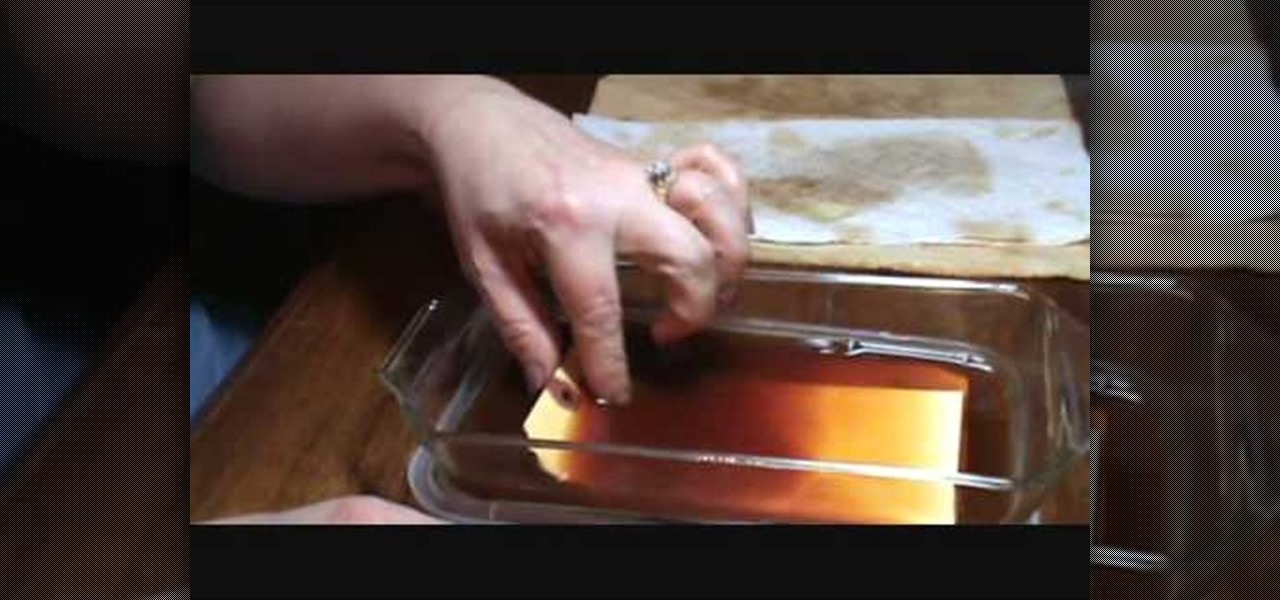
The modern, sleek aesthetic is so overrated. If you're an arts and crafts aficionado, you know that adding vintage and old world touches to your craftmaking creates results that are whimsical and beautifully antique.
How to make a creative card. You can use different colors of paper and decorative embellishments. This is a great idea for a scrapbooker that has supplies already on hand and wants to give a special gift to a friend or relative. This activity is a great idea for someone who needs a cheer-me-up but if you change the paper and embellishments, you can make any kind of theme card.
These easy pop up card has 7 beautiful flowers and all you need to craft it is paper and scissors and some glue.

Do you have CDs without case? You will not believe how easily you can make one. Make an easy and nice CD case in few minutes. No glue. You need normal printer paper.
Watch this video a few times to learn how to make a paper toy transformer. Although this video is fast paced, the text will help you follow along.
Watch how easy it is to it is to make a Japanese kusudama. This video shows you how to make a paper rose star much like origami.
Learn to create beautiful colorful paper flowers by watching this video. They look like origami but they are a little more complex.

You need scissors and some patience. Also, pick up a small flashlight to light your paper craft.

Mr. G teaches you how to make a miniature jet engine by folding a piece of paper. Just make sure you don't set yourself on fire!
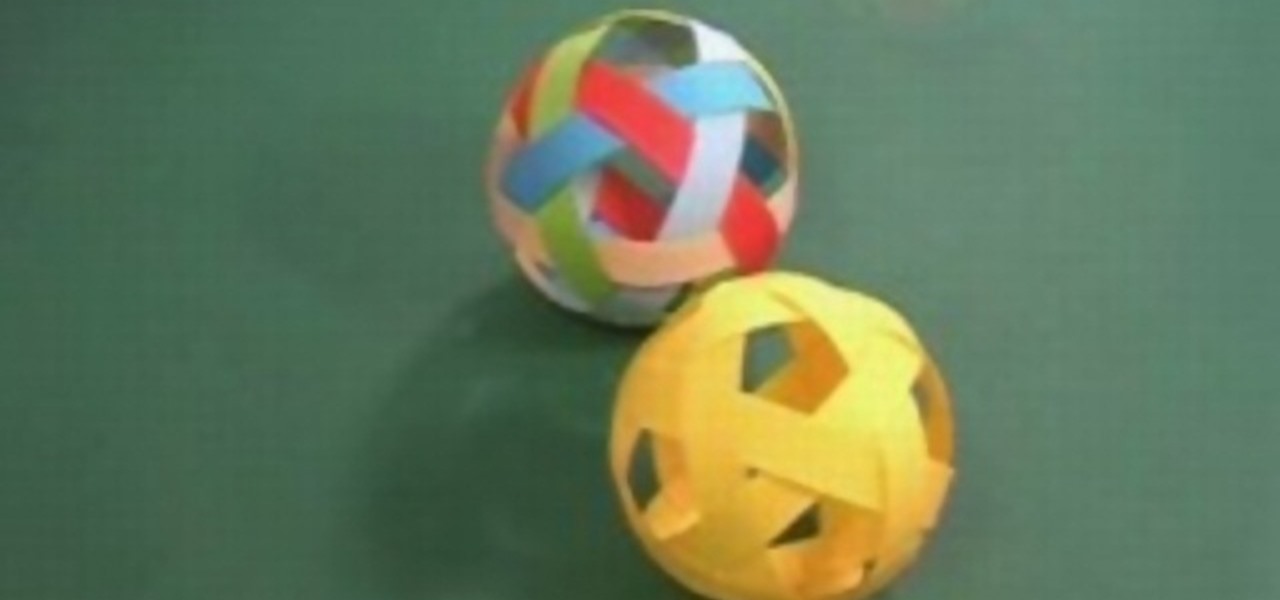
Learn how to weave a Greek paper ball. The holes look like the pentagons on a football.
This video is based on similar ideas from Dr. Ken Blackburn's world record paper airplane. You will need a sheet of paper and a flat surface. After you have completed the plane throw it over your head to get a smooth and slow glide. Your will find the video easy to follow and your plane will fly with style and stability.
In this tutorial, we learn how to make a paper cup cake/muffin basket. First, take a piece of paper and fold it in half. After this, curl the edges up from each of the corners until you end up with a small square in the middle of the paper. Use scissors to create slits where you will make the tabs to construct the box. After all the tabs are cut, push them together so you have a small basket with a neat line. To finish this up, add a handle to the top and push into the sides. Then, draw on an...
In this video, we learn how to make a pop-up concertina money card. To start, you will first need to take a piece of paper and measure your money on the inside of the paper. Then, cut this out in a strip and cold your money in half lengthwise. After this, measure the depth out from the center using a ruler. Then, fold the paper in half and on the sides where you marked. Then, you will cut three holes in the middle of the paper and these will hold the money in. Stick the bill in the middle of ...
IN this video, we learn how to use your inkjet to print on a shrinkle. To start, you will grab the paper for the shrinkle. Then, you will print the outline out on a normal piece of paper. From here, stick the shrinkle over, frosted side up, on the paper. Then, feel the piece of paper back through the printer and print exactly the same image over again. Don't print anything too dark, or it will bleed out on the back. From here, you can peel off the shrinkle and then cut it out. This will finis...