In this tutorial, we learn how to prepare eggplant. First, cut the top and the bottom off of your eggplant. After this, grab your eggplant and hold it so it's standing up. Then, grab a sharp knife and cut down from the top to the bottom so the skin comes off of the vegetable. Go all the way around until you remove all of the skin from the eggplant. You can also use a peeler to do this to speed up the process. When all the skin is off, use your knife to cut the eggplant into slices and then cu...
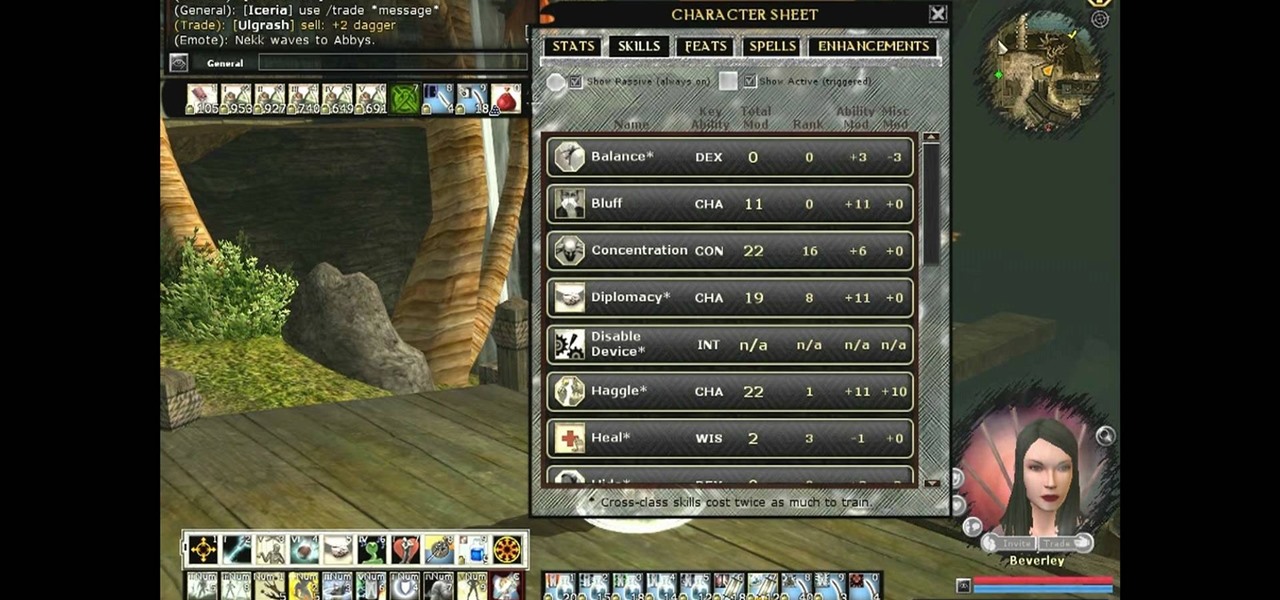
Change the appearance of the user interface for your Dungeons & Dragons Online game. This is a completely free tutorial. This site shows you where you can get the code for custom skins, and then demonstrates how to install it to customize your DDO gameplay experience.

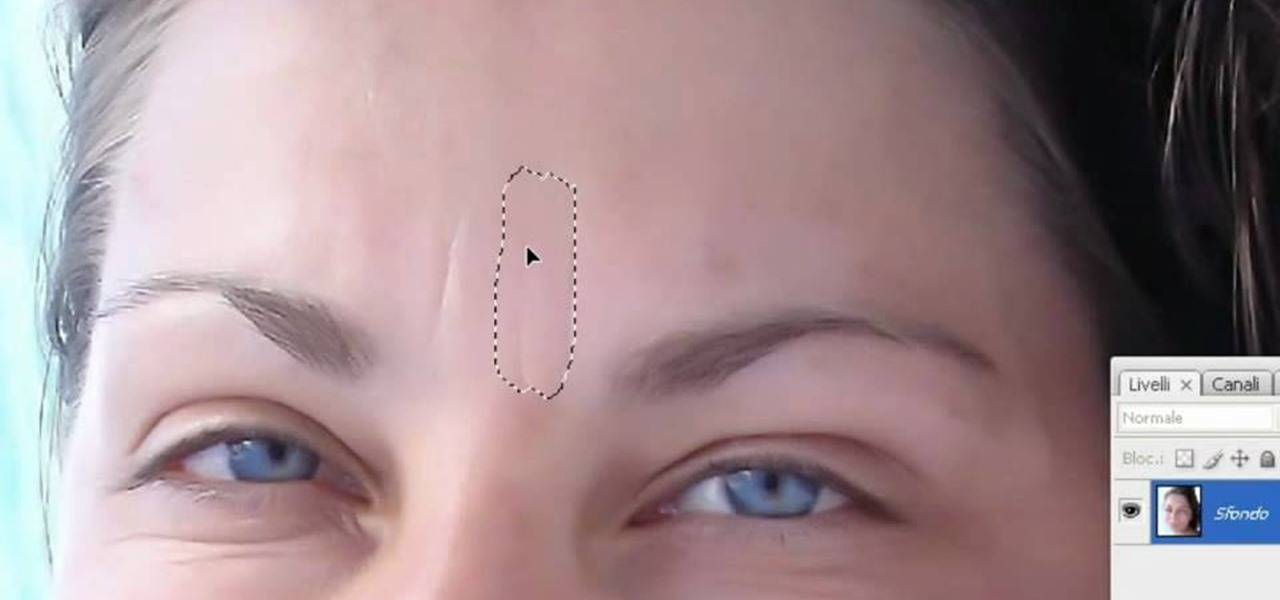
In this clip, you'll learn how to remove skin imperfections in everyone's favorite image editor, Adobe Photoshop! Whether you're new to Adobe's popular raster graphics editing software or a seasoned professional just looking to better acquaint yourself with the program and its various features and filters, you're sure to be well served by this video tutorial. For more information, including detailed, step-by-step instructions, watch this free video guide.
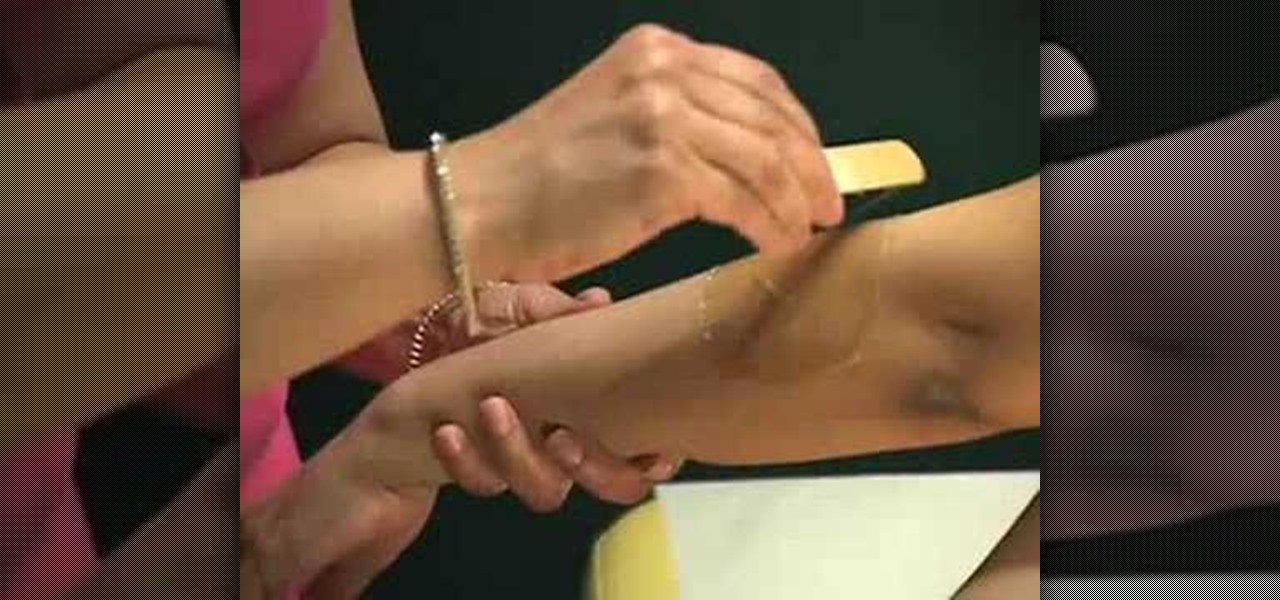
In this video, sugaring specialist Anjali teaches us how to use sugar wax, which is a natural and slightly more gentle alternative to normal wax, to remove unsightly arm hair. Composed only of three ingredients, sugar, water, and lemon juice, sugar wax removes hair without drying skin out like normal waxes.

XBox 360 avatars were added a couple of firmware updates ago, and added all sorts of new options for customizing your presence on XBox Live. Do you find them too limiting? This video will teach you how to mod your avatar's skin and hair color using your PC and some free software:

Almost 125 million people worldwide suffer from what is known as psoriasis, the skin disease that's marked by red, itchy, and scaly patches that are hurtful, if not visually god-awful. There can be a little hope though for psoriasis sufferers. Though you can treat and control psoriasis, characterized by dry scaly patches of skin, the progress is often erratic and cyclical, so be patient and consistent in executing these steps.

So the weekend's coming up sooner than you thought and you want to look great for when you go out with your female friends on Friday or Saturday but are really limited time-wise on prep. How do you get pimple-free glowing skin, chip-free nail polish, and expertly applied blush with minimal effort?

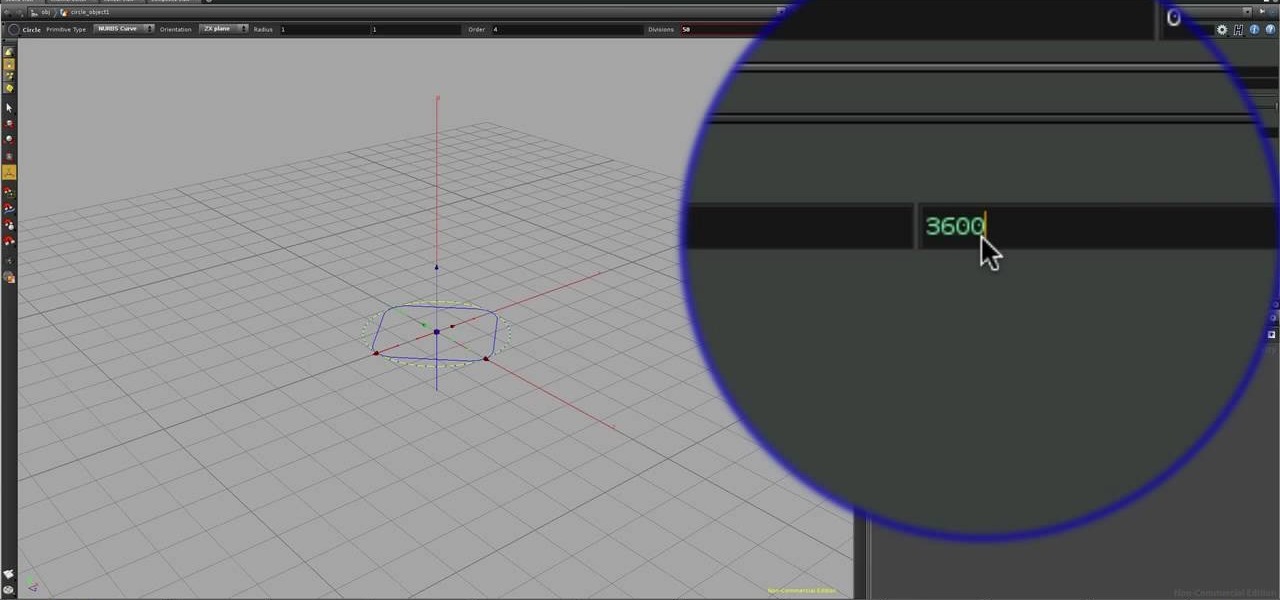
See how to build a simple coil spring using the curve, sweep, and skin nodes in Houdini. Whether you're new to Side Effects Software's popular 3D production program or a seasoned graphic artist just interested in better acquainting yourself with the application, you're sure to be well served by this free video tutorial. For more information, including detailed instructions, take a look.

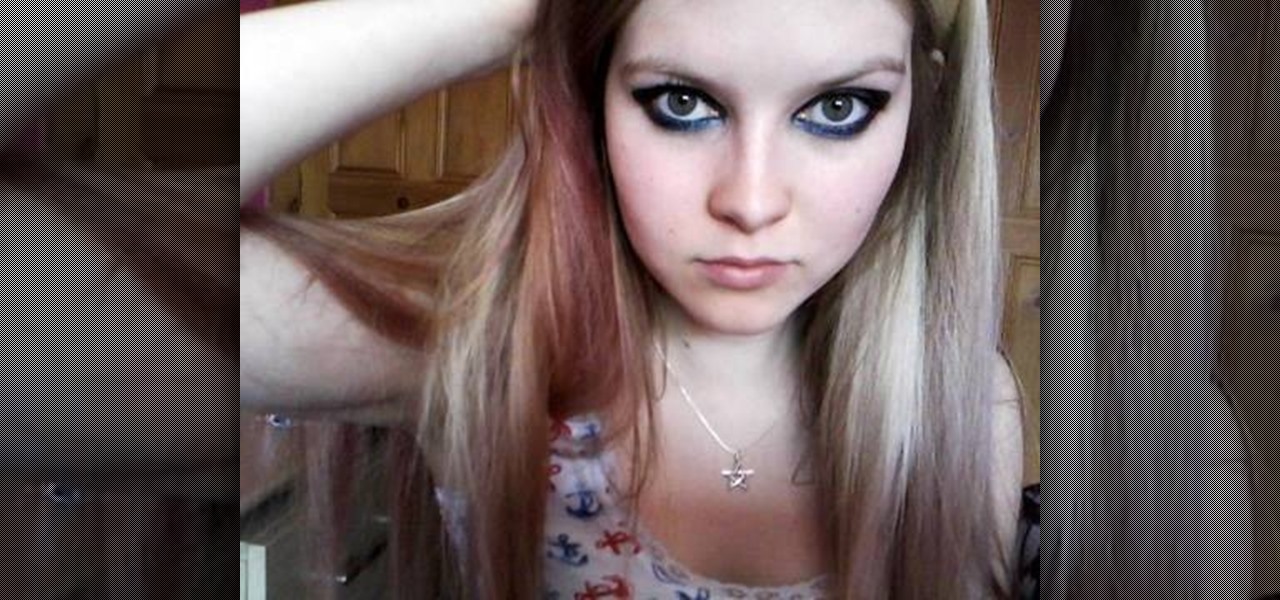
"Skins" is a very popular, controversial TV series from the UK. In this tutorial, you will learn how to get a punk image like the character of Effy. This look is very dramatic and definitely gives others a piece of your mind. So, if you are feeling bold and looking for a makeup look to match, follow along.

In this video you will learn a simple and fast way to cut a pineapple into small chunks. Begin by cutting off both the top and bottom of the pineapple. Then cut the pineapple in half from top to bottom, rotate the pineapple 45 degrees and cut again so that you have eight long wedges. Take each wedge and set it on the cutting board skin side down. Cut in two small pieces but don't go all the way through the skin. Finally, pass the knife along the bottom of the wedge removing the skin. Repeat t...

In this video tutorial, viewers learn how to smooth skin with noise-ware plug-in using Adobe Photoshop. Users will need to first download the plug-in to be able to use it from the menu of the filters. Now modify the values of Noise Level Adjustment and Noise Suppression. Max the Luminance and set the other values to 50%. Click on the preview from above to see the difference. Then use the filter a second time to make a stronger effect. Any small wrinkles can be eliminated with the patch tool. ...

In this how to video, you will learn how to tell the difference between a tunable and non-tunable bodhran. A tunable bodhran has a tuning mechanism to allow you to adjust the skin tension. A non-tunable bodhran is actually tunable, but it just needs more time to do so. A tunable drum has the tuning mechanism in the inside. They are lugs pressing on an inner hoop. When the key is turned clockwise, this will make it tighter. Make sure to go crisscross rather than around the circle when tuning. ...

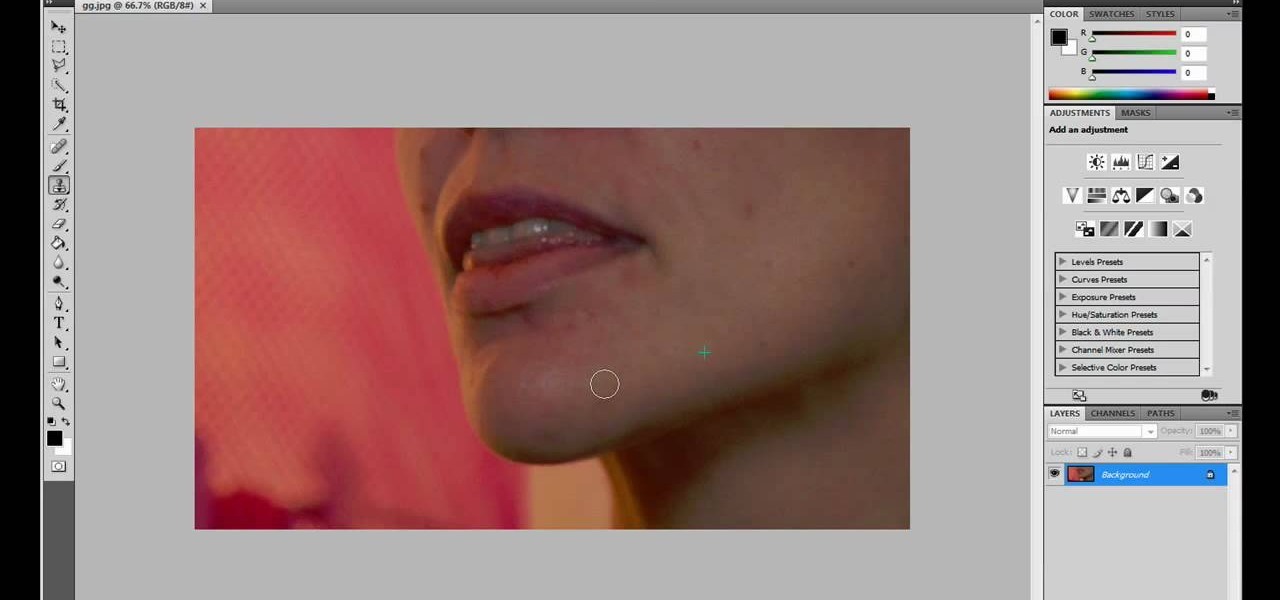
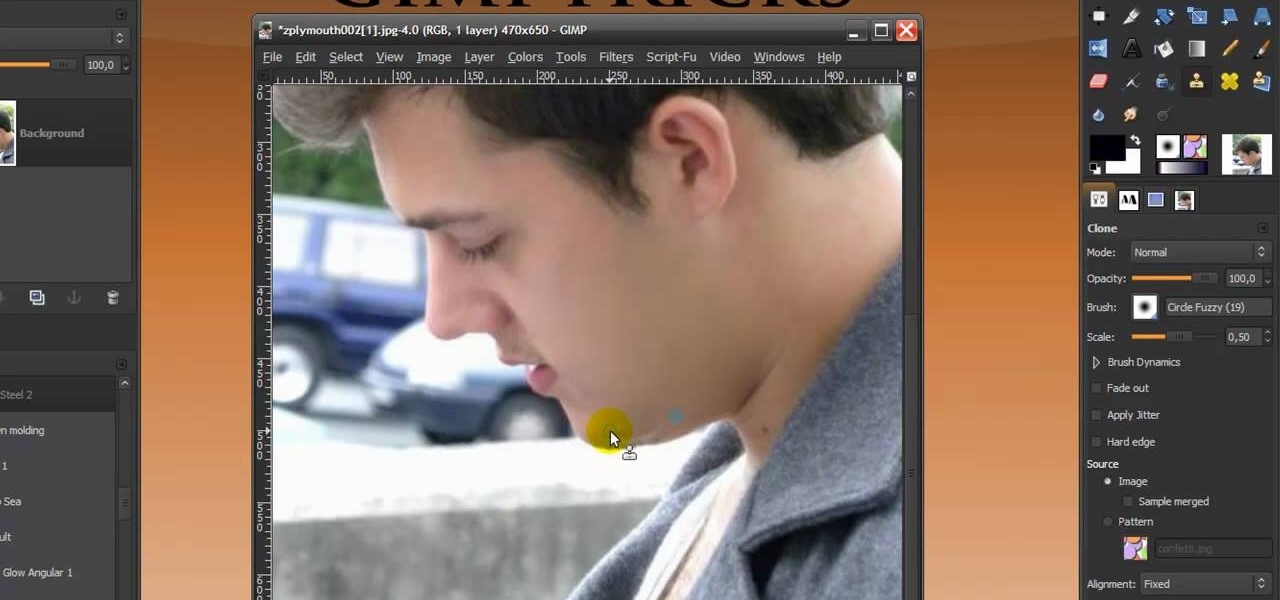
JdudeTutorials explains how you can remove zits, blemishes, and other unsightly skin problems, from pictures using Adobe Photoshop. He begins by opening up a picture of a female's lower face. Left click on the stamp on your toolbar, and select the Clone Stamp tool. You will see a small circular cursor. He explains that you should find a skin tone on the picture that matches the skin surrounding the troubled area. He holds the alt key on his keyboard and left clicks the spot that most resemble...

In this Software video you will see how to give someone a shave in GIMP. Learn spot removal, skin smoothening and a makeover or removing a 1 day beard. This is done using the Clone and the Healing tool. To use the Clone tool, select the tool from the right hand panel. Then to select the source skin color, you have to hold ctrl key down and click. Now when you apply it to the area you will get the same shade of the source color. So, you will need to select an area very close to the spot you ar...

In this video tutorial, viewers learn how to peel tomato skin off. Before peeling the tomato skin, users will need to have a boiling pot of water. Begin by cutting a little X-shape onto the tomato. Then put the tomato into the boiling water. Let it boil for about 20 seconds. Then take out the tomato and peel it where you cut the X-shape. Peeling a tomato is not common and difficult to do without boiling. People may choose to peel tomatoes to make tomato pies, marinara sauce or stewed tomatoes...

In this Photoshop tutorial the instructor shows how to do retouching to produce undead skin makeup. This video shows how to make a convincing, undead like, vampire skin make up. First open a image of the face which you want to make it look like undead face. Go to the channels panel and make a selection of just the face with the skin and exclude the rest of the head which includes the hair and other stuff. Now open a new adjustment layer and open the color balance tool. Fist select the mid ton...

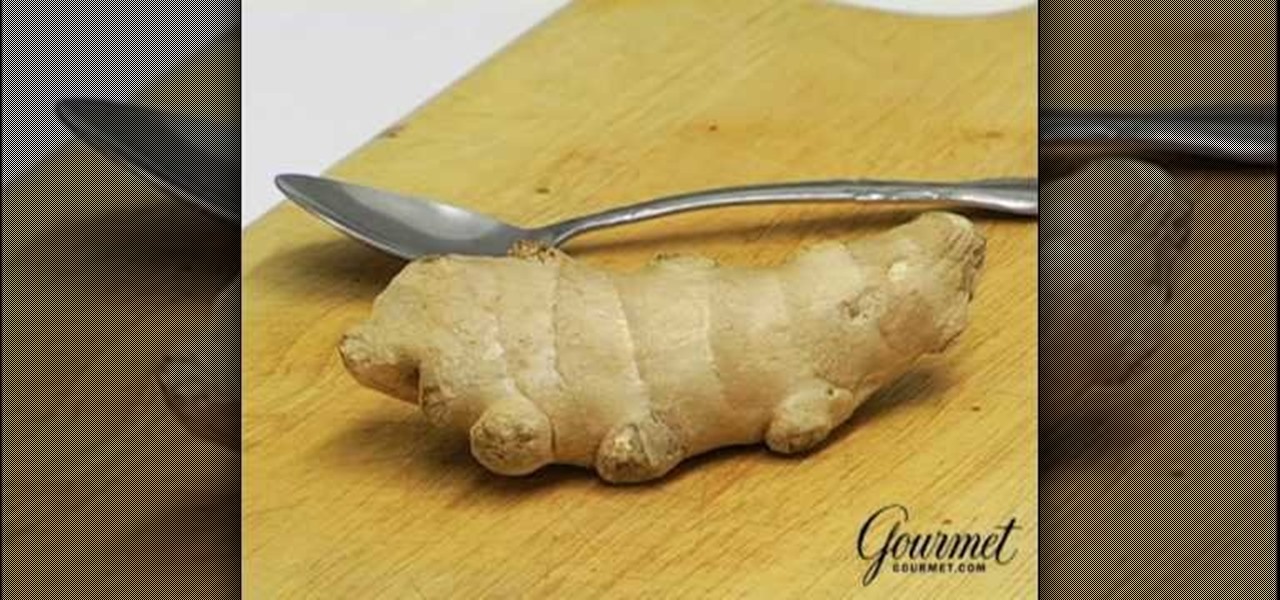
Gourmet Magazine's food editor Lillian Chou introduces cooking enthusiasts to a little-known method to peeling a ginger. She addresses the problem of cooks taking too much of the ginger off with the skin when peeling with a knife. To reduce this wasteful practice and get dependable results every time, she encourages the use of a spoon! This simple tool can take the skin (and only the skin!) off ginger without any hassle. It also is apparently very good at getting the hard-to-peel spots on gin...

The author of this video takes us through the process of smoothing the skin in Photoshop. The video helps you to conceal blemishes in your photos. It is an easy way to soften and smooth someone’s skin in a photo without blurring out any important image details. One would definitely look few years younger after this editing. Though the sound quality for the video was somewhat less, the explanation was so clear that one could understand the entire process very easily.

Pomegranate is native to Persia and it is a combination of two Latin words that mean apple and seeds. Wear old clothes and put a paper towel over the cutting board because the juice of the pomegranate can spray out and it stains. Start by cutting off the top and bottom of the pomegranate. Score the pomegranate by cutting through the skin in four different places. Get a bowl of water and hold it under water while you pull the skin off. As you take the pomegranate apart you are trying to get th...

How to use a banana skin to buffer up and clean your shoes!! Use the oils from the fruit to buff your loafers. This is a quick, easy and economical solution or replacement for shoe polish. Plus you get a great snack to eat in the meantime.

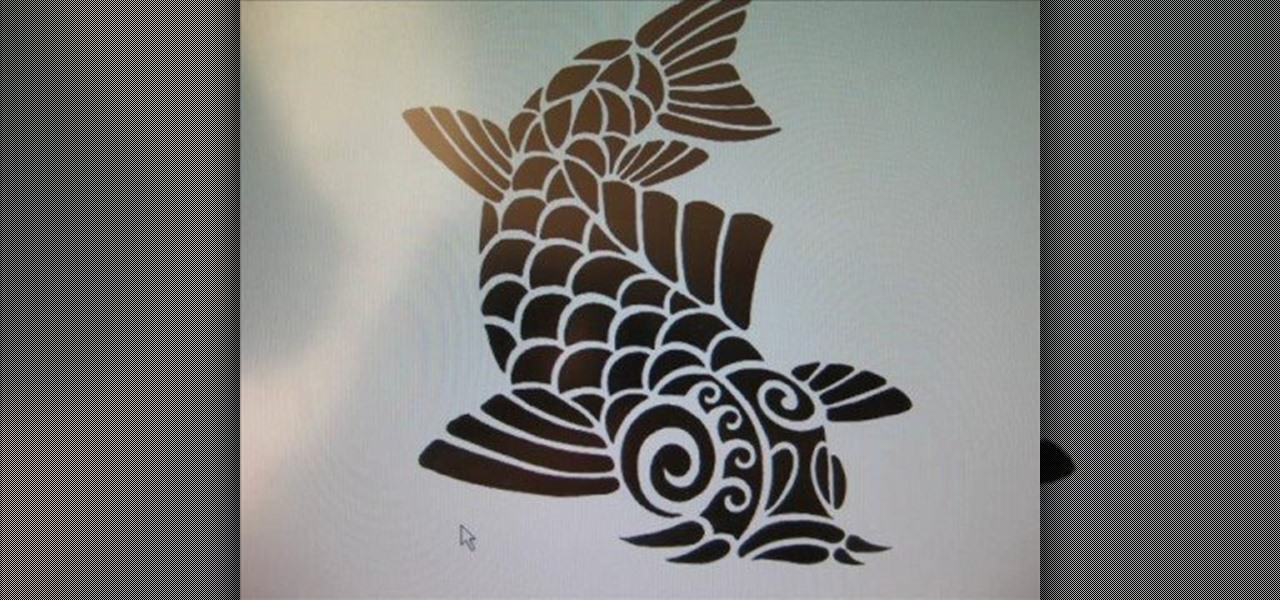
For really ornate tattoos, or for artists with limited skill, a transfer can be a life-saver. This how-to video shows how to transfer the desired image of a tattoo from a piece of paper that is easy to sketch on to the skin where it can then be traced with a tattoo gun. You will need grease proof cooking paper and a felt tip pen. Watch this video tattoo tutorial and learn how to transfer an image temporarily onto skin.

This medical how-to video demonstrates how-to suture an open wound. Follow along and learn the step by step process of closing open skin. Note that suturing should be performed by a medical professional.

Watch this instructional cosmetics video to create reggae dancehall inspired makeup look for dark skin. Begin by highlighting the eyebrows with a bit of shiny pink gloss. This happy reggae look uses gold and pink eye shadows with ivory shimmer. Use a high definition eyeliner and add yellow highlights under the eye. If you want to really commit to this look, use the false eyelashes with theatrical patterns.

Watch this instructional cosmetics video to create a vintage 1930's look for dark skin. Reminiscent of the Harlem Renaissance, this smokey eyes look with deep purple and shiny pink brings out the spirit of American romance. Highlight areas of the face with a shiny powder. This look definitely calls for dark, sumptuous lips.

A great shave starts before even picking up a razor. Hydrating skin can soften the hair and prevent irritation of the skin. Watch this video tutorial from Gillette and learn how to shave.

Everyones favorite sauce is tomato sauce. In order to make a delicious tomato sauce you need to know how to make clean, peel and de-seed tomatoes properly. In this how to video Chef Paul demonstrates how to remove tomato skins effectively.

Do you hunt? Looking to shoulder mount your deer? Take a look at this instructional video and learn how to properly deer skin for a full shoulder mount.

Fishing enthusiasts don't need to waste the skin on a prize catch. Eat the meat, but when cleaning the fish, cut the skin so that it stay in tact for mounting. The delightful English demonstrator walks through the steps of cleaning, prepping, and stuffing a mounted taxidermy fish. Watch this video taxidermy tutorial and learn how to prepare a fish (in this case a zander) for creating a taxidermy mount.

Learn how to skin a squirrel with tips from

This is a simple and effective way to get a gruesome ripped off skin look for home movies using toilet paper, liquid latex and make-up.

This fashion video will help you complement your skin tone with fabulous fashion. Learn what colors to avoid and which to embrace.

Dr. Coyle Connolly, D.O., board-certified dermatologist and skin cancer expert removes a wart from a woman's leg for a skin cancer biopsy.

A quick tutorial on how to prepare and prime your skin prior to makeup application.

Make fake skin for your Halloween fun, just like we did when I was a kid! Use it for fake cuts, burns, and other ghoulish fun! Or use it to cover up those ghastly birthmarks.

Some tips for tweaking the tone and color of skin in Photoshop.

Kathleen Karridene, a top makeup artist from Hollywood with credits to various top TV sitcoms like Friends, shows how to use Luminess Air airbrush system with tips for highlighting and erasing flaws on skin.

Just like you'd consider your skin tone when applying eyeshadow, blush, or any kind of makeup, you have to consider your skin coloring when you're picking out what hair color you'd like to dye to your hair with.

In this video, Anna Saccone gives an updated makeup routine for people who have oily skin. First, you should apply foundation onto your skin and blend it into your skin well. Concealer comes next, applying it underneath your eyes and along your brow line, using your ring fingers in order to spread it out. Other things to apply on your face for a basic everyday makeup routine include blush, eyeliner, eyeshadow, and lipstick, all of which you can learn to apply effectively and quickly after wat...

Otoro makes peeling oranges look easy. Step 1: Cut off the top and bottom edges of the orange.

In this video taxidermy tutorial series, a professional taxidermist demonstrates how to prepare a whitetail deer cape for mounting. Now that the skin has been fleshed and tanned, the deer head cape is ready to be mounted. The skin will need the mount that will shape the skin, and will require trimming and sewing of the tanned and prepped skin. Watch this instructional video and learn how to prepare a whitetail deer head for mounting.


