
How To: Draw Pokémon
Drawing Pokemon requires sharp corners, exaggerated features and simplified shapes. Draw Pokemon with tips from a professional illustrator in this free instructional video on drawing. Drawing Pokemon will never be easier.


Drawing Pokemon requires sharp corners, exaggerated features and simplified shapes. Draw Pokemon with tips from a professional illustrator in this free instructional video on drawing. Drawing Pokemon will never be easier.
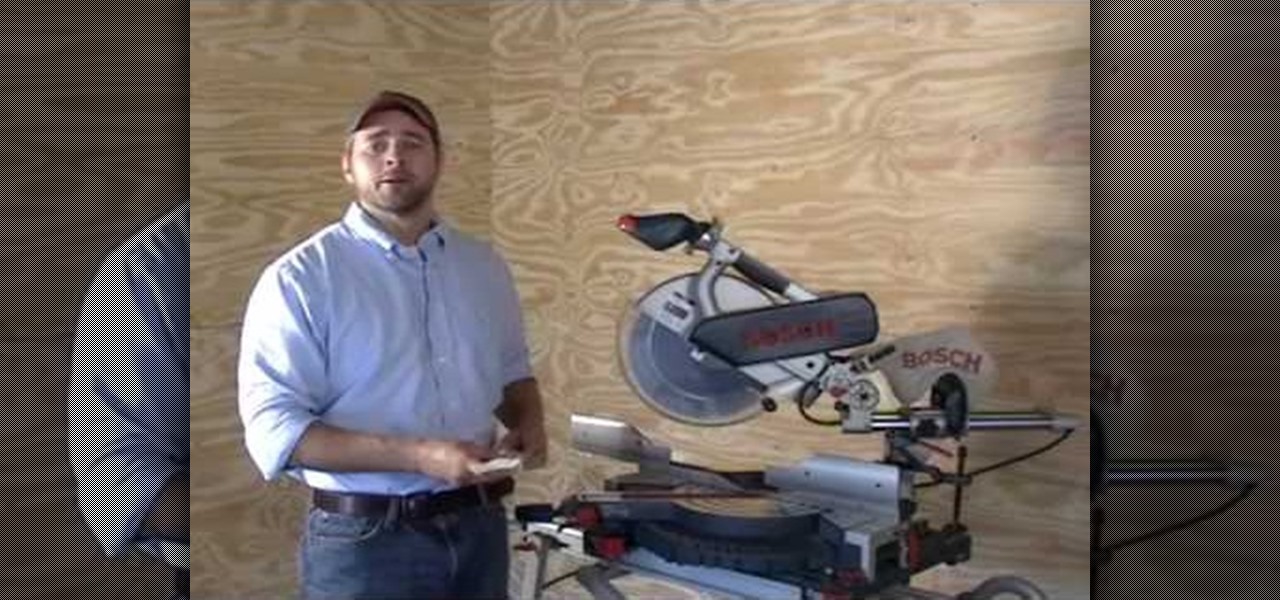
Why pay a contractor to do projects that, with a little effort and perseverance, you can do yourself? In this video tutorial, you'll learn how install crown molding in a rectangular room by coping your inside corners. For a step-by-step look at the crown molding installation process for a rectangular room, take a look at this DIY how-to.
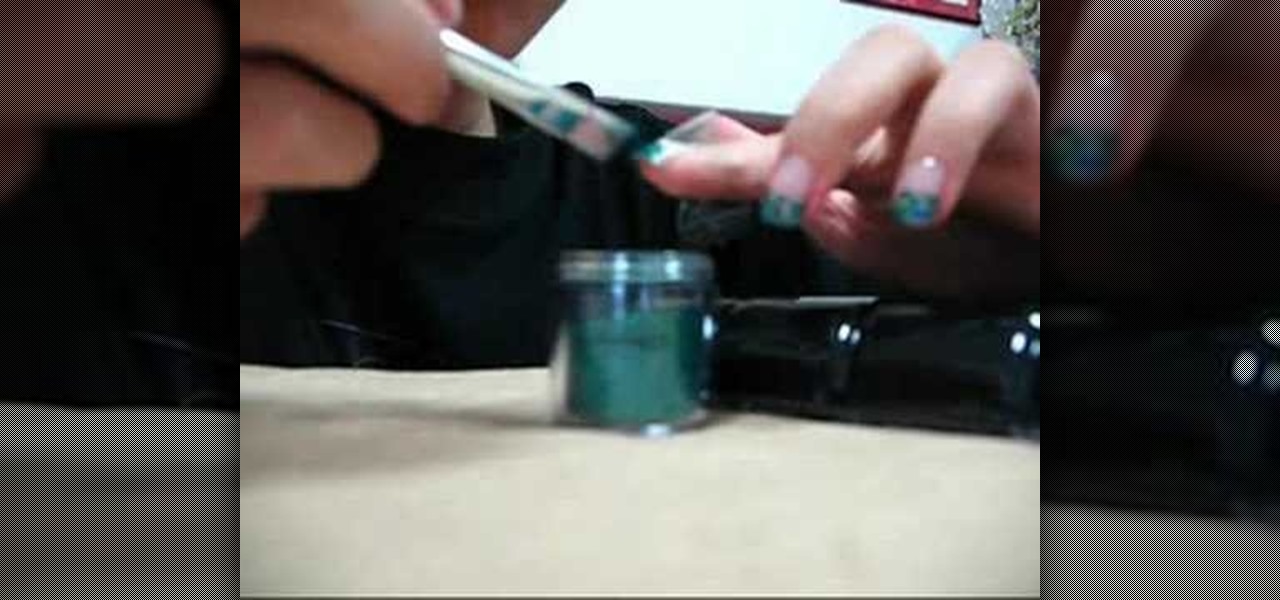
Tired of your boring old pink and white French manicure? Learn how you can create blue glitter French manicure tips with this tutorial. You will need a base coat and top coat, MAC cosmetics jewel marine glitter, Q-tip or corrector to clean corners and tape. This look takes a steady hand and lots of practice. With this how to video you can create blue glitter French manicure tips.

Tim Carter, of Ask the Builder, demonstrates a few easy tips to make perfect cuts on wood crown molding, especially in the corners of a room. You have to gave your house looking beautiful, don't you?
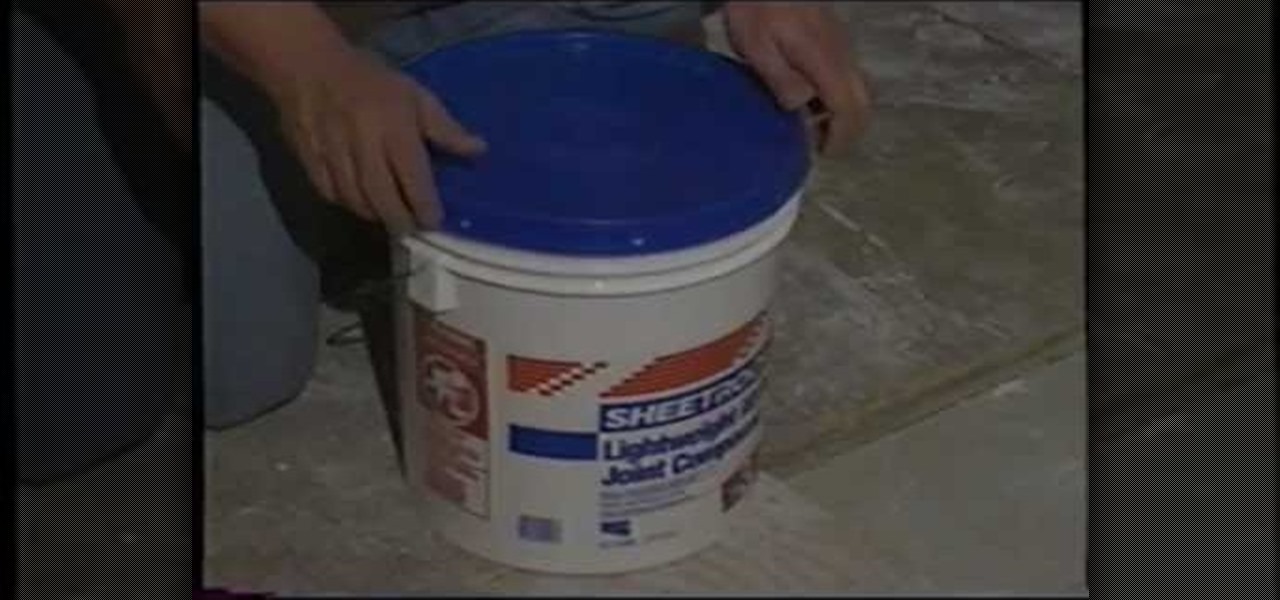
Tim Carter, of Ask the Builder, demonstrates an easy way to get smooth corners with a joint compound in your drywall remodel work in your house. Home repair has never been easier.

The first step to create a boomerang paper airplane is to take a square piece of paper and measure to make sure it is a perfect square. You must then fold all of the corners of the cut of paper into the middle and then fold in half. The wings must then be folded down on the two chosen side. The final step is to fold the wings up to give the crease and cut of paper it's boomerang like shape. The video ends with examples of the type of flight that can be expected from a boomerang shaped paper a...
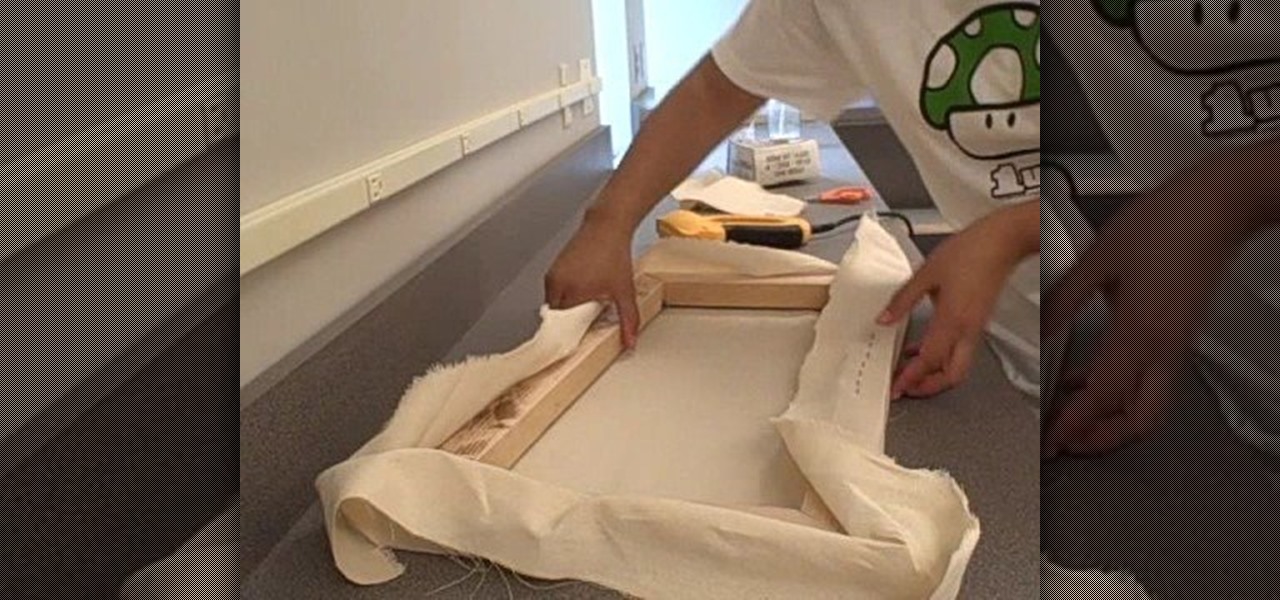
This video begins with an unfolded painter's canvas unfolded on a table and a frame which will be used to stretch and mend the canvas. The canvas needs to be laid beneath the wooden frame. The canvas must then be stretched over the sides of the wooden frame and then stapled into place. After the canvas has been stretched and stapled over the wooden frame you can pull the corners to tighten the canvas fabric. After the canvas is being stretched within the frame you must let it sit until it bec...
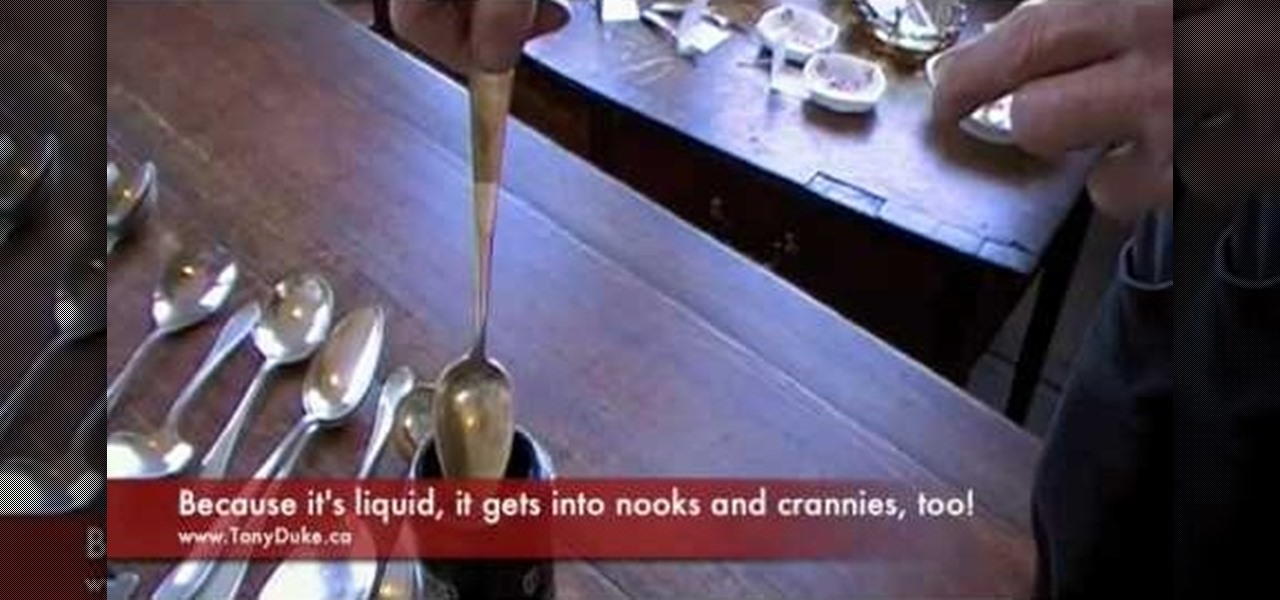
This is a video tutorial in the Home & Garden category where you are going to learn how to preserve and clean your antique silver. Tony Duke shows a fast and effective way to clean heavily soiled silver ware. Put the silverware in to the "silver dip" fluid and leave it for about 35 to 45 seconds. You will see that it is cleaning. Because it is a liquid, it gets in to the nooks and corners of the silverware and cleans them. Take it out of the liquid and wash it. You then got to polish it with ...
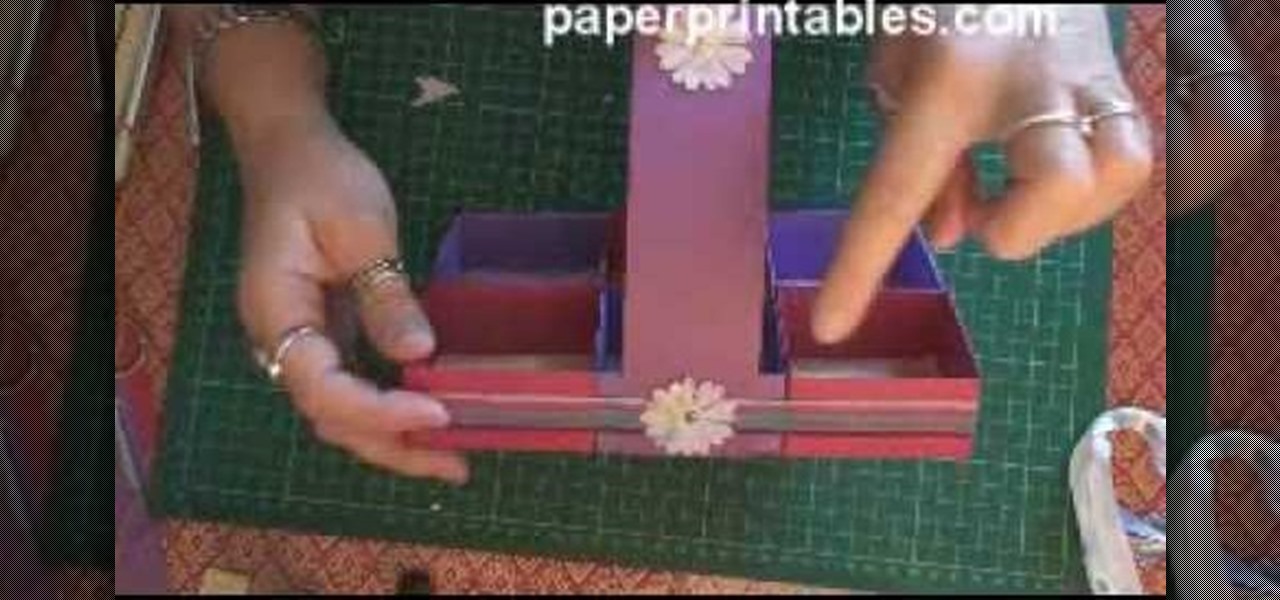
In this tutorial, we learn how to make a paper cup cake/muffin basket. First, take a piece of paper and fold it in half. After this, curl the edges up from each of the corners until you end up with a small square in the middle of the paper. Use scissors to create slits where you will make the tabs to construct the box. After all the tabs are cut, push them together so you have a small basket with a neat line. To finish this up, add a handle to the top and push into the sides. Then, draw on an...
This video begins by showing what a folding painting canvas looks like and what the final stretched canvas should look like. The first step shown is to make sure the bars are measured and marked with a simple A and B for easy measurement recall. After a wood frame is added over the canvas you must fold the material over the back of the wood and nail in place. Once the canvas is nailed to the frame you must add A, B, C and D markings to continue proper alignment procedure. The last step shown ...

In this tutorial, we learn how to draw Sonic the Werehog. Start by drawing the outline of the character, making sure to draw in the spiked hair on the back of the head. Then, draw in the circle for the head and use crossing lines to reference where you want the features of the face to go. Draw in the features and then add in more detail to them as well. Erase the background lines and then draw in the details of the body. From here, color in the body and then shade in corners to make it look m...

In this tutorial, we learn how to make a Deadpool sword. To do this, you will need: a marker, scissors, hard plastic, cardboard, silver spray paint, duct tape, saw, electrical tape, sandpaper, and hot glue gun. First, cut the plastic into three thin knife shapes. Then, use sandpaper to smooth edges. Then, use the cardboard to create three layers of a rectangle. Make the corners round and then tape around them with duct tape. Put a hole in the middle and then put it into the plastic. Now, glue...

In this video we learn how to entice more opportunities with feng shui at home. First, find your focus room with an energy map to find the career area. This room is from the front door walking in. Use water, because this is the element for positive career changes. Put a painting of depth that makes you feel like the wall is not right in front of you. Also, add a table with rounded corners and musical instruments or something that you need for your career. This will ensure that you walk into a...
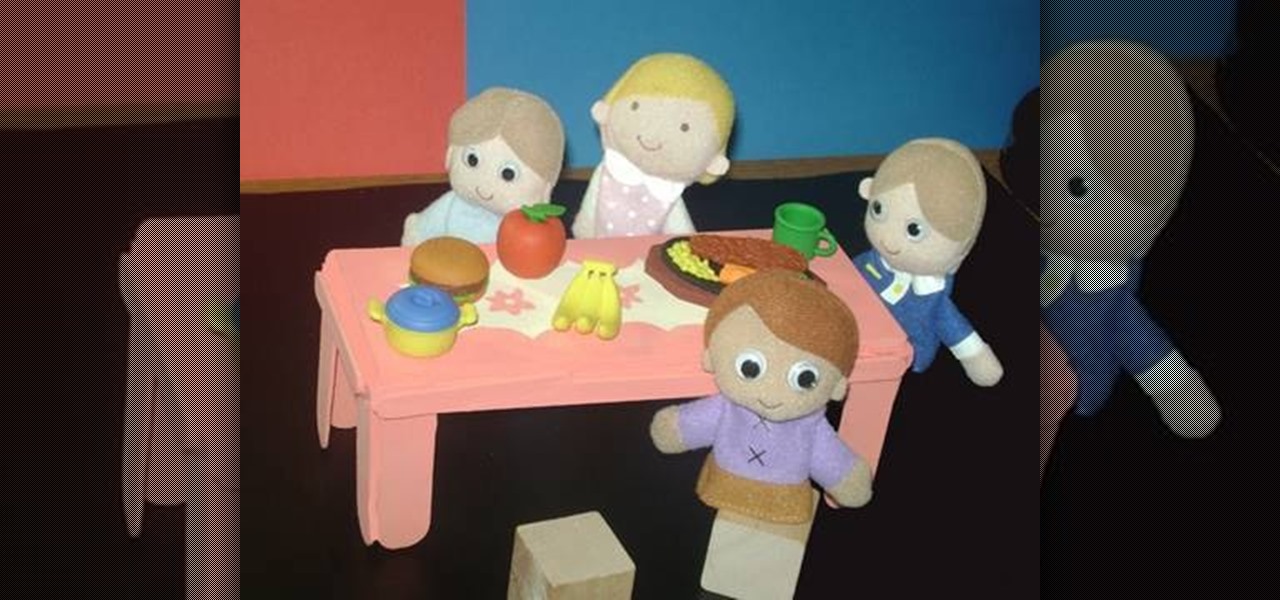
In this tutorial, we learn how to make a miniature table. Materials you will need are: a wood slat, 4 popsicle sticks cut in half, paint, paintbrush, and glue. Heat up your hot glue gun and then grab your popsicle sticks. Glue one stick to the side of every corner of the slat. After this, you should have two on each side of all four corners of the wooden slat. After you're finished placing them on, let the glue cool and then harden. To finish, you can paint this and decorate it and use it ins...
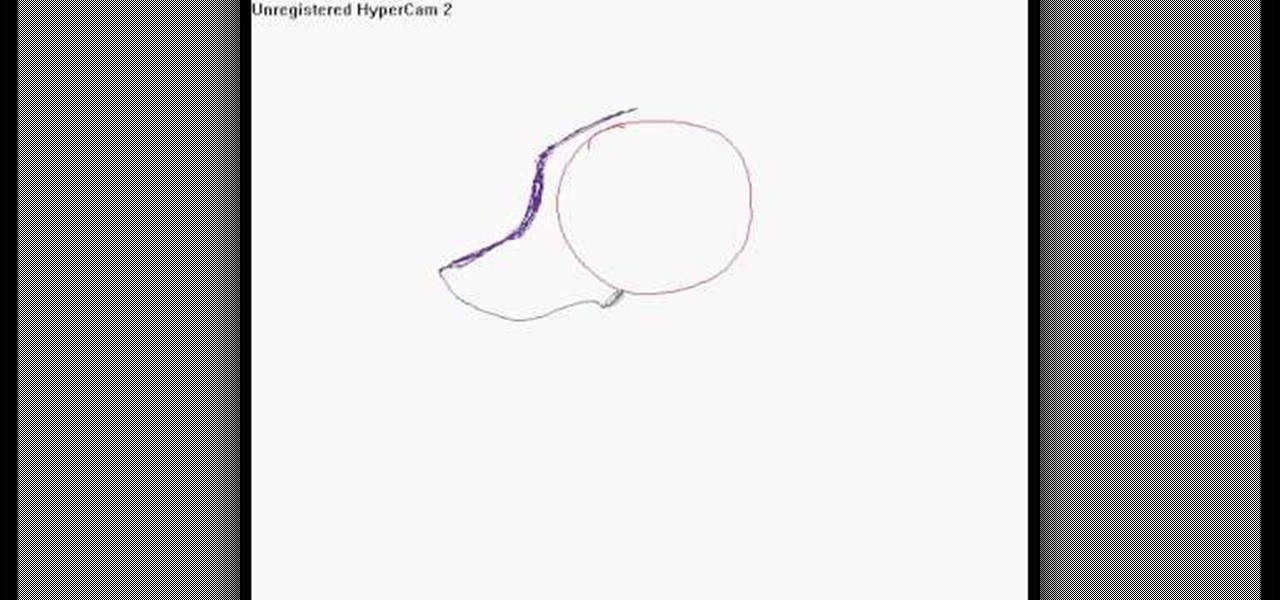
In this video, we learn how to draw wolf eyes. Start out by drawing the outline for the wolf head. Then you will draw the eyes in an almond shape dragging downward on the nose. After this, zoom in on the eyes with the computer and then fill in darker lines around the eyes. Draw in the pupils on the eyes and add in the details for the corners of the eyes as well. If you want to draw wolf eyes from a side view, draw the outline of the head to give you reference, then draw the shape of one of th...
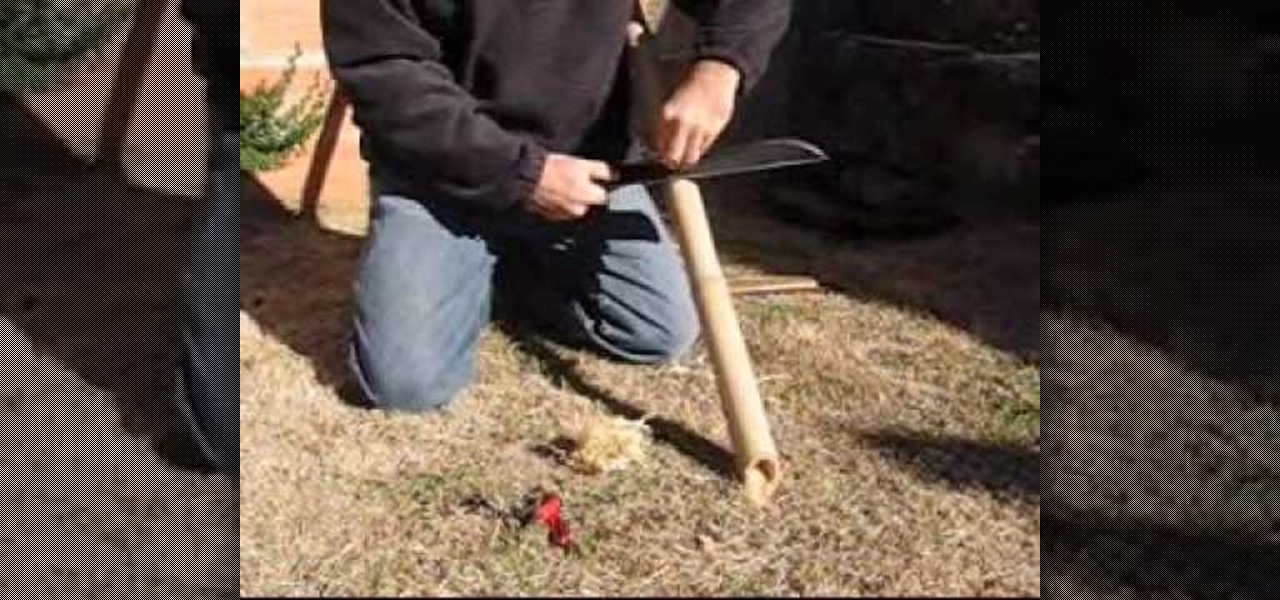
In this video, we learn how to modify your machete for the bush. First, you can sharpen your blade on a piece of wood. You will produce wood shavings that will produce fire as well. Push down on the sides of the knife as well as base and on the tip and middle. Make sure you slightly sharpen the back as well so you can use it to open up coconuts. Once you do this, you will have five useful edges on your machete that you can use for many different purposes while you are out traveling. You can a...

In this tutorial, we learn how to get rid of mice using a mouse trap with Rick. You will first need to know where to place the traps. Mice like to use the sides of walls to run around and will turn when they reach dead end corners. These are great places to place the traps so you will most likely trap them. If the mice are familiar with an area, they know where to avoid, so using two traps will help you catch them. Next, place the trap perpendicular to the wall instead of parallel so they wil...

In this video, we learn how to finish a crochet never ending granny square. There is a spiral effect happening in this, because there is no place that is stopping, it's going in a continual circle. To finish one of these, you will see that the corners should be perfect. But, you will need to choose one corner to finish it off at. Go across, then choose a side to stop at. Then, chain over and double crochet in. When you come across with another color, you can weave in the end so that you can't...
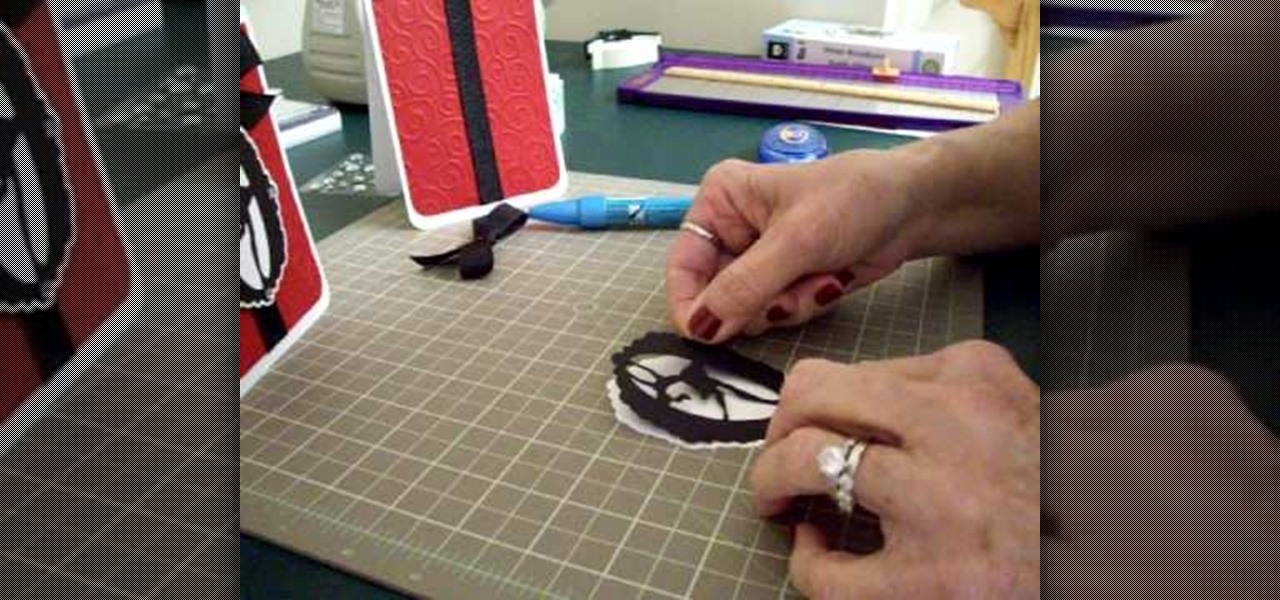
Make a simple, elegant card using Winter Woodland. Go to page 50 of manual. Cut tag and skater at 3 inches. Use 8 1/2 x 11 cardstock and cut vertically to 4 1/4 inch. Fold from top to bottom. Round corners of cardstock and red matte. Make red matte 4x5. Run red matte through cutter bug using swirls folder. Insert between two plates and run through. Place black grosgrain ribbon down the center. Stick to front of card. Glue skater to background. Place square crystals around skater. Create and p...
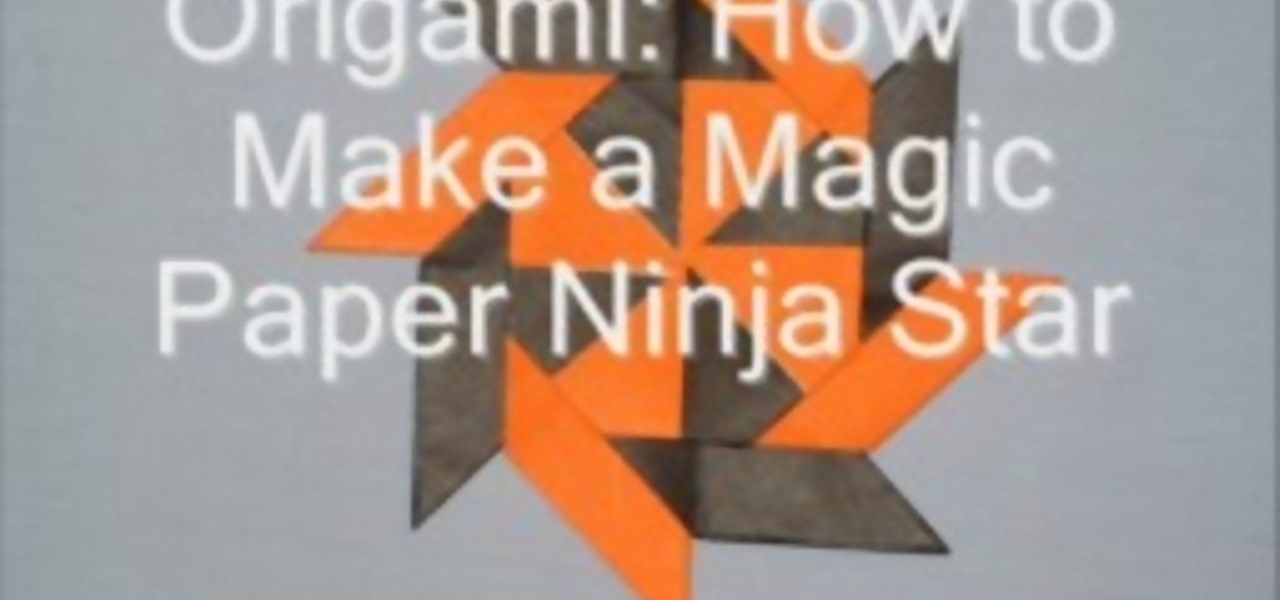
This video tutorial is in the Arts & Crafts category where you will learn how to make a magic paper ninja star. For this you will need 8 sheets of square paper, all of the same size. Fold one sheet in half, open it up and fold both corners of one edge inwards along the centerline. Now fold the whole sheet in half inwards. Then fold the lower part in a triangular pattern, make a crease and open up the sheet. Fold the lower part inwards from the center and collapse the sheet over the fold. Do t...

In order to make your own envelopes, you will need a piece of paper, glue, scissors, and optional decorating tools/stickers.

In order to make an "I love you, Mommy" pop-up card, you will need the following: scissors, card stock, glue, and markers.
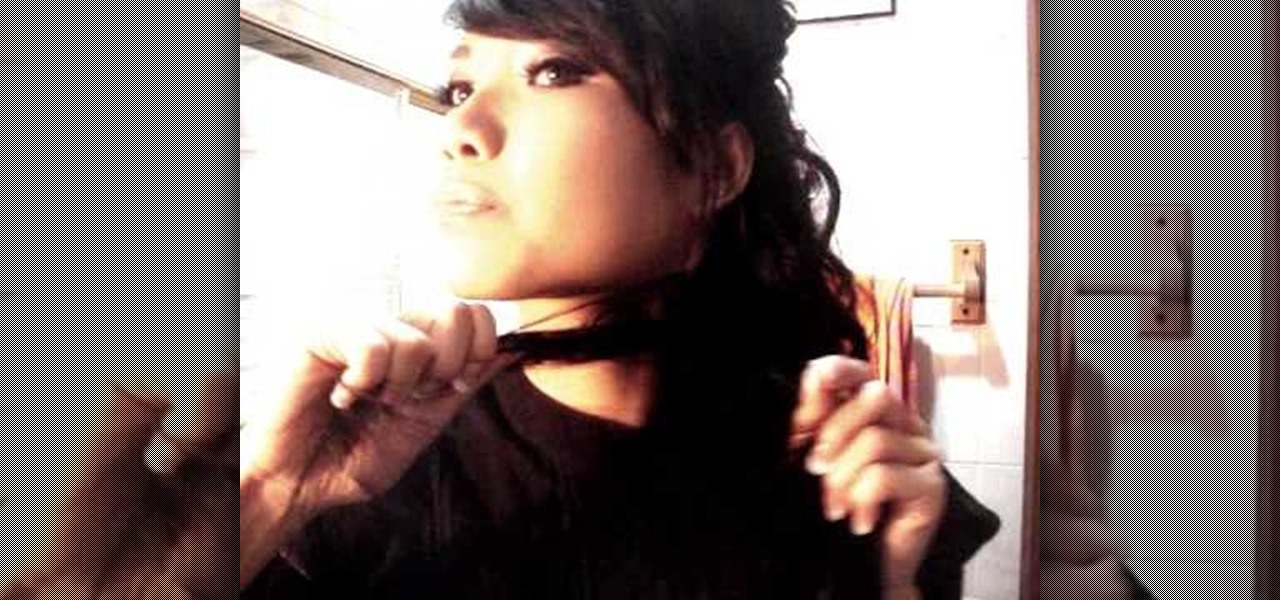
In this tutorial, we learn how to do a messy fishtail braid. First separate your hair so the bottom layer is exposed, then place on volumizing mousse and hair spray to this layer. Now, expose the rest of the hair and add the mousse and hair spray to this layer. Next, curl your hair with a 3/4" to curl the hair away from your face. When finished, section your hair so the upper half is in the back of your head, then clip this securely. Next, start doing a fishtail braid by braiding the outer si...
In this tutorial, we learn how to make a paper football for 1 dollar. First, grab your paper and fold it in half length wise. Next, make sure the crease is nice and clean, then fold it length wise once more. Now, fold one of the corners up into a triangle shape, marking the crease exact. Fold this up again and keep doing this until you get to the end. Once you reach the end, fold the other end in twice into the pocket you see. Crease this, then stand it upright and flick it with your other fi...

In order to set up a tent, for a camping trip, you'll need to lay out all of the parts of the tent. Place the poles at the end of the tent. Work on opposite sides. Inserting the pole on both sides. It may be easier with two people. Once you insert the pole, then you'll need to snap it, fastening all the snaps. After you have completed this step, lay the fly over the tent. Snap it in place, in all four corners. Make sure that sides are below the mesh. Now, you can stake the tent. Staking the t...

This video tutorial is in the Fine Art category which will show you how to draw a deer from a triangle. First you draw an inverted triangle which will make up the face of the deer. Then you draw two small curves starting at the two top corners of the triangle to make the horns of the deer. You can also draw more short curves or straight lines starting from these curves to make up the complete horns. Then you draw the ears starting just below the horns. Draw the eyes and color in the ears and ...

In this tutorial, we learn how to make a paper snowflake. First, take a copy paper and fold a quarter of it over to the other edge. Next, cut off the excess paper so you have a triangle shape. Now, fold a corner to the next corner, and repeat so you have another triangle. You can now cut corners off so they are even and you have a rounded snowflake. Then, cut a triangle starting from your edge points that you just created. Now cut slits a quarter inch apart into the middle of the paper all th...
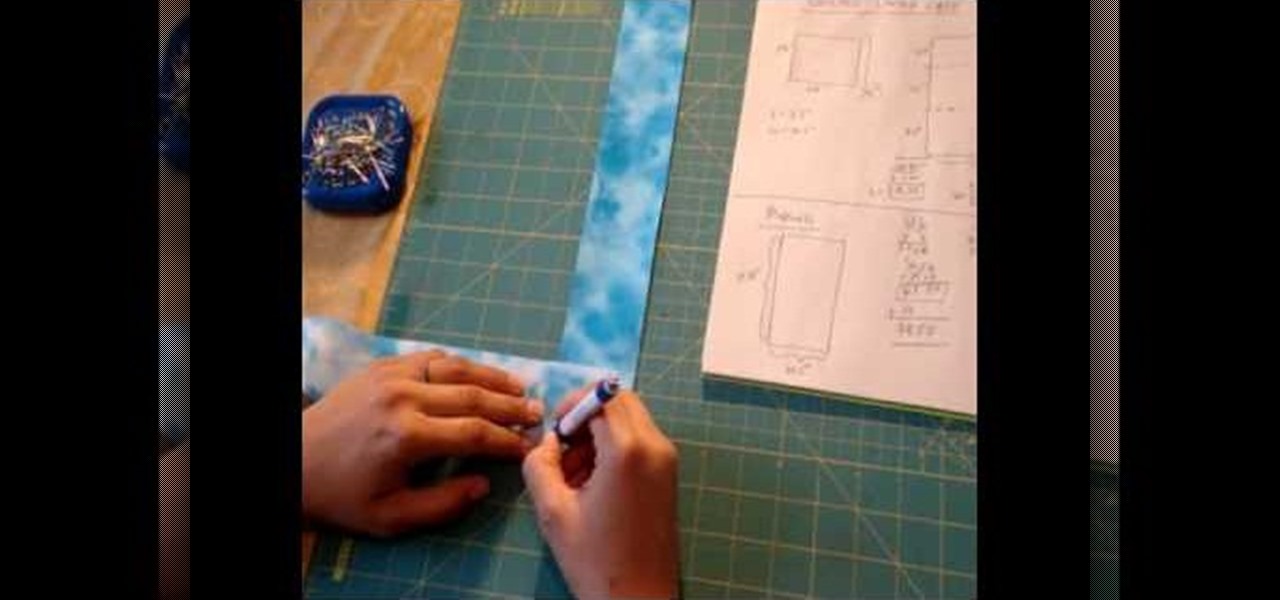
Are you completely done with your first quilt except for the raw hems on the sides? You could just sew the hems shut with a whipstitch, but if you want to add a little more ornateness and decadence to your quilt then you should watch this video to see how to add binding.
Unilateral exercises are easier than bilateral exercises, so it's safer to start with these types of weight lifting workouts if you're an exercise beginner.

In this video tutorial, viewers learn how to tie a double handkerchief for tuxedos. Begin with 2 triangle handkerchiefs and fold one over the other. Over lap the triangle to form one mixed triangle handkerchief. There are 2 ways to fold. The first ways is to take a corner and fold it up. Then flip it over and fold a corner down to form a square shape. The second way is to roll in the tow corners to create a cone shape. Put a card inside the fold and hold it together with a pin. This video wil...

In this Arts & Crafts video tutorial you will learn how to fold a hexagonal, six-point paper star with origami. Take a hexagonal sheet of paper and fold in half from all corners. Then fold each side inward up to the center point. Open up all the folds. Now fold one side up to the center point. Then fold one corner back over itself and fold the next side of the paper up to the center point. Continue like this for all sides and you will now have a smaller folded hexagon. Then lift up each flap ...
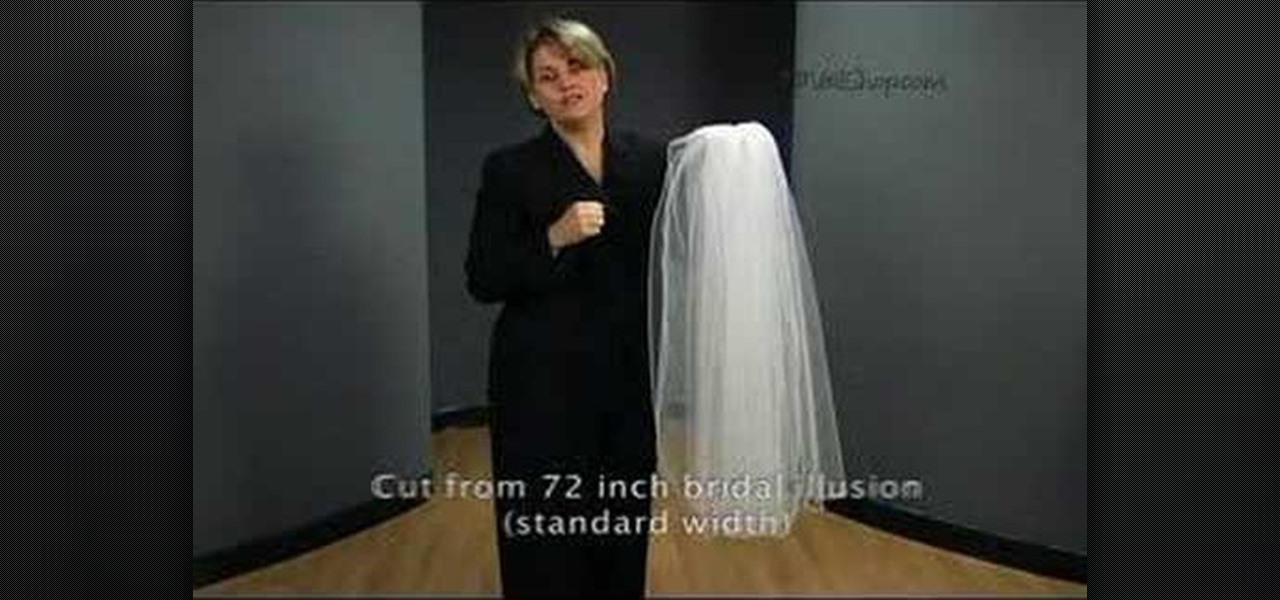
In this video tutorial, viewers learn how to cut an oval style wedding veil. The oval cut veils are exactly like the standard cut, except the sides are straight and the corners are curved. Only begin cutting 72 inches from the bridal illusion. Do not cut the veil any less than that. The standard width is 72 inches. The oval cut veil creates a more angular/squared off look. The oval cut style is only available in 2 layer styles. This video will benefit those female viewers who are getting marr...
Having a raised garden bed is great in the city because you can fill it with good soil and create a healthy environment for your plants. Install a hoop house made from PVC pipe. To build the raised bed, use 2x10x8 lumper. Predrill the holes at the corners to make it easier to assemble. Butt the ends together and use exterior deck screws to assemble it. If you want the raised bed higher, build another box the same size and stack them. Fasten a wire screen onto the underside of the frame to ke...
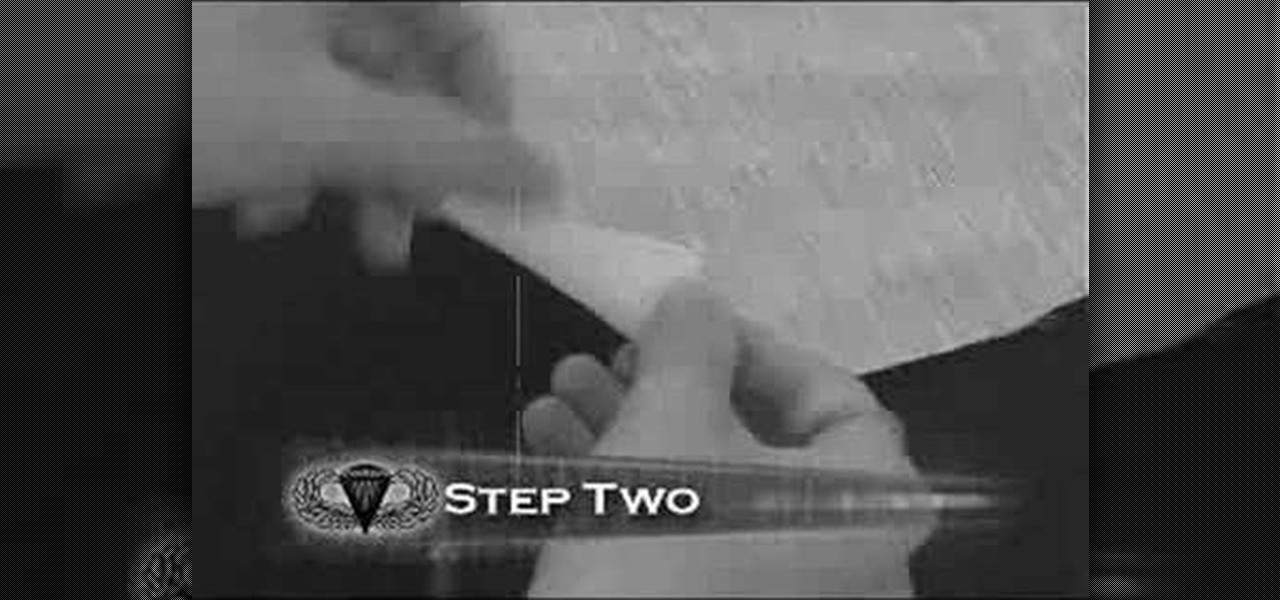
In this video tutorial, viewers learn how to make a toy parachute. The materials required are: lightweight fabric, ruler, scissors, string, 4 hole button and a toy army man. Begin by measuring a 10x10 inch square on the fabric and cut it out. Fold over each of the 4 corners and cue a small hole. Measure and cut 2 lengths of 36 inch string. Take the string and tie it to one end of the hole on the fabric. Run the other end through the button hole and tie it to the diagonally opposite hole on th...

You will use an old work glove to make the string. First cut the seems of the glove to the finger tips with scissors. Cut out the palm part of the clove. Remove the elastic off of the back with a knife. remove the hem with your scissors. Next, start cutting at the edge up around the shape of the glove. Keep going round until it starts turning into one long piece. Go back around the leather and trim up the rough edges and corners. He ends up with about seven foot of string. It's a cheep free w...

In this Arts & Crafts video tutorial you will learn how to make a folded paper ostrich with origami. For this project, you need a square sheet of paper. First you fold it diagonally across to form a triangle and cut it off in two. Then take one piece, fold it in half to form a smaller triangle, open and fold down along the centerline from the top of the triangle. Open it up and again fold along the centerline from the base of the triangle. Now fold from one of the corners up to the intersecti...

This video shows you how to remove acrylic nails using a nail tip. It takes a long time to soak the nails in acetone to remove them, and this method is quicker. To do it, slide one of the corners under any part of the tip. Force it in and slide it over across the nail and you will be able to see the acrylic nail lift up. Gently work on it to pull the nail off. It might hurt a little bit. The nail will look kind of rough, so you'll have to file it, and use some nail strengthener. Nail technici...
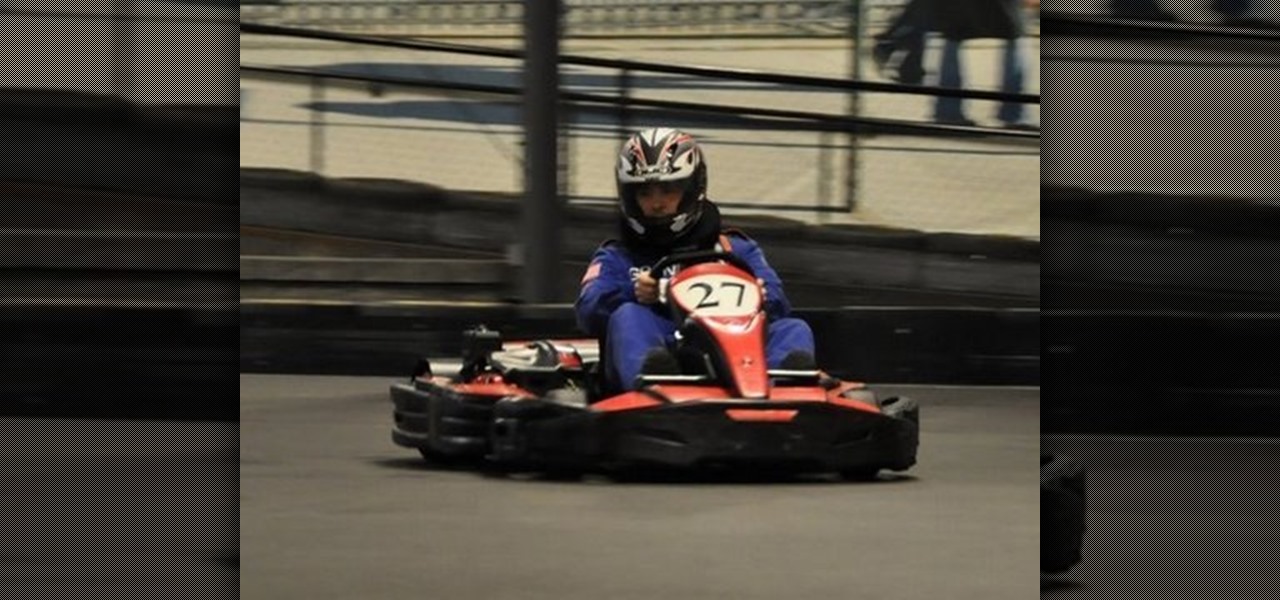
In this video tutorial, viewers learn how to drift with a go kart. When making a drift, do not press hard on the brake pedal and slow down at the turns. As you make a drift, press smoothly on the brake pedal and stick as close to the left side as possible. When you press the brake pedal to hard, the wheel will spin and will cause the kart to spin out. This video also provides a visual demonstration on how to properly drift with a go kart. This video will benefit those viewers who enjoy drivin...

Take a square piece of paper to begin. Fold in diagonally in half to form a triangle. You then fold both ends up so that it will form a smaller diamond shape. You then repeat what you just did, but folding two of the ends up again to meet the other side. Fold your piece of paper in half again revealing another smaller triangle. Flip the paper over and unfold the smaller pieces that you folded up to meet the ends. Pull these apart and then fold down in the middle. Bend in the 4 pointy corners ...
This is a demonstration of how to make a harrier paper airplane. First fold the paper in half lengthwise, making sure the corners line up. Unfold it and fold the corner toward the center line. Fold the top triangle down almost to the bottom of the paper. Fold the top corner in to the center line again. Fold in the first point. Fold the plane in half lengthwise. He demonstrates how to fold the wings in the right place so that the plane looks like a harrier. The plane can be customized and deco...