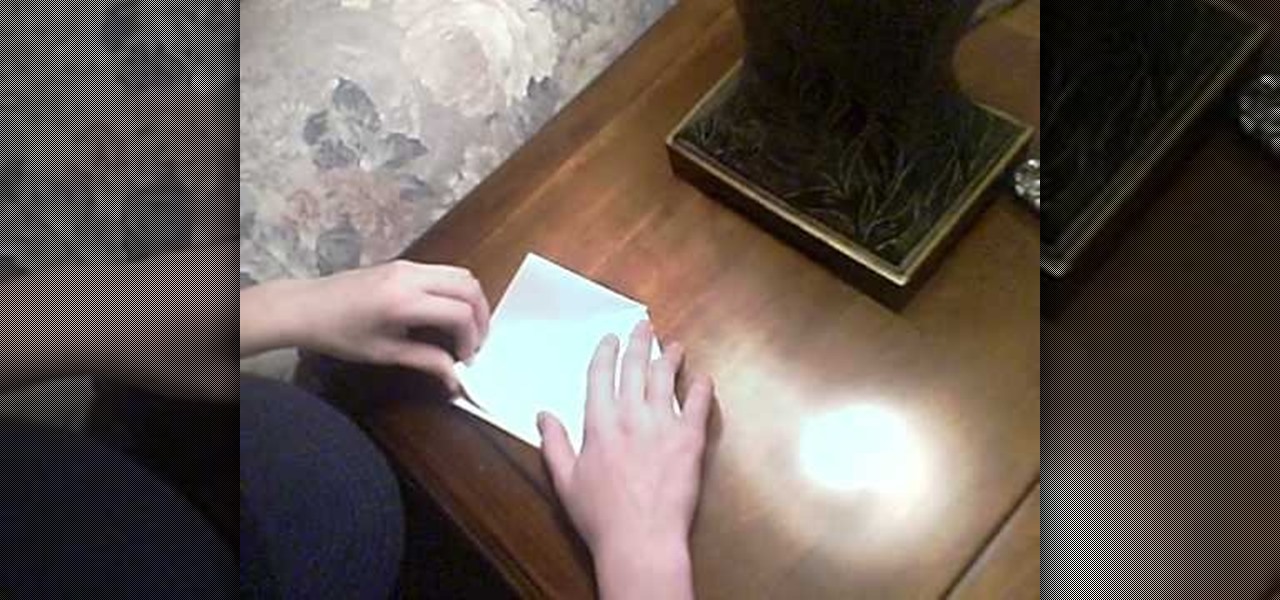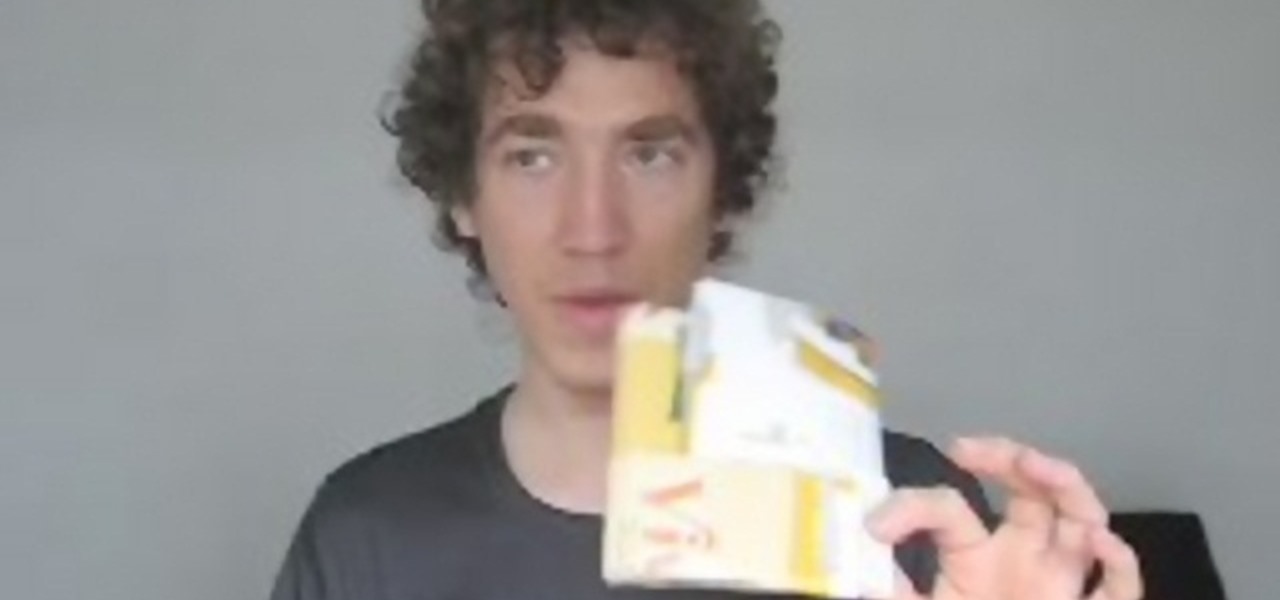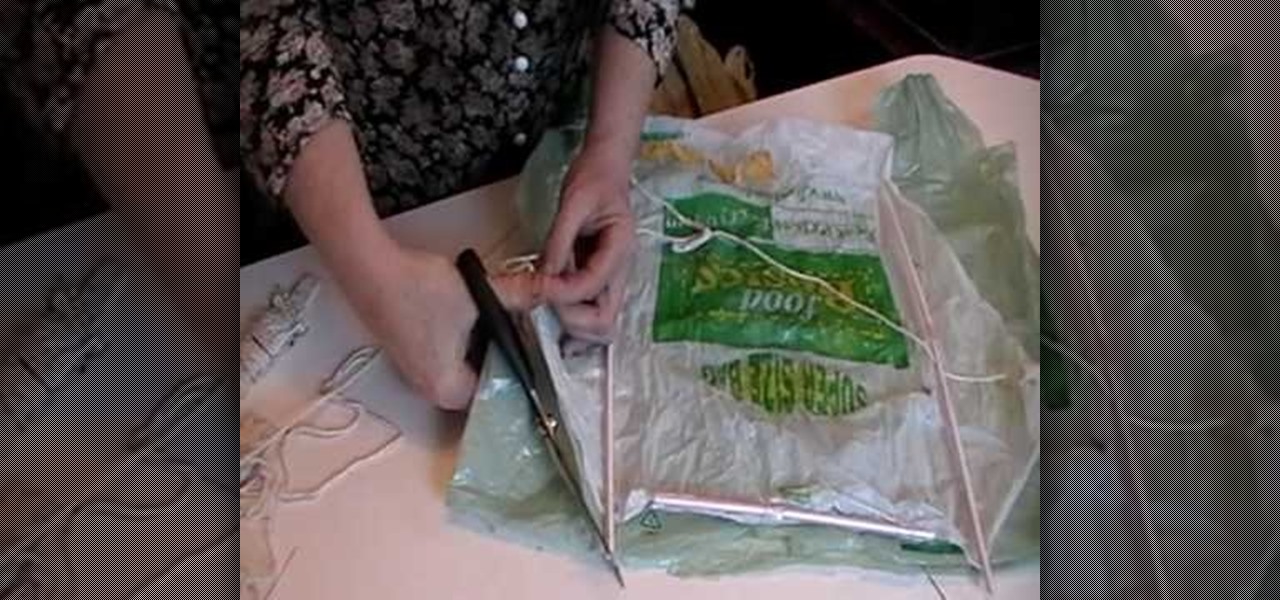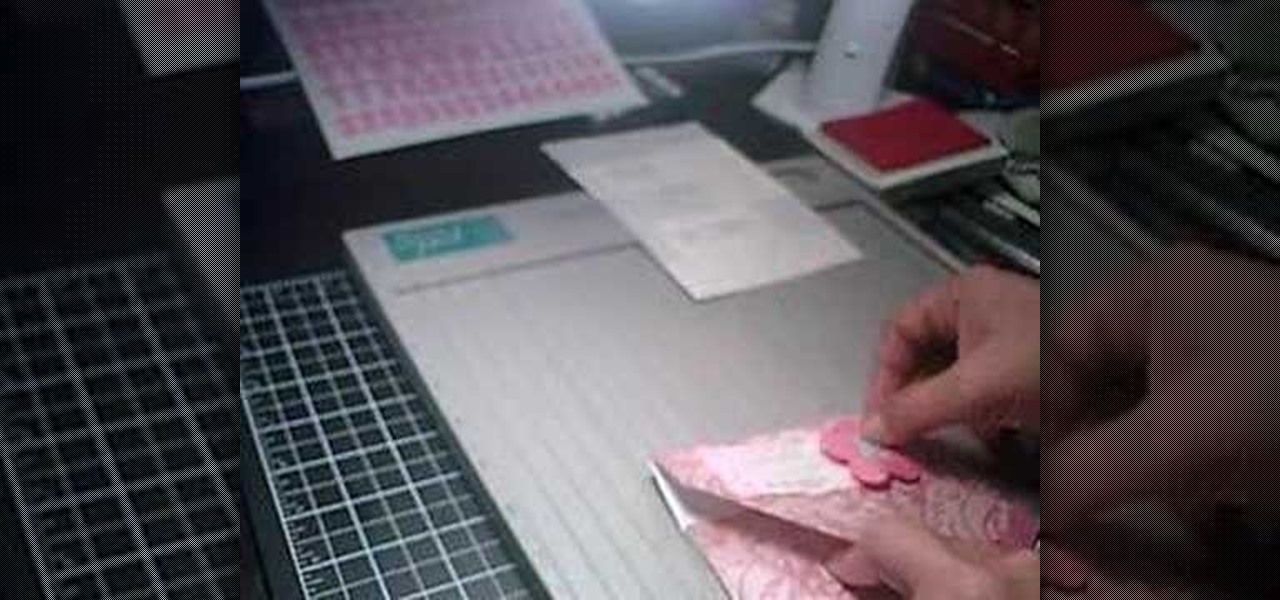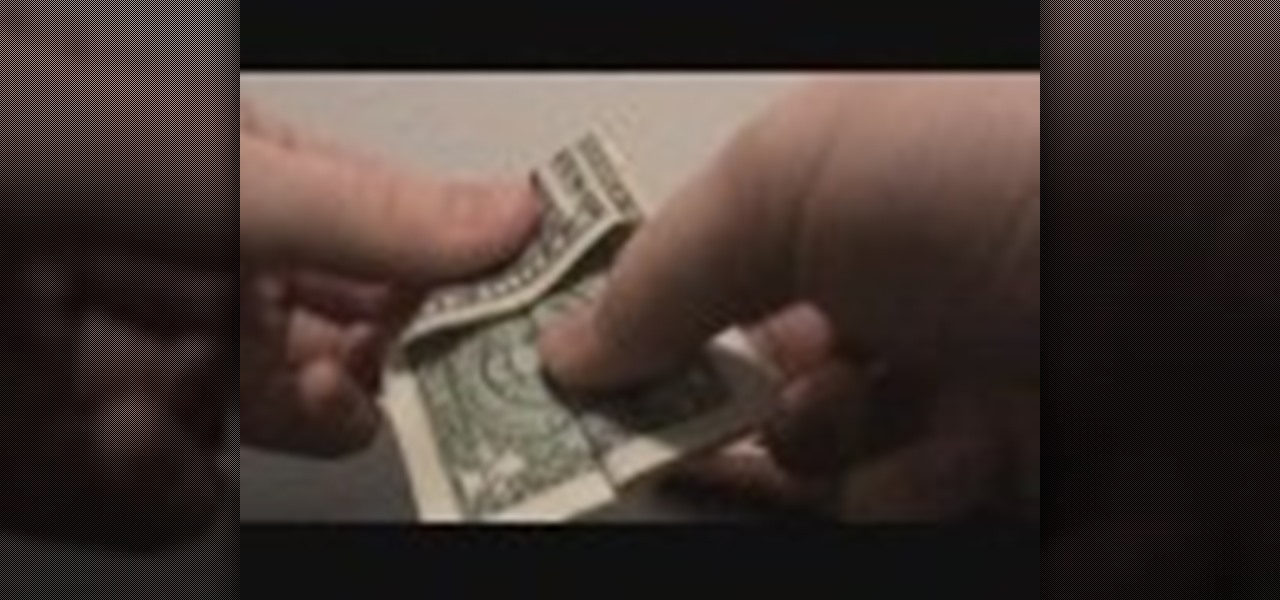
we are taught how to make a unique bow tie from an ordinary dollar bill in just a few short steps. There are no tools are supplies necessary, just your fingers and a dollar bill. Folding the bottom up, then again in half. Opening the sides it forms a 'tent' like fold on either side. Fold up bottom, fold end down. Fold the corners to the center, turn around and repeat that same motion. Pull out while grasping the middle. Flatten it out and there you have in your hand a bow tie, created in just...

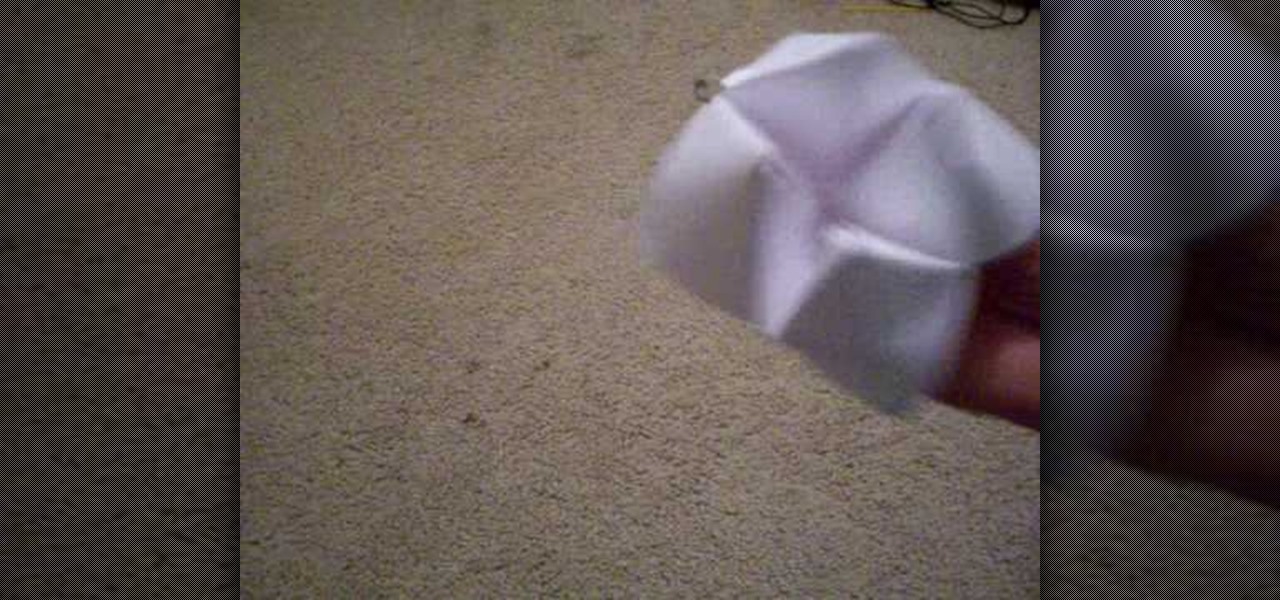
This video illustrate how to fold a paper frog. Here are the following steps.Step 1: First of all take a sheet of paper and fold it into half diagonally forming a triangle.Step 2: Now roll back the paper and fold this triangle it into half so that a smaller triangle is formed..step 3: Now fold back the triangle and make it into two equal halves.Step 4: Now take the corners and fold them all to the center and open it from the center to the joined line.step 5: Hold back the triangles out of the...
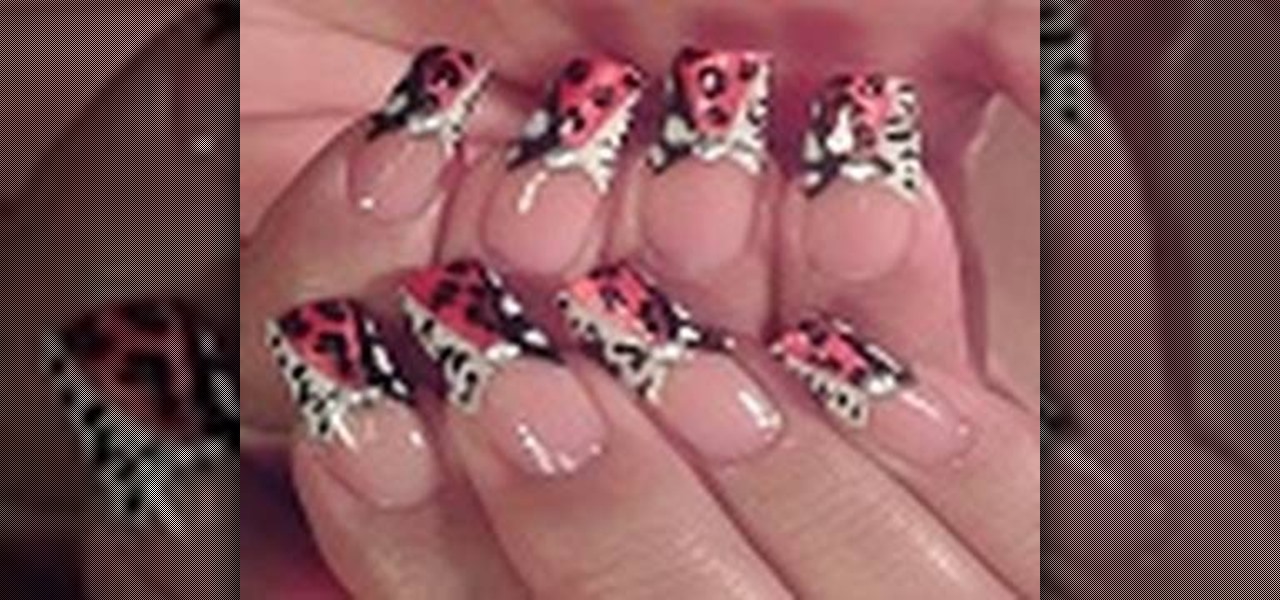
This video is a tutorial on how to paint your fingernails with a sassy animal print. The video begins with a an example of the finished nails being shown and the various alternatives used being explained. The first step completed is to dip the tip of the nail in a gray off white color and then use the color red to make small dots covering the entire surface of the nail. The red dots are then accentuated using the color black to give them a black shading. The final step taken by the nail artis...

Fyeo shows a cool way to fold a bandanna. Naturally you start with a bandanna. Lay it out flat and fold it so you get a nice big triangle. Then, fold it one more time so you get a smaller triangle. You then fold it again. Not so the corners meet, but so that just a little is hanging off. Then you take the corner and fold it in and under. Take about five inches up and fold it under so that a tail is hanging out of your back pocket. Once you've completed this, place the bandanna in your pocket....

This video is a tutorial on how to paint nails with cheetah print and rhinestones. The tools shown by the instructor consisted of nail polish and makeup sponge. The first step taken where to cover the tip of the nail in a white polish with a burnt orange colored finish. A sharpened pencil is used as an art tool to shape round circles onto the corners and center back of the nail made of a dark brown nail polish. The instructor then takes a glittery gold color to make river like patterns runnin...

Folding fitted sheets is always trickier than folding a conventional rectangular sheet. First, throw the sheet onto the bed. Then use your hands to tuck all the corners in on themselves. Then lay the sheet back down and straighten it. It makes a horseshoe shape with its elastic. Then fold one corner over the top so that all your elastic hangs over one hand. With the other hand grab the other corner so you can lay it down flat in a half moon shape with all the elastic together in one place. Th...

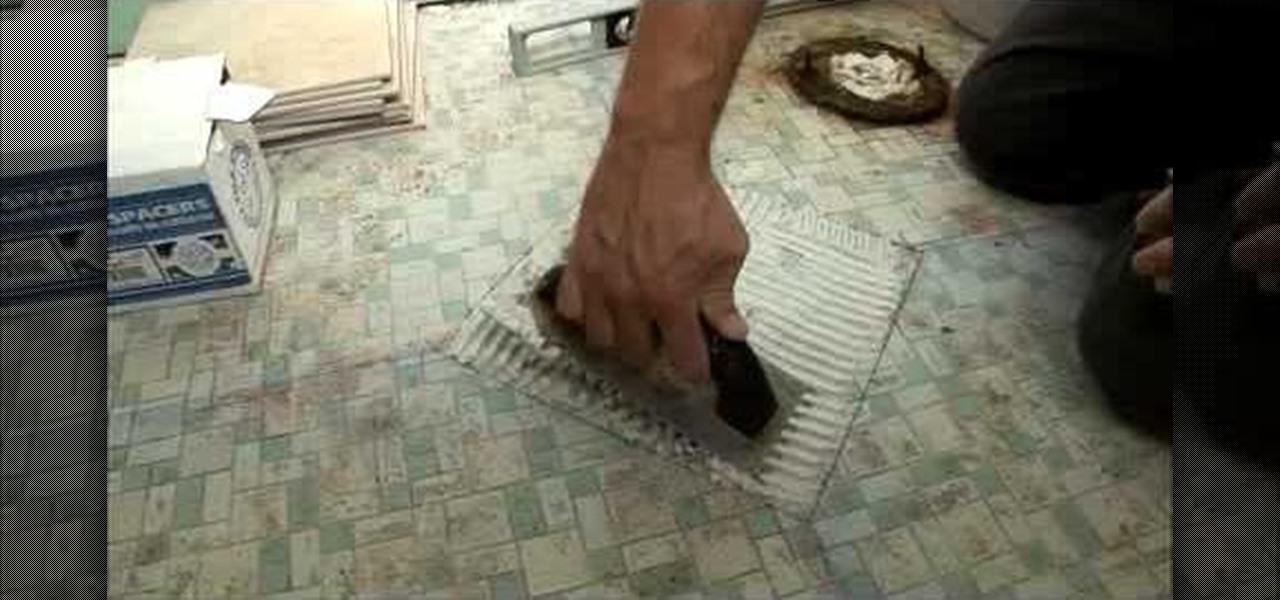
This video is from DannyLipford and covers the proper technique to lay tile in the bathroom. The first step is to lay some chalk lines to find the exact center spot of the room. The first tile will be put down diagonally so that the corners sit on the four chalk lines. Next the mastic is put down on the floor for the first tile and the tile is set into place. The process repeats itself until the tiles reach the toilet where some cuts are required. The presenter is using a portable wet saw tha...

In this Beauty and Style video tutorial you will learn how to iron a men’s dress shirt. Make sure the shirt you are going to iron is a clean one. Place it on the iron board with the shoulder towards the narrow end of the board. Switch on and allow the iron to heat up. Then take a spray bottle and spray some water on that part of the shirt which is on the iron board. Now you take the iron and apply it over the shirt while holding the shirt with your other hand to keep it in place. For the part...

This video teaches the method to add a virtual frame in Lightroom. The frames can be black or white. Go to the 'Develop' module. Open your Vignettes box. Go to the post-crop section. Slide the last three sliders to the leftmost position. Move the 'Amount' slider to the left to choose black frame and to the right side to choose white frame. The frame is rounded on the upper two corners. The 'Roundness' slider is used to round the frame inwards until a complete circle is obtained when the slide...

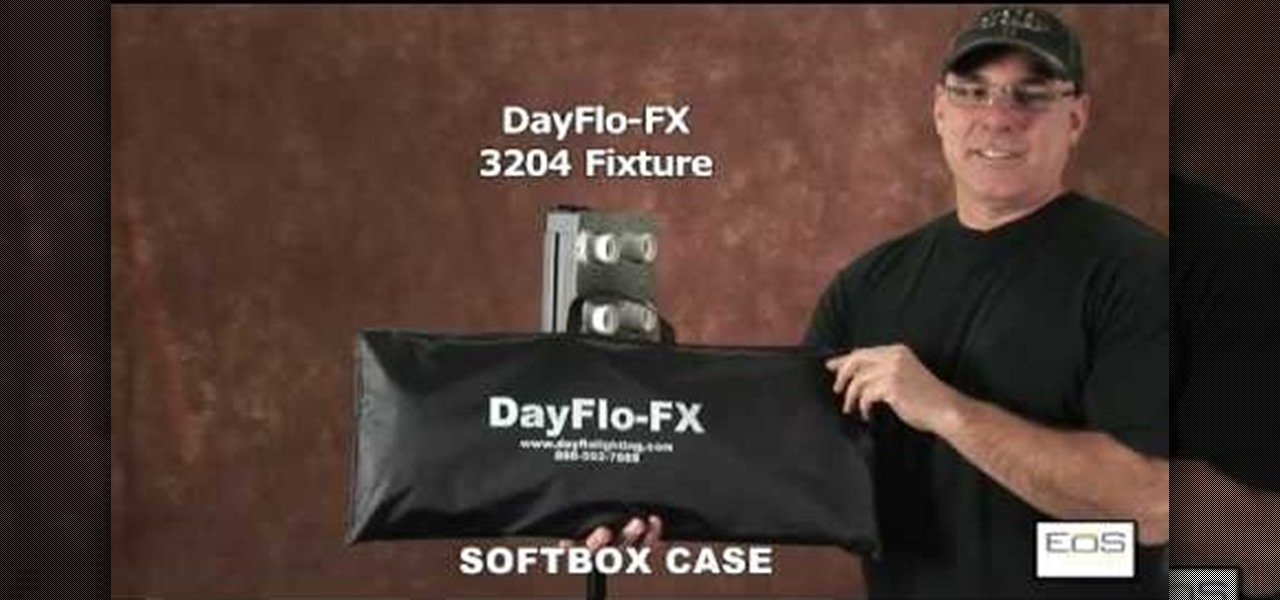
This video is a tutorial on how to assemble a DayFlo-FX 3204 Softbox. The instructor begins the video by showing what the DayFlo case looks like before assembly. The first part installed are the diffuser panels, it is also noted that you must remove the protective film from the front panel. The instructor notes that there are holes drilled into each side of the fixture. The next step is to insert the fat tipped ends of the rod into the corner holes and install the rods into the top two corner...

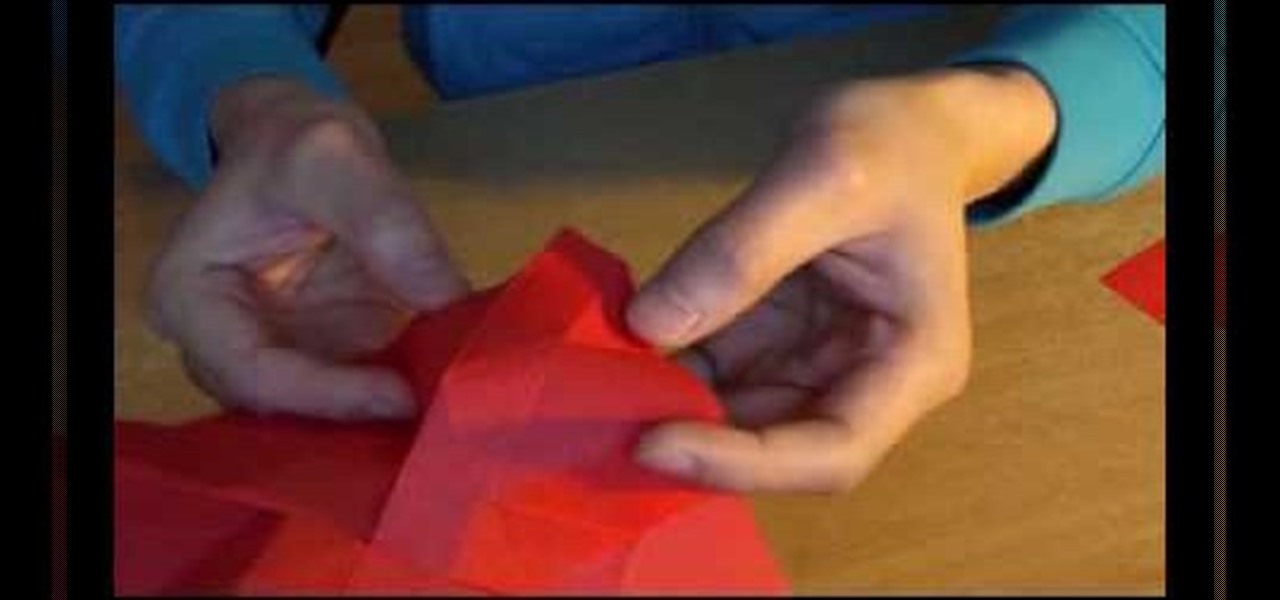
Make an origami rose for your love on Valentine's Day. This easy to follow video shows you how with romantic piano music to calm you while doing it! Start with a piece of red paper then make the initial guide line folds. You then start by folding in the corners then making more guide folds. Then the edges get folded in as you slowly start to see the flower develop. Then, you make a fold in the center and start to work your way around as the flower takes shape. A twist starts at the center the...

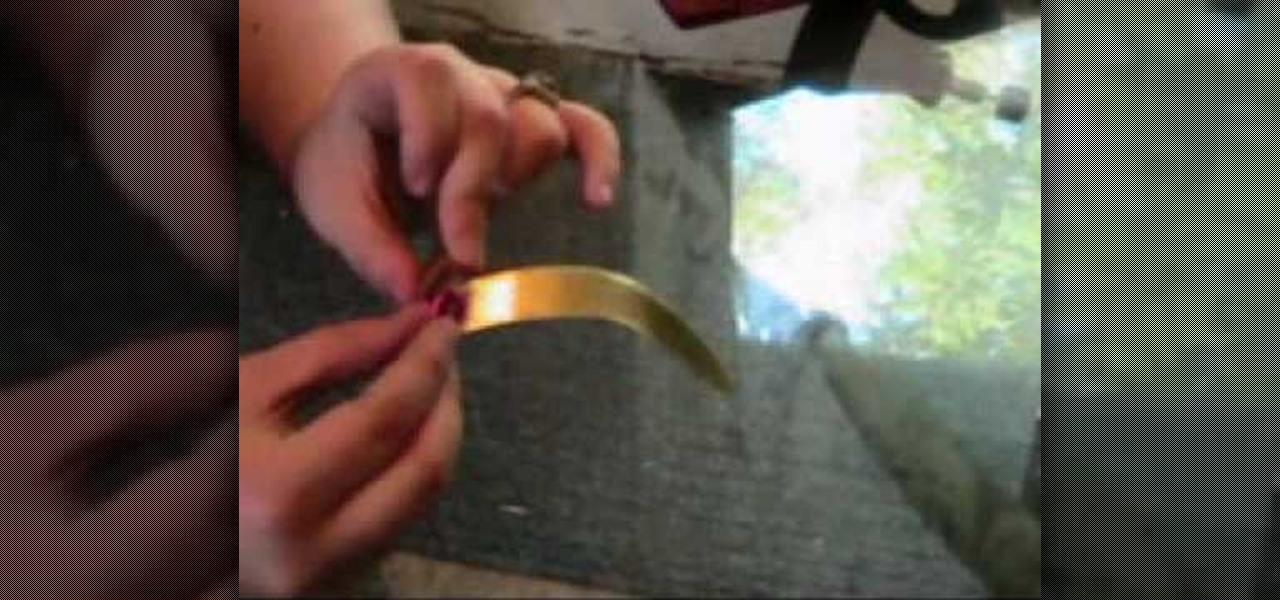
StudioMallory teaches you how to make a brass Sailor Moon tiara for cosplay. You will need a dremel with a grinding bit, a mechanical pencil, titanium covered scissors, two jewels, cardboard template and a piece of cheap metal. Trace the template on the metal using the pencil. Cut it using the scissors. Use goggles when using the dremel on the metal tiara. You have to grind it to make round corners. Now bend the metal in the shape you want. Use glue to apply the jewels. Once it's all dry, mak...

This is a video clip about "how to make a paper box". To make the paper box get a hard sheet paper and follow the instructions. Fold the paper into a half and unfold it and fold the other ending of the paper into half. Then, fold the one corner side of the paper and make a triangle to fit the center as the right triangle and do the same procedure for the other corner side of the paper. After that, fold the bottom side of the paper upwards and repeat the same process for the rest of three corn...

The top flaps on the cereal box should already be open. Then you must open the flaps on the bottom of the cereal box (the side parallel to the opening) and flatten it. Now use the creases made by the corners of the box and fold them inward; it should be flat again. Fold it length wise thus leaving a little rectangle of the flattened box that is not overlapped by the other half of the flattened box. Tax this tab and insert it into the opening in the adjacent half of the cereal box. Your cereal...

Learn how to make a homemade kite with this video. To do this you will need a regular plastic bag, some plastic straws, string and scissors. Begin by using the scissors to cut the bag in half, around the edges. Once you have this, make a rhombus shape out of it. You will need five straws and tape. Use one straw for the top and two straws on each side. Make sure that these two sides are the same side. Add clear or regular tape to stick the straws to the plastic bag. Lastly, tie the string at t...

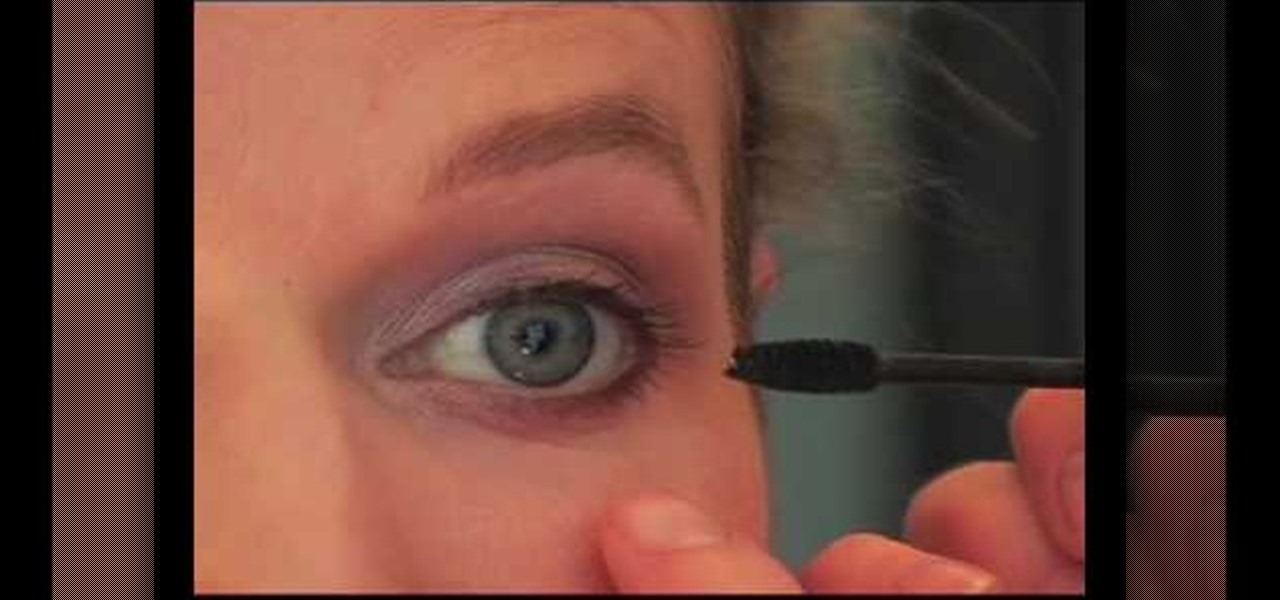
Judy teaches the secrets of creating a smoky bronze country girl look in simple steps. First apply the primer, then apply a light brown color to your lids. Now apply a bronze color over your lids and to the inner corners apply a ivory color. For the outer corner apply a darker brown and use black color to deepen the crease. Apply a black eyeliner to your upper lashes, then a dark brown to your lower lashes and add some false lashes. Now blush your cheeks using gingerly and apply some lip glos...

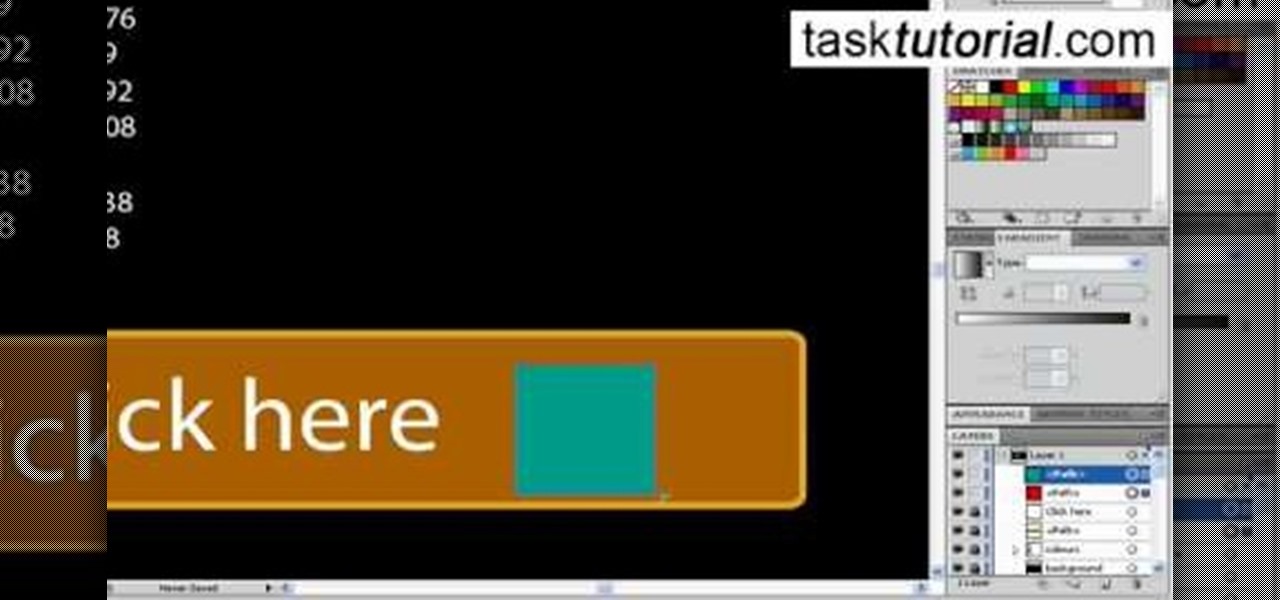
Let's learn how to create a website button in Illustrator! First draw a rectangle with rounded corners. Then create some text named 'click here'. Resize the bar according to the text. Again take rectangle tool and create two of them diagonally and place them one below the other as in a shadow. Then go to window pathfinder, select both rectangles and click in pathfinder to create an arrow and fill it with background color. The button is ready. It will help in getting more ideas for creating un...

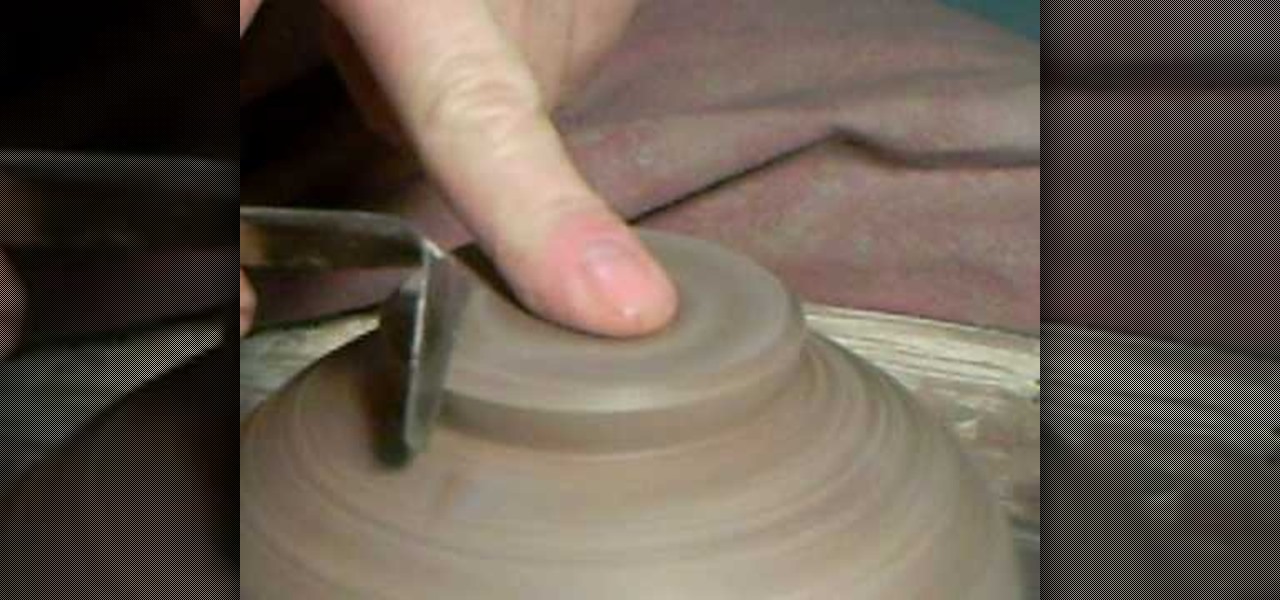
Simon Leach teaches you how to do ceramic trimming and sealing. You wet the top of the pot and place it on the wheel. You push down on the bottom, sealed side, when the wheel is spinning. You use the trim tool to cut into the base side. You do this at an angle and make sure you hold the trim tool like a stake knife, not like a pencil. You empty out the leg until you are pleased with it. You round off any sharp corners and you have to put the last piece, the seal. On the bottom you take a piec...

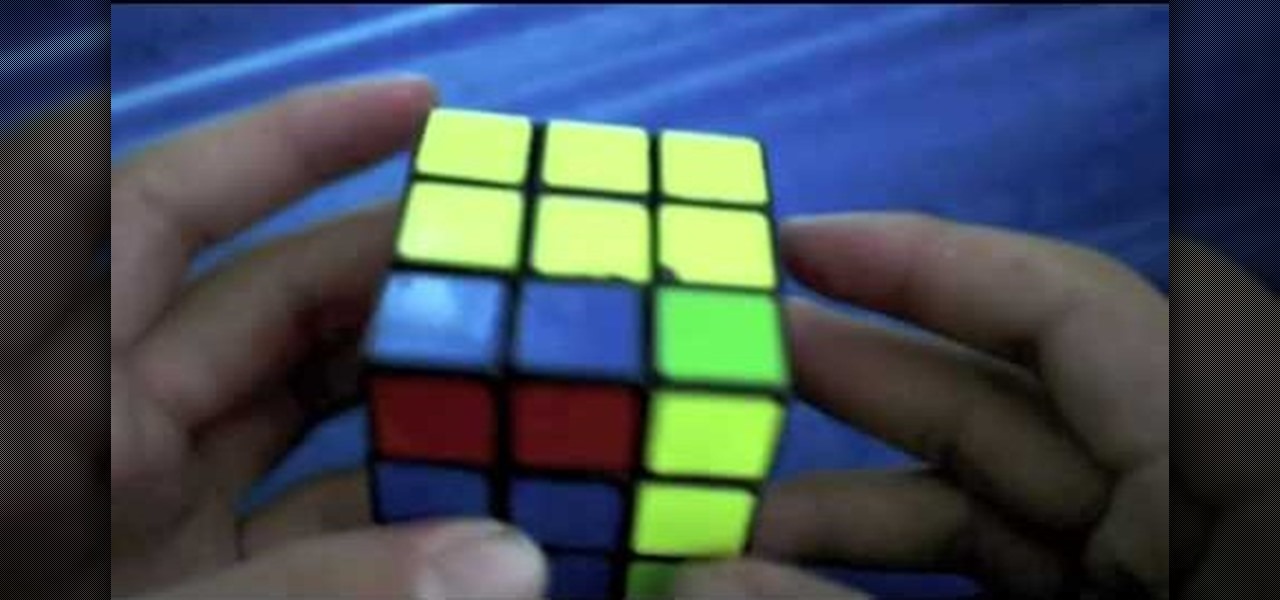
The video shows a unique method of solving a Rubik's cube. The method is called F2LL or 'winter variation'. There is very little information about this method on the internet. It deals with Corner Orientation. The person in the video is a skilled cube handler. There are 27 algorithms and their mirrors in the F2LL method. While you form an F2LL pair, you need to orient the corners at the same time. This method makes cube solving all the more easy.

Take one large newspaper sheet that consists of two pages on each side. Fold in half lengthwise (the way it comes in the newspaper). Fold in half again (bringing the top of the paper to the bottom). Fold corners (on folded side) to middle. This will make a pointed top to paper. Fold one piece of bottom of paper up to the bottom of the pointed fold. Fold bottom again until it overlaps a little of the pointed part. Turn hat over. Fold sides in about 1 1/2 to 2 inches (it will look like a house)...

Gamer Dude 5000 Arts and Crafts Demonstrator offers a short tutorial with a single sheet of 8 1/2" X 11" paper and pair of scissors. First you fold the corner of your paper out till the top half of your paper and the side of your paper is flush. You cut off excess paper with a pair of scissors. When you open the paper back up, you will have a square sheet of paper that you can fold. You fold all the corners of your square in to the center. Then you flip it over to the back and repeat. Once do...

Learn how to make simple tri-fold cards with these instructions. What you will need: -5 1/2" by 11" cardstock paper -Scorer -Scissors and paper cutter -Pencil and Ruler What to do: -Score the cardstock to 3" by 7 1/4" -Using the 3 3/4" flap, from the corner measure 2 1/2" and mark with a pencil. -Repeat on the horizontal side of the cardstock. -Cut the corners using the marks as your guide. -Round the pointed end with your scissors. -Fold the card at the score line. -Embellish your card as de...

Street artist wackojacko54321 teaches you how to draw "wild style" graffiti. There is no definite technique or way of drawing wild style. Wackojacko54321's interpretation involves starting with a simple piece with connecting letters (of which he provides an example) and possibly arrows. Add more basic arrows and connections to unify the piece more. Connection points of the arrows are important. Attach them to the ends/corners of letters or other letters/connections. Spice it up with more adva...

Heat olive oil in pan in medium heat. Sauté ginger and garlic for 30 seconds, or until the garlic corners turn golden brown.

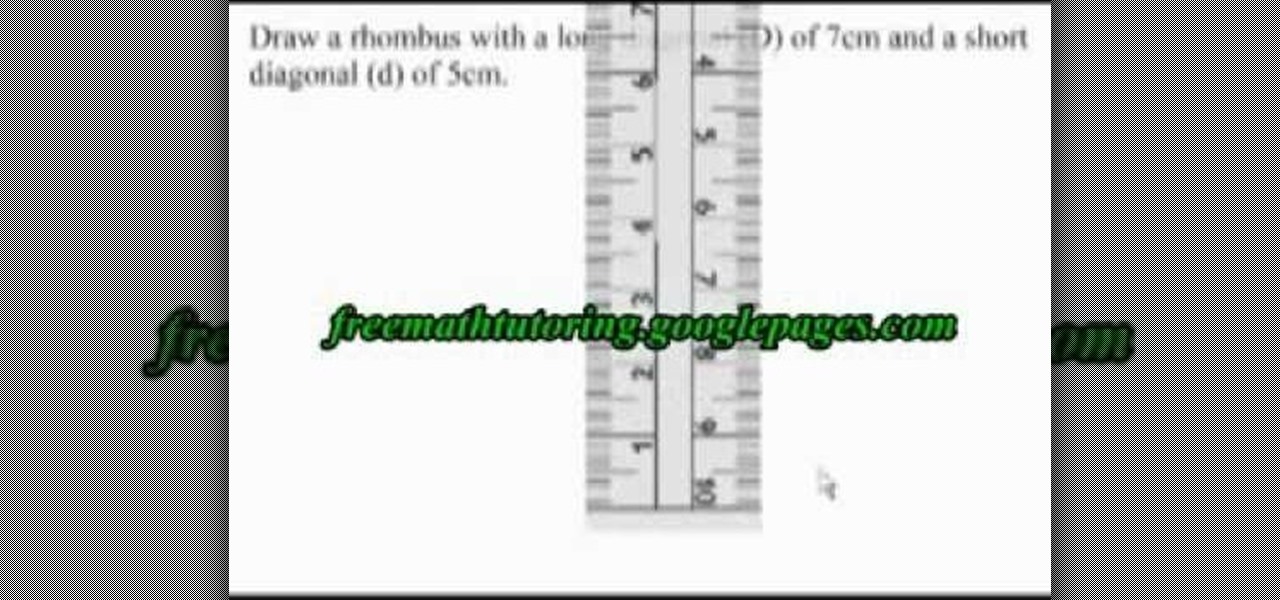
In this video the author shows how to draw a rhombus when given with the values of long diagonal (D) and a short diagonal (d). Now he draws the long diagonal of size D horizontally on a sheet of paper. Now he points the mid point of the line as he explains that the diagonals of a rhombus meet at midpoints. So now he takes the ruler and draws an another line perpendicular to the first line through its marked mid point such that the length of the perpendicular line is d/2 both above and below t...

Beechbum06 shows how you can create a Khloe Kardashian makeup look. Use the colors you have and achieve this look inspired by Khloe's photo shoot. A Coastal Cents palette is used. Build your colors in neutral tones. Blend some browns in the creases. Apply some dark shades to your outer corners for some depth. Add some blush, mascara, and lipstick to complete the look. You too can be photo-ready in minutes. Remember to blend so you look flawless.

Patti Moreno, the Garden Girl, shows how to install a drip irrigation system in a container garden for growing herbs and vegetables. Container plants also need more fertilizer. First, at the spigot, connect a manifold/timer with a fertilizer dispenser and a filter to remove particles. Then run a half-inch main tube line to the patio, using clamps to secure the tubing to fencing and elbow joints at any corners. For each container, punch a hole in the main tube and attach a quarter-inch tube wi...

This video shows the viewer how to hang dry wall easily and efficiently. In the video the creator uses a utility knife to score the sheets he will be using to construct the wall. He then snaps the sheets and finishes the cut with his utility knife. He uses a dry wall lift to hold the sheet in place before he screws it to the wooden frame. He specifically fastens the screws working across the sheet - not fastening the corners first. This stops the sheet from buckling due to errors and allows i...

Framing and matting your favorite posters or art can get expensive! In this Curbly video tutorial, you'll learn how to make a quick and inexpensive frame. All you need are some basic supplies available at almost any arts and crafts supply store including: A sheet of plywood, a plexiglass cut to the size of the plywood, archival paper cut to the size of the plywood, frameless corner clips, and a bracket.

Howitzers are a type of artillery first employed in World War 1. In this video you will learn how to make a toy howitzer out of Legos. It's easy to assemble, and it fires rubber bands!

To install a sliding patio or deck door, first decide a practical, aesthetically logical and structurally sound location for the entranceway. Do not locate a patio door closer than 4 feet from any corner, otherwise the solid-wood sheathing or metal bracing at the corners could be compromised. Also, plan ahead. We chose the door's location in part because it allowed the option of later adding a bathroom at the corner of the adjacent wall. For a step-by-step at the installation process, take a ...

This how-to video is not for church-going makeup; the makeup look demonstrated is based on the deadly sin of wrath, and is as intensely theatrical as it sounds. The cosmetic products used to create this look are MAC's Full Coverage Foundation, Select Moisture Cover Concealer, Blot Powder, & Peach Invisible Set, Bat Black Cream Color Base, Black Black Pigment, Bat Black Cream Color Base, Dark Soul, & Softwash Grey Pigments, Burnt Burgundy, & Black Black Pigments, Boot Black Liquid Liner, Bat B...

In this video tutorial, you'll learn how to solve the Rubik's Cube's PLL (Permutation of the Last Layer) with these tips and tricks. You'll learn some simple memorization techniques for PLL's, you'll be shown a website and a timer that made for the PLL's, and you'll learn some basics Rubiks Cube tips and tricks.

This is a Jessica Simpson makeup and makeover video tutorial that will show you how to get her natural makeup look at home. This before and after video will show you how you can achieve Jessica Simpsons' beautiful, glamorous and natural makeup yourself. Use earth tone makeup, sheer foundation, loose powder, bronzer, black eyeliner on the top eyelid and brown eyeliner on the bottom eyelid, pink and brown shimmer eye shadow, black mascara, lightly penciled eyebrows, pink cheek blush and a natur...

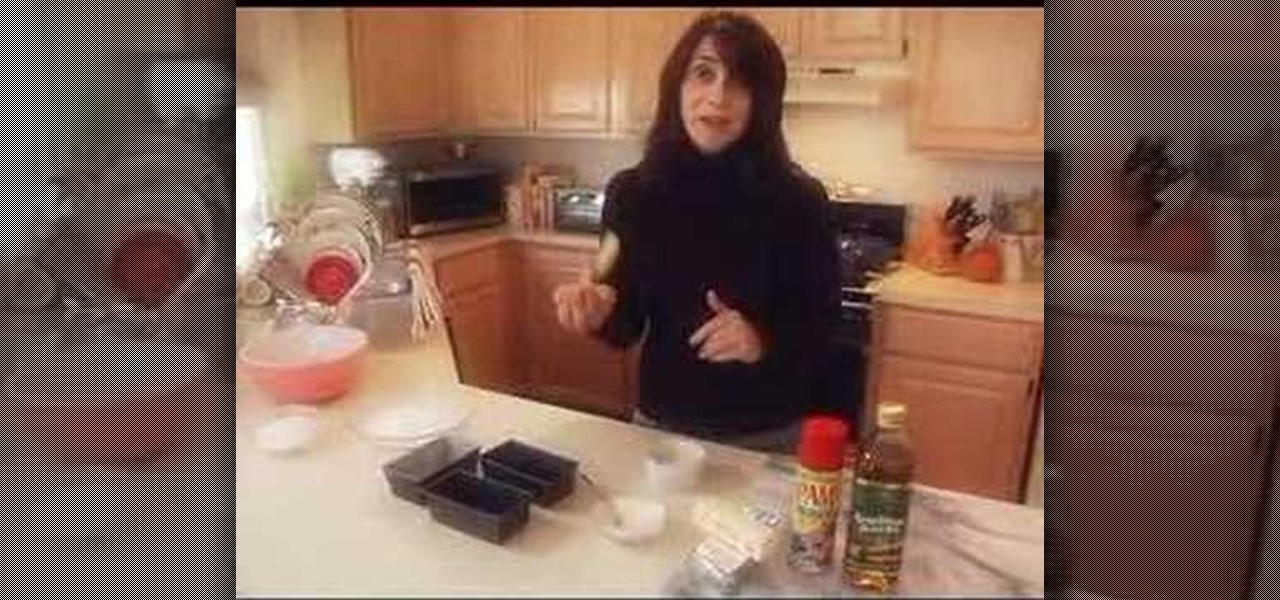
Recipes never tell you what to use or how to prepare your pans for baking. You can use butter, cooking oil or non stick spray such as PAM. Use a pastry brush and brush the oil or butter in all of the pan, be sure and brush in the corners. Put a small amount of flour in the pan and shake around until the pan is completely dusted. Watch this how to video to learn more about preparing baking pans.

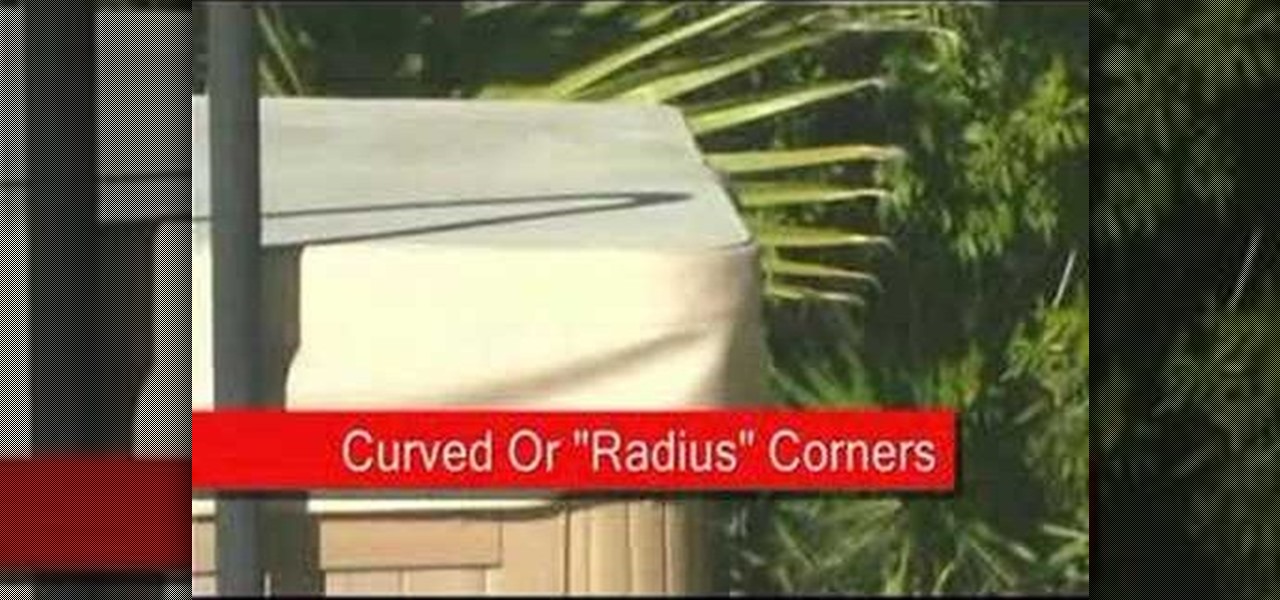
Does your hot tub spa cover need worn and need a replacement? Watch this three-part video tutorial to learn the measuring basics and get tips on how to measure curved corners before ordering your new spa cover.

In order to make a photo album with a paper bag, you will need the following: a bone folder, paper bags, decorative paper, hole punch, matte board, adhesive, and paper fasteners.

Spiders. They live around you, the sleep next to, and they hide in the corners of your room. They're considered pests by most people, but to some, then considered a delicacy. Believe or not, the strongest natural fiber known is from the silk of the Nephila spider, but that spider is nothing compared to a huge, hairy, hideous tarantula. Tarantulas have been a delicacy for years. Enjoy one of these recipes when they are hot and crispy.

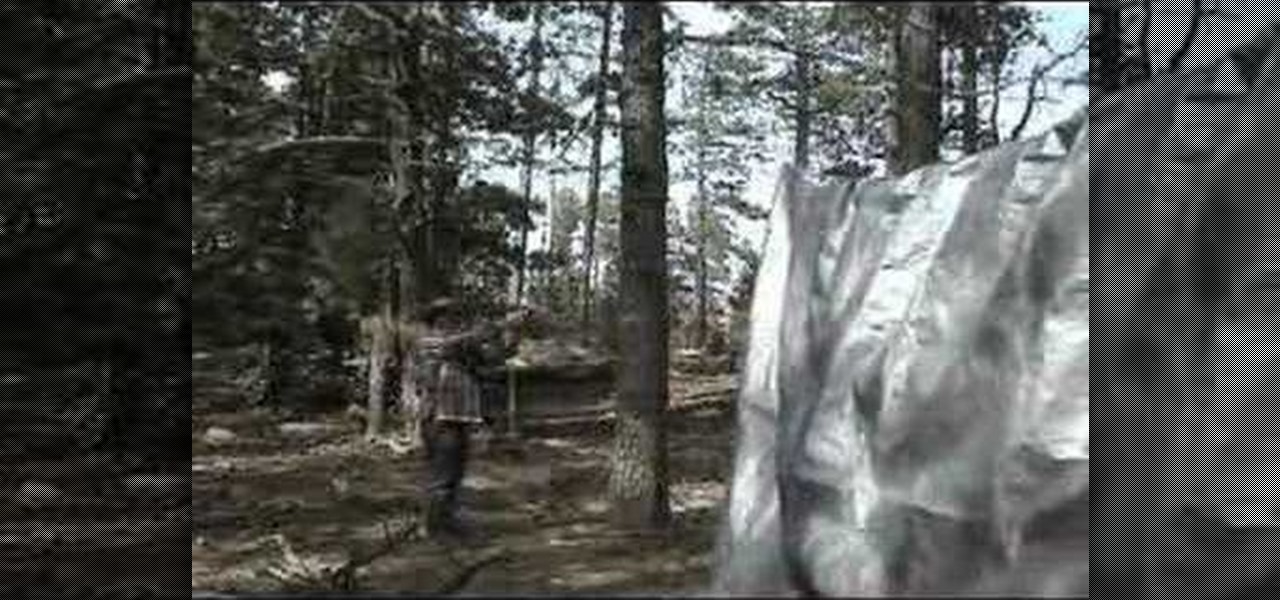
Learn how to put up a tarp for shade and protection from the rain in this video. First, find two trees with a nice flat spot in between them. Throw a rope up over a limb at least fifteen feet or so high. Now, tie the rope off to itself or to a smaller limb. Next, secure the rope on the other tree and leave the slack on the ground. Next, put the tarp over the rope evenly and anchor one end with a wire tie, small rope or bungee. Now you hoist the tarp up using one end of the rope and pull it to...

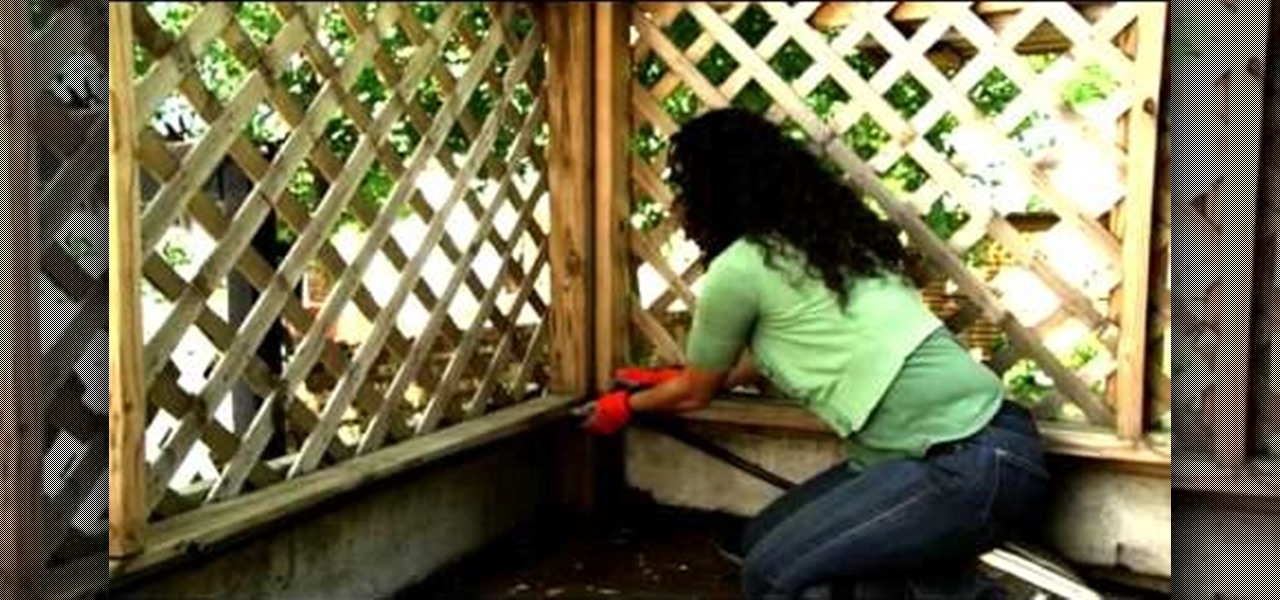
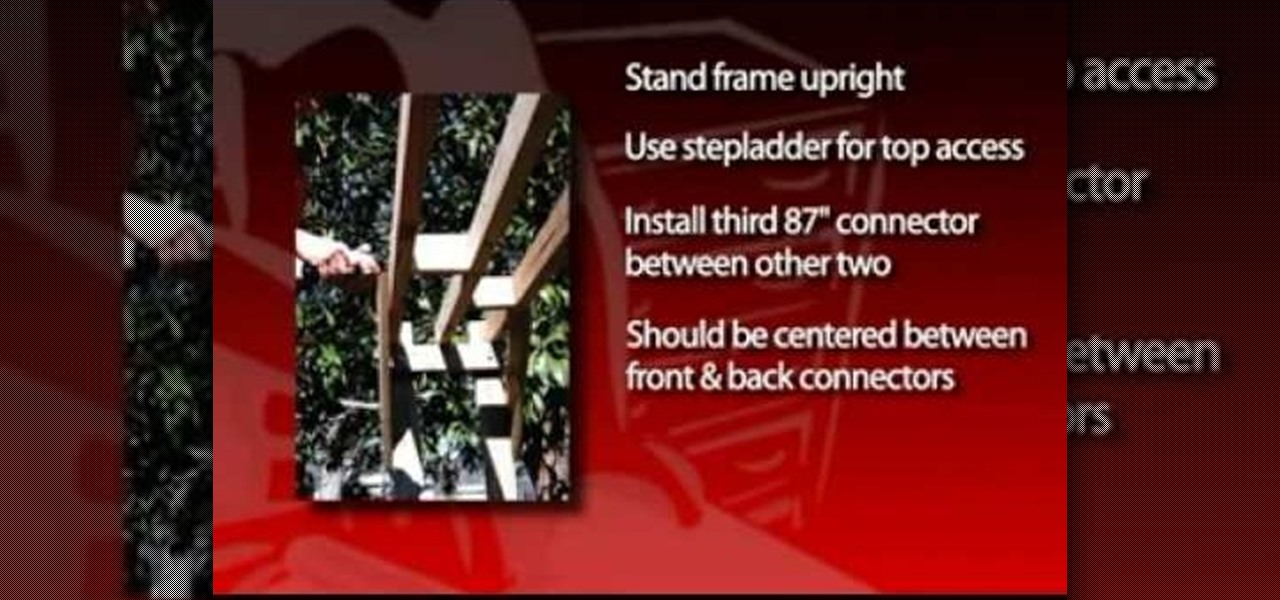
In order to build a backyard swing arbor, you will need the following: 2x4s, 1x6s, a bench swing, 4x8' sheet, a drill, carriage bolts, galvanized nails, and screws.


