In this video, we learn how to transport & store your decorative cakes. First, you need to consider what icing you covered your cake in. If it's made with butter cream icing, you should store it in the fridge for a couple days before transporting. Also, if you're making a whipped cream icing, this needs to be refrigerated before you transport it as well. There's a whipped icing mix on the market today that you can buy, but don't have to refrigerate. If you've covered it with fondant, place th...
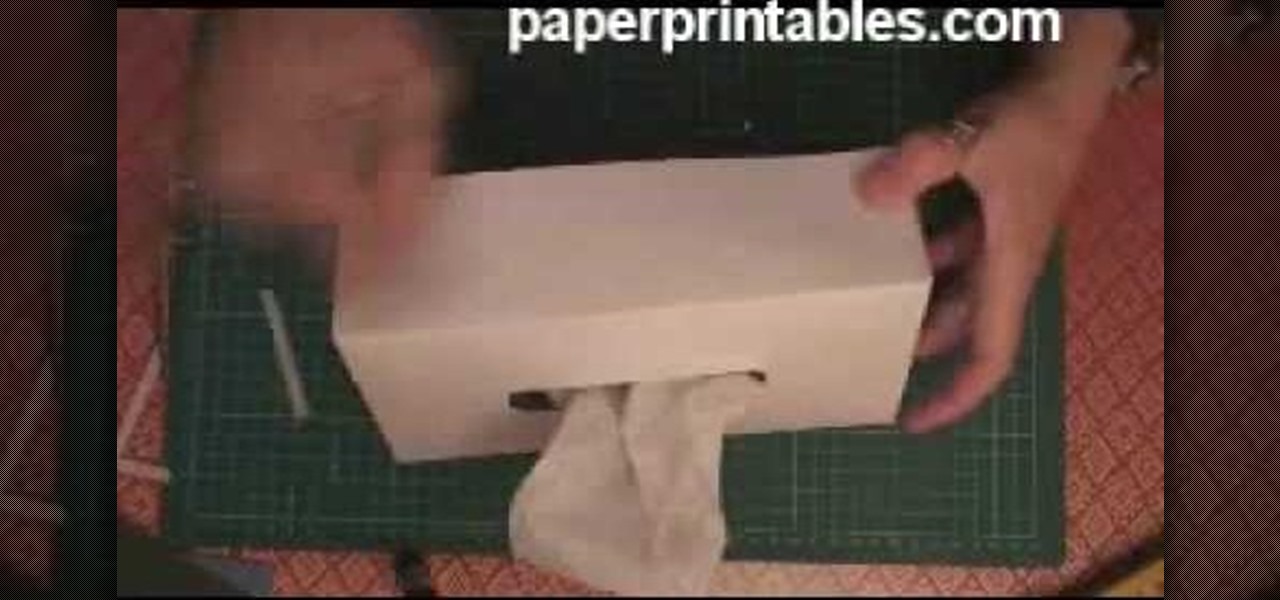
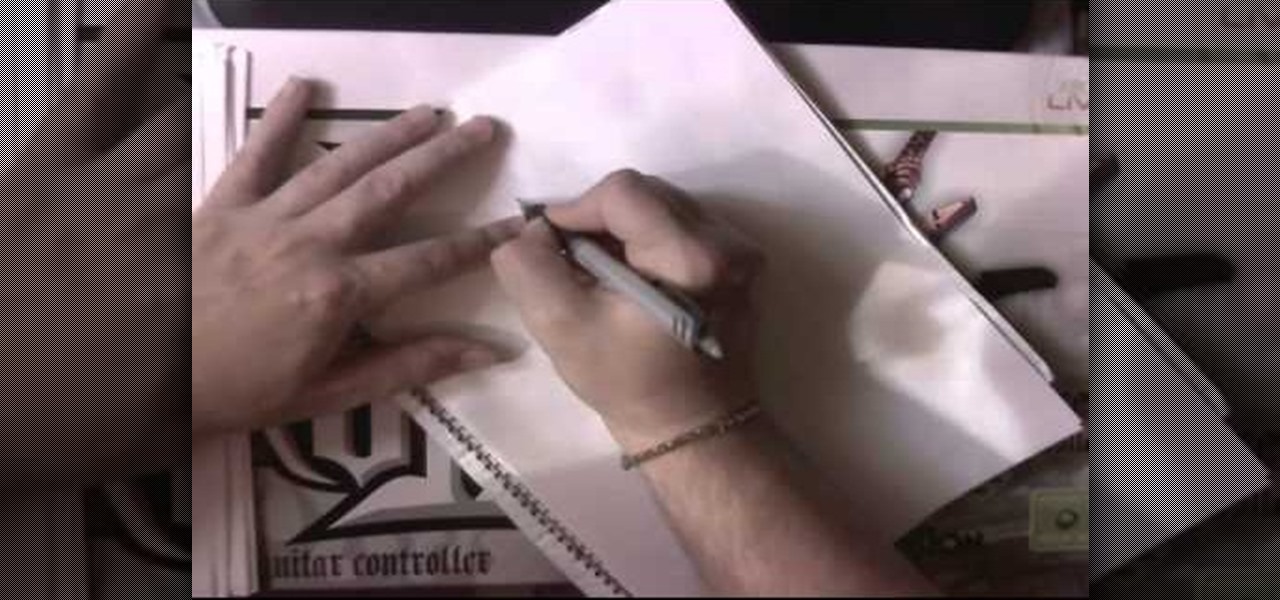
In this video, we learn how to make a decorative tissue box cover. First, you will need to get a piece of paper in your choice of color and set your tissue box on top of it. Use different colors of paper to trace out the edges of the box and then you will tape them all together. Make edges off the paper when you trace them so they fold over. When finished, you will put this onto the tissue box. You can also decorate this with any accessories that you would like to add a personal touch to the ...
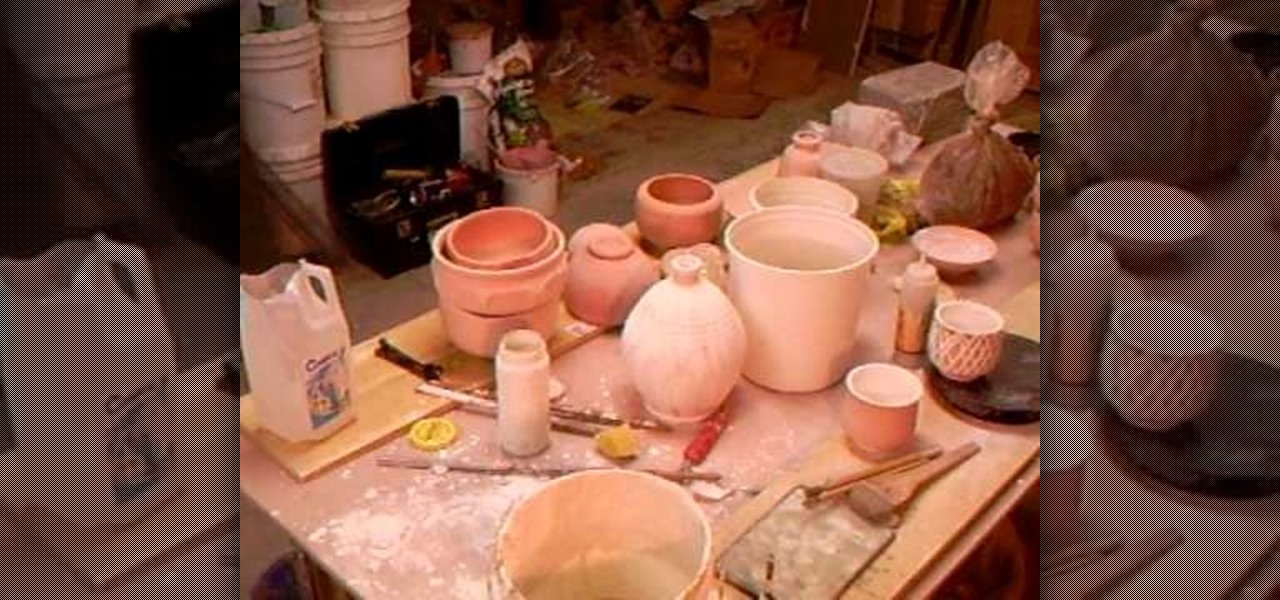
Simon Leach teaches us how to glaze trailing and pouring for pottery. First, you will dip the entire pot into the glaze after you have poured it into the middle. Wind up your wrist as you are pouring it out so you cover all of the sides in it. Just dip it down a little bit so it goes over the edge of the tip to cover the mouth of it. To use a balloon wand, fill it with the glaze and then use this to glaze the pots. Simply drop the liquid onto the pot in straight lines as you are turning it wi...

In this video, we learn how to remove ink stains from your American Girl doll. If you get ink marks on your doll it's pretty easy to get off with just some Oxy spot treatment clear. The main ingredient in it is Benzyl Peroxide, which is an acne medicine. After you have this, you will put a little bit of it onto the stain on the doll. Apply this using a Q-Tip and not your finger, to avoid oils. Press this all over the spots on your doll, then cover the spots with plastic wrap. Put the doll in ...

In this tutorial, we learn how to take apart the Google Nexus One. First, take the battery cover off, then remove all the screws along the side and top of the phone on the back. Next, use an opening tool to pry the case off of the back. Then, pry the bottom cover off and then remove the two T5 screws underneath that. After this, take the casing tool off of the back and then remove all the Philips screws. Now, remove the three flex connections and the cable connected and set them aside. Pry th...
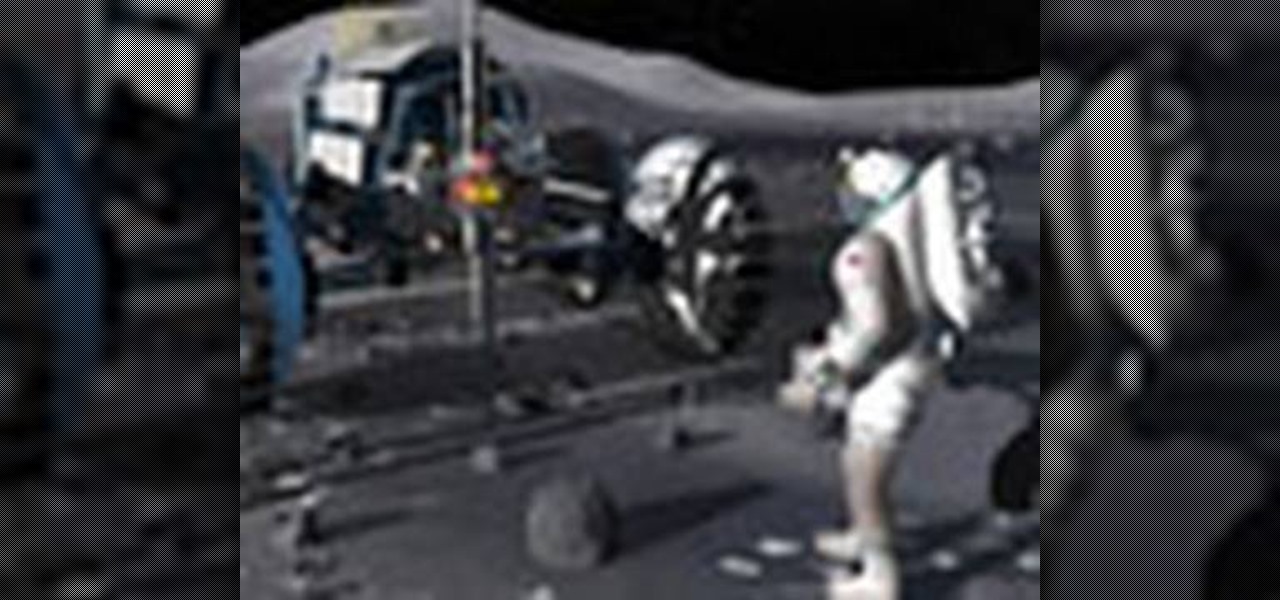
In this tutorial, we learn how to build your own lunar city model. You will need: toilet paper tube, bottle caps, CDs, sheets, and scissors. Now, cover your table area with the bed sheet so it's completely covered. Now, star tot arrange your lunar city model. Place the CDs on the table and stack them, placing bottle caps in between. After this, cut the toilet paper rolls in half and lay them flat on the ground. After this, place cups lid down on the table and then add CDs on top of them. Now ...

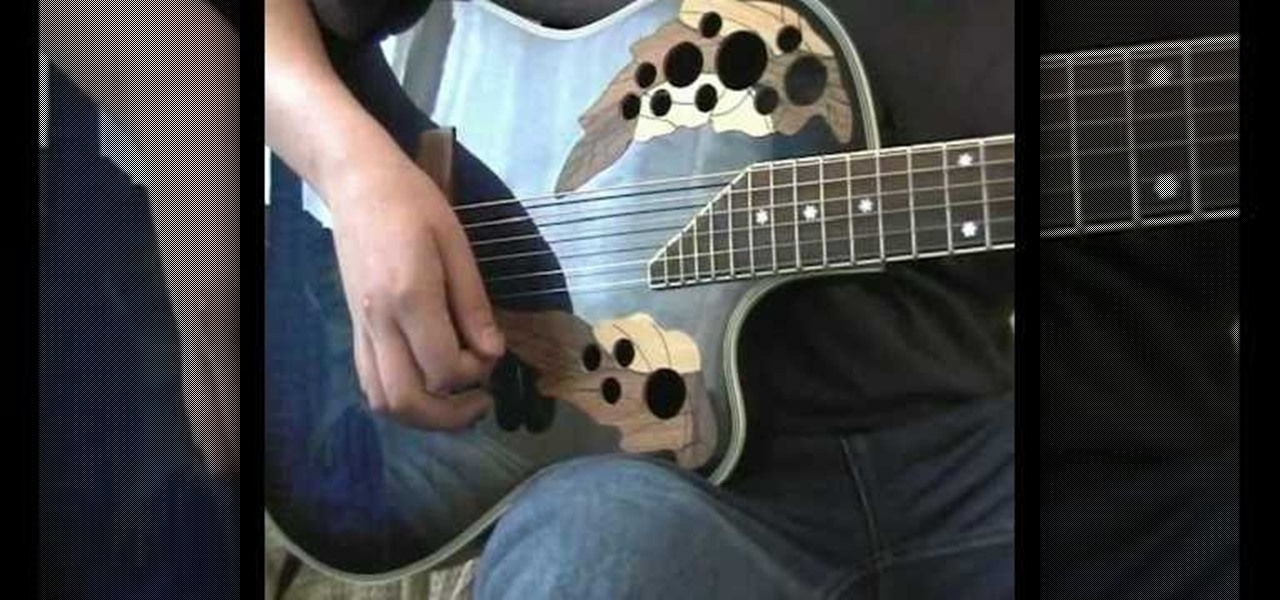
In this tutorial, we learn how to play "Hurt" by Johnny Cash (NIN cover) on guitar. Start with an A minor, then go to a C, then D, and back to A minor. These are the main chords of the song. You will play these as the intro to the song, one after the other. You will play this nine times for all the verses and the intro together. The only time this will change is at the end, when it goes from C to G to A minor. You can add in the lyrics to the song as you continue to play, then you will have l...
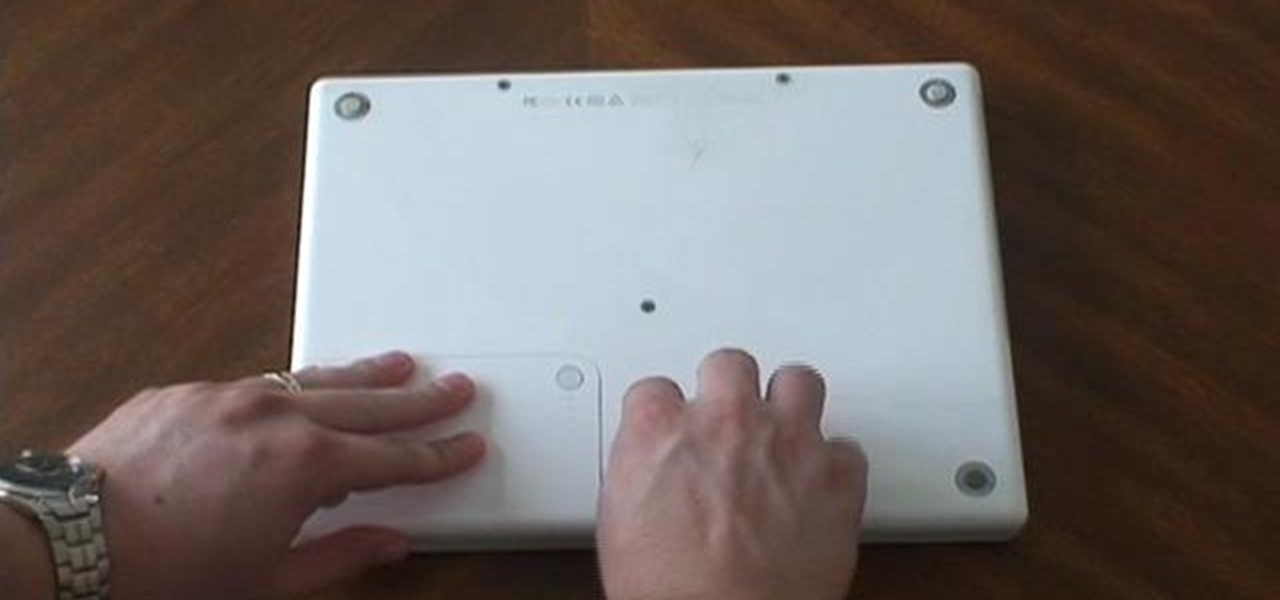
You can change your RAM in a 13" MacBook Pro. To do this you need a screw driver and a new ram. So first put your notebook on the table and take all the screws out of the notebook but be careful when doing this. Now place your fingers on top and the bottom and leisurely take out the back cover. Now there are two slots located at the right side and you have to push it out to remove the old rams. Now take the new ram and make sure you put it as the video showing and place it where you removed t...
Illustrator Frank Frazetta knew women. At least, he knew what men desired in the "perfect" woman physically: Sumptuous curves that made men weak in the knees with a single shake, deep-set eyes, and bombshell assets.
In this edition of Wilton's "Ask Nancy," the topic covered is rolled fondant. We can't overstate the importance of knowing how to make your fondant and how to use it for cake decorating ventures like covering your cake/cupcakes with it and crafting little fondant figures to put on top of those cakes.
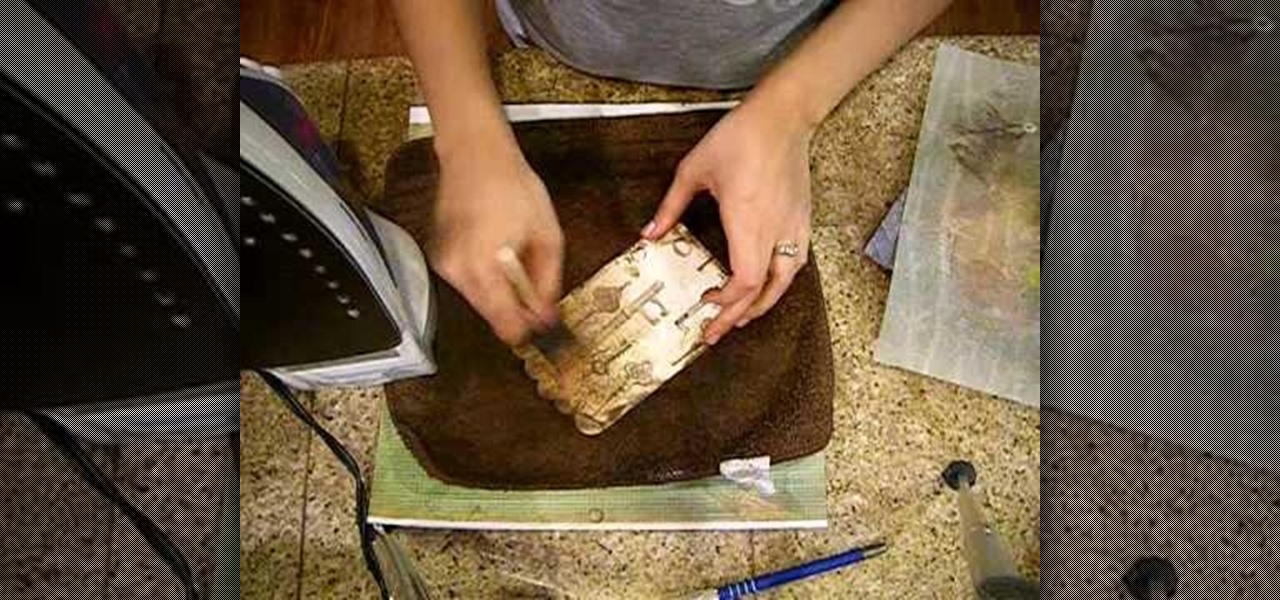
Crinkle top part and go over it with distress ink. Do edges front and back. Put extra ink on scallops. Spray with mustard seed and tattered jewels, olive vine and pine cone to add color. Place paper on pocket and iron on both sides. Spray with iridescent gold. Use brush to spread out. Iron again on both sides. This process makes it look aged. Take a film strip and spray with tattered leather. You want to use an iron when spraying grunge board with tattered jewels because it will make it seep ...
In this tutorial, we learn how to cook dry beans, step by step. First, rinse and soak the beans in water for 6 hours. When this finished, heat up oil and add in carrots, onion, garlic, and celery in a large pot. Next, add the beans to the pot and cover everything with water by an inch, then bring it to a boil and cover. After this has boiled, reduce the heat and let simmer for one to two more hours. When the beans are finished and tender, sprinkle salt over them then serve while hot in a bowl...
In this tutorial, we learn how to make a journal from packaging materials. First, cut a cardboard at 5.5" x 4.5" on each side. When you are finished, create another cut that is 5.5" x 1" for the side. Now, cover the two large sides with a piece of fabric that you choose. After this, cover the middle piece with fabric, and then tape it on with double sided tape. Next, place all pieces next to each other, tape it, then place a solid piece of paper on the inside, and use a glue stick to adhere i...
In this tutorial, we learn how to make a file folder organizer. First, you will need to apply double sided tape to paper, then apply a thicker cardboard paper over it. Now, cut most of the excess paper off, except around 1/2". After you have this cover made, apply tacky glue to some manila folders, and stick them into the cover you just made. After you complete this, you will be able to apply the backing to the folder as well. When you are finished, you can add different decorations to your f...
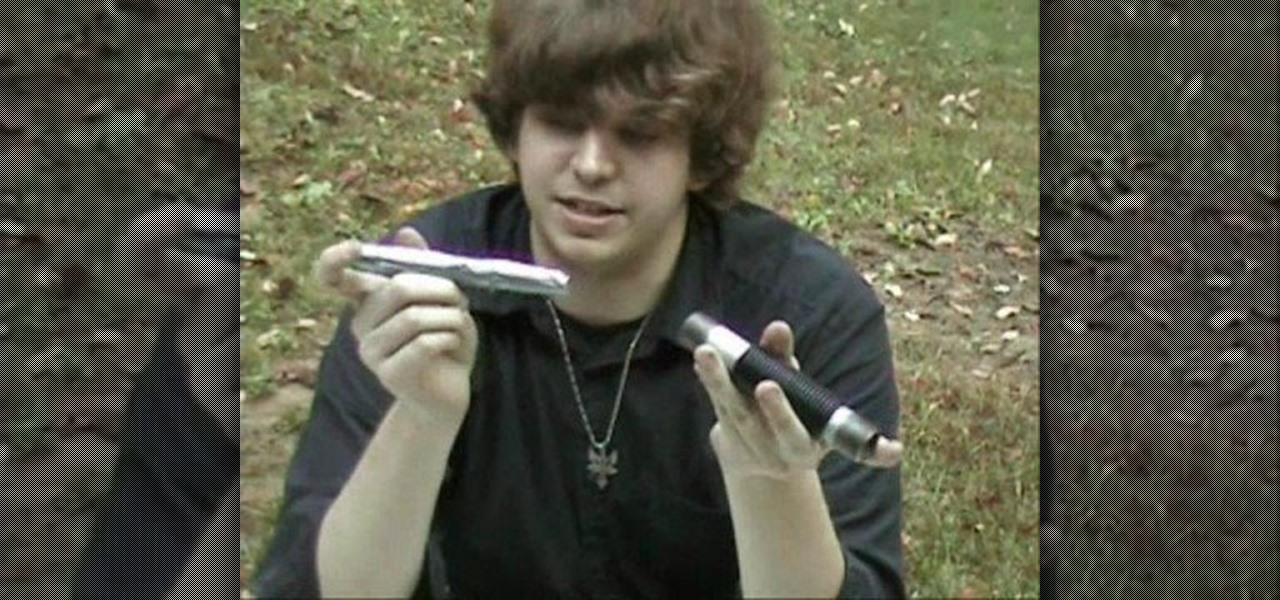
In this tutorial, we learn how to make a prop light saber. you will need rubber o rings, a metal pipe, a dow rod, and attachments to combine the rods together. First, grab the metal pipe and dow rod, and place the rod inside of the pipe. After this, use an attachment to combine the two together. Next, cover one end with duct tape. Now attach two endings onto the rod and place a longer dow rod covered with duct tape onto the rods. When finished, use the o rings to keep the blade in place and y...
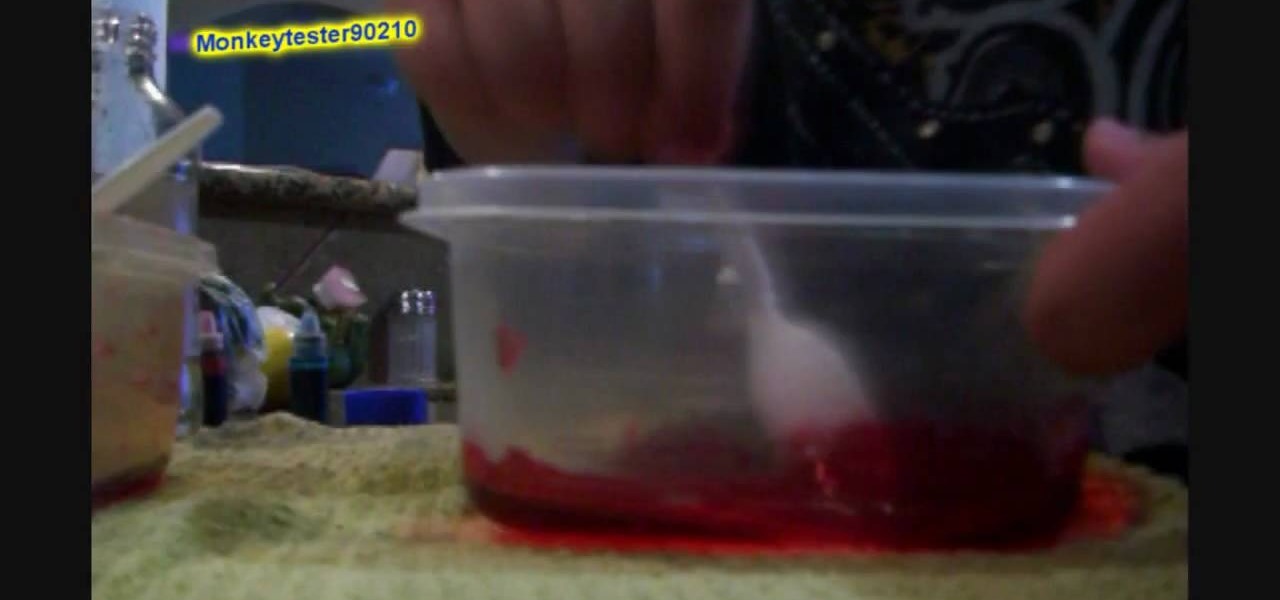
In order to make fake blood for Halloween, you will need the following: a towel, a spoon, a container, red food color, white corn syrup, and blue food color.
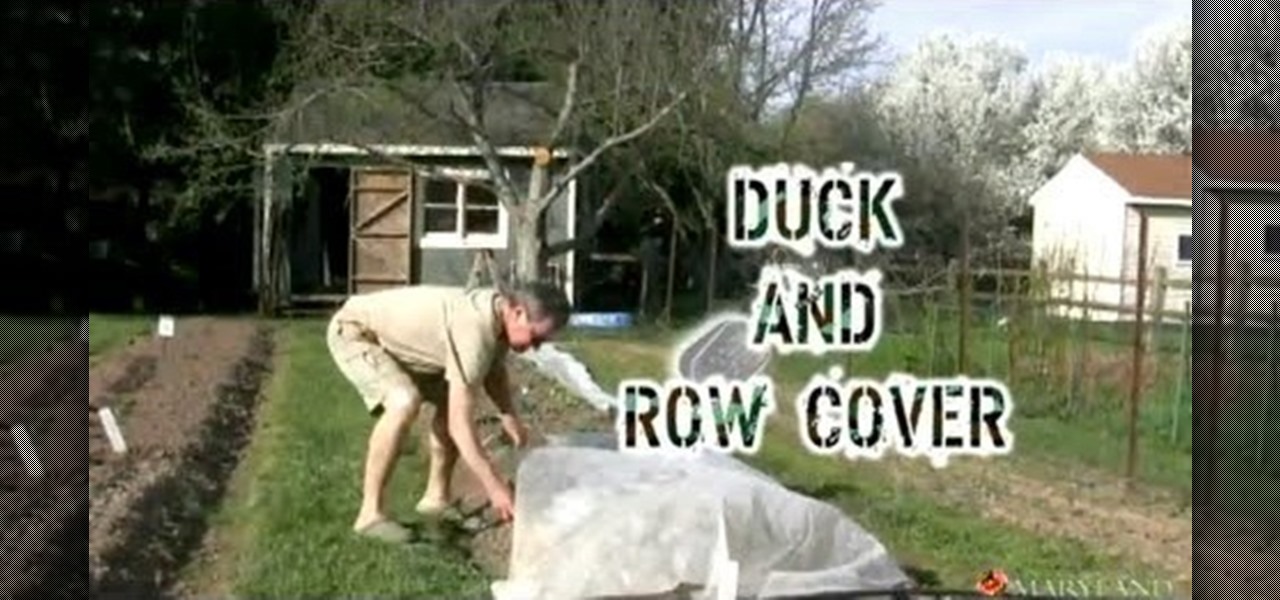
If you want to protect your garden from pests, the sun, or even the harsh winter months, then applying a row cover is a great idea.
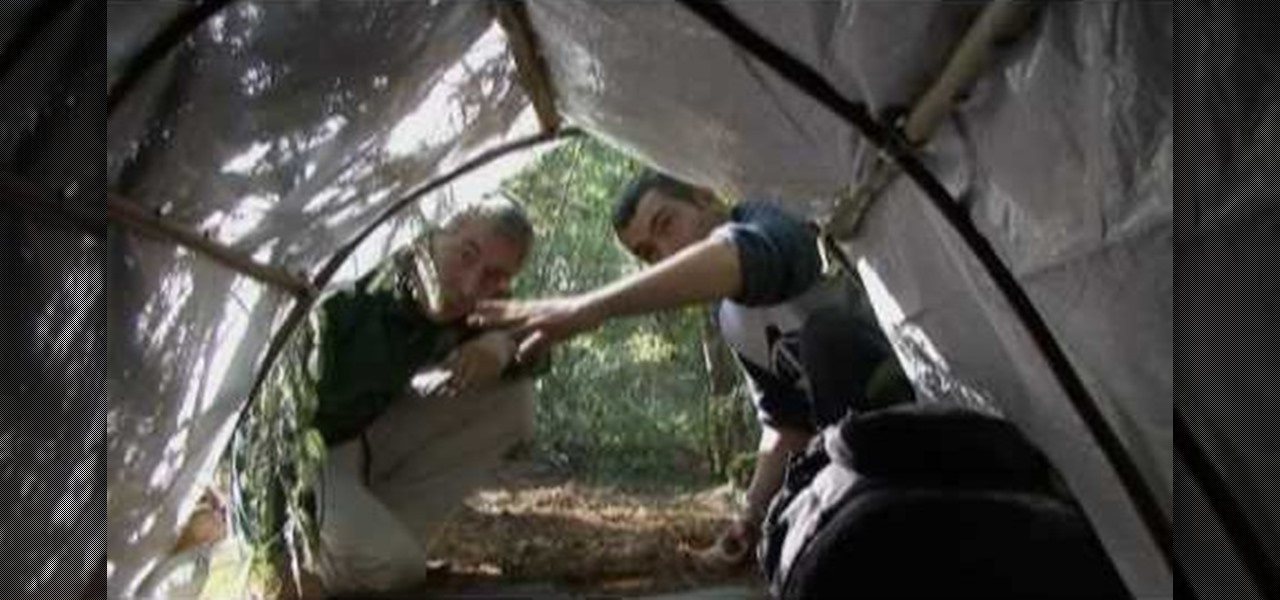
In this tutorial, we learn how to build a shelter in the wild. You can use trees with a branch as the top to cover yourself from rain. You can also use tree branches and sticks to keep the shelter up. A shelter is great to store things in, or to sleep in. You can keep the fire close to the shelter so the heat goes into your shelter, but not too close so you don't set a fire. If you work quickly, it should only take a few hours to build this shelter. Also, place a tarp over the branches and le...
In this tutorial, we learn how to sharpen your chainsaw with a hand file. First, take the cover off of the chainsaw and jam something into place so the chain stays in place. Put gloves on before you touch the chain, and use a hand file to file down on the chain. Look for the shortest tooth and put the file in, holding it well and giving it two or three strokes. When filing, be consistent on each different tooth you are sharpening. You will be able to feel the blade being taken off. You might ...
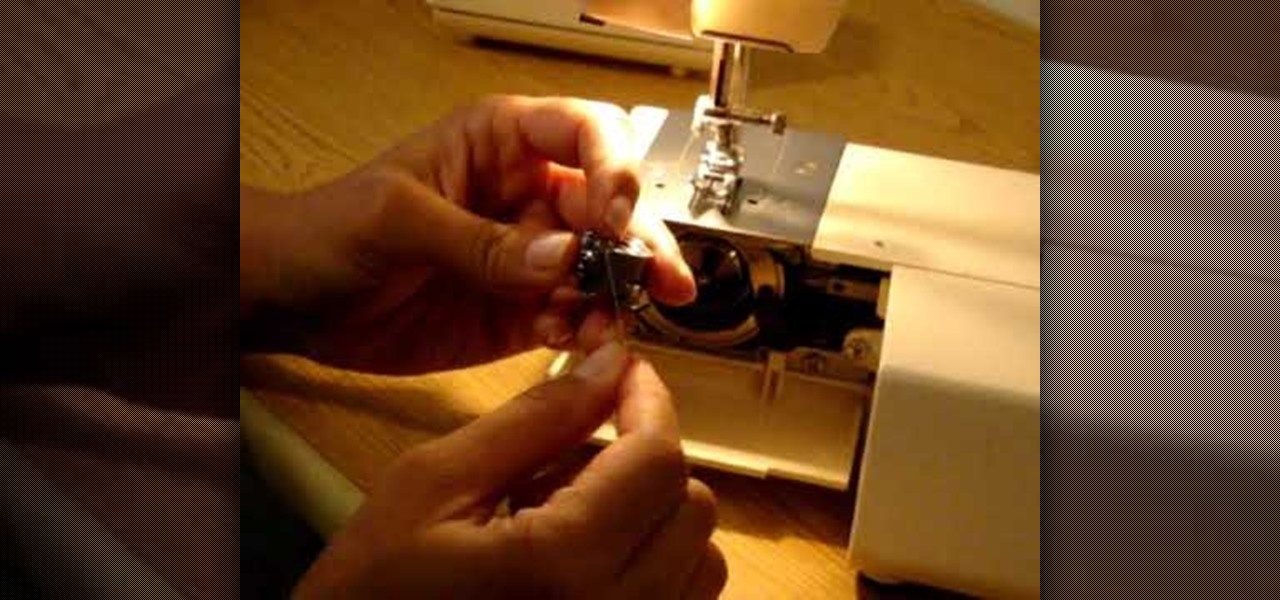
Are you picking up sewing for the first time, or simply looking to brush up on your sewing machine skills? This video covers all the basics of how to sew with a sewing machine.
In this video tutorial, viewers learn how to install RAM into an Apple iBook G4 laptop. Begin by turning off the laptop and closing it. Flip the laptop to the backside. Turn the lock and remove the back cover. Flip the laptop over and open it. Press on the keyboard notch (between esc and F1) and remove the keyboard. Then remove the Air Port Extreme card and unscrew the 4 screws underneath it. Remove the cover and carefully press down on the 2 latches that hold the RAM card. Now replace the RA...
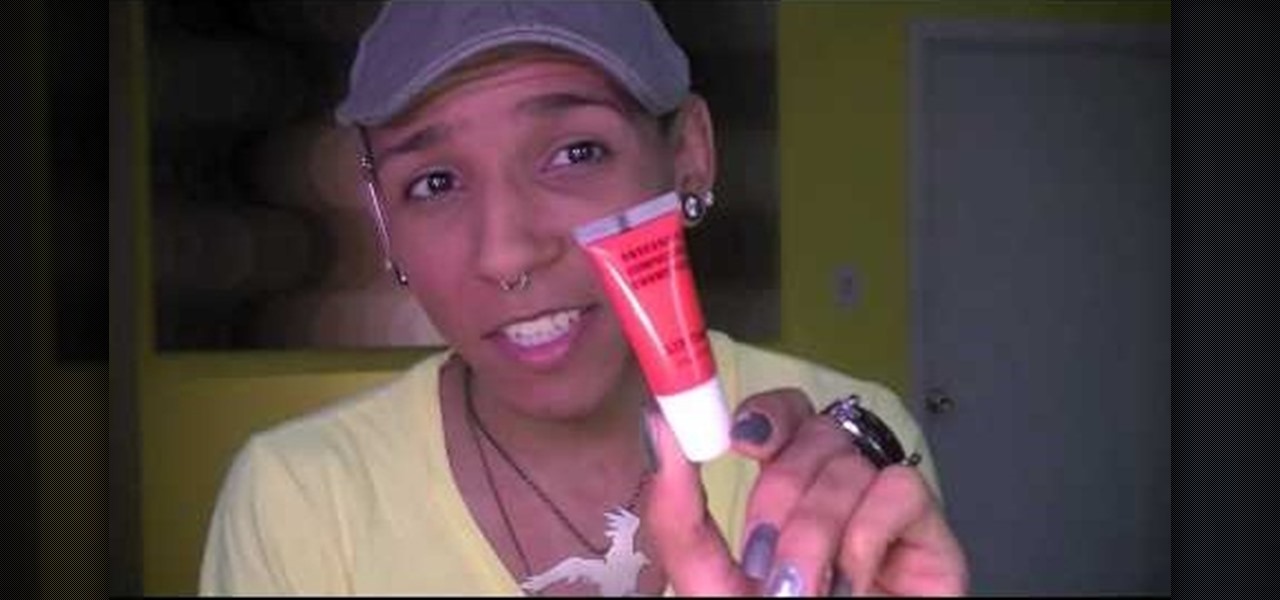
Don't let all the glamorousness of your drag queen makeup be ruined by a silly thing such as five o'clock shadow! For soirees that demand a full day's bewitchment, learn how to conceal five o'clock shadow with this tutorial.
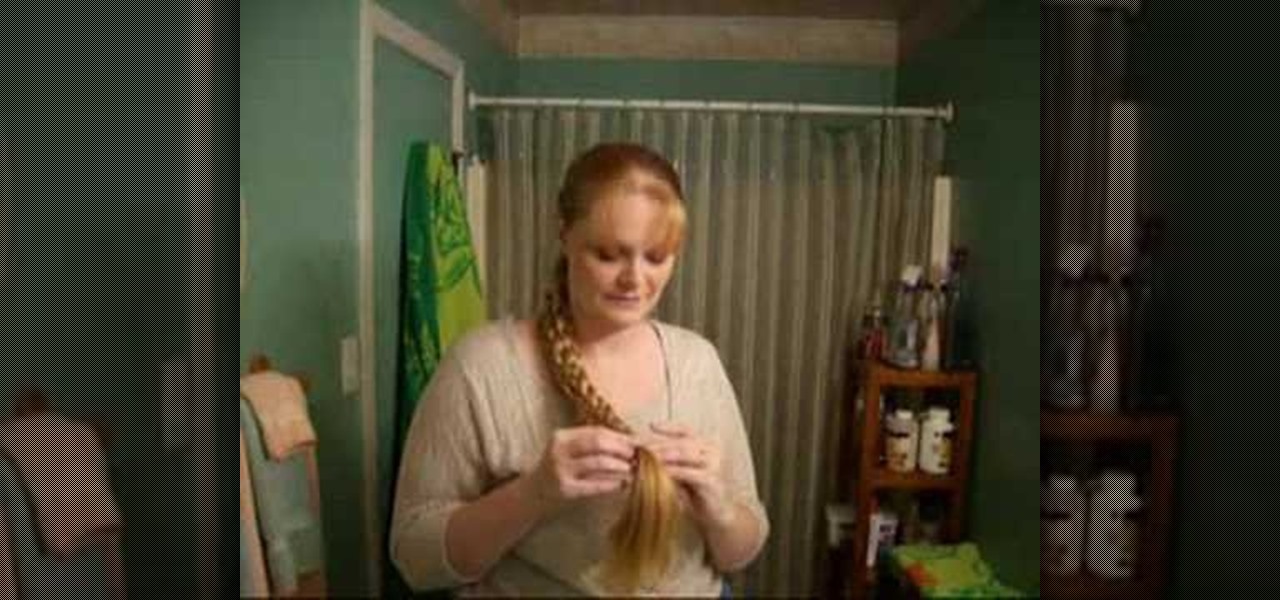
Torrin creates a Victorian up-do with long hair. The style can be done with hair that is at least just past the shoulders in length. Make a ponytail at the base of the neck. Slide the band down a bit and poke fingers through the middle of the ponytail to split the hair. Then pull the ponytail through the split from top to bottom. Separate the ponytail into three sections and make three English braids. Attach the three braids together with one rubber band, leaving several inches of hair left o...
To prepare a bedroom for walls to be painted, remove as much furniture and objects from the room. You can leave the larger furniture in the center of the room, covered. Fill in any holes or cracks in the wall with a patch. Also, remove any hardware or outlet plates from the wall. Next, place masking tape at the base boards so you can paint below the carpet level. Tim suggests using a drop cloth rather than a plastic cloth to cover the floor. Drop cloths last much longer and are more convenien...
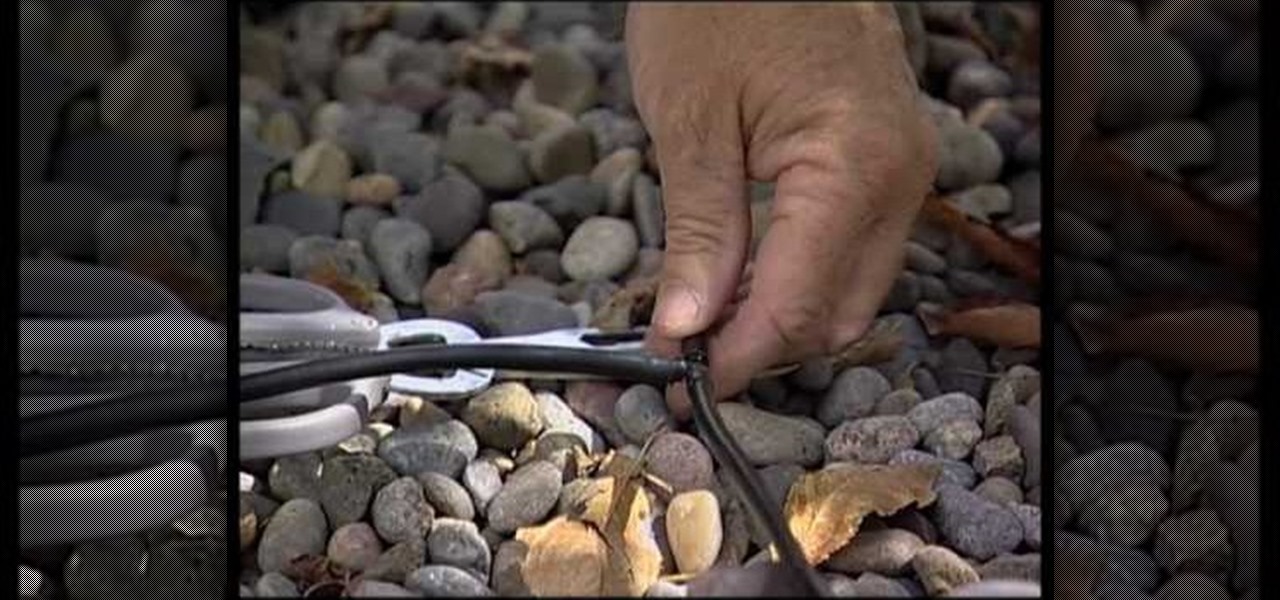
A drip irrigation line is placed around the base of a tree in a ring. A section of the ring is cut open and made into a T shape with the addition of another piece of drip emmiter wire going from the ring outwards. The next end of the additional wire is bound to the ground with a pin. An additional wire is placed at the irrigation ring and the opposing end bent,covered and also pinned outward from the ring. Holes are pierced into the plastic bedding of gravels on the ground to allow water to p...
Repairs Universe demonstrates how to remove a Sony Ericsson LCD screen. First, remove the battery from the device. Use a safe pry tool and run it along the side of the phone to unclip the clips and release the top cover. Then, slide the phone forward and release the top cover. Next, remove the keypad from the device. Then, remove the LCD screen by prying the clips oven with the safe pry tool. Use the pry tool to pop the pop clip to fully remove the LCD screen. The new LCD screen is now ready ...
In this video tutorial, viewers learn how to remove the fan assembly from a G5 i-Mac computer. This process is very fast, simple and easy to do. Begin by laying the i-Mac screen face down and remove the screws on the back cover. Then remove the back cover of the screen. There are 3 fans inside the i-Mac. These fans are not supported by any screws. Just simply lift up each fan to remove it. This video will benefit those viewers who have an i-Mac computer and would like to learn how to remove t...
Kengi shows us how to make kielbasa and cabbage, in this video.Take two kielbasa susages and cut into small pieces.Take a cabbage,cut it into halves and then slice both the halves into strips.Heat a skillet and add some oil to it.Put in the sausage pieces and some sliced onions.Cook until the sausages attain a brown colour. Once the sausages are browned add the cabbages to it.Spread the cabbage slices on top of the sausage.Cover the skillet with a heavy lid, lower the heat and let it cook.Onc...
Try to use the same brand of spray paint throughout the project, read the instructions, follow them. Different brands may have different instructions, this is why we advise against mixing brands. Begin by lightly sanding your project with 600 grit sand paper, anything lower can potentially scratch your project. Use a sturdy tape to cover the parts you want to leave unpainted. Use a very light coating of primer, sand it with 600 grit sand paper (lightly). To add 'special effects' to the job, u...
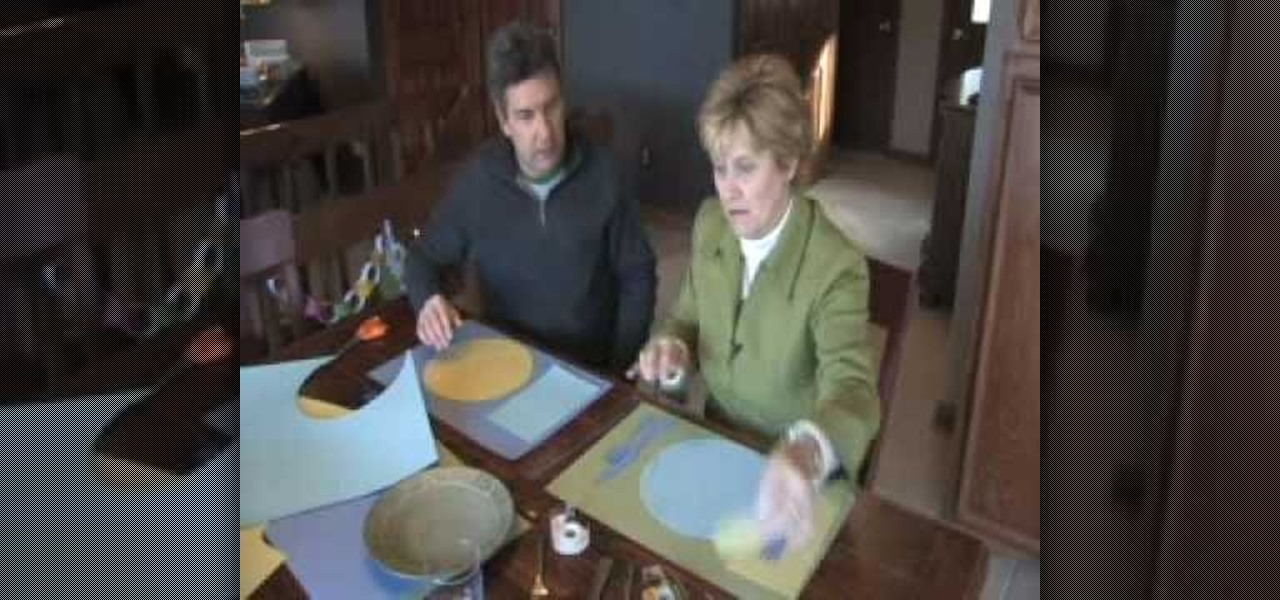
Now when it comes to setting the table you just need three things: fork, plate, and a napkin. But for some, things are more complicated than that. Sometimes they feature the soup spoon , salad fork, and so on and so forth. Although this video doesn't cover every single utensil, it does cover some of the basics. Find out how to make placemats for kids as well as teach them how to set the table. Enjoy!
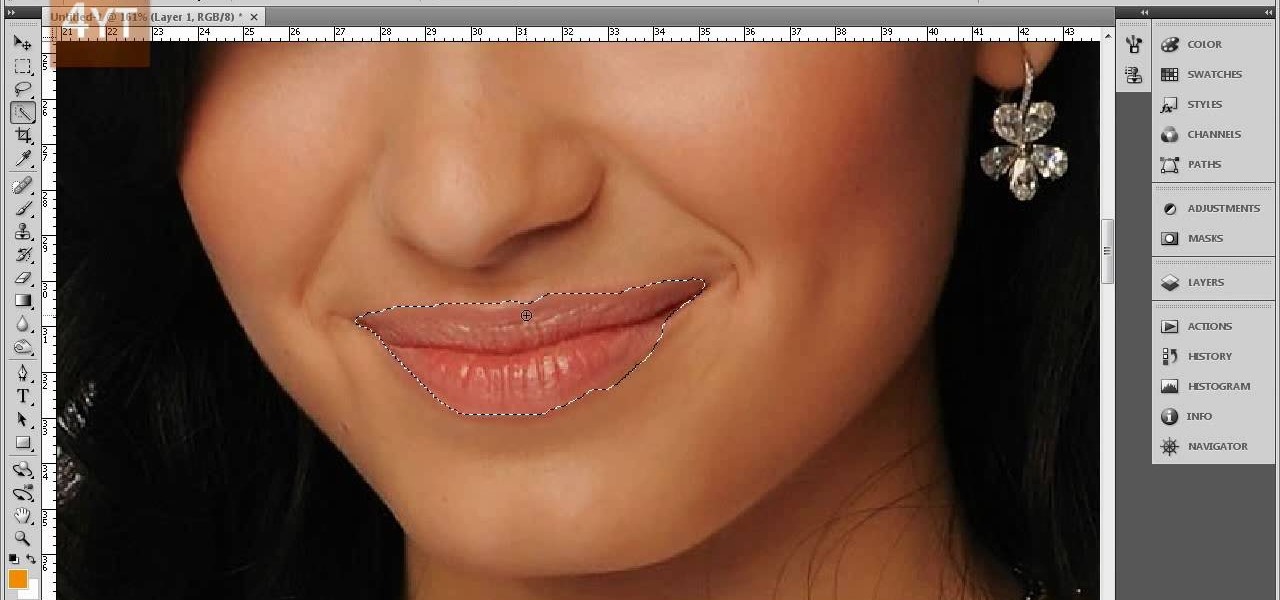
Forget to put on lipstick before a photo? Or perhaps you want to spice up an old photo of someone you love. Well their is a way, as 4YouTutorial demonstrates step by step using Photoshop CS4. First upload a photo or image into Photoshop. Next access your Photoshop layers and delete the default locked layer. After, activate the zoom tool and zoom in on the photo where the lips are located. Next choose the quick selection tool (make sure it's on plus) and drag it over her lips. This process can...
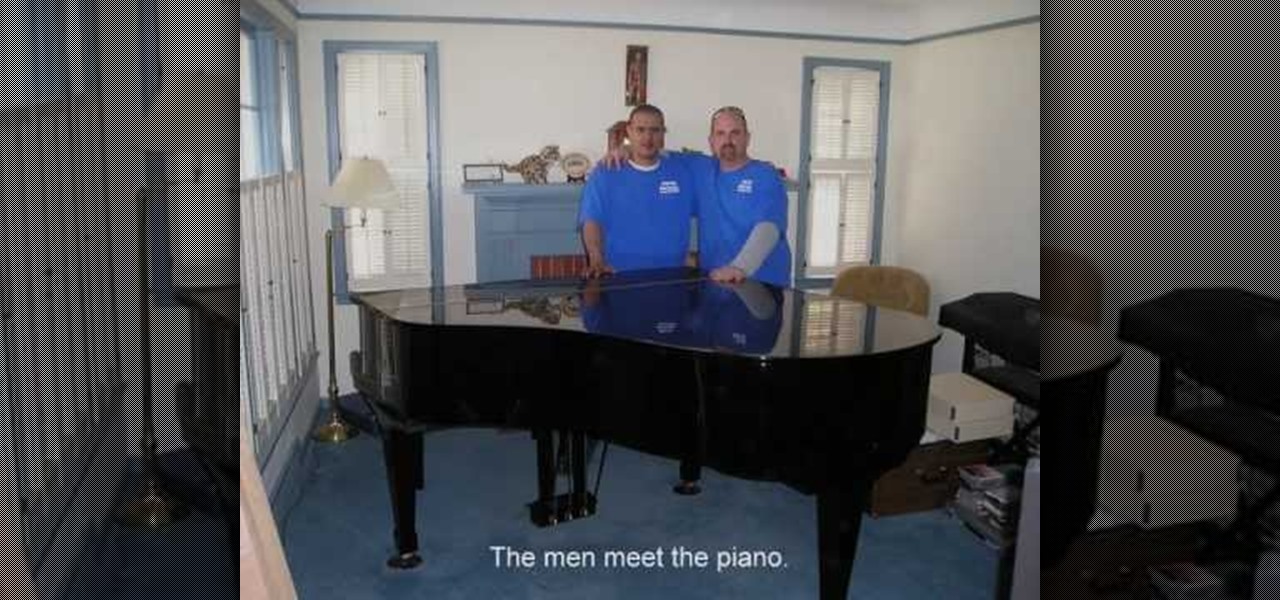
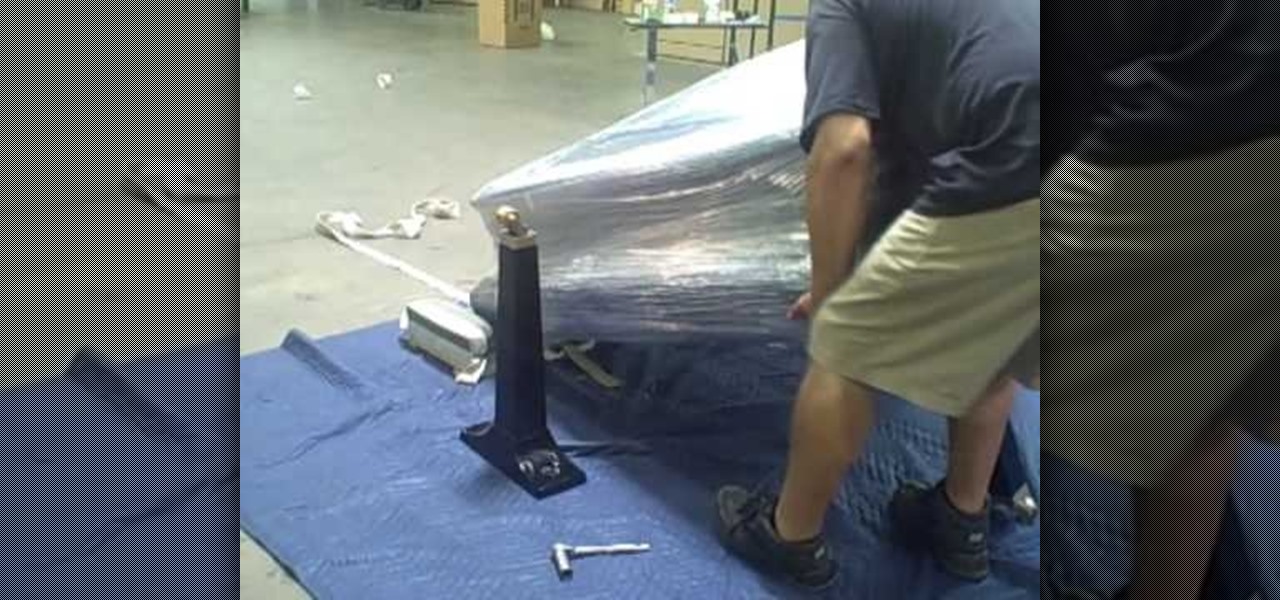
In this tutorial we learn how to pack and move a baby grand piano. First, remove cover of the piano and wrap it in moving pads. Next, remove cover hinges and screws from the piano and dismantle the petals. After this, remove the legs of the piano. Now, place the piano board onto soft moving pads and wrap well as well as shrink wrap. Now wrap all of the piano legs and other parts with moving wrap, making sure it's packed tightly and taped together. Place the piano onto a wheeled board and you ...
This video illustrate us how to identify problems with ground covering junipers .Here are the following steps .step 1: First of all look through the whole plant and see whether there is any browning or fall of leaf, if so then this may be due to water logging as these plants are good for soil with well seepage and lots of sun.Step 2: Look whether the leafs are free of all the bacterial and fungal infection.Step 3: Look whether there are any spider mites present, if so remove them.Step 4: Look...
The Pashmina master shows us three unique ways to wear our pashmina shawls. The first one involves putting your pashmina on your left shoulder and gently slide it over your chest till you reach your other arm. Then you easily raise it until you cover your other shoulder too. Don't forget to leave the other end hanging up front as it's part of the process. The second example needs the pashmina to go over your neck like a scarf. Then you take both ends and run them through the pashmina just lik...
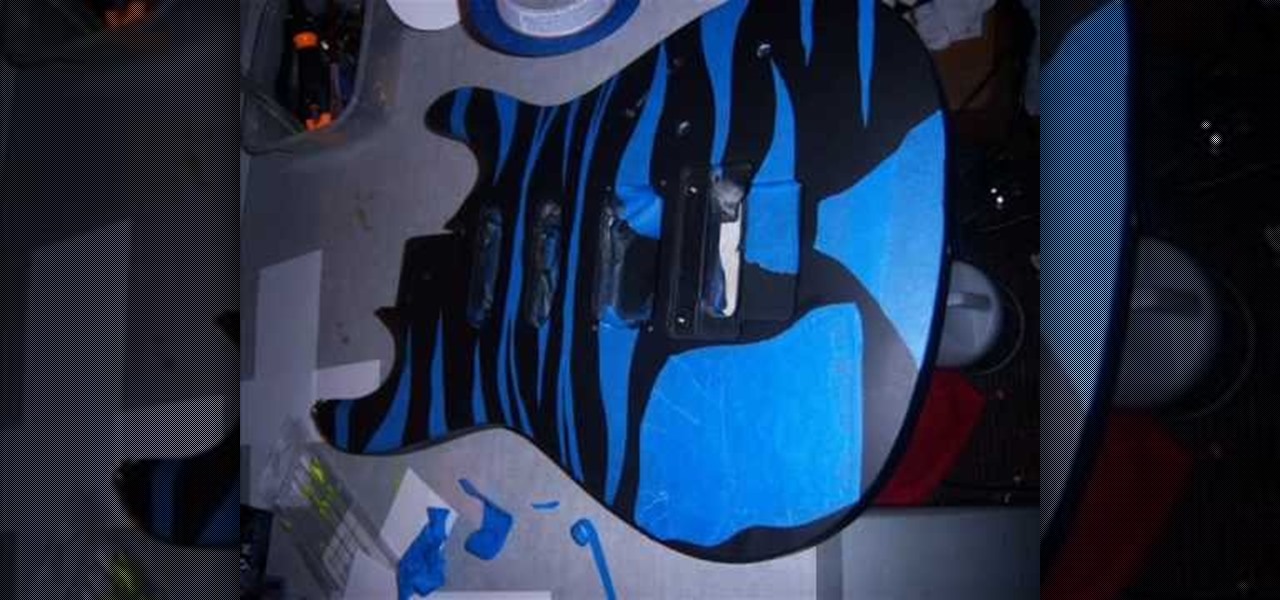
In this video Teddy Zane shows you how to paint a guitar with spray paint. It begins by painting the whole guitar with one color of flat paint, and then creating a panel where you want the picture, out of tape. Next lay your picture on top of the tape and use a scalpel or razor to cut out the design as a template carefully ensuring you do not cut the guitar, only the image and the tape. Once the entire image is cut, pull off the tape to expose the guitar beneath. Cover the rest of the guitar ...
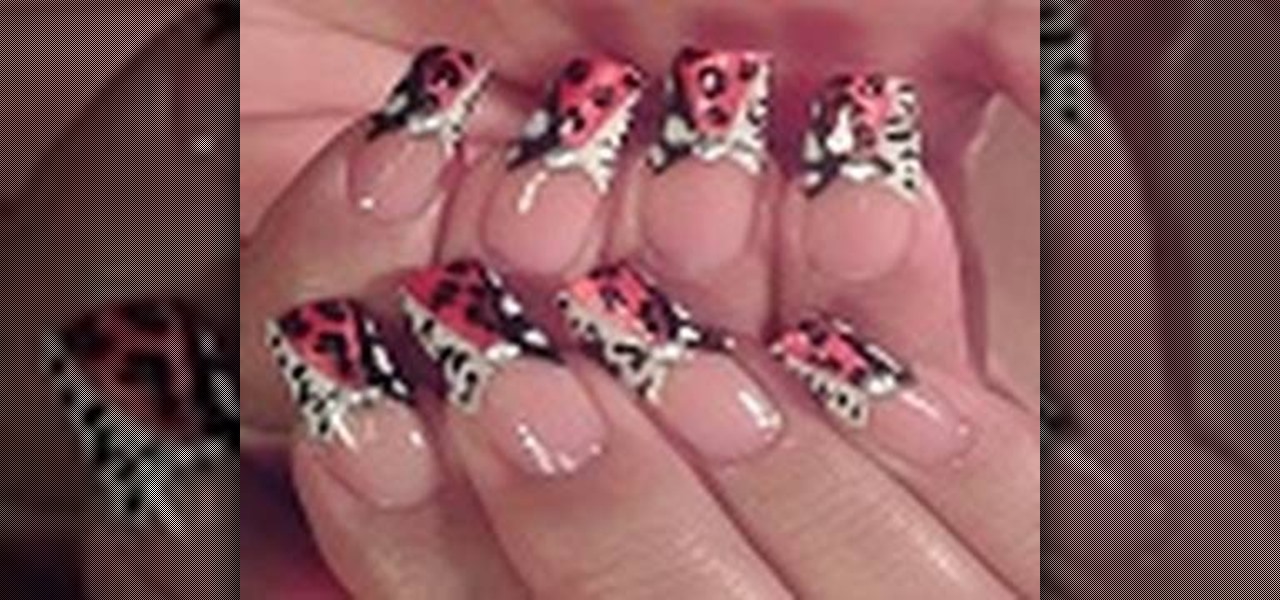
This video is a tutorial on how to paint your fingernails with a sassy animal print. The video begins with a an example of the finished nails being shown and the various alternatives used being explained. The first step completed is to dip the tip of the nail in a gray off white color and then use the color red to make small dots covering the entire surface of the nail. The red dots are then accentuated using the color black to give them a black shading. The final step taken by the nail artis...
In this video, Josh shows us how to clean dirty pennies with ketchup. You will need, a timer, ketchup, a dirty penny and a penny. First, pour ketchup into your cup or dish. You don't need a lot of ketchup into the cup, just enough to cover the pennies. Next, push the penny into the ketchup so it's fully covered. Now, set your timer for 2 full minutes. When the timer goes off, take your penny out of the ketchup. Place the penny onto a paper towel and wipe it off until all the ketchup is gone. ...
This video demonstrates how to move a piano in one minute. First, cover the top of the piano with tarp. Then wrap cellophane tape around the top, cover and all. Remove the foot pedal. Set aside. Then, remove the first leg of the piano. Rest the corner of the piano body carefully on the floor. Continue to remove the piano legs one at a time. Lifting the piano carefully, wrap 2 straps around the broad top of the piano and lock the straps tight. Draw another strap through the other two straps to...
Catherine demonstrates how to create an eclectic, sunset-inspired necklace in this video. To create the necklace you must gather 40 yellow bugle beads, 18 orange chip beads, 3 mm red round beads, a barrel clasp, 2 crimp beads, 2 bead covers, about 20 inches of beading wire, clippers and pliers. The design is to start by threading a clap and a crimp bead onto the wire, leaving a 2 inch tail. Then thread on 15 yellow beads, remembering to cover the tail you left with the beads, 3 orange beads, ...
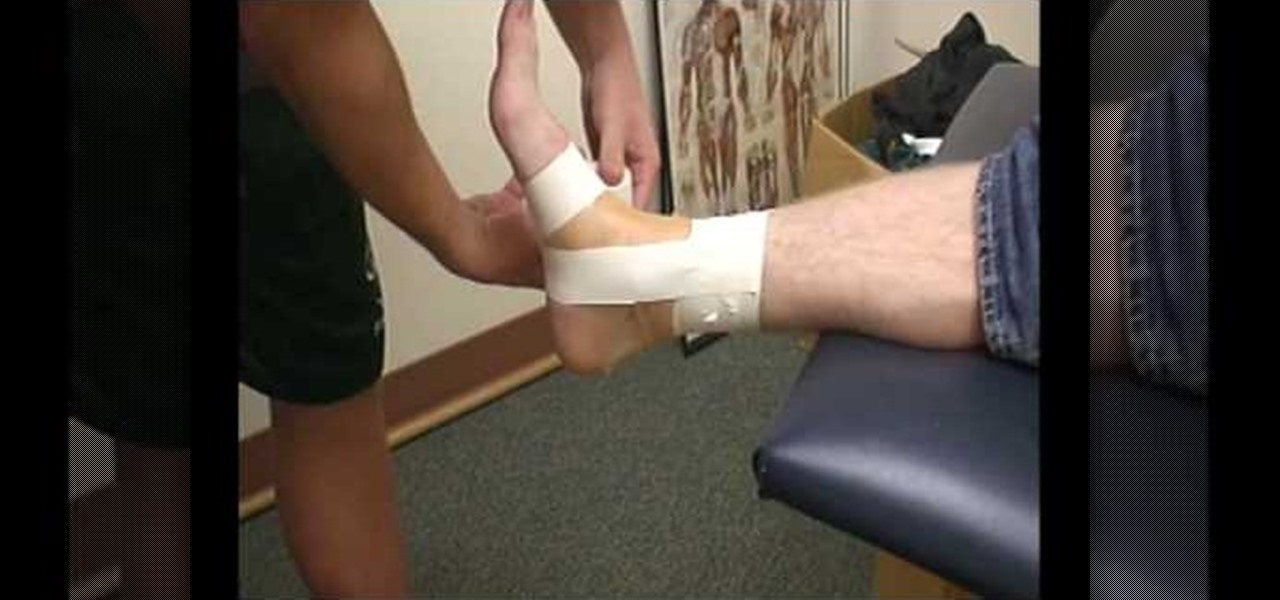
In this Diet & Health video tutorial you will learn how to easily tape an ankle to prevent an injury. Place the injured foot on a soft furniture with the ankle protruding out. Toes should be pointing upward. Place two pads one on top and the other below the ankle. Start wrapping the tape around the leg starting about 3 inches from above the ankle. Cover up to the ankle and then go below the foot and take three turns, then cover the heel and come over the ankle. Now put three anchors on the to...