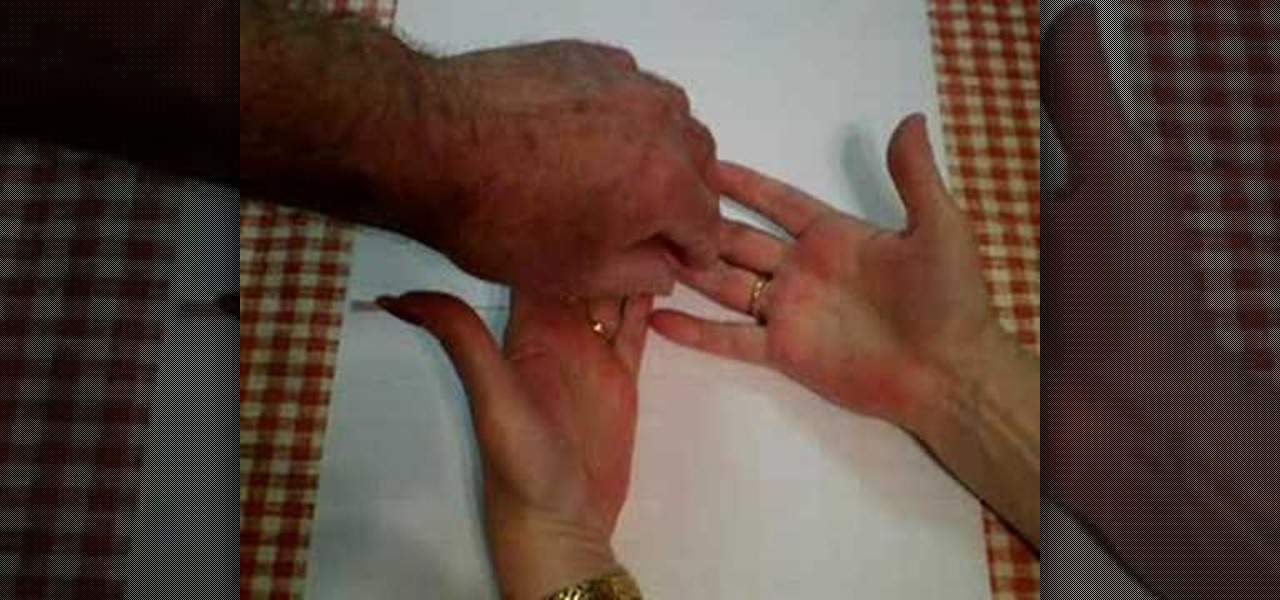
Astrologist and palmist Peter John demonstrates some of the basics of palm-reading in this how-to video. Everything from the lines in the hand to way the hands are held can reveal deeper meanings about a personality. This lesson covers the significance of the space between the fingers. Watch this video palmistry tutorial from Peter John and learn how to interpret the meaning of the space between the fingers when palm reading.

Would you like to have news read to you? Or simply wish you could have a podcast that covered whatever you please? In this video tutorial, you'll learn how to use the Apple OS X Automator and RSS to create your own podcasts, automatically, without writing a line of code. For step-by-step instructions, take a look at this great how-to.
Draw with a systematic process that combines creative intent with technical ability. Watch this instructional drawing video to cover the key points involved in making a complete looking drawing. A complete drawing is all about intent. For instance, line placement is much more important than line quality. Be aware of the juxtaposition of forms.
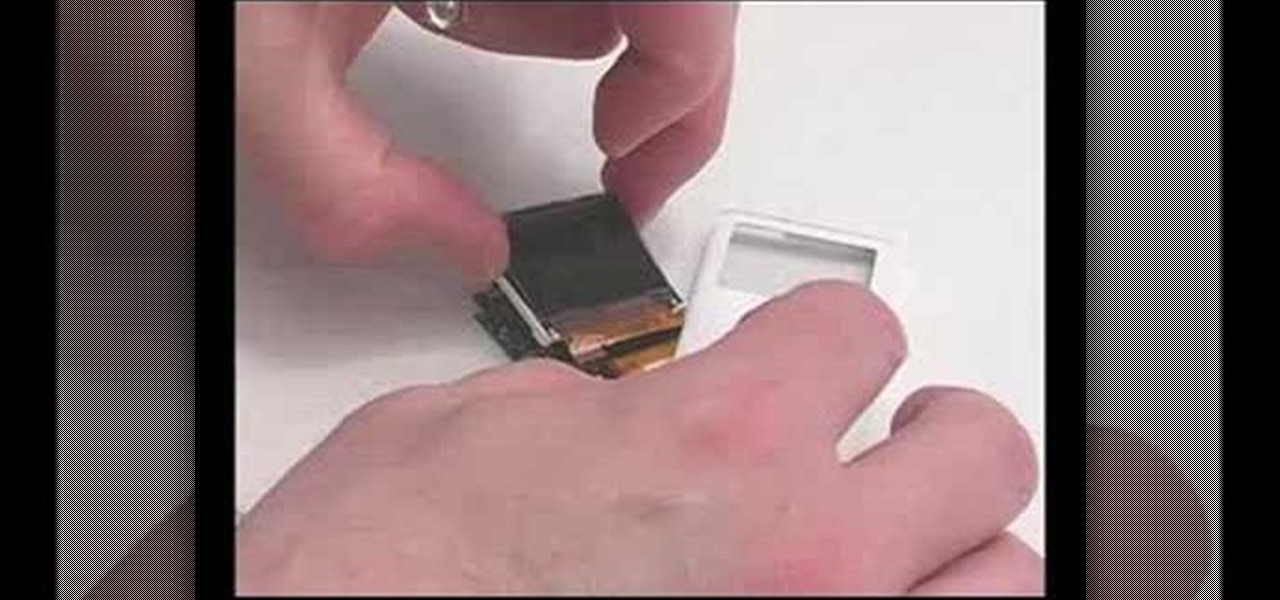
This video will show you how to replace the click wheel in a first generation Apple iPod Nano. If the Apple warranty no longer covers your iPod, it may be more inexpensive to do this simple repair yourself, instead of purchasing a new iPod. Watch this video iPod tutorial and learn how to replace the click wheel in a first generation iPod Nano.
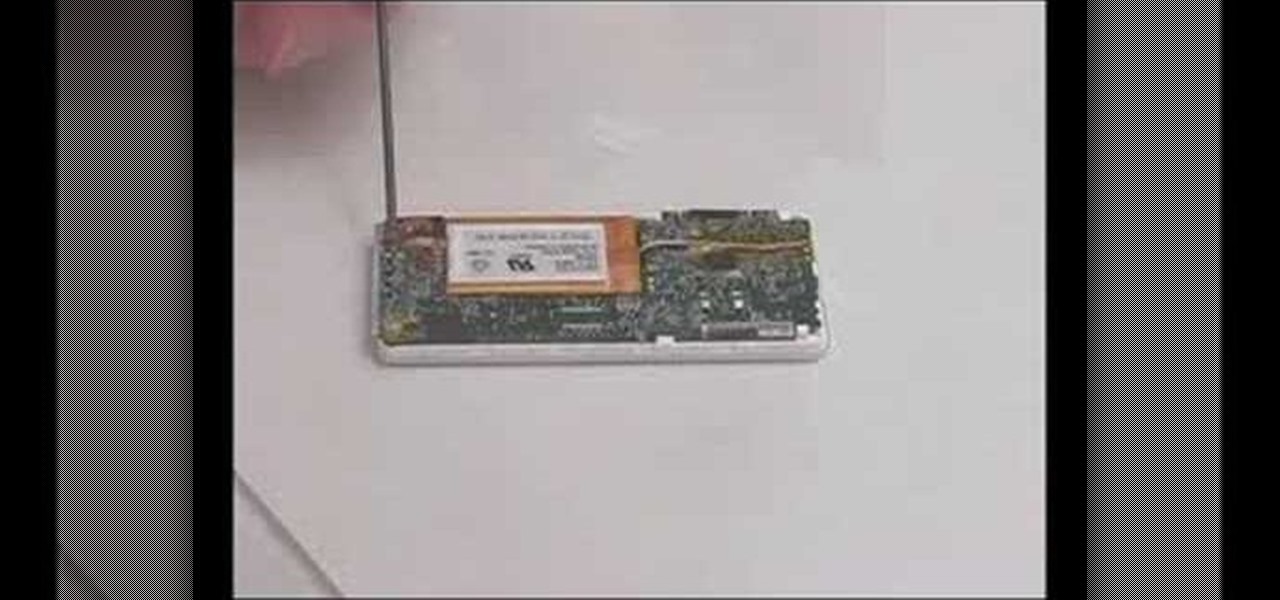
This video will show you how to install a battery or LCD screen in a first generation iPod Nano. If the Apple warranty no longer covers your iPod, it may be more inexpensive to do this simple repair yourself, instead of purchasing a new iPod. Watch this video iPod tutorial and learn how to replace a battery or LCD screen in a first generation iPod Nano.

This video will show you how to remove your old LCD from your 4th generation iPod or iPod Photo and replace it with a new one. If the Apple warranty no longer covers your iPod, it may be more inexpensive to do this simple repair yourself, instead of purchasing a new iPod. Watch this video iPod tutorial and learn how to replace a the LCD screen in a 4th generation iPod or an iPod Photo.

This video will show you how to install a battery in a 4th generation iPod, after disassembling the iPod. If the Apple warranty no longer covers your iPod, it may be more inexpensive to do this simple repair yourself, instead of purchasing a new iPod. Watch this video iPod tutorial and learn how to replace a battery in MAC's 4th generation iPod.

This video will show you how to install an LCD Screen into an iPod Mini. If the Apple warranty no longer covers your iPod, it may be more inexpensive to do this simple repair yourself, instead of purchasing a new iPod. Watch this video iPod tutorial and learn how to install an LCD screen into MAC's iPod Mini.

This video will show you how to install a battery into an iPod Mini. If the Apple warranty no longer covers your iPod, it may be more inexpensive to do this simple repair yourself, instead of purchasing a new iPod. Watch this video iPod tutorial and learn how to replace a battery in MAC's iPod Mini.

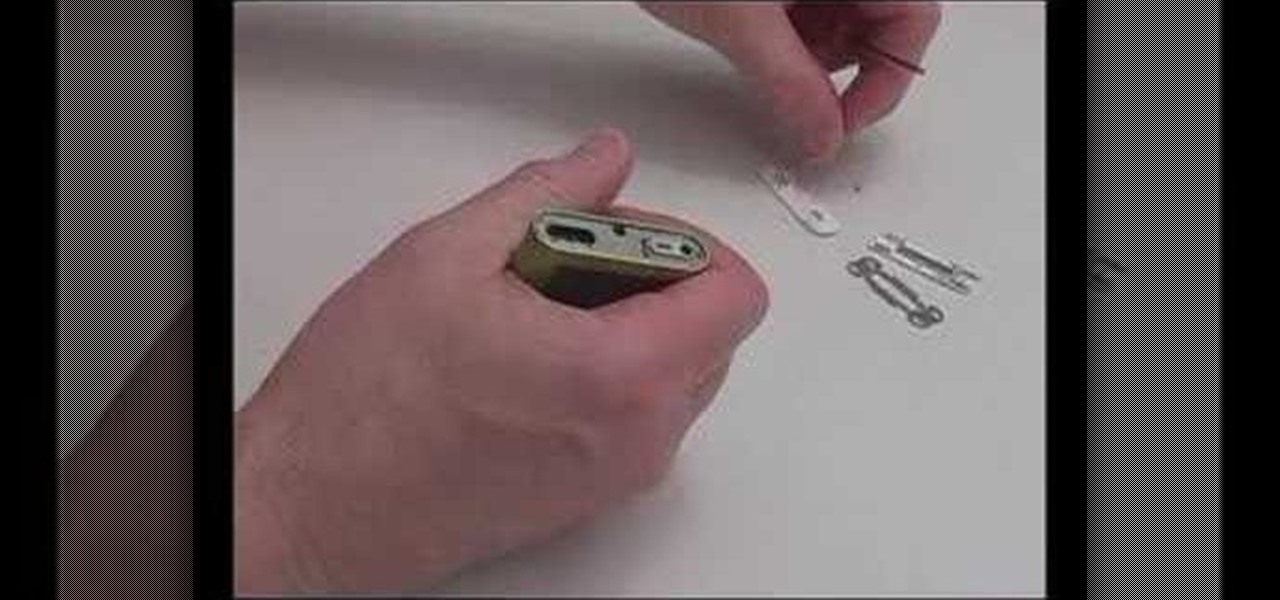
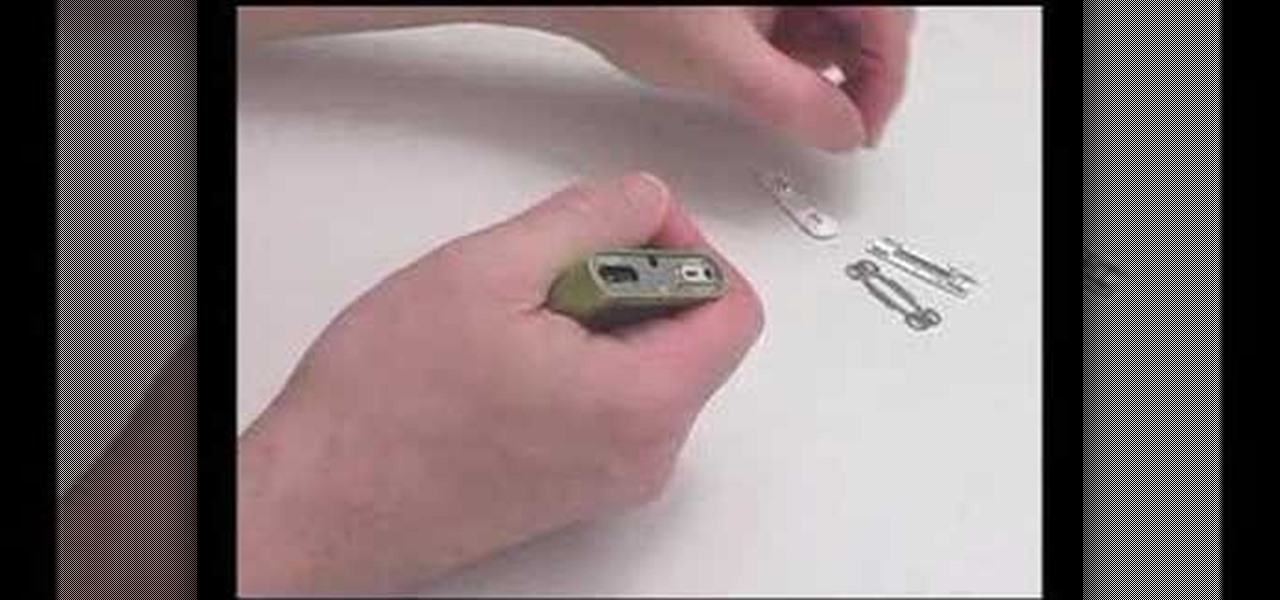
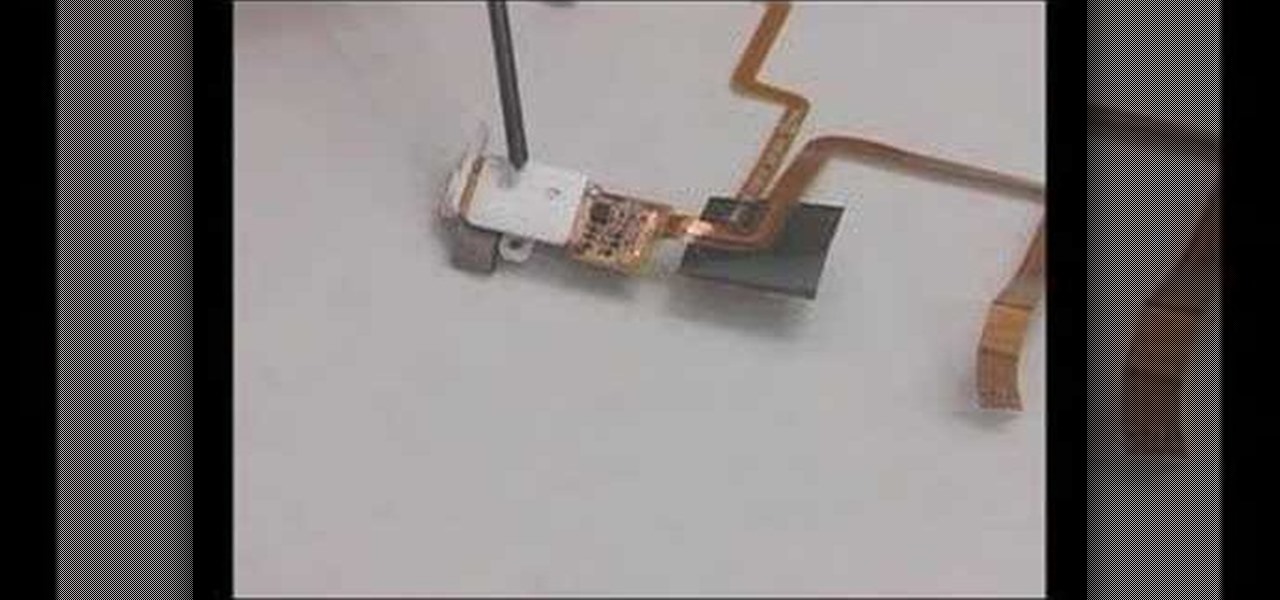
This video will show you how to install a headphone jack or a backplate in your iPod Video (5th Generation) or iPod Classic (6th Generation). If the Apple warranty no longer covers your iPod, it may be more inexpensive to do this simple repair yourself, instead of purchasing a new iPod. Watch this video iPod tutorial and learn how to install a headphone jack or backplate on a 5th generation iPod Video or a 6th generation iPod Classic.

If you love seafood you will love this breaded fish recipe. Watch this cooking how to video as our host prepares a crumbed snapper recipe in a wok. This snapper recipe is similar to popcorn fish. Cut your fish in tiny bite size pieces, cover them in batter and deep fry them in your wok.

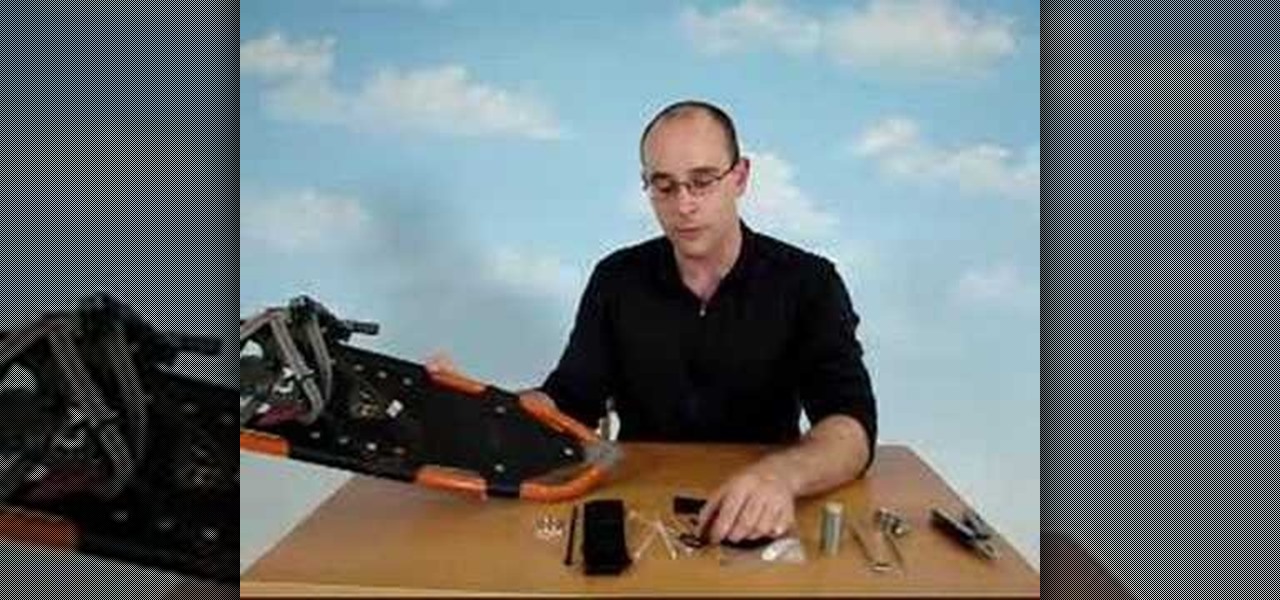
Learn simple repair tips and the tool kit you'll need to keep your snowshoes chugging all winter long with this report from the December 2006 issue of Backpacker Magazine. Associate editor Jason Stevenson covers all the snowshoe snafus--from plastic zip ties to replace stripped rivets to extra webbing to cinch down shredded bindings--in this backpacking tutorial video. Repair your snowshoes and continue your backpacking expedition!

This photo retouching Photoshop tutorial is not cleaning up blemishes, but modifying the overall look of a photo. Bert's example in this episode takes a snow covered window eave and adds some children and their reflections to the inside along with falling snow on the outside. Change a photo to any scene or look you need with this Photoshop tutorial.

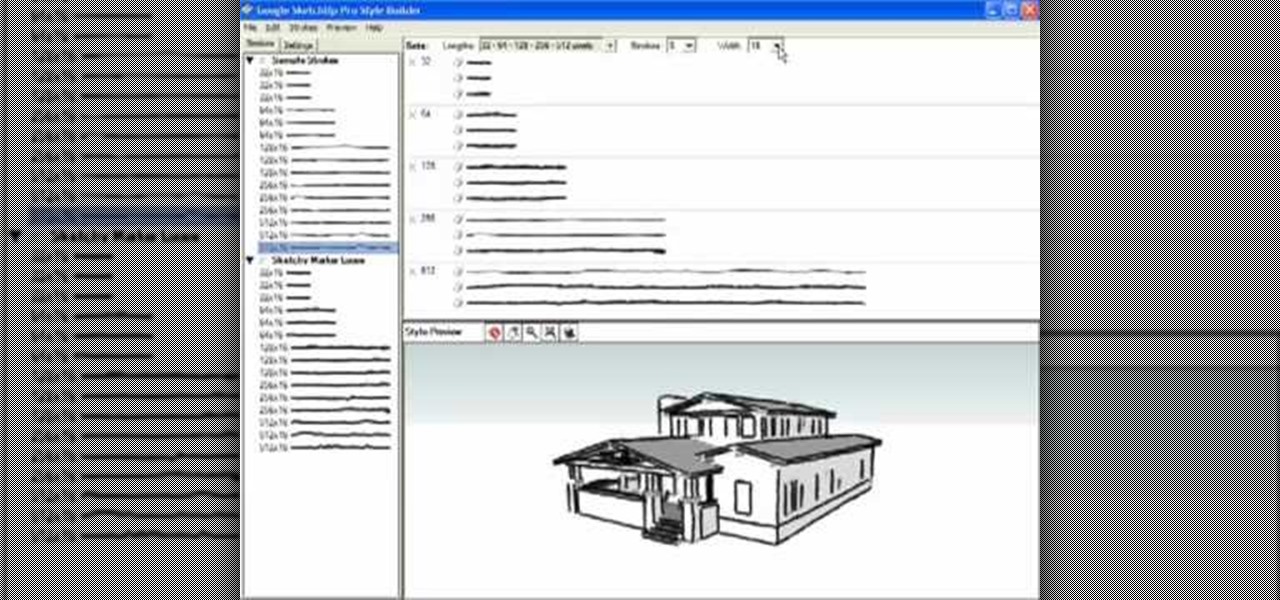
Style Builder is a companion application to Google SketchUp 6 Pro that allows you to create, mix, and modify your own unique style that you can use and share in SketchUp. Take a look at this instructional video and learn how to use this new software. This tutorial covers loading and mixing strokes, creating custom strokes, and how to finish the style in Google SketchUp.

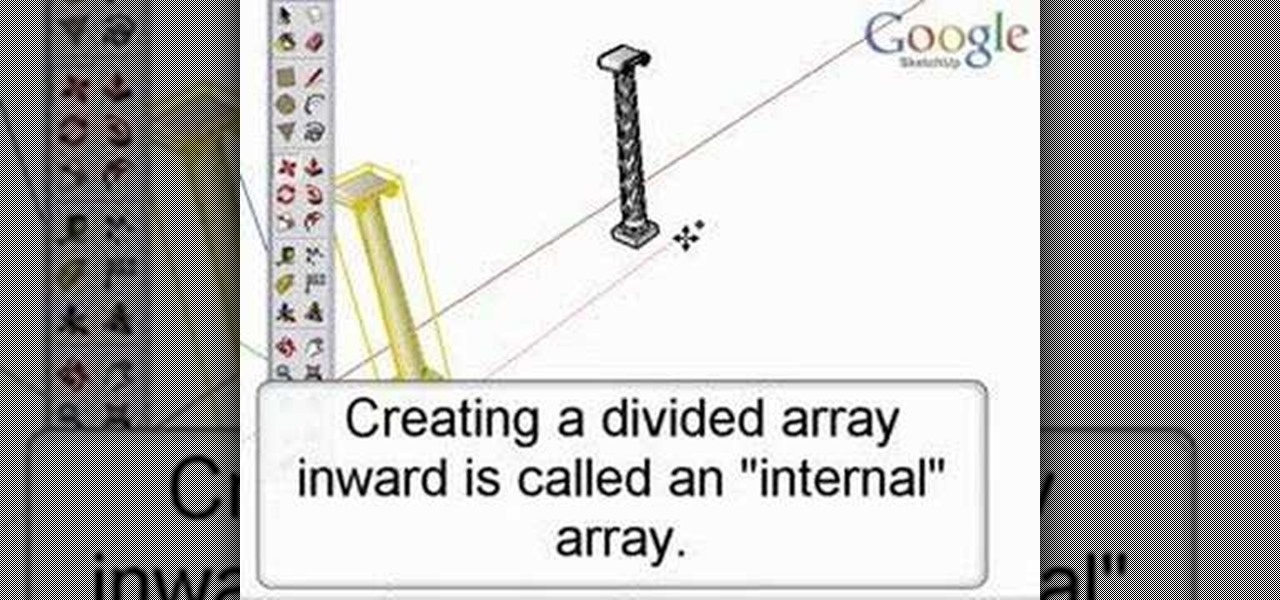
Take a look at this instructional video and learn how to create quick and easy copies as well as repeated copies, or arrays. As arrays are so easy to create, don't worry if you make a mistake. Simply undo the array and recreate it. This tutorial covers how to make one copy, creating multiple copies or arrays, changing the number of copies, the difference between external and internal array, and how to Create circular arrays.

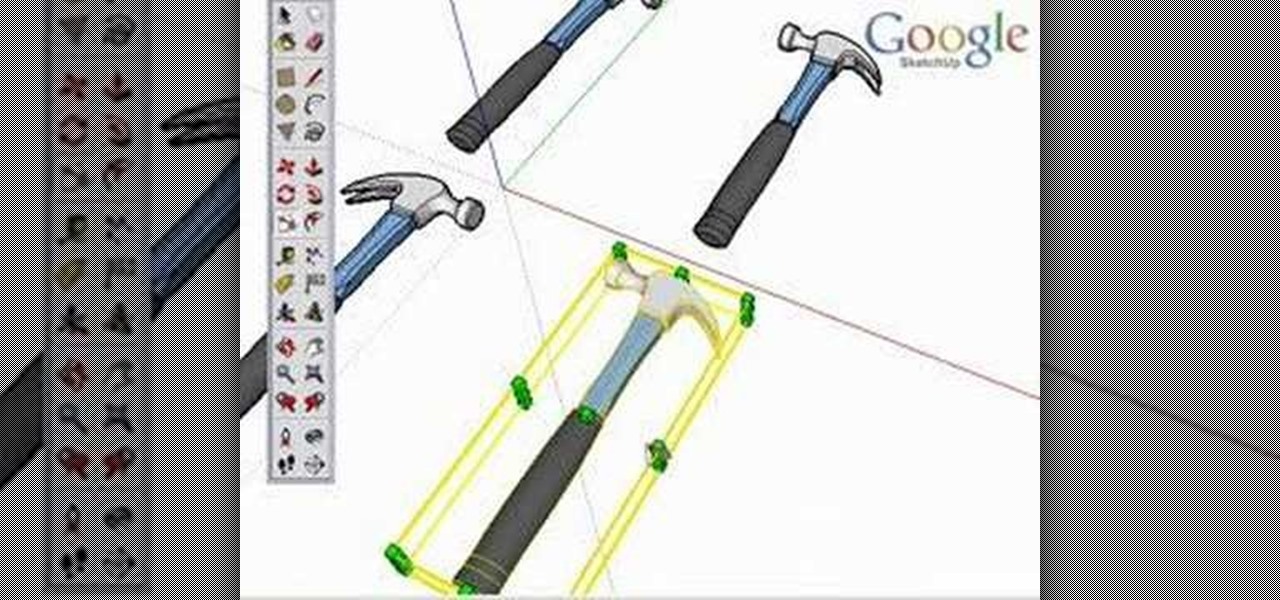
Although there isn't an actual mirror tool in SketchUp, it is easy to mirror anything with the scale tool. Take a look at this instructional video and learn how to use the scale tool for mirroring purposes in SketchUp. This tutorial covers, how to mirror objects using the scale tool, how to use modifier keys, and mirroring symmetrical components or shapes for efficiency.

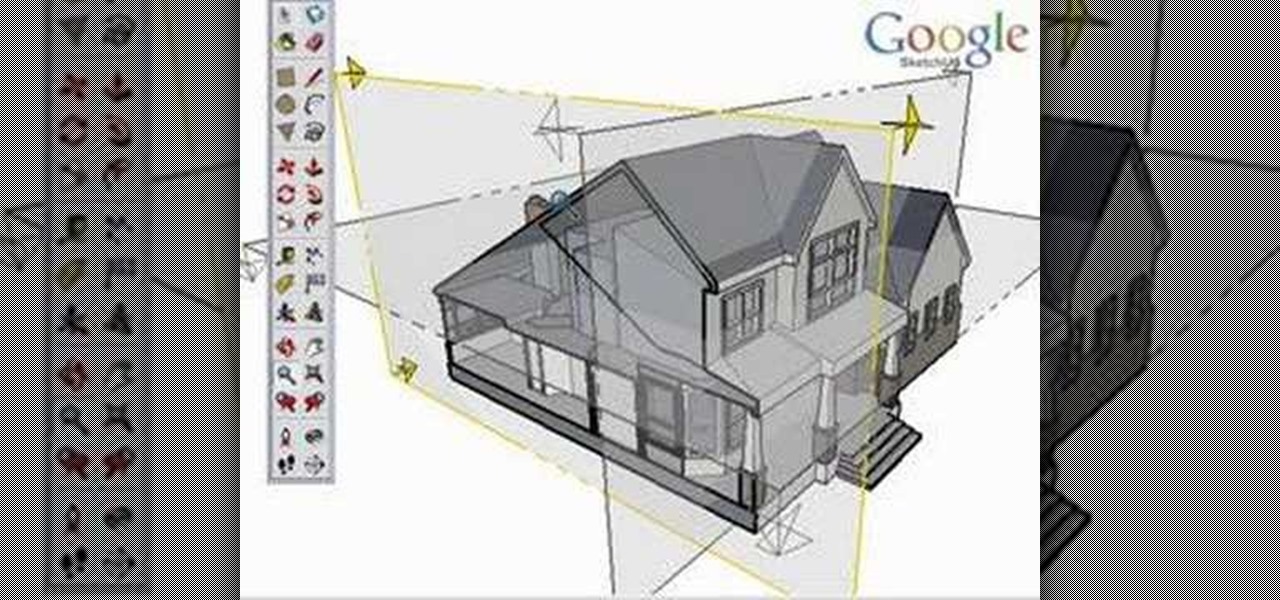
Take a look at this instructional video and learn how to use the section tool in Google SketchUp. This tutorial covers how to create cut-away views of your model in any direction, the context options for the section plane, and how to move and rotate the section plane. You can lock the section orientation by holding the "Shift" key.

Take a look at this instructional video and learn how to use the position camera and look around tools in Google SketchUp. This tutorial covers how look around is a stationary viewing tool, how position camera allows you to place your view, how to position your view exactly, and change your field of view.

Take a look at this instructional video and learn how to use the navigation tools in Google SketchUp. This tutorial covers how to use the orbit, zoom, and pan tools; how to navigate using the scroll wheel on your mouse; tips for zooming; and the functions of zoom previous, next, and zoom extents.

Take a look at this instructional video and learn how to use the axes tool in Google SketchUp. The axes tool will be particularly helpful if you want to draw rectangles and lines in a different orientation. This tutorial covers how to reorient the default red, green and blue axes, and tips for quick axes orientation.

Take a look at this instructional video and learn how to use the text and 3d text tools in Google SketchUp. There are several ways to create text and annotations in SketchUp. This tutorial covers how to create on-screen text and annotations, how to change text settings, the differences between pixel and real world text siz, and how to create 3d text.

Take a look at this instructional video and learn how to use the protractor tool in Google SketchUp. To measure in any direction or orientation, the protractor will align itself to any surface that it touches. This tutorial covers how to measure angles, create construction guidelines, control the tool orientation, and how to establish roof slopes.

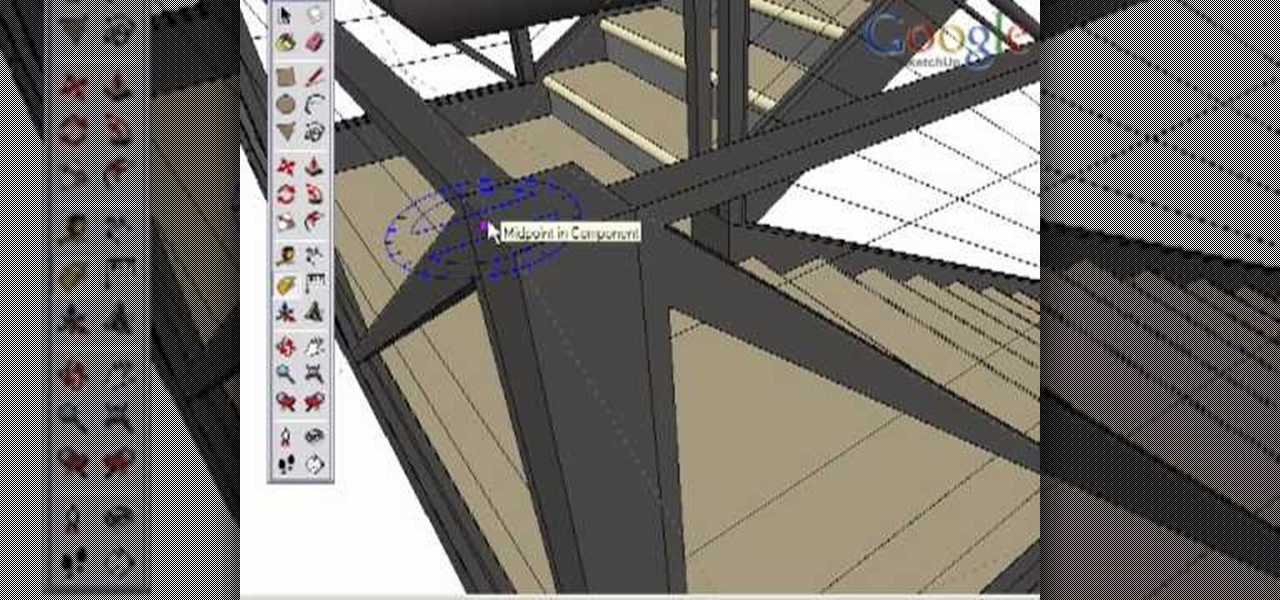
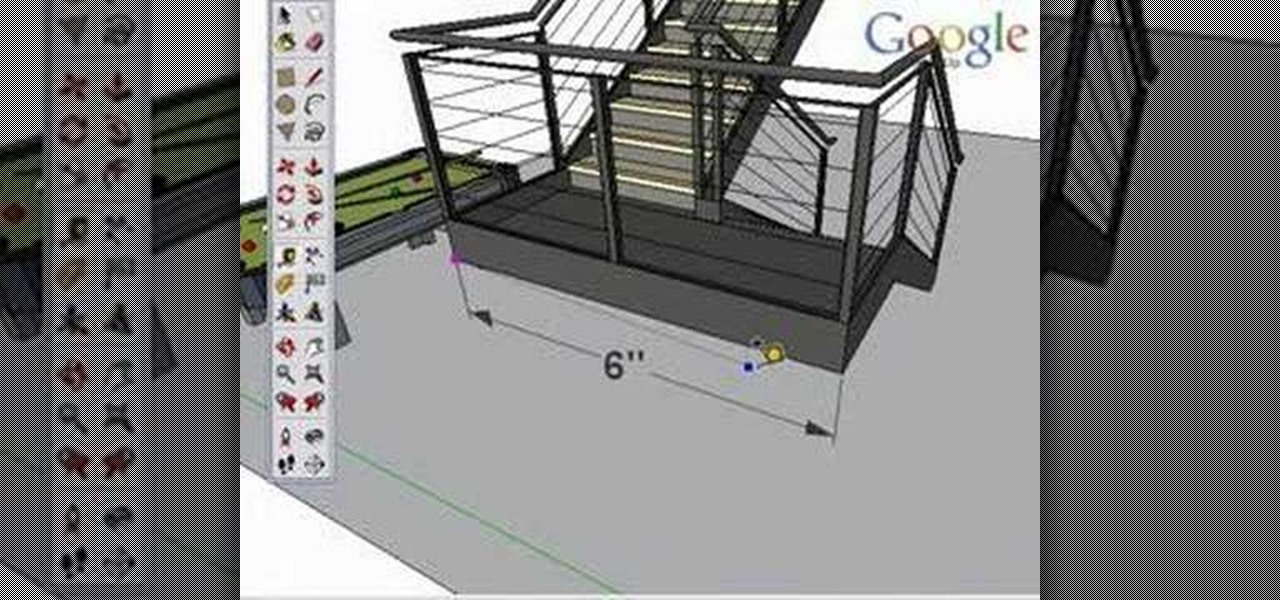
Take a look at this instructional video and learn how to use the tape measure tool in Google SketchUp. You can use this tool to measure edges and distance, create construction geometry or dashed guidelines, and resize individual groups or the entire model. This tutorial covers all three of these functions in a step by step guide.

Take a look at this instructional video and learn how to use the move tool in Google SketchUp. The move tool is actually several tools combined into one. The move tool functions as an auto fold and an array tool as well. This tutorial covers how move is an auto-selecting tool, how to pre-select objects for more control, moving objects with precision, and some common problems.

Take a look at this instructional video and learn how to use the scale tool in Google SketchUp. The key into using the scale tool correctly is in the scale grips. This tutorial covers how to scale in 2d and 3d, accuracy when scaling, how to use modifier keys for more options, and paying attention to the axis when scaling.

Take a look at this instructional video and learn how to use the walk tool in Google SketchUp. The walk tool allows you to explore model from eye height. When you click and drag, you'll see a plus sign appear. YOu'll be able to move slowly or rapidly accordingly. This tutorial covers how to walk around your model, collision detection, and how to use modifier keys for more options.

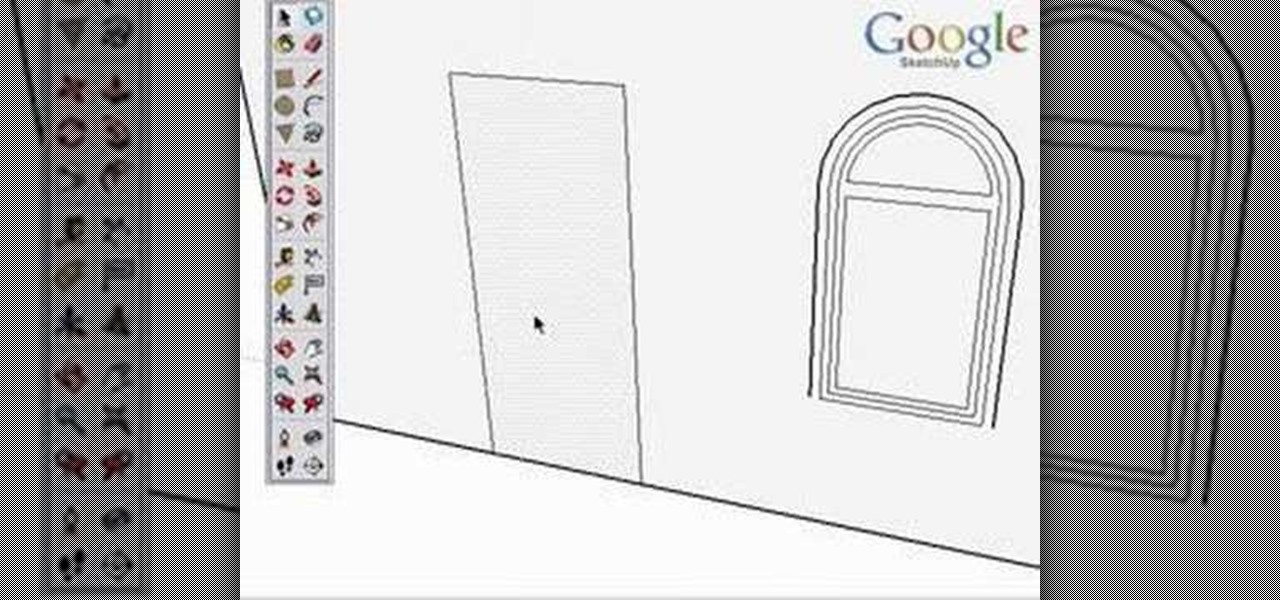
Take a look at this instructional video and learn how to use the offset tool in Google SketchUp. To click on any surface to offset its edges, in or out. The tool auto selects any surface if no particular surface is selected. You can select a number of different surfaces or an individual surface. This tutorial covers offsetting surfaces versus edges, inferring, and some speedy tips.

Take a look at this instructional video and learn about the basics and functions of components in Google SketchUp. The difference between components and groups being that groups have no relation to each other. Any of copy of a group is a completely separate entity. This tutorial covers components versus groups, how to edit components, and the component browser.

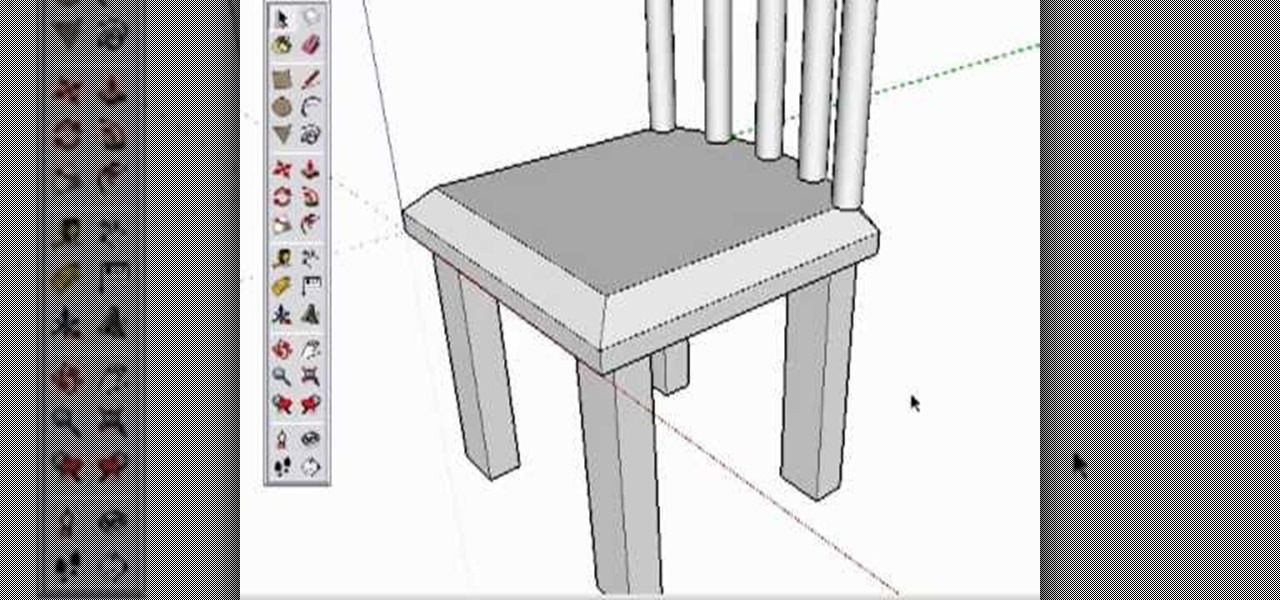
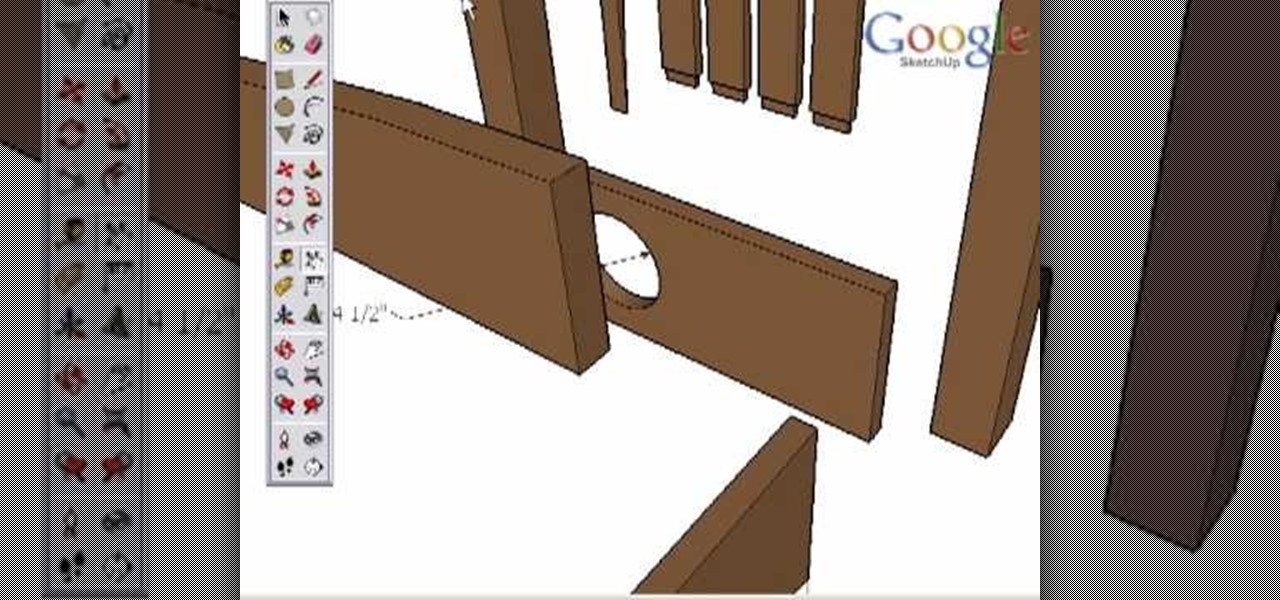
Take a look at this instructional video and learn how to create a simple chair in Google SketchUp. This tutorial covers how to render this piece of furniture in two different ways, and then shows a third more advanced method to introduce some new tools in SketchUp.

Take a look at this instructional video and learn how to use the select tool in Google SketchUp. Making good selections in SketchUp is crucial in properly using the other tools available in this 3 Dimensional modeling program. This tutorial covers the basic selections, window selections, modifier keys to add to and subtract from your selection, and tips for accurate and quick selection sets.

Take a look at this tutorial and learn how to use the push pull tool in Google SketchUp. This tool is the core of SketchUp. It allows you to pull any flat shape into 3D. This instructional video covers how to pull any flat shape into 3D, tips for accuracy and efficiency, how to cut away geometry and infer to other geometry.

Take a look at this instructional video and learn how to use the eraser tool in Google SketchUp. Keep in mind that the eraser tool only works for edges in SketchUp, and you won't be able to erase surfaces with the eraser tool. This tutorial covers how to erase single or multiple edges easily and how to soften or hide edges with the eraser.

Take a look at this instructional video and learn how to use the freehand tool in Google SketchUp. This tutorial covers how to use freehand to draw free form edges. To do this, simply click and hold the mouse button to draw with the freehand tool. Like other drawing tools, be careful not to cross over edges while drawing, and draw to and from existing edges to properly break surfaces.

Take a look at this instructional video and learn how to use the "follow me" tool in Google SketchUp. Merging different shapes with different paths renders powerful combinations. This tutorial covers an introduction to follow-me capabilities, tips on how the shape and path work together, how to create instant follow-me results, and creating lathed objects.

Take a look at this instructional video and learn how to use the dimension tool in Google SketchUp. This tutorial covers how to add dimensions directly to your model and how to adjust dimension settings. To dimension a distance between two points, simply select the dimension tool and click between the two points your want to measure. Pull away and click to finish.

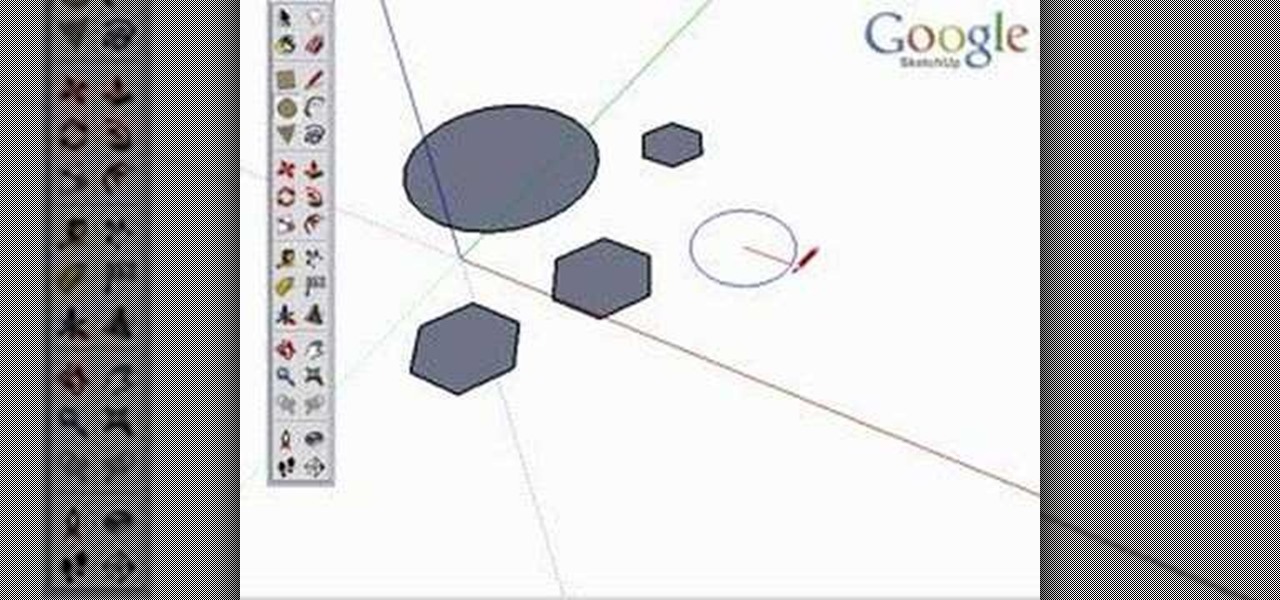
Take a look at this instructional video and learn how to use the circle and polygon tools in Google SketchUp. This tutorial covers drawing a circle or polygon, changing the number of sides of a circle or polygon, and viewing additional information through the entity info dialog box.

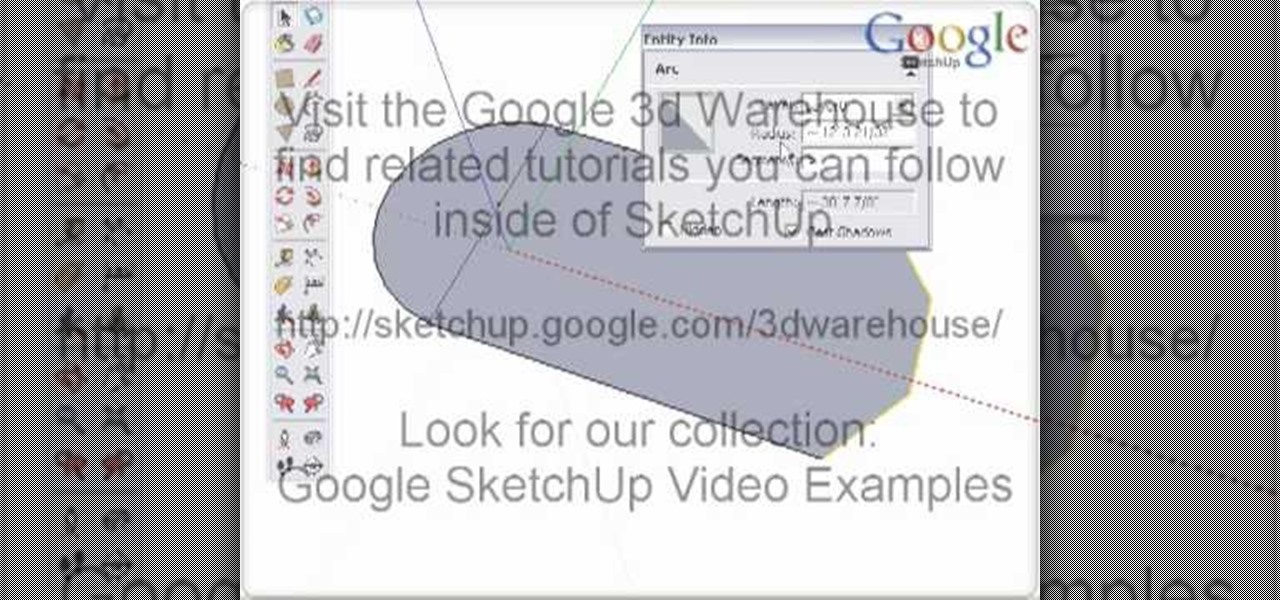
Take a look at this instructional video and learn how to use the arc tool in Google SketchUp. Using the arc tool is a three step process based on defining the two endpoints of the arc first and then pulling out the radius of the arc. This tutorial covers how to draw arcs, drawing tangent arcs, continuous smooth arcs, and defining the number of arc segments.

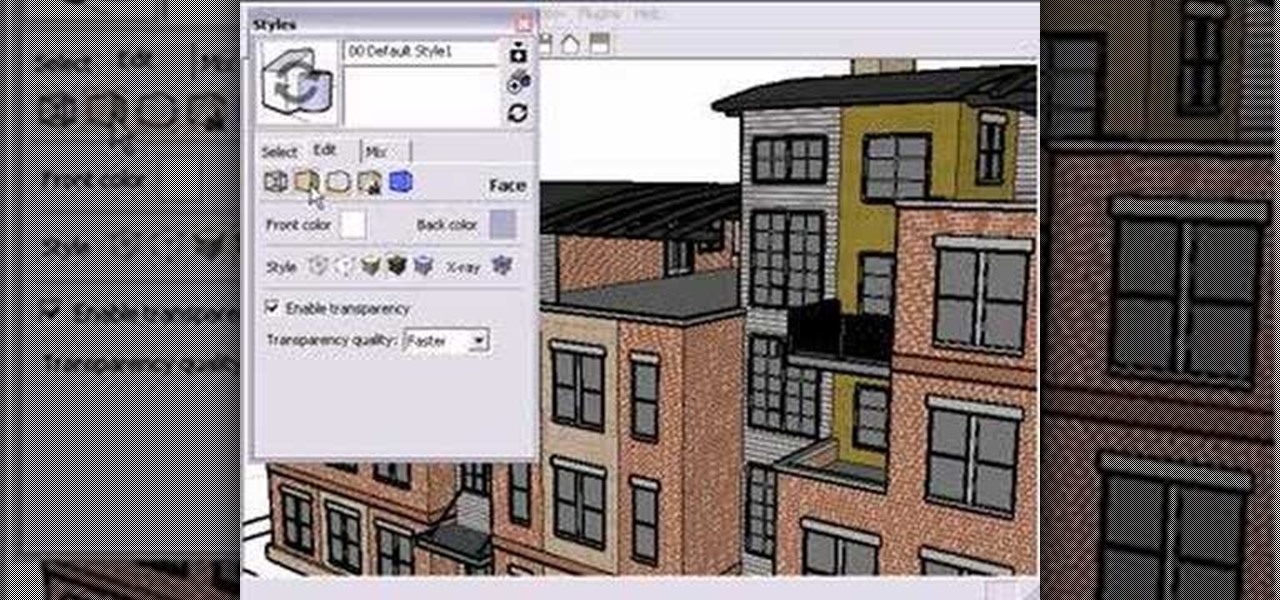
Take a look at this instructional video and learn how to choose, change, or update different styles to your sketch up models in Google SketchUp 6. This tutorial covers the new Styles dialog box that is a part of Google SketchUp 6. This replaced the previous dialog box called "Display Styles", and is much more powerful and combines many options for your convenience.

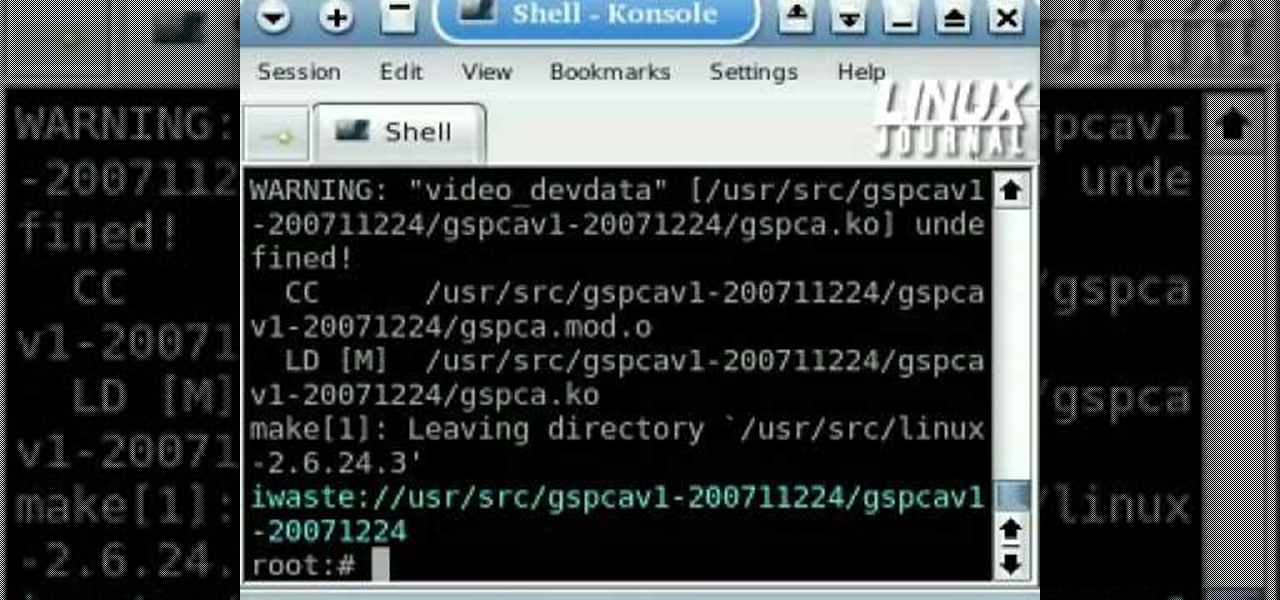
Webcams are notorious for their lack of support under Linux. But thanks to GSPCA, many webcams now have functional V4L drivers. This tutorial from Linux Journal Online covers the building, installation, and configuration of the GSPCA drivers, including how to adjust color balance and brightness directly at the kernel module level.

Non-linear video editing tools are great, but they're not always the best tool for the job. This is where a powerful tool like ffmpeg becomes useful. This tutorial covers the basics of transcoding video, as well as more advanced tricks like creating animations, screen captures, and slow motion effects.


