With this video tutorial from Household Hacker, you will learn how to make a functional circuit on paper. Really—on paper! See how to make an LED light up with a lead-based paper circuit and how to make a resistor on that circuit. It also shows how to make a flashlight out of one of these paper circuits, an LED, and a battery.
Let's face it: When it comes to the main Hallmark holidays - Christmas, Valentine's Day, and birthdays - we tend to take the easy way out. Party invitations are usually purchased in bulk at the drugstore, balloons purchased in a value sized bundle, and food catered or also purchased at the store.
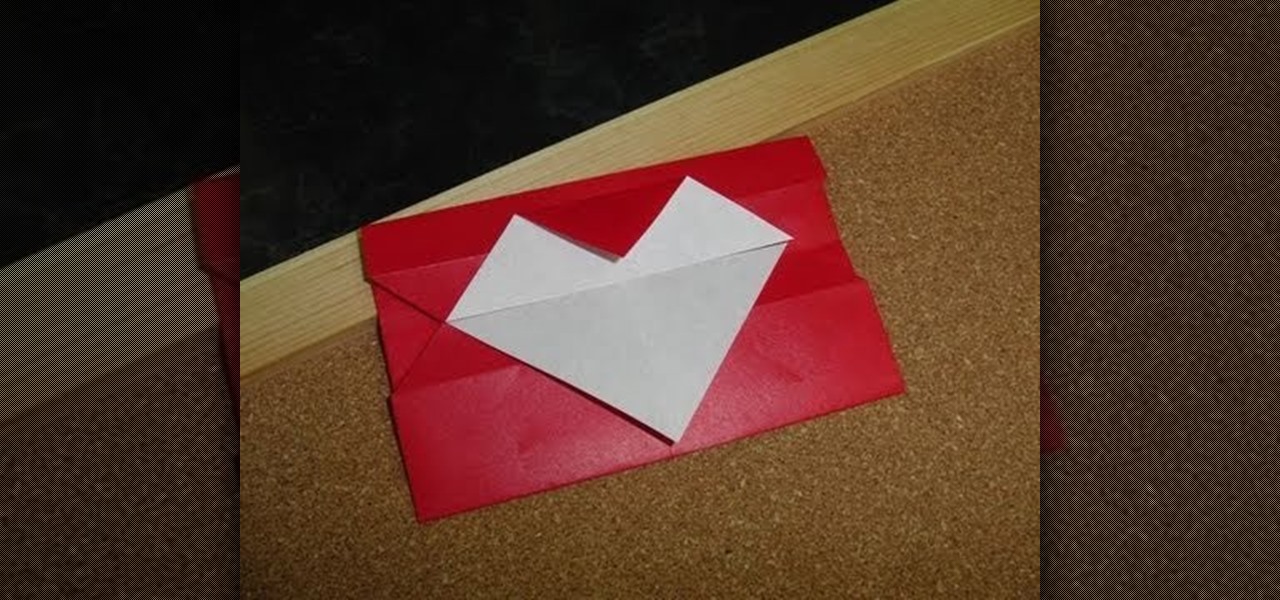
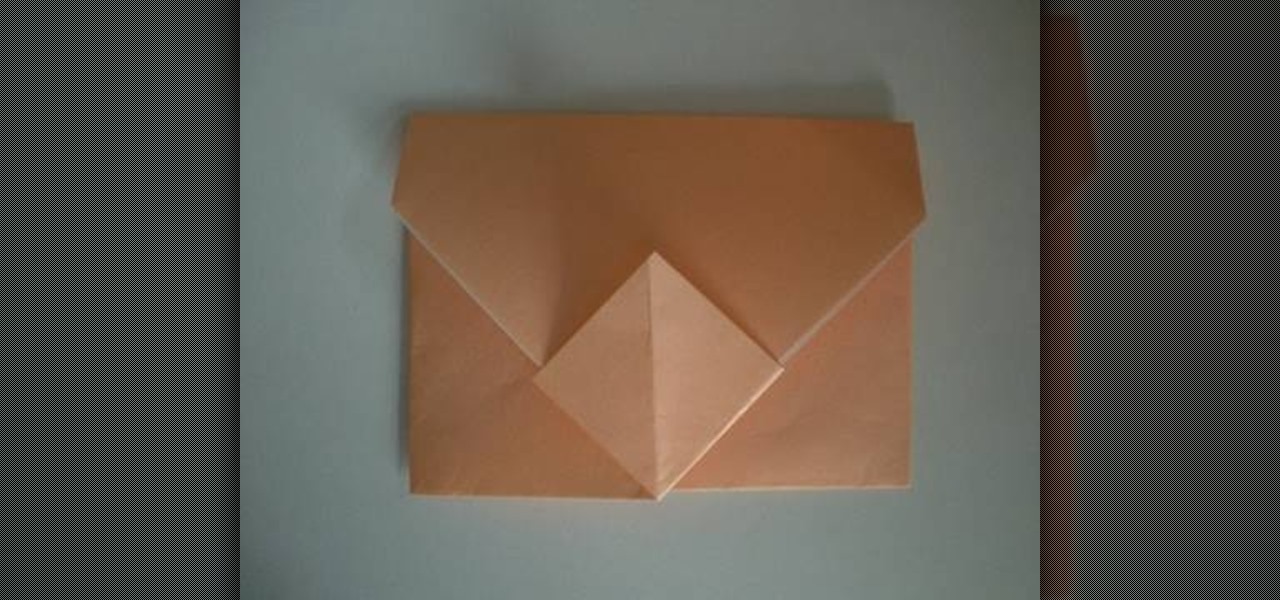
Whisper sweet nothings to your amor by crafting this simple and quick origami message card, which features a heart seal. It's a delightful way to package a loving, amorous sentiment and can also hold tiny trinkets of your affection.

Steampunk style, which is a funky hybrid of Victorian anachronisms (propellers, vintage watch parts) and industrial design, is sure interesting and cool when it comes to gadget design, but pulling off the whole googles-and-gears look clothing-wise is not quite...becoming.
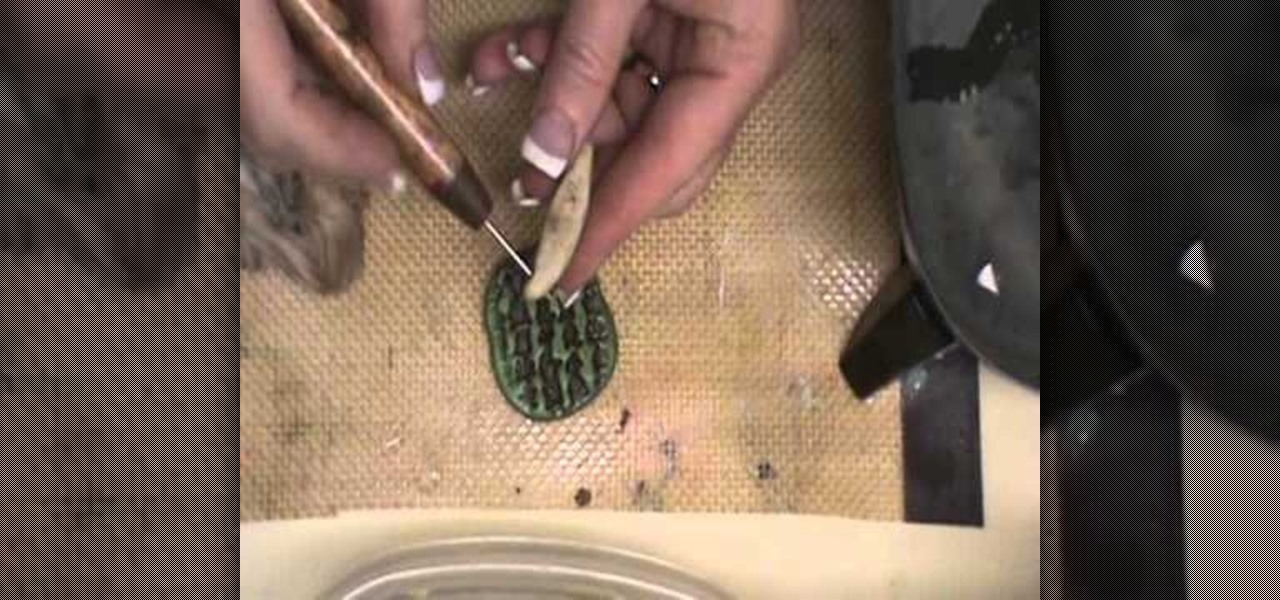
Tribal jewelry, as seen on the runways at Peter Som and Stella McCartney, is very much on-trend right now. But don't waste your hard earned cash paying for a piece of your own.
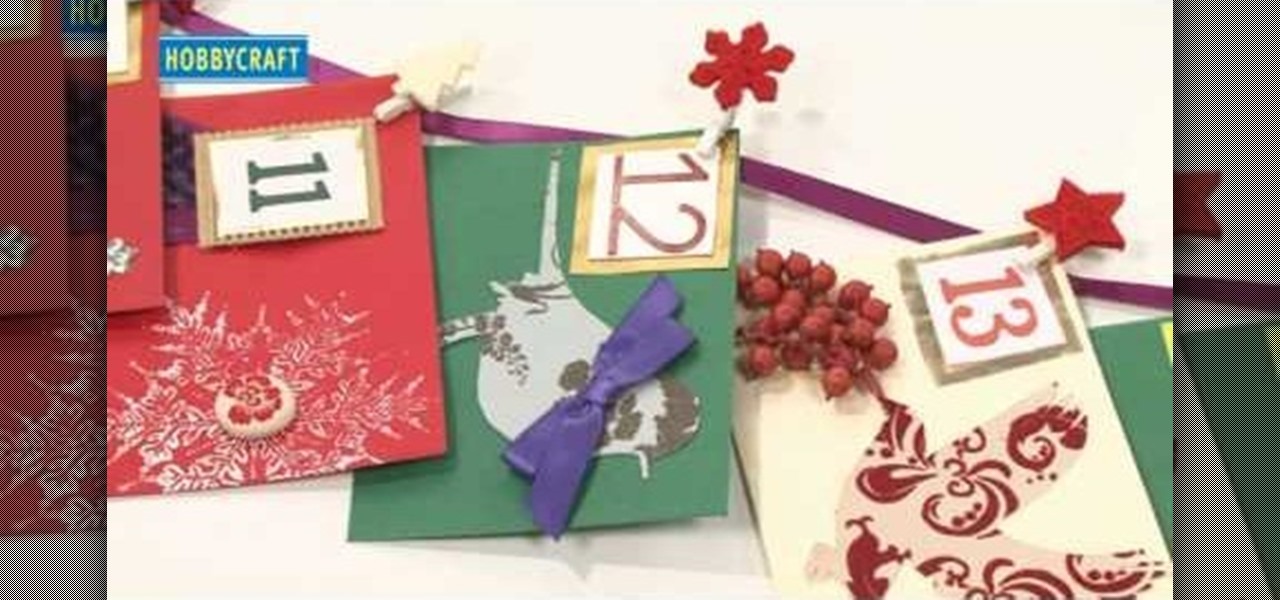
The holiday season rushes by so fast that it helps to keep track of touching holiday memories with an advent calendar. Advent calendars also allow you and your family to congregate together each day and spend some quality time together counting down the days to Christmas and sometimes getting a new small gift each day.

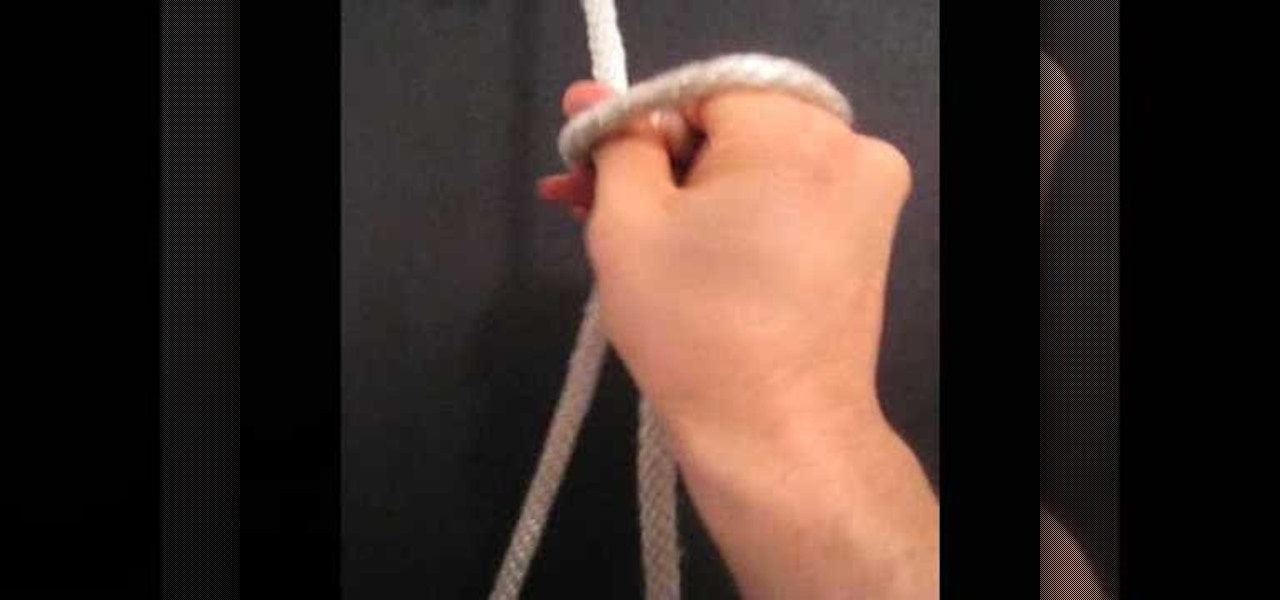
This is a video tutorial in the Arts & Crafts category where you are going to learn how to tie a Bowline knot with one hand. Doing this is really simple and easy and doesn't take any time at all. Hang a line from any support. Take the lower end, that is the running end in one hand and pass it around the standing end. Then take it out through the loop and pass the running end around the standing end and pull it out through the loop. Tighten the knot and it's done. It's really that simple and e...
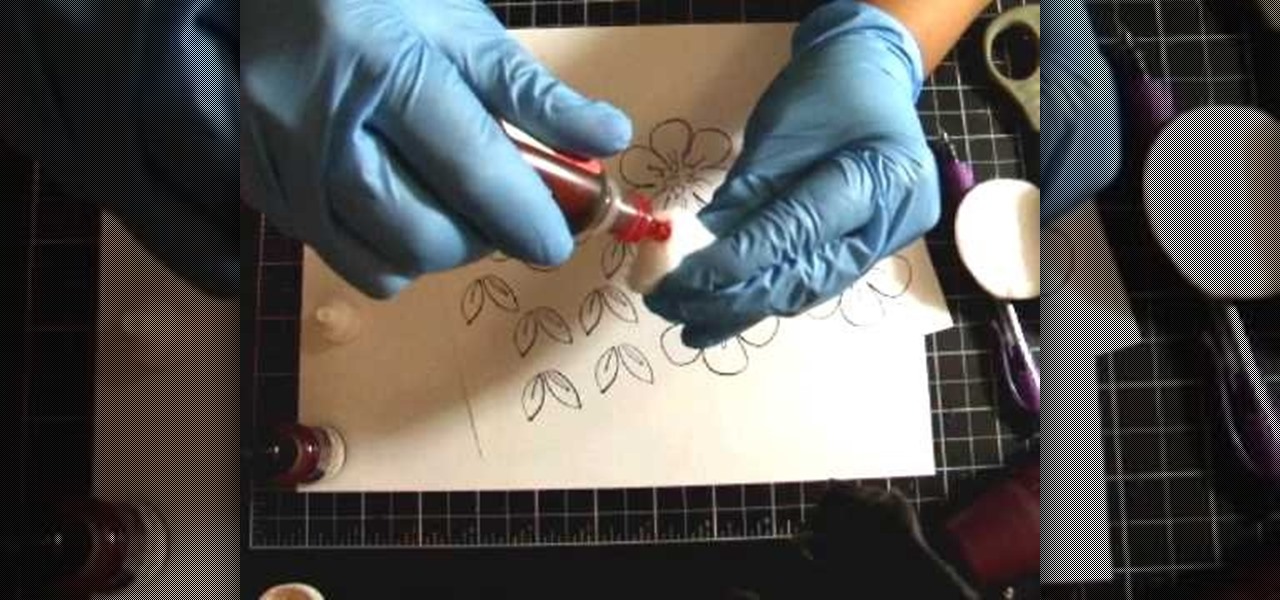
In this tutorial, we learn how to add texture to stamped images using rubbing alcohol. First, stamp on your image with a regular stamp to a piece of paper. After you do this, you will take a cotton ball and dip it into ink, then dab this on the images. From here, you will dip that into rubbing alcohol and then dab on top of the images as well. Allow this to dry and if you don't have time, blow dry it evenly. Then, use embossed ink to raise the images up from the page. When finished, you will ...
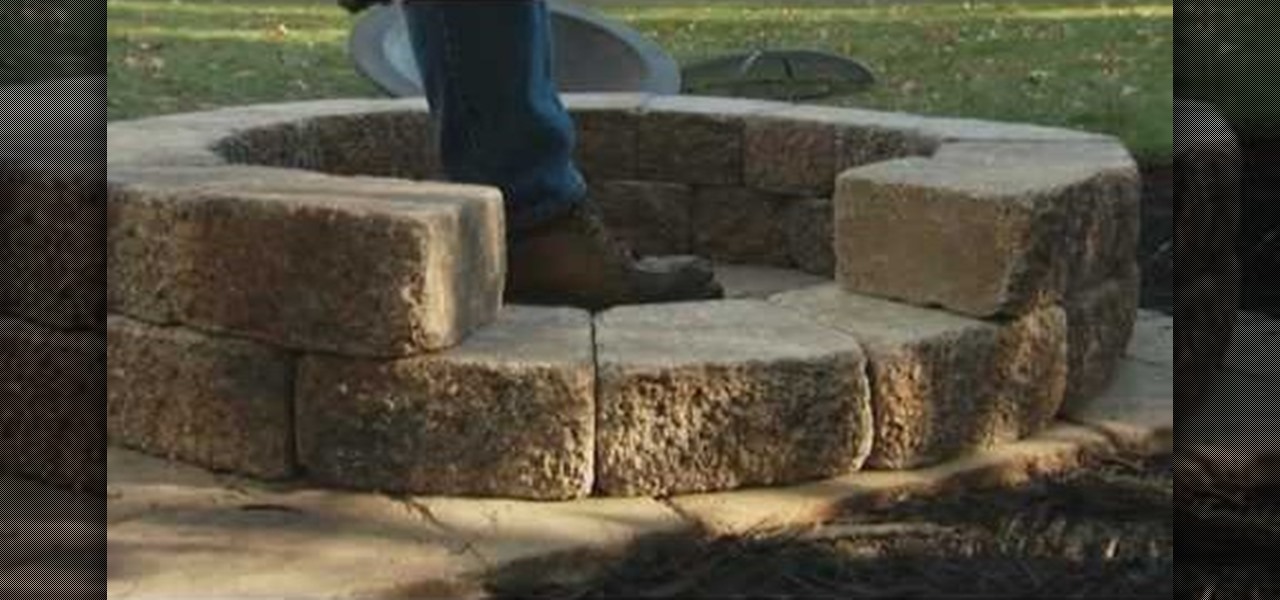
In this video, Mike Craft from Lowe's teaches us how to build a fire pit. First, check to make sure there are guidelines permitting you to place a fire pit outside of your home. Then, make sure you have a clear area to place the fire pit. Once you have a spot picked out, you will need to make a paver base for your fire pit to lay on top of. After this, lay a circle of blocks around the cover for the fire pit. Layer three sections of blocks, then line with bricks on the inside and place in the...
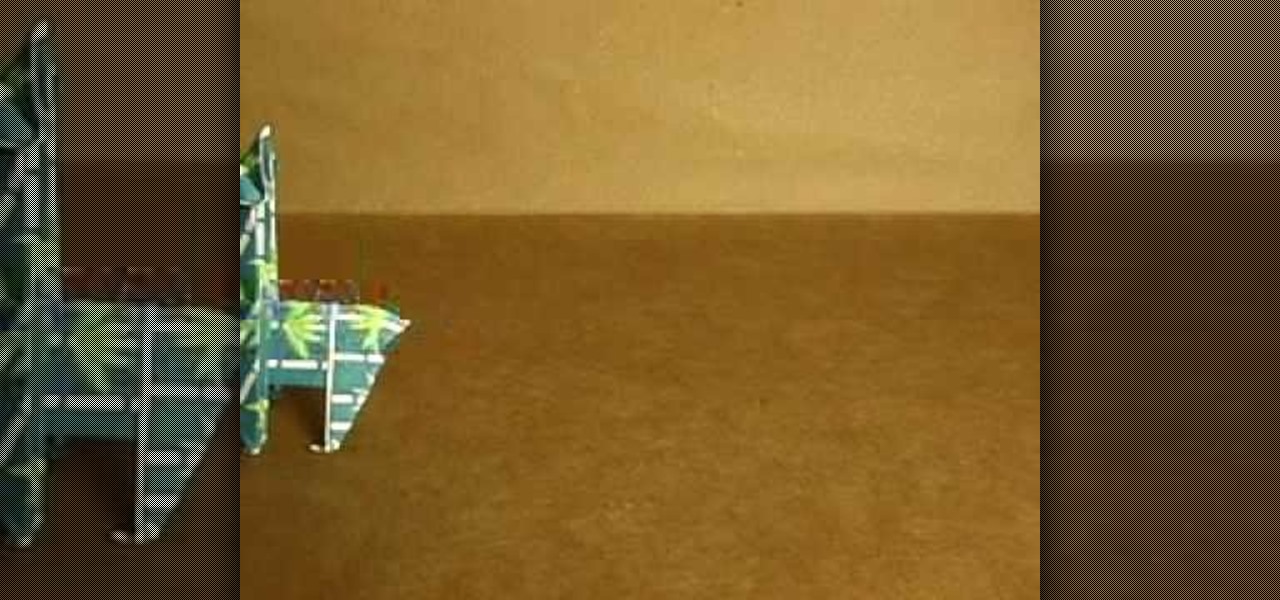
This is a video tutorial in the Arts & Crafts category where you are going to learn how to make origami llamas. Take a square sheet of paper and fold it in half. Open the fold and then fold each half further in halves. The sheet is now divided in to 4 parts. Next fold the outer flaps inwards so that they meet at the center. Flip the folded sheet and fold it in half to make it a square size. Next you fold the top back over itself in a triangular shape. Open up the last fold and watch the video...
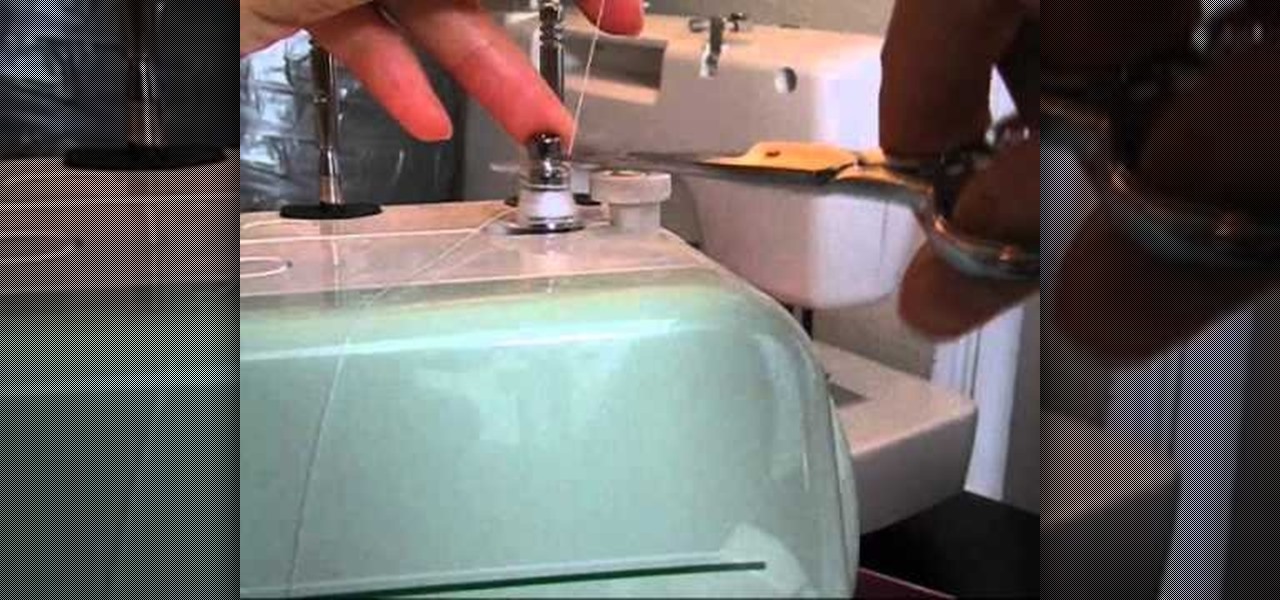
Did you think sewing was complicated? Then don't even get us started on threading a sewing machine. Each sewing machine is slightly different in the way it's constructed, which makes threading a puzzle (read: pain in the butt).
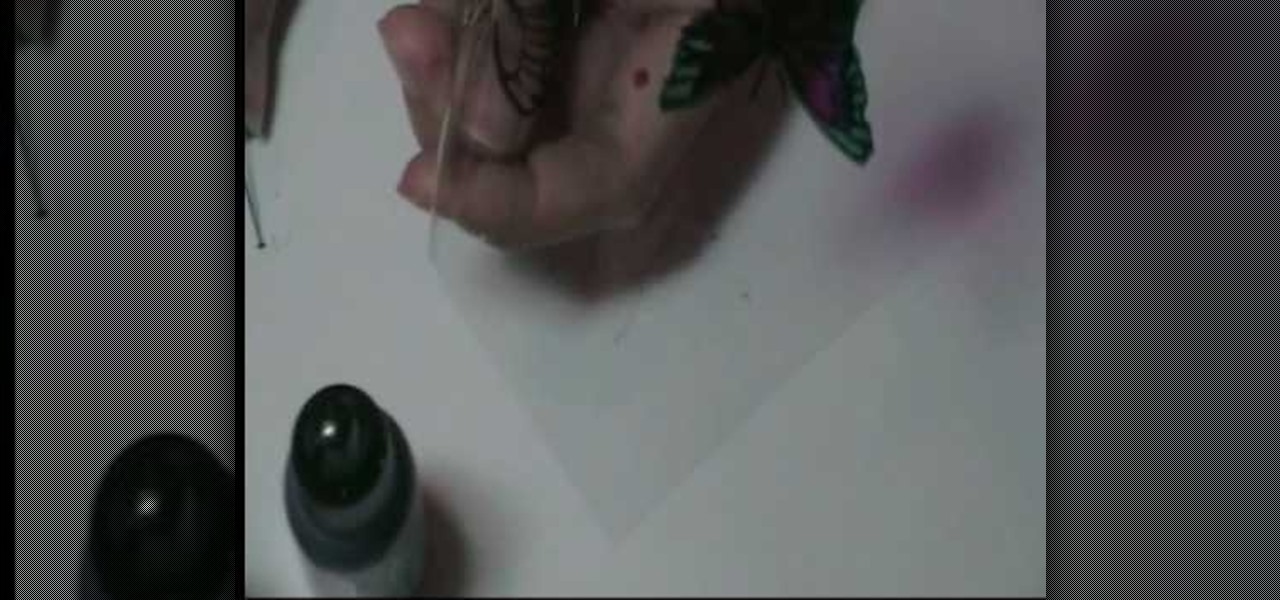
In this video, we learn how to make beautiful acetate butterflies. First you will need to make sure you have alcohol inks on hand for the colors you want to make. To start out, stamp the butterfly with black ink onto a piece of plastic acetate. After you have done this, use different colors to fill in the butterfly how you prefer it to look. After you do this, cut out the butterflies and then you will be able to use them for what kind of craft you want to do. These are cheap and easy to make ...
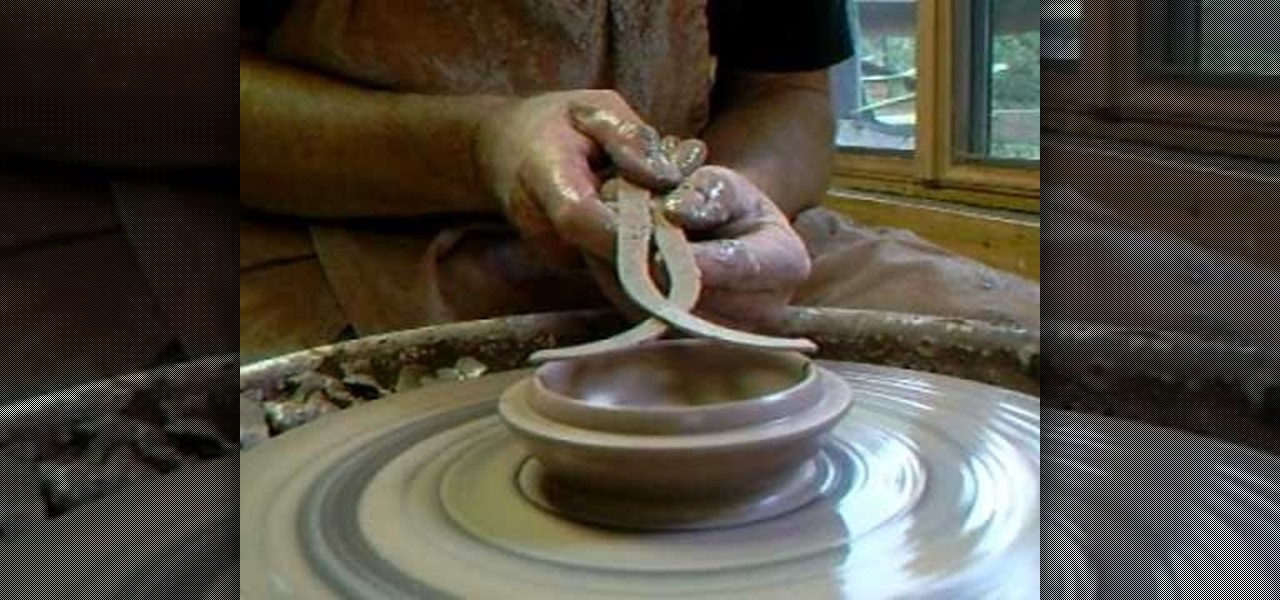
In this tutorial, Simon Leach teaches us how to make lidded boxes. First, grab your pot and dip the top of it into water to get it wet and soft. Now, grab a small amount of clay and set it on your spinning table. After this, get your hands wet and start to craft a lid out of the clay. Make an inner base as you are spinning the clay by carefully placing your finger on the side of the top. When finished spinning, place the top down and see if it's the correct size for the pot, then glaze and fi...
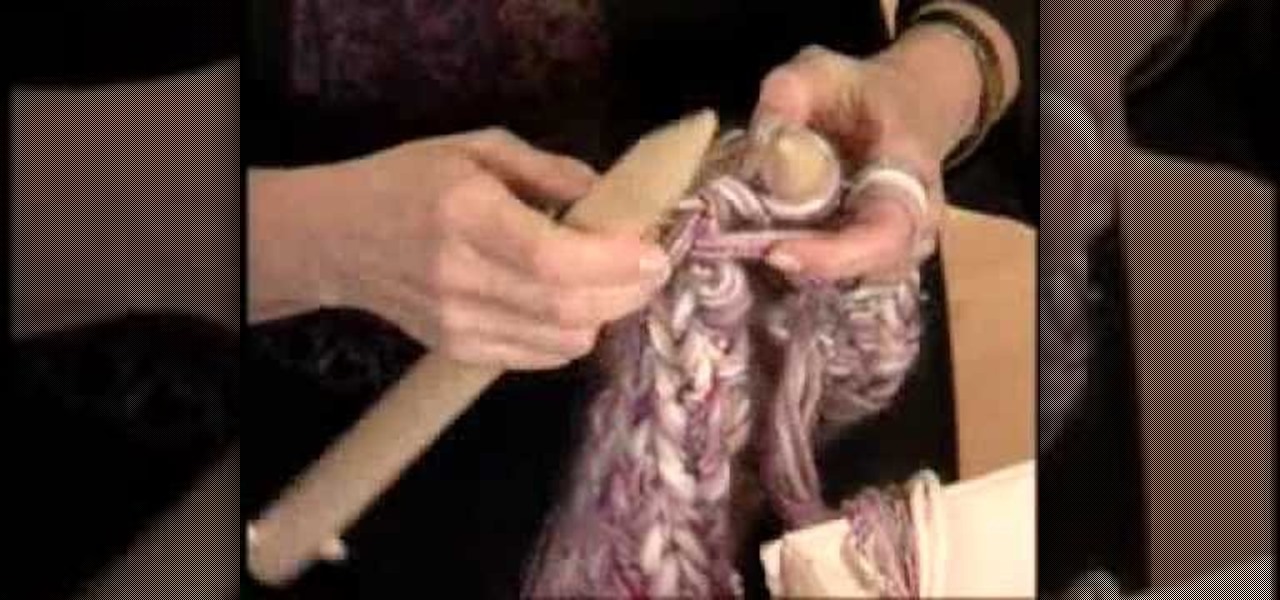
We don't know about you, but anything that says "Greek goddess" in the label gets us instantly interested. In this tutorial, you'll learn how to look like a Greek goddess by making a knitted headband composed of three strands that tie at the back.
Jump rings are super functional in jewelry making, allowing crafters to connecting disparate sections of a necklace easily and also serving as their own minimalist decor. If you're into the look of chain mail (which is just that - lots of chains connected together via jump rings), then you should check out this video to learn how to craft your own jump rings.
Honestly, we're getting a little tired of purchasing mass-produced cards. Not that we don't adore Papyrus, with its often handmade-like cards and pretty details, but more and more we're finding we enjoy gifting our friends and family something authentic for special occasions.
So we have to admit something. We're not entirely sure what this project is. It looks like one of those Sweedish straw ornaments you hang on the tree during Christmas, but then again it could also just be an abstract representation of the sun.
Looking for instructions on how to create a new buyer or seller account on Etsy? This clip will teach you everything you'll need to know. It's easy! So easy, in fact, that this video guide can present a complete overview of the process in just over two minutes. For more information, including detailed, step-by-step instructions, and to get started buying and selling crafts on Etsy yourself, take a look.
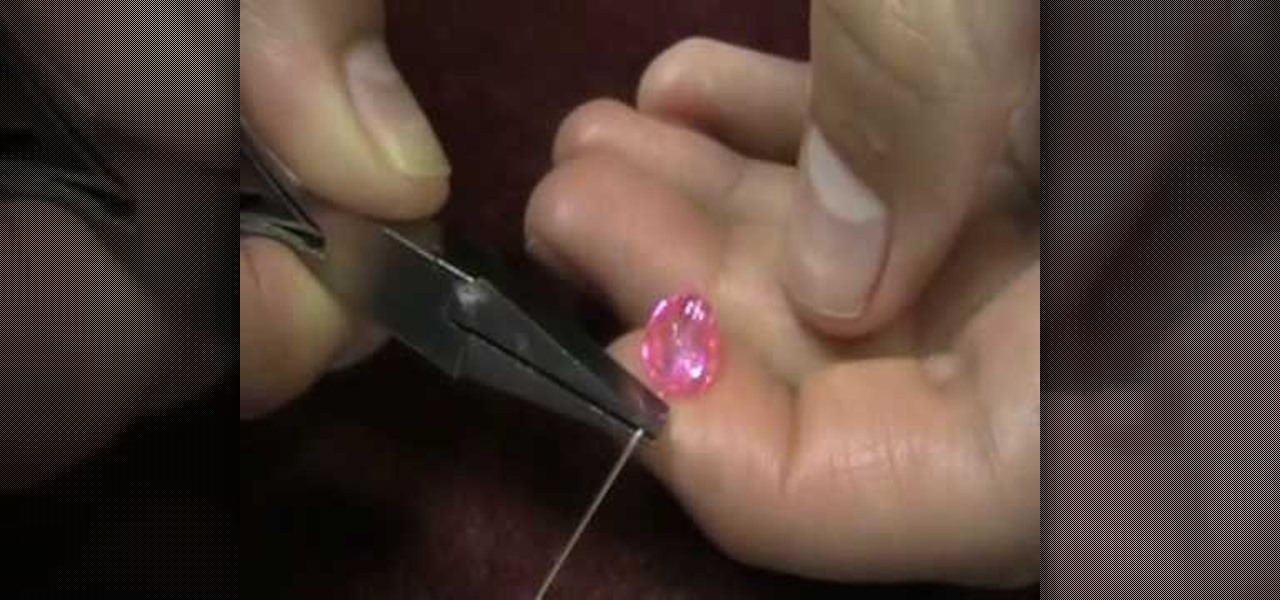
In this video tutorial, viewers learn how to wire wrap a head pin loop. Begin by placing the bead on the head pin, or on a 5 inch piece of wire. Then make a bend on the head pin approximately 1/8 inches above the bead to a 90 degree angle. Now wrap the pin around the jaw of the pliers, pulling it slightly to one side. Holding the bead and wire, rotate the pliers back to form a loop. Finish by wrapping the tail of the wire around the exposed part of the headpin as many times as possible. This ...
This video tutorial is in the Arts & Crafts category which will show you how to make crumpled flowers for scrapbooking. Cut out three circles of 2", 1 1/2" and 1" diameter out of a sheet of paper. Then wet the pieces of paper lightly with water or colored ink and crumple them one by one as shown in the video. Then place the three pieces together and pin them up with a split pin. Now crumple the edges of the paper further to give them the look of a flower. Allow it to dry and your flower is re...
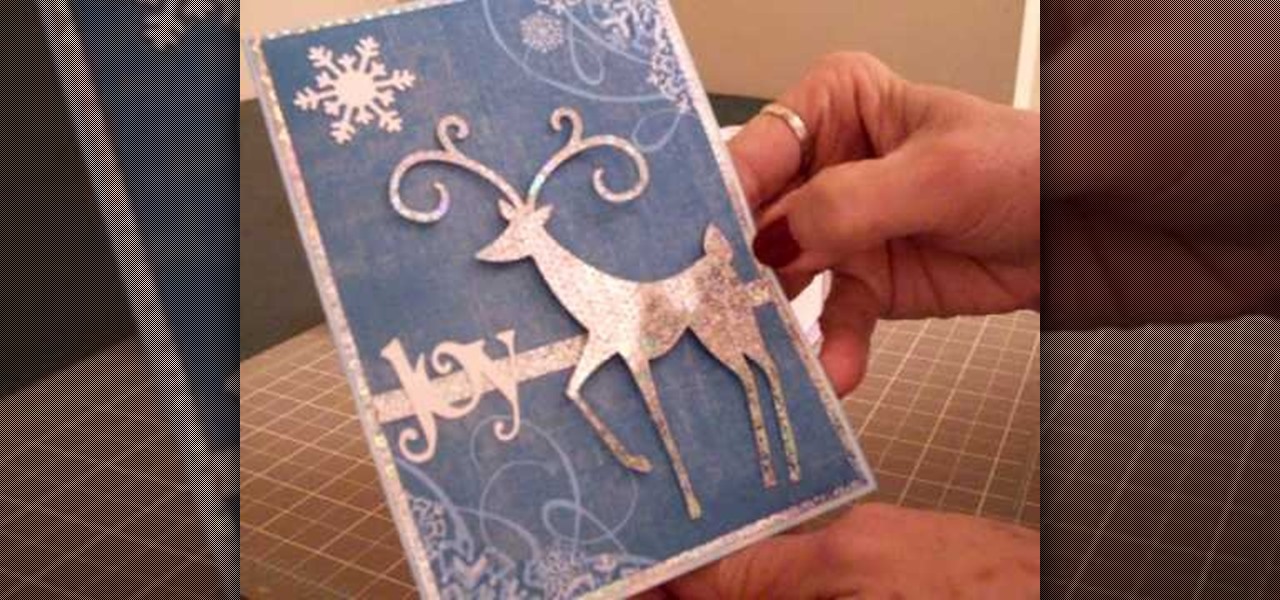
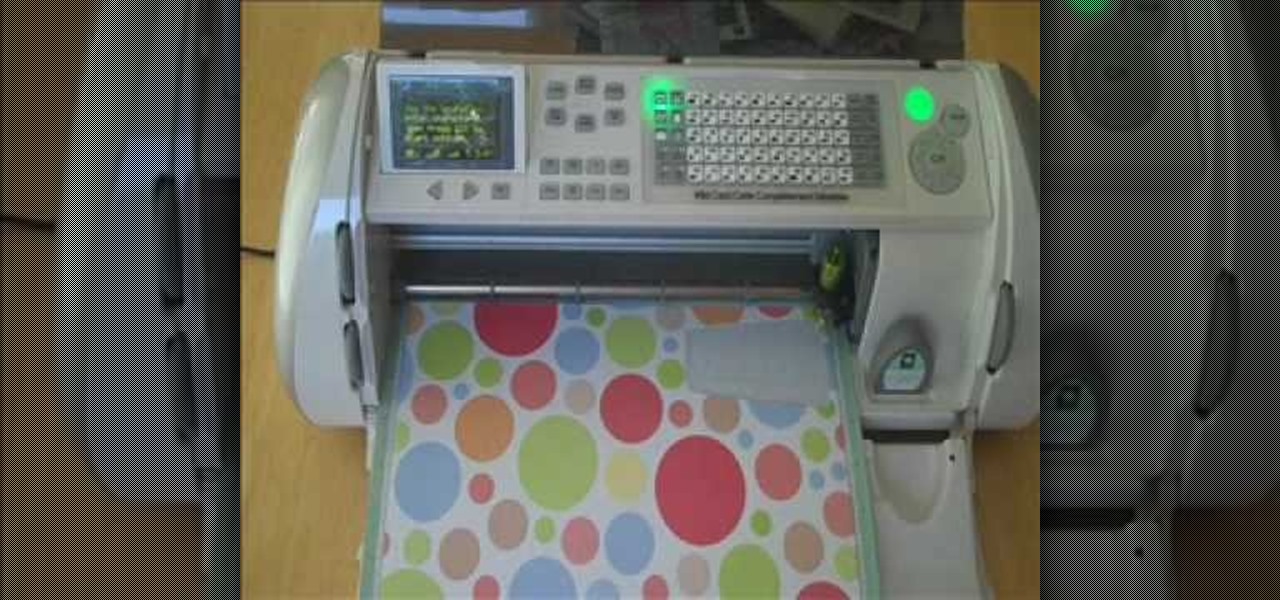
In this Arts & Crafts video tutorial you will learn how to make a Christmas card using Cricut Winter Woodland. The card is 4 1/2 x 6 1/4 inches and it has a picture of a deer and the word "Joy". On page 56 you will find the picture of a deer. Cut it out at 4 1/2 inches and the word "Joy" is on page 78. Cut it out at 1 1/4 inch. Use the snow flake punch to cut out a snow flake. From "The Winter Matstack" choose a paper that has some snowflakes on it. Then you can cut out thin strips of some or...
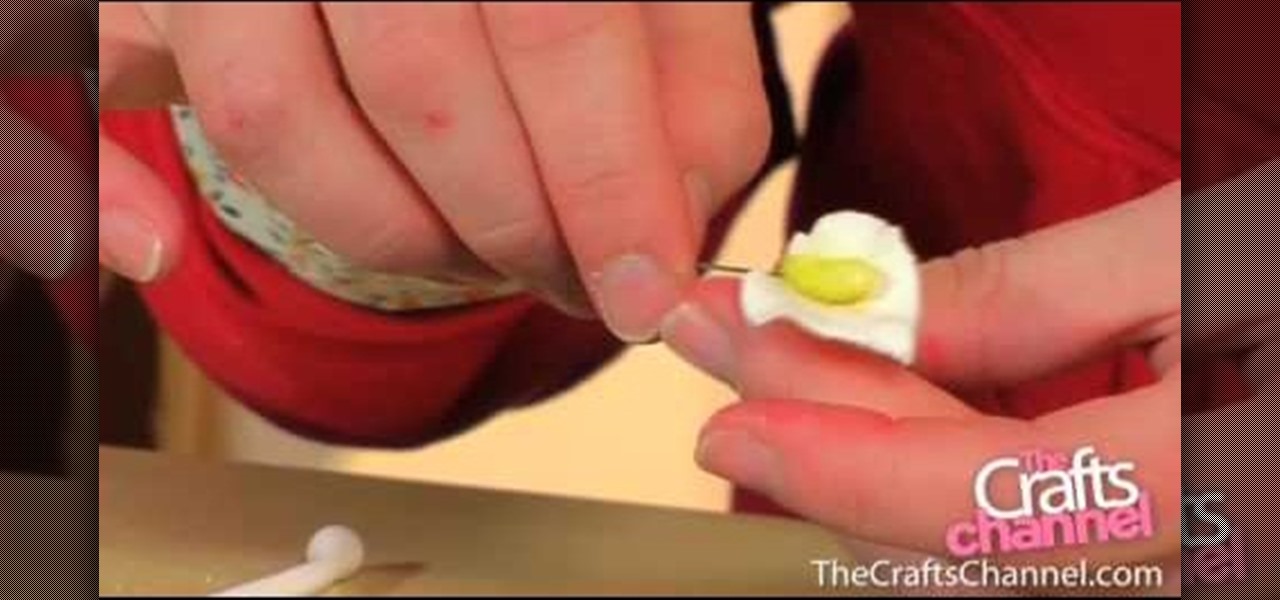
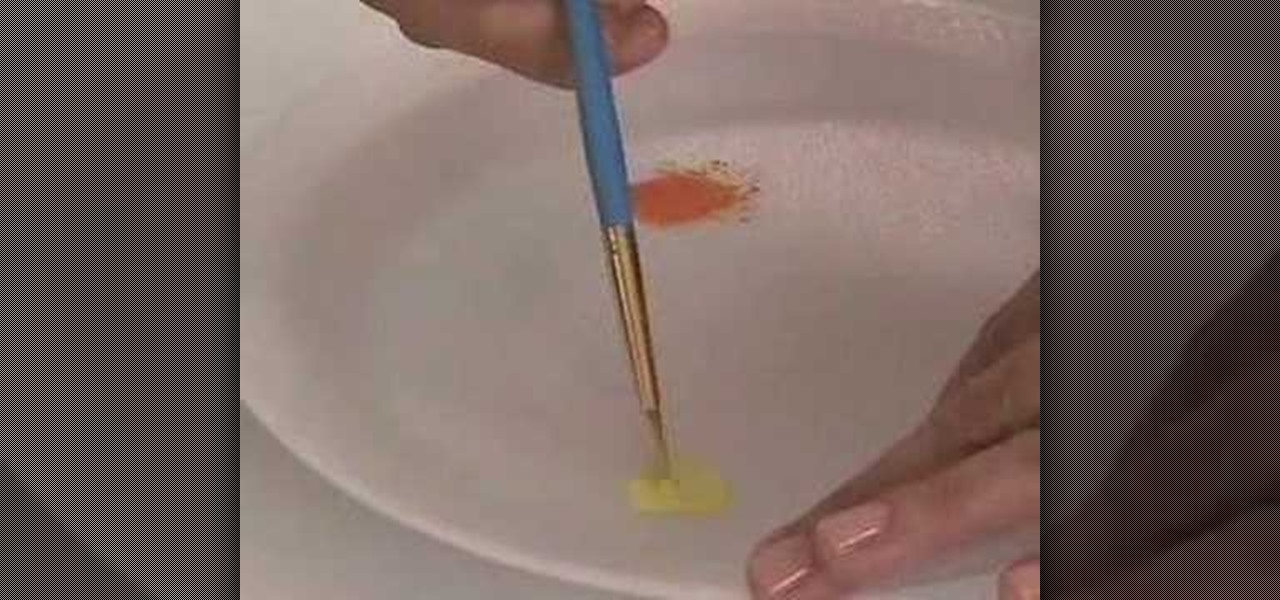
In this tutorial, we learn how to color a sugar crafted lily petal. Insert your paste onto a green wire, then cover the paste with clear edible glue. Then, place the piece into yellow sugar sprinkles. After this, create your petals out of gum paste and push down on the edges to create a petal shape and feeling. Next, apply the glue onto the center of the flower and add this onto the piece that you just made, wrapping it around. After this, wait for it to dry and you will have a beautiful lily...
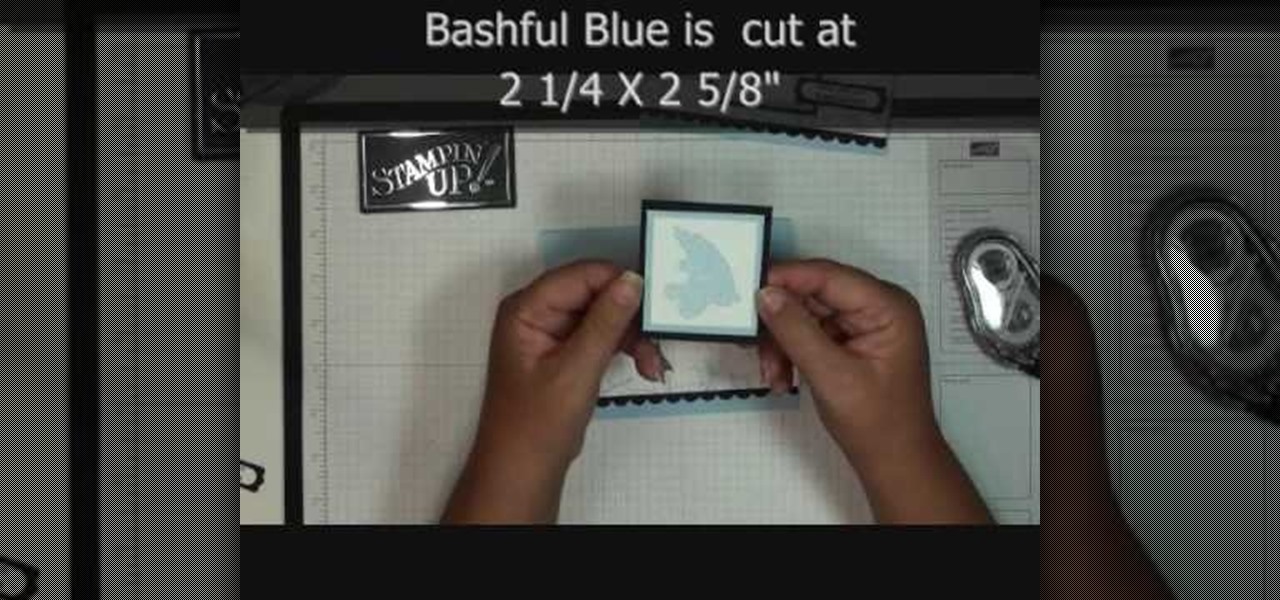
This video tutorial is in the Arts & Crafts category where you will learn how to use the rolling marble technique in scrapbooking. Take a piece of 2" x 5 1/2" whisper white. Then take the stamp set container with three marbles in it and add 4 -5 drops of color from a bashful blue refill inside the container. Then shake the container till the marbles get coated with the ink. Put some dotto on the back side of the whisper white and stick it to the inside top of the container. Flip it over and r...
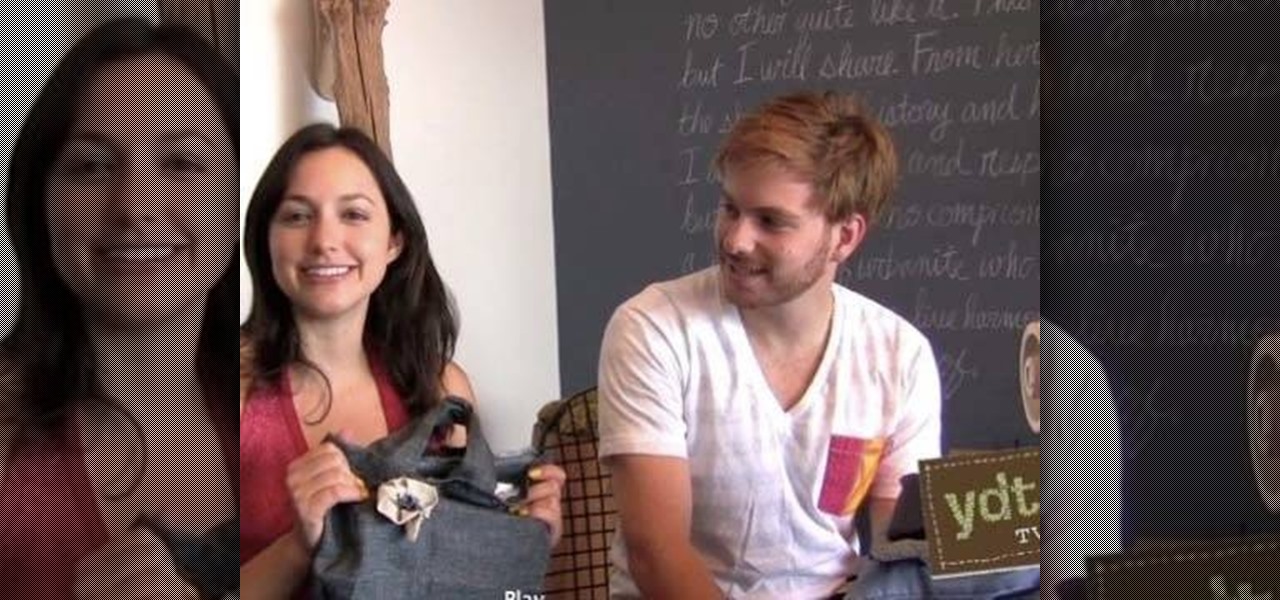
Chances are you have a pile of old, unused clothing lying somewhere in your house. You're sure as hell never going to wear any of it, but you also don't want to throw anything away just yet. So how do you eliminate the unsightly pile without completely tossing it into a trash can?
So we're going to ask you one question that will change your origami folding life forever: Are you ready to move beyond cranes? So many people get stuck and attached to making origami cranes because they're easy, cute, and pretty.
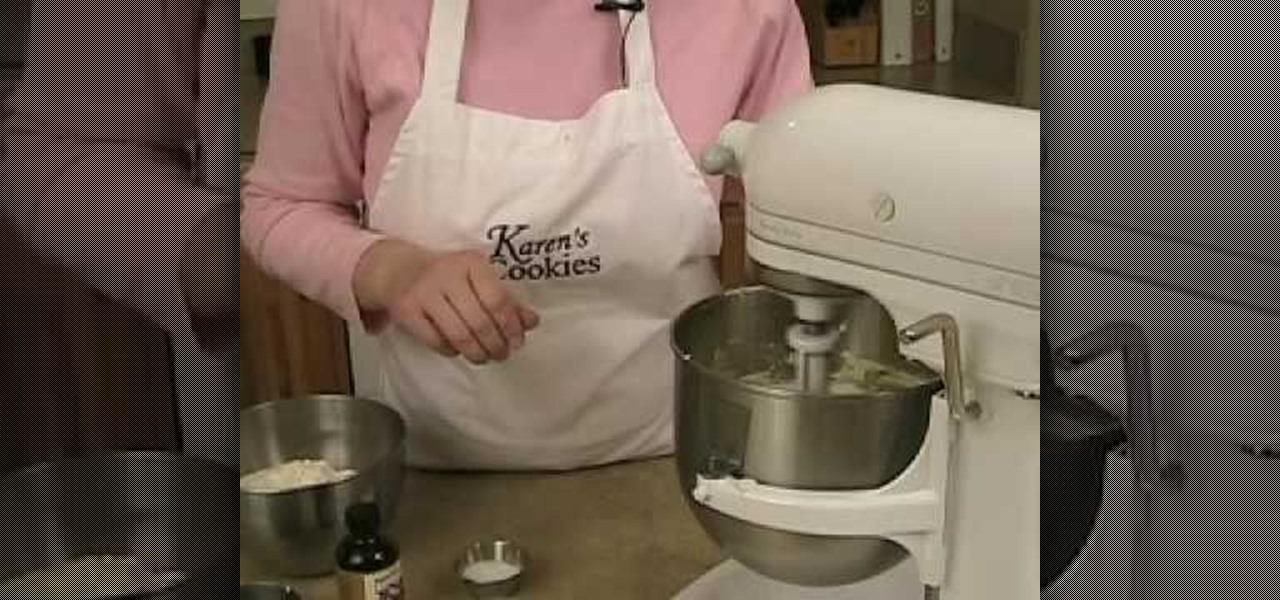
When we're baking sugar cookies, we all tend to do the same thing: Rush through the boring mixing and baking part, and then spend three times as long on putting on the icing and forming pretty motifs. But to create truly spectacular sugar cookies, there is more to crafting dough then simply throwing in the ingredients and blending.
In this Arts & Crafts video tutorial you will learn how to use the cross stitch 'n paint technique. It combines simple back stitching and water color painting. Most of the materials are found in your kitchen. You will need wax paper, paper towels, and a plate to use as your paint palette, some water colors and paint brushes. After choosing your design, back stitch the outline on the fabric. Place the white paper towel over the wax paper and spread the stitched fabric over it. Now you are read...
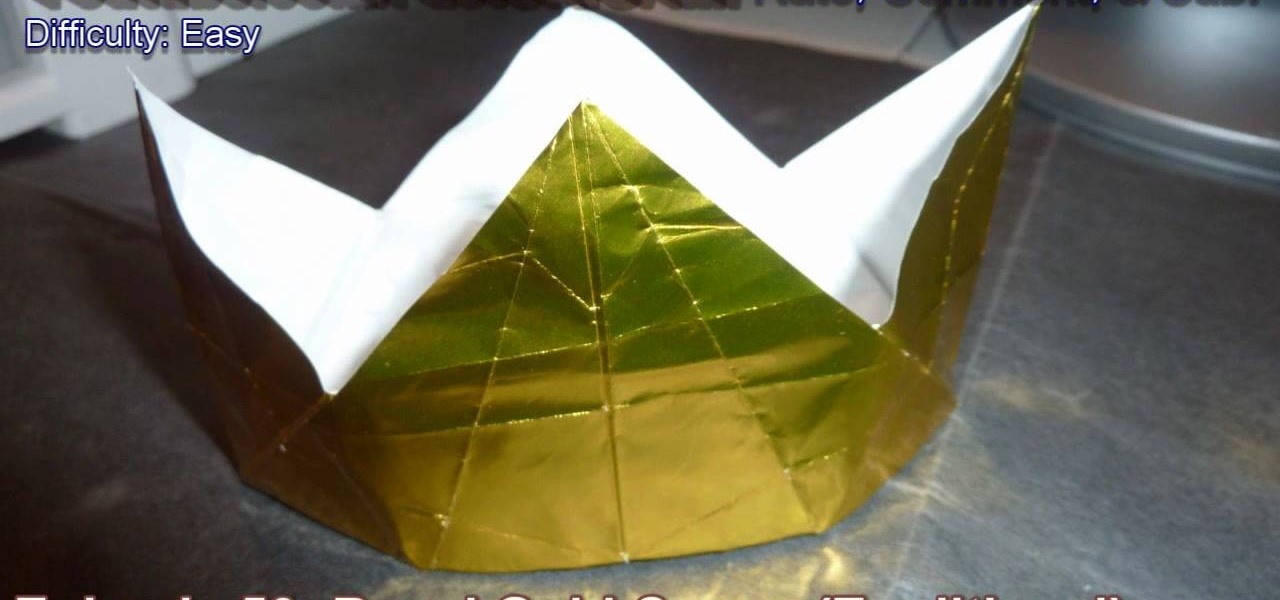
Okay, so watching "The Princess Diaries" gave us something of a princess complex. Come on, what girl doesn't want to own her own country (however small and fake), have Julie Andrews as her grandma, and be driven to even trivial places like the nail salon in a limo? Sounds good to us!
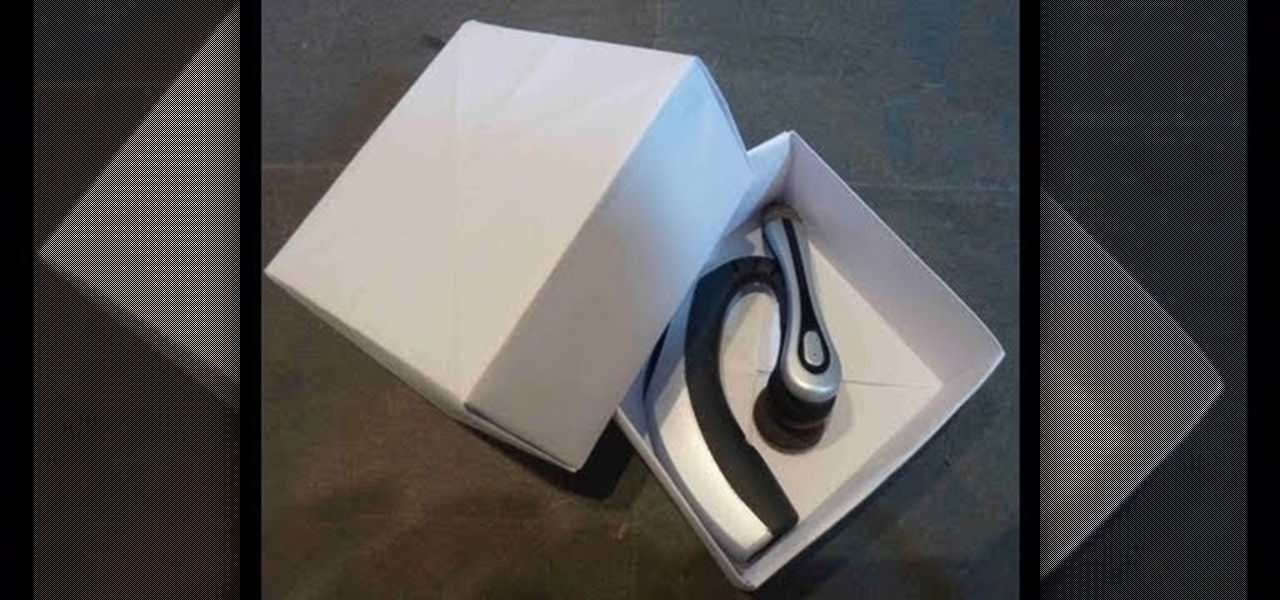
Don't get us wrong: We adore gift boxes, as they let us both conceal a gift and make the gift look more appealing by wrapping up the box in pretty wrapping paper and smacking a bow on top, but there's one big gripe we have about them. They either come in Small, Medium, or Large. So if your gift doesn't exactly fit one of those predesignated sizes, then the box is either too small in areas or too large, which is a pain.
Here in America, we have this idea that the bigger, the better. Why purchase large fries when you can get them supersized for just $40 extra, for instance, and why not buy the value pack of salsa to save some money when compared to buying individually?
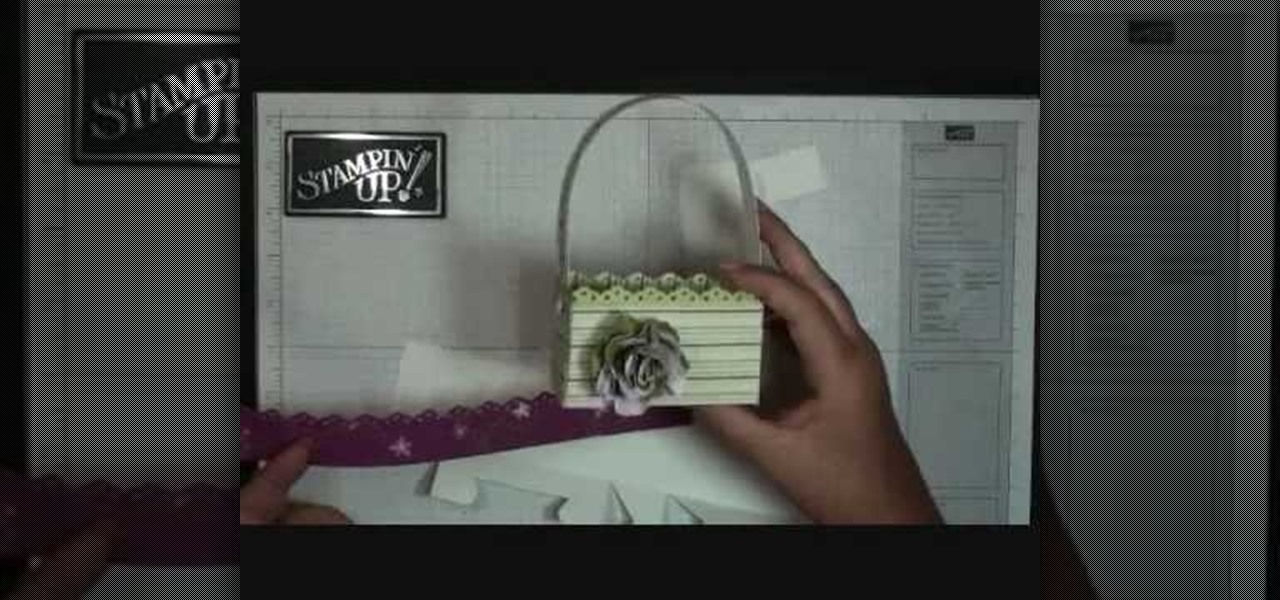
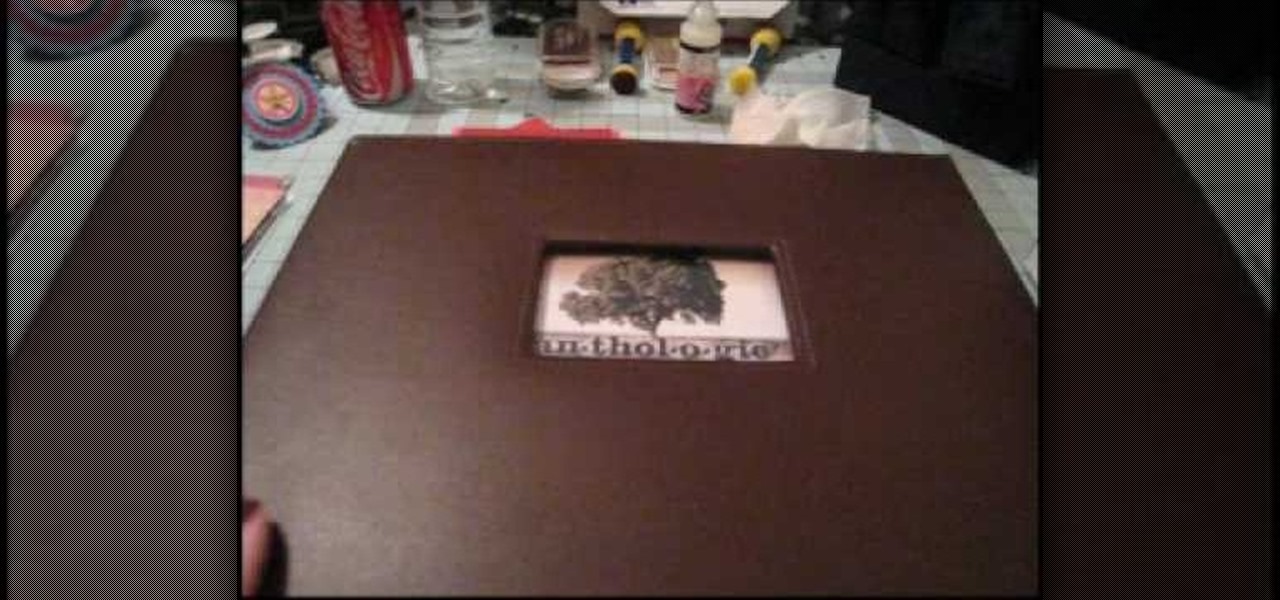
This video tutorial is in the Arts & Crafts category where you will learn how to make a mini Big Shot Box with Stampin' Up! For this you got to use the Bigz Die Box #2. Cut a Whisper white card stock at 6" x 11", place it on the die box and run it through the machine to get the box template. Cut off one edge of the template along the score line with scissors. This will be the top part of the open box. Now fold the bottom part of the box along the score line. Take a strip of cottage wall desig...
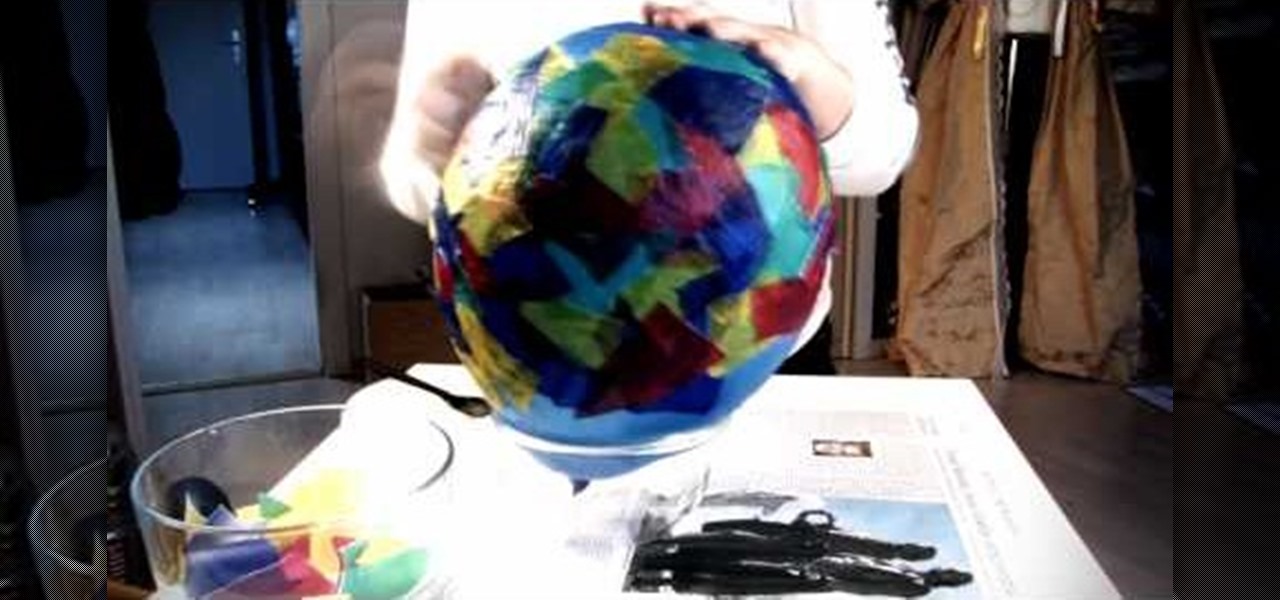
In this video tutorial, viewers learn how to make a balloon lantern. The materials required for this project are: balloons, lantern paper, wallpaper paste, bowl and scissors. Begin by ripping the paper into small pieces and place it into the bowl. Then shake the bowl and blow up a balloon. Now put some paste onto the balloon and layer it with the lantern paper pieces. Then let the paste dry and pop the balloon. Remove the balloon and cut off the lantern edges. Finish by hanging it and add a c...
To make your own shimmer paints, you will need the following: a paintbrush, watercolor paints, water, and Iridescent Medium.
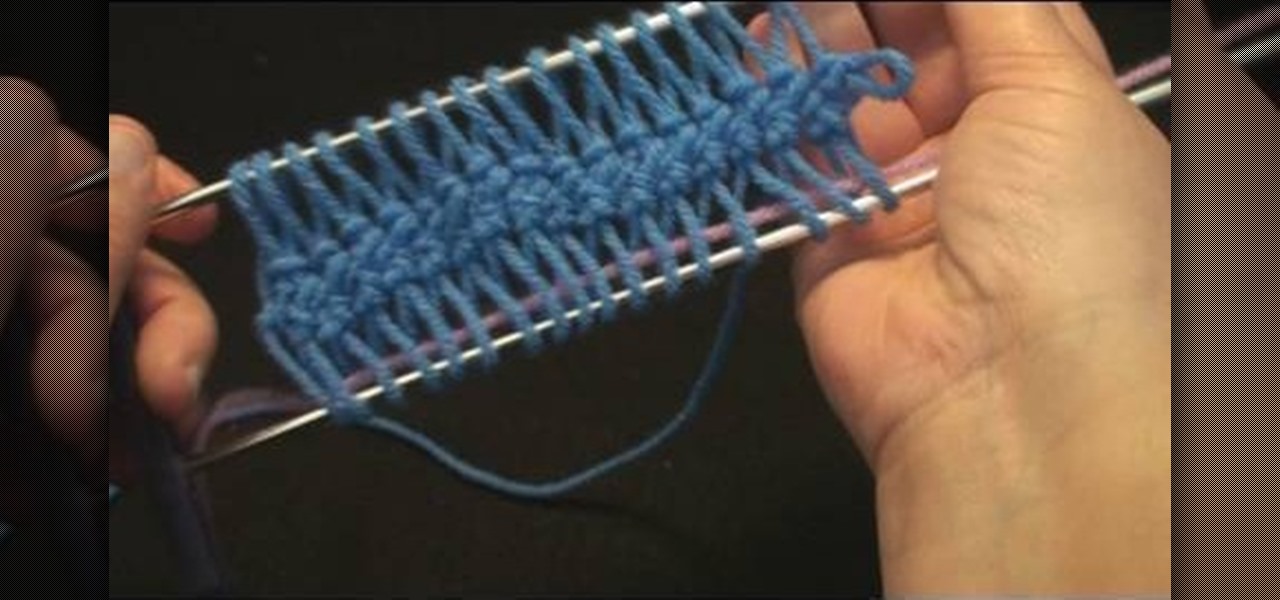
First of all, hairpin lace is a knitting technique using a crochet hook and a hairpin lace loom, which consists simply of two parallel metal rods. To use the loom, you wrap yarn around the loops to form prongs, and eventually get a delicate lacy pattern.
This video tutorial is in the Arts & Crafts category which will show you how to tie a decorative Door Knocker knot. Take a piece of rope and make a loop at the center with the left hand end of the rope over the right hand end. Now pass the right end above and through the loop to make a half knot. Twist the loop to make a figure of eight, pass the right hand end through the lower loop of the "8" and back through the upper loop. Repeat this once again. Now repeat these steps with the left hand ...
In this video tutorial, viewers learn how to make a Hello Kitty princess mirror. The materials required for this project are: epoxy glue, tweezers, pendants, gems and a plain mirror. If the mirror has a logo, you can remove it by rubbing over it with some nail polish remover. Begin by mixing the epoxy. Then stick the Hello Kitty pendant and a pearl heart on the top cover of the mirror. Use a stick to apply the glue and tweezers to place the heart on the mirror cover. This video will benefit t...
In this Arts & Crafts video tutorial you will learn how to use non-standard page protectors when scrapbooking. It is a tip on getting a large number of photos in an album without taking up too much space or using too many supplies. You can get 12 x 12 page protectors in terms of size but with pockets for 4 x 6 photos. This way you will have 6 photos on each side of the protector. Or maybe you put 5 photos and a card on one side. If you don't want to mess around with extra page protectors, you...
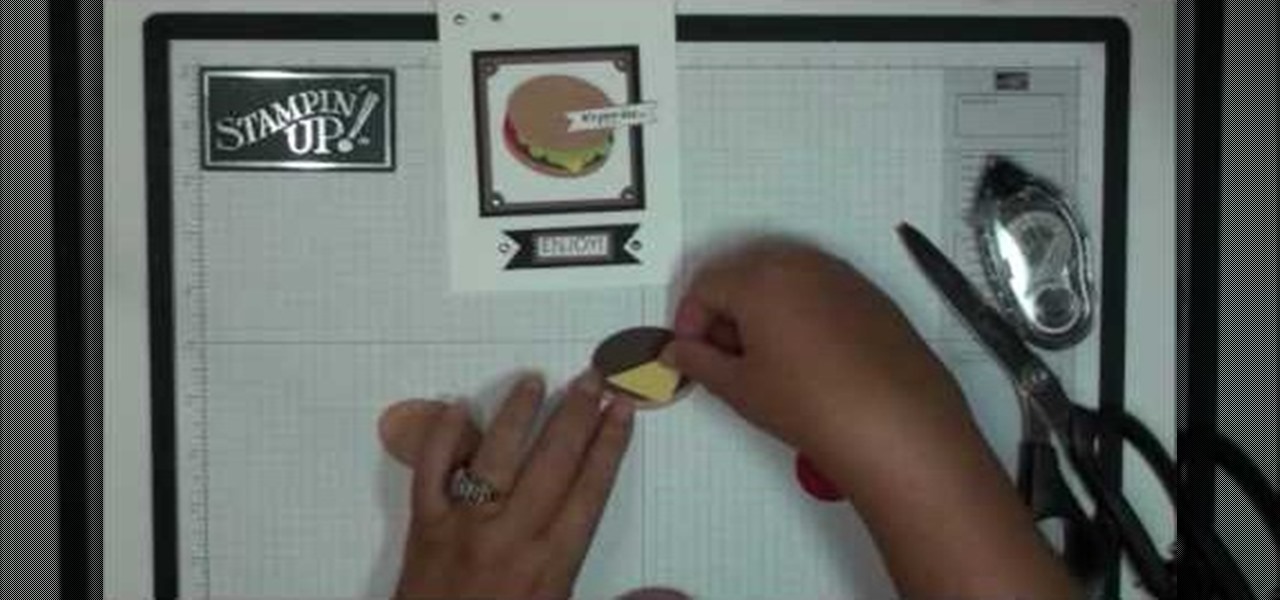
We all know fast food is not healthy for you, but this adorable hamburger greeting card allows you to indulge in the American fast food staple without having to worry about calories! Whether you're making a "Congratulations" card for a recent grad or a "Thank You" note for a well-thrown party, adding this hamburger to the front will instantly set off smiles and taste buds.
You've probably seen old t-shirts being turned into dresses, miniskirts, and if you're a fan of Gianny L, even two-piece bikinis, but you've probably never even thought about it transforming them into underwear. It may seem a bit odd at first, but making these intimate pieces from t-shirts means you can customize the pattern as well as the type of cut (cheeky, granny top, or thong?).
In this Arts & Crafts video tutorial you will learn how to sew a blind hem. Use a blind hem stitch when sewing the bottom hem of your Roman shade. It is very easy to do. For this you will need a sewing machine that has blind hem stitch already programmed in to it and a blind hem foot. Hem your fabric and pin it. Make sure the pointed ends of the pins are pointing outwards. Lay your fabric with the hemmed side facing up and the hemmed side towards the pressure foot. Then flip the hem upside so...