This is what we'd call a hybrid craft if we've ever seen one. Using a rubber stamp on a cake does sound kind of strange (they usually go on paper, right?), but as long as these stamps are new and unused, they actually function really great for decorating on fondant.

A lot of girly accoutrements we let go of in childhood: pigtails, Barbies, our beloved Easy Bake Oven. But there's something about bows that makes them eternally pretty, whether you're five or fifty. But these days, rather than putting bows in our hair, we're more about attaching them to cakes and cupcakes.
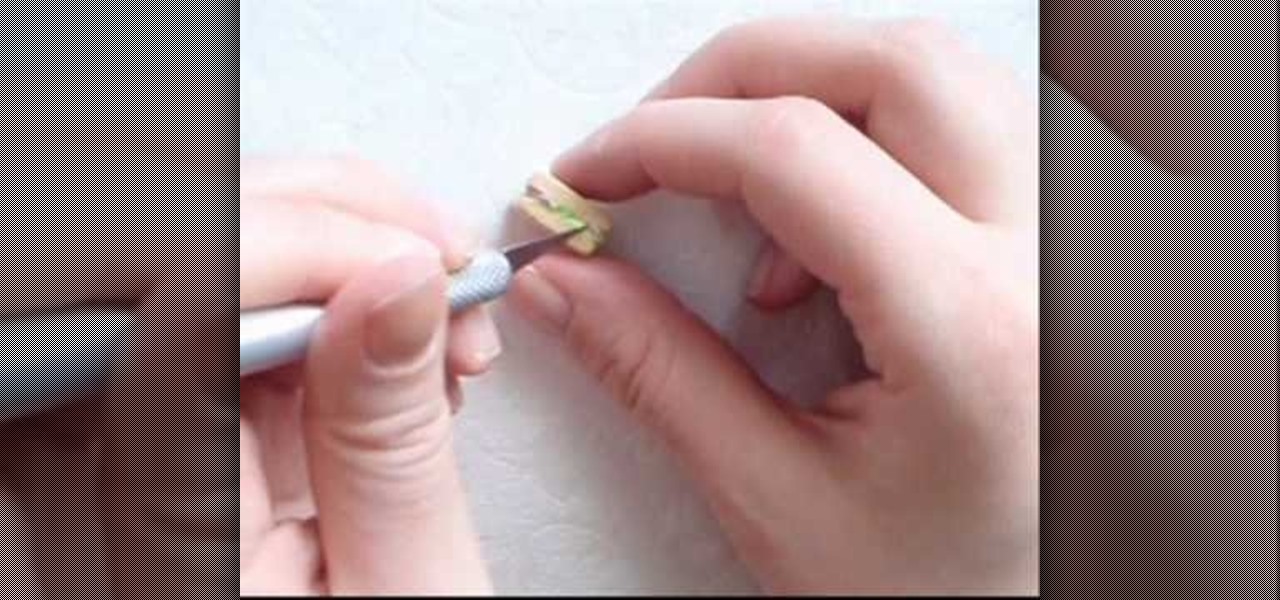
We enjoy crafting of all sorts (nothing better to take your mind off, well, everything, after a long day at work), but polymer clay holds a special place in our hearts. Unlike painting or building contraptions out of wood, using polymer clay gives us the God-like power to make anything we want, and make that thing look mindblowingly real.
Any successful blogger and business brand will tell you that social media is really the only PR you need these days. Whether you're tackling Facebook, MySpace, Twitter, or planning a takeover of YouTube, getting your product name out there - even if it's just your own name because you run a blog - is the number one absolute, most importan thing you can do to sell your brand.
The Japanese Shoguns built their entire warrior culture around masochism. Did you lose in battle? Congratulations, you must cut off your own head! Did you dishonor your general? Punishment consists of swirling your guts around with your own sword (yes, you're doing this yourself) and then chopping off your head. As you can see, failure - and disobedience - was not an option, and to commit it shamed you so much it would be more honorable to be dead than alive.

In this tutorial, we learn how to make knit stitch markers. First, knit to the middle, doing two stitches together, then flip stitch over. When you get to the middle of your item, place your marker on the stitch to keep track of where the loops are at. You can purchase a knit stitch marker from a variety of different craft stores. Use this as often as you'd like, especially if you need help finding the gap when you are creating something. Set this aside when you are finished, and make sure yo...

This video tutorial belongs to the Arts & Crafts how category which is going to show you how to do back stitch when embroidering. This is really simple and easy to do and takes no time to learn. For starting, mark five dots on the cloth. Then you stitch from point 1 towards 5. First you pass the needle from under the cloth through point #1, pull up the thread and pass it down through point #2. Now pull the thread up through point #3 and pass it back down through point #2. Then you pull the th...
In this tutorial, we learn how to throw an upside down double walled pottery vase. Start off by using water every few seconds to craft your vase. Use your fingers to press down in the middle, to make the round shape and have the vase rise up into the air. Make this into a bowl shape, which will be into the air. Next, shape the middle using your hands into a triangle shape. Raise the side bowl around it, and keep using water to increase the size of the bowl. Collar the bowl in, then start to m...
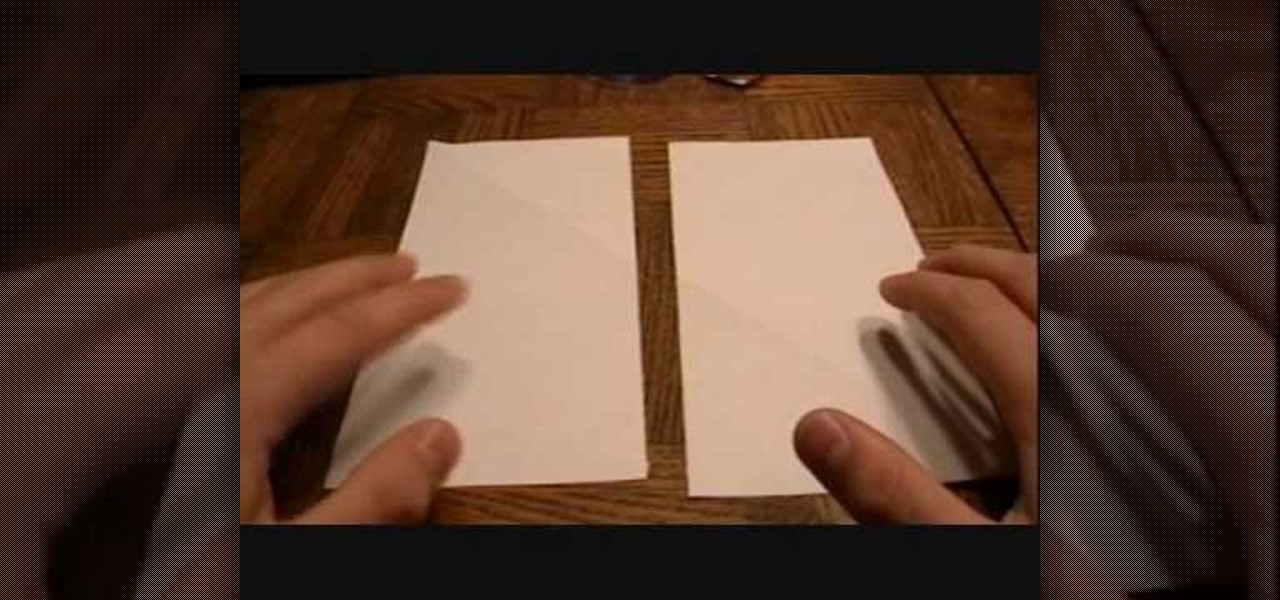
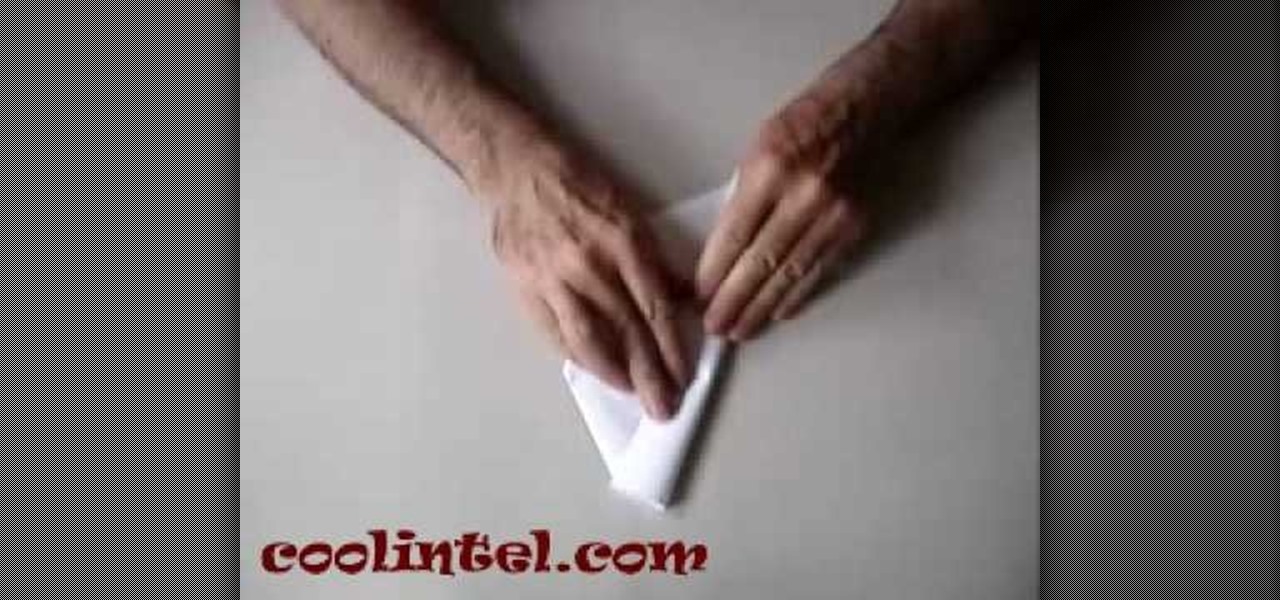
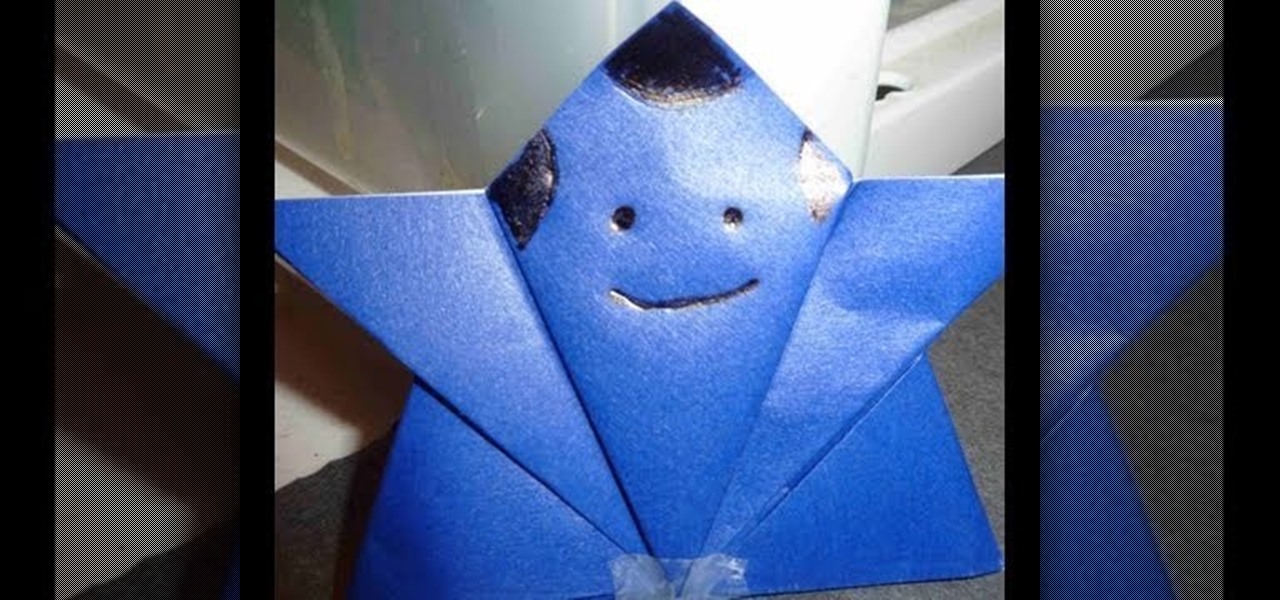
In this Arts & Crafts video tutorial you are going to learn how to fold an origami ninja star. Take a normal paper. Fold it diagonally from one corner and cut off the extra portion to make a square. Fold it in half and cut into 2 rectangles. Fold each piece in half along the length. Fold both ends of each piece in opposite directions to make a triangle. Now fold the ends again to make a bigger triangle at both ends of each piece of paper. Each sheet will form a 'Z' shape. Now place one sheet ...
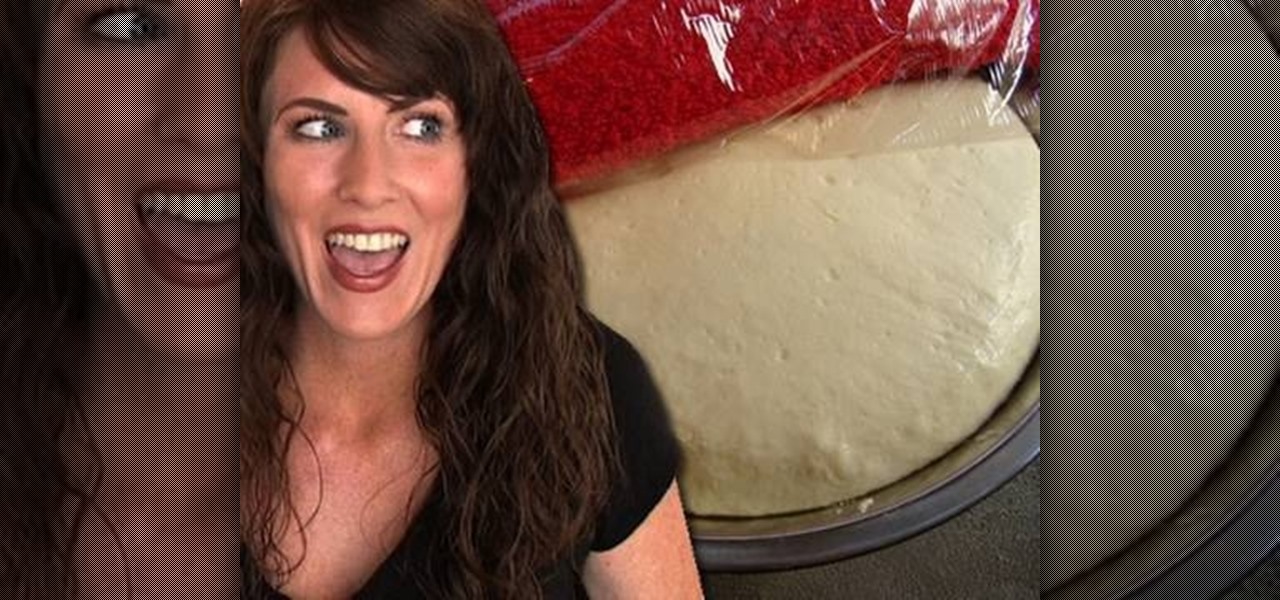
Instead of picking up a Digiorno pizza from Albertson's tonight, try doing something a little different for a change. As many a good cook knows, fresh always tastes better, enhancing the overall flavor of your dish (not to mention offering heftier amounts of nutrients).
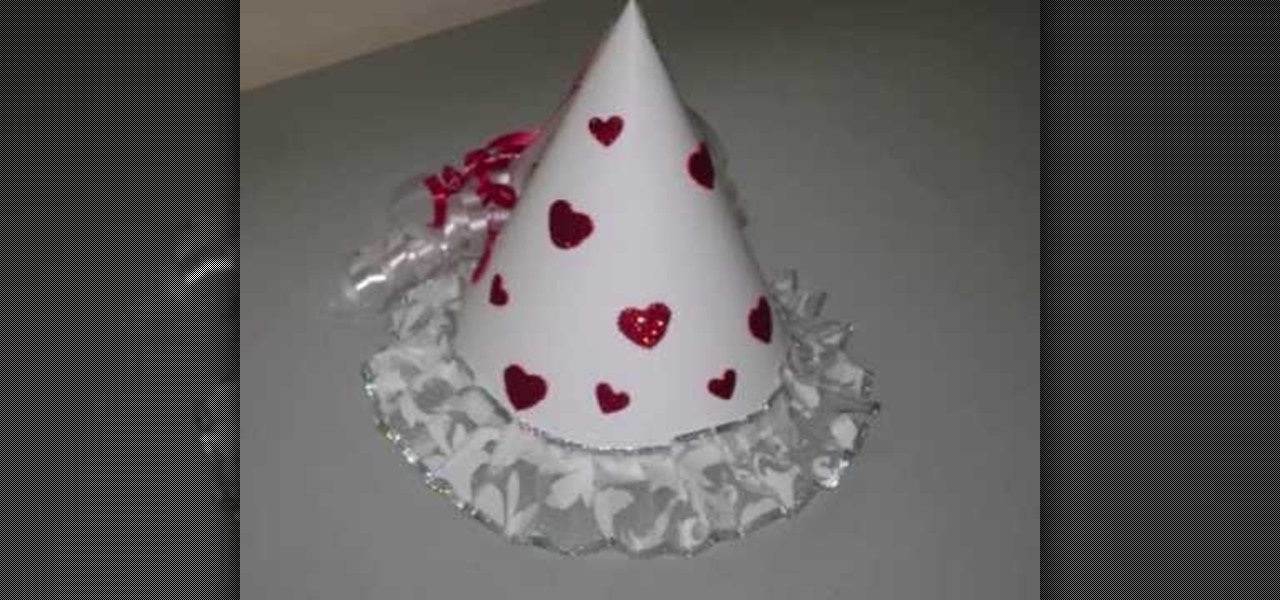
In this video tutorial, viewers learn how to make a fairy princess hat. The materials required for this project are: white cardboard/postcard, glitter stickers, glue, white lace/ribbon, red and white thin plastic ribbons and scissors. Begin by folding the white cardboard into a cone shape and glue it together. Trim the bottom of the cone. Then scrunch the lace ribbon to an accordion style fold and glue it to the bottom of the cone. Now decorate the cone with stickers or paint. Then glue the r...
In this tutorial, we learn how to make a lily out of paper and pipe cleaner. First, lay your hand flat on a piece of copy paper. Next, trace your hand with a pen or pencil, then cut it out with scissors. Now use a pencil or pen to curl the ends of the fingers you just cut out. After this, combine two pieces of gold pipe cleaner together and bend in half. Then, place a green pipe cleaner in the middle and make a twist to keep in place. To finish, wrap your paper hand cut out around the gold pi...
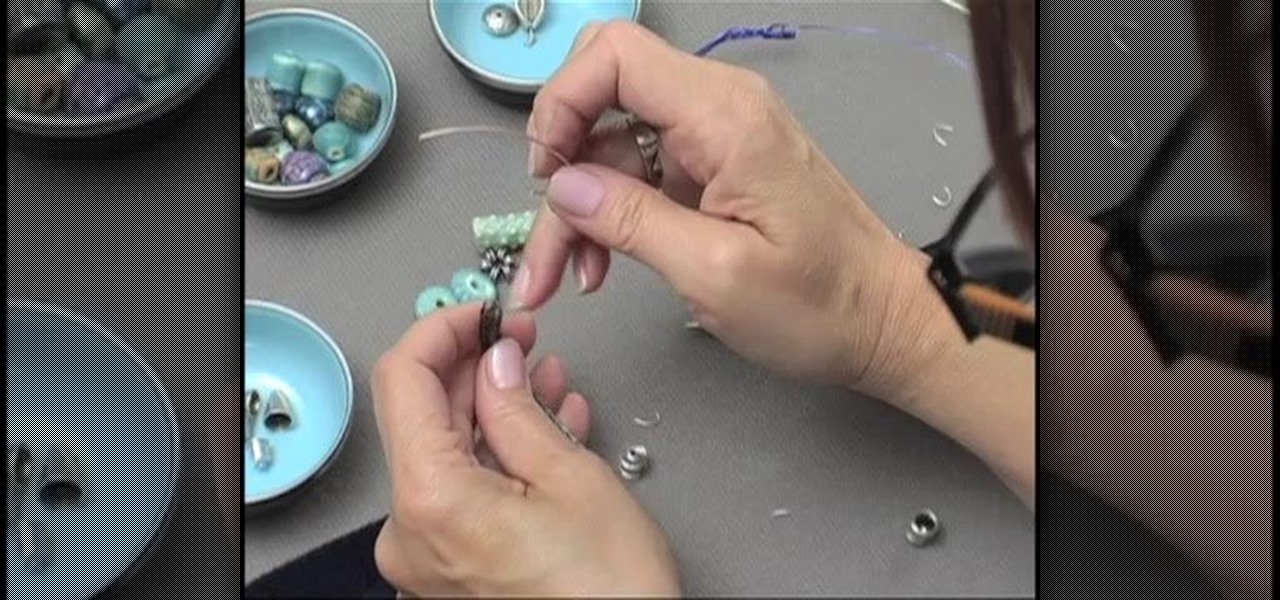
In this tutorial, we learn how to make a beaded Viking knit bracelet. First, pull a craft wire through a draw plate in the largest hole. After this, you will have a knitted weave bracelet. Now, place a hook in the loops at the end of the bracelet, and twist it down, then cut the end of the wire off and place an end cap on. After this, attach different beads and jewels to your bracelet, using wire to keep them in place. These will be one of a kind jewelry pieces that you can't buy in any store...
These Mediterranean fig tree desserts are what Fig Newtons wish they could be. Crafted out of puff pastries wrapped around figs and then stuffed with mascarpone cheese, these babies are a wonderfully delicious way to end your meal. Also, spices like nutmeg and cinnamon add a sweet flavor as well as antioxidants to the dessert dish.
There's nothing that says "I'm a present" than something wrapped in a bow. Whether you're gifting someone a gift bag or boxed good, adding a bow on top always makes that gift extra special and also pretty.
This video tutorial is in the Arts & Crafts category where you will learn how to tie a sheet bend knot for camping. Take two ropes, make a bite at the end of one rope. Pass the end of the other rope through this bite from underneath and come back through the loop in the second rope and pull it tight. This knot is used to tie two ropes of different sizes together. A variation to this knot is called the double sheet bend. Here you make two loops with the second rope and pass the standing end th...
Chances are you could probably fold a paper plane with your eyes closed. A paper plane is one of the first crafts a boy learns, usually followed by smoke bombs and paper guns that shoot paper bullets (surprisingly these guns really do work, and the bullets can hurt).
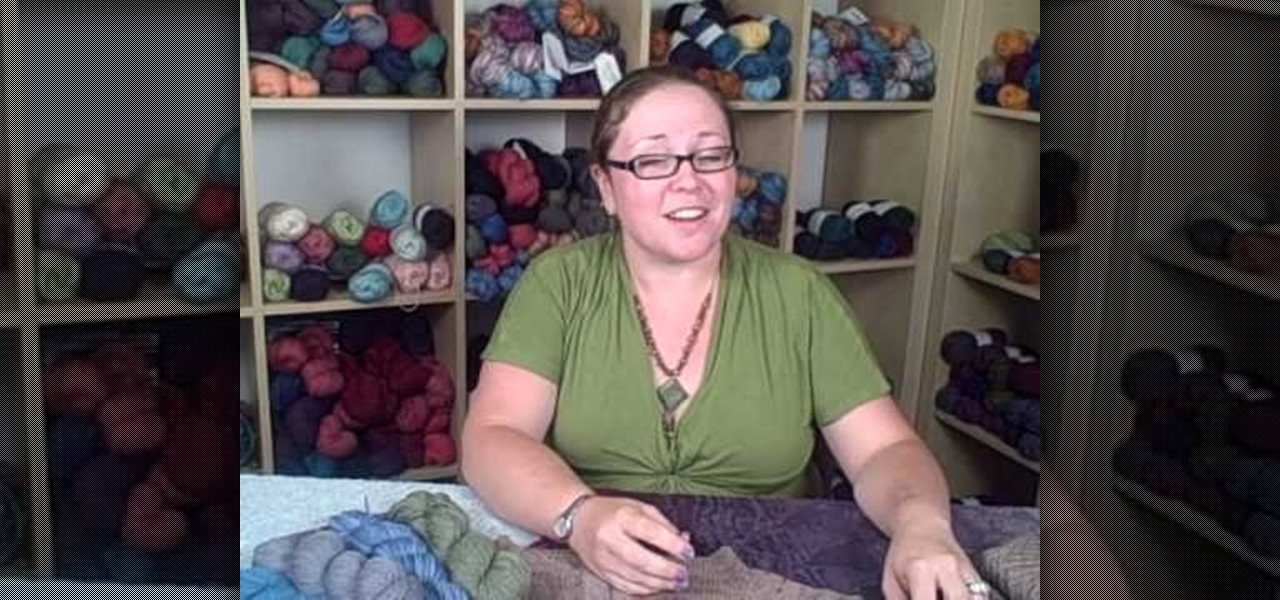
Lace yarn is not a very pretentious crafting medium. Lightweight and delicate, lace yarn is used by knitters to crochet lace patterns for scarves, berets, and other accessories. But turning lace yarn into said final creation is no easy walk in the park.
This video tutorial is in the Arts & Crafts category which will show you how to fold a circular teabag paper. This is a simple process and doesn't take much time to do. First fold the circular paper in half to get a semi-circle and then fold it in half again in to a quarter. Unfold the last fold and fold one quarter back to the halfway mark. Then turn the paper over and fold the bigger side of the paper along the fold line exactly matching the edge as shown in the video. Now you get a little ...
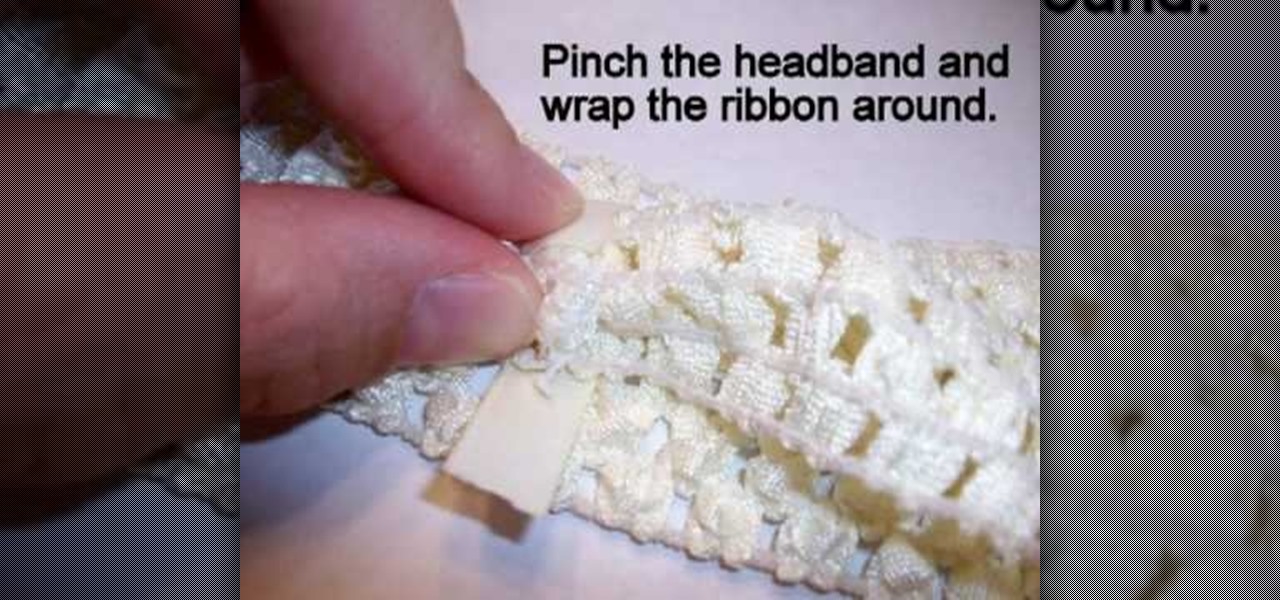
In this video tutorial, viewers learn how to make an interchangeable headband. The materials required for this project are a crochet headband or hat and 1-3/4" of 3/8" ribbon. Begin by turning the headband inside out. Then place a small dot of hot glue onto the center of the seam and glue on end of the ribbon to the seam. Now pinch the headband and wrap the ribbon around and place a dot of glue on the ribbon. This video will benefit those viewers who enjoy making crafts and homemade accessori...
This video tutorial is in the Arts & Crafts which will show you how to make a dangling picture frame. You will need pictures that you want to frame, old CD cases, a drill with a very thin drill bit and fishing line. Remove all paper from inside the CD cases, cut the pictures to the size of the CD case and place two pictures inside one case back to back. Next you drill a small hole at the top and the bottom of the case in the center. String one CD case with another with the fishing line. You c...
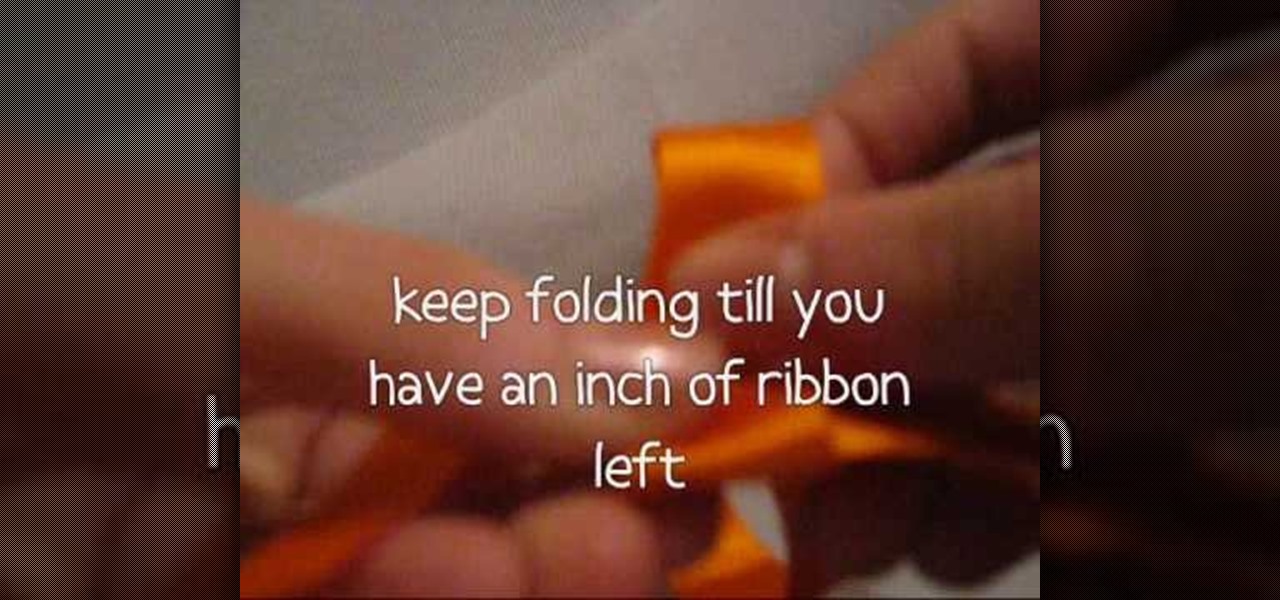
In this video tutorial, viewers learn how to make a ribbon rose. Users will need approximately 60 cm of 16 mm of satin ribbon. Begin by folding your ribbon in half and then pinch fold the end. Now fold the front half sideways and pinch it in place. Then turn it over and fold the ribbon to the opposite side. Keep folding until there is only about 1 inch of ribbon left. Users should end up with a pile of little folds. Pinch the two ends together and let go of the pile. As you pinch the ends tog...
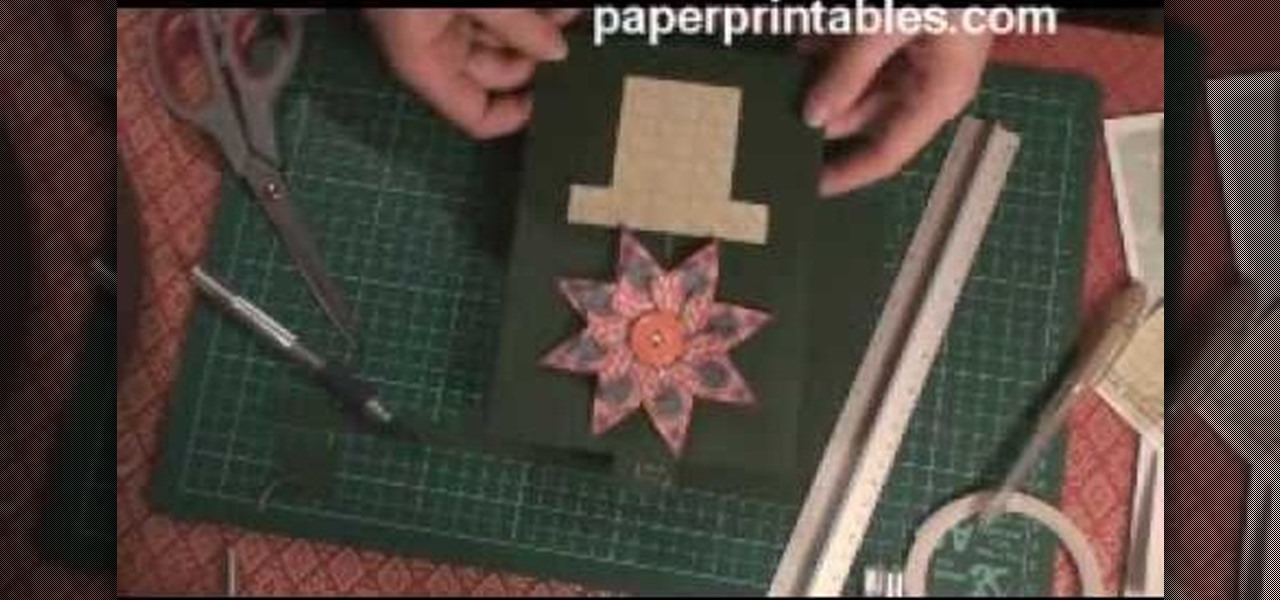
In this Arts & Crafts video tutorial you will learn how to make a growing flower pot card. First you make a flower out of a tea bag. Then cut out a piece of paper in the shape of a flower pot. Now take a couple of sheets of 8x4 card of the same color. Score one card in half and fold it. From the other card cut out a piece equal to the size of an A5 card, which is 14.85 x 10 cms. Now glue the flower pot shaped paper on to this card. Now cut a long strip of the card, 30 x 3 cms and fold it in h...
First of all, hairpin lace is a knitting technique using a crochet hook and a hairpin lace loom, which consists simply of two parallel metal rods. To use the loom, you wrap yarn around the loops to form prongs, and eventually get a delicate lacy pattern.
In this tutorial, we learn how to crate a good thesis statement for a research paper. Make a clear thesis statement so you give the reader something to hang your argument on. You will want to choose a category and give the details very clearly. People read very quickly and will create their own meaning from what you write, so be very clear so they can't have an argument about what you are writing. The reader will appreciate understanding of the paper and have a new relationship with the paper...
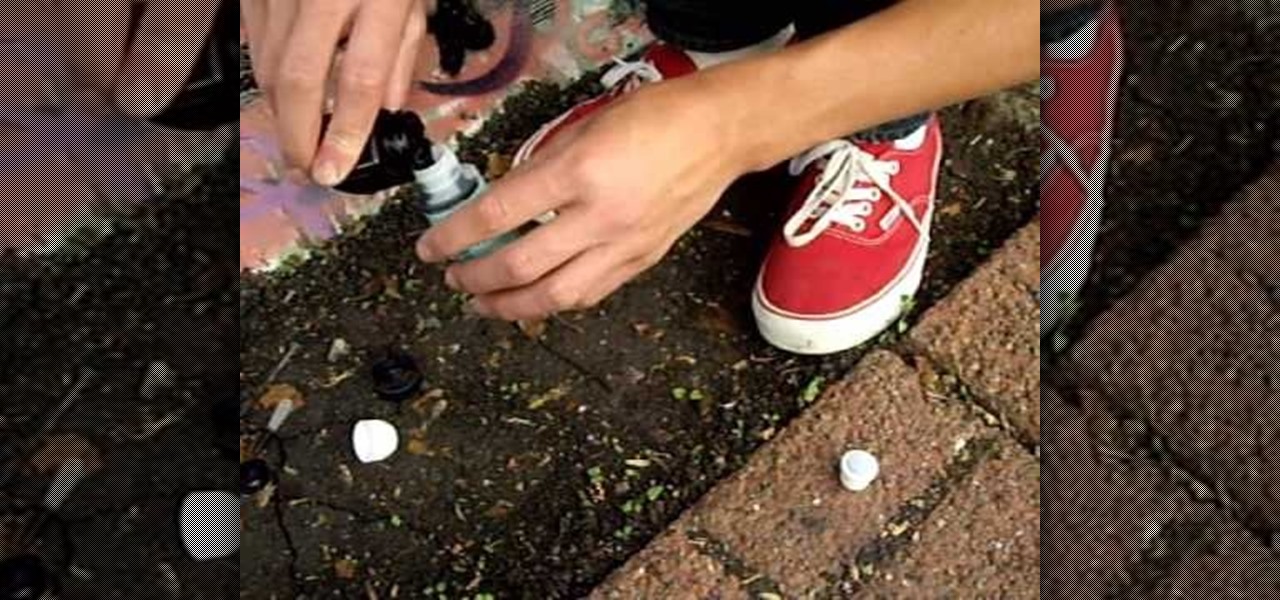
In this tutorial, we learn how to make a graffiti mop from a repurposed cleaner bottle. First, you will take stamp cleaner in a small bottle that you can pick up from any craft store and a bottle of Pilot ink (1 oz). Next, empty the stamp cleaner from the bottle and then pour the ink into that bottle using a dropper. After this, place the top back onto the bottle and shake it for several seconds. When done, take the cap off and you will be able to write on a wall now using this bottle's soft ...
This video tutorial is in the Arts & Crafts category which will show you how to make a paper football that flies well. For this you will need a piece of paper. Fold it half way along the longer side. Open it up, flip it over and fold it again. Now tear it along the fold. Now fold it again in half along the longer side. Then take a corner that is away from the seam and fold it back along the other edge of the fold to make a triangle. Now fold the triangle back over the sheet. Keep repeating th...
In this video tutorial, viewers learn how to make a toy car with CD wheels. The materials required for this task are: 2 thread spools, long piece of thing wood, 4 CD's, 2 screws, 2 washers and 2 bolts. Begin by drilling a hole in the spools and 2 holes in the wood. Then place a washer on the screw. Now place the CD on the washer. Then add another washer and secure it by screwing on a bolt. Now put the wheel through the first board of wood. Then put it through the spool and other wood board. N...
In this video tutorial, viewers learn how to make a stencil. The materials needed for this project are: contact paper, scissors and a pencil. Begin by drawing the design, shape letter or number on the contact paper. Make sure to draw the stencil on the back of the paper and make it reversed. When finished drawing, carefully cut out the design. To use it, simply peel off the invisible paper and place it onto the surface of the artwork. Then trace over it. This video will benefit those viewers ...
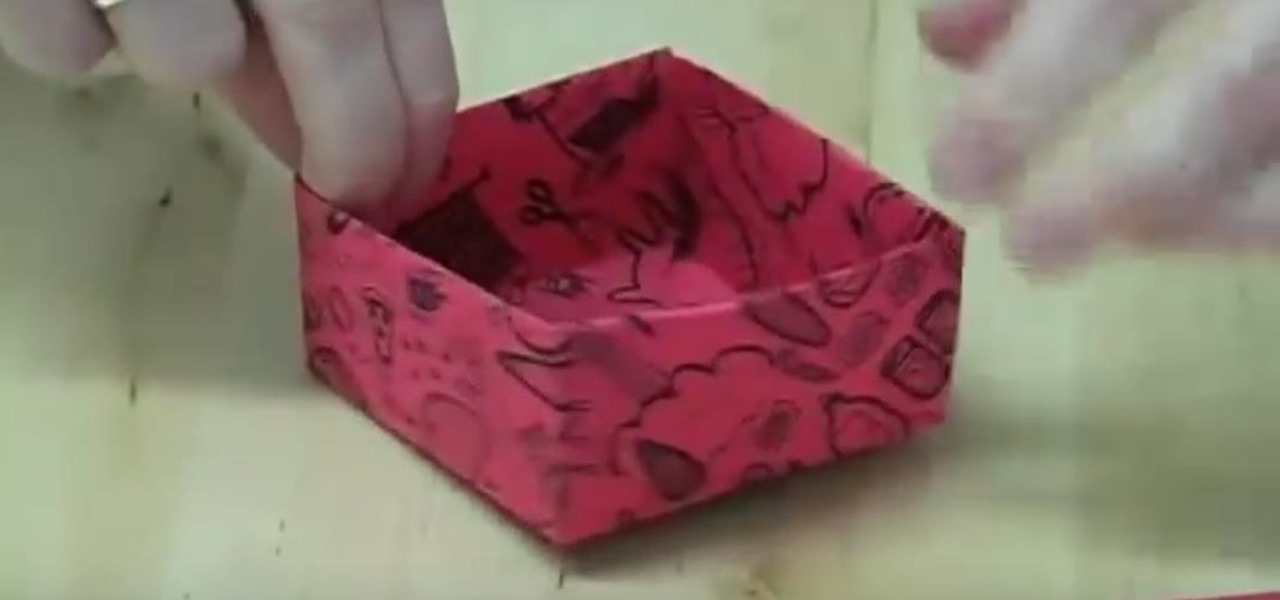
This video tutorial is in the Arts & Crafts category which will show you how to make a box out of scrap paper. Take a piece of square paper and fold it across both the diagonals to get an intersecting crease. Now fold all the points to the middle of the sheet and unfold them. Now take any point and fold it to the furthest away intersection point. Repeat with the other three sides. Then fold all the four points to the closest intersection point. Now you will see a square in the middle of the s...
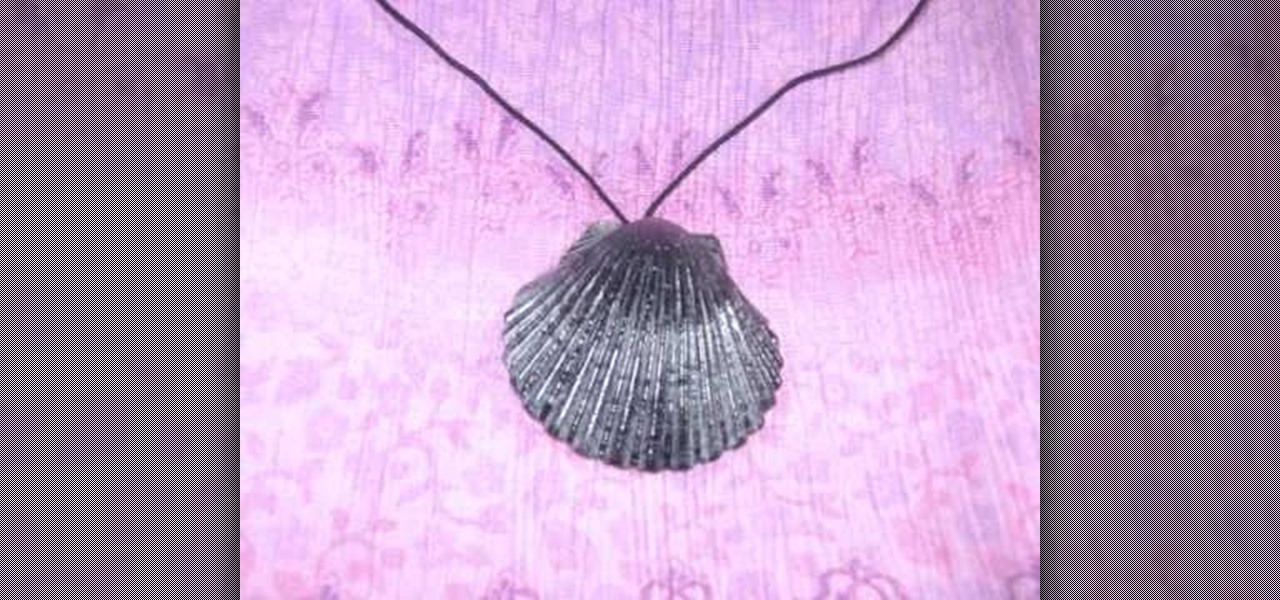
In this tutorial, we learn how to make a simple shell necklace with your kids. To make this, you will need: a sea shell, a hot glue gun, and a necklace string. First, tie your string into a knot at the end of it. Next, grab your shell and apply glue with the hot glue gun to the inside base of it. Now, press the knot that you just made onto the glue in the shell. Let this set up until the glue is completely dried, and you're finished! You can apply more glue to the top if you want a more secur...
In order to make cuttlebug cards, you will need the following: cuttlebugs, ribbons, two sided tape, a trimmer, and cardstock.
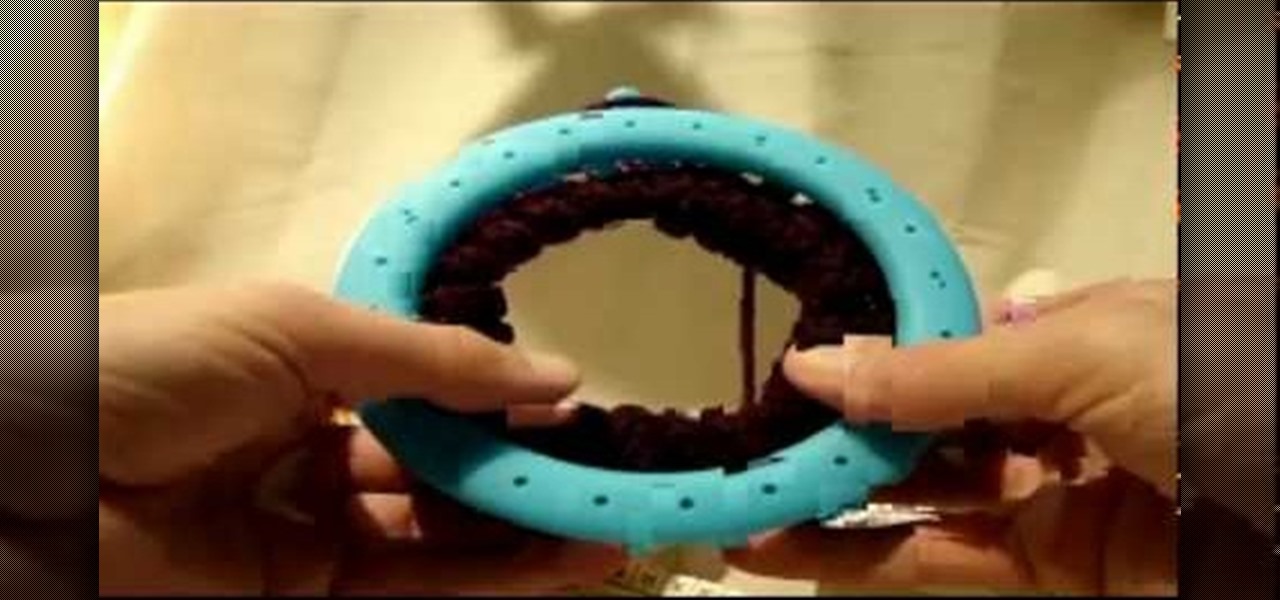
In knitting speak, pearling is just a fancy schmancy term for creating ribs in your crochet project. Ribs help to create a regular pattern and add visual interest to caps (as in this tutorial), scarves, Afgans, and just about any crochet craft.
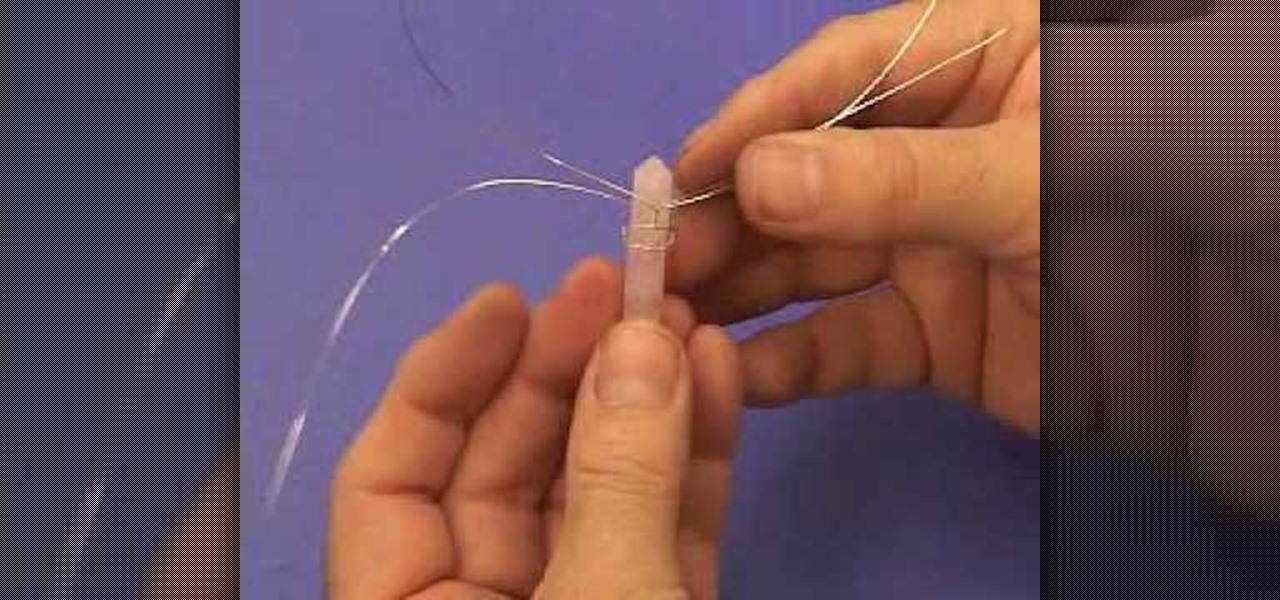
Looms are to crocheters/knitters what easels are to painters: you don't necessarily need them for every project, but they help you accomplish your work faster and more easily. The knitting loom will guide your needle and yarn with dexterity to where it needs to go.
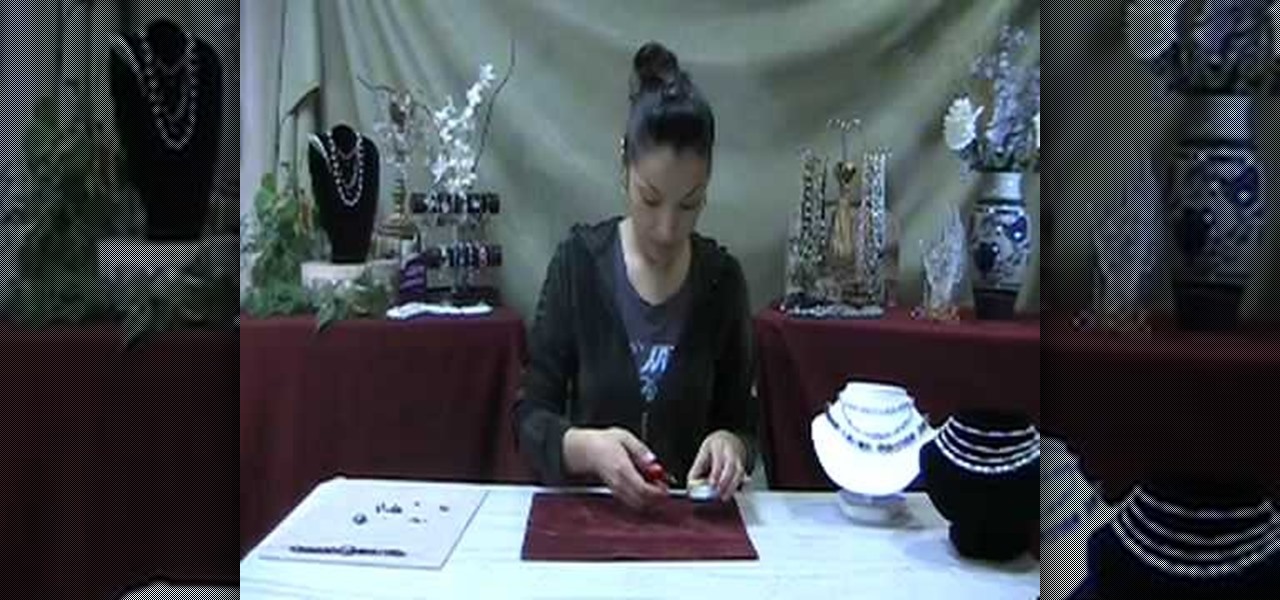
You know those trendy little jewelry stores that line Melrose and Robertson Blvd., filled with gorgeous yet offbeat knick knacks boasting sleek '60s contours and not too much bling? Well, you can create a similar "pretty, but not too pretty" piece of jewelry by watching this tutorial.
When the temperatures dip during the fall and winter, there's no cuter way to dress up your little one than with a pair (or two, or three...) of baby booties! Whether you make 'em in snow white, crimson red, or hippie dippy rainbow hues, they're snug and cute adornaments for those little tootsies.
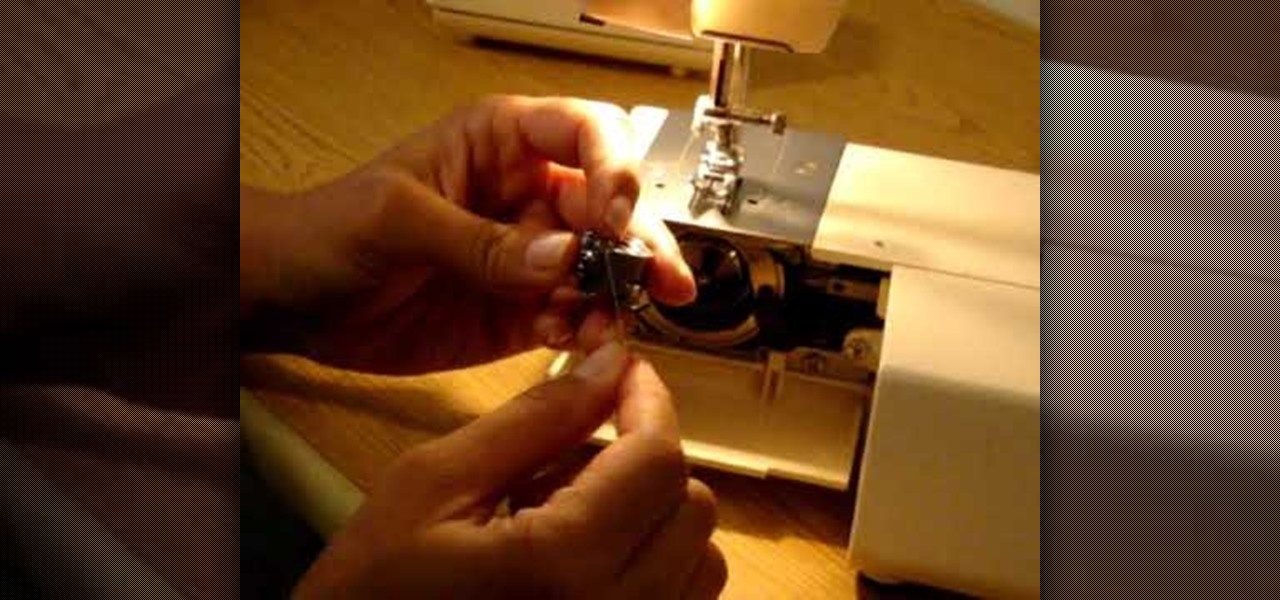
Are you picking up sewing for the first time, or simply looking to brush up on your sewing machine skills? This video covers all the basics of how to sew with a sewing machine.
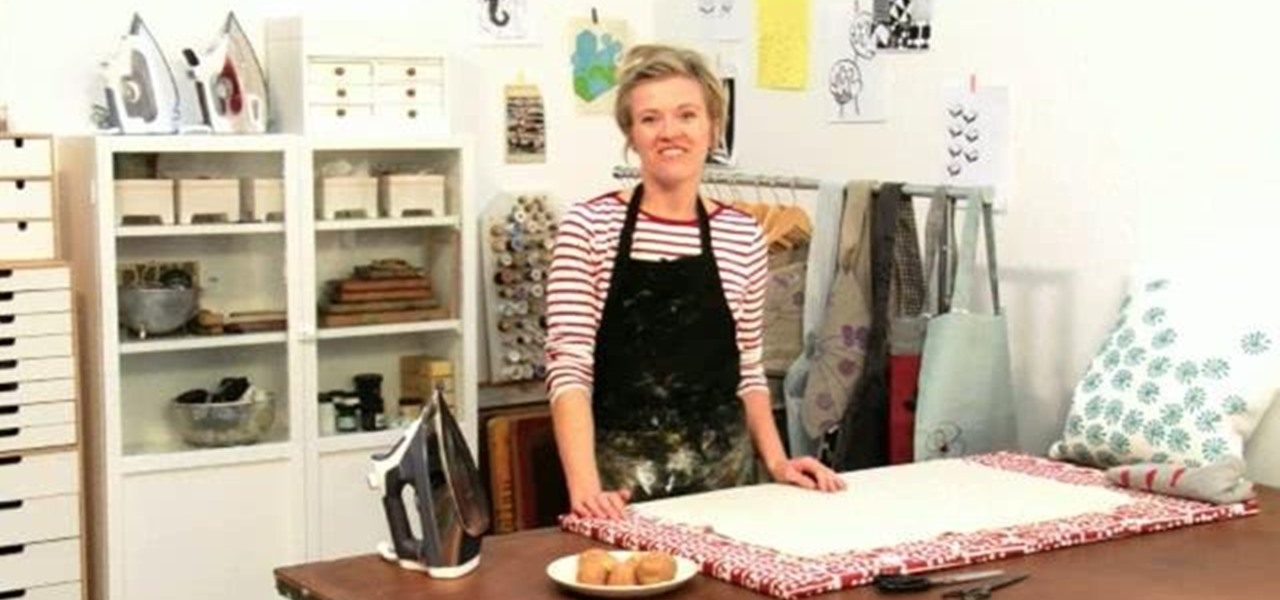
Crafting guru Lotta Jansdotter shows you how to create some artsy, hand-printed accessories in this step-by-step guide. There's no printing tools or skills required! Only some ink and… a potato! It's called potato printer.
Blogs are a great way to both jot down your thoughts and share them with the rest of the world to build a community based on common interests, but we yearn for the days of good old journal writing on real, actual paper.
In this video tutorial, viewers learn how to make a beaded watch band with a non-loop watch face. Begin by cutting 2 pieces of the stringing materials to approximately 10 inches. Then put one end of the string through the hole of the watch face and pull it to about halfway. Now users will have 2 strands to work with. Users may choose to making a double strand watch band by putting beads on both strings, or a single strand watch band by running both strands of string through a single bead. Fin...