By now you've probably heard of the duct tape crafting trend. If nothing else, the sour economy has inspired an upsurge of popularity in DIY stuff, including using duct tape to make everything from prom dresses to wallets.
What's better than one origami boomerang that comes back to you all cool-like? Two origami boomerangs taped together, of course! Now of course you're thinking, "but that's not a boomerang at all and it won't come back to you!," but check out this video and you'll see there's a way to put together two boomerangs so that they'll create a super large and sexy boomerang.
When we were five years old, there was nothing better to do at recess than to whip out a bag full of popsicle sticks of all sizes, some glue, and then piece together the pieces as if solving a puzzle. We'd make forts, bridges, and even stick people.
In this video, we learn how to add netting a flower pin. Once you have already out your flower together, put a pin in the back so you can clip it to your clothing. Now, purchase netting from a craft store and cut out a small rectangle. Now, fold this piece up in half and then in half once more. Now, make a triangle at the bottom and open up the flower. Find a place to put the netting in, then apply hot glue inside and use a craft pencil to push the netting into the glue. Do this a couple more...
In this video, we learn how to craft a lizard out of foam and pipe cleaner. First grab your piece of foam and poke a hole into the front of it going through it, then through the back going all the way through. Next, poke the pipe cleaner through the holes so it looks like four legs. After this, poke a hole in the back to string the tail through. Poke a hole through the front and place a red pipe cleaner inside of it with a curl at the end to make it look like the tongue. To finish, draw on tw...
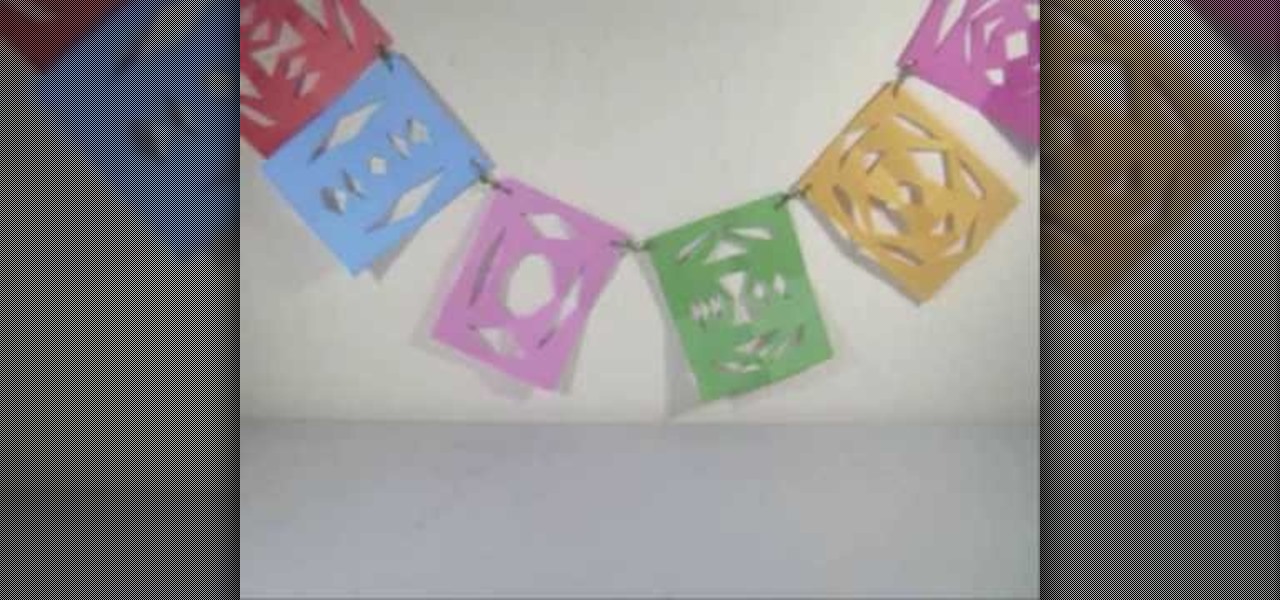
In this video tutorial, viewers learn how to make a colorful paper banner. This task is very easy, fast and simple to do. The materials required for this project are: construction paper, yarn, scissors and a hole puncher. Begin by folding the construction in half. Then fold it in half on again. Now cut pattern on the side edge of the paper and repeat this process for additional paper. Open the paper to reveal the symmetrical cut out pattern. This video will benefit those viewers who are inter...

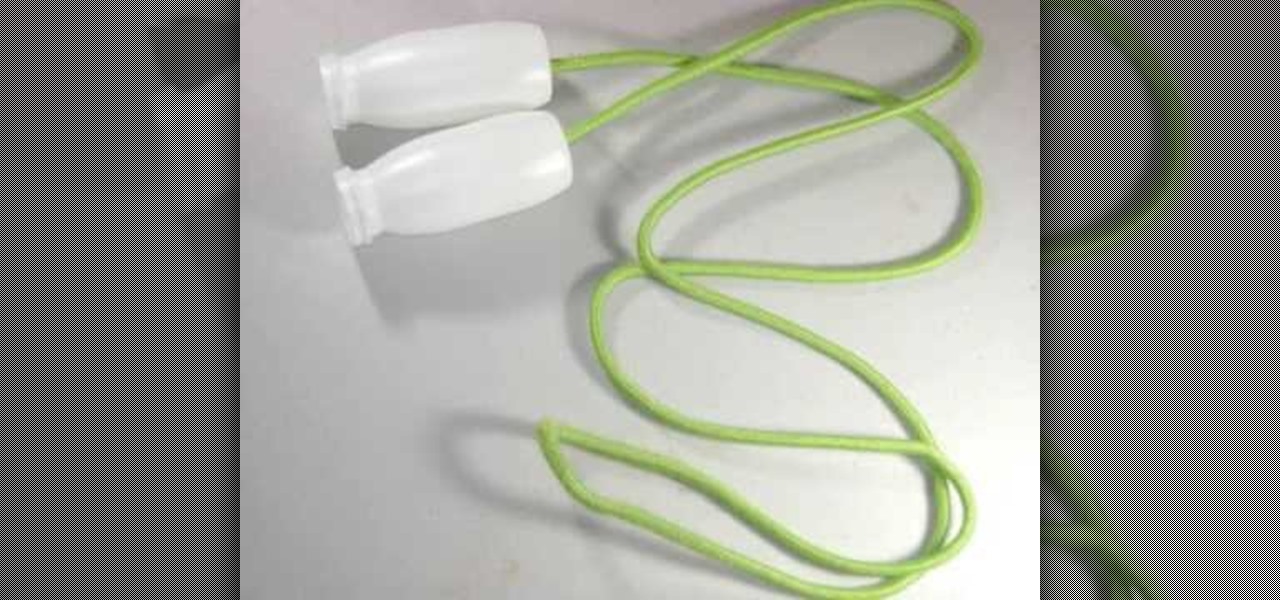
In this video, we learn how to craft a homemade jump rope with your kids. You will need: 2 think plastic containers, a heavy rope, and scissors. First, take your plastic containers and cut a hole in the bottom of each of them with the scissors. After this, place your rope through the inside of each one. Tie a knot at the end of each side of the rope so it's thick enough that it won't go through the hole you just made. After this pull the rope down and now you will be able to use it as a jump ...
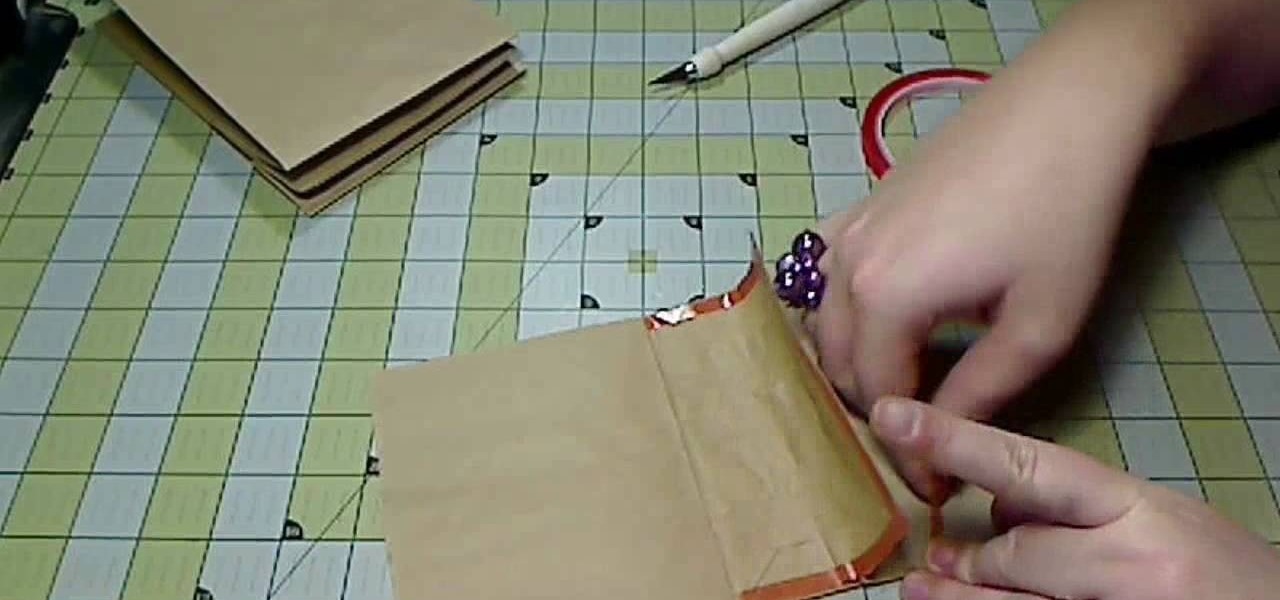
Brown paper bags aren't only for storing your PB&J sandwich for lunch. In fact, in the craft world they're heralded and used frequently because they're cheap and give projects a whimsical homespun feel. Just take this kraft paper bag album, for instance.
We don't know about you, but we're much more fond of fake flowers than real ones. Yes we know, real flowers are quite a bit prettier and smell like heaven on earth, but the great aspect about faux flowers is that they will never wilt.
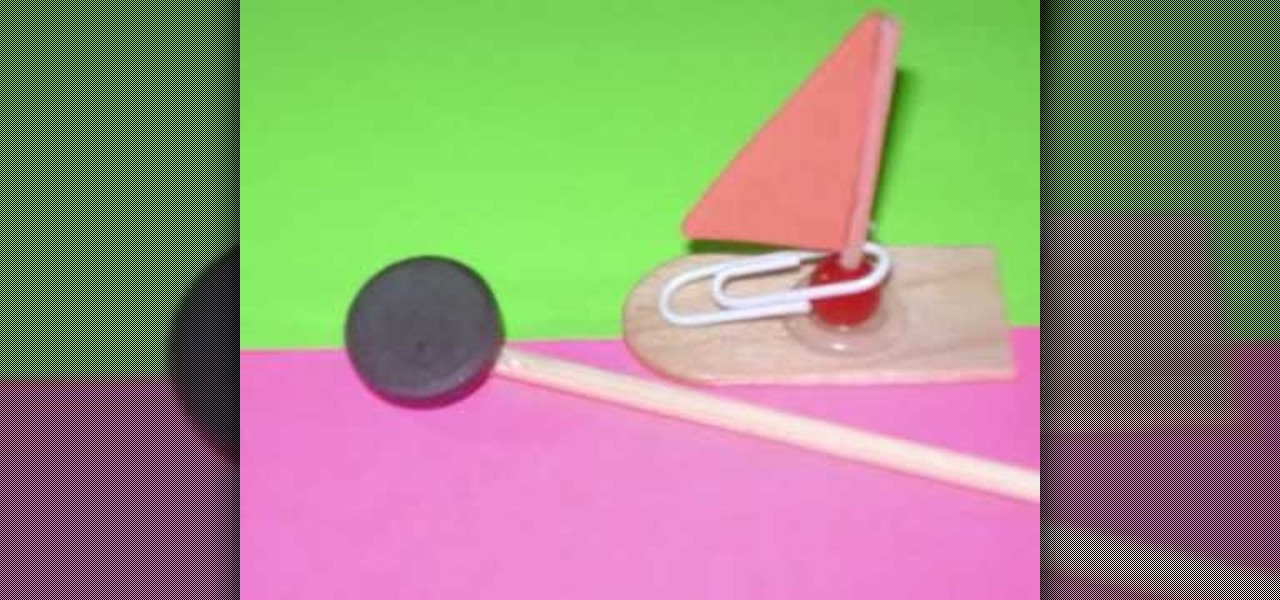
In this video, we learn how to craft a magnet boat with kids. You will need: a paper clip, a small triangle piece of foam, 1 magnet, 1 recycled stick, 1 recycled popsicle stick 1 bead, and a hot glue gun. First, attach the toothpick to the bead, then glue the triangle to the top of the toothpick. Next, cut 1/4 of the popsicle stick and attach the sail to the middle of the popsicle stick and use the paperclip the make it stay on the bow. Now, place the boat in water and attach a magnet to the ...
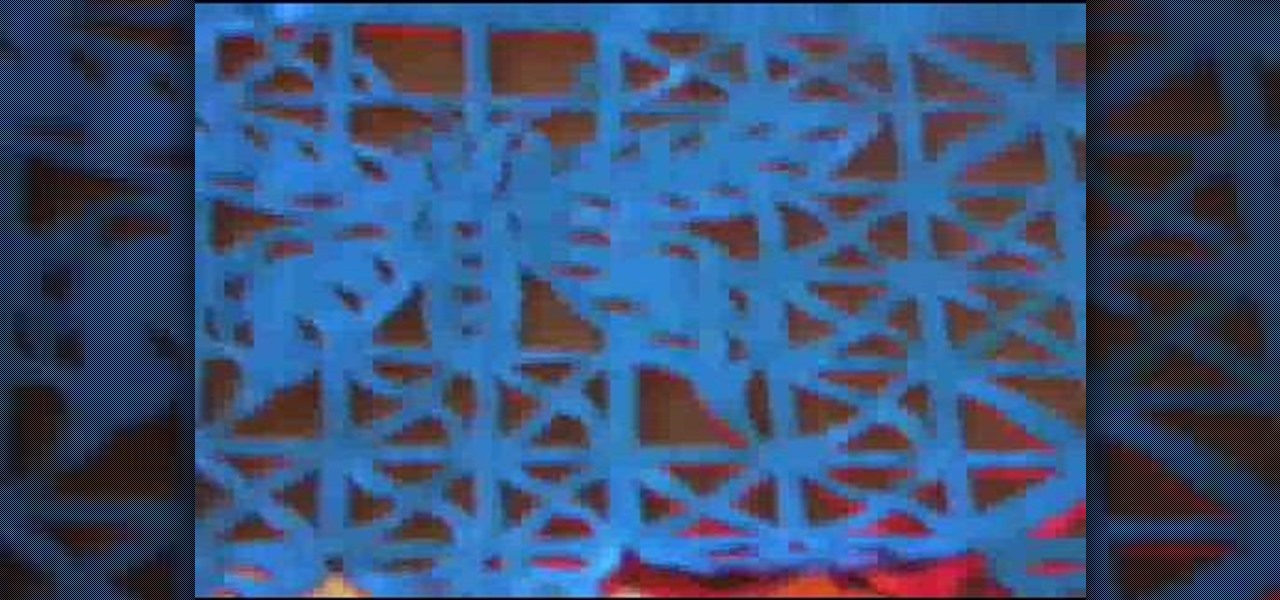
This video tutorial is in the Arts & Crafts category where you will learn how to make papel picado using chisels. This is a traditional paper craft of Mexico. The designs you can cut on paper are only limited by your imagination. First you got to make a design on paper. Then you got to stack up 40 to 50 sheets of paper and staple them together. Now you can start cutting the paper stack using a chisel and a hammer. Choose the appropriate chisel for the design and place it close to the outline ...
This video tutorial is in the Arts & Crafts category where you will learn how to make a multi-layered embossed floral gift card. Take a piece of 11 x 8 1/2 inch Stampin' Up card stock and fold it in half. Next you punch out layers of colored paper of rose red, very vanilla, regal rose and blush blossom colors of different sizes as stated in the video using the Boho Blossom Paper Punch. Now you take a Sizzix Big Shot Die and cut out a craft paper and set the cut outs aside. Now you got to stam...
Walk into L.A. hotspot Kitson any day of the week and you're sure to find a teeming collection of celebrity endorsed jewelry, at least half of which are bohemian and breezy, made out of skilled wire wrapping and exotically colored gemstones. They're pretty, yes, but unless you have a celebrity's budget they're also hard to attain for the average person.
This video tutorial is in the Arts & Crafts category where you will learn how to make Mexican papel picado paper cuts using chisels. This is a traditional craft of Mexico. There are various forms and sizes of chisels used for this purpose. The designs you can cut on paper are only limited by your imagination. First you got to make a design on paper. Then you got to stack up 40 to 50 sheets of paper and staple them together. Now you can start cutting the paper stack using a chisel and a hammer...
In this tutorial, we learn how to make a heart bookmark. First, take a sheet of paper and fold it in half, folding the crease. Now, take a pencil and draw two heart humps from one edge to the next. After this, cut them out, leaving the fold together. Trim any edges that aren't round, then add glue to the edge of the heart, and fold it over and let it dry. You can now decorate this will markers and ribbons. To use as a bookmark place your page in the center of the heart. This is a great craft ...
In this video tutorial, viewers learn how to make a carrot patch. Begin by cutting out a egg carton with 4 egg holders. Then cover it with a green felt and staple the bottom. Now poke a hole in the center of each egg cup. Then fold a green 3 inch pipe cleaner in half and add 2 orange beans into the pipe cleaner. Bend the ends down and make 3 more carrots. Finish by inserting the 4 carrots into the 4 holes in the egg carton. This video will benefit those viewers who enjoy making arts and craft...
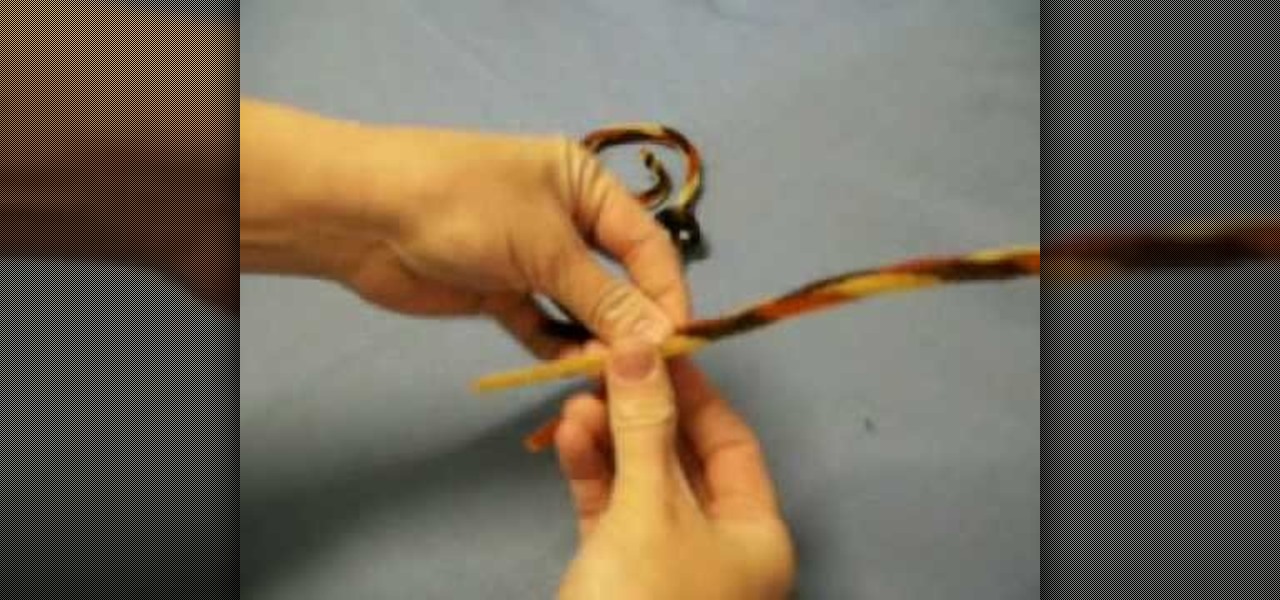
In this tutorial, we learn how to craft a snake out of a pipe cleaner. First, you will take three pipe cleaners and twist their ends together, then stick a large pom pom in between the pipe cleaners. Then do a braid with the pipe cleaners until you reach the end, and then twist the end together. Then, take some googly eyes and glue them onto the pom pom. You can now twist the snake to make it look like a rattle snake and add a piece of red felt to make the tongue. This is a fast and easy proj...
In this tutorial, we learn how to craft a pom-pom ladybug with your kids! The materials you will need are: 1 large red pom pom, 1 medium black pom pom, 1 pipe cleaner, 2 googly eyes, and one piece of lace. Start off by gluing the black and red pom pom's together with a hot glue gun. Next, use a hot glue gun to glue the googly eyes onto the black pom pom. Now glue black pipe cleaner around the red pom pom to make a stripe on the back of the ladybug. cut the pipe cleaner into little round shape...
Living organically and eco-friendly can be chic if you know how to play your cards. If you're a magazine reading fiend who has more issues now than can fit in Carrie Bradshaw's closet, then you can craft an environmentally friendly magazine bag to hold all your stuff.
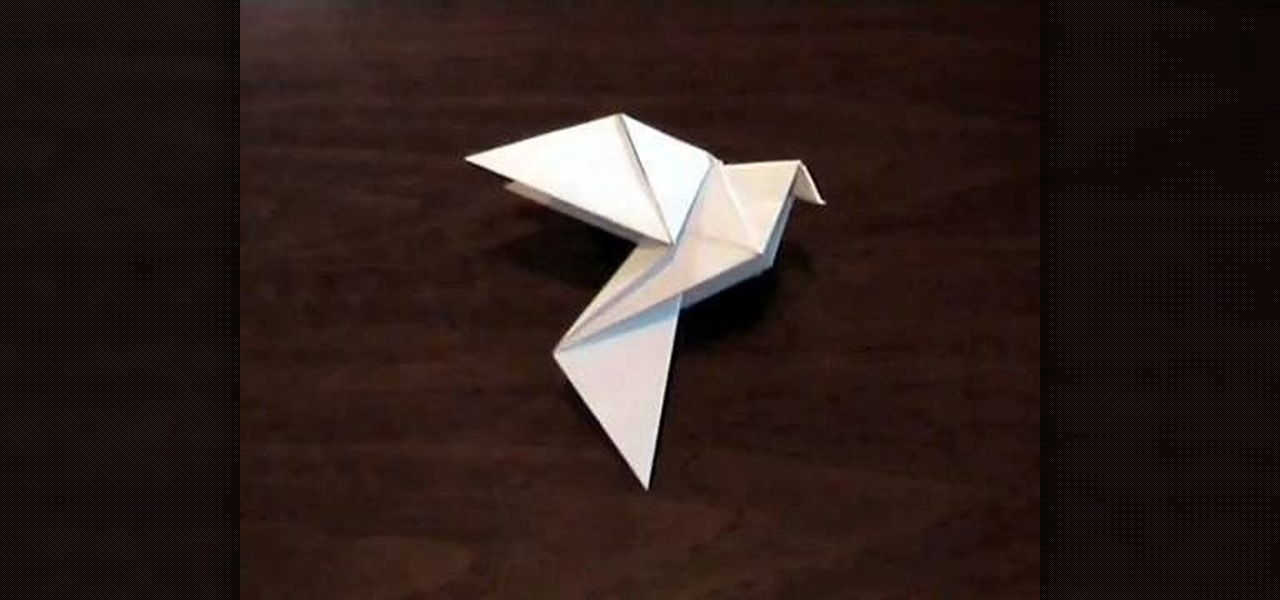
Doves are peaceful symbols of the spiritual rebirth that Easter centers itself on, and are springtime animals that herald the coming of a new season. Celebrate these cute springtime birds by crafting an origami dove.
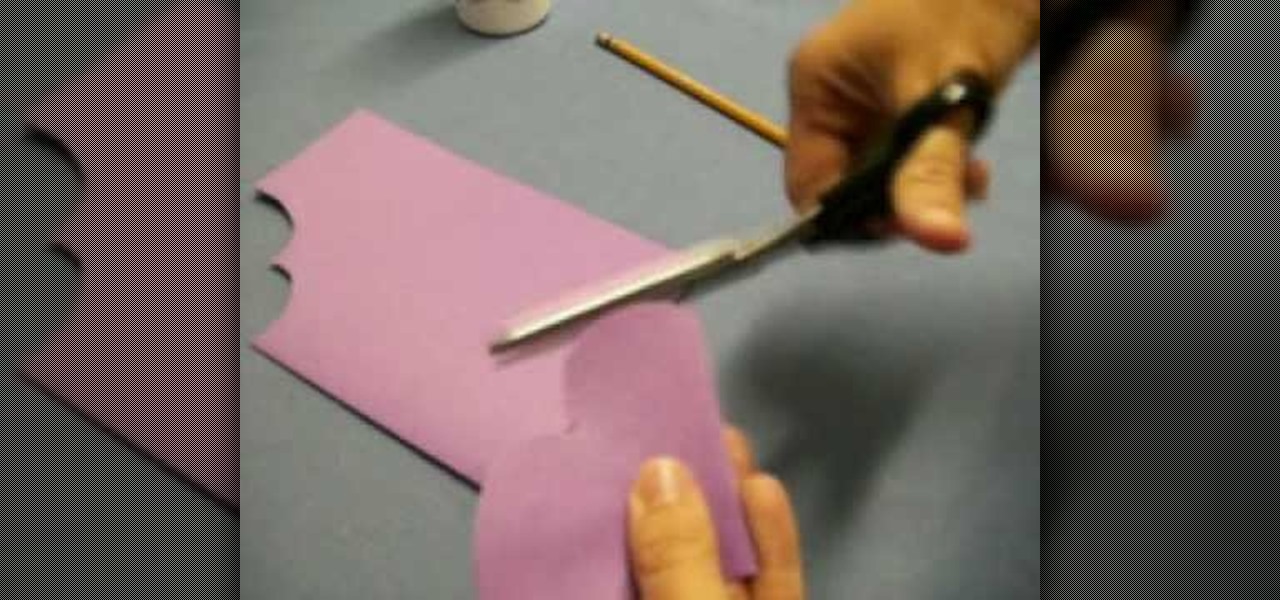
In this tutorial, learn how to ring in the new season with a classic, girly bonnet. These hats can be made at home with common arts and crafts supplies. You can wear these floppy hats for Easter, Valentines Day, or any other time you need a little shade from the sun and a little style.
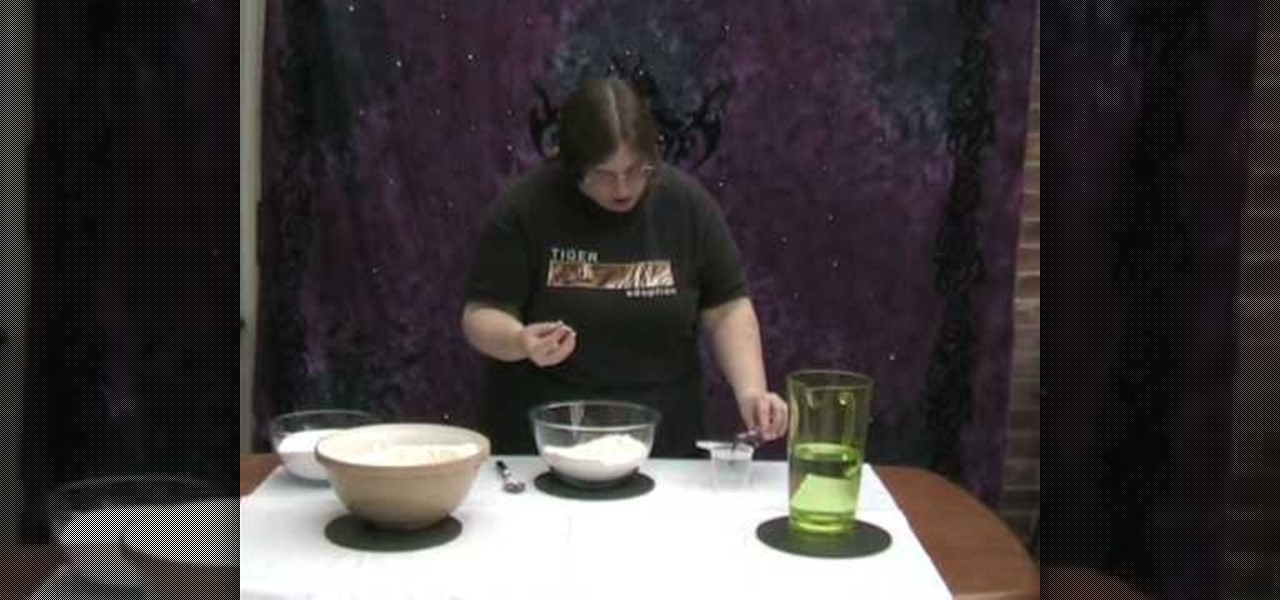
Salt dough can be used like clay for craft. This video demonstrates how to make salt dough. The ingredients required to make salt dough are a cup of salt, two cups of flour, a cup of water and food coloring. Make sure to cover your working surface with old newspaper and use a painting apron as this can get messy. Add the salt and flour in a bowl and mix with a spoon. Then measure one cup of water and add quite a good amount of food color to get the desired color and mix it into the salt-flour...
In this how to video, you will learn how to make an Evergreen wreath. You will need pine cuttings, craft wire, a frame, and decorations such as pine cones. Each cutting should be about 8 inches in length and have a firm section that will attach to the base. They should also be very bushy. Wrap the craft wire around the sturdiest part of the pine cutting. Keep adding and attaching pine cuttings over the previous cutting until you go around the entire frame. Once this is done, add the decoratio...
Another adorable craft you can make with your little ones is a paper caterpillar. The best part about this little guy is that he's flat and perfect for hanging on the refrigerator with all of your kids' other masterpieces!
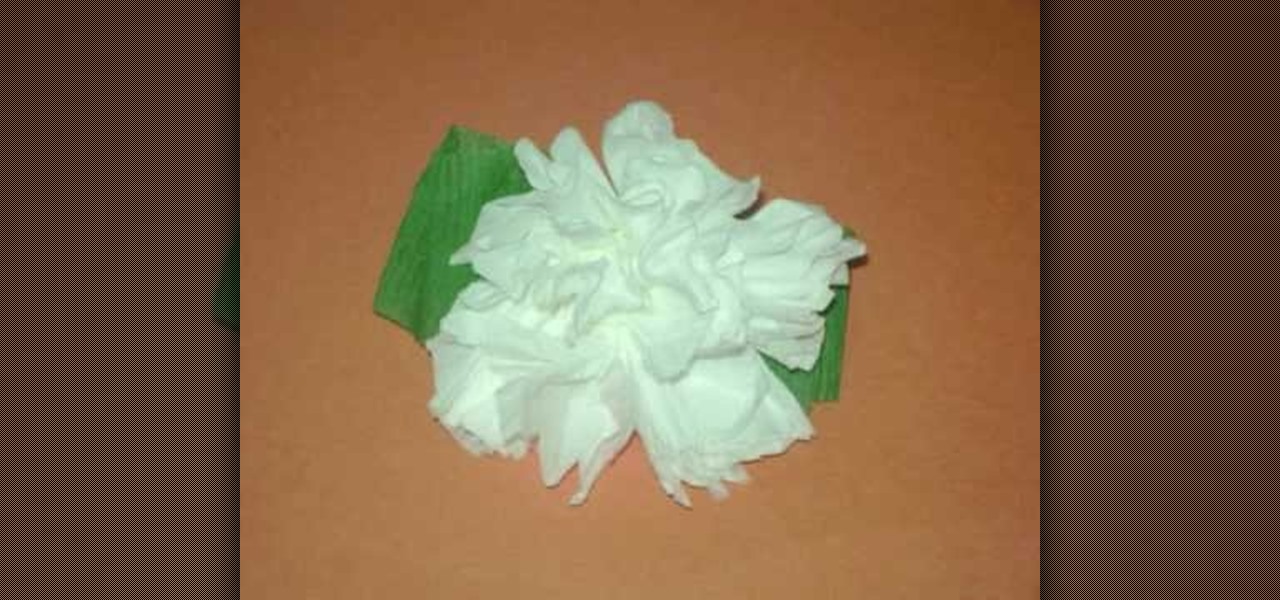
One of the most fun activities when you are a kid is making something pretty to bring home to mom. In this tutorial, learn how to make carnations out of toilet paper for a fun kid's craft. Carnations make a great craft for Valentines or Mother's Day and are easy to make with even the youngest elementary students.
Be a DIY superstar and impress your friends with your newfound craft skills by turning simple votive candle holders into a hanging candle tree. You can do it all with simple home supplies and by following the instructions in this video.
In this video tutorial, viewers will learn how to make a charm bracelet. The materials needed to make the bracelet are: a light silver plated chain, 100 grams of plain glass mix, 1 toggle clasp and 100 headpins. All these materials can bought from Beads Unlimited. The tools needed for the bracelet are: flat-nosed pliers, round-nosed pliers and cutters. This video is descriptive and clearly explains all instructions. This video is at a slow pace and provides step-by-step instructions that will...
In this video tutorial, viewers learn how to make a simple pair of earrings. This craft only takes a minute to do. The materials required to make these earrings are: 2 large beads, 2 medium beads, 4 small beads, 2 seed beads, 2 earring pins, 2 earring hooks and pliers. Put the beads on the earring pin in this order: small, seed, medium, large and small. Use the pliers to bend the pin to a loop and hook it with the earring hook. This video will benefit those young viewers who enjoy making arts...
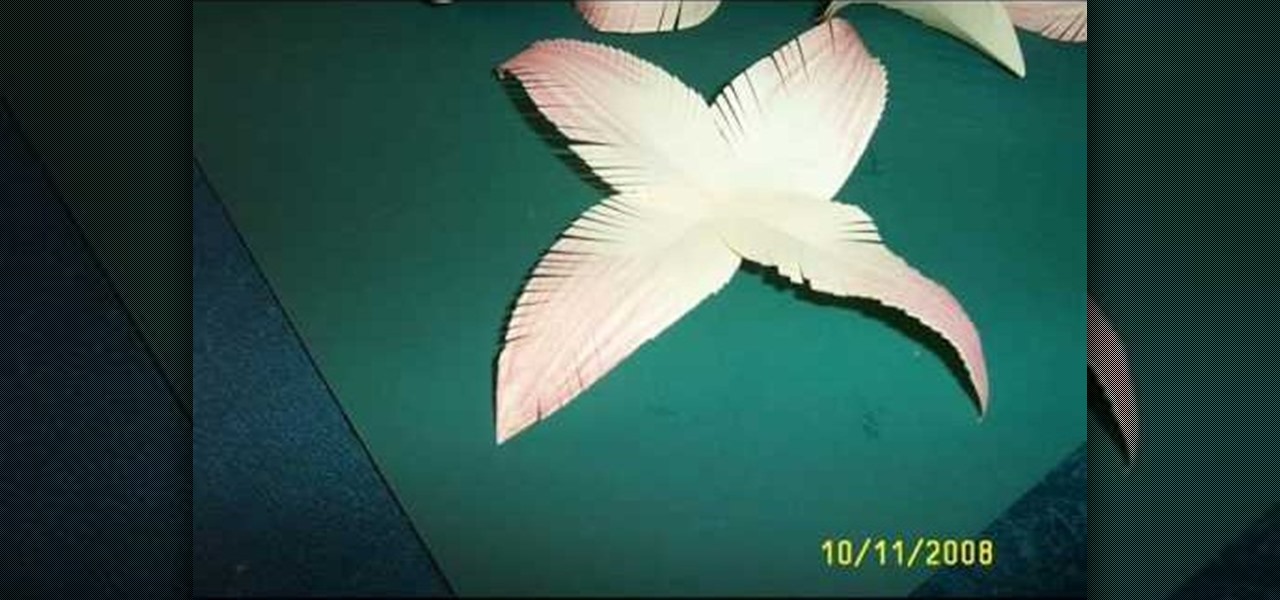
In this video you learn how to make paper flowers with paper, craft glue, crayons, and scissors. First you cut paper into strips and then fold them in half long ways before cutting them into petal shapes. You then color the tips of the petals with the crayons. Next you fold the petals in half again and cut small lines along the unfolded side to make the appearance of more natural petals. Then you layer the petals together with craft glue in a flower shape. When desired shape is reached you th...
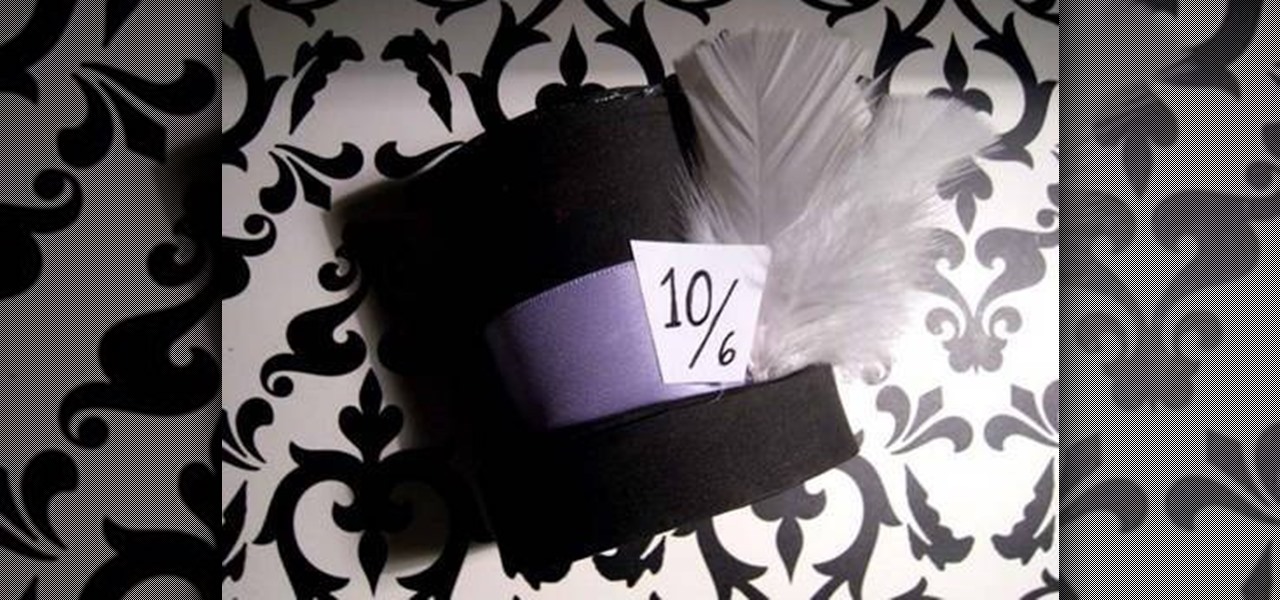
In this video tutorial, viewers learn how to make a mini Halloween top hat. This video provides all the materials required to make the top hat. The materials required include: a Styrofoam cup, X-acto knife, scissors, 2 8x10 sheets of craft foam or felt (choice of color), ribbons, feathers and any other embellishments. This video provides a visual demonstration and step-by-step narration that allows users to easily understand and follow along. This video will benefit those viewers who enjoy do...
In this video you learn how to make fun, creative, and cheap decorations for Halloween. You learn how to make Halloween "Koozies" and how to make a Halloween tree. This video shows the materials you'll need to make each one. The materials you'll need for the "Koozies" are 1/4 yard fabric, ribbons and boas, a glue gun, candy and craft bags. The materials you will need to make the Halloween Tree are parchment paper, craft glue, raffia, ornaments, small branches, a black marker, and a vase. The ...
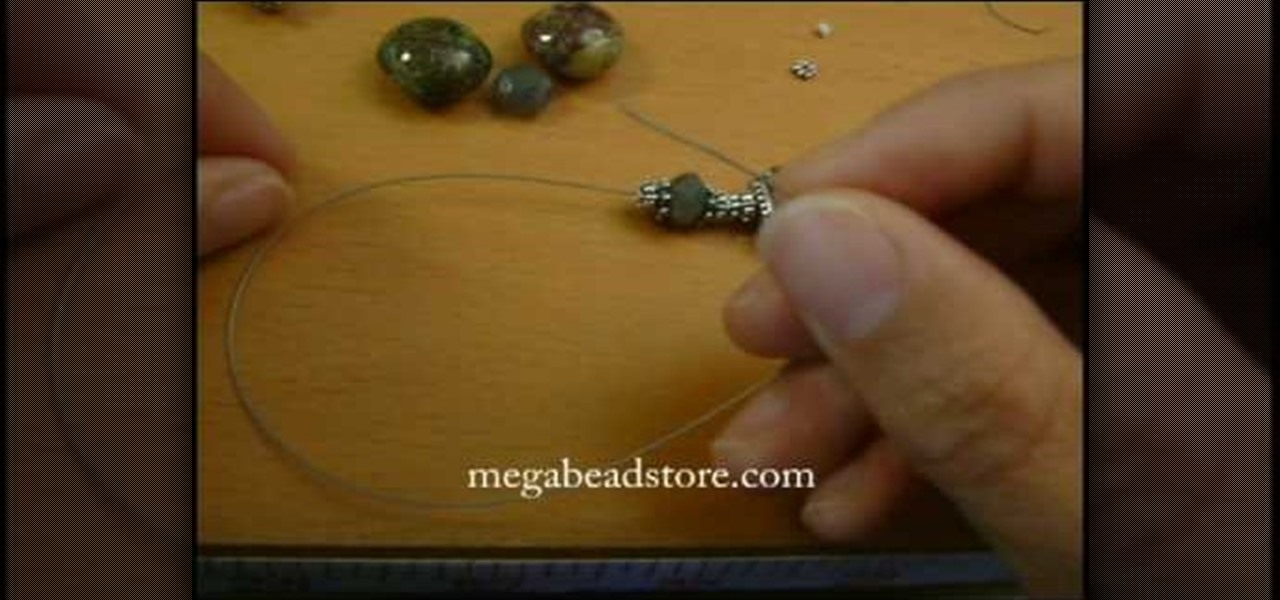
For anyone interested in learning how to make their own jewelry, try the simple steps in this arts and crafts tutorial to make a Bali bead and lampwork bracelet. To make the bracelet, you will need jewelry wire, a sterling silver toggle and clasp, crimp beads, Bali stone beads, lamp beads, silver bead snowflake caps, and silver spacers. The pattern calls for a snowflake cap, two natural stone beads, medium-size spacer, followed by a small spacer. This pattern of sandwiching a stone bead betwe...
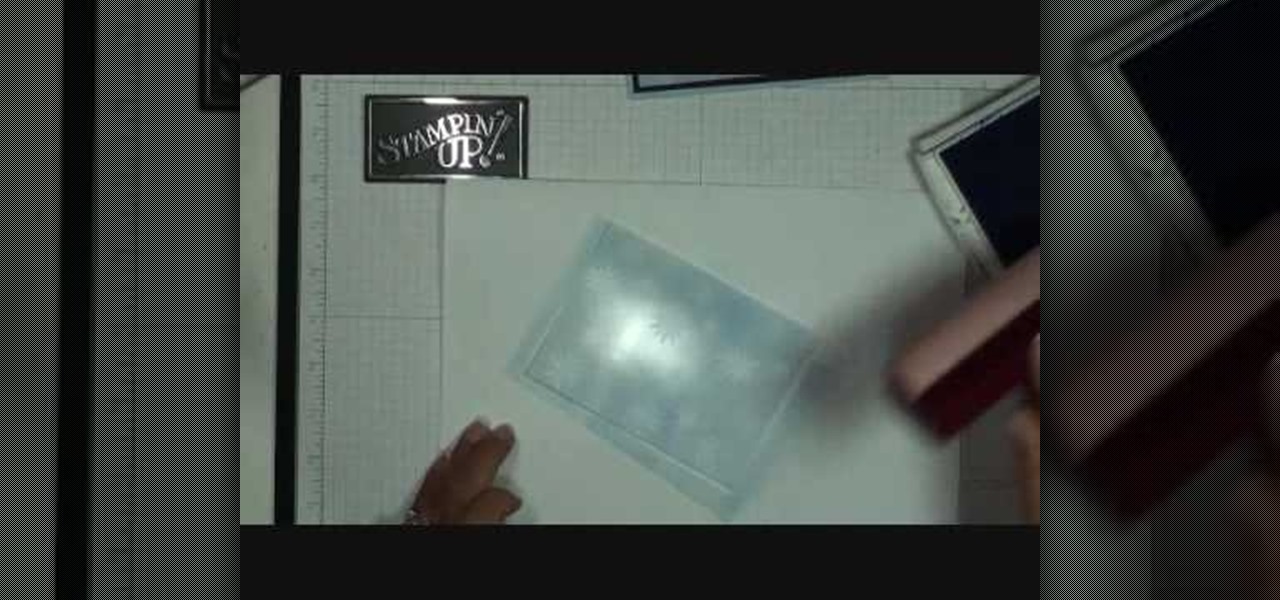
Our host Dawn teaches how to use the Versa Mark resist technique when stamping a card. Dawn teaches the technique on a Christmas card to create a snowflake background. The basic idea behind this technique is that the Versa Ink is clear and will resist any other ink you put down, so you can stamp a pattern and then go over with a flat coat of regular ink, and you will be left with a white pattern where you made the Versa Ink stamps. To complete this specific craft, you will need a Versa Mark i...
Emerald City Elegance Paper Crafting with Joann is really very interesting to watch. It takes us through the process of making a beautiful paper cup mini album. It explains us to properly cut the edges of the paper cup, to stick first the color page in the folded paper cup, making ready the plain album pages and punching it altogether. Finally embellishments are also done to add beauty to the mini album. Now the album is ready. After watching this video, any viewer develops the art of creativ...
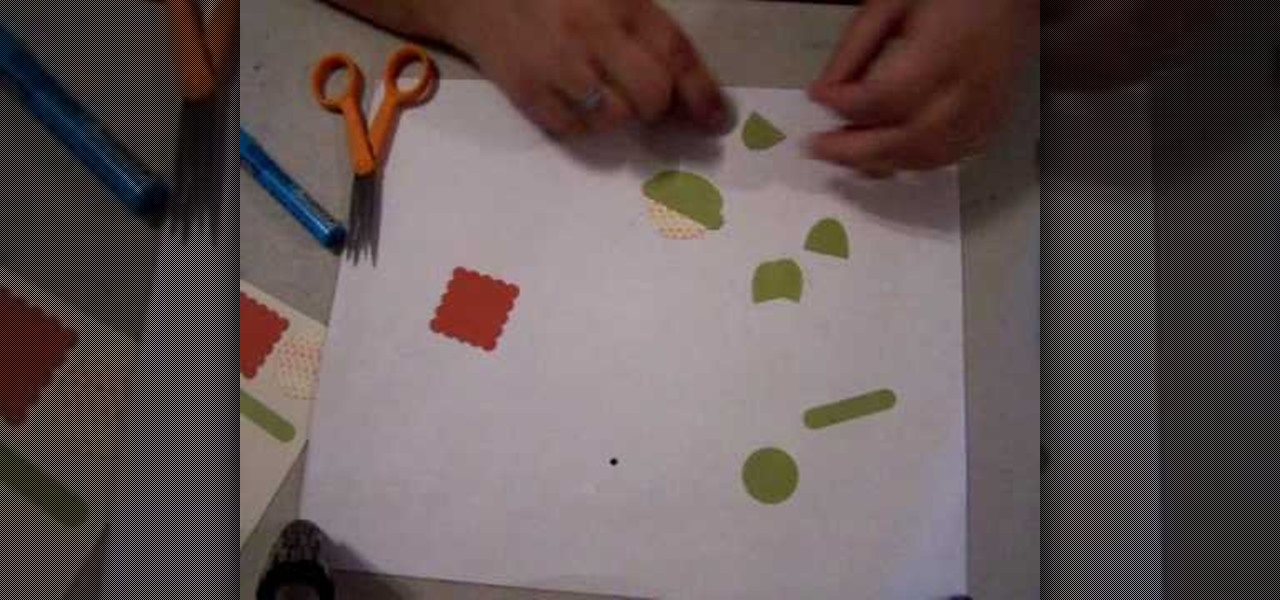
Are you looking for an inexpensive way to make home made crafts? Bonnie has a great new tutorial just for you. In this episode of Bonnie's Creative Place, she will be showing you how to make a cute little turtle using Stampin' up paper punches. The video will provide you with Bonnie's easy to learn process and you will be surprised at how just a few household tools and office supplies are needed in order to make your very own high quality crafts. Don't miss out!
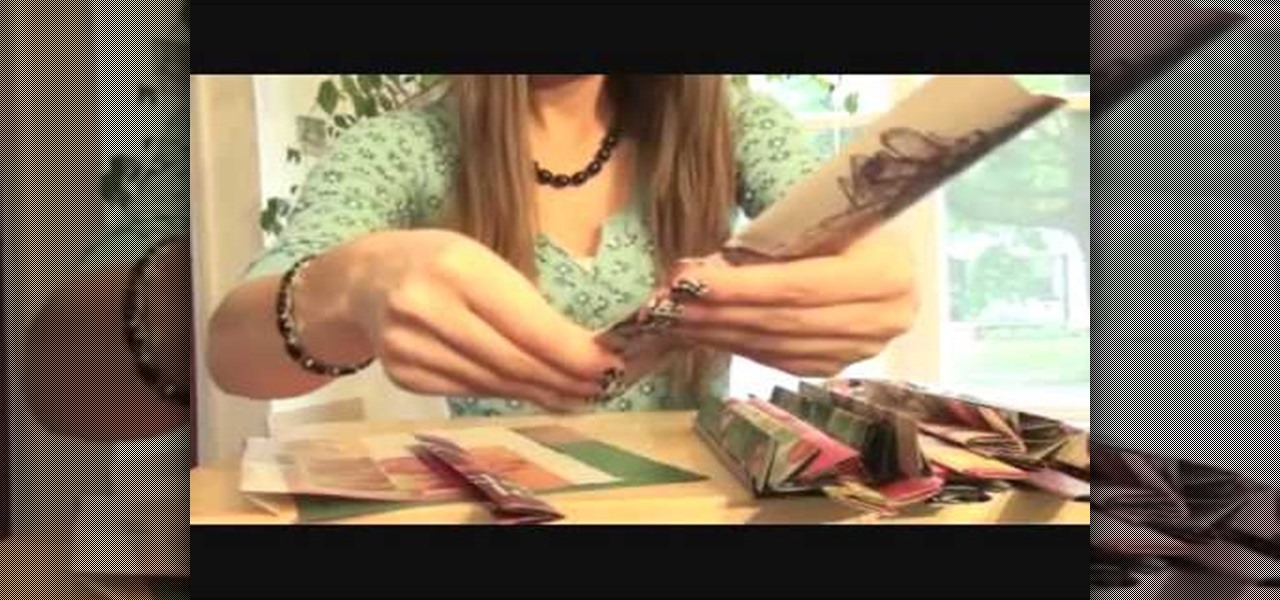
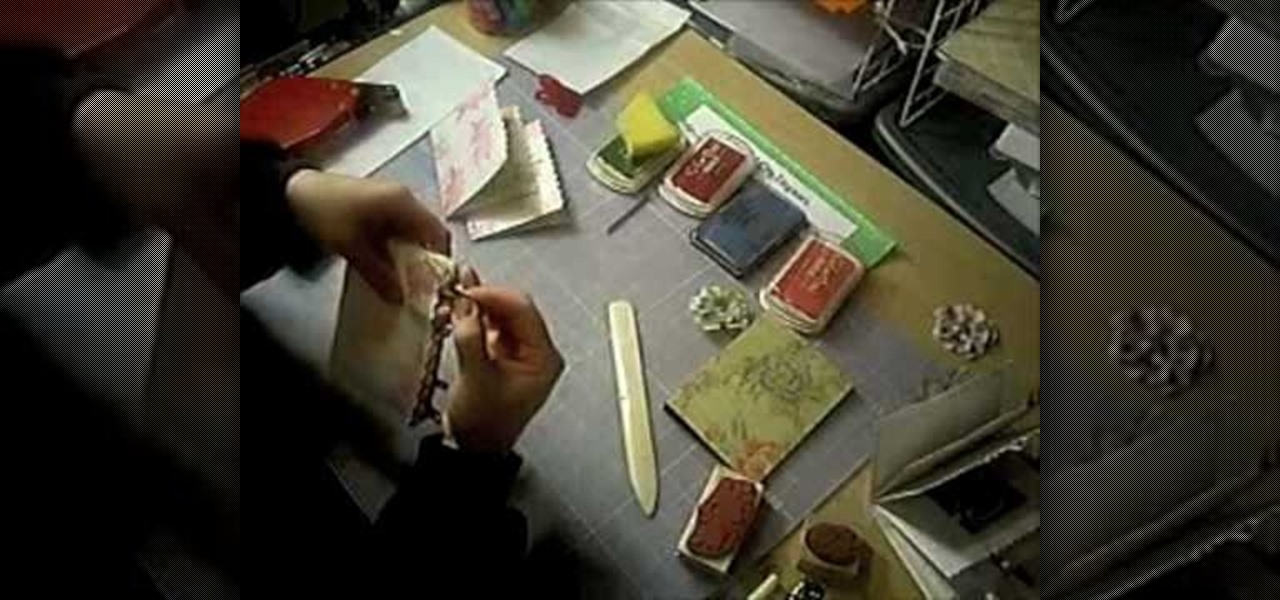
If you have ever thought about making a paper-bag album for artist trading cards, this is the video for you. Ozsomenurse captures this in a simple video saving you money. The required materials are easy to acquire. They are all available at your local craft store. This video provides very descriptive and easy to follow instructions. The finished product is a cute, hand-crafted album for your artist trading cards.
Are you a scrap booking nut? Why not add some flare to your page with a three-dimensional looking photo collage? 3D photos are the best way to jazz up a page and take it from boring to popping! In this step-by-step tutorial, learn how to make your photographs from Fourth of July a three dimensional fireworks experience using a Fiskars' Fingertip Craft Knife, as well as a self healing matt, a 5x7" background photo, a 4x6" focal point photo, and some Ranger's Pop It! Shapes. Before beginning yo...
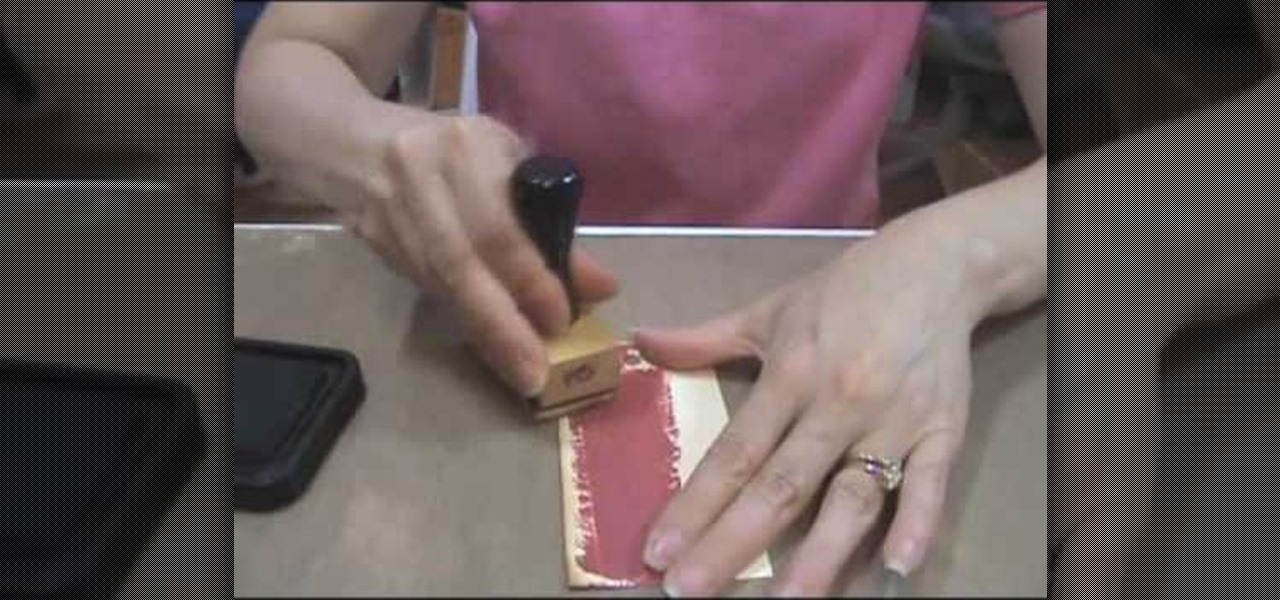
Learn how to use the Tim Holtz' Distress Crackle Resist technique with this tutorial that gives step by step instructions on applying this method to a Manila tag. Materials you will need include distress crackle paint, distress ink (for this project, in "Vintage Photo", "Fire Brick" and "Black Soot"), Inkssentials' ink blending tool, foam, nonstick craft sheet, Inkssentials' Mini Mister filled with water, heated craft tool, paper towel, stamp, and a Manila tag. After done, use this tag in a s...
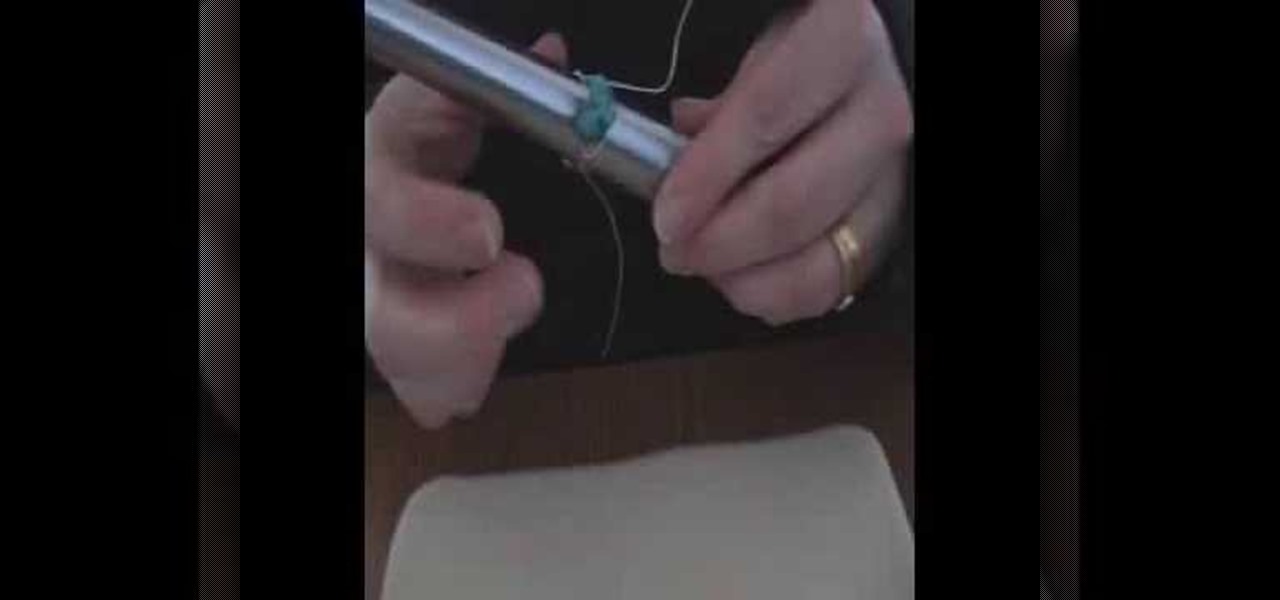
If you want a hobby that is fun and rewarding, cheap and easy, and fun, then handmade nylon flowers (stocking flowers) is an easy craft to learn. Do it yourself-- you will be so impressed by the result. See how to make nylon stocking flowers!
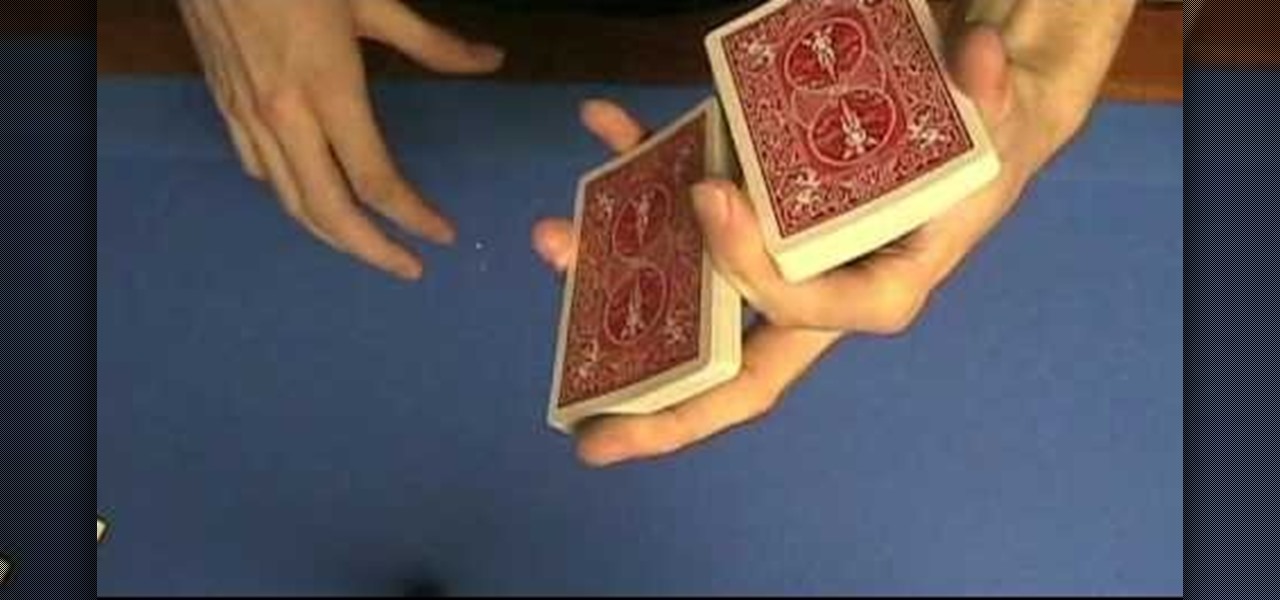
Learn the craft of magic. This magic tutorial demonstrates the following trick: the one handed shuffle. Jarek is an 18 year old magician here to instruct his love of magic. Magic tricks take time and patience to learn. Watch this magic trick tutorial to master the one handed shuffle.