So we're going to ask you one question that will change your origami folding life forever: Are you ready to move beyond cranes? So many people get stuck and attached to making origami cranes because they're easy, cute, and pretty.
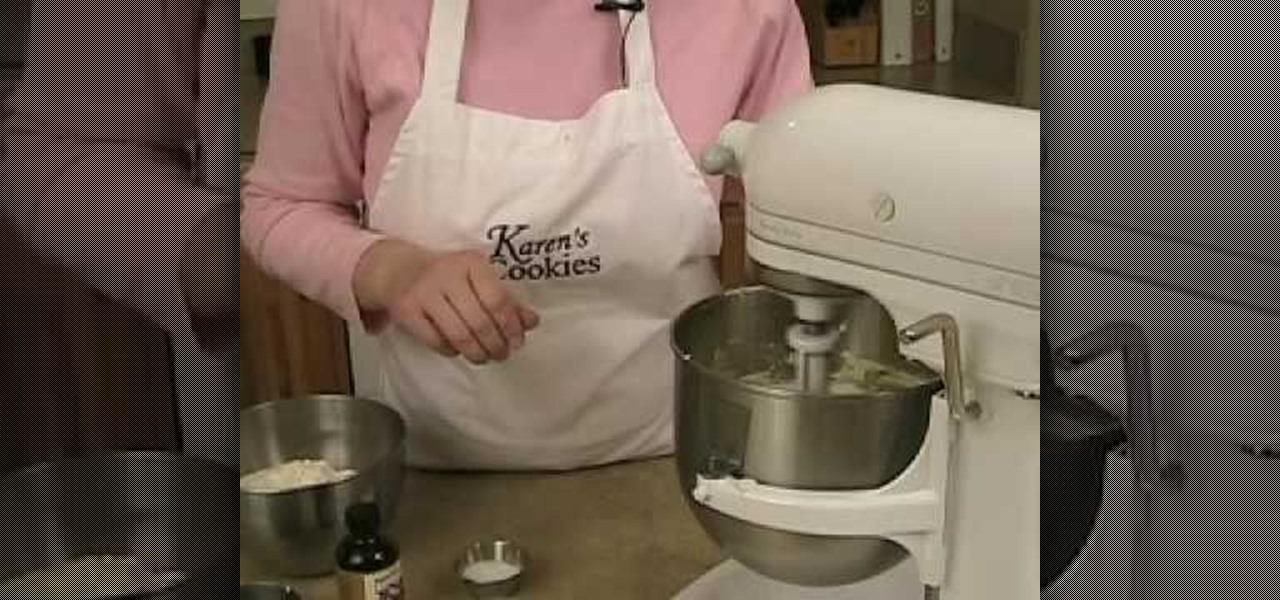
When we're baking sugar cookies, we all tend to do the same thing: Rush through the boring mixing and baking part, and then spend three times as long on putting on the icing and forming pretty motifs. But to create truly spectacular sugar cookies, there is more to crafting dough then simply throwing in the ingredients and blending.
In this Arts & Crafts video tutorial you will learn how to use the cross stitch 'n paint technique. It combines simple back stitching and water color painting. Most of the materials are found in your kitchen. You will need wax paper, paper towels, and a plate to use as your paint palette, some water colors and paint brushes. After choosing your design, back stitch the outline on the fabric. Place the white paper towel over the wax paper and spread the stitched fabric over it. Now you are read...
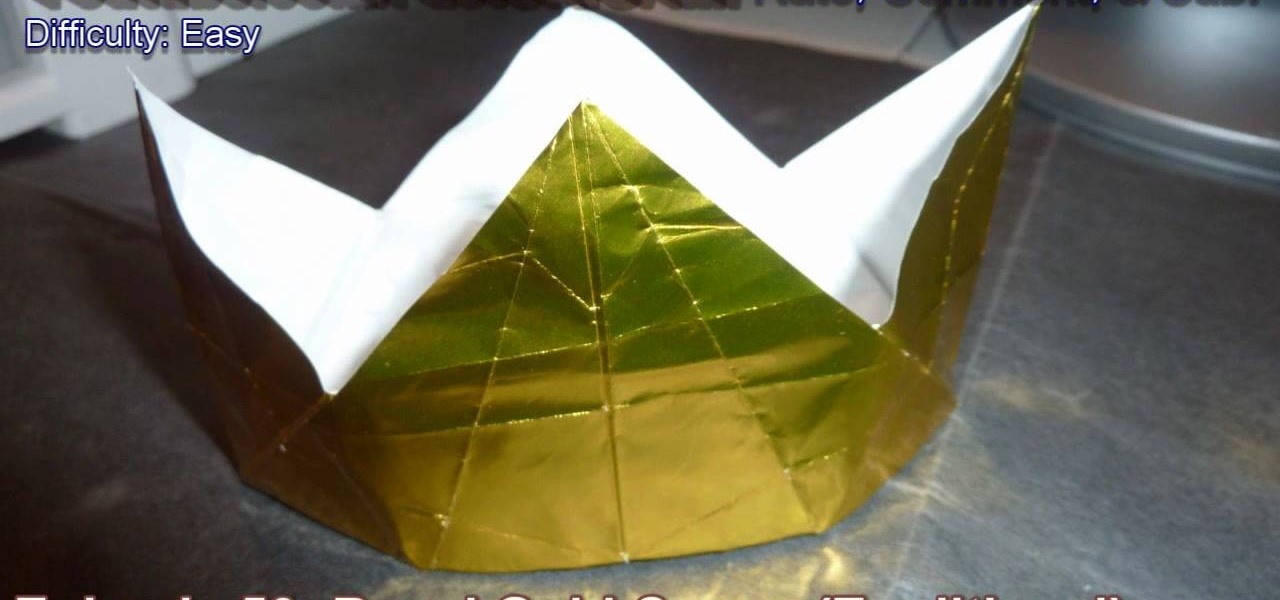
Okay, so watching "The Princess Diaries" gave us something of a princess complex. Come on, what girl doesn't want to own her own country (however small and fake), have Julie Andrews as her grandma, and be driven to even trivial places like the nail salon in a limo? Sounds good to us!
Here in America, we have this idea that the bigger, the better. Why purchase large fries when you can get them supersized for just $40 extra, for instance, and why not buy the value pack of salsa to save some money when compared to buying individually?
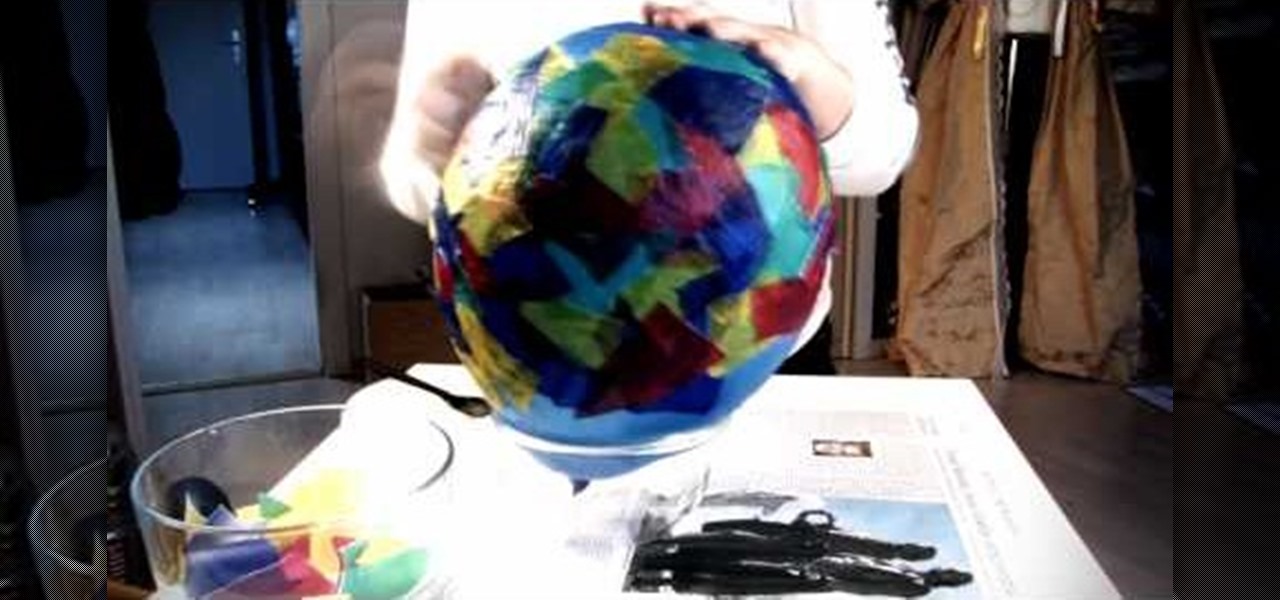
In this video tutorial, viewers learn how to make a balloon lantern. The materials required for this project are: balloons, lantern paper, wallpaper paste, bowl and scissors. Begin by ripping the paper into small pieces and place it into the bowl. Then shake the bowl and blow up a balloon. Now put some paste onto the balloon and layer it with the lantern paper pieces. Then let the paste dry and pop the balloon. Remove the balloon and cut off the lantern edges. Finish by hanging it and add a c...

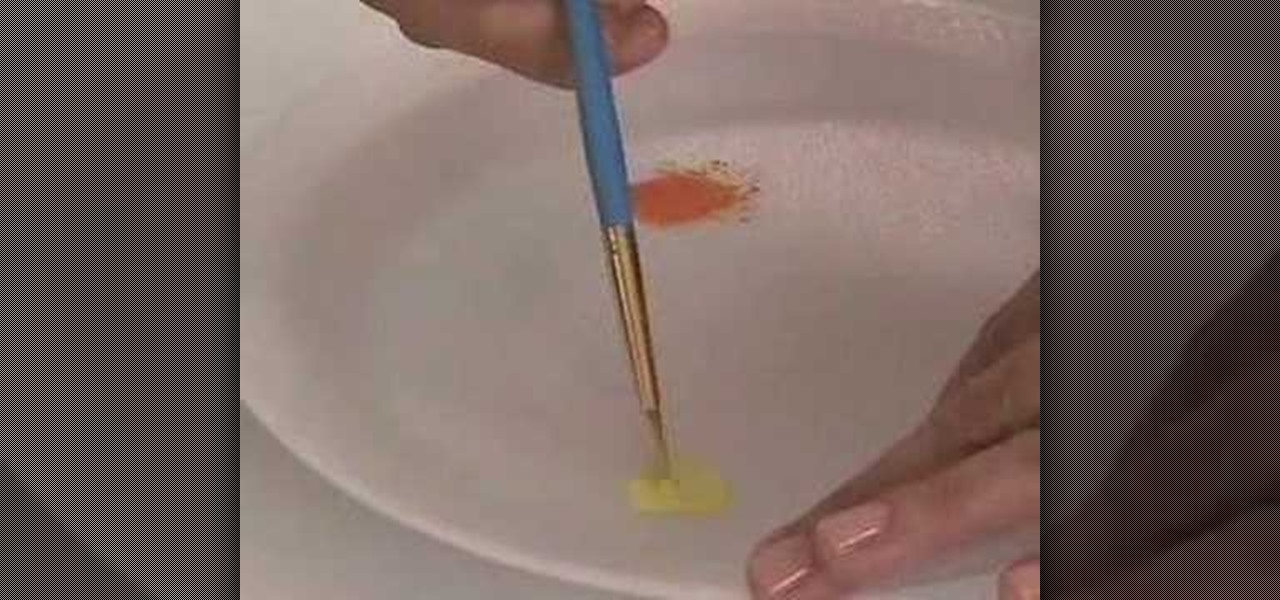
To make your own shimmer paints, you will need the following: a paintbrush, watercolor paints, water, and Iridescent Medium.
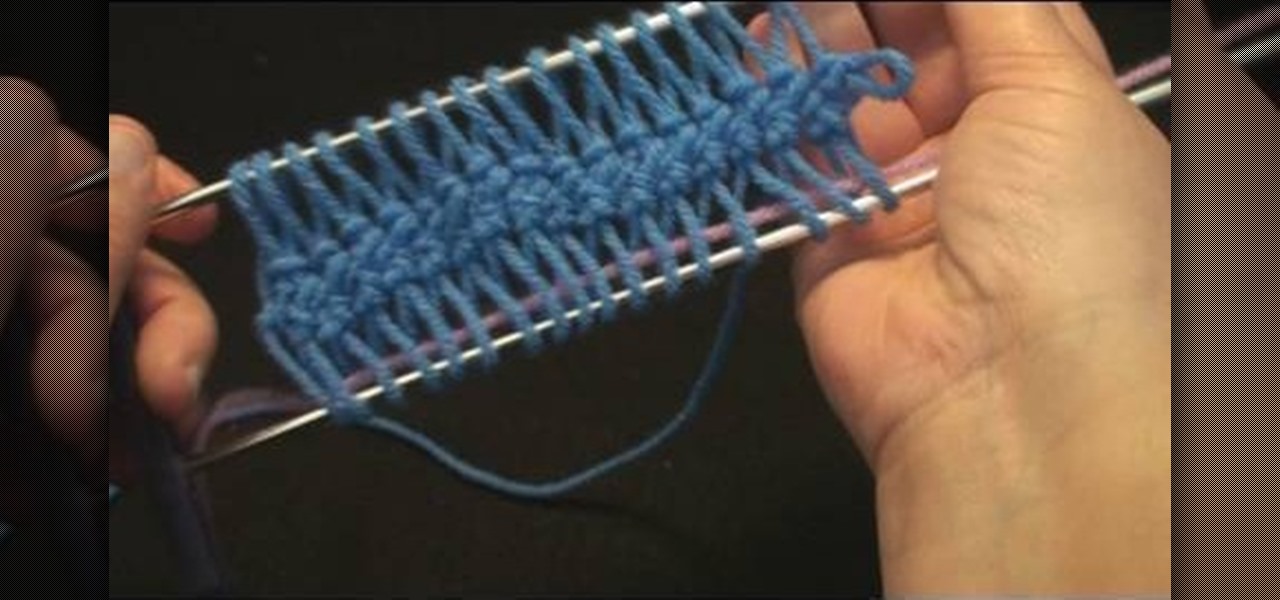
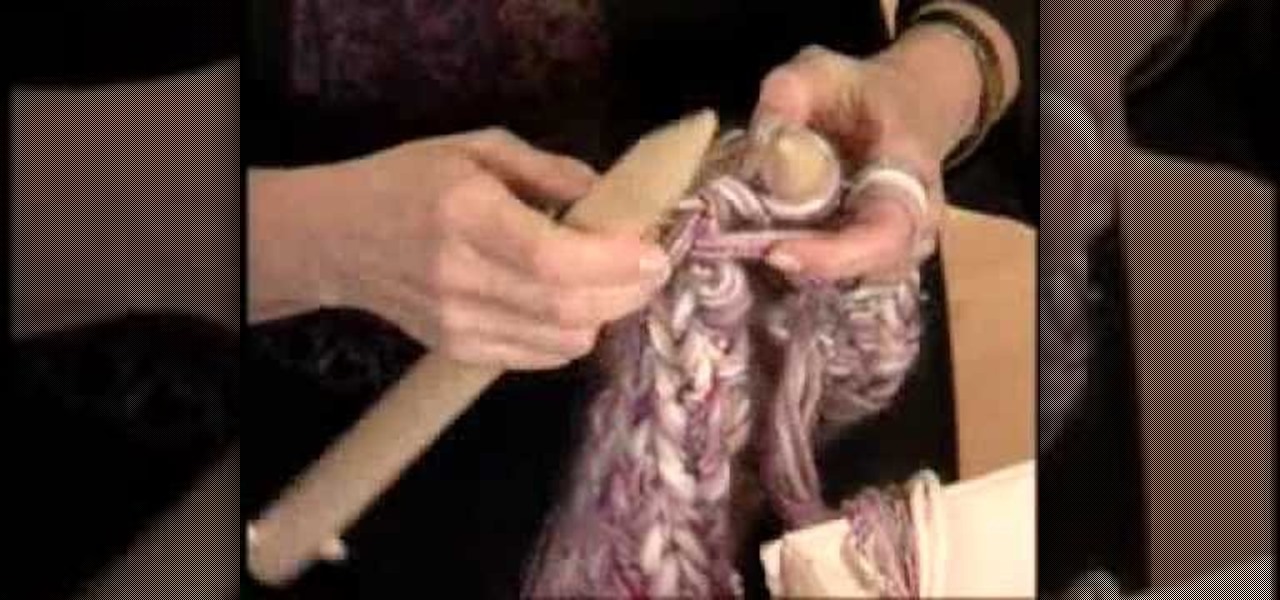
First of all, hairpin lace is a knitting technique using a crochet hook and a hairpin lace loom, which consists simply of two parallel metal rods. To use the loom, you wrap yarn around the loops to form prongs, and eventually get a delicate lacy pattern.
This video tutorial is in the Arts & Crafts category which will show you how to tie a decorative Door Knocker knot. Take a piece of rope and make a loop at the center with the left hand end of the rope over the right hand end. Now pass the right end above and through the loop to make a half knot. Twist the loop to make a figure of eight, pass the right hand end through the lower loop of the "8" and back through the upper loop. Repeat this once again. Now repeat these steps with the left hand ...
In this video tutorial, viewers learn how to make a Hello Kitty princess mirror. The materials required for this project are: epoxy glue, tweezers, pendants, gems and a plain mirror. If the mirror has a logo, you can remove it by rubbing over it with some nail polish remover. Begin by mixing the epoxy. Then stick the Hello Kitty pendant and a pearl heart on the top cover of the mirror. Use a stick to apply the glue and tweezers to place the heart on the mirror cover. This video will benefit t...
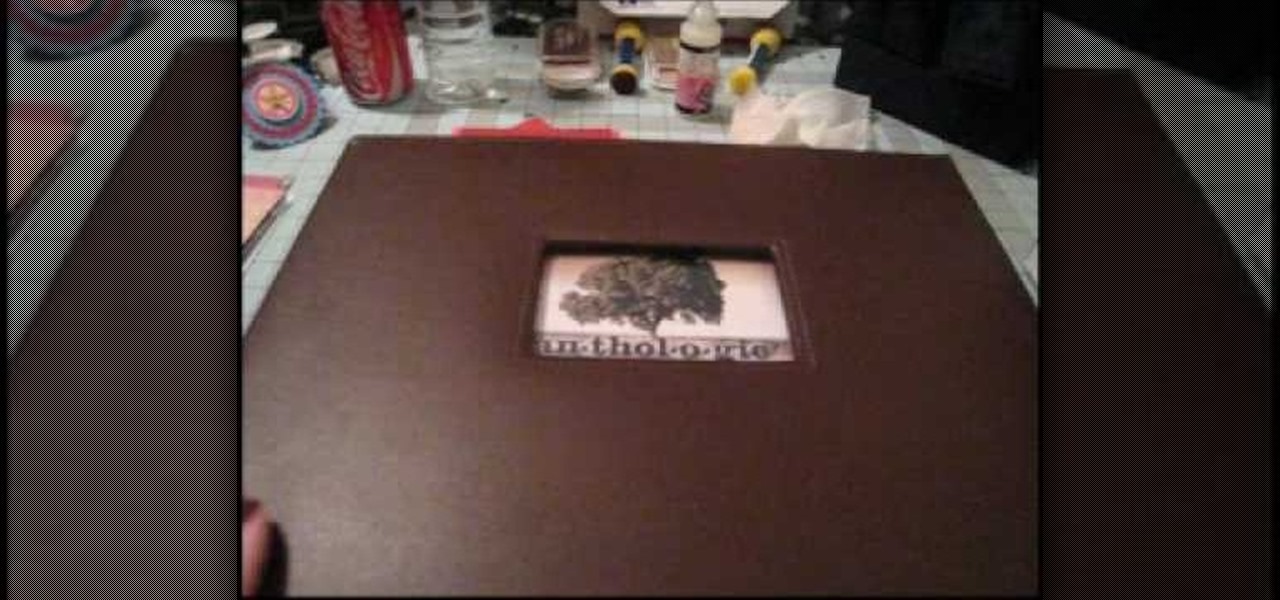
In this Arts & Crafts video tutorial you will learn how to use non-standard page protectors when scrapbooking. It is a tip on getting a large number of photos in an album without taking up too much space or using too many supplies. You can get 12 x 12 page protectors in terms of size but with pockets for 4 x 6 photos. This way you will have 6 photos on each side of the protector. Or maybe you put 5 photos and a card on one side. If you don't want to mess around with extra page protectors, you...
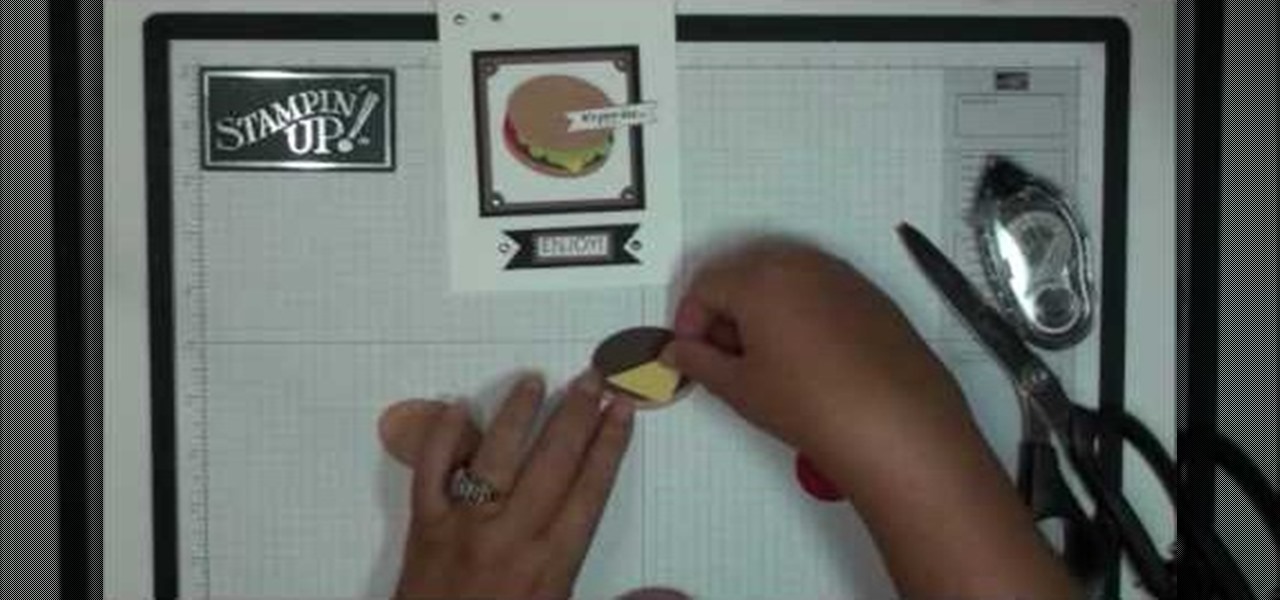
We all know fast food is not healthy for you, but this adorable hamburger greeting card allows you to indulge in the American fast food staple without having to worry about calories! Whether you're making a "Congratulations" card for a recent grad or a "Thank You" note for a well-thrown party, adding this hamburger to the front will instantly set off smiles and taste buds.
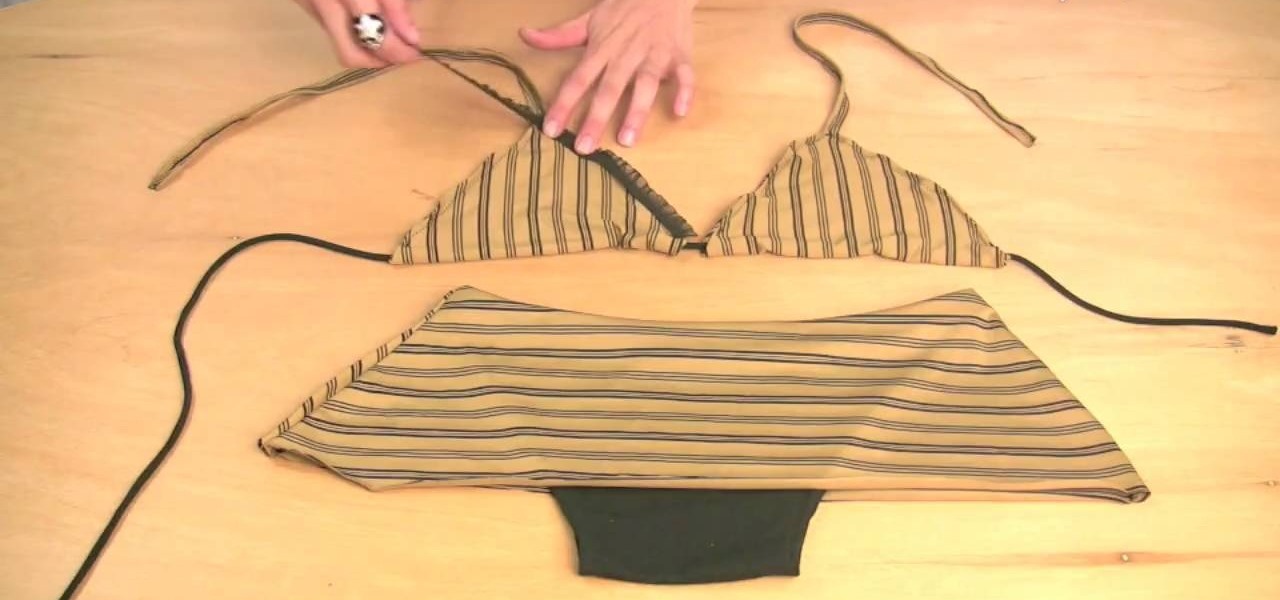
You've probably seen old t-shirts being turned into dresses, miniskirts, and if you're a fan of Gianny L, even two-piece bikinis, but you've probably never even thought about it transforming them into underwear. It may seem a bit odd at first, but making these intimate pieces from t-shirts means you can customize the pattern as well as the type of cut (cheeky, granny top, or thong?).
In this Arts & Crafts video tutorial you will learn how to sew a blind hem. Use a blind hem stitch when sewing the bottom hem of your Roman shade. It is very easy to do. For this you will need a sewing machine that has blind hem stitch already programmed in to it and a blind hem foot. Hem your fabric and pin it. Make sure the pointed ends of the pins are pointing outwards. Lay your fabric with the hemmed side facing up and the hemmed side towards the pressure foot. Then flip the hem upside so...
In this Arts & Crafts video tutorial you will learn how to tie a Padlock style decorative knot. Padlock knot is a clever way to achieve the look and function of a padlock without having to bother about the key. Take a piece of rope, bend it in the center and make two loops on either side of the rope. Ensure the working end is over the rope in the left side loop and under the rope in the right side loop. Now overlap both the loops so that the left side loop is over the other loop. Now pass the...
In this Arts & Crafts video tutorial, Ana Maria, Origami artist, will show you how to fold an origami paper pyramid. For this you will need a square piece of paper; preferably colored. Fold the paper in half, open it up and fold in half in the other direction. Open up and fold all corners to the center point of the paper. Now fold it in half in both directions. Open up the last fold and fold one of the edges inwards. Open up again, unfold the adjacent flap and lock the flap down as shown in t...
Why would you blow upwards of $200 or $300 on a bikini when you can craft a perfect good one yourself? Don't believe us? Then watch this video by fashion DIY expert Gianny L to prove yourself wrong.
Check out this tutorial for ideas on how you can use your left over scrap fabric. In this video, not only will you learn how to use a loom, you will build your own! This tutorial from Elizabeth Gleeson will walk you through the process of building a mini-loom and using it to weave new fabric out of scraps left over from old craft projects. This is a great way to recycle and create something unique - so get started!
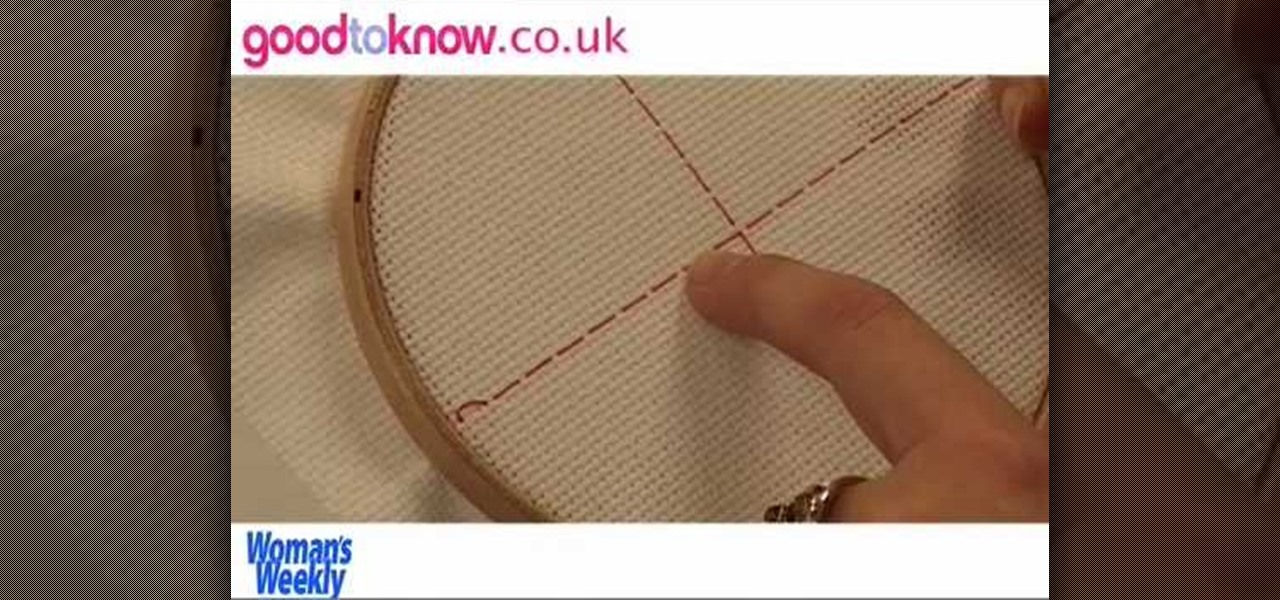
In this tutorial, Emily Dawe, assistant home and crafts editor for Woman's Weekly, demonstrates a simple cross stitch design. Cross stitching is a fun hobby and really helps fill any empty time you may have. If you are looking to start cross stitching, have a look at this video and begin with the basics.
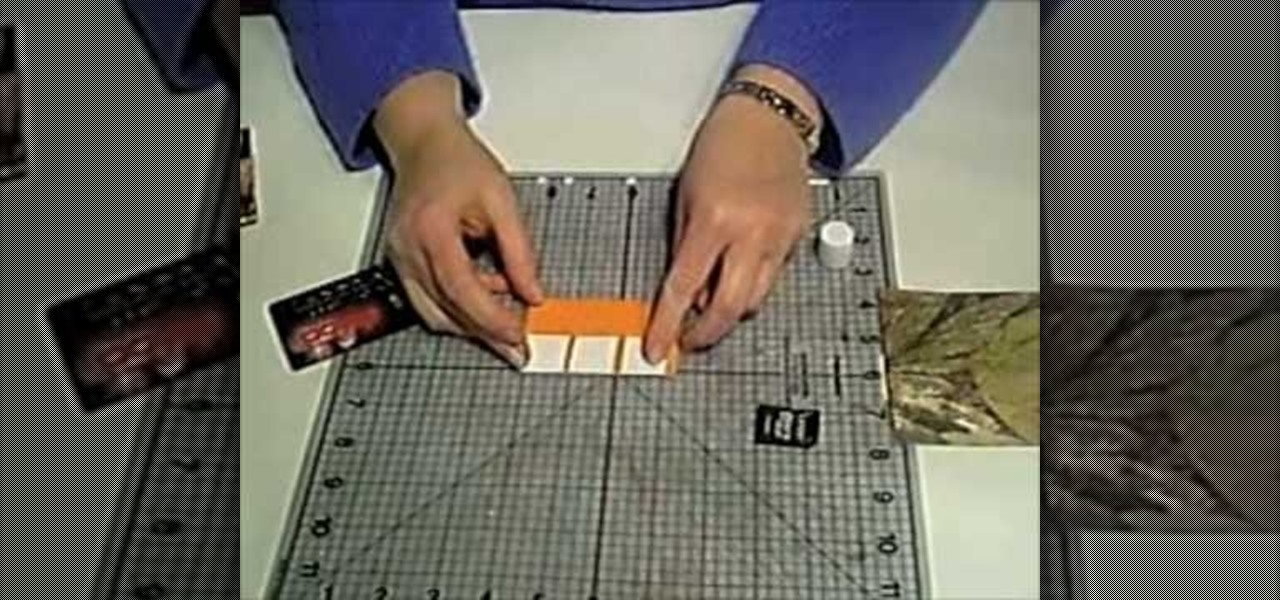
In this how-to video, you will learn how to convert your wood mounted stamps to clear mounts. First, be careful and go slow if your stamps are already mounted on wood. You will need stamps and an EZ mount. Find a spot where the image fits and trim it around the stamp. Once this is done, remove everything from the rubber. Next, peel back the sticky side of the EZ mount piece that has been cut. Now, position the piece so that it is completely covered. Trim the excess EZ mount. Make sure you use...
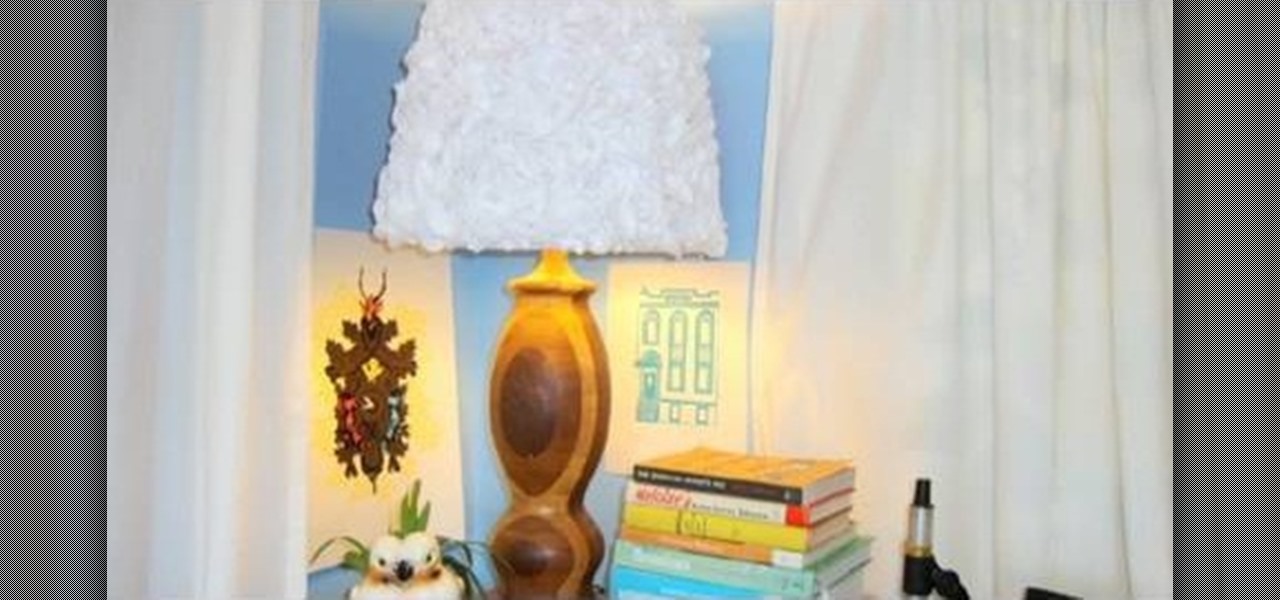
In this video tutorial, viewers learn how to upgrade an old lamp shade into a blossom lamp. The materials required are: 1 1/2 yard of felt, old lamp shade, bias tape, glue gun and scissors. Begin by folding the bias tape in half and iron it down. Then glue the bias tape from the half fold on the top and bottom of the lamp shade. Cut the felt into 3x3" square pieces and then cut them into circles. Fold the felt circle in half and glue it onto the lamp shade. Continue doing this for the rest of...
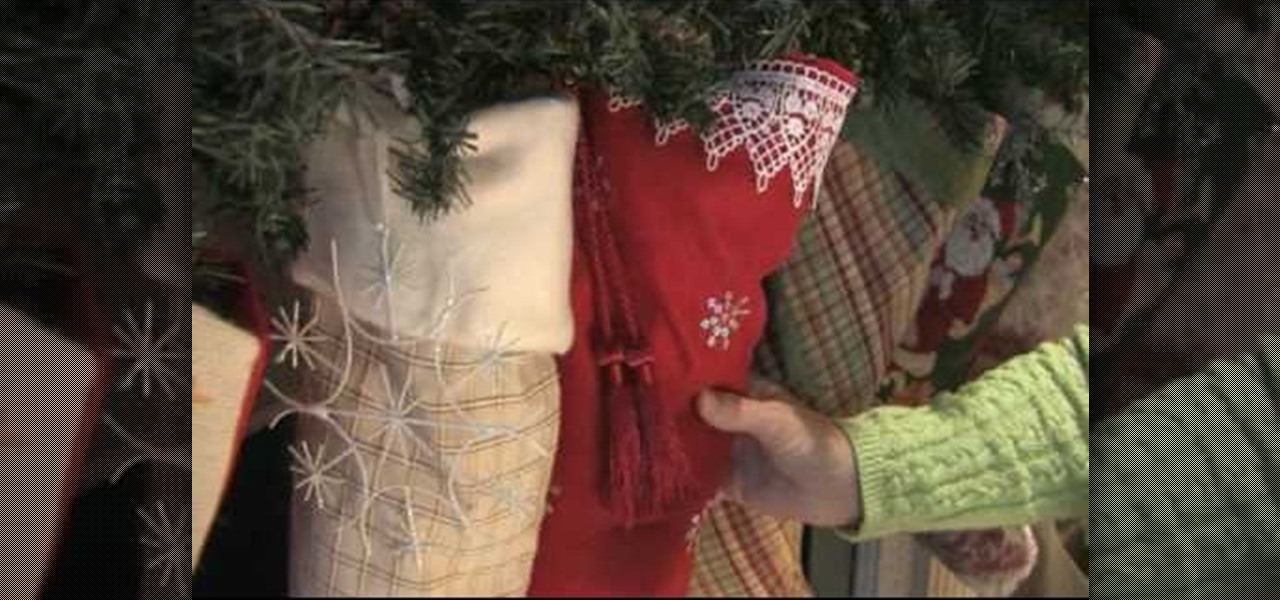
Christmas is supposed to be a time of peace and joy. Where others gather together to enjoy the holidays by singing songs, drinking hot cocoa, and watching old Christmas cartoon movies. But the holidays are also a great time to whip out your arts and crafts skills to not only make others' gifts but make cool things as well. An example: Christmas stockings! Find out how to make cool looking stockings in this quick tutorial. Enjoy!
I wish I was still a kid because this was a pretty cool project to perform and a cool placemat I would have used! Most of the ingredients can be obtained from your local arts and crafts store and seems pretty simple, but does require skill. So enjoy this tutorial on how to make a chalk cloth placemat. Enjoy!
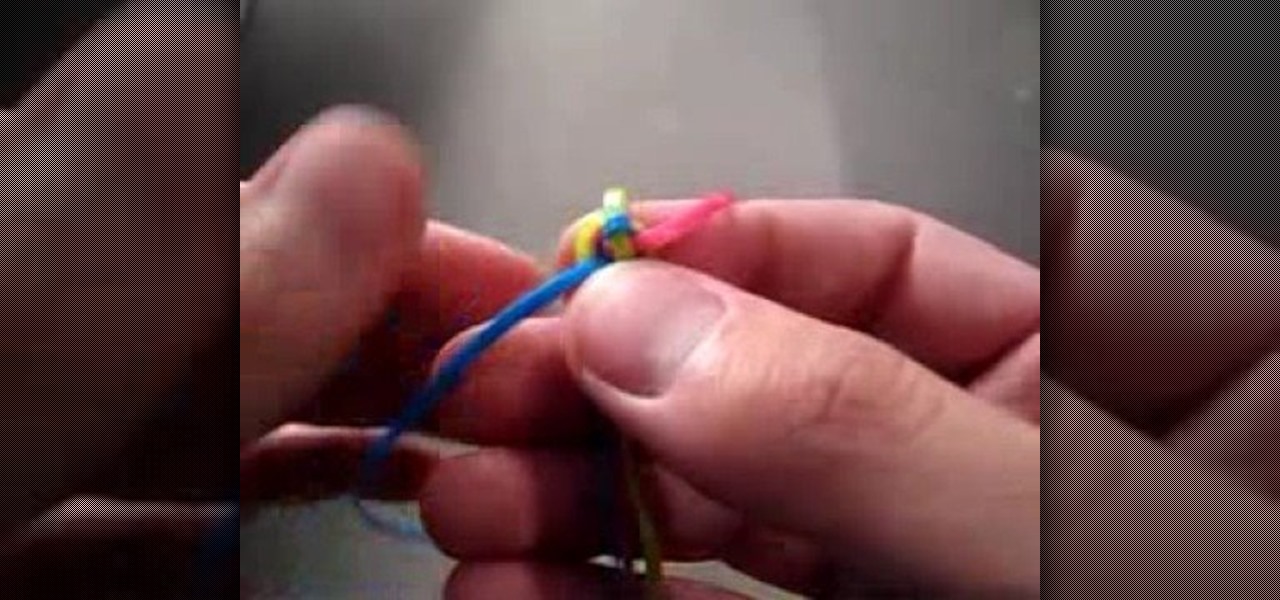
In this video tutorial, viewers learn how to do a lanyard twisted triangle stitch. Users will need 3 pieces of gimp with the same length. Take all 3 strings and tie a knot at the end. Now separate all 3 strands from each other and select one of the strands to be the top strand. Put the top strand over the second strand and bring the second strand over the third strand. Now run the third strand through the loop of the first strand. Pull on all 3 strands to make the stitch and repeat for the re...
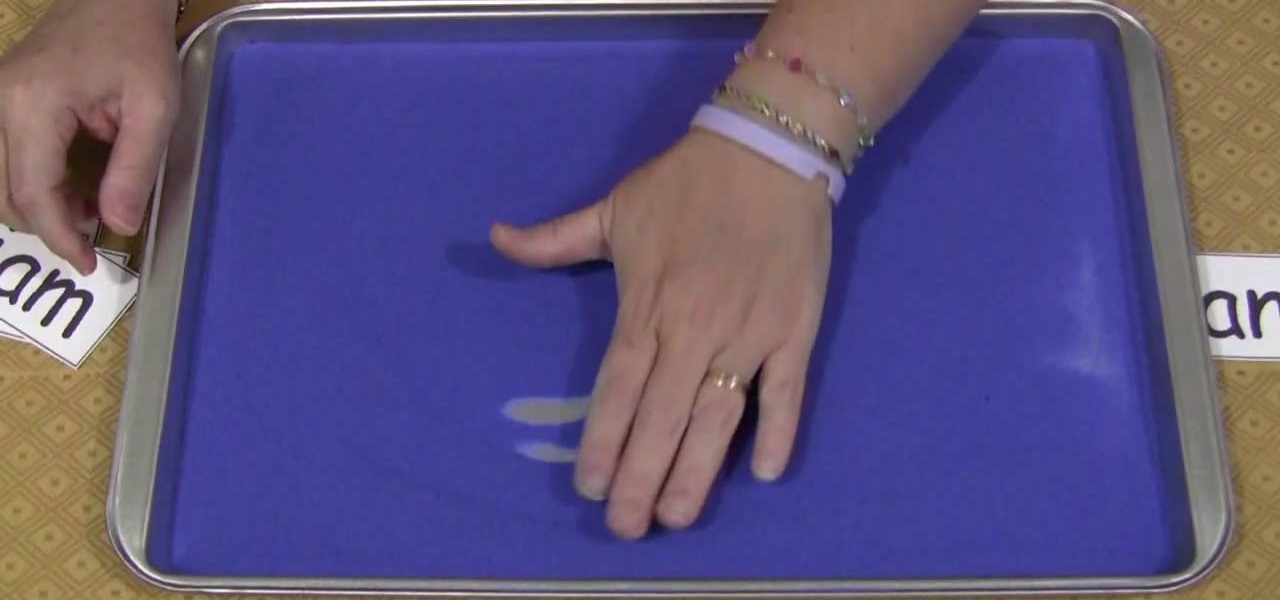
Shelley Lovett from Childcareland demonstrates sand writing as an early childhood learning activity. All you need for this activity is a baking sheet that is approx one inch deep and some sand. Colored sand makes it more fun for the kids. Shelley says the cheapest place she has found colored sand is at Wal-Mart, but it is also available at craft stores and perhaps even at Home Depot or Lowes. You spread a thin layer of the sand onto the baking sheet and try to make it pretty even. For very yo...
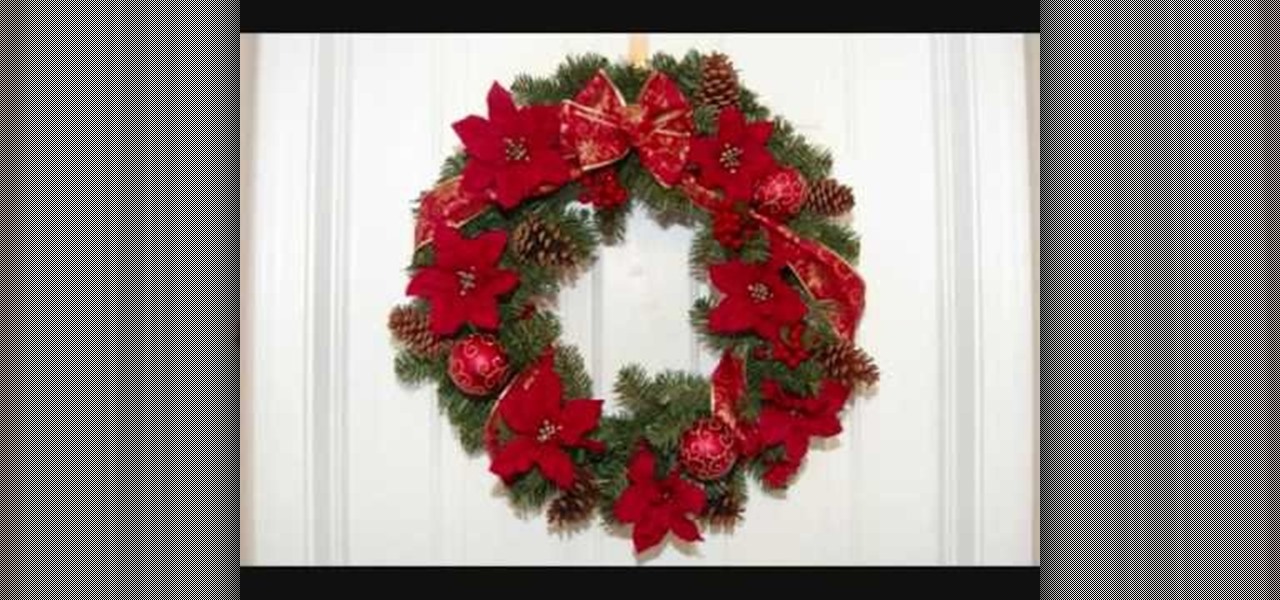
To make a Christmas wreath with poinsettias, by using synthetic materials you will need a Christmas wreath, pine cones, ribbon, berries, poinsettias, and any other picks you may want to use. You can purchase these items at any craft store. First, shape wreath, make bow out of Christmas ribbon (or pre-purchase bow), and attach on wreath. Next, wrap excess ribbon around Christmas wreath and align evenly poinsettias around wreath. Then, wrap around wire from the ornaments, pine cones, berries, a...
This video is a tutorial on how to remove scroll bars, sheet tabs and objects in Excel. To remove scroll bars and sheet tabs, go to the Office button, then Excel Options. On the screen that comes up go to the Advanced tab and scroll down to “Display options for this workbook”, where you will see some check boxes. Uncheck the boxes for horizontal scroll bar, vertical scroll bar and sheet tabs. This will remove them from the current workbook. This feature only works with the current workbook.
In this video tutorial, viewers learn how to make a plain paper clip into a spinner. The materials required for this spinner are a paper clip and a pair of pliers. Take the paper clip and straighten it. Now use the pliers to bend the tip of the clip at 90 degrees. Then bend it 90 degrees to left side and start bending the wire into a circular shape. The shape will look like a pretzel. Now bend the end tip of the wire 90 degrees to the opposite direction of the first bend. You should end up wi...
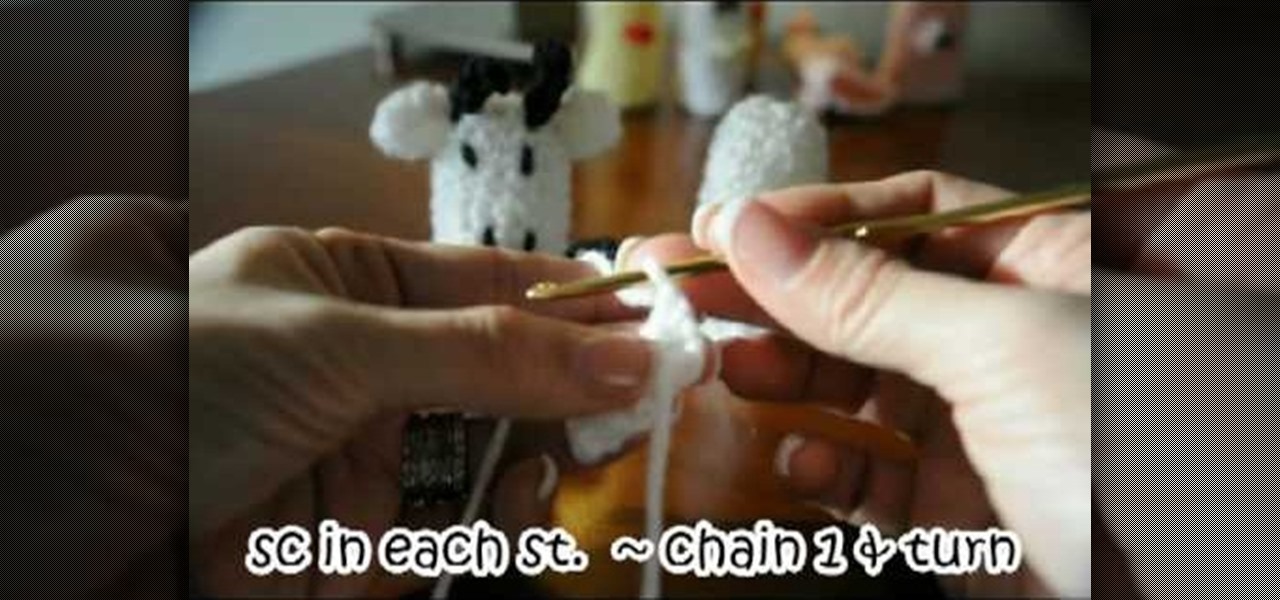
Crochet a little special something for the little ones in your life! In this two-part video tutorial, learn how to crochet an adorable cow finger puppet. These small items would be perfect as party gifts, gift wrap toppers, or stocking stuffers! Warm the hearts (and fingers) of those you love with a special hand crafted finger puppet.
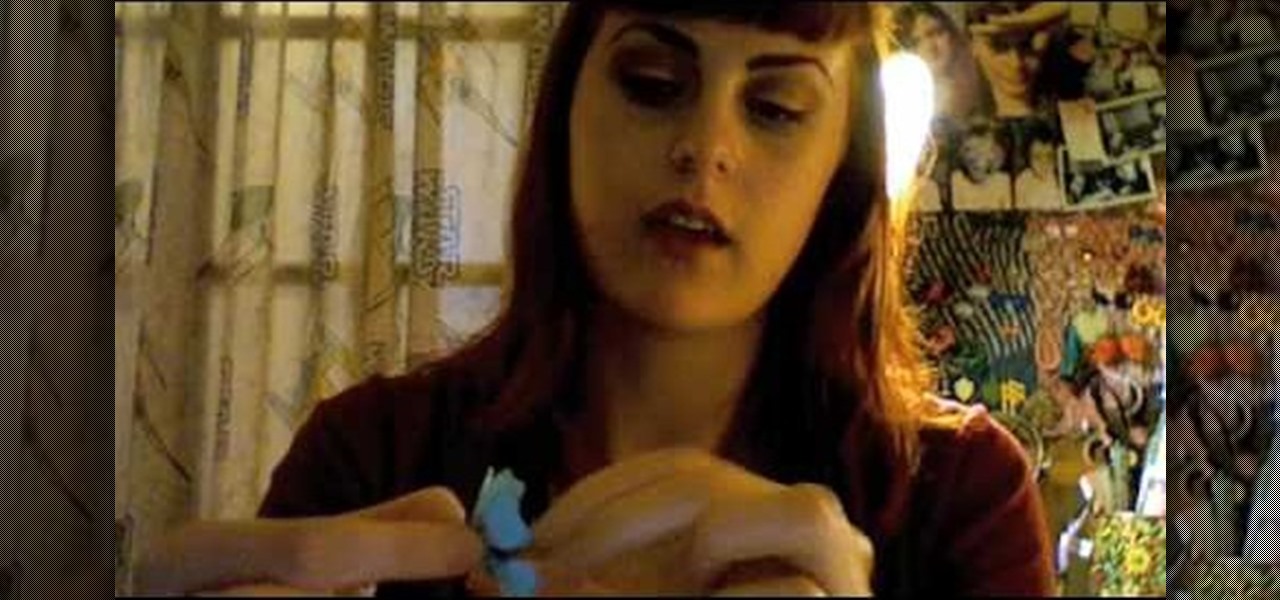
Adorn any headband, broach, pair of earrings, or pendant with these adorable handmade paper flowers! Learn how to make these precious accessories step by step using this two-part video tutorial as a guide. Step out in style & unique to your friends by dressing up regular store-bought accessories with your own hand crafted creations!
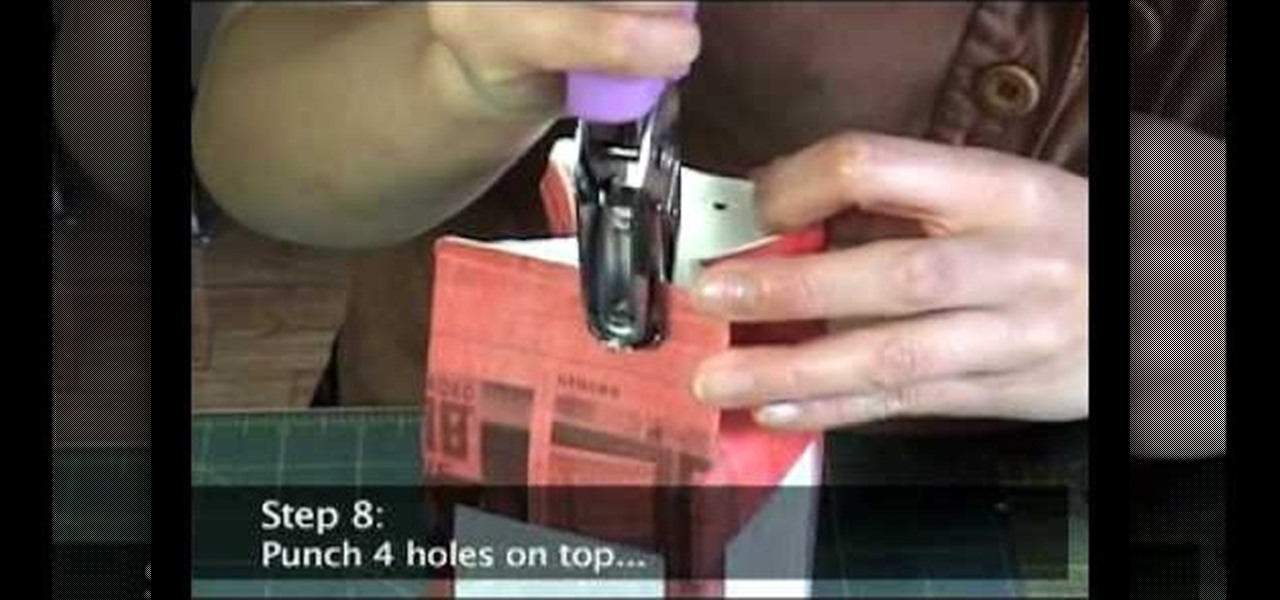
In this video tutorial, viewers will learn how to make a milk carton lantern. This lantern uses recycled items. The materials required for this lamp are: a milk carton, unryu paper, colored newspaper, raffia, ruler, glue gun, hole puncher, X-acto knife, glue stick and scissors. Flatten the milk carton. Draw a rectangle with each panel and measure about 1/2" form each of the sides. Measure about 3/4" from bottom and top. Cut out the rectangles with the X-acto knife. Glue the newspaper to the c...
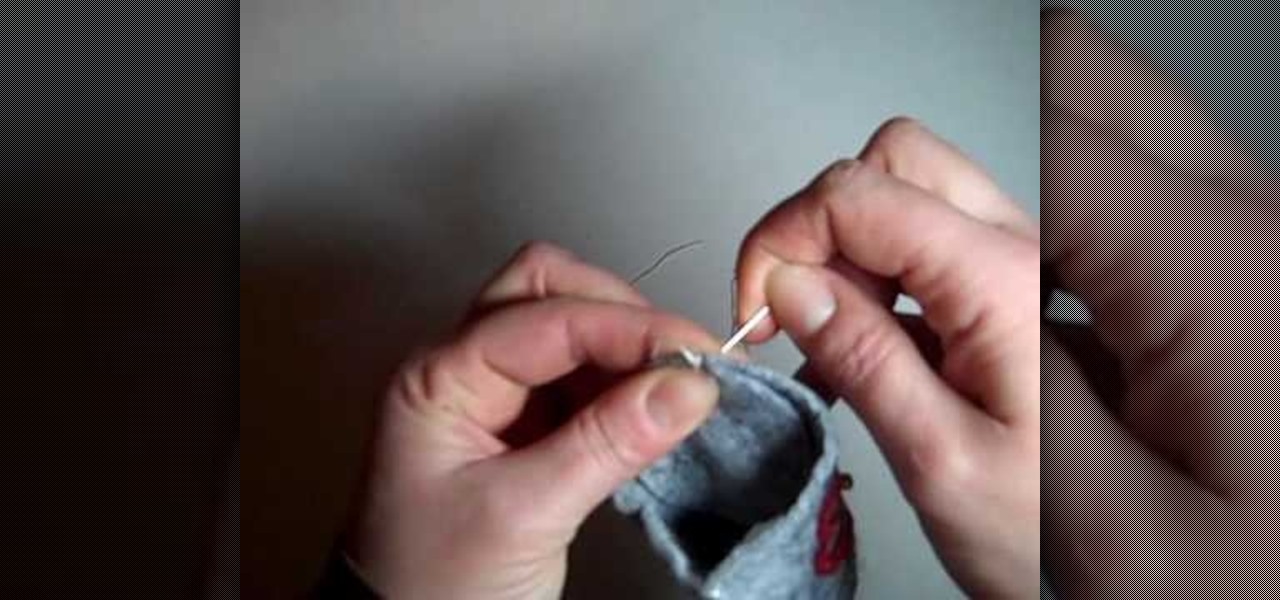
In this Arts & Crafts video tutorial you will learn how to do Whipstitching. The video demonstrates how to stitch the bottom of a cloth basket to the sides of the basket. A whipstitch is a very basic stitch. Start at one end of the basket; attach the bottom to the sides with a pin. Pass the needle from the inside so that the knot is hidden. All you have to do is taking the thread and whipping it around the edge. At the beginning, give it a bit of binding stitch before stitching the rest of th...
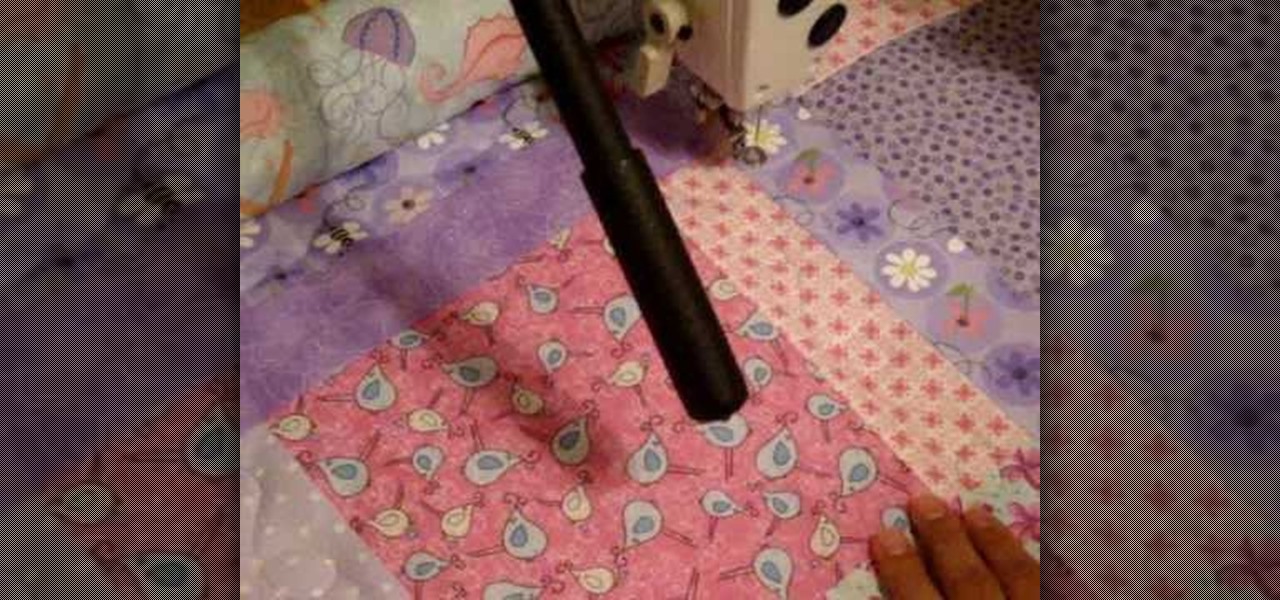
In this Arts & Crafts video tutorial you will learn how to baste a quilt for free-motion quilting patterns. This video is presented by craftygemini. This method of loading your quilt onto your quilting frame is known as floating where the quilt top and the batting are floated. Neither the top nor the batting are rolled and pinned onto leaders like a backing fabric. First go to the top center point of the quilt top, put the pressure foot down and take a stitch. Bring the bottom thread up, hold...
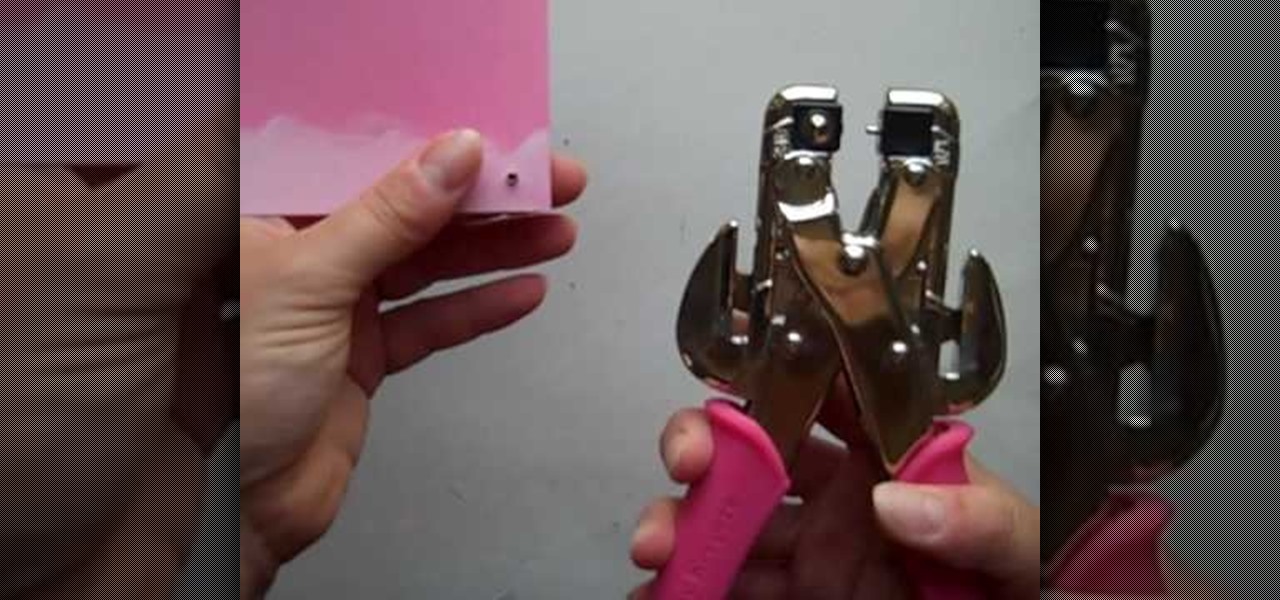
In this video tutorial, viewers learn how to use the Crop-A-Dile to set eyelets. The Crop-A-Dile is a tool that can punch holes and snap eyelets. The sides of the tool allows users to set a measurement for hole punching. This allows for users to make accurate and straight holes. Then put the eyelet on the hole and use the middle part of the tool is set it. Simply squeeze it to bind the eyelet to the paper. This video will benefit those viewers who enjoy making arts and crafts, and would like ...
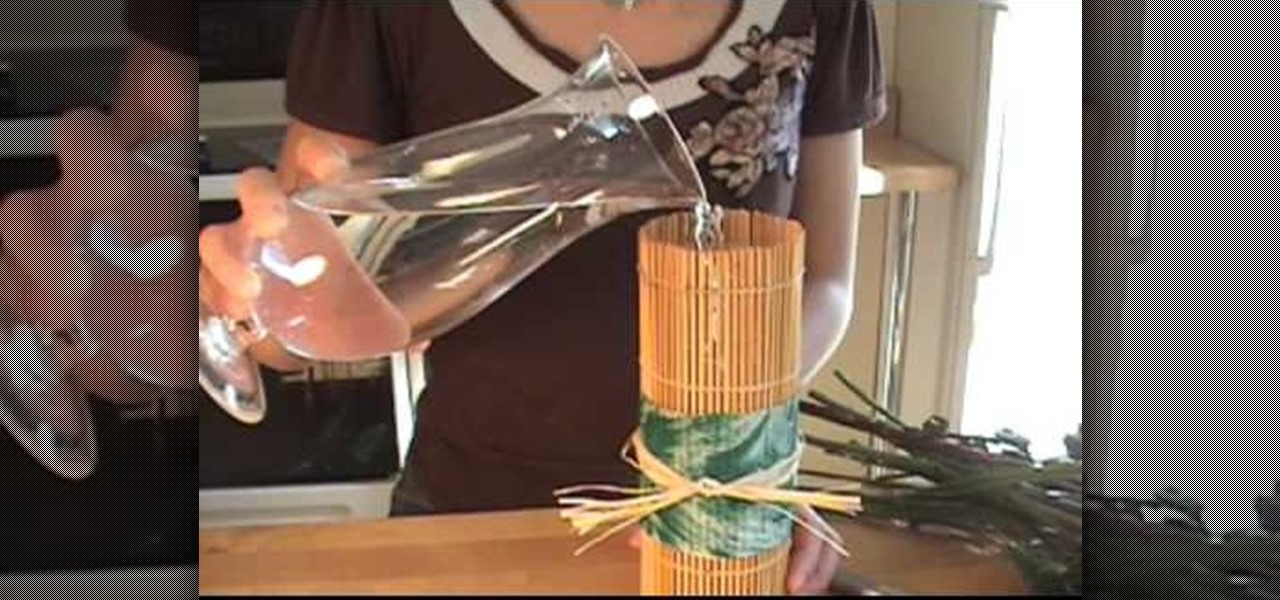
In this video tutorial, viewers learn how to make a Japanese-style sushi roller flower vase. This flower vase uses recycled items. The materials required to makes this vase are: a newspaper, scissors, raffia, sushi roller, acrylic paint, brush, tin foil, tape (or glue gun) and an empty bottle (300 ml). Cut the newspaper to about 3" x 12". Paint the newspaper to your preferred color. Cut the top part of the bottle. Roll the bottle in the sushi roller. Wrap the newspaper around it and tape it. ...
This video will show you how to use the ‘find’ and ‘replace’ text buttons in Microsoft Word 2007. Microsoft Word 7 is slightly different from the Microsoft you might be used to but with these instruction you’ll have no problem finding the buttons.
This video will go over how to insert a check box in Microsoft Word for printing or for electronic distribution. With just a few clicks you can get a check box. You can even add different symbols or styles for your check box.
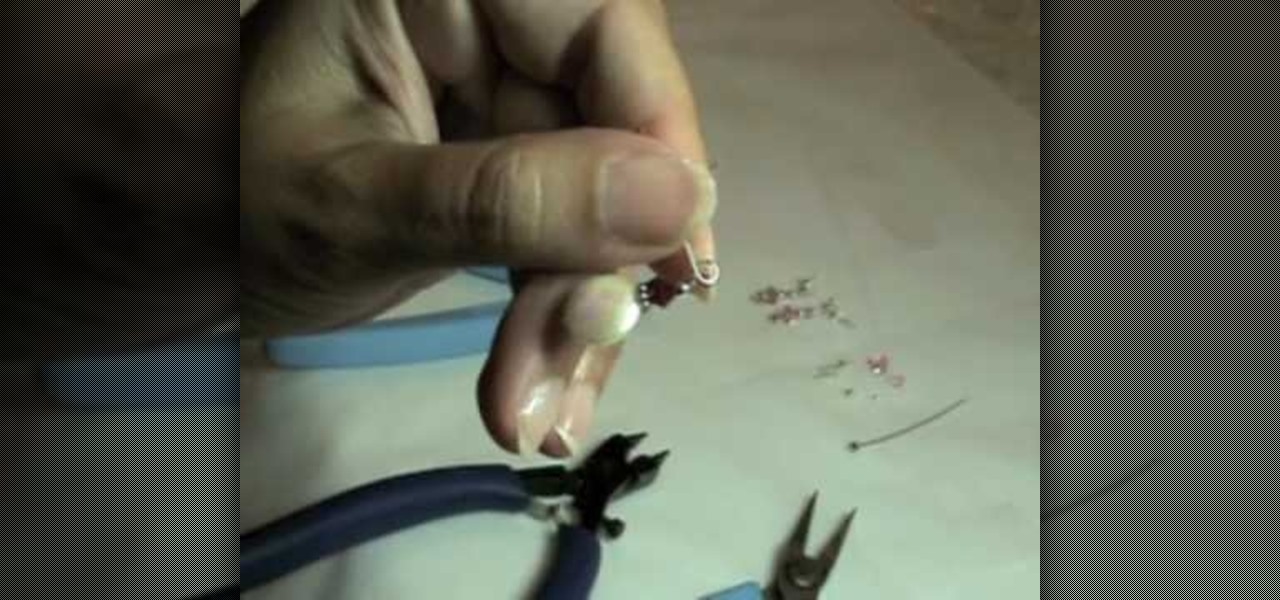
In this video tutorial, viewers will learn how to make two pairs of simple earrings. The video provides all the materials required to make the earrings. The materials required include: freshwater pearl disk, 4 mm Swarovski crystal, bally bead accent, 2 mm silver bead, head pin, flat nose pliers, round nose pliers and wire cutter pliers. This video provides step-by-step instructions and a visual demonstration for viewers to easily understand and follow along. This video will benefit those view...
Do you lose your SD memory card when you need it the most? This video will teach you how to turn your problem into a fun arts and crafts project! The video teaches you how to create a fashionable sleeve to store your SD memory card. Not only does it look great, it will create a safe place to store your SD memory card. If you finish the video, you can create your own sleeve and make your life a lot easier by storing your SD cards safely.
Corynne from The Crafts Channel teaches how to make a stylish bird motif in minutes. You'll need: Colored/printed papers, scissors and glue. Get a colored paper. Draw a whatever bird image You like at the back. Cut with scissors. Get another colored paper of different color and draw a wing. Put a glue on the wing and glue it onto another colored paper. Cut it leaving 1/2 an inch over the first wing to have layers. Decorate bird as what You want Your bird motif to look like. Follow these steps...