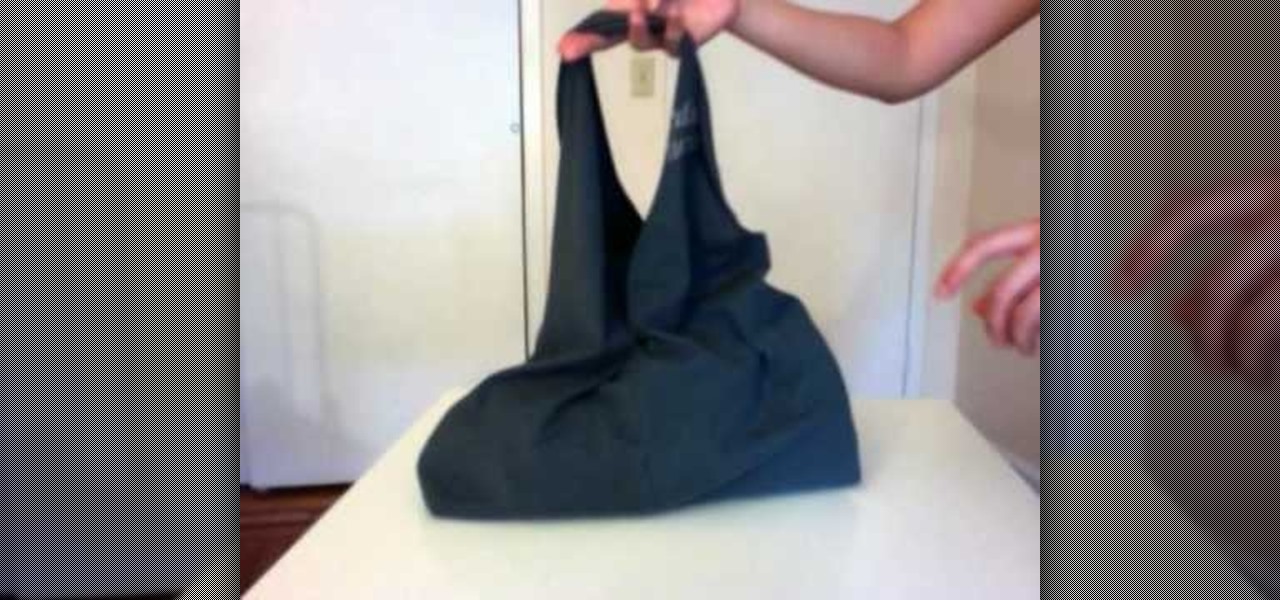
There are many ways to reform your old t-shirts, but this is an easy way to use yours. By taking your unused t-shirts and adding a few stiches here and there, you can create a reusable bag that can be carried along with you during shopping trips to the grocery store or bookstore.
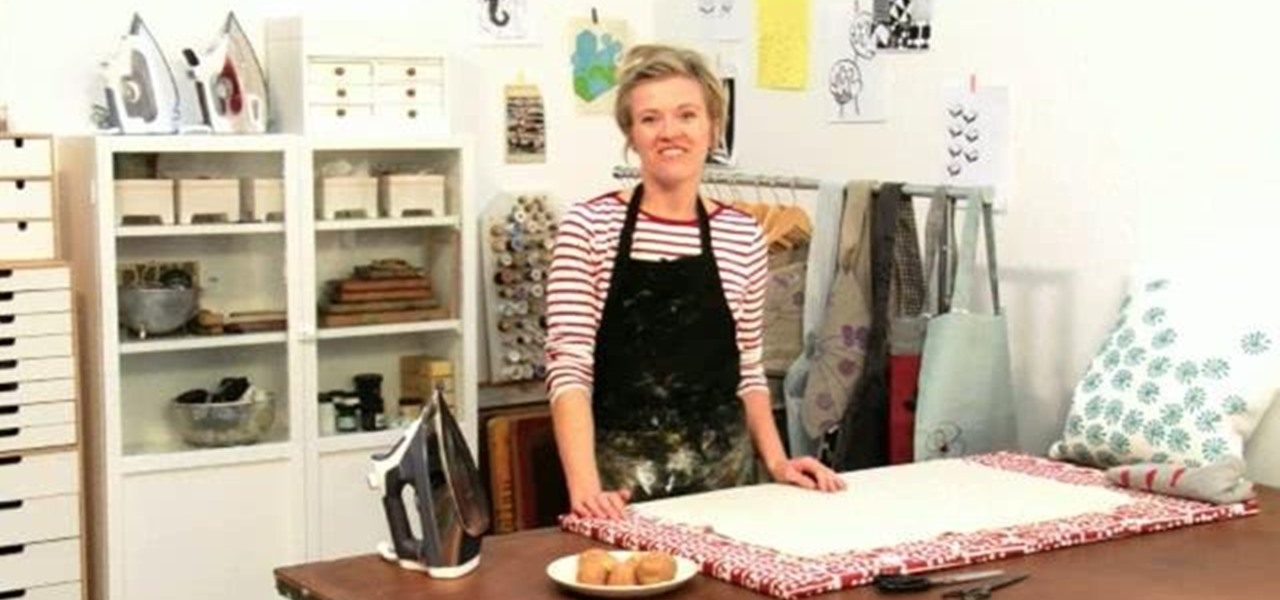
Crafting guru Lotta Jansdotter shows you how to create some artsy, hand-printed accessories in this step-by-step guide. There's no printing tools or skills required! Only some ink and… a potato! It's called potato printer.
Blogs are a great way to both jot down your thoughts and share them with the rest of the world to build a community based on common interests, but we yearn for the days of good old journal writing on real, actual paper.
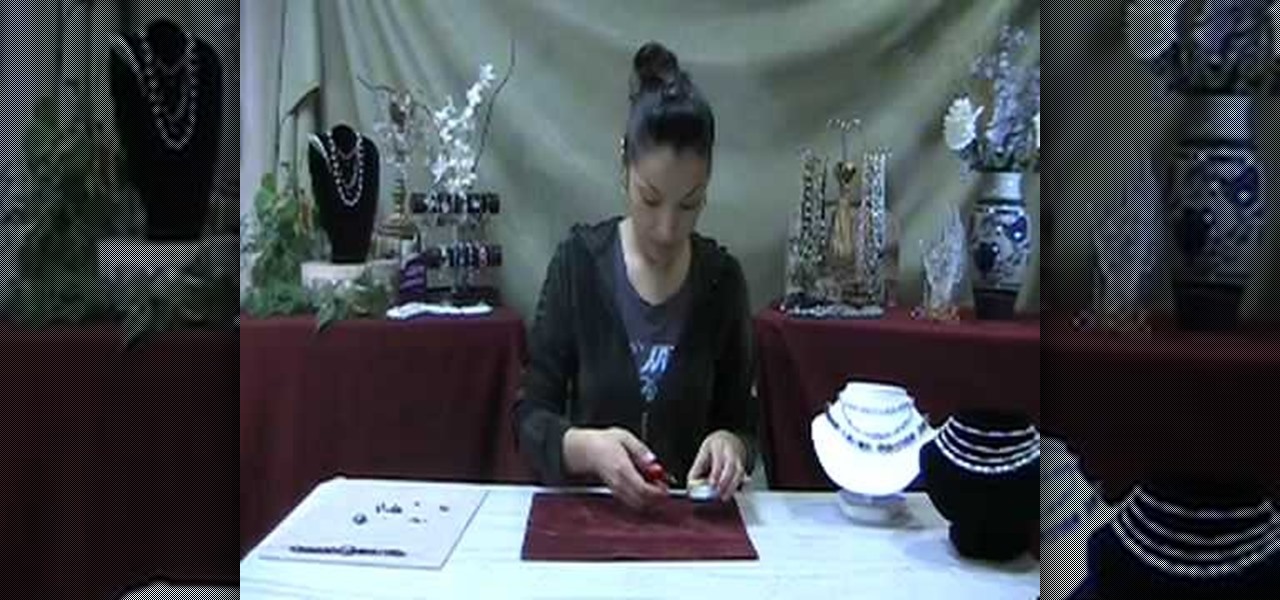
In this video tutorial, viewers learn how to make a beaded watch band with a non-loop watch face. Begin by cutting 2 pieces of the stringing materials to approximately 10 inches. Then put one end of the string through the hole of the watch face and pull it to about halfway. Now users will have 2 strands to work with. Users may choose to making a double strand watch band by putting beads on both strings, or a single strand watch band by running both strands of string through a single bead. Fin...

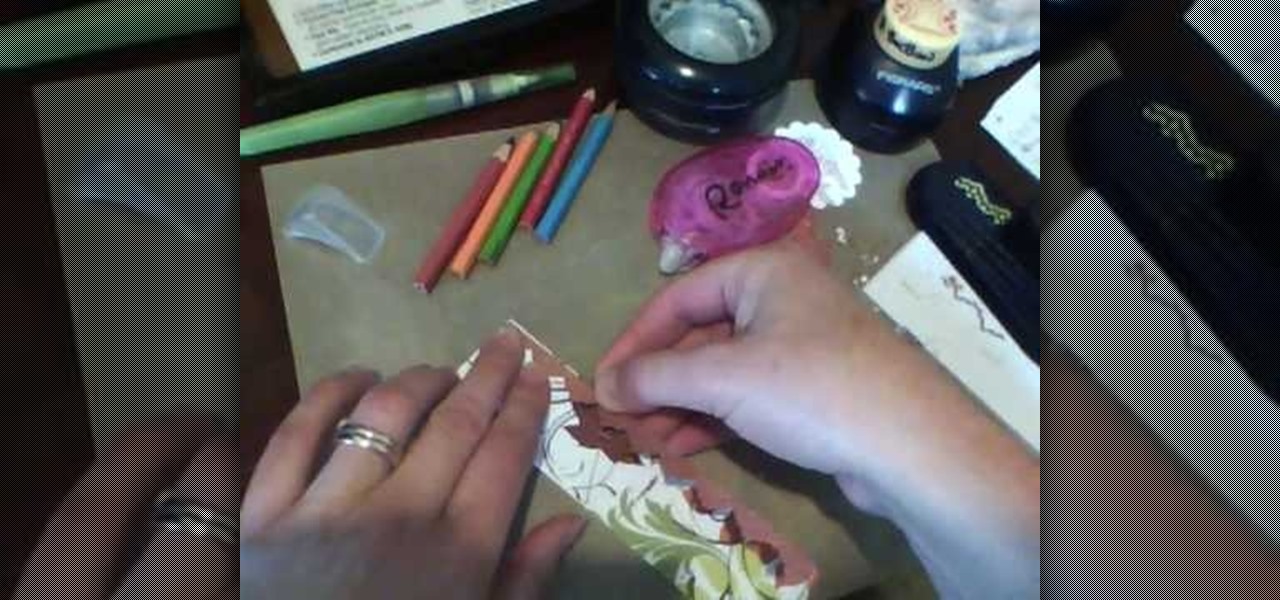
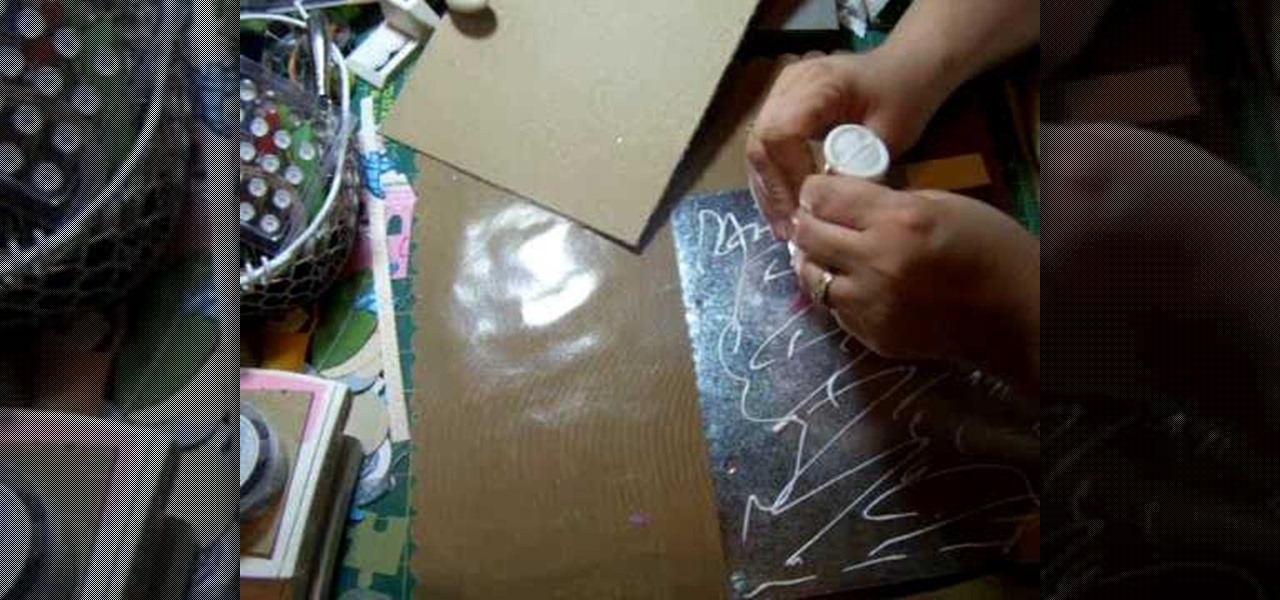
In this video tutorial, viewers learn how to make their own rub-on. This allows users to transfer any designs onto card stock. Users will need to first print the design onto a sheet of acetate. Simply place the acetate paper over the card stock. Then use any kind of tool and simply rub it over the design on the acetate. The transferred design will be lighter in color than the original. Make sure that you if you want to use letters or numbers, print it backwards. This video will benefit those ...

In this Arts & Crafts video tutorial you will learn how to make an egg carton tulip. Cut out two cups from an egg carton. Then cut petals into the cups by cutting out triangular shapes. Make four petals on each cup. Then with a pencil, poke two holes on the bottom of one cup opposite each other in line with the two lowest points of the petals. Do a similar thing on the other cup but, in line with the two highest points of the petals. Then take a pipe cleaner and pass it through one hole of on...

Looking for a geeky craft project? With this guide, you'll learn how to make a paper X-wing fighter with origami, the traditional art of Japanese paper folding. These instructions are based on diagrams by Philip Schulz. You'll start from the origami frog base which you can find in another video. See how to origami a Star Wars X-wing Fighter. For more information, including a step-by-step overview of the folding process, as well as to get started making your own paper Star Wars X-wings, watch ...
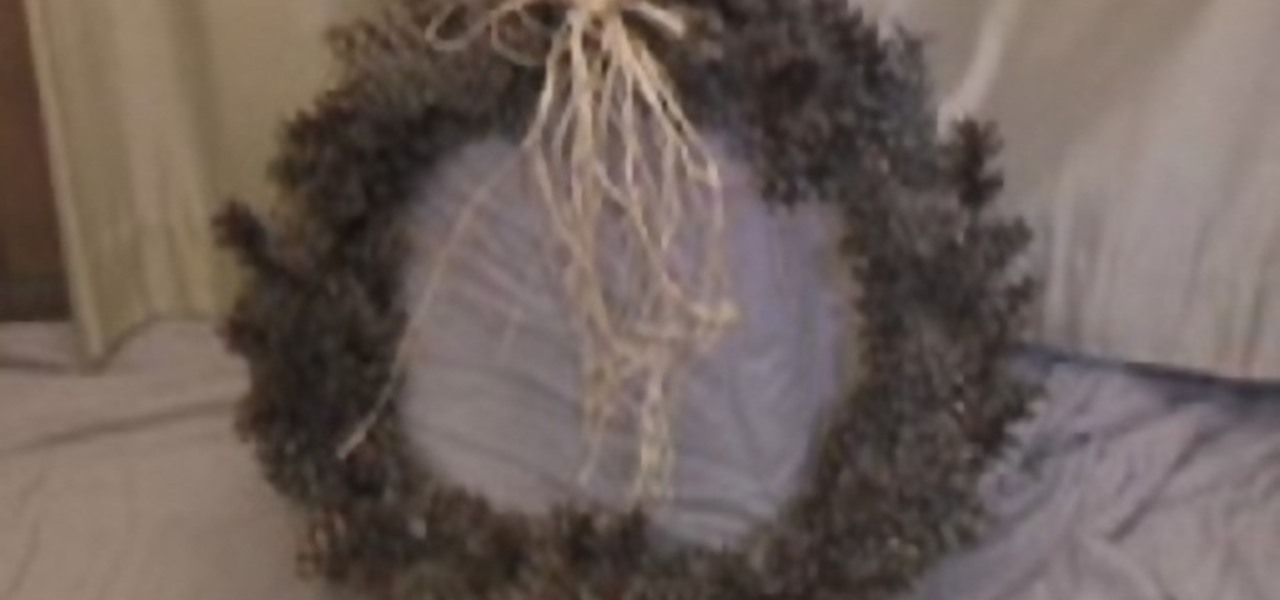
Wondering what to do with all those pine cones that are building up around your yard? Well, in this tutorial, learn how to take those cones and turn them into a truly unique decoration for your home.
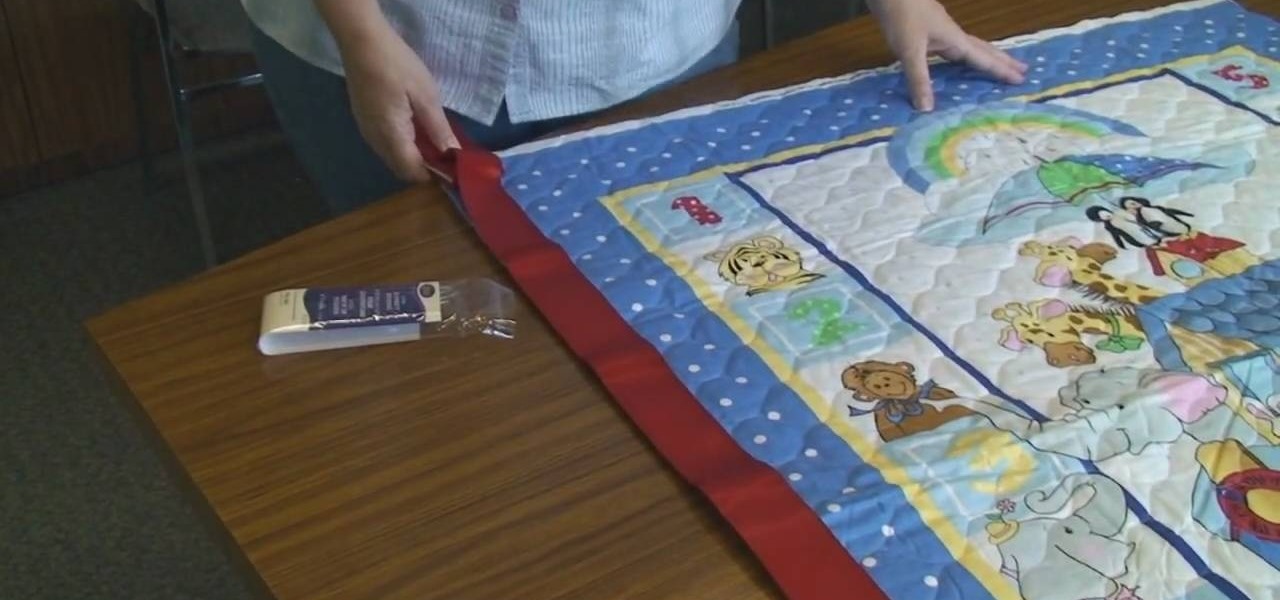
Project Linus is an organization that provides security blankets for seriously ill or traumatized children. In this tutorial, learn how to make an easy fabric panel quilt to donate to a child in need. Project Linus is a great organization that provides warmth to every child, no matter what the season. So, if you would like to donate to this worthwhile cause, follow along with this video and learn how to make an easy but comforting cover that any child will love.
In this tutorial, run by Project Linus, learn how to make a no sew fleece blanket for kids in need. This video will show you how to make a warm, comforting cover that any child would love.
What are you doing this Cinco de Mayo? If you are celebrating this tequila filled holiday, you will no doubt have tons of fun with these maracas.
Funky Foam? This product is for kids and can be found in any arts and crafts store, and it's the key to making homemade stamps in this video crafty project. See how to make your own stamps with funky foam! It's cheeps and oh so simple. You can either create your own designs or convert your die cutters into coordinating stamps for embossing, etc. Quick, easy, and super cheap stamps!
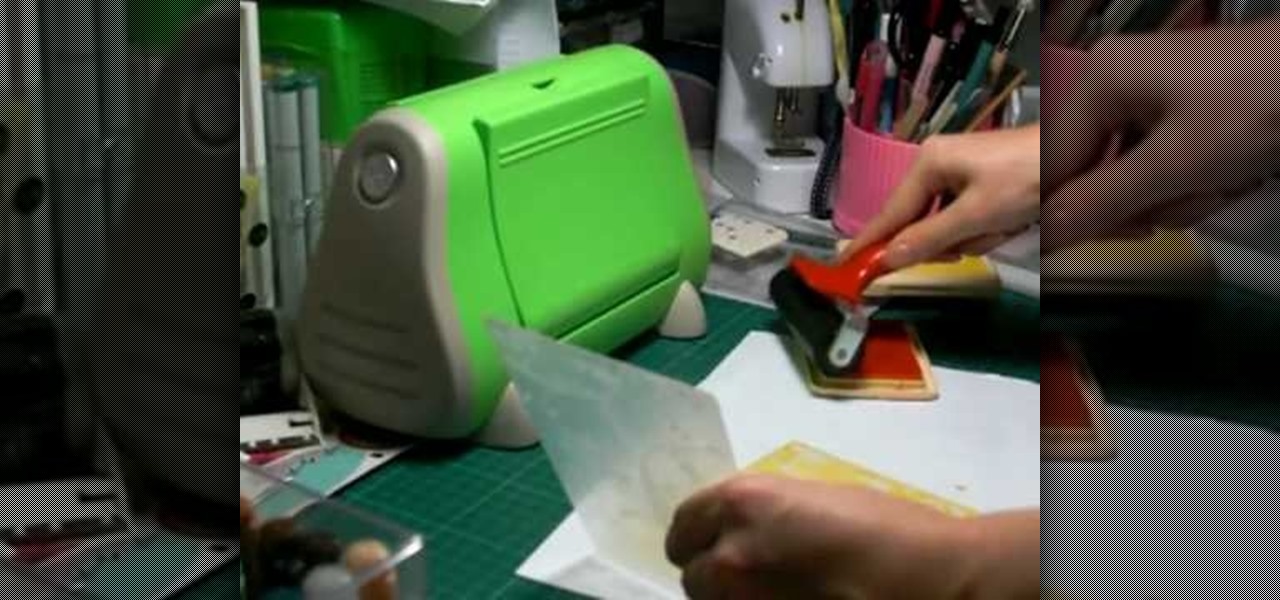
In this Arts & Crafts video tutorial you will learn how to do the Cuttlebug 'smoosh' technique. For this project you will need a brayer, ink pad, an embossing folder and a Cuttlebug. Ink the brayer well and with it apply the ink on the embossing folder. Make sure the ink is applied thoroughly on the whole surface. Get the Cuttlebug ready, place the card stock inside the embossing folder, place a couple of ‘C’ plates in the Cuttlebug, put the embossing folder with one more ‘C’ plate ab...
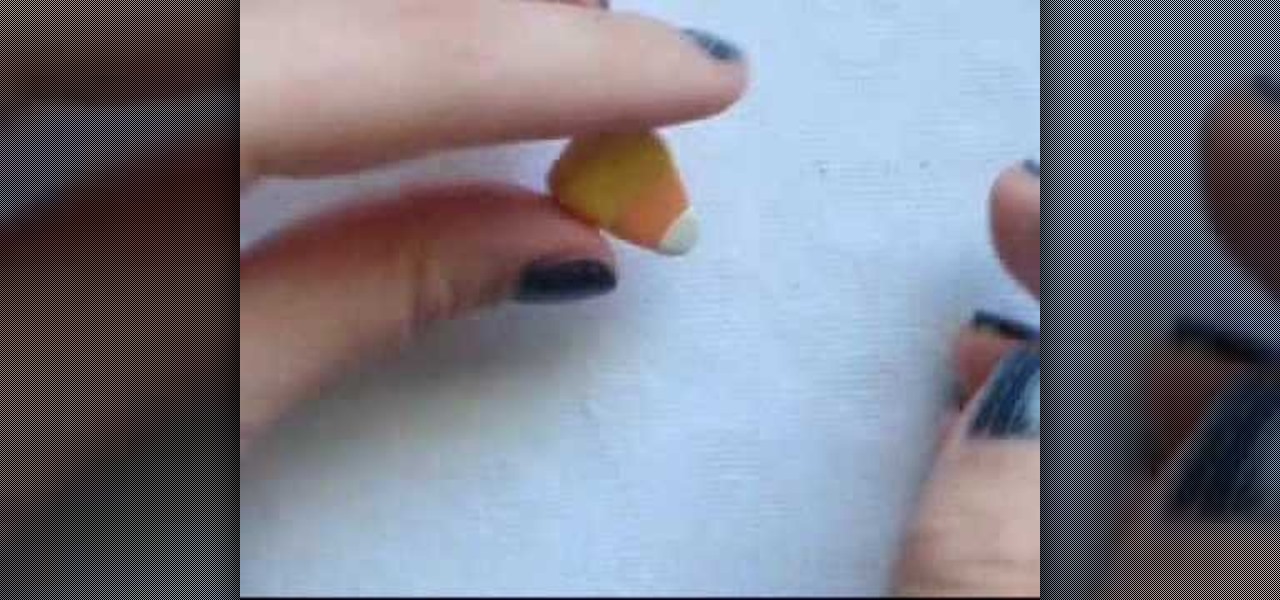
In this video tutorial, viewers learn how to make candy corn out of polymer clay. Users will need yellow, orange and white polymer clay. The yellow is the largest, the orange is the medium and the white is the smallest. Begin by rolling each of the clay into balls and stack them on each other like an ice cream cone. Then flatten it and press on the sides to inflate and square it. Make the top part the widest (yellow) and make the bottom the most narrow (white). It should be in a shape of a tr...
Are you looking for a unique type of flower that will never wilt or die? Check out this tutorial for a cool, homemade alternative to the silk variety. All you need to make these flowers is some funky colored paper.
Tags are great ways to personalize your scrapbook projects. These little embellishments may seem small but they can make all the difference. Purchasing these tags can get expensive and is totally unnecessary. You will be amazed when you see just how easy it is to make these little tags from scratch.
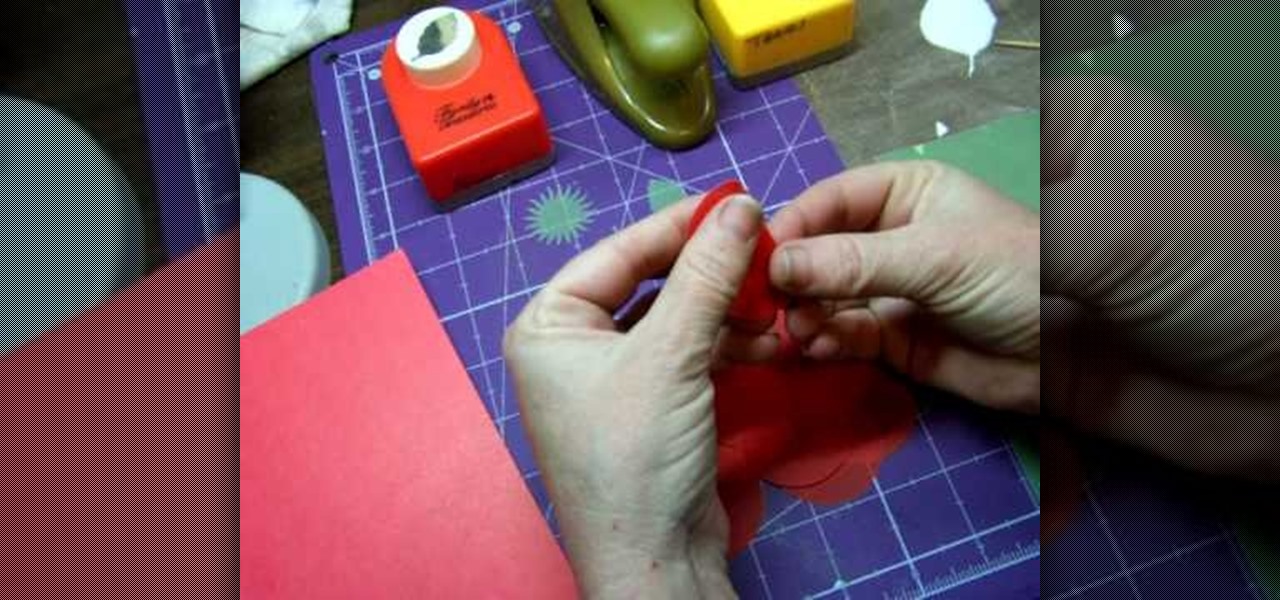
Stampin' UP! punches make just as fun designs as their line of stamps. In this tutorial, learn how to fashion basic flowers out of punches. These flowers make great additions to your scrapbooking or greeting card crafts.
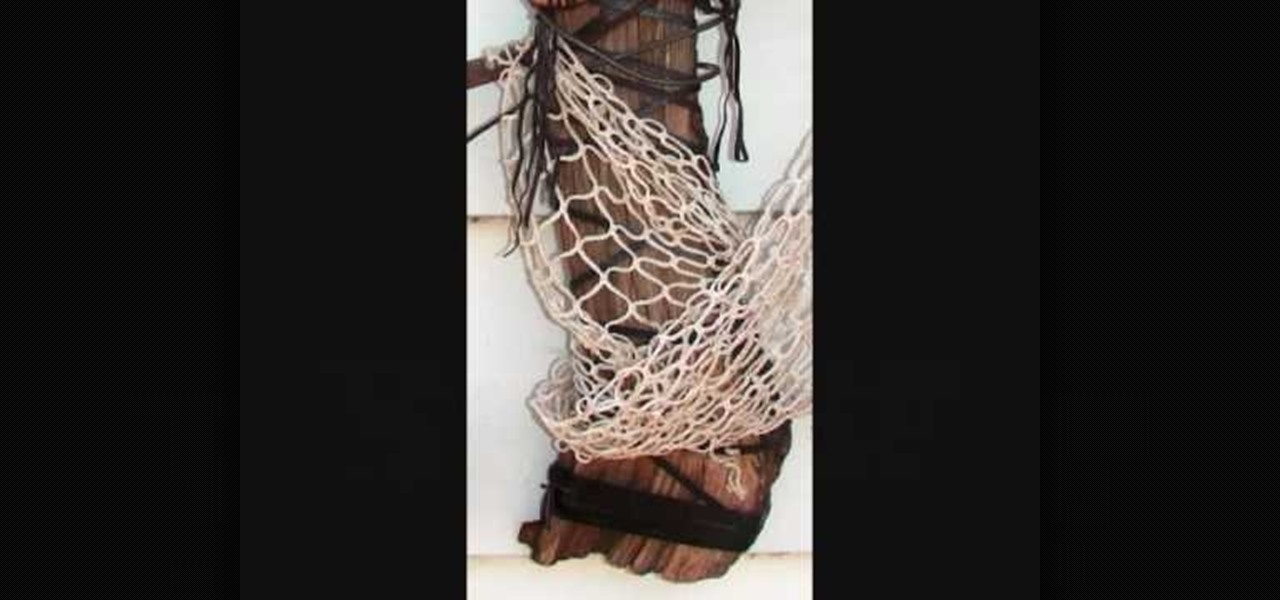
Do you own a bunch of old looking books and have no idea what to do with them? Are you looking to spruce up a door in your home with some kind of decoration? Do you enjoy arts and crafts and want to tackle a project that is easy to make and results in something cool to look at? Have you done the math yet? Well if not, this video tutorial will show you how to make a awesome door wreath using old book pages. Enjoy!
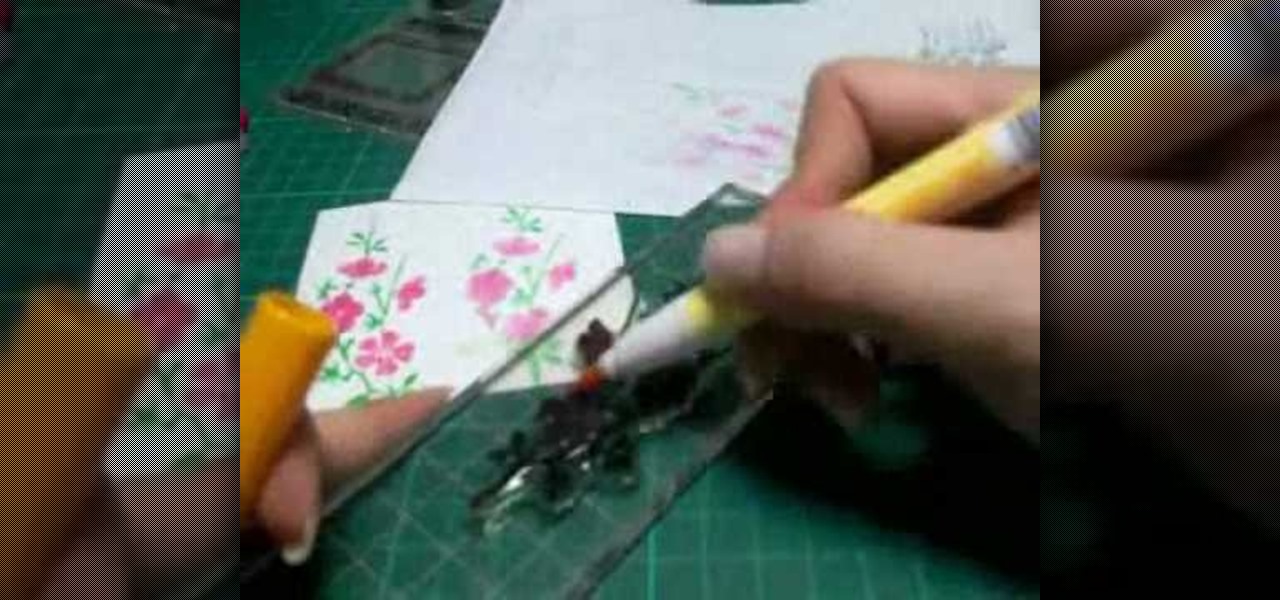
In this Arts & Crafts video tutorial you will learn how to use markers & water to create a watercolor stamp look. You can use rubber and acrylic stamp for this. You will need water based markers, minimister and card stock. Select you stamp and color it with markers as you would do in a painting. For example, you can color the leaves green and flowers red. You can also apply different shades. Then spray water with the minimister and stamp the image. Just stamp and lift, don't keep it too long ...
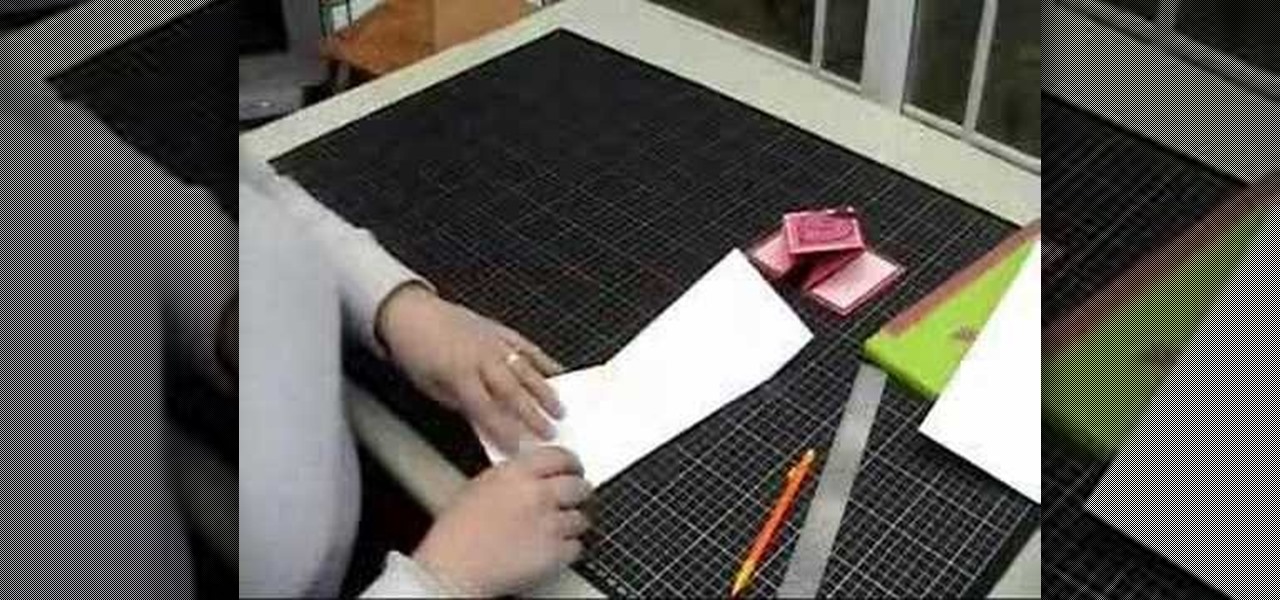
In this Arts & Crafts video tutorial you will learn how to make a diamond folded card. Get a sheet of paper 4x12 inches. Draw a pencil line at the half way mark, that is, at 6inches. Fold one of the lengths to the center pencil line. Do the same to other half of the paper. Open up the sheet and do the same fold in the opposite direction. Open up the paper and flip it over and you will see the diamond fold in the center. Now you fold from each side up to the cross where the diamond begins. Fli...
There's nothing greater than giving a baby a handmade gift that they will treasure. In this tutorial, learn how to sew a simple double sided baby bib. This bib is adorable and durable and will last long enough to pass down from kid to kid.
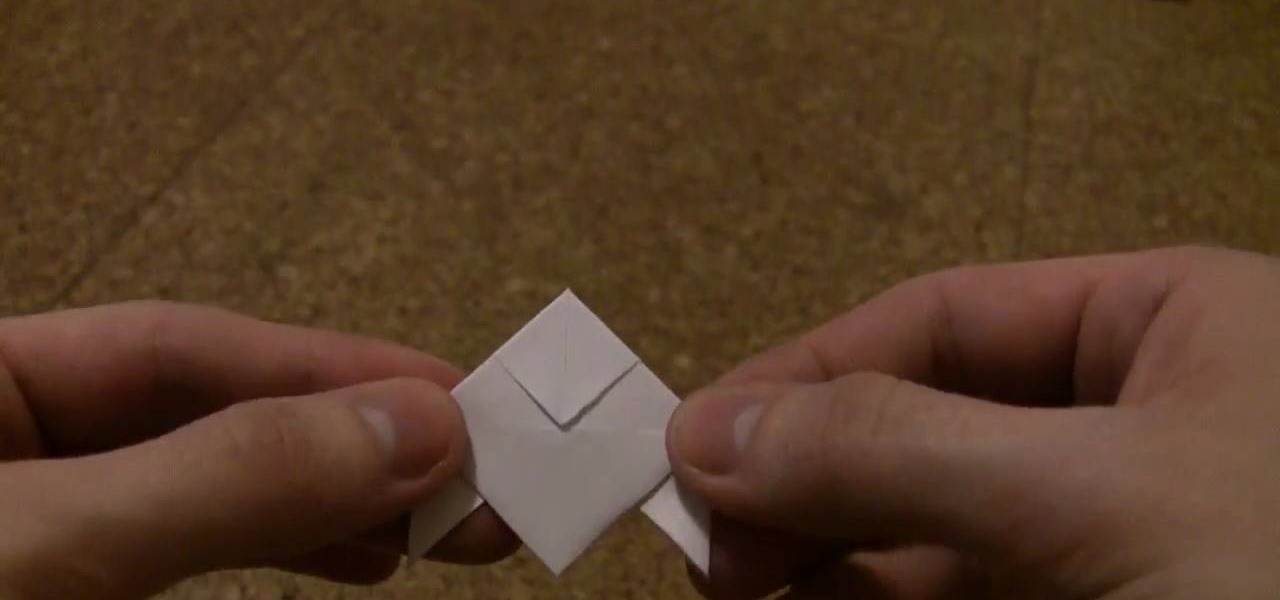
In this Arts & Crafts video tutorial you will learn how to fold a hexagonal, six-point paper star with origami. Take a hexagonal sheet of paper and fold in half from all corners. Then fold each side inward up to the center point. Open up all the folds. Now fold one side up to the center point. Then fold one corner back over itself and fold the next side of the paper up to the center point. Continue like this for all sides and you will now have a smaller folded hexagon. Then lift up each flap ...
In this video tutorial, viewers learn how to make a shimmer mist mixture for cards. Begin by filling a small spray bottle with rubbing alcohol. Now add about 1/2 tsp-tbsp of Champagne Mist shimmer paint into the spray bottle and shake it to mix it. Users can also use frost white or platinum shimmer paint. To apply the shimmer mixture on a card, spray the mist in the air and wave the card stock into the mist. The alcohol will help dry the paint faster. This video will benefit those viewers who...
In this Arts & Crafts video tutorial you will learn how to make a lily flower from folded paper with origami. For this, you need a square sheet of paper. First you fold it in half and then fold it in half in the other direction. Next you fold it diagonally across to form a triangle. Then fold it again across the other diagonal. Open up the paper and push the diagonal folds inwards slightly so that the center point is pointing upwards. Then press the folds in to form a triangle. Take one of th...
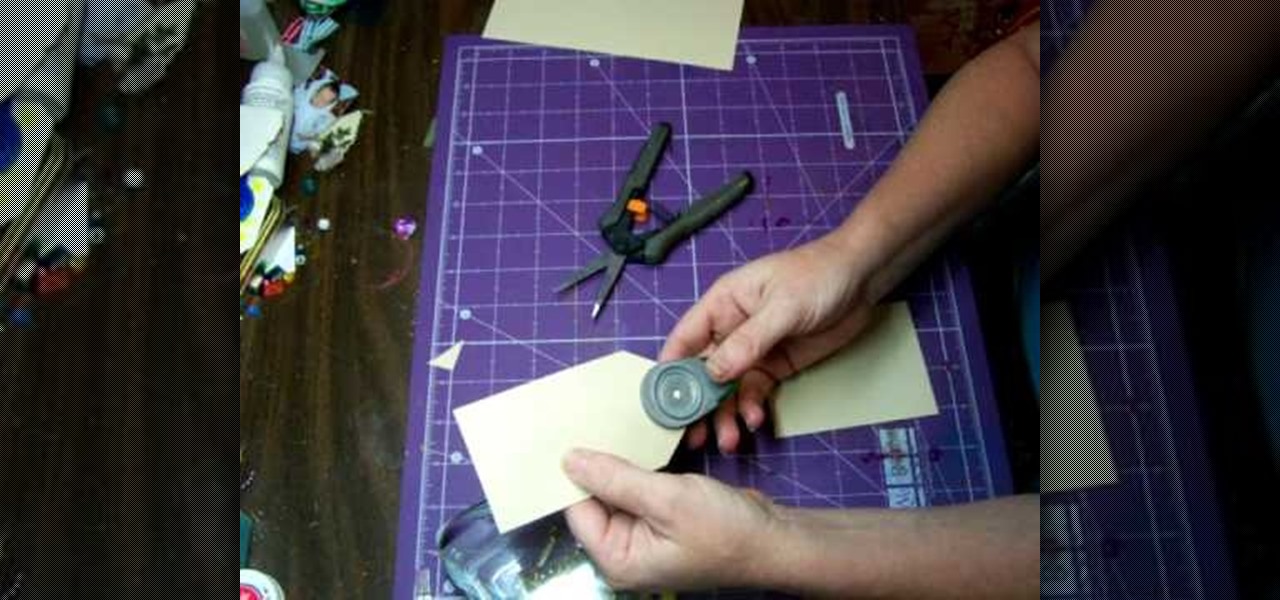
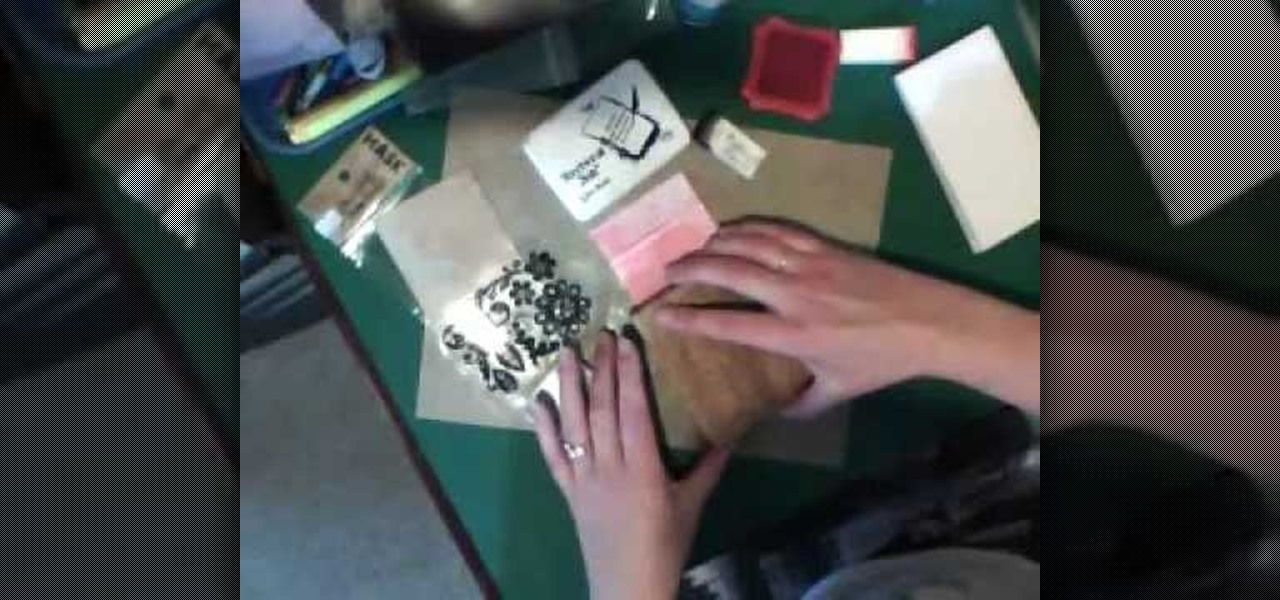
In this Arts & Crafts video tutorial you will learn how to make a stamped notepad cover. Put the note pad on the edge of a bigger sheet of paper, draw the outline and cut the paper along the lines. The paper should be longer than the notepad. Put the note pad on top of the paper aligned with one end and fold the other end of the paper. Remove the paper and crease it properly along the scoring lines. Depending on the theme you want for the cover, apply the required ink with sponge on the paper...
In this Arts & Crafts video tutorial you will learn how to fold a Heavy Rain-style paper origami bird. For this project, you will need a square sheet of paper. Fold it diagonally across both diagonals. Open it up and fold one corner up to the center point of the paper. Flip it over and fold the other three corners to the center point. Now fold all the four corners to the center point. Flip it over and now fold it in half as shown in the video. Then you pull out both ends from the center and w...
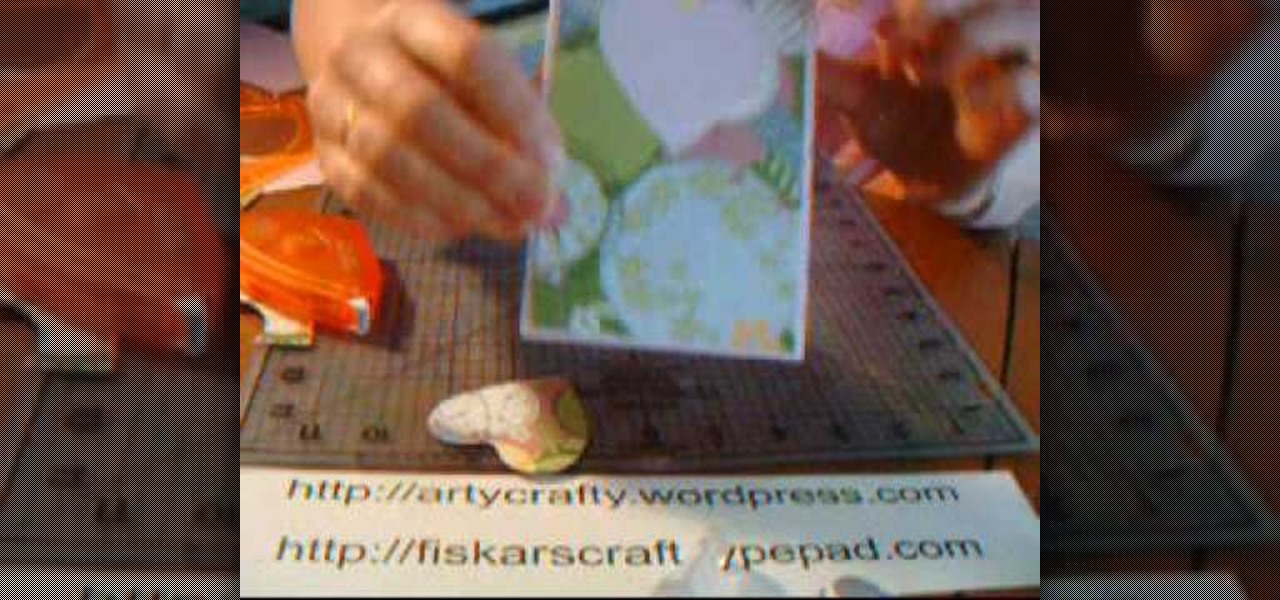
In this Arts & Crafts video tutorial you will learn how to make a vertical Easter greeting card. Take a 6x6 yellow card and fold it in half. Using the Valentrio Fiskars corner punch, you can punch one corner. Cut a 2 1/2” wide metallic cardstock, a 1” wide paper strip, stamp a picture or a design and punch it with Fiskars punch. Punch the 1” wide strip with the Fiskars border punch and glue both the pieces above and below the metallic card stock. Glue the metallic card stock and the pic...
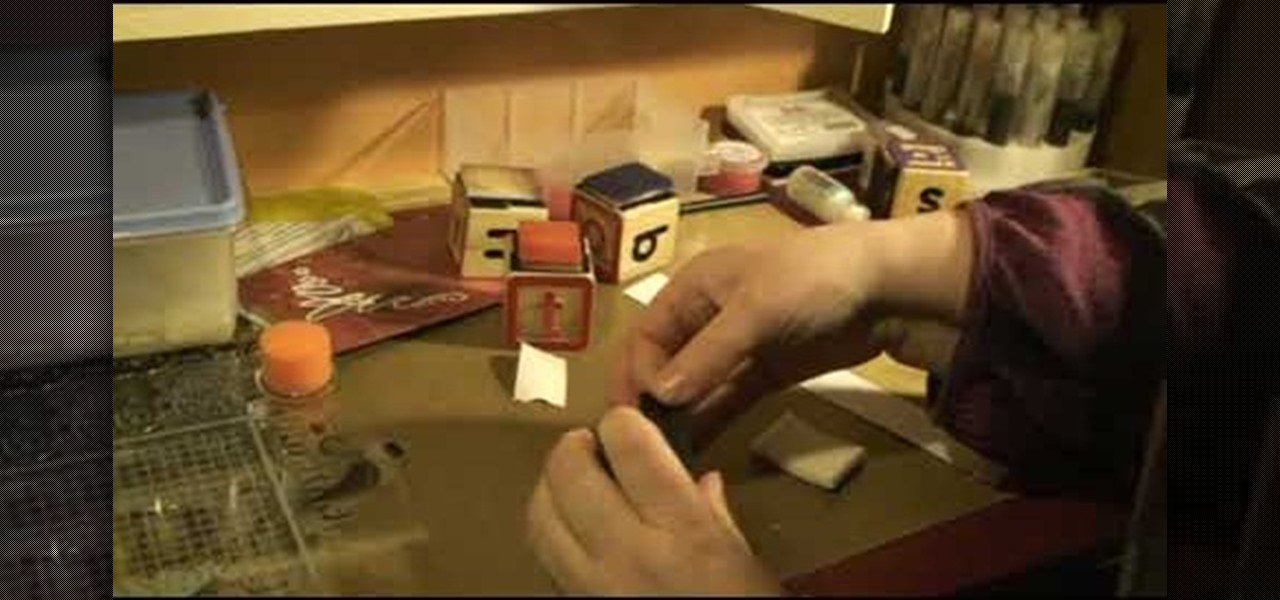
This how to video shows you how to create your own home made foam applicator for blending. This will be useful as you can use items you can find at home and save money. You will need a piece of wood, such as a child's letter block, a piece of foam, and two pieces of velcro. Stick the pieces of velcro on to the block. From there, stick the foam applicator on top of the velcro. Once this is done, you are ready to use your very own home made foam applicator. You can use this for blending and oth...
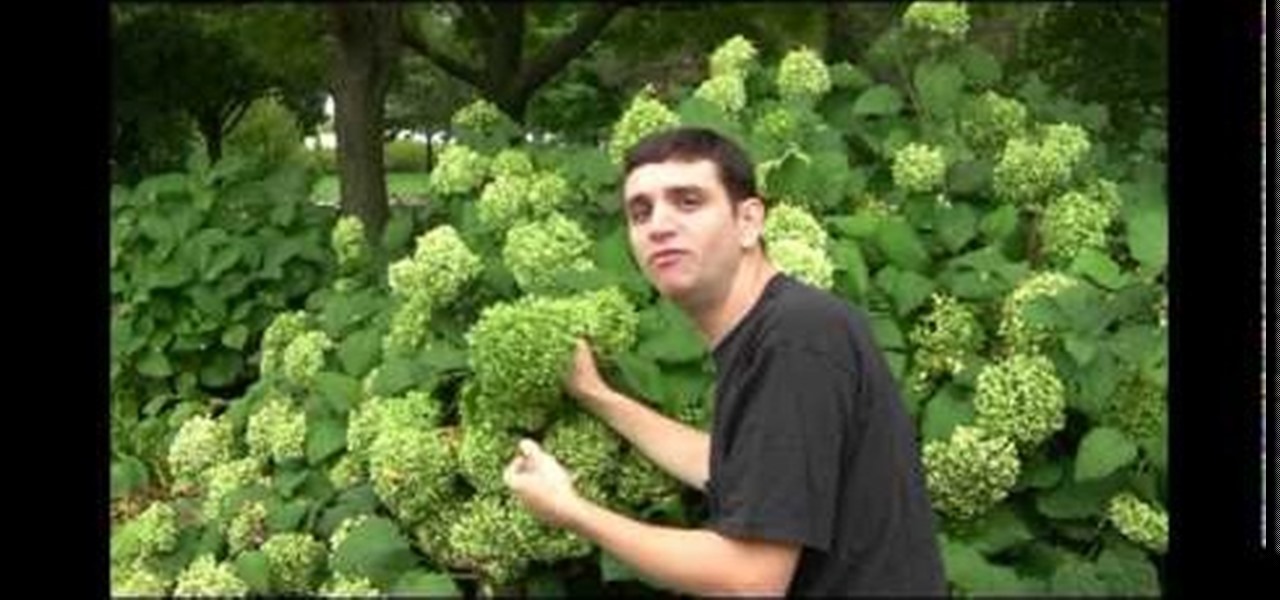
Scott from Spring Hill Nursery with Step by Step Gardening teaches you some basics about hydrangea plants. He talks about how to take care of the plants, how to ensure blooming, and some planting considerations. Hydrangea plants need at least five hours a day in order to bloom so they should not be planted in very shady locations. The blooms can be pink, blue, green, or white, depending on the variety and soil conditions. The blooms can be used in bouquets, or dried for use in crafts. The pla...
Do you have frustrations to take out that can only be helped with magic? If you are in need of the power of a voodoo doll but don't know how to obtain one, check out this helpful tutorial from Planet Voodoo.
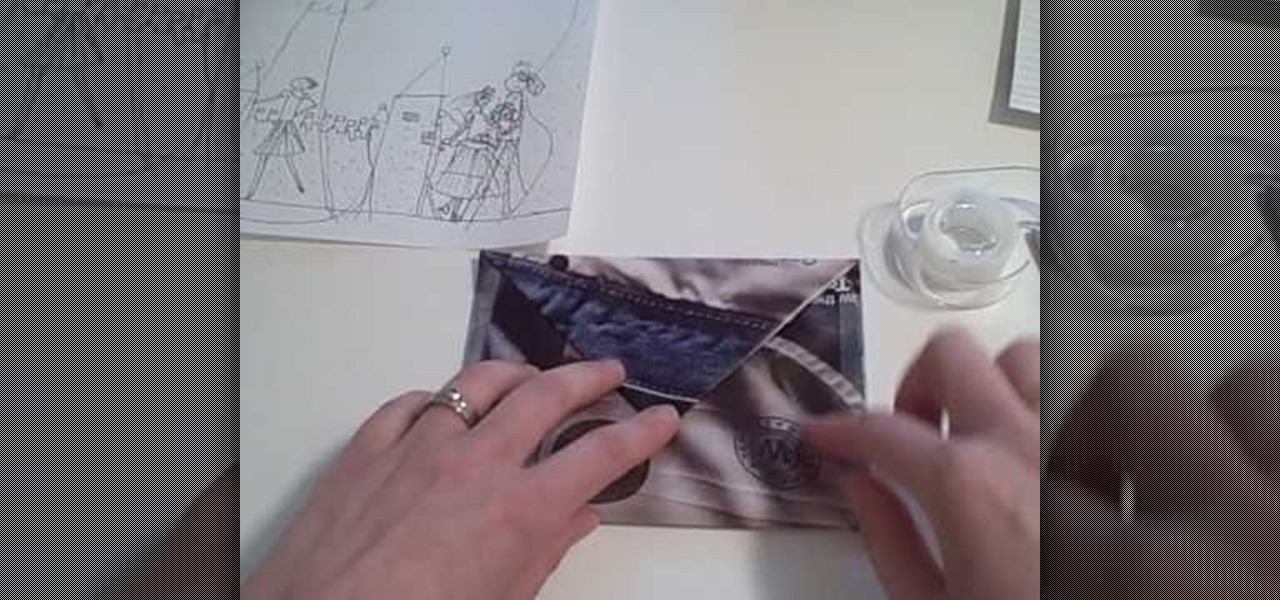
Everyone loves the personal touch of a homemade greeting card, so why send such a beautiful gift in a plain white envelope? To maintain the crafty beauty of your card, why not make a custom envelope to go with it?
In this Arts & Crafts video tutorial you will learn how to stamp & heat emboss on a card. First you rub in a powder on the paper on which you are going to emboss, because embossing powder is really sticky. Then you select the stamp that you want to emboss and apply sticky transparent ink on the stamp. Make sure you do a through job of this. This will make the embossing powder stick to it. Now stamp the card and press it evenly to ensure that the impression is complete. Then pour embossing pow...
In this Arts & Crafts video tutorial you will learn how to make a folded paper ostrich with origami. For this project, you need a square sheet of paper. First you fold it diagonally across to form a triangle and cut it off in two. Then take one piece, fold it in half to form a smaller triangle, open and fold down along the centerline from the top of the triangle. Open it up and again fold along the centerline from the base of the triangle. Now fold from one of the corners up to the intersecti...
In this tutorial, Bonnie shows you how to make a super fun new craft project for use in your home or dorm room. For this video, Bonnie makes a super cute little bulletin board with a twist. This board is magnetic! No need for push pins, now you can simply display messages and important papers with magnets and avoid all the holes.
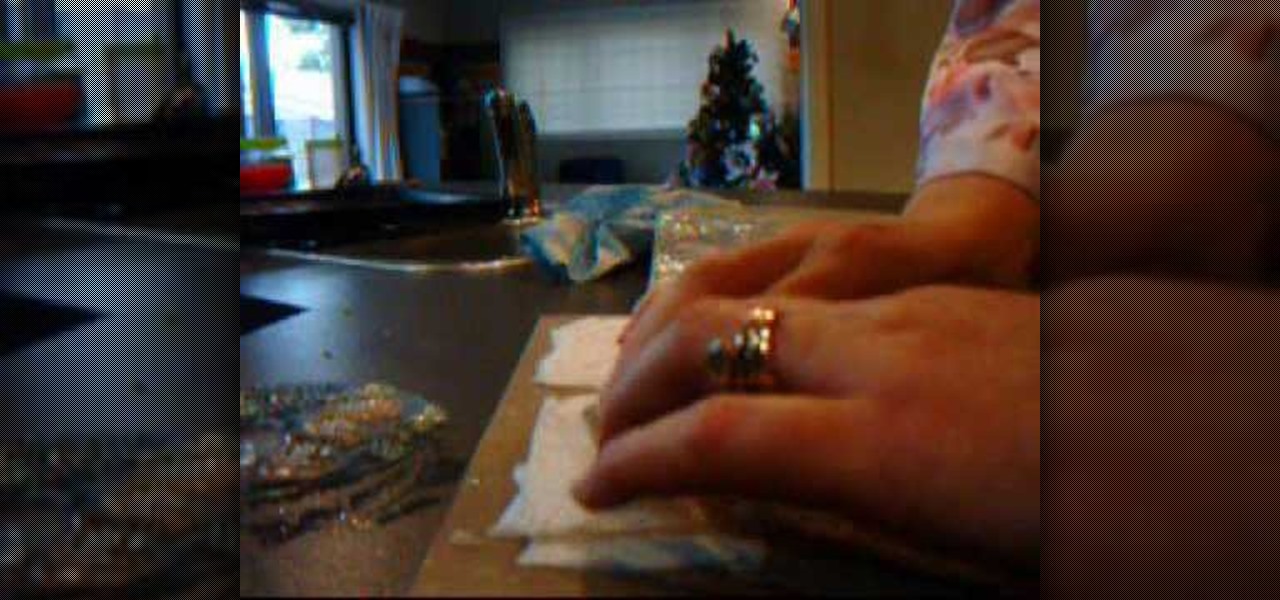
In this video tutorial, viewers learn how to make molded paper. The materials required are toilet paper and stamps. Begin by wetting the toilet paper under some water and lay it down. Use about 10 layers of 2 ply toilet paper. Now press the stamp onto the wet toilet paper and then press down on the stamp with a towel or cloth. Remove the stamp and heat dry the toilet paper. Now let the toilet paper dry fully overnight or half of the day. This video will benefit those viewers who are intereste...
In this Arts & Crafts video tutorial you will learn how to use clear stamps & make a card. You will need acrylic stamps for this project. The products used in the video are from papertrayink.com. The stamps are clear and have a sticky back with which you can attach them to an acrylic base to make the stamp block. Then ink the stamp and stamp it on the paper. Since, it is clear, you can ass and align it properly on the paper. The other cool thing about acrylic stamps is that you can take more ...
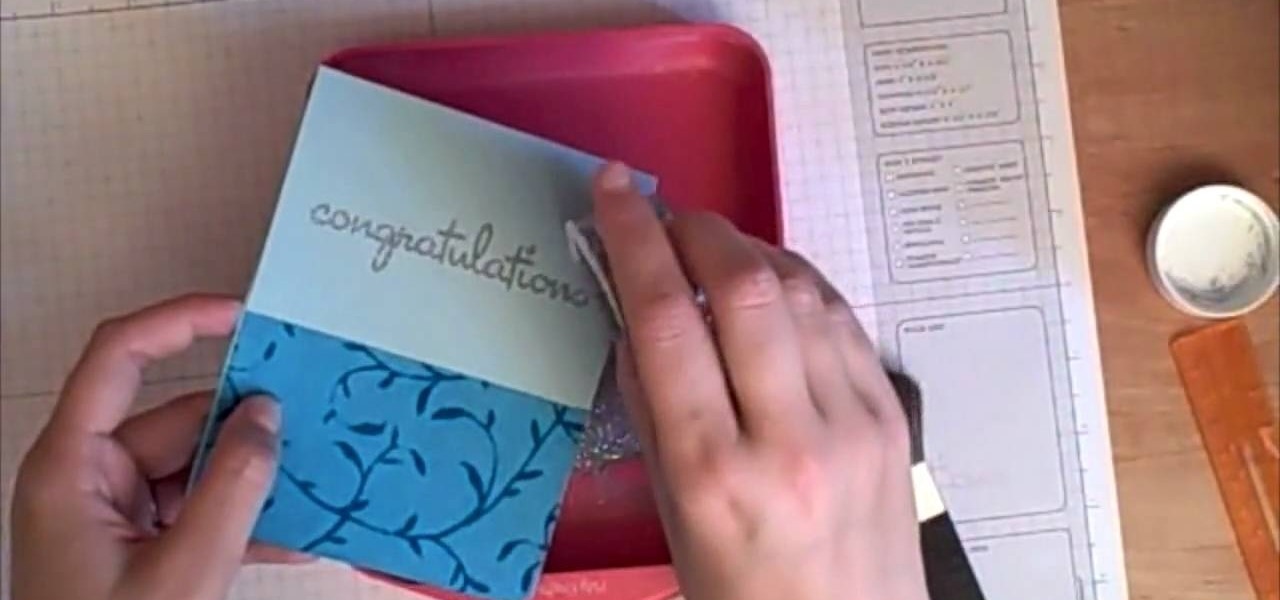
In this Arts & Crafts video tutorial you will learn how to make window cards. Supplies needed are trimmer with scoring blade, Fiskars templates, Fiskars ultra shape xpress, glitter, cardstock and embellishments. Take a 81/2 x 6 inch cardstock , score the center at 3‚Äù mark and fold it. Take a colored paper about ¬O‚Äù smaller than the card, cut out a 2.5 heart with the help of the template and glue it on the card. Then open the card and cut out a 1.5 heart from the center of the 2.5 heart. N...
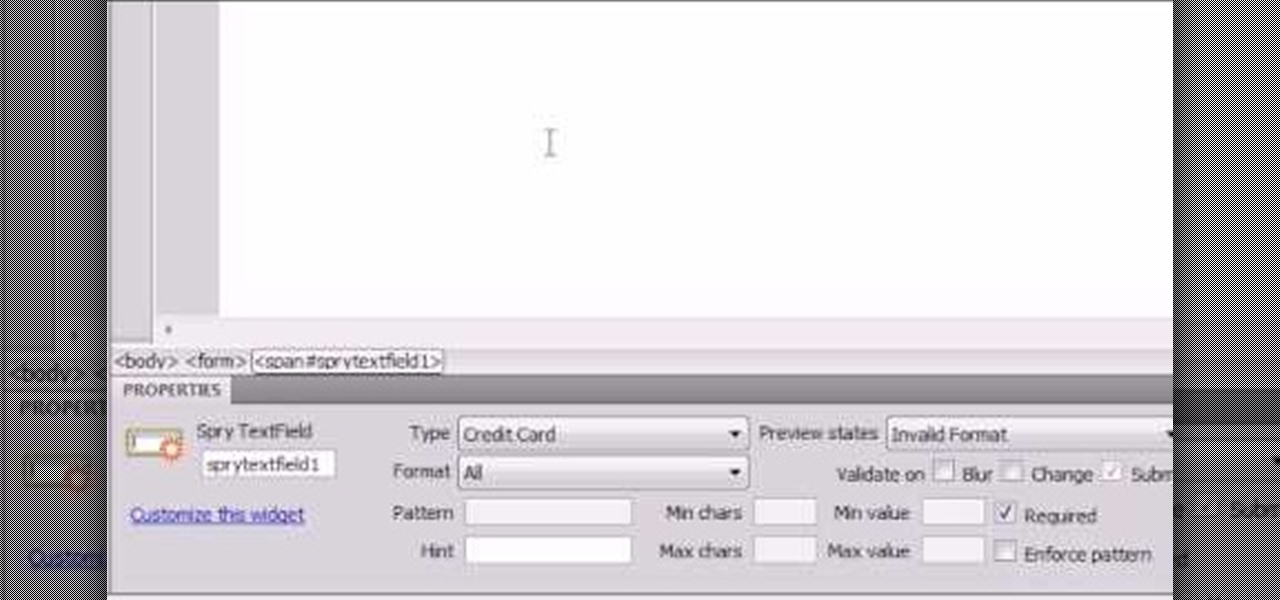
Here the New Boston shows you some tips about using the Spry Validation Text Field. To begin you will go to the Spry Validation Text Field, on Dreamweaver CS4. Looking at the bottom of the page notice the various options that are available for Properties. You find drop-down boxes for Type, Pattern, Minimum or Maximum values, Required, Enforce pattern, Format, Validate on, Blur or Change and Preview States. You can see the types of text available for validating by left mouse clicking the Type ...
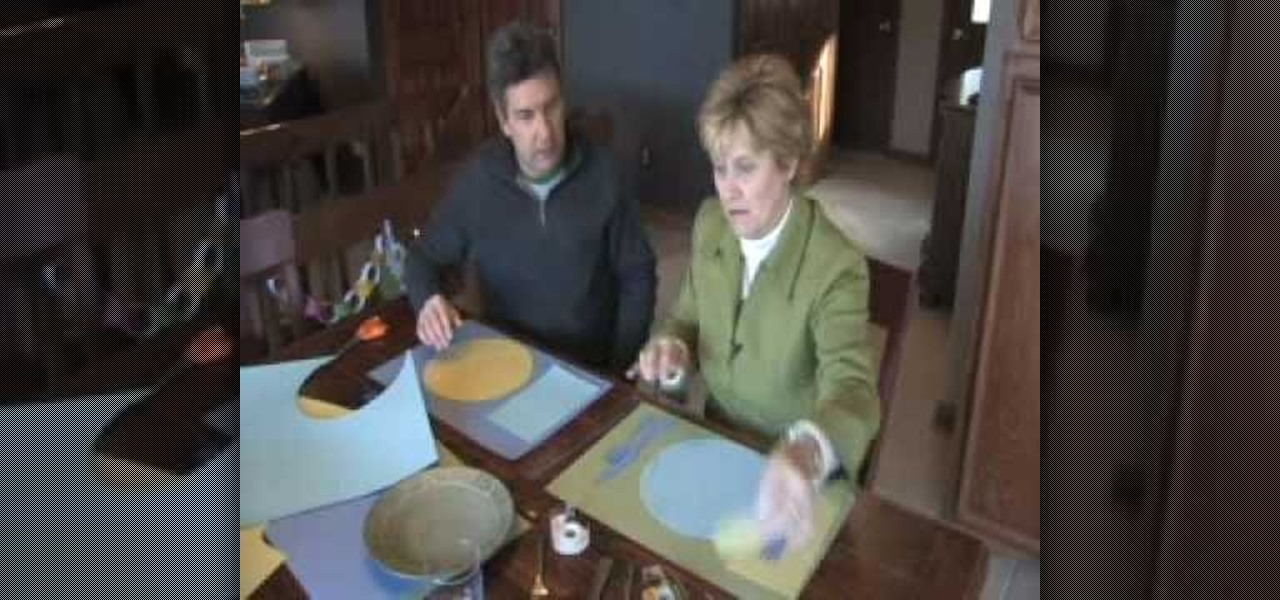
Now when it comes to setting the table you just need three things: fork, plate, and a napkin. But for some, things are more complicated than that. Sometimes they feature the soup spoon , salad fork, and so on and so forth. Although this video doesn't cover every single utensil, it does cover some of the basics. Find out how to make placemats for kids as well as teach them how to set the table. Enjoy!
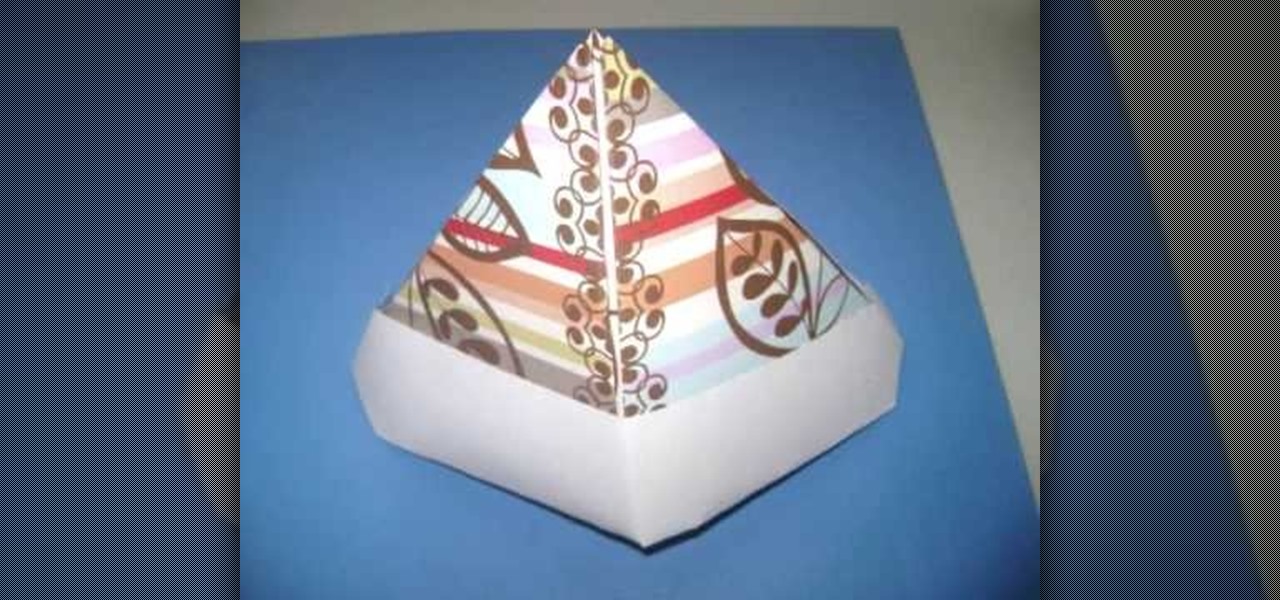
Looking for a fun activity for your kids birthday party? In this tutorial, learn how to origami a paper hat with your kids. The benefit of using these hats is two fold! Not only do they make great party favors, they also provide an arts and crafts project to keep the kids entertained for a while.