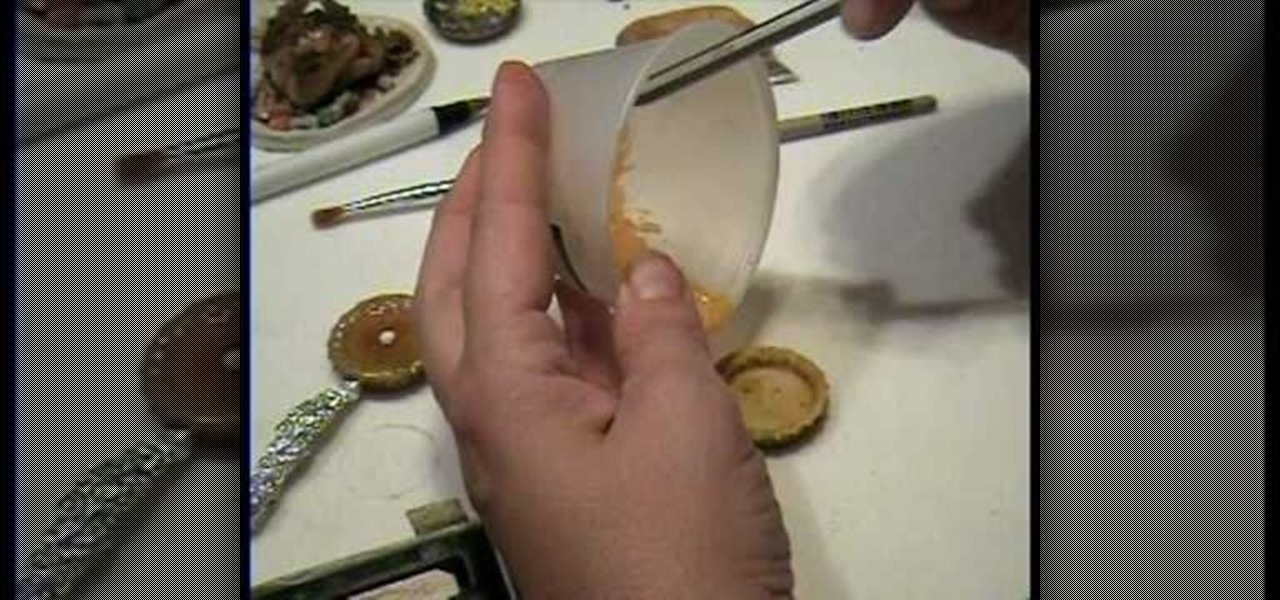
Have you ever wanted to create a miniature pumpkin pie model out of polymer clay without the hassle of complicated crafts books or manuals? Have you tried making miniature clay models in the past and have had them disintegrate when drying the clay? This video will tell you step by step, how to create a miniature pumpkin pie out of polymer clay using a bottle cap, a fork, a small flashlight and a pen. This is a fun project for the family, and won't disappoint.
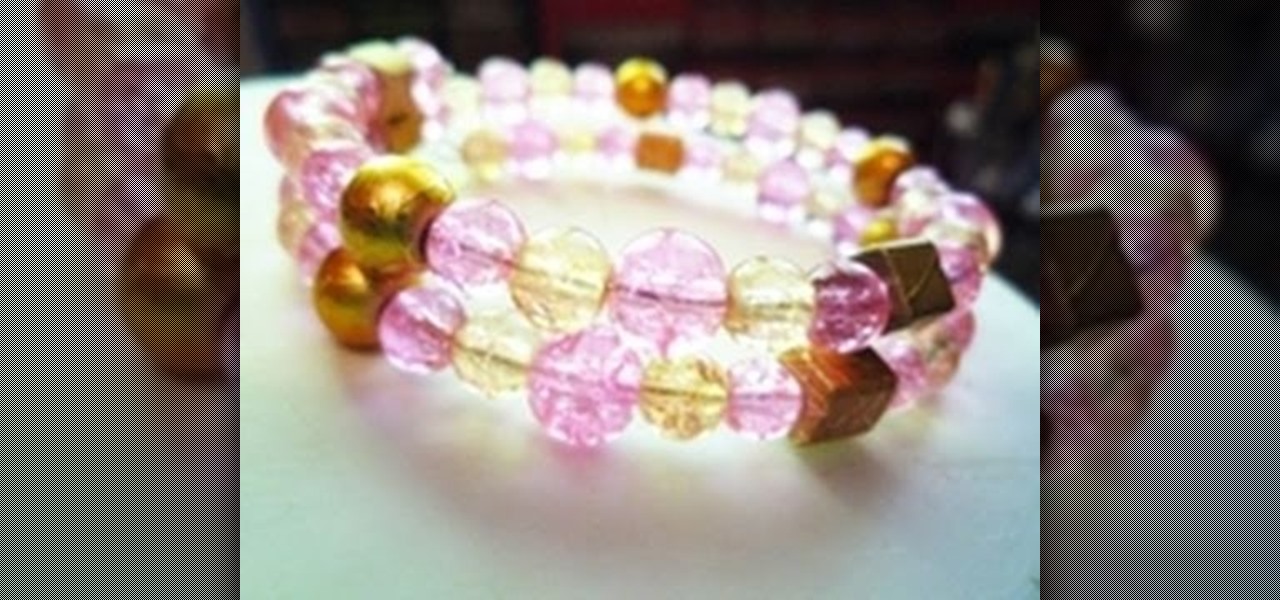
In this video tutorial, viewers will learn how to make a memory wire bracelet. This video provides all the materials required to make the bracelet. The required materials include a memory wire (bracelet size), heavy duty wire cutters (memory wire shears), round-nose pliers and several beads. First, determine how thick you want your bracelet to be and cut the wire according to that size. Now, layout the design of your beads; make a loop on one side of the wire and add the beads on. Once finish...
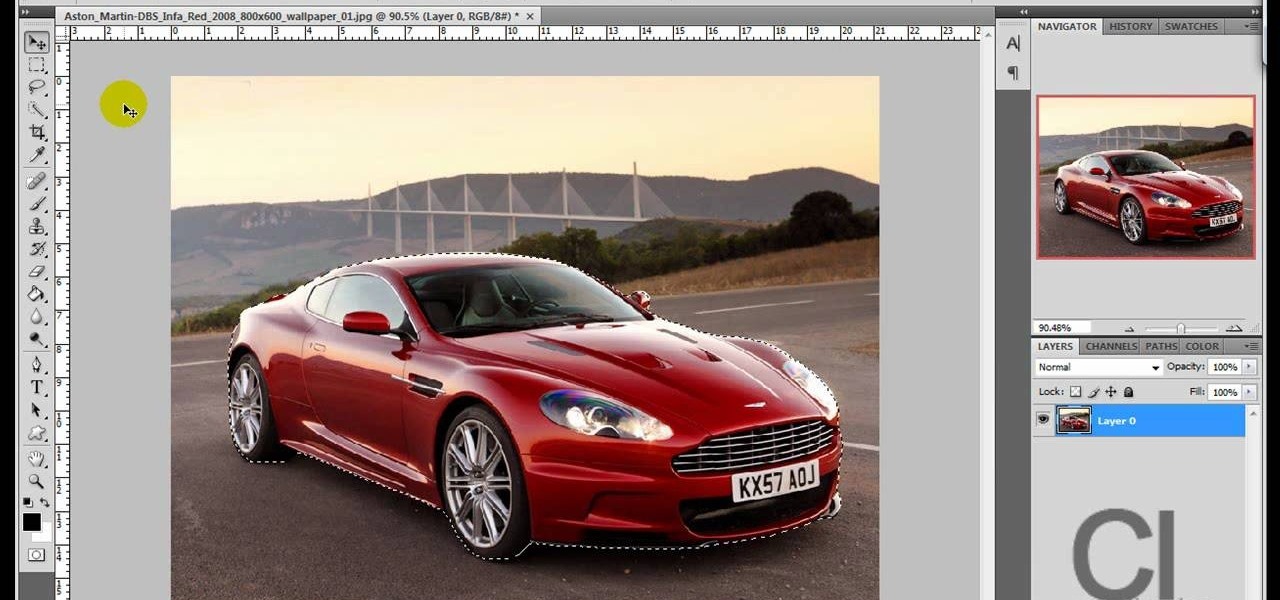
Use the "Magic Wand" tool to select the color you wish to change. The next step is to open the replace color box. Go to Image > Adjustments > Replace Color. After the Replace Color box is open, you may have to select the color that you want to change in the image. Sometimes, it will automatically select the color you're changing, but sometimes you will have to use the Eyedropper Tool and click a hue of the color you wish to change. After the color is selected in the "Replace Color" box, you c...

Learn how to make a paper box with the proper technique. -Start with an A4 size paper. -Use folds and a paper cutter to turn it into a square paper. -Fold the square paper in half, make sure the crease is good, then fold in half another time. -Make sure the creases are good and open the paper back to the square shape. -Now fold each corner in towards the middle. -Now take one side and fold it halfway towards the other side. -Now do the same with the other side. -Open the paper back up, so tha...
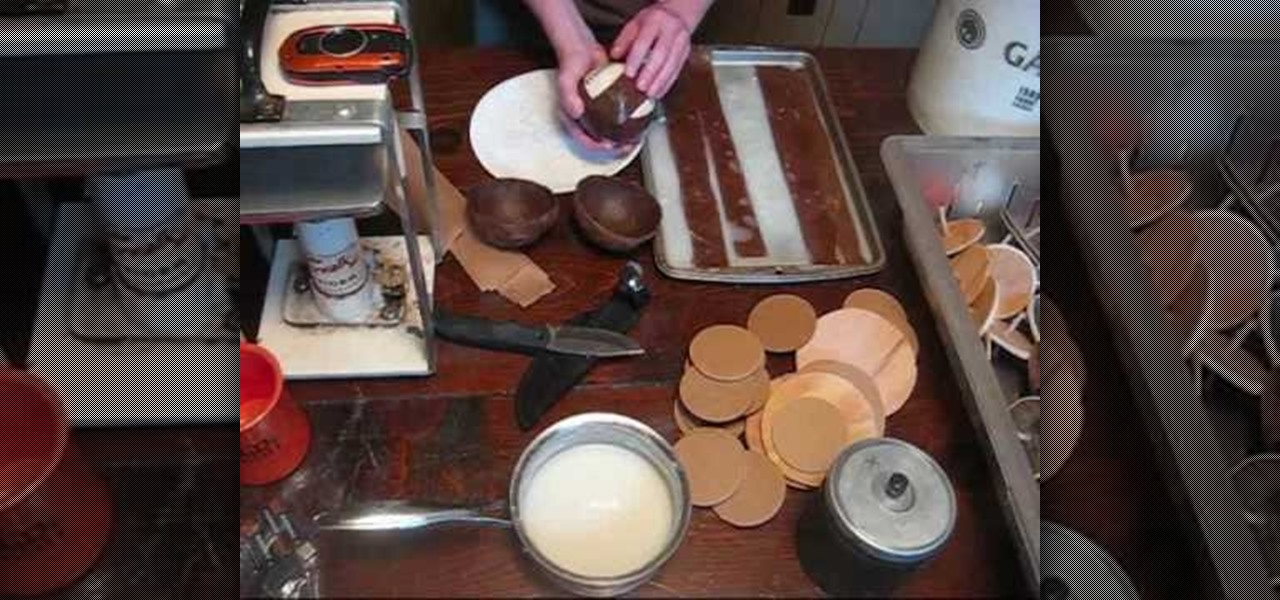
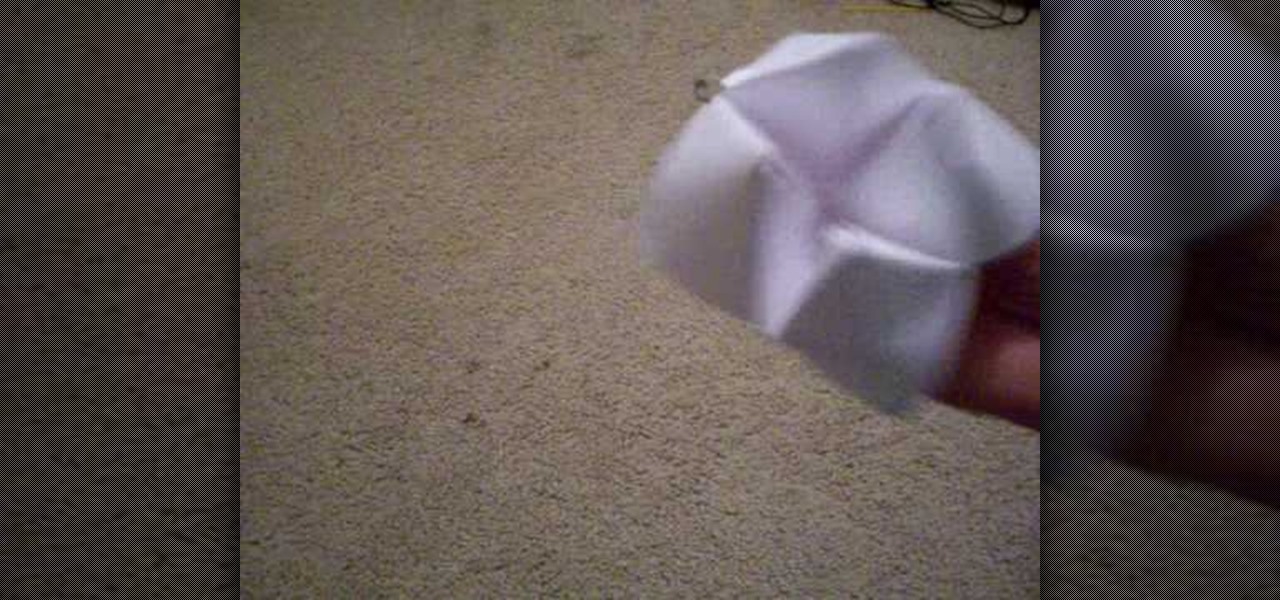
Nighthawkinlight teaches you how to make firework hemispheres. You start with a softball that will be the basis for the strips of paper you construct the hemispheres from. You take craft paper about an inch wide and soak them in a thin wheat paste. You start applying them on the softball in a pattern that doesn't create a lot of layers on top of each other. You need to spin and squeeze the shell to let all the air out. After you've added two layers of paper, clean off the excess wheat paste w...

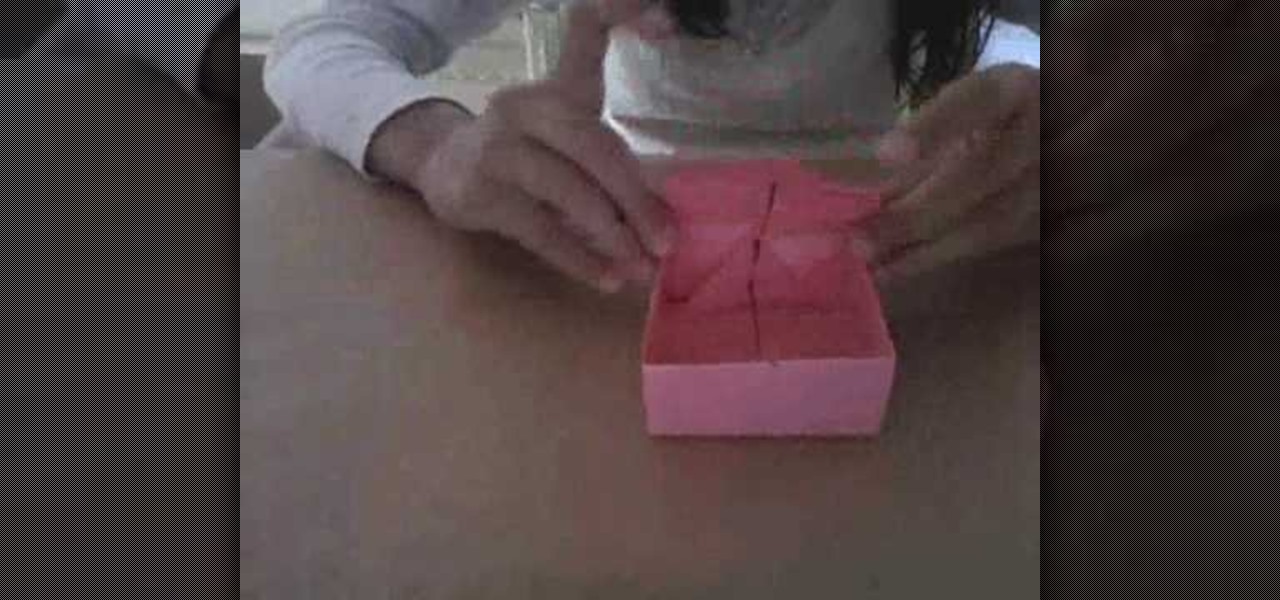
This video describes how to make a paper box.1.First take rectangle shaped paper, Fold the paper in half hot dog style in the long way, 2.and fold each side of the paper to the center crease and the paper should be in quarters. 3. Now fold the paper in half hamburger style that is in the short way. 4. Fold each side into the center crease as like we done in 2nd step and keep it folded. 5. Fold each corner to the crease nearest it and should end up with an uneven octagon. 6. Fold the flaps fro...

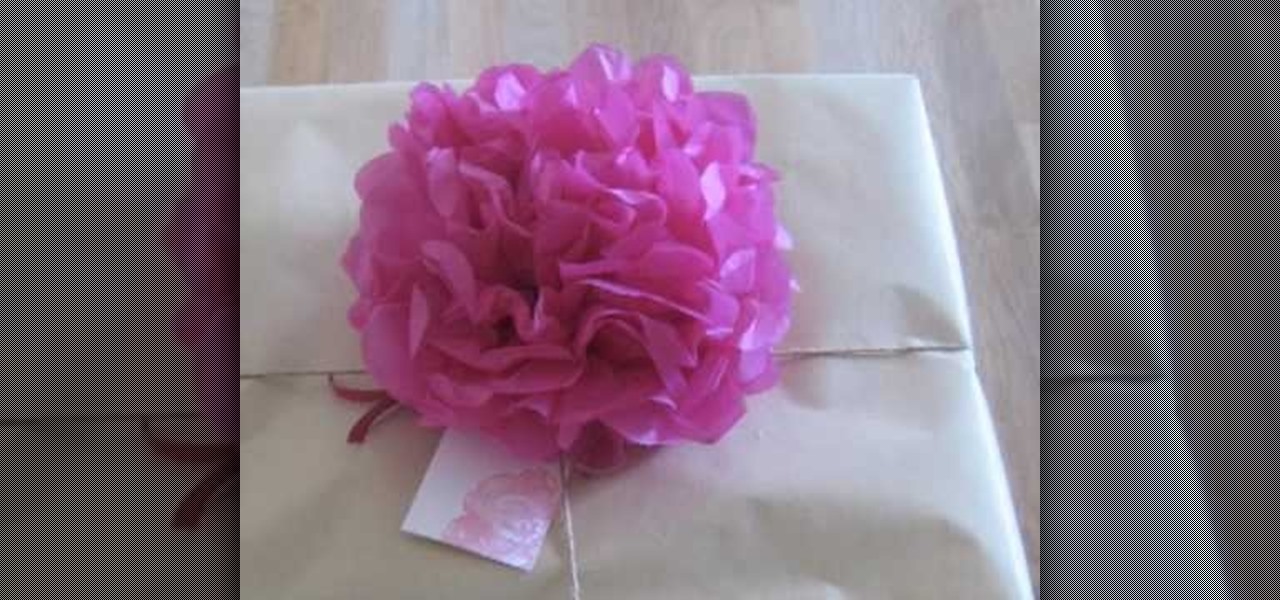
In this video tutorial, viewers learn how to make a paper flower. This video provides all the materials that are required in order to make the paper flower. The materials required include: colored tissue paper, scissors, and 10 cm of colored string. Begin by cutting the tissue paper to preferred size. Fold 1cm on the tissue paper, flip it over and do the same on the other side. Continue this until you've reached the end. Tie one end of the string onto the middle of the tissue paper and fold t...
In this video tutorial, viewers learn how to use the traditional Japanese stab stitch binding to make books. Stab Stitching is used mainly for office documents and in essence is two or more very strong, long staples that bind together loose sheets up to 25mm thick. The video provides all the materials required to make a book. The materials include: filler paper, two sheets of card stock(must be same size as paper), string, pencil, ruler, ice pick, X-acto knife, needle(must be same thickness a...
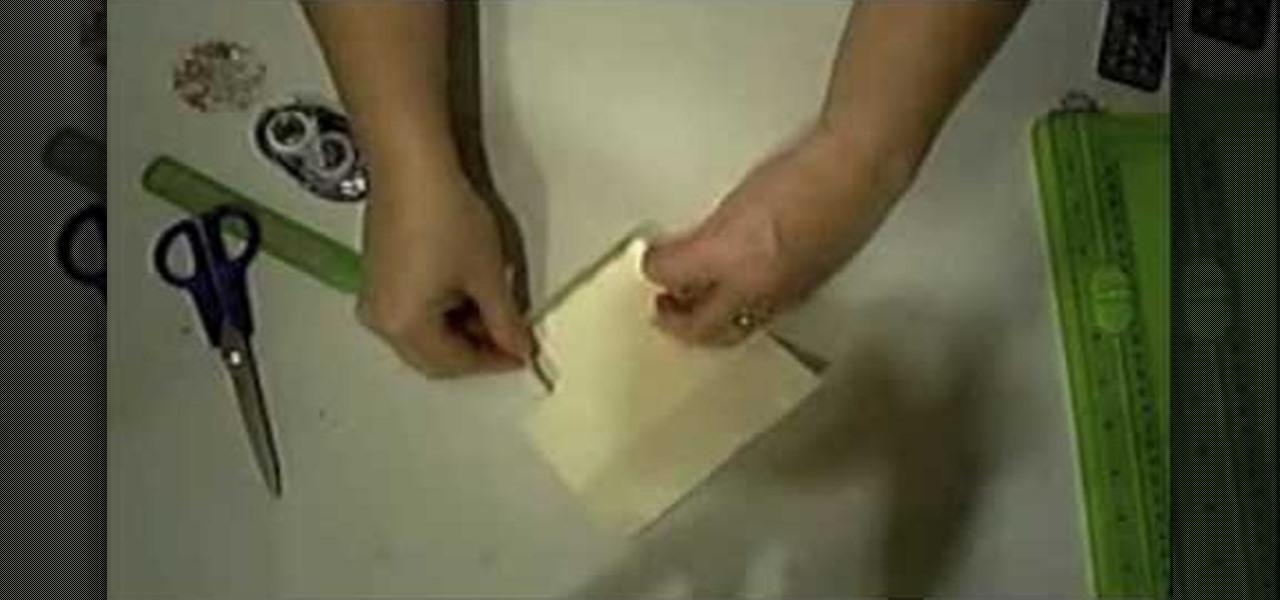
Learn how to make a paper gift box by following the steps in this video tutorial. The first series of steps shows you how to make the lid. Take an 11" by 8.5" piece of paper. You can use whatever color you want. Fold one corner toward the opposite end creating a triangular shape. Trim the remaining rectangular shape. Unfold the piece of paper and create another fold in the opposite direction. Take a marker to mark the center and bring all four corner to that dot. You will create an additional...
Gamer Dude 5000 Arts and Crafts Demonstrator offers a short tutorial with a single sheet of 8 1/2" X 11" paper and pair of scissors. First you fold the corner of your paper out till the top half of your paper and the side of your paper is flush. You cut off excess paper with a pair of scissors. When you open the paper back up, you will have a square sheet of paper that you can fold. You fold all the corners of your square in to the center. Then you flip it over to the back and repeat. Once do...
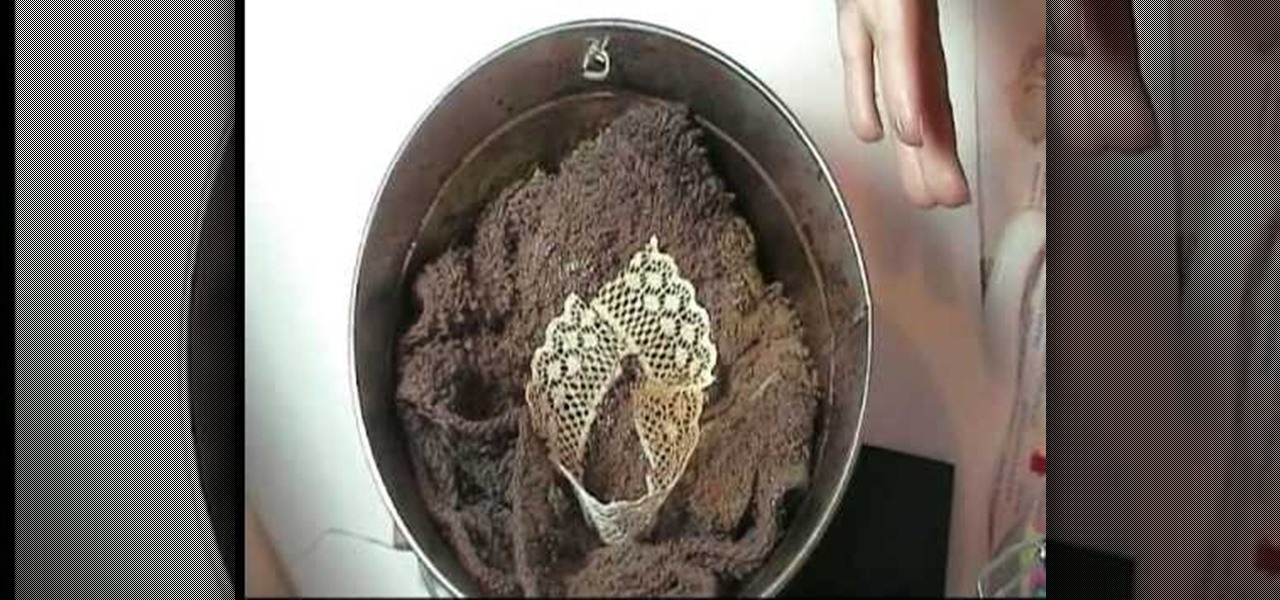
Marion teaches us how to use a technique involving lace and glitter mist to make the lace look vintage. The lace can be placed in a bucket to spray the glitter mist from Tattered Angels onto the lace. Doing this in the spray bucket allows you to avoid spraying anything else in your work area. Marion uses the Old Lace Glimmer Mist, Suede, Cream de Coco, and Sherbert spray colors for this technique. This combination of the sprays allows you to create an old and vintage look on lace that can be ...
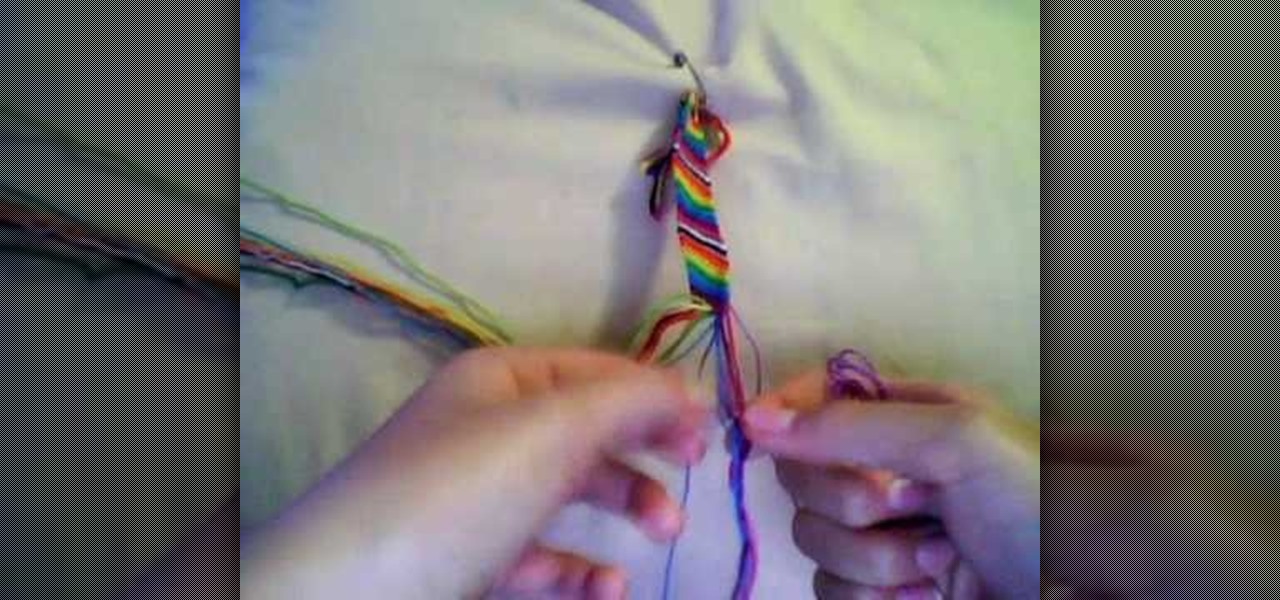
Learning how to make a piece of jewelry can be a daunting task, but this straight forward tutorial gives you all the skills needed to perfect the craft of making friendship bracelet. Starting with just a few simple pieces of string, one can make this very simple DIY project. Although the materials are cheap to procure, the end result is anything but cheap looking. The candy stripe design adds to the charm of this whimsical bracelet. Make one for all your friends today!
Mary, from Cardstv, shows you how to make a Christmas Card, using the fantastic Cricut machine by Provo Craft. She shows you how to use the "Very Merry Tags" Cricut cartridge to create a cute Christmas card with a Gingerbread man on the front of the card. Mary also shows you short cuts for your card embellishments. Giving you a variety of ways to create different cards makes this video a must to see. Enjoy make Christmas cards with Mary, just has she has enjoyed showing you this video.
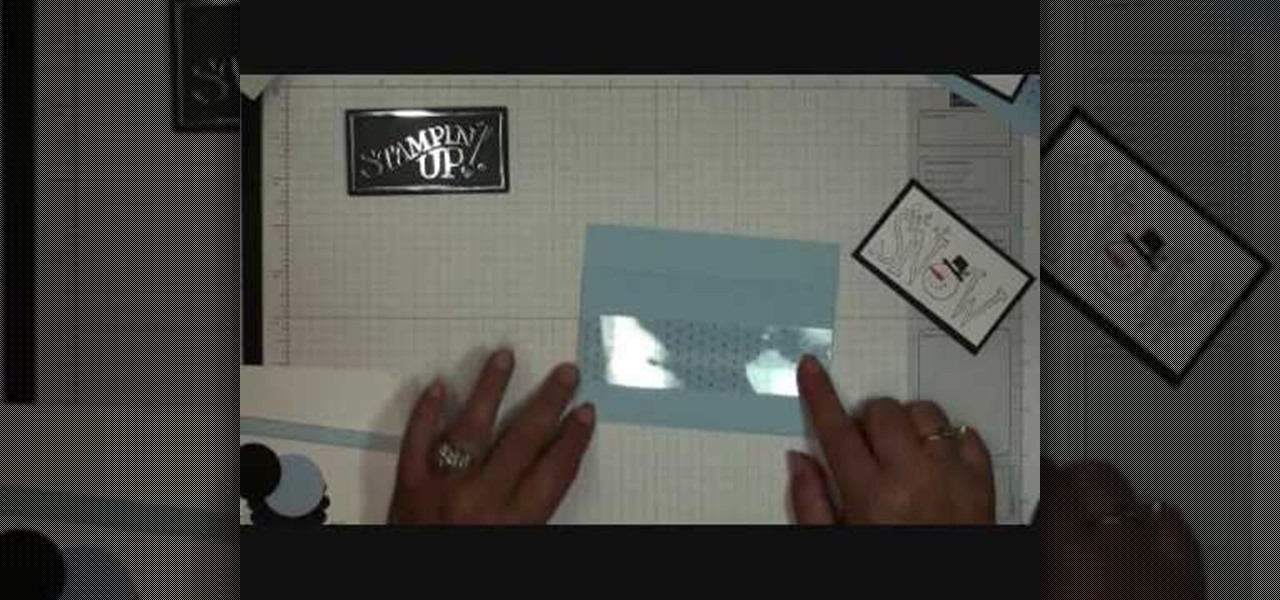
Crafter Dawn takes us through another arts and crafts card lesson. She outlines the steps to making custom pocket cards featuring a pull tab pop-up component on which you can store your message. While she has suggestions on how to make a snowman-themed card, you can use your imagination and creativity to decorate your cards for any season or occasion. Give someone something with a personal touch by following the steps in this video.
Joann from Emerald City Elegance teaches is how to make a creative business card holder in this short paper craft video.
JoAnn, an amazing scrapbooker from Emerald City Elegance, teaches you how to make an amazing mini scrapbook album of your own out of note cards. Describes the necessary materials and tools and gives an easy to follow explanation of how to put together this excellent gift. Includes great scrap booking tips and ideas about cutting and punching holes into card stock, presentation advice, and working with different types of paper. Video includes beautiful pictures of paper crafts to get your crea...
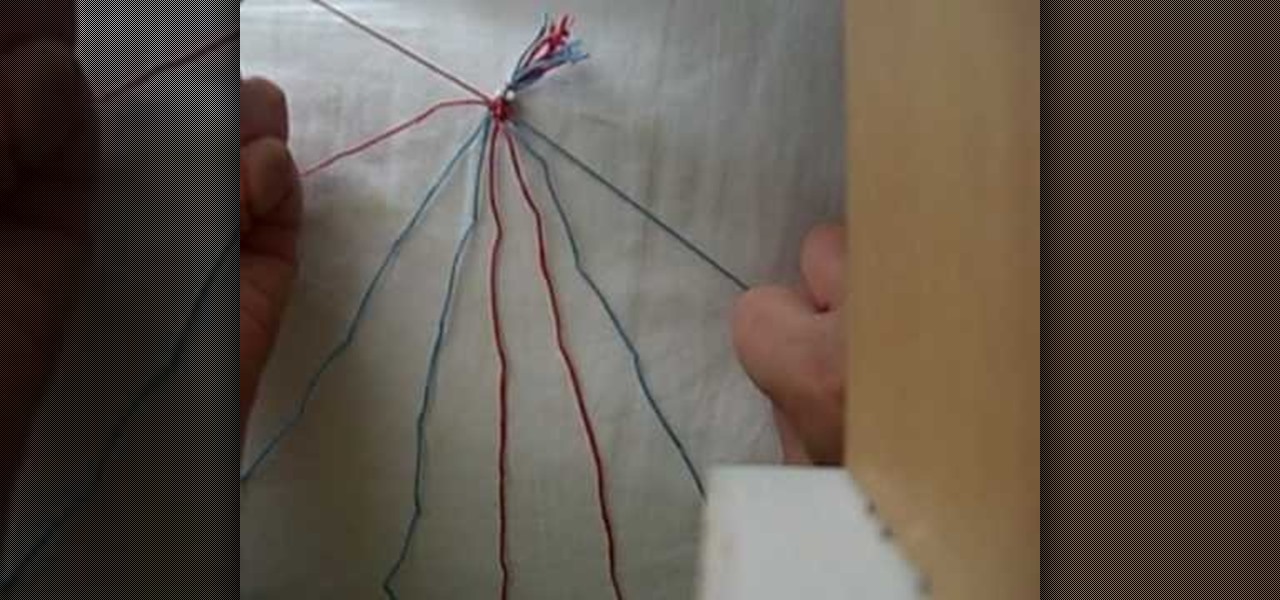
This video shows you how to make a friendship bracelet with a heart pattern in simple, easy to follow steps. All you need is two different colors of thread and you will be well on your way to making this friendship bracelet. The video takes you from the beginning to the end of the process. The finished product is a unique design which can then be given as gifts to family and friends, or you can immediately enjoy your craft by wearing it yourself.
Joann of "Paper Crafting" shows you how to create a CD mini album. What it is, is actually a pop up photo album that you create using a CD case. The materials needed are 1) a CD case. 2) various decorations to put on the outside/inside depending on your taste. 3) cardstock type paper that can be folded around 8 times: on each "fold" you will put a photo- preferably the album will have a theme. Then you fold it up and put it in the Cd Case and embellish the front however you like.
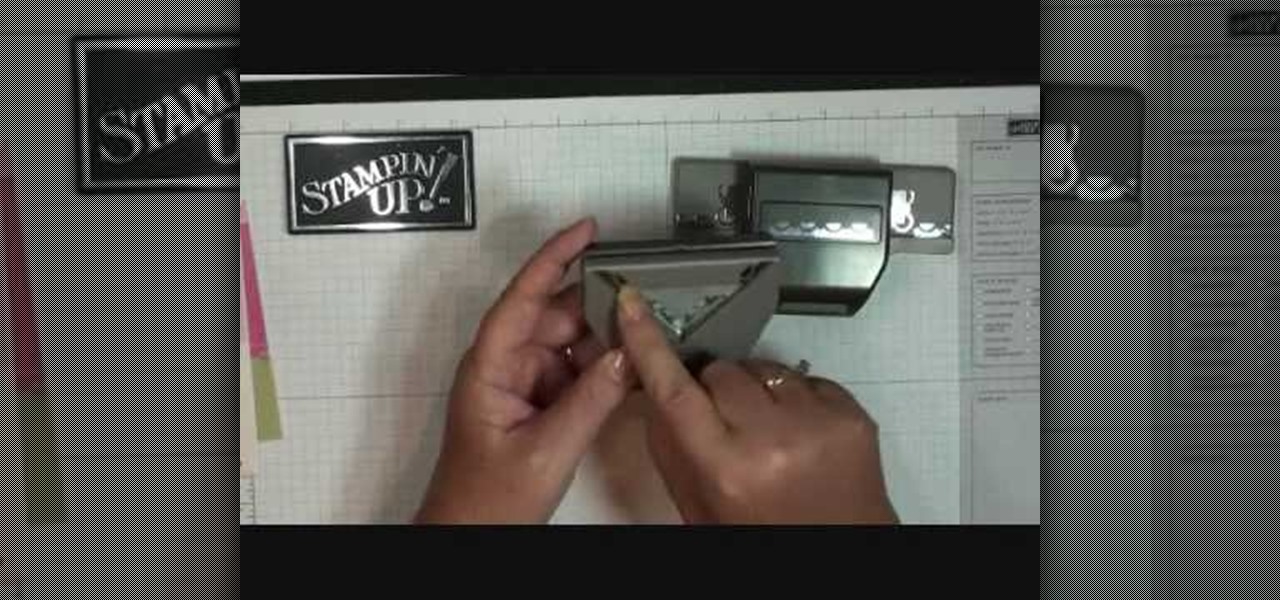
In this video, Dawn, an arts and crafts expert shows you how to work with stamping and stenciling. She goes through two different styles that can be created with stamps/stencils. The first is a "scallop trim border" on card-stock paper. She takes you through various steps to complete this. She then goes on to show you how to make a "scallop trim corner punch" with stamps. The process is quick and easy, you need card-stock paper, various stamps, and stencils.
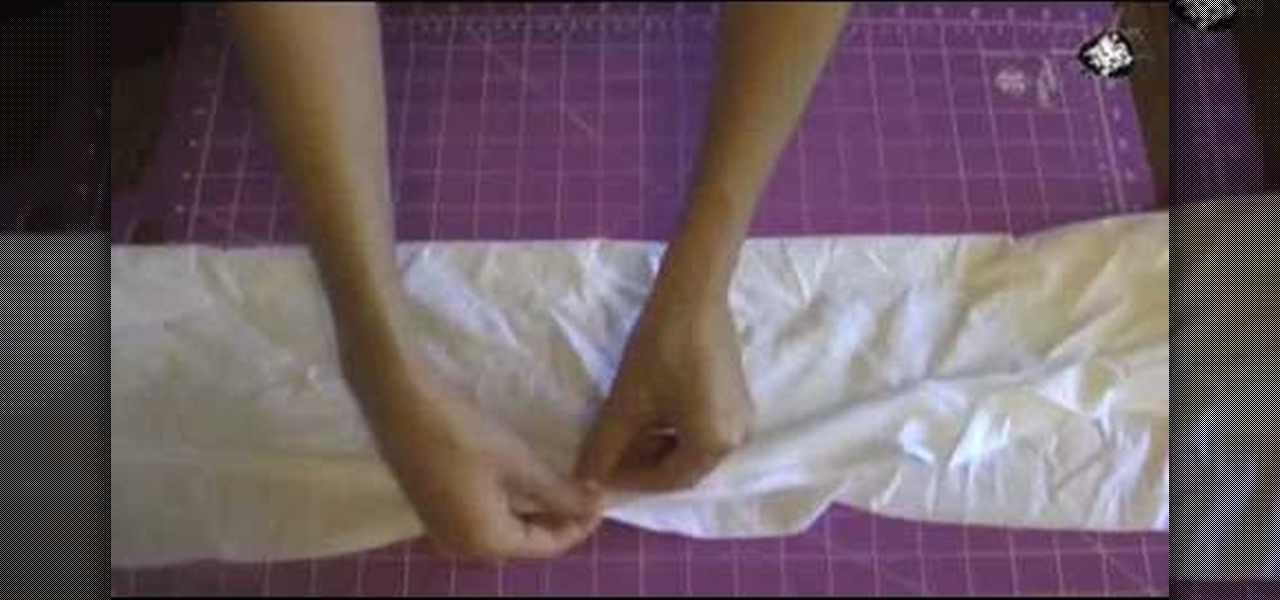
The hippie bohemian trend is BACK!! This fun video is a step by step guide to dying your very own tie dye clothing just like they wore in the 70's! Not your style? You can tie dye your bed sheets for a groovy retro feel. Tie dye is very fun, colorful and cheery and perfect for kids to complete as a craft project! You can buy each child a white t-shirt and help them tie dye their shirts. Each one will have its own original design!
Looking to make some affordable winter decoration? Need a winter's day craft for the kiddies? Learn how to make a paper snowflake. In this video our hosts Lauryn and Cameron show you step be step how to make the perfect paper snowflake. With just a piece of paper and a pair of scissors they will instruct you on how to correctly fold and cut to make original and creative paper flakes. They will give you tips on how to make different shapes and more complicated types of flakes.
The video creator teaches us how to make a three dimensional snowflake. He plays some rather Christmas-y music in the background and goes right into explaining the process. He briefly explains what he will do but as the video continues, he focuses on showing rather than explaining. This is difficult to follow for those not used to arts and crafts. He fluently and rapidly makes the snowflake and lets the music do all the talking. There is again, no explanation as to how to make the snowflake, ...
Tank tops are relatively cheap, and cutesy bags can be expensive from designer shops and street vendors, so your only solution for saving money is… using your tanks for homemade bags. See how to transform a tank top into a magazine bag in this video from GiannyL.
Blogger Chantal McCulligh offers advice on cutting your own side-swept bangs in this video. She shows you how to cut your own bangs in the mirror to achieve the side-swept layered look without having to buy fancy scissors for the task. This video shows the technique several times to fully demonstrate the trick with plain old craft scissors. Chantal makes it look easy and the results look great. Following her directions closely would result in anyone being able to duplicate her stylish look.
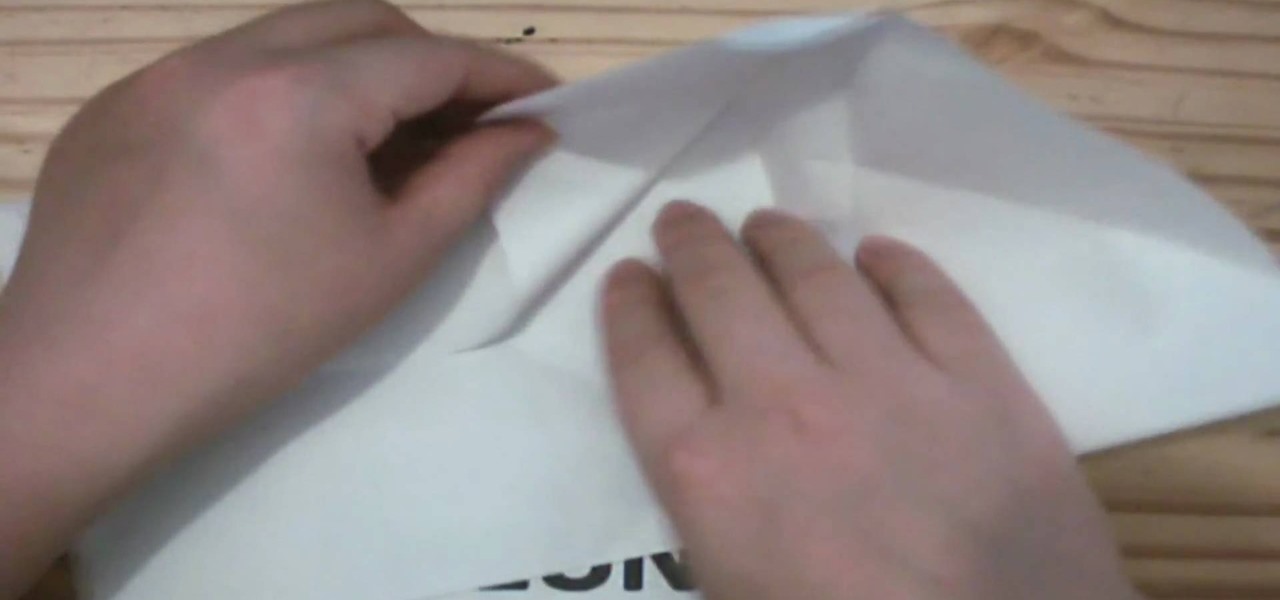
Do you like paper crafts? Like making things with your hands? Then you will love this excellent video of now to make a Origami bag. In this video you are taken through the process in a slow and clear manner so that you can easily follow along. By following the video in just about a minute you will go from a plain, flat sheet of paper to having a intricately folded bag perfect for holding a small gift. What a clever way present your gift!
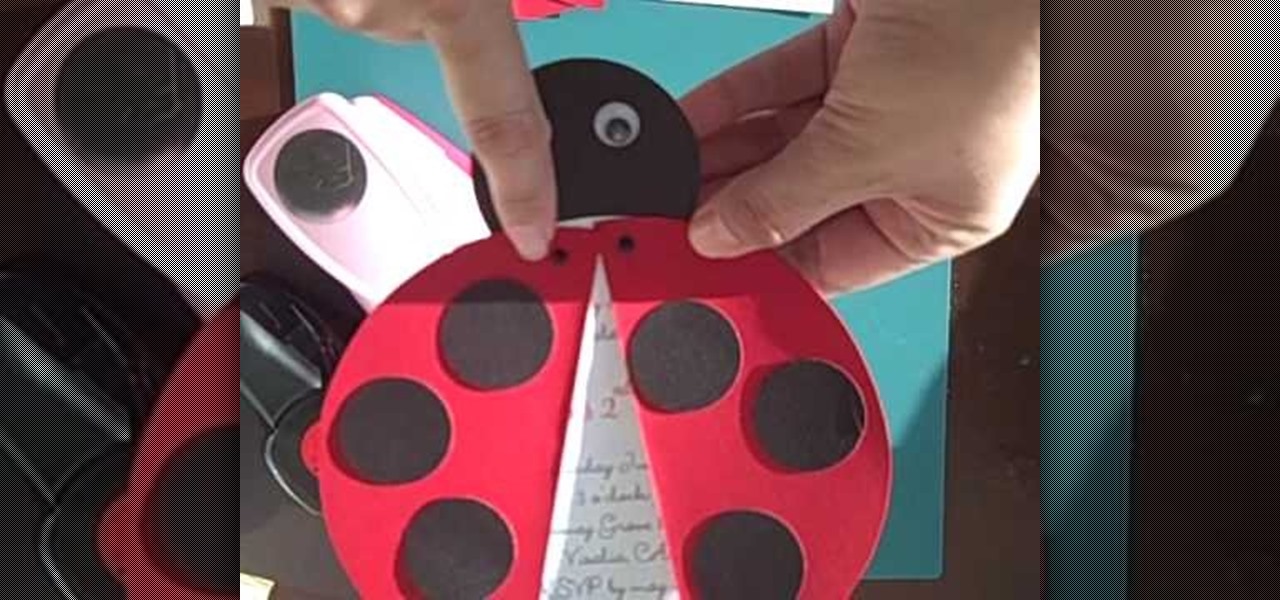
This easy tutorial will show you how to create fun birthday invitations in a variety of designs. With a few simple steps, you'll be able to invite guests using crafted cards themed after lady bugs, robots, monkeys, dinosaurs, sweet sixteen celebrations, or even a pretty pink tea party. This instructional video also offers tips on material costs and helpful printing hints.
Ever hear of fantasy film? No, not the weird fantasy movies, but the decorative colored paper. It's great for making any arts and crafts project. In this video, see how to make a glittery dragonfly out of Fantasy Film and opals. Barbara Trombley shows you how to make this simple project in minutes. You will be amazed when you see the film change colors right before your eyes. This dragonfly is perfect for any card or hat or lapel.
While we have nothing against real flowers, we do find it depressing how after a week or two they begin wilting and looking like death itself. So keep your flowers fresh and everlasting by making faux ones!
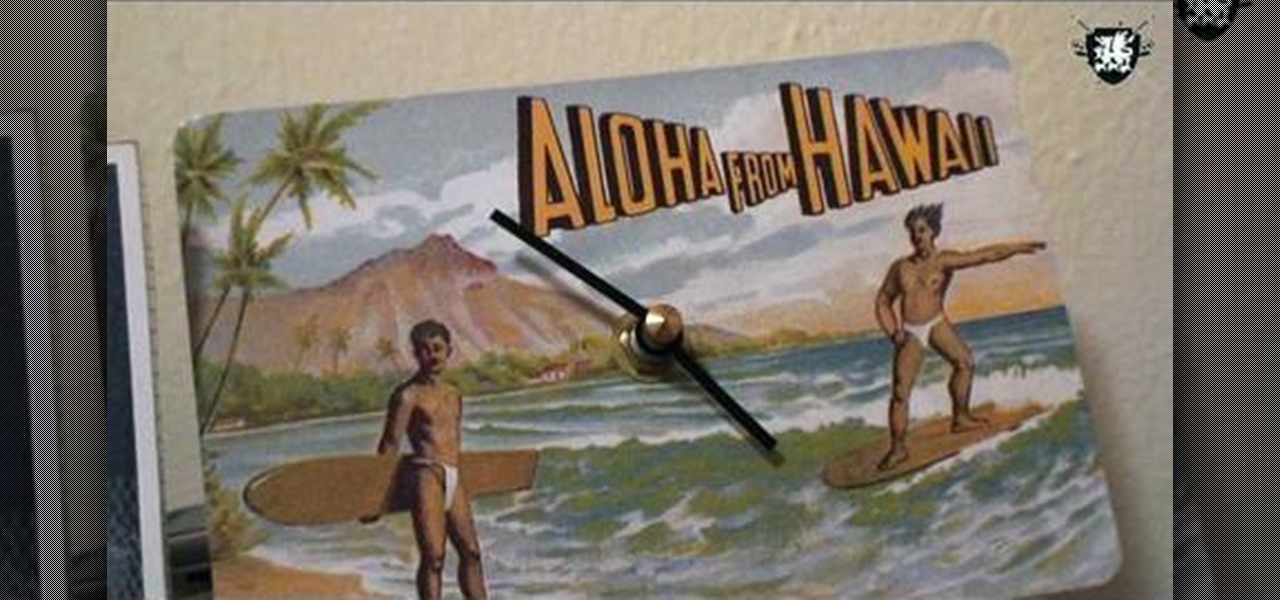
Clocks are an essential part of your home, but you don't just have to settle for whatever clocks you can find at the store. Is this tutorial from Decor it Yourself, you'll learn how to make a funky timepiece that suits your style. Almost anything can be a clock, as long as you put a drill through it and stick it the wall!
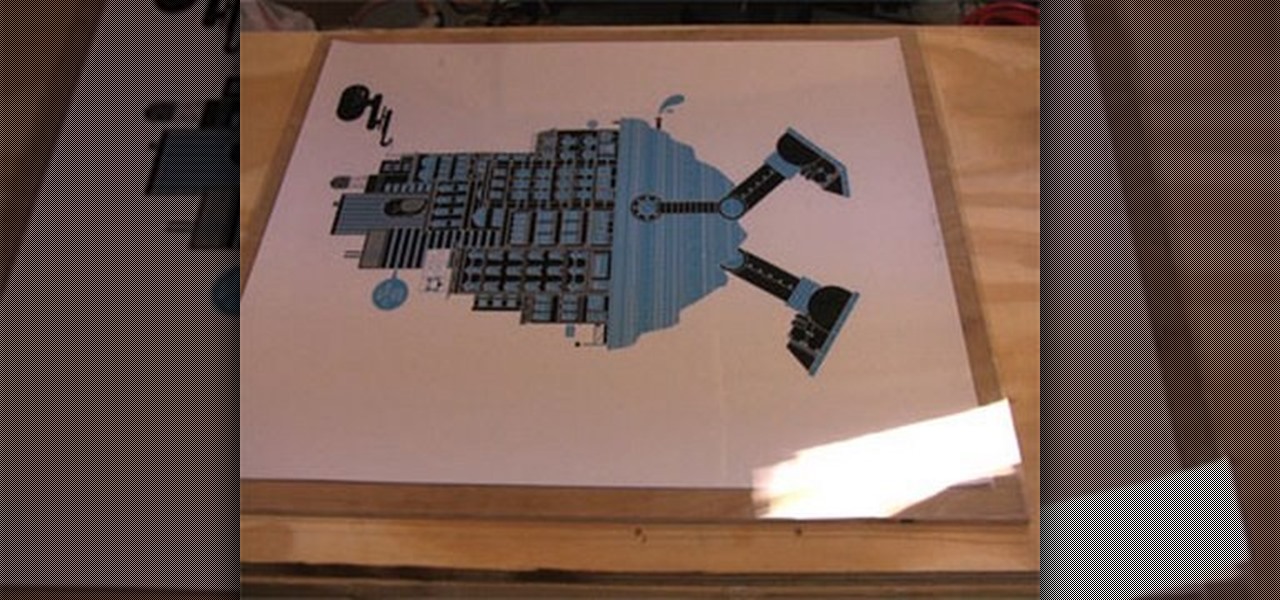
Framing and matting your favorite posters or art can get expensive! In this Curbly video tutorial, you'll learn how to make a quick and inexpensive frame. All you need are some basic supplies available at almost any arts and crafts supply store including: A sheet of plywood, a plexiglass cut to the size of the plywood, archival paper cut to the size of the plywood, frameless corner clips, and a bracket.
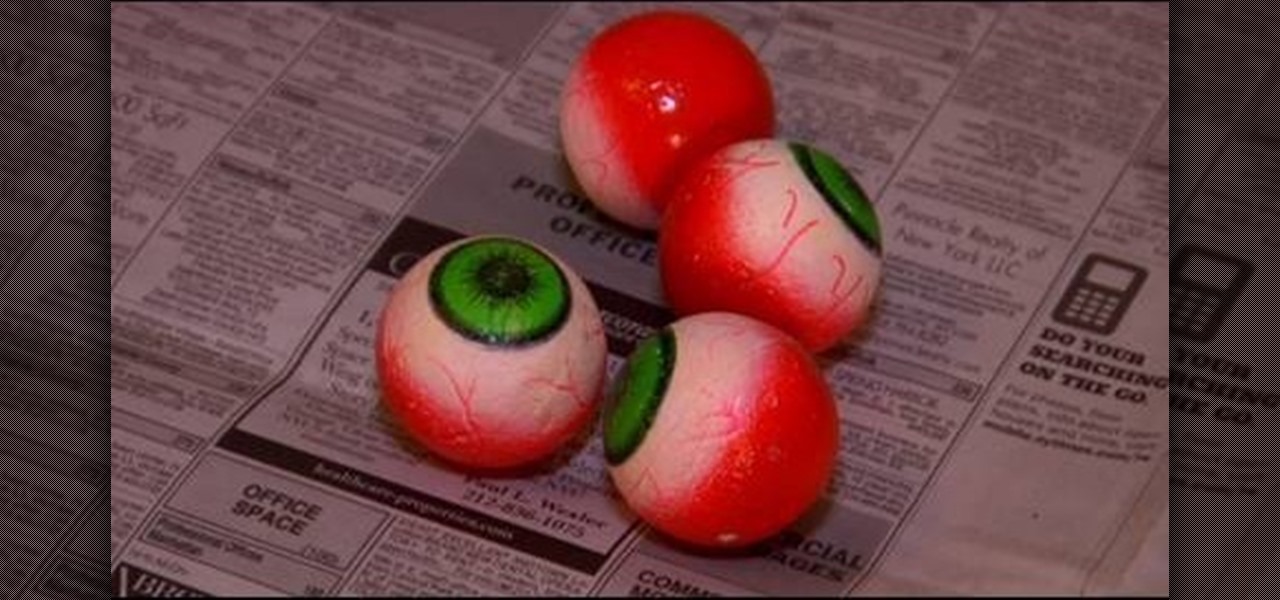
Hosting a Halloween party and looking for some inspiration? ThreadBanger's Decor It Yourself is here to help with a few spooky ideas that can be thrown together at home and for cheap! Projects include eerie terrariums, adding red to the eyes in your portrait wall art, and bloody-ing up your shower curtain like a scene out of Alfred Hitchcock's Psycho.
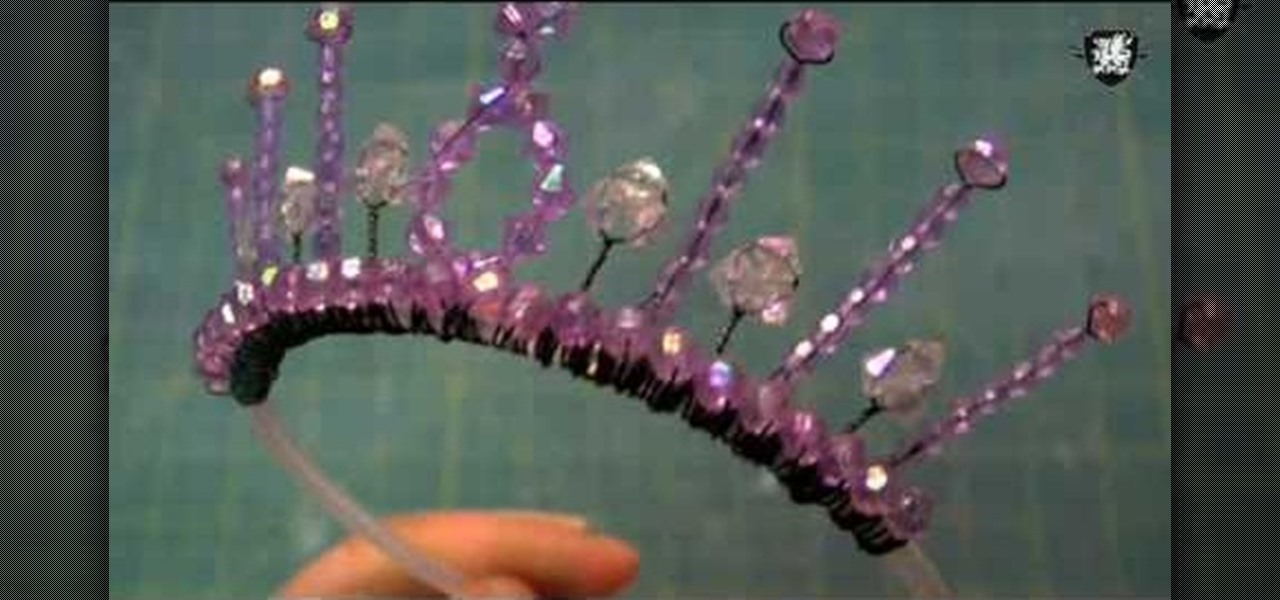
In an hour, make your own fancy beaded princess tiara with some help from ThreadBanger. You'll need a skinny stiff headband, 24-gage floral wire, a wire cutter, plastic beads and a creative sense of spirit! With a few twists, ties, and beads, you'll have a new piece of head decor to crown yourself princess for the day.
It's not too uncommon for your basement to become extraordinarily messy, as that is where unused items tend to migate.
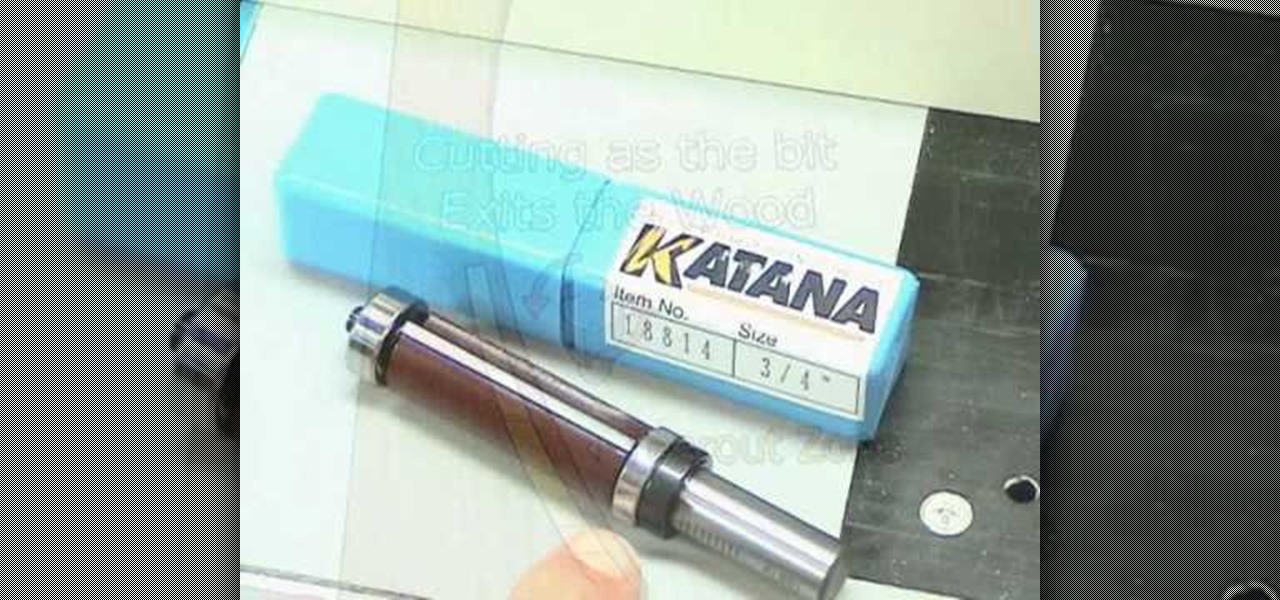
Eagle Lake Woodworking, hosted by John Nixon, offers great do-it-yourself guides for building your own furniture, especially in the American Arts and Crafts style, and turning your garage into an amateur woodshop. Search Eagle Lake on WonderHowTo for more carpentry tutorial videos. From Eagle Lake Woodworking on this specific lesson:
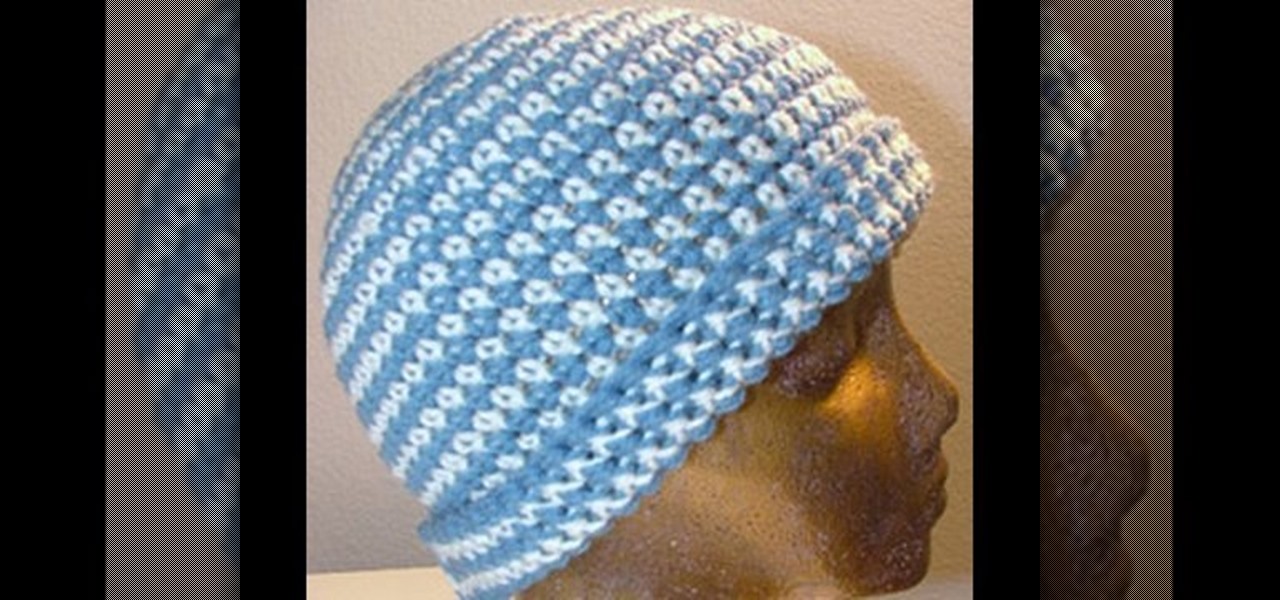
This how-to crochet video offers a simple pattern and instruction for stitching your own cute and easy crocheted hat. Knitted hats don't have to be for winter. While a cozy hat will protect you from the cold, a lighter yarn can add some style in warmer months as well. Check out this video d.i.y. arts and crafts lesson and learn how to crochet your own knot stitch cover for a ball cap.
This how-to crochet video offers a simple pattern and instruction for stitching your own cute and easy crocheted hat. Knitted hats don't have to be for winter. While a cozy hat will protect you from the cold, a lighter yarn can add some style in warmer months as well. Check out this video d.i.y. arts and crafts lesson and learn how to crochet your own beanie or cap style hat.
Put yourself in the shoes of a burglar so you can anticipate where they'd look for your valuables. You Will Need
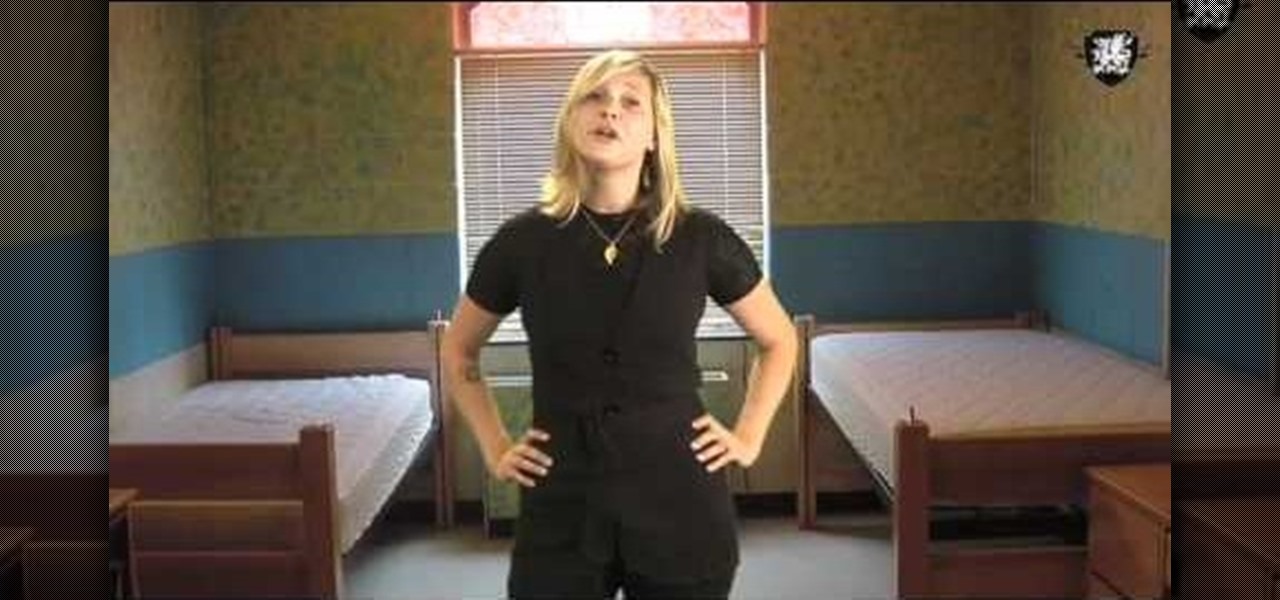
This week, Meg shows us a quick and cheap way to add extra seating in those cramped dorm rooms. Plus, some easy tips on how-to make your dorm feel like a cozy home away from home.
Today Leah shows us how-to turn a tee into a simple shrug to wear over all your new halters while in a chilly restaurant.
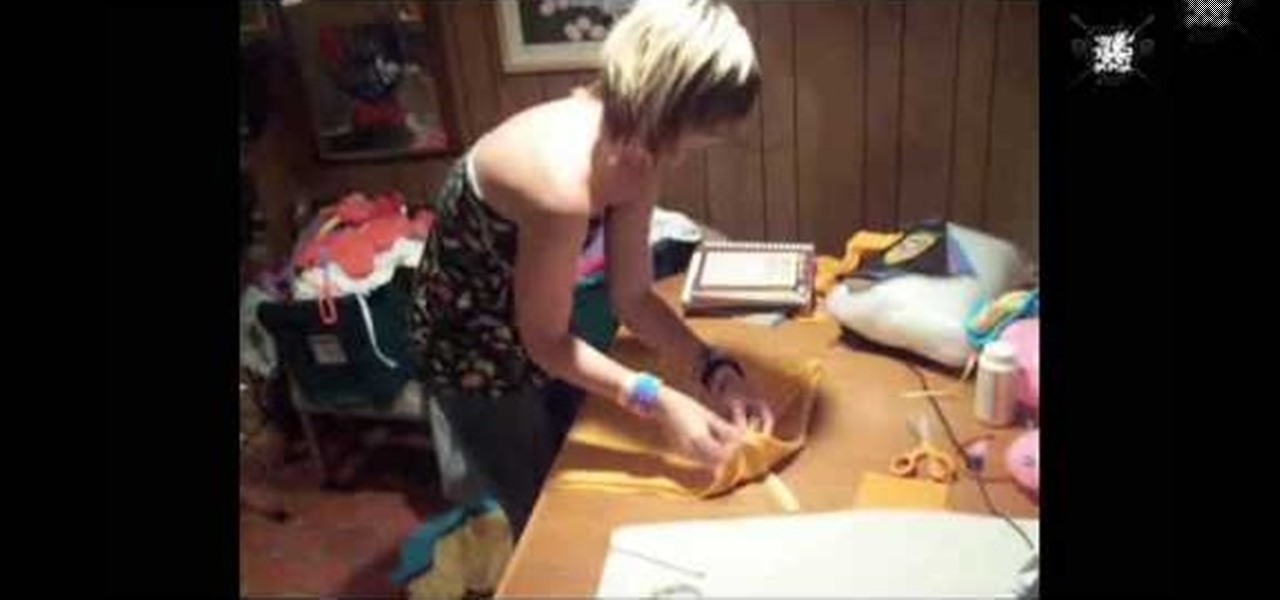
Jess shows us how to transform some old tees into a uber cute tube top tutu! Follow along with this video fashion design lesson and learn how to sew together this outfit.