In this how to video, you will learn how to make an Evergreen wreath. You will need pine cuttings, craft wire, a frame, and decorations such as pine cones. Each cutting should be about 8 inches in length and have a firm section that will attach to the base. They should also be very bushy. Wrap the craft wire around the sturdiest part of the pine cutting. Keep adding and attaching pine cuttings over the previous cutting until you go around the entire frame. Once this is done, add the decoratio...

Another adorable craft you can make with your little ones is a paper caterpillar. The best part about this little guy is that he's flat and perfect for hanging on the refrigerator with all of your kids' other masterpieces!

Remember those delicious candy necklaces from childhood? Well, in this tutorial, learn how to make a healthier alternative.
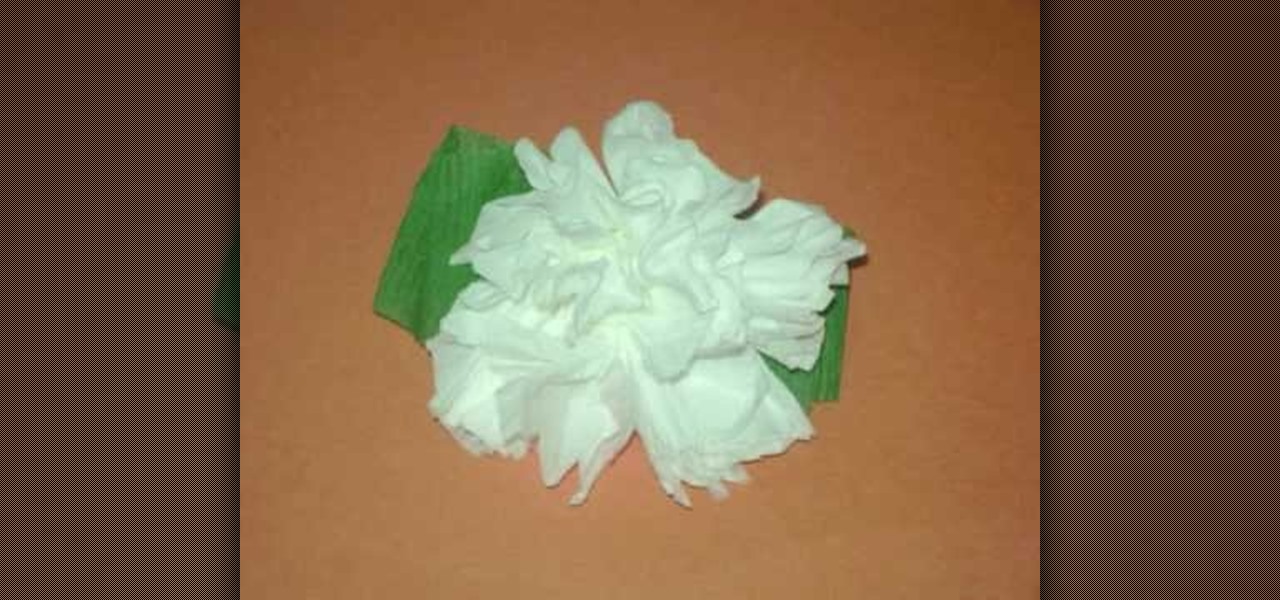
One of the most fun activities when you are a kid is making something pretty to bring home to mom. In this tutorial, learn how to make carnations out of toilet paper for a fun kid's craft. Carnations make a great craft for Valentines or Mother's Day and are easy to make with even the youngest elementary students.

Be a DIY superstar and impress your friends with your newfound craft skills by turning simple votive candle holders into a hanging candle tree. You can do it all with simple home supplies and by following the instructions in this video.

In this video tutorial, viewers will learn how to make a charm bracelet. The materials needed to make the bracelet are: a light silver plated chain, 100 grams of plain glass mix, 1 toggle clasp and 100 headpins. All these materials can bought from Beads Unlimited. The tools needed for the bracelet are: flat-nosed pliers, round-nosed pliers and cutters. This video is descriptive and clearly explains all instructions. This video is at a slow pace and provides step-by-step instructions that will...

In this video tutorial, viewers learn how to make a simple pair of earrings. This craft only takes a minute to do. The materials required to make these earrings are: 2 large beads, 2 medium beads, 4 small beads, 2 seed beads, 2 earring pins, 2 earring hooks and pliers. Put the beads on the earring pin in this order: small, seed, medium, large and small. Use the pliers to bend the pin to a loop and hook it with the earring hook. This video will benefit those young viewers who enjoy making arts...
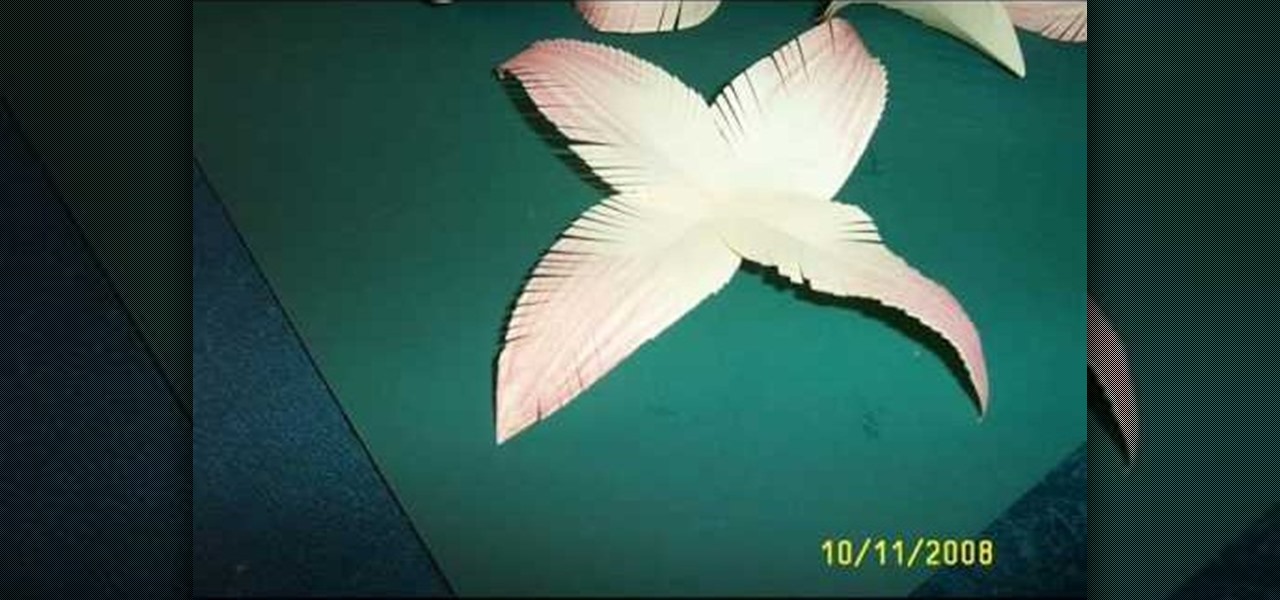
In this video you learn how to make paper flowers with paper, craft glue, crayons, and scissors. First you cut paper into strips and then fold them in half long ways before cutting them into petal shapes. You then color the tips of the petals with the crayons. Next you fold the petals in half again and cut small lines along the unfolded side to make the appearance of more natural petals. Then you layer the petals together with craft glue in a flower shape. When desired shape is reached you th...
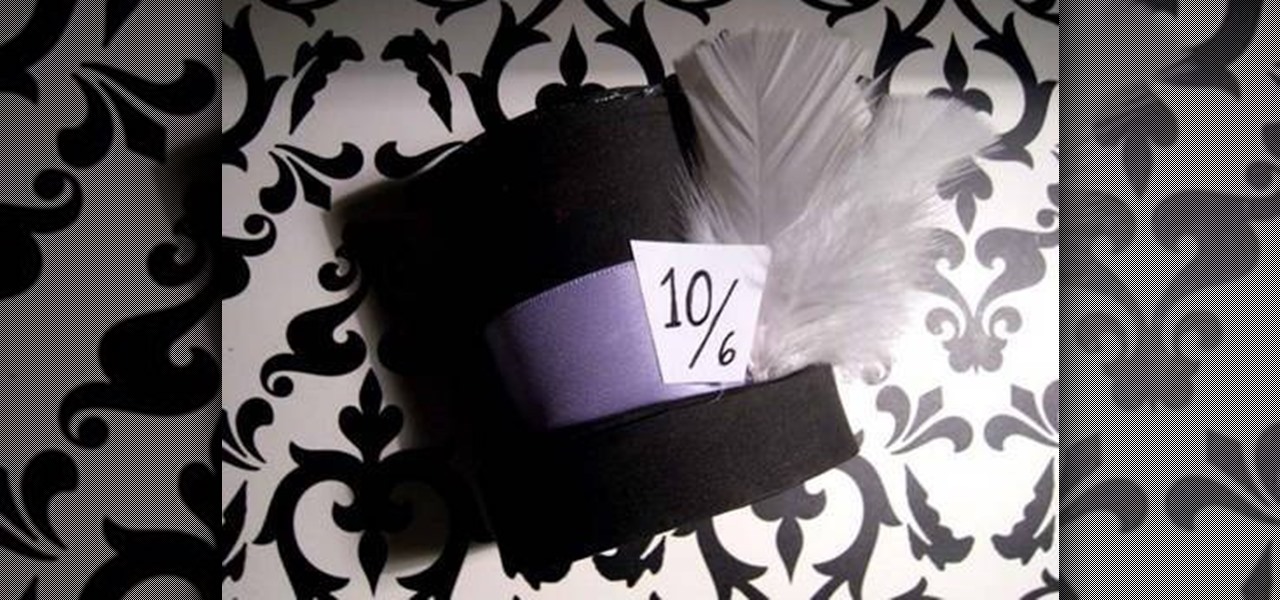
In this video tutorial, viewers learn how to make a mini Halloween top hat. This video provides all the materials required to make the top hat. The materials required include: a Styrofoam cup, X-acto knife, scissors, 2 8x10 sheets of craft foam or felt (choice of color), ribbons, feathers and any other embellishments. This video provides a visual demonstration and step-by-step narration that allows users to easily understand and follow along. This video will benefit those viewers who enjoy do...
In this video you learn how to make fun, creative, and cheap decorations for Halloween. You learn how to make Halloween "Koozies" and how to make a Halloween tree. This video shows the materials you'll need to make each one. The materials you'll need for the "Koozies" are 1/4 yard fabric, ribbons and boas, a glue gun, candy and craft bags. The materials you will need to make the Halloween Tree are parchment paper, craft glue, raffia, ornaments, small branches, a black marker, and a vase. The ...
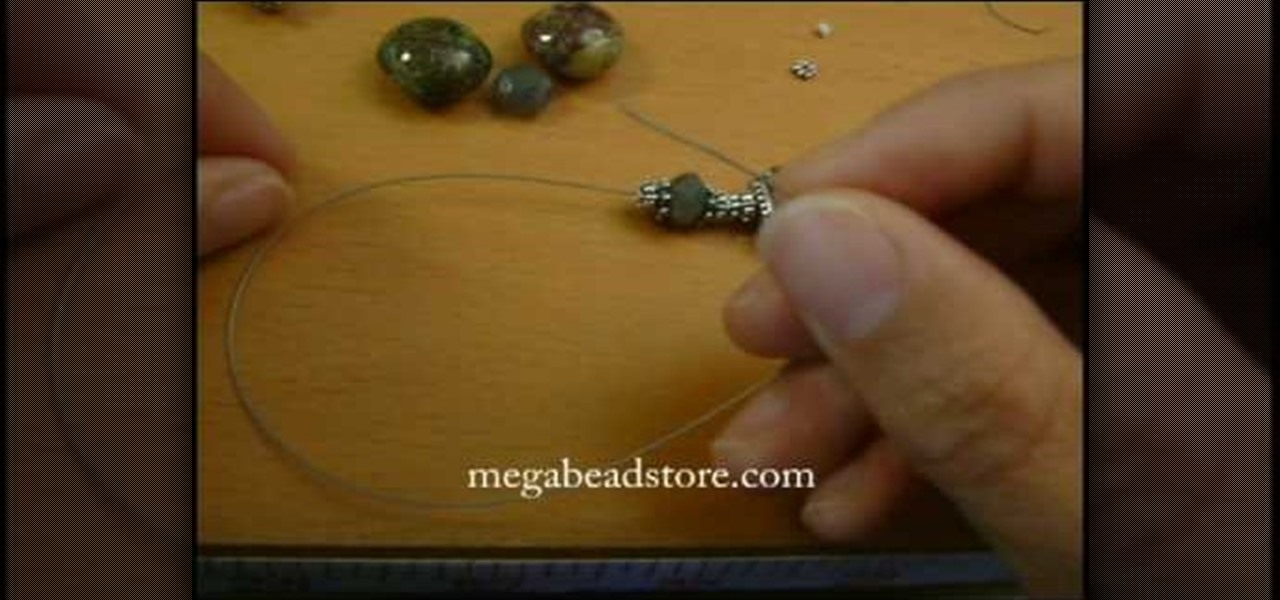
For anyone interested in learning how to make their own jewelry, try the simple steps in this arts and crafts tutorial to make a Bali bead and lampwork bracelet. To make the bracelet, you will need jewelry wire, a sterling silver toggle and clasp, crimp beads, Bali stone beads, lamp beads, silver bead snowflake caps, and silver spacers. The pattern calls for a snowflake cap, two natural stone beads, medium-size spacer, followed by a small spacer. This pattern of sandwiching a stone bead betwe...
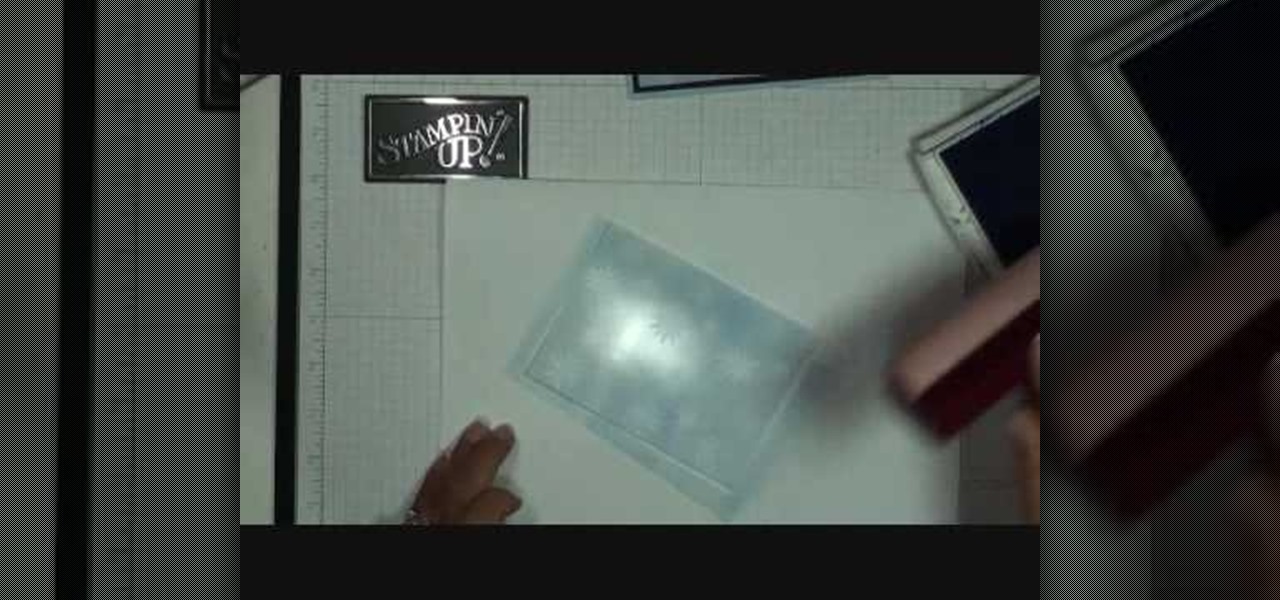
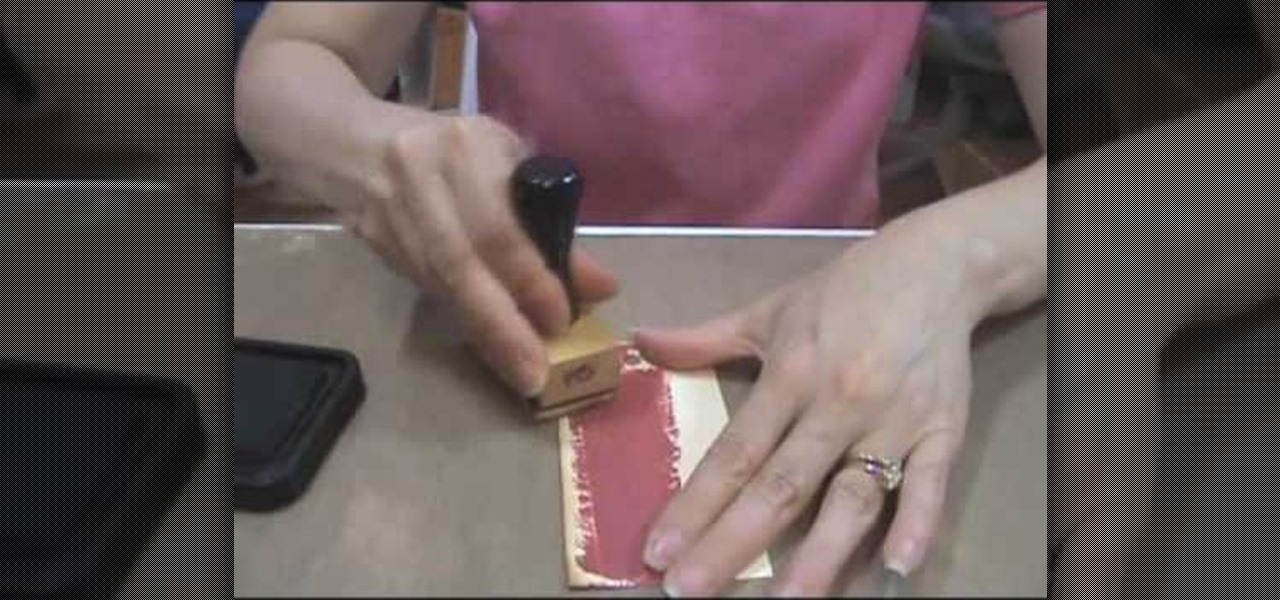
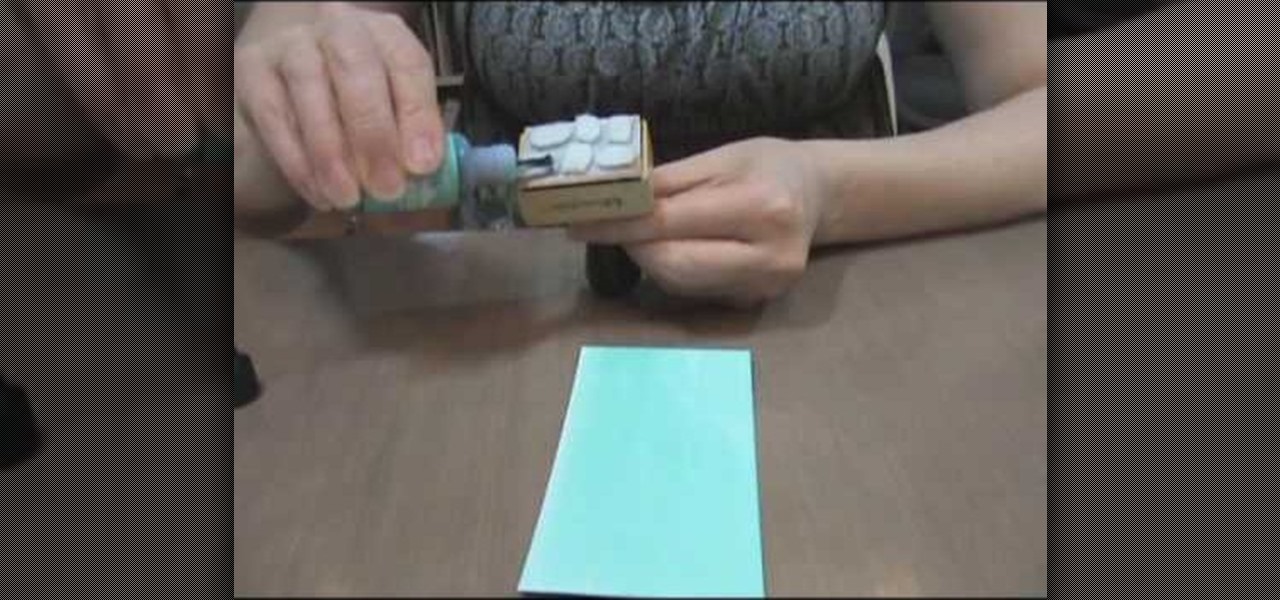
Our host Dawn teaches how to use the Versa Mark resist technique when stamping a card. Dawn teaches the technique on a Christmas card to create a snowflake background. The basic idea behind this technique is that the Versa Ink is clear and will resist any other ink you put down, so you can stamp a pattern and then go over with a flat coat of regular ink, and you will be left with a white pattern where you made the Versa Ink stamps. To complete this specific craft, you will need a Versa Mark i...
Emerald City Elegance Paper Crafting with Joann is really very interesting to watch. It takes us through the process of making a beautiful paper cup mini album. It explains us to properly cut the edges of the paper cup, to stick first the color page in the folded paper cup, making ready the plain album pages and punching it altogether. Finally embellishments are also done to add beauty to the mini album. Now the album is ready. After watching this video, any viewer develops the art of creativ...
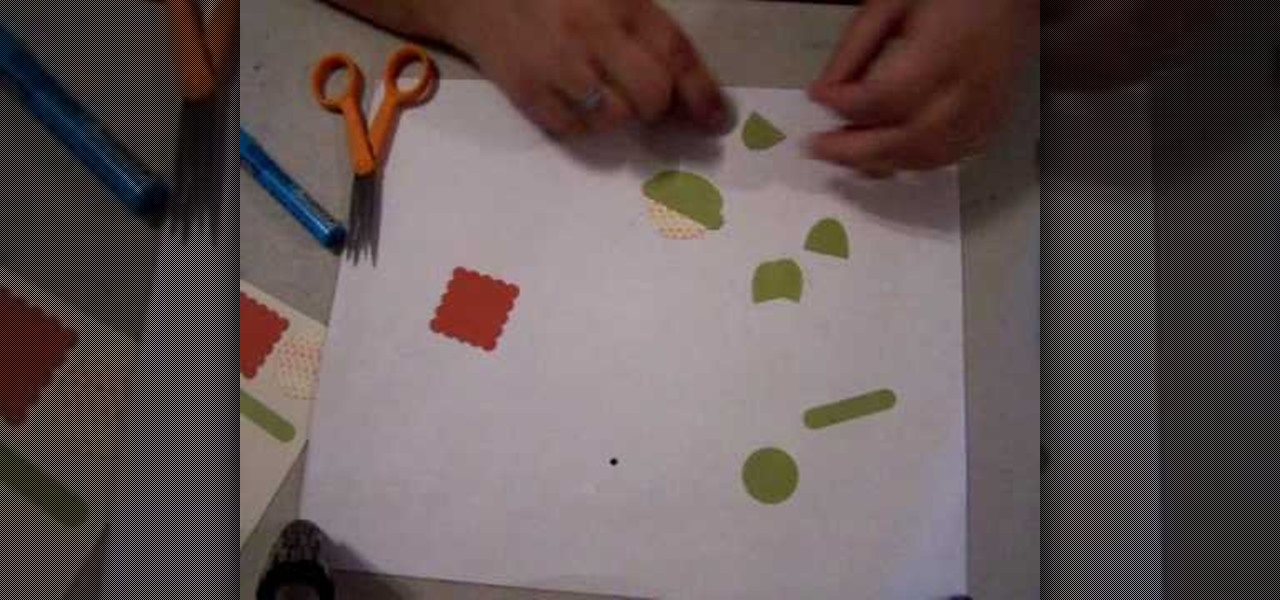
Are you looking for an inexpensive way to make home made crafts? Bonnie has a great new tutorial just for you. In this episode of Bonnie's Creative Place, she will be showing you how to make a cute little turtle using Stampin' up paper punches. The video will provide you with Bonnie's easy to learn process and you will be surprised at how just a few household tools and office supplies are needed in order to make your very own high quality crafts. Don't miss out!
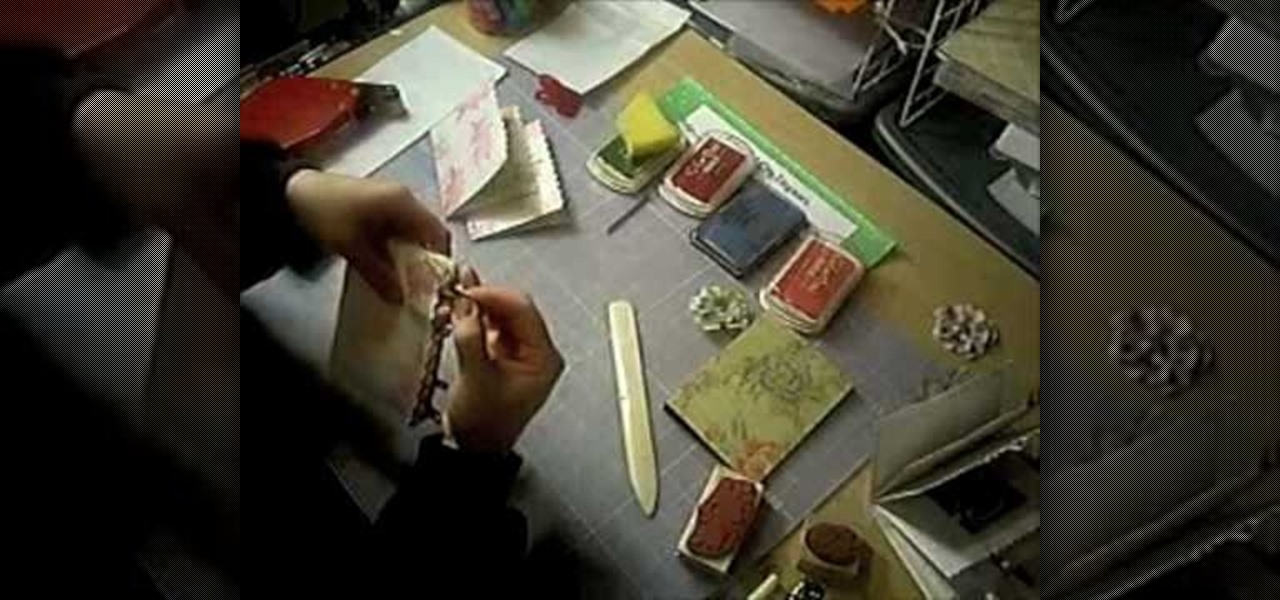
If you have ever thought about making a paper-bag album for artist trading cards, this is the video for you. Ozsomenurse captures this in a simple video saving you money. The required materials are easy to acquire. They are all available at your local craft store. This video provides very descriptive and easy to follow instructions. The finished product is a cute, hand-crafted album for your artist trading cards.
Are you a scrap booking nut? Why not add some flare to your page with a three-dimensional looking photo collage? 3D photos are the best way to jazz up a page and take it from boring to popping! In this step-by-step tutorial, learn how to make your photographs from Fourth of July a three dimensional fireworks experience using a Fiskars' Fingertip Craft Knife, as well as a self healing matt, a 5x7" background photo, a 4x6" focal point photo, and some Ranger's Pop It! Shapes. Before beginning yo...
Learn how to use the Tim Holtz' Distress Crackle Resist technique with this tutorial that gives step by step instructions on applying this method to a Manila tag. Materials you will need include distress crackle paint, distress ink (for this project, in "Vintage Photo", "Fire Brick" and "Black Soot"), Inkssentials' ink blending tool, foam, nonstick craft sheet, Inkssentials' Mini Mister filled with water, heated craft tool, paper towel, stamp, and a Manila tag. After done, use this tag in a s...
If you want a hobby that is fun and rewarding, cheap and easy, and fun, then handmade nylon flowers (stocking flowers) is an easy craft to learn. Do it yourself-- you will be so impressed by the result. See how to make nylon stocking flowers!
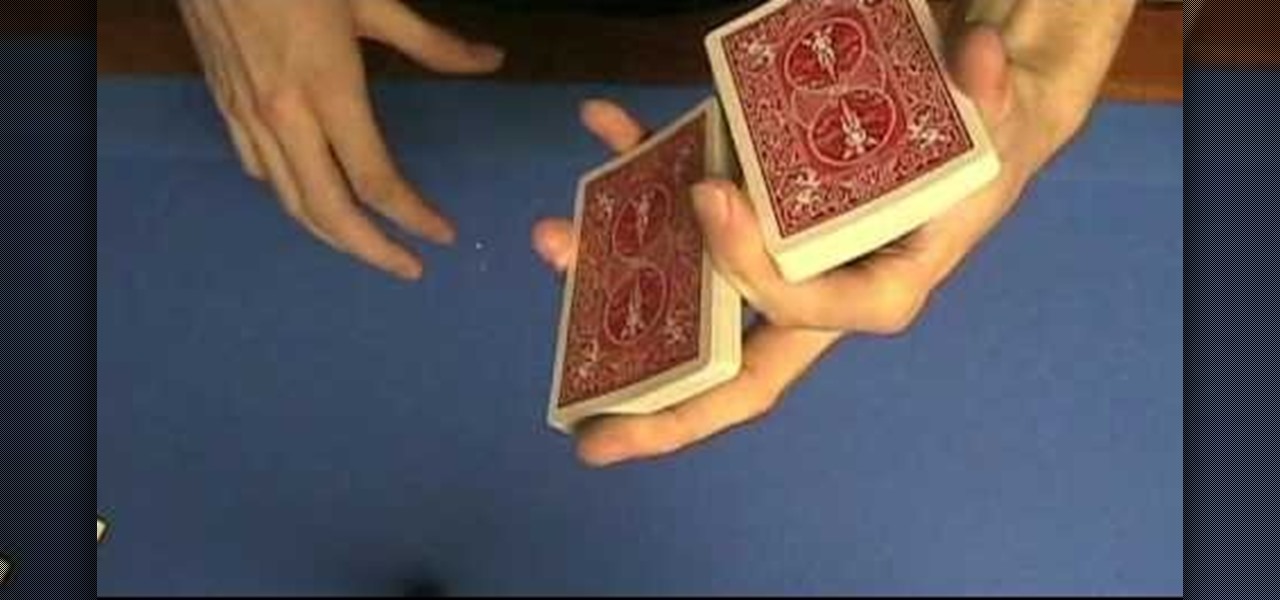
Learn the craft of magic. This magic tutorial demonstrates the following trick: the one handed shuffle. Jarek is an 18 year old magician here to instruct his love of magic. Magic tricks take time and patience to learn. Watch this magic trick tutorial to master the one handed shuffle.
Learn the craft of magic. This magic tutorial demonstrates the following trick: false cuts. Jarek is an 18 year old magician here to instruct his love of magic. Magic tricks take time and patience to learn. Watch this magic trick tutorial to master false cuts.
There are lots of different ways to make windchimes, but three parts are essential; you will need something to hang it with, something to hang it from, and something to make some noise. This how-to video from a Piece of Craft shows an eco-friendly wind chime made from an old sink strainer, old keys, and colored twine. Watch this video crafting tutorial and learn how to make a windchime out of keys, or whatever other recyclable materials you want.
Thomas Maiorana of Boot y Amor gives tips on how to make your own shoes like the ones from craft magazine. DIY (do it yourself!) by hacking into the shoes!
Learn how to make a papier mache skull by first learning how to mix papier mache and then how to make a jaw bone. Part 2 of this informative craft how to for making a cool papier mache skull starts with building from the jaw bone in part 1 the project continues with the making of the skull. Part three shows the details, sculpting, painting and completion of this cool papier mache craft project.
Watch a 41 part series on Spore's Space Stage. How will you create the universe? With Spore you can nurture your creature through five stages of evolution: Cell, Creature, Tribe, Civilization, and Space. Or if you prefer, spend as much time as you like making creatures, vehicles, buildings and spaceships with Spore’s unique Creator tools.
Watch this video to learn how to paint a Warhammer 40k Space Marine. This tutorial will teach you which paint brushes you need, how to put your Space Marine together and how to prime you Space Marine.
Nothing is worse than an environmental disaster, especially in Dead Space, and especially in Environmental Hazard, the sixth chapter of the horrific PlayStation 3 video game. Okay, there may be one thing that is worse… dying in Dead Space. That's where this NextGenTactics video walkthrough comes in handy. Also, check out the other chapters in Dead Space:
Correct your course of action in Dead Space for the PlayStation 3 and follow along with NextGenTactics to learn how to beat the third chapter in Dead Space, called Course Correction. If this level is kicking your butt, then the only way for you to win is to watch and learn. Gaming ain't for everyone. Either is space. Check out the other chapters in Dead Space:
Scrabble charms and pendants are gaining popularity in the world of crafts, because they're easy to make and fun to wear. They make great gifts, can be fully personalized and turn Scrabble into more than just a board game!
For a fun novelty project, try making a zoetrope at home. * A plastic coffee can lid
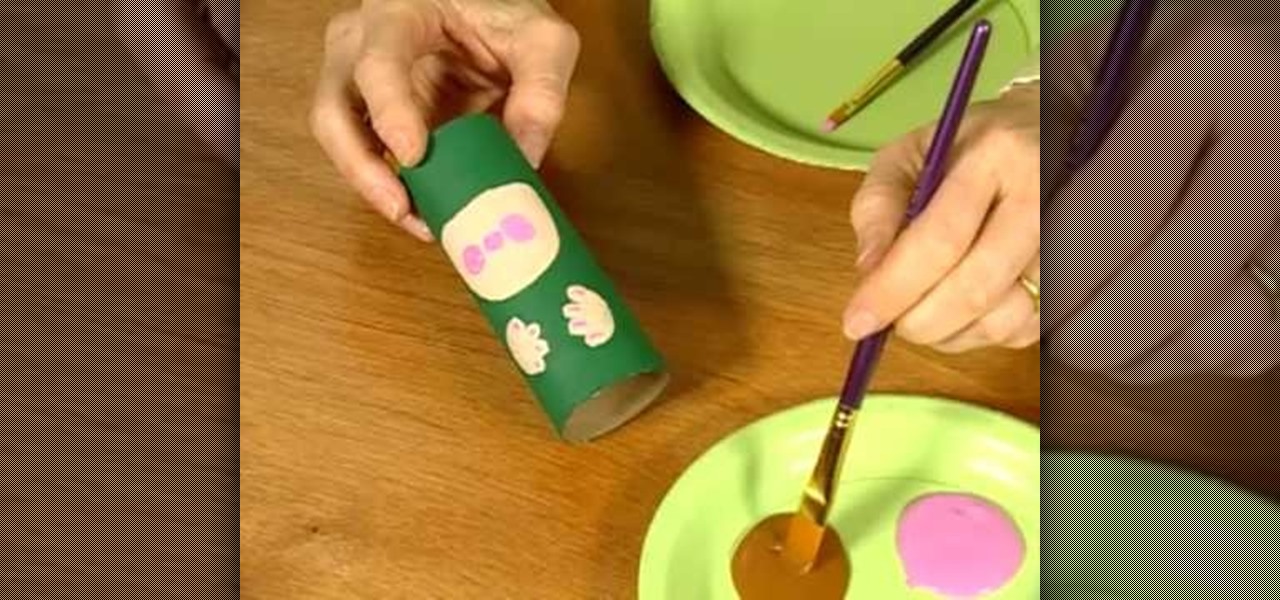
Family Fun Video demonstrates how to make a leprechaun craft project. To make the leprechaun, you'll need a small paintbrush, a ruler, green craft foam, green paint, pink paint and a skin tone acrylic paint, a black permanent marker, tacky glue, a toilet paper glue, a decorative button and four brown pipe cleaners. Trace a circle onto craft foam with the toilet paper tube and make a larger circle for the hat brim. Cut them out and set them aside. Paint the tube green and then add face, hands,...
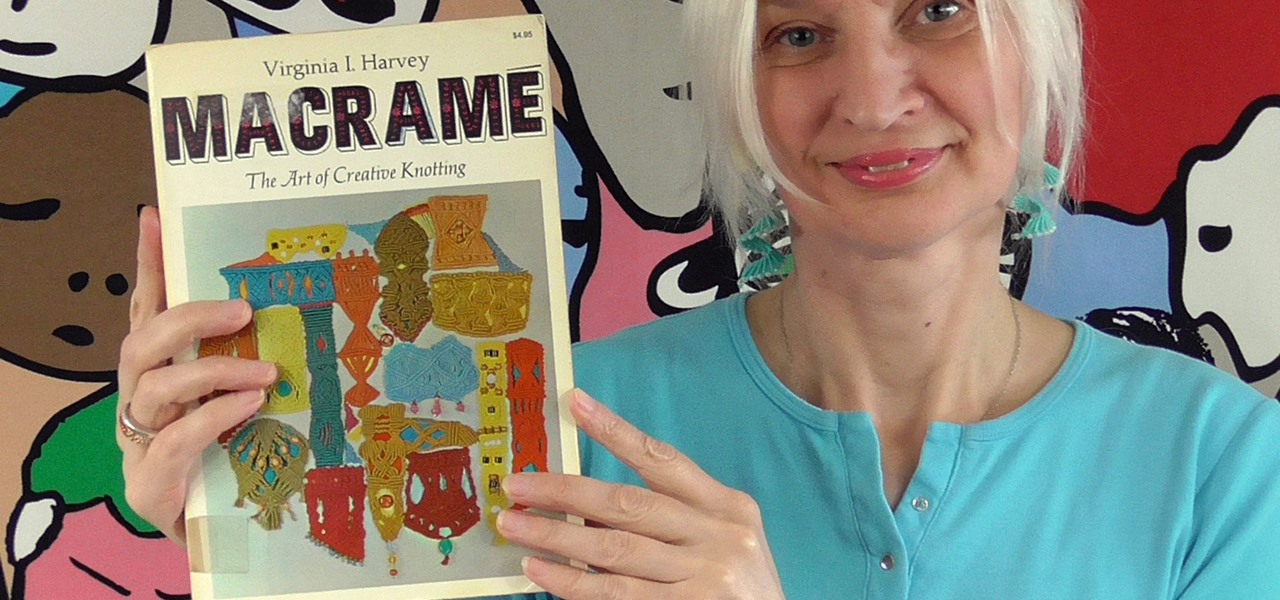
The book that started it all (published in 1967). When Virginia Harvey wrote this book, she remarked that macramé was almost a lost art...
Patti Behan shows us how to make this beautiful giraffe prints to create an amazing card. You will need:
Design a universe on your computer screen! Learn how to create a space scene in Adobe Photoshop in this free computer software tutorial from a computer design professional.
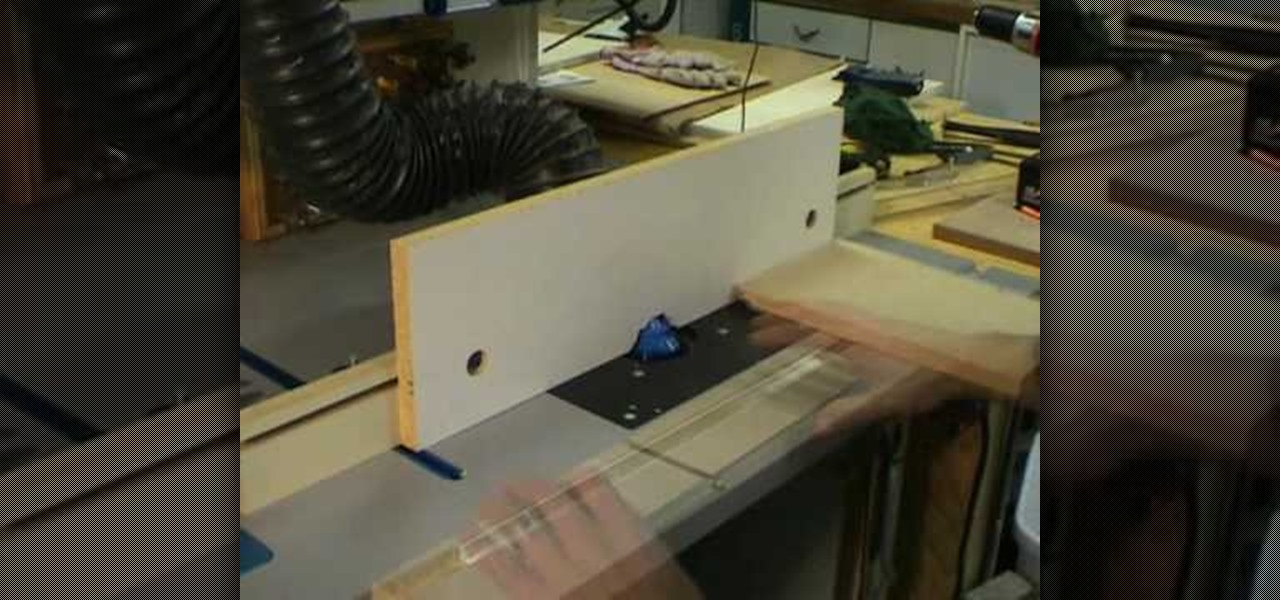
Eagle Lake Woodworking, hosted by John Nixon, offers great do-it-yourself guides for building your own furniture, especially in the American Arts and Crafts style, and turning your garage into an amateur woodshop. Search Eagle Lake on WonderHowTo for more carpentry tutorial videos. From Eagle Lake Woodworking on this specific lesson:
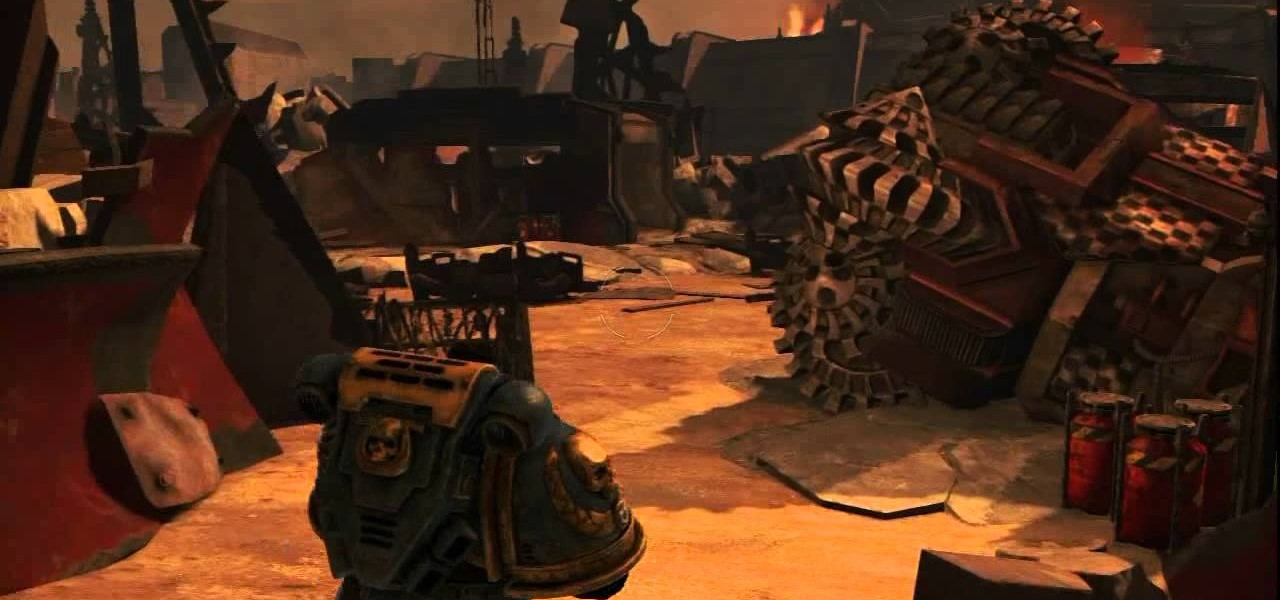
This two part Achievement Hunter guide will show you where to find all of the different skulls and collectibles necessary to unlock the 'Librarian of Macragge' achievement in Warhammer 40k: Space Marine. Keep an eye out for those skulls and audio logs so you can grab the achievement for yourself!
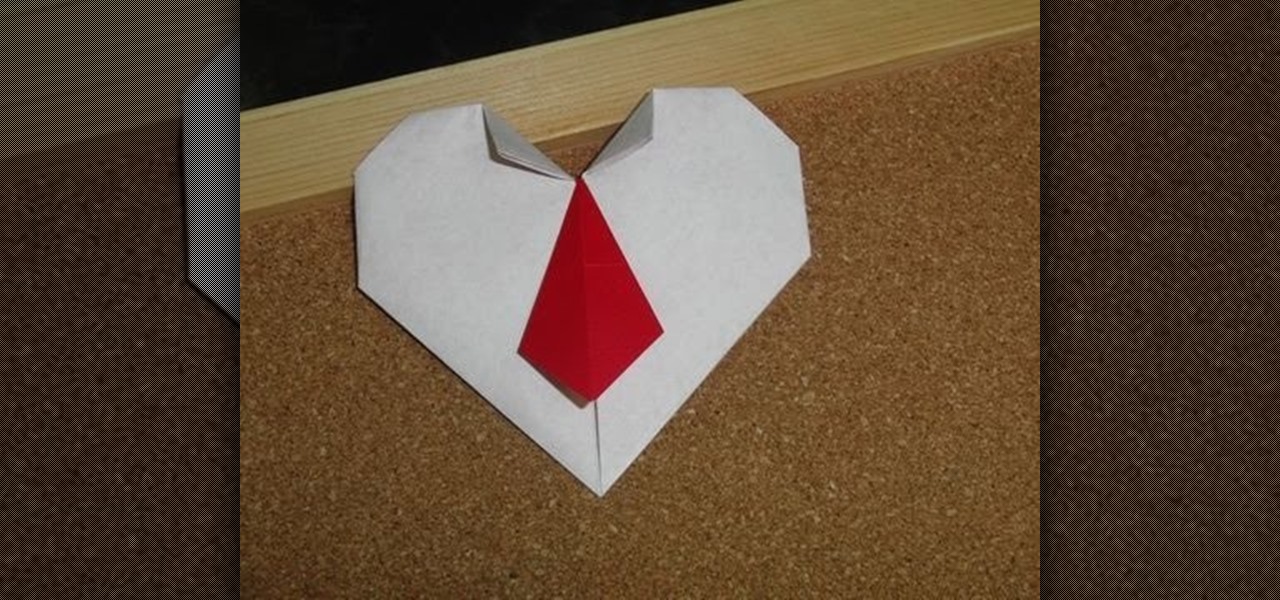
If you want your valentine to die of cuteness overload this Valentine's Day then make this origami heart complete with a necktie. While it's simply a heart-shaped origami project, it can easily be turned into a card if you write a nice message on the front or back.
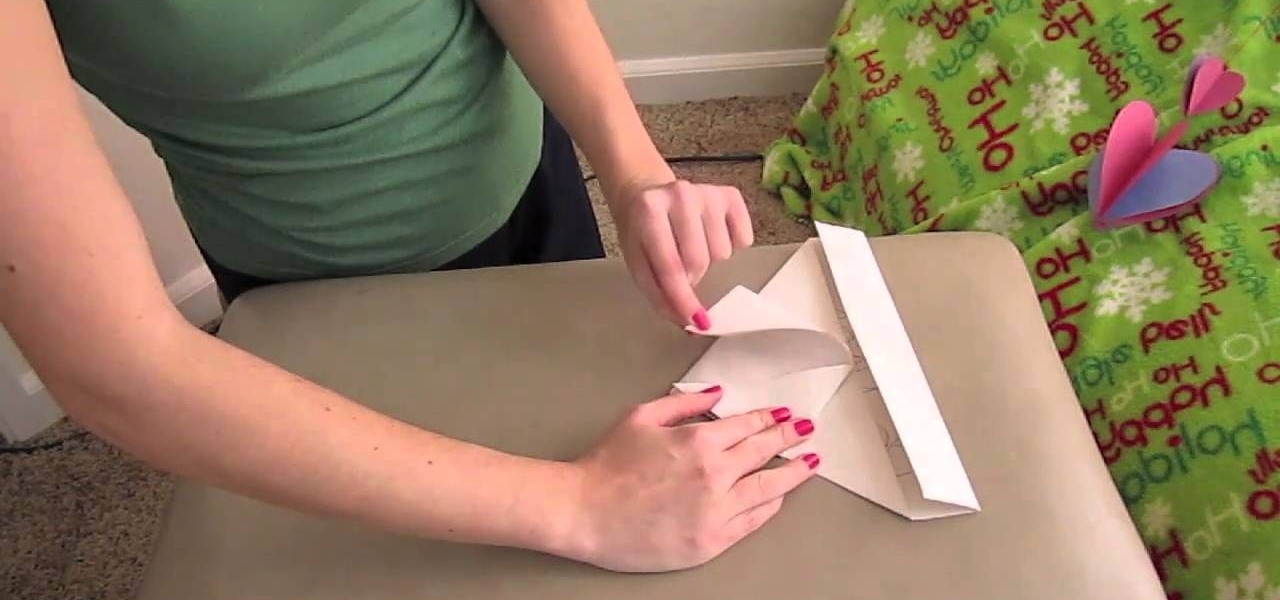
Does your heart go all aflutter for your sweetheart? Literalize what so many poets have, well, waxed poetic about by making this sweet origami beating heart. It's made so you can stick your fingers inside and actually make it "beat".
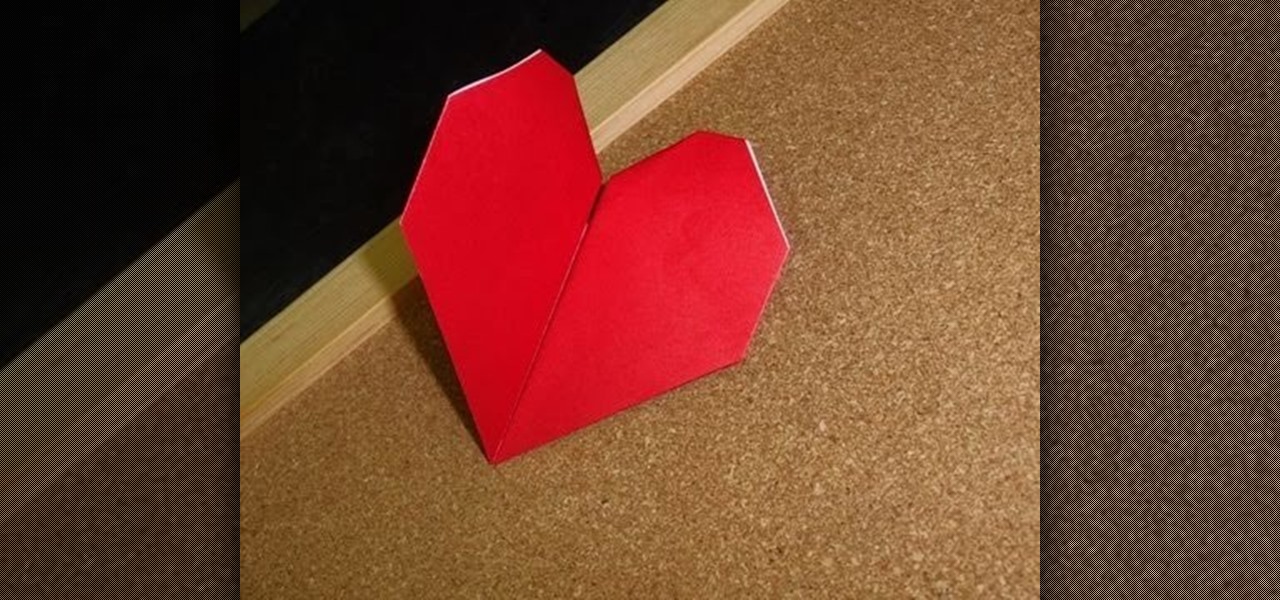
You want your special love notes to your sweetheart to be kept a secret, right? So what better way to toss him/her a sweet sentiment during class than by folding it into a heart?
What to you announces spring's arrival? For us, it has to be how all the flowerbuds in our garden seem to awaken at the same time, calling forth a beautiful opening ceremony of bright lilacs, hot pinks, and blues.
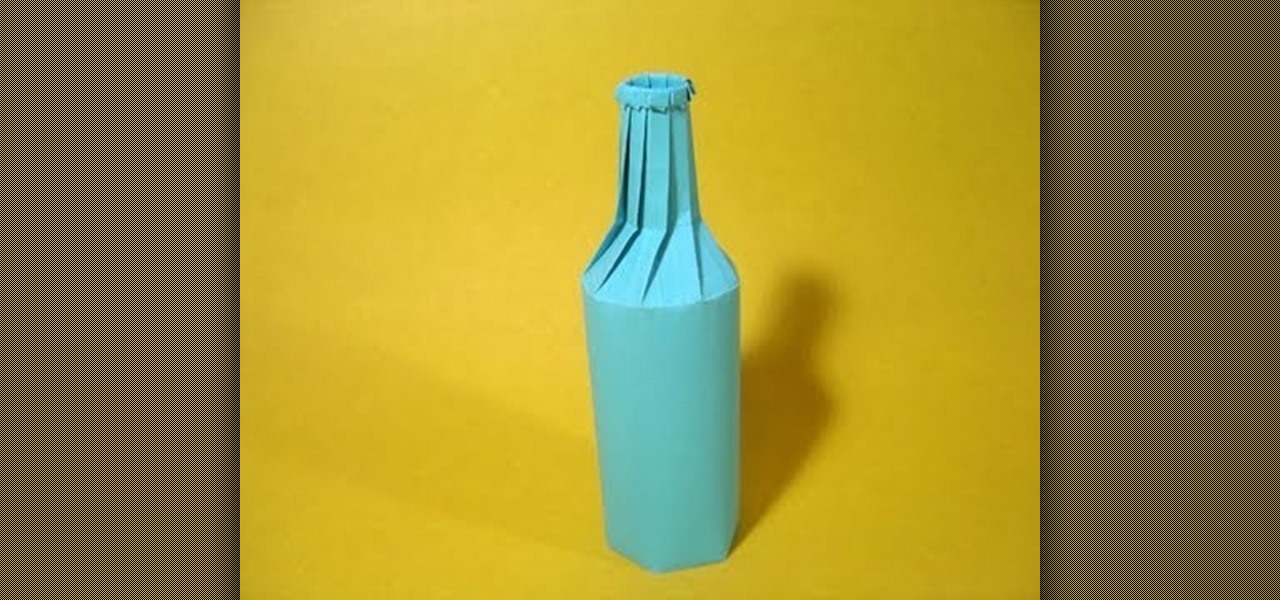
Love soda pop? Then you'll certainly have a good time folding this easy/intermediate origami soda pop bottle. It's the perfect conversation piece to add to your tabletop and can be crafted within a matter of minutes.