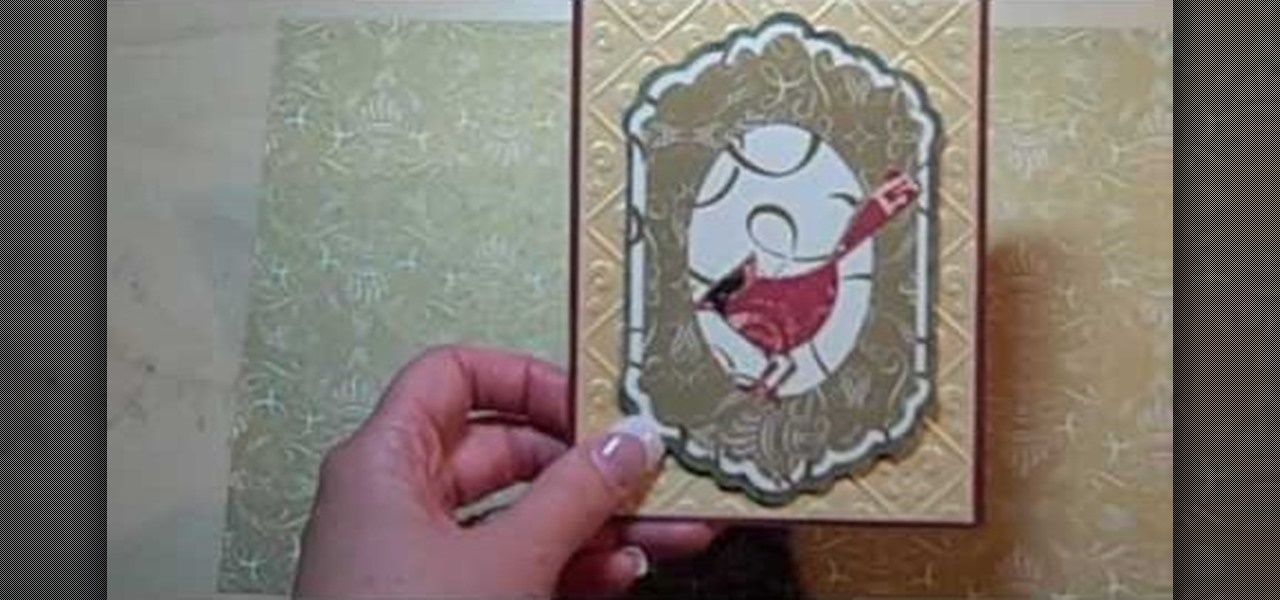
Times are tight right now, but that doesn't mean you can't have a holly jolly Christmas! Rather than purchasing a bunch of pricey Christmas greeting cards, why not make some personalized ones yourself?

Christmas to a lot of people means spending money - lots of it. And while stores go out of their way to steal every last penny from your pocket (Black Friday, anyone?), you don't have to spend any money at all to get into the festive spirit.
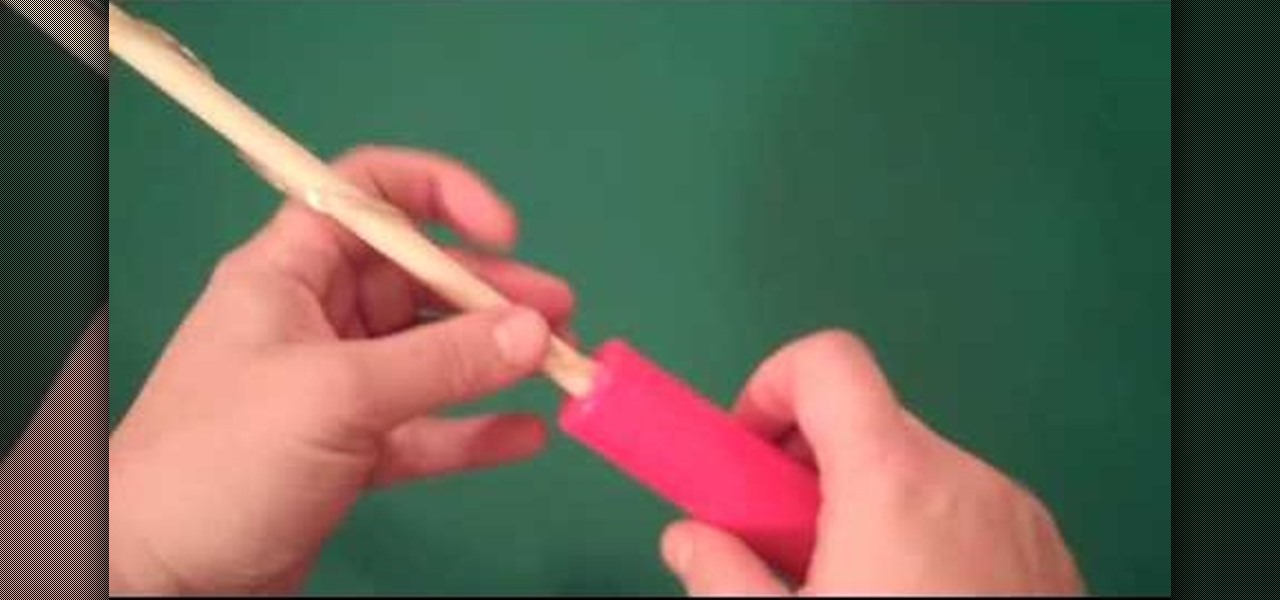
With the first installment of "Harry Potter and the Deathly Hallows" out, don't be surprised if you find yourself more than ever wanting to whip out a twelve inch phoenix feather wand and wrist twirl your way to defeating your own personal Voldemort. While this video won't teach you how to do magic (so sad), it will teach you how to craft a very cool-looking "Harry Potter" wand that can do the "lumos" spell.
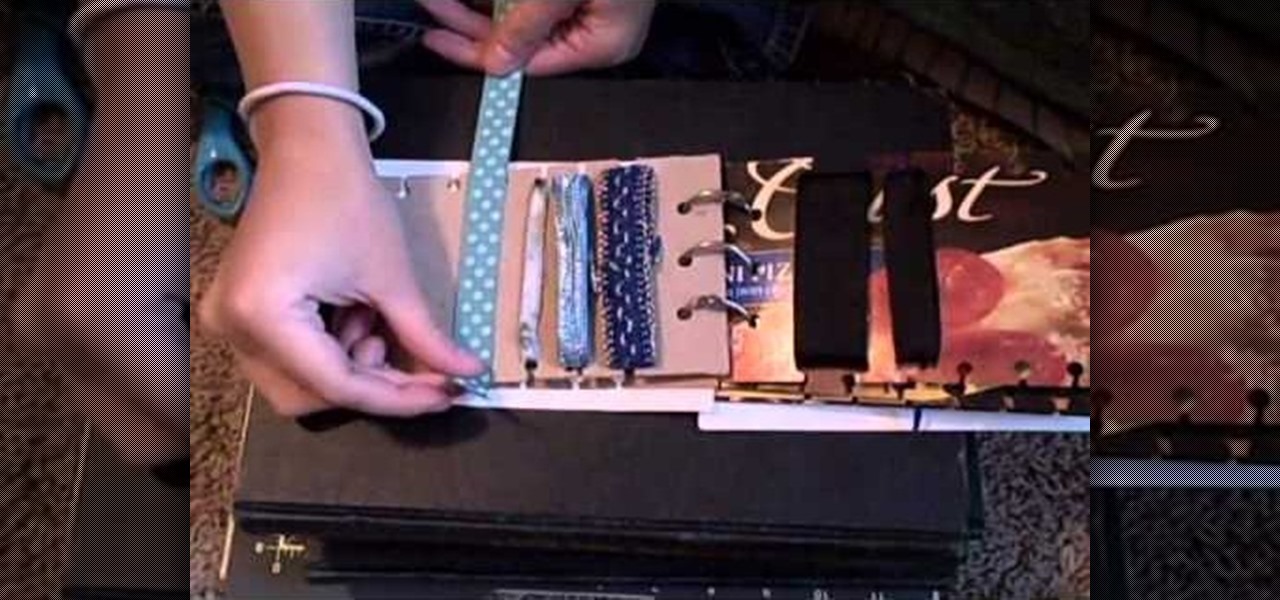
If you're an arts and crafts fanatic then you probably have more than your fair share of ribbons lying all around the house. You snip off one long piece from the roll and then you have to go and tape it to itself again to keep everything in place, and then eventually you give up and the remaining ribbon ends up in an odds-and-ends jar.
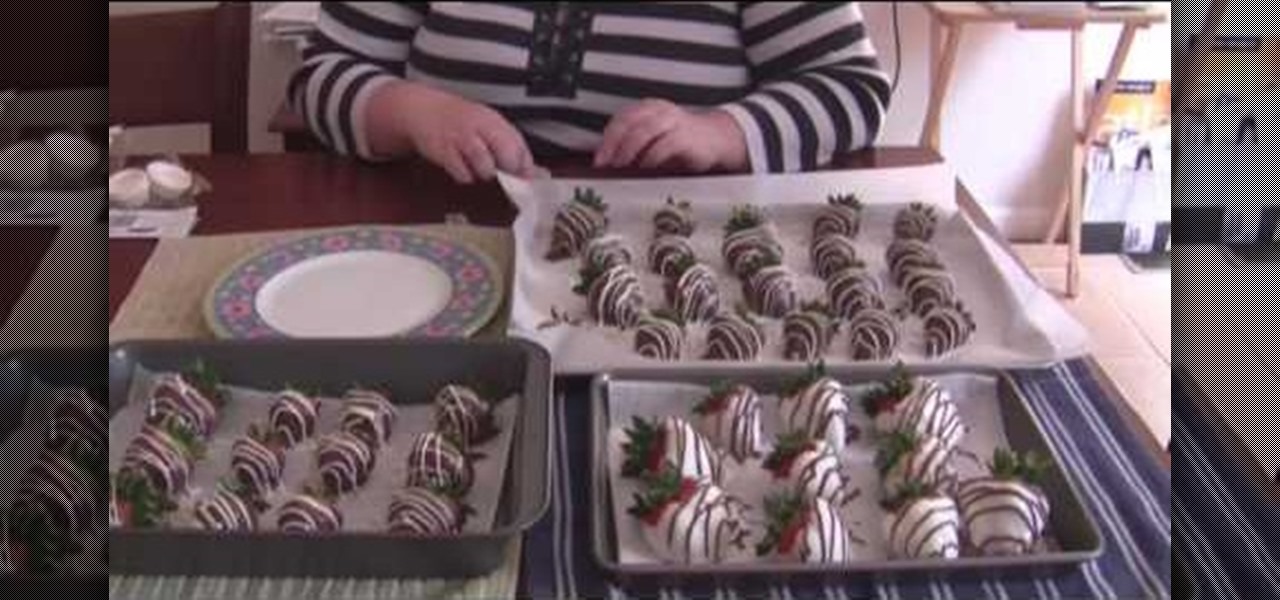
In this video, we learn how to make chocolate covered strawberries for dessert. First you will wash your strawberries and then thoroughly dry them as well. After this, you will take two squeeze bottles from a craft store and fill them half way through with two different kinds of decorating chocolate. Then, heat up a double boiler and heat up chocolate candy melts. Then, melt the two craft bottles in the hot water from the double boiler. Now, dip the strawberries into the chocolate and place t...
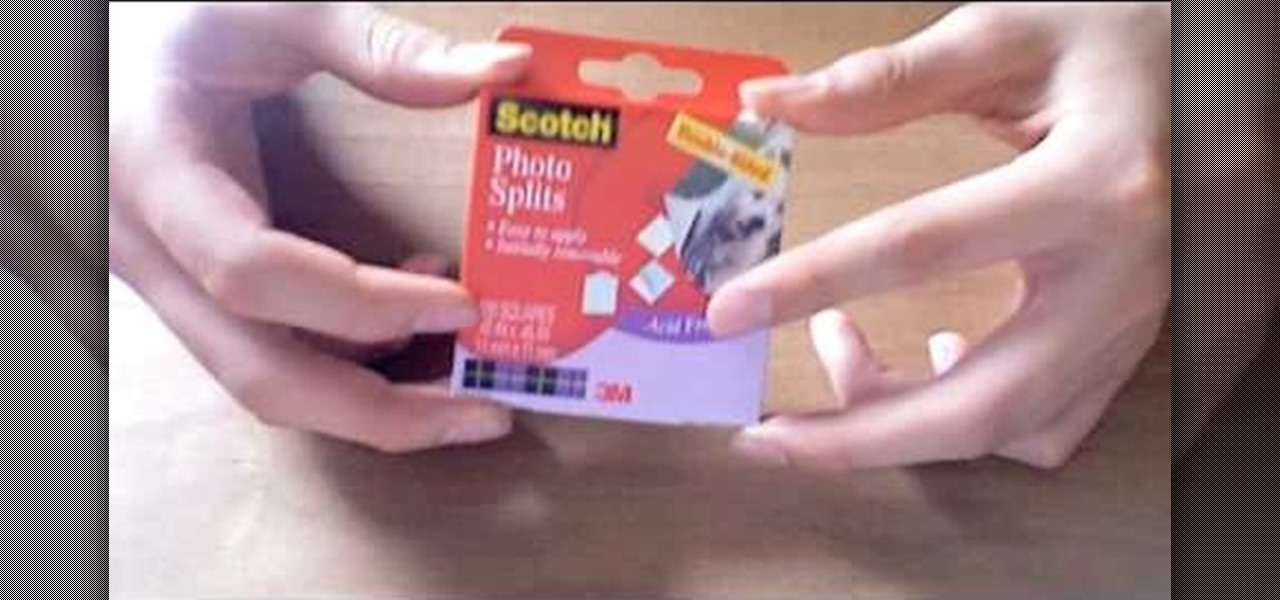
Make your own tiny katana out of paper! All you'll need is some durable printer paper or origami paper, double-sided photo album squares, quick drying craft glue, a small craft knife (like an x-acto knife), a straight edge and a cutting mat.

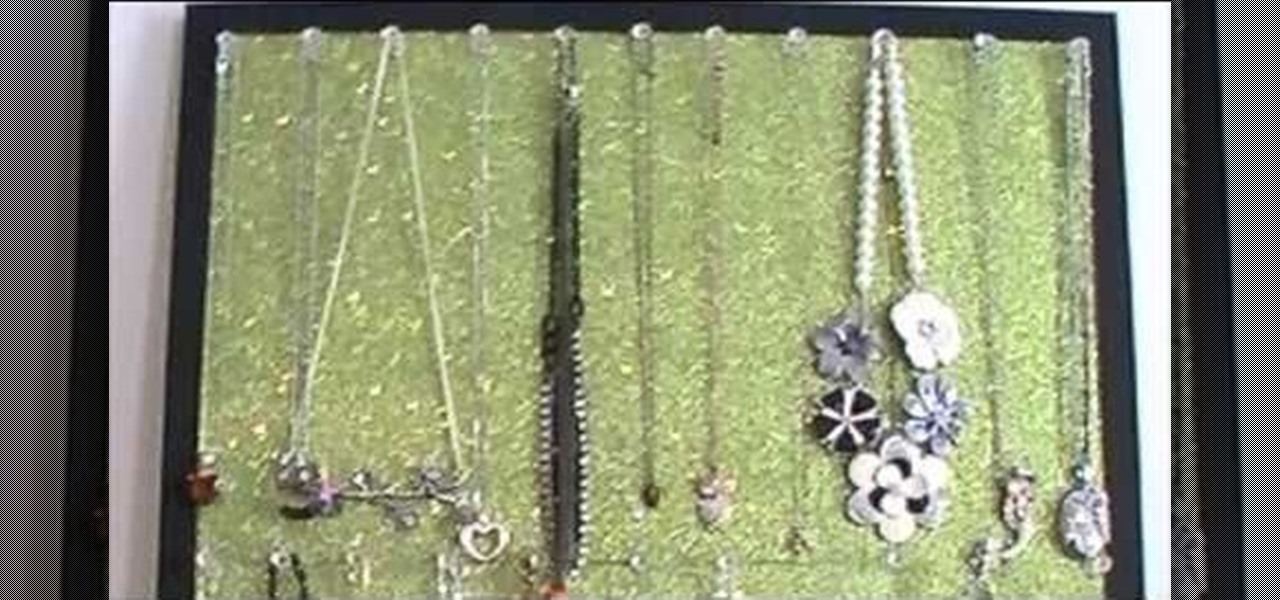
If you're anything like us, then it takes you forever and a day to find that perfect earring and necklace you want to go out, not because it's hard to decide which one, but because everything's so tangled up together you can't make out one necklace from another.

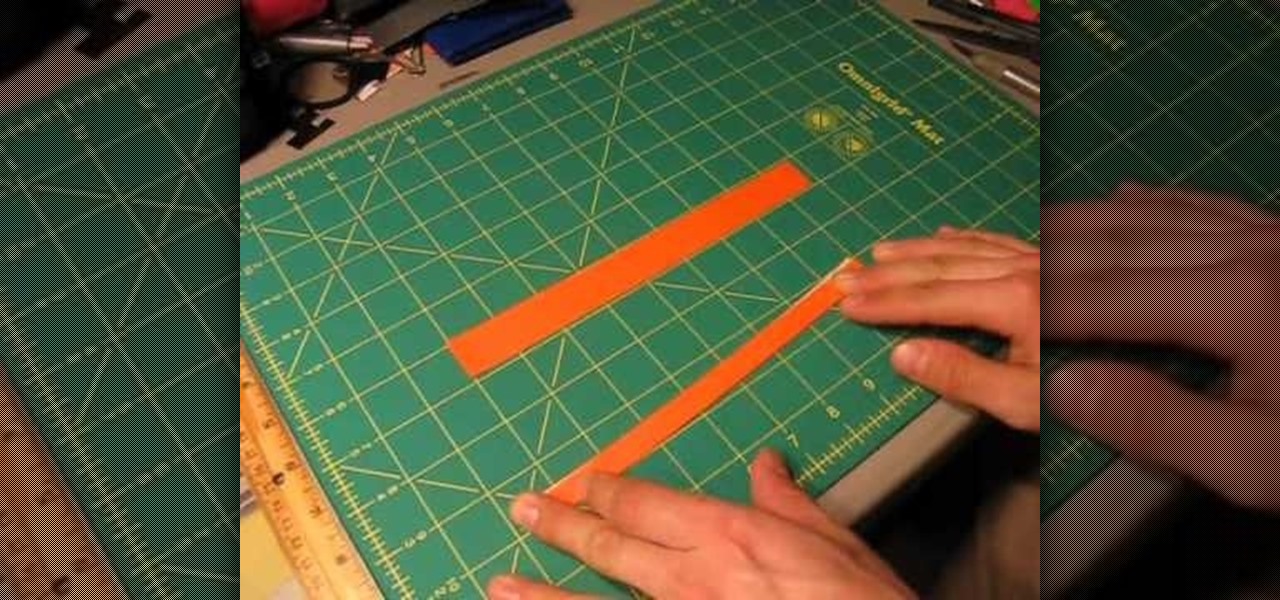
In this video we learn how to craft a paper football. First, take a sheet of paper and cut it into a strip. After this, take the strip and fold down the top into a triangle. Then, continue to fold the triangle down until you reach the end of the strip. You will have an extra flap of paper left at the bottom of the strip. Tuck this into the pocket that you have made when you were folding the triangles. Then, use this to place underneath your finger and shoot with your other for a fun paper foo...

In this video, we learn how to craft orange-and-clove Christmas decorations. First, you will need to grab some oranges from a local supermarket, along with ribbon, and cloves. Now, grab the close and pierce it into the skin of the orange. This will release the smell of the orange and give you the scent of the clove as well. You can now make any design on the orange that you would like to! When you are finished decorating these, you can attach a ribbon to any part of them that you would like. ...

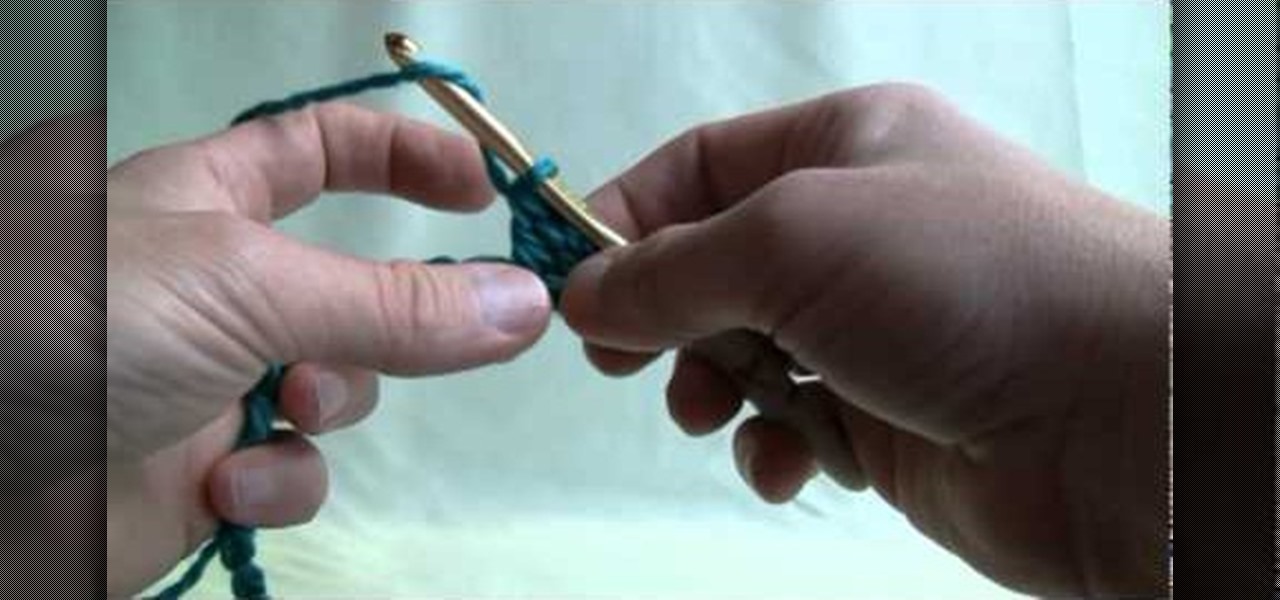
For people who are completely new to crochet, this tutorial series shows you everything you need to know to get started. From going over the basics of yarns and needle sizes, and then showing you how to execute a few basic stitches, this will get you started on your first project in no time.

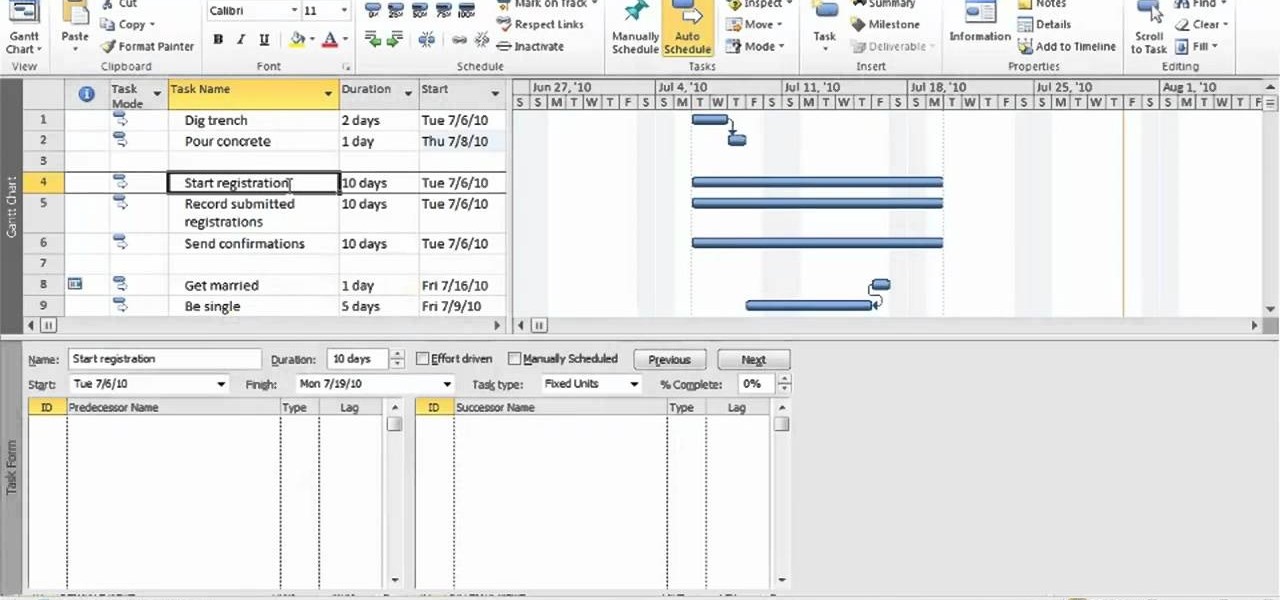
In this clip, you'll learn how to link two or more tasks in MS Project 2010. Whether you're new to Microsoft's popular project management application or are just looking to better acquaint yourself with the Project 2010 workflow, you're sure to benefit from this free video software tutorial from Lynda. For more information, including detailed, step-by-step instructions, take a look.

When you're a kid, there's nothing more fun and thrilling to do on Halloween than walking into a haunted house full of frightening decor and a "mad scientist" table laden with eerie green and red concoctions for the tasting.

By now you've probably heard of the duct tape crafting trend. If nothing else, the sour economy has inspired an upsurge of popularity in DIY stuff, including using duct tape to make everything from prom dresses to wallets.

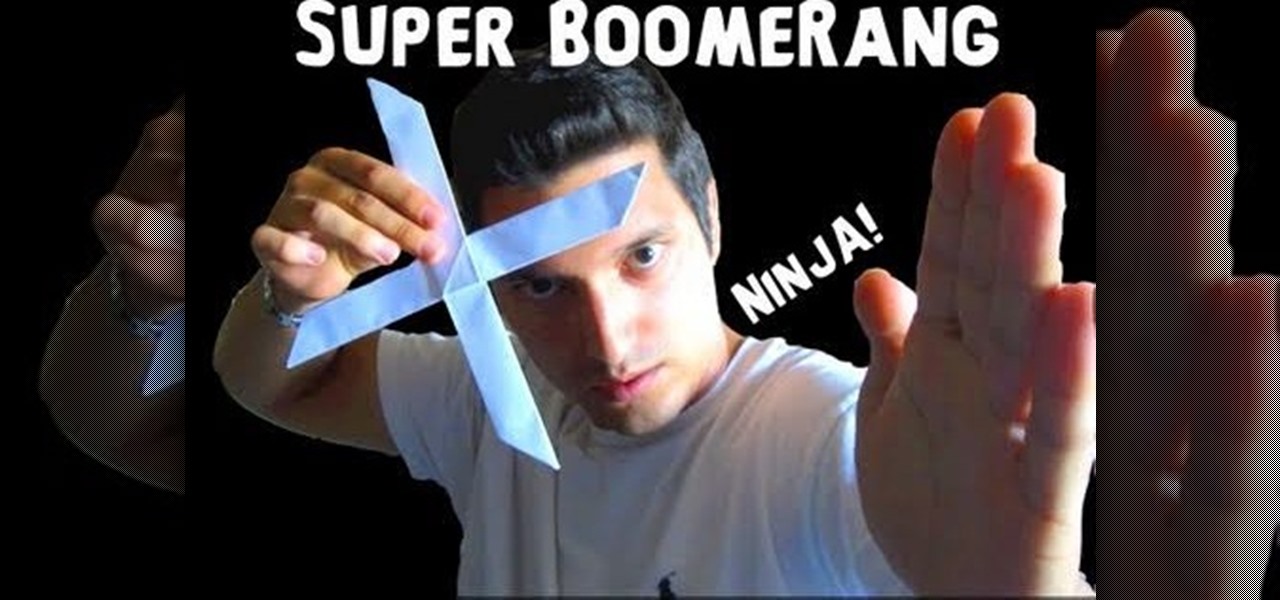
What's better than one origami boomerang that comes back to you all cool-like? Two origami boomerangs taped together, of course! Now of course you're thinking, "but that's not a boomerang at all and it won't come back to you!," but check out this video and you'll see there's a way to put together two boomerangs so that they'll create a super large and sexy boomerang.

When we were five years old, there was nothing better to do at recess than to whip out a bag full of popsicle sticks of all sizes, some glue, and then piece together the pieces as if solving a puzzle. We'd make forts, bridges, and even stick people.

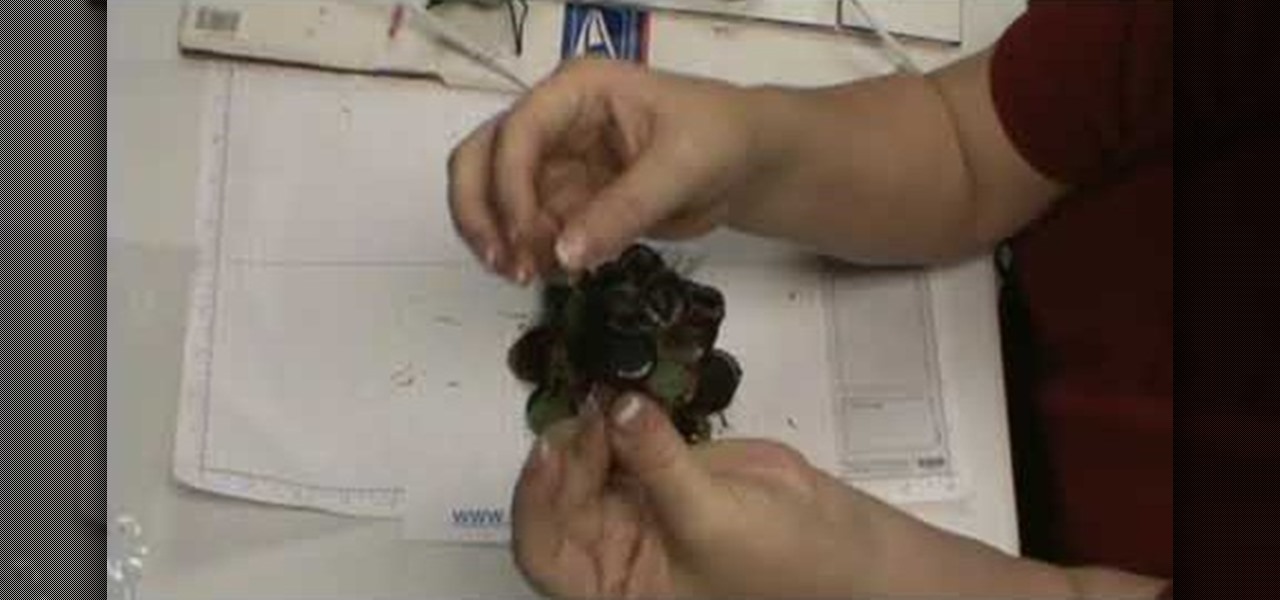
In this video, we learn how to add netting a flower pin. Once you have already out your flower together, put a pin in the back so you can clip it to your clothing. Now, purchase netting from a craft store and cut out a small rectangle. Now, fold this piece up in half and then in half once more. Now, make a triangle at the bottom and open up the flower. Find a place to put the netting in, then apply hot glue inside and use a craft pencil to push the netting into the glue. Do this a couple more...

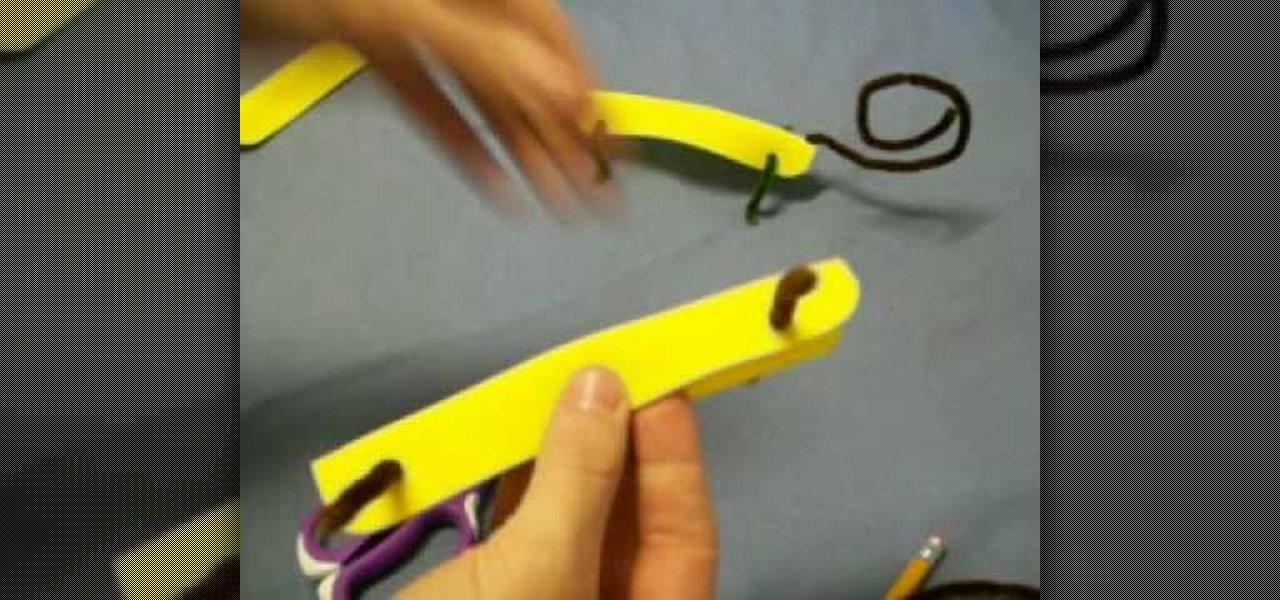
In this video, we learn how to craft a lizard out of foam and pipe cleaner. First grab your piece of foam and poke a hole into the front of it going through it, then through the back going all the way through. Next, poke the pipe cleaner through the holes so it looks like four legs. After this, poke a hole in the back to string the tail through. Poke a hole through the front and place a red pipe cleaner inside of it with a curl at the end to make it look like the tongue. To finish, draw on tw...

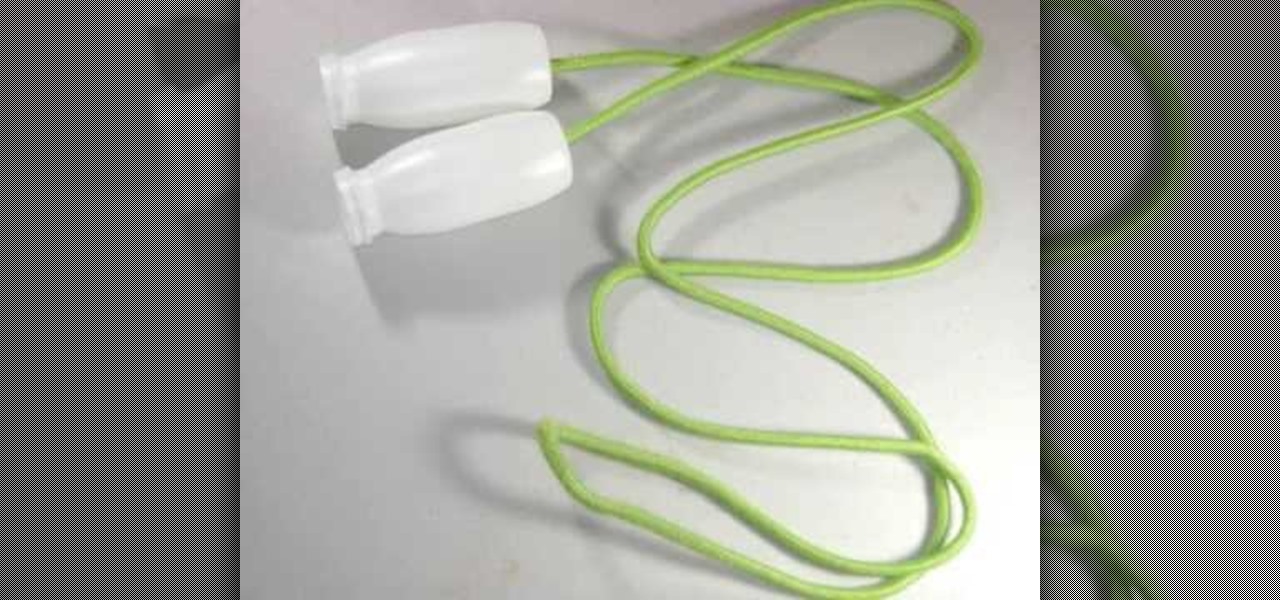
In this video, we learn how to craft a homemade jump rope with your kids. You will need: 2 think plastic containers, a heavy rope, and scissors. First, take your plastic containers and cut a hole in the bottom of each of them with the scissors. After this, place your rope through the inside of each one. Tie a knot at the end of each side of the rope so it's thick enough that it won't go through the hole you just made. After this pull the rope down and now you will be able to use it as a jump ...

We don't know about you, but we're much more fond of fake flowers than real ones. Yes we know, real flowers are quite a bit prettier and smell like heaven on earth, but the great aspect about faux flowers is that they will never wilt.

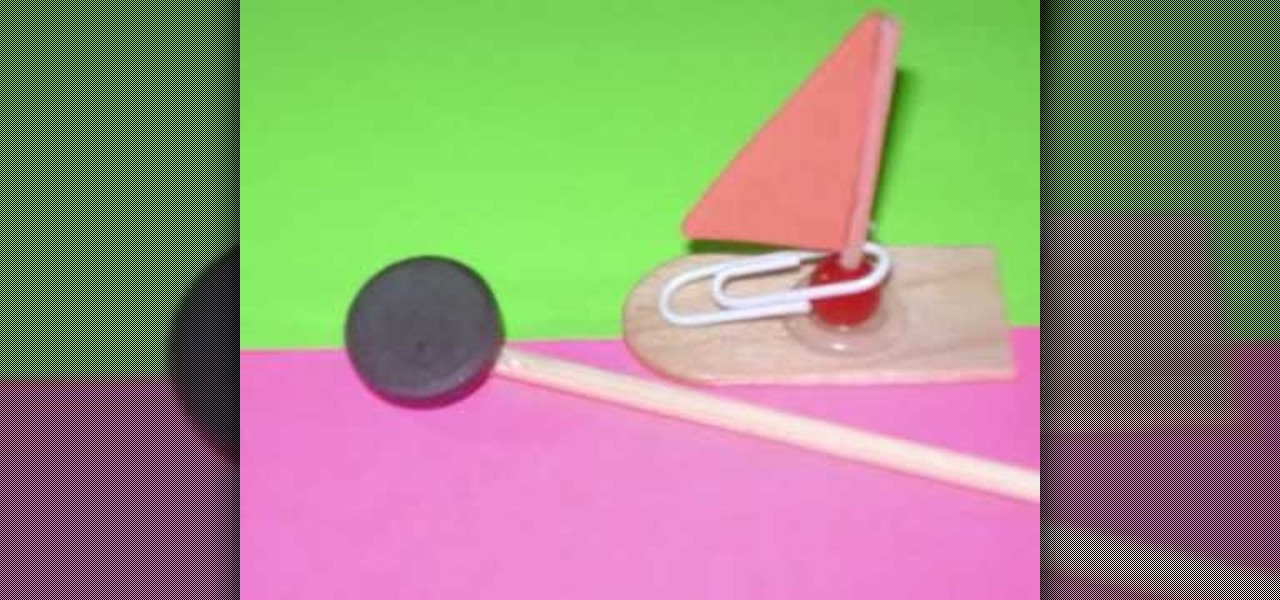
In this video, we learn how to craft a magnet boat with kids. You will need: a paper clip, a small triangle piece of foam, 1 magnet, 1 recycled stick, 1 recycled popsicle stick 1 bead, and a hot glue gun. First, attach the toothpick to the bead, then glue the triangle to the top of the toothpick. Next, cut 1/4 of the popsicle stick and attach the sail to the middle of the popsicle stick and use the paperclip the make it stay on the bow. Now, place the boat in water and attach a magnet to the ...

In this tutorial, we learn how to begin a new project in MS Project 2007. First go to your start menu, then click on "Project 2007". When this opens, you will see a panel on the left hand side, which is a project guide. Once you are in this project, you can open up a stored one that you were previously working on, or continue with a new one. You will have different task bars that correspond to the information you type in. Click on each individual task to see the information for each one. Ente...

This video tutorial is in the Arts & Crafts category where you will learn how to make papel picado using chisels. This is a traditional paper craft of Mexico. The designs you can cut on paper are only limited by your imagination. First you got to make a design on paper. Then you got to stack up 40 to 50 sheets of paper and staple them together. Now you can start cutting the paper stack using a chisel and a hammer. Choose the appropriate chisel for the design and place it close to the outline ...

This video tutorial is in the Arts & Crafts category where you will learn how to make a multi-layered embossed floral gift card. Take a piece of 11 x 8 1/2 inch Stampin' Up card stock and fold it in half. Next you punch out layers of colored paper of rose red, very vanilla, regal rose and blush blossom colors of different sizes as stated in the video using the Boho Blossom Paper Punch. Now you take a Sizzix Big Shot Die and cut out a craft paper and set the cut outs aside. Now you got to stam...

Walk into L.A. hotspot Kitson any day of the week and you're sure to find a teeming collection of celebrity endorsed jewelry, at least half of which are bohemian and breezy, made out of skilled wire wrapping and exotically colored gemstones. They're pretty, yes, but unless you have a celebrity's budget they're also hard to attain for the average person.

This video tutorial is in the Arts & Crafts category where you will learn how to make Mexican papel picado paper cuts using chisels. This is a traditional craft of Mexico. There are various forms and sizes of chisels used for this purpose. The designs you can cut on paper are only limited by your imagination. First you got to make a design on paper. Then you got to stack up 40 to 50 sheets of paper and staple them together. Now you can start cutting the paper stack using a chisel and a hammer...

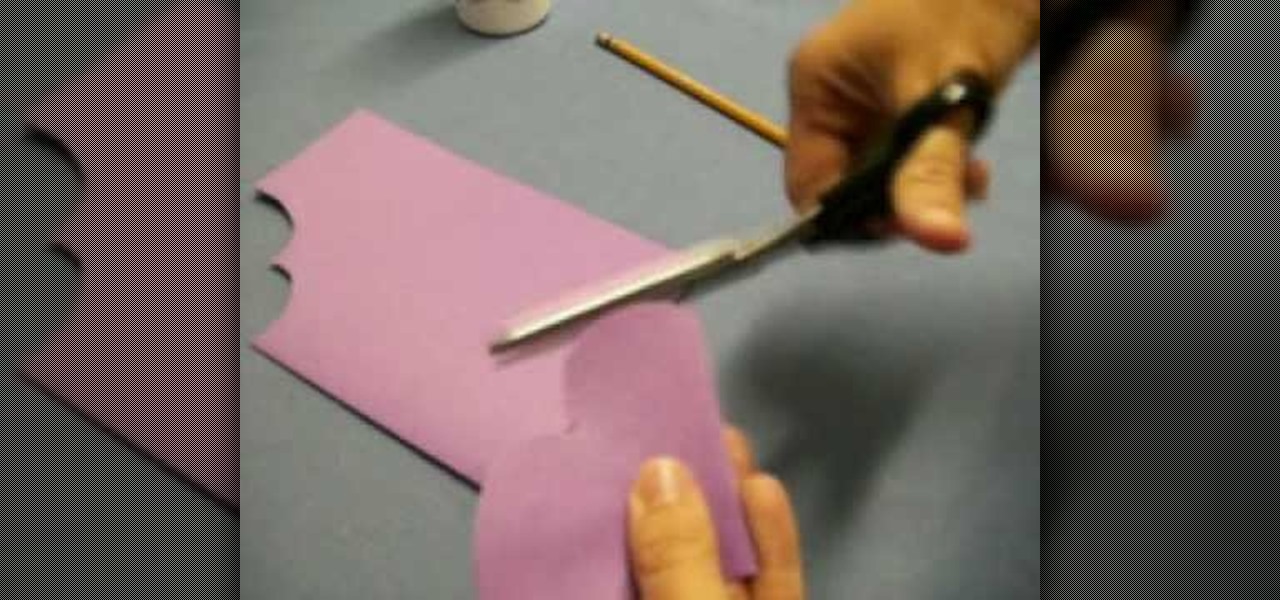
In this tutorial, we learn how to make a heart bookmark. First, take a sheet of paper and fold it in half, folding the crease. Now, take a pencil and draw two heart humps from one edge to the next. After this, cut them out, leaving the fold together. Trim any edges that aren't round, then add glue to the edge of the heart, and fold it over and let it dry. You can now decorate this will markers and ribbons. To use as a bookmark place your page in the center of the heart. This is a great craft ...

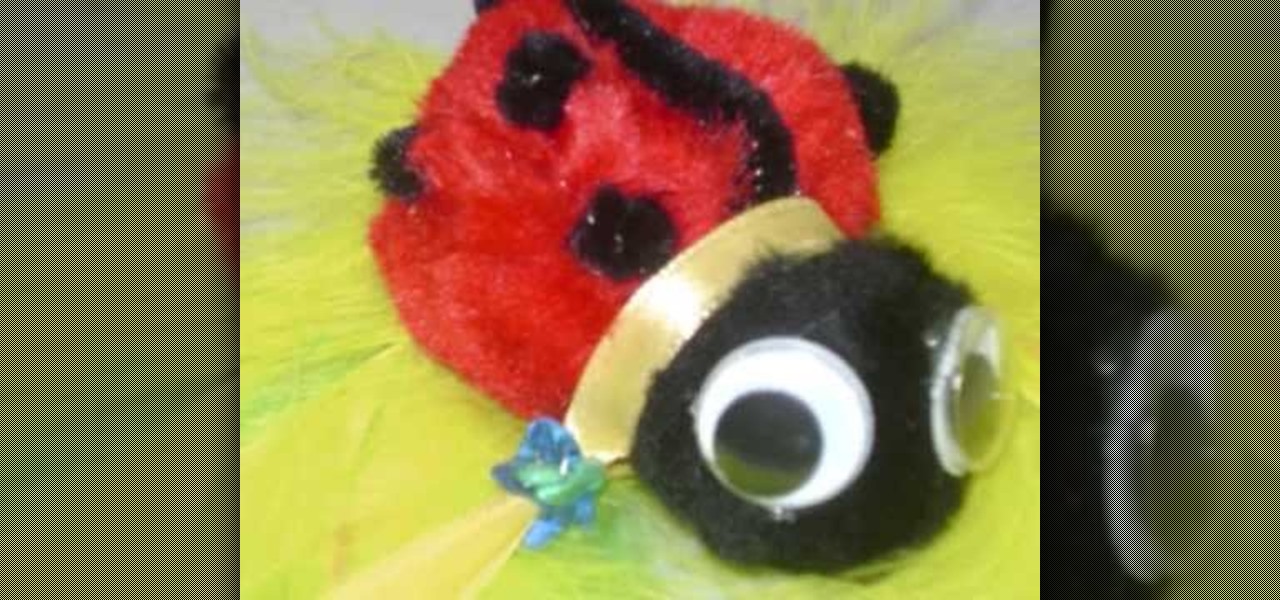
In this tutorial, we learn how to craft a pom-pom ladybug with your kids! The materials you will need are: 1 large red pom pom, 1 medium black pom pom, 1 pipe cleaner, 2 googly eyes, and one piece of lace. Start off by gluing the black and red pom pom's together with a hot glue gun. Next, use a hot glue gun to glue the googly eyes onto the black pom pom. Now glue black pipe cleaner around the red pom pom to make a stripe on the back of the ladybug. cut the pipe cleaner into little round shape...

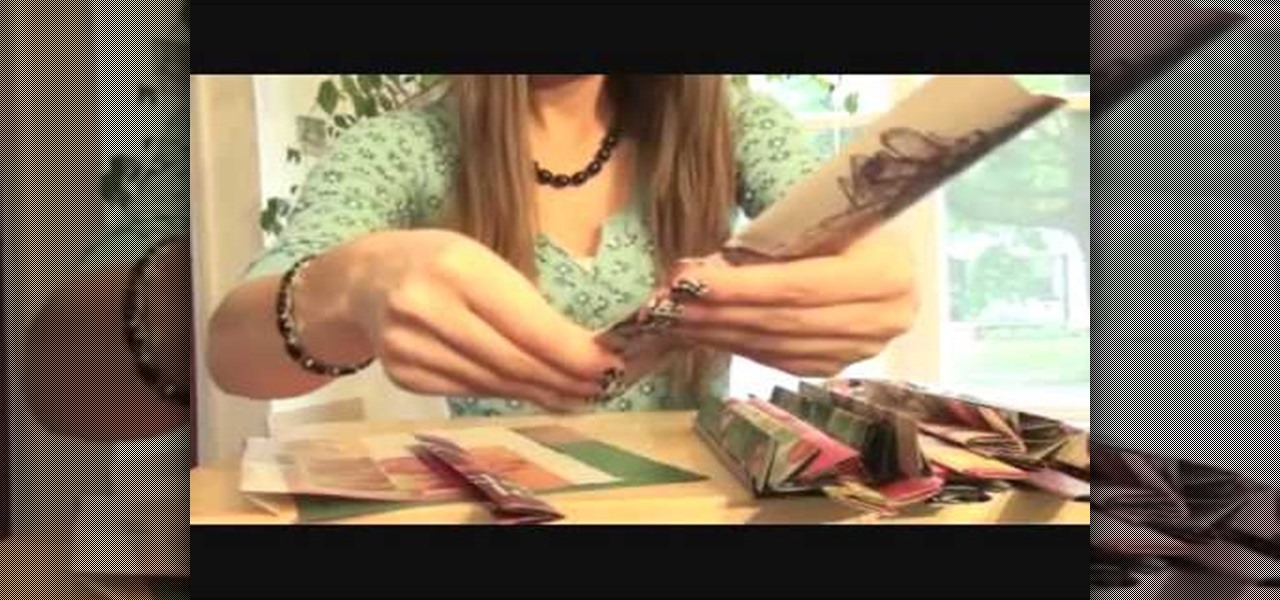
Living organically and eco-friendly can be chic if you know how to play your cards. If you're a magazine reading fiend who has more issues now than can fit in Carrie Bradshaw's closet, then you can craft an environmentally friendly magazine bag to hold all your stuff.

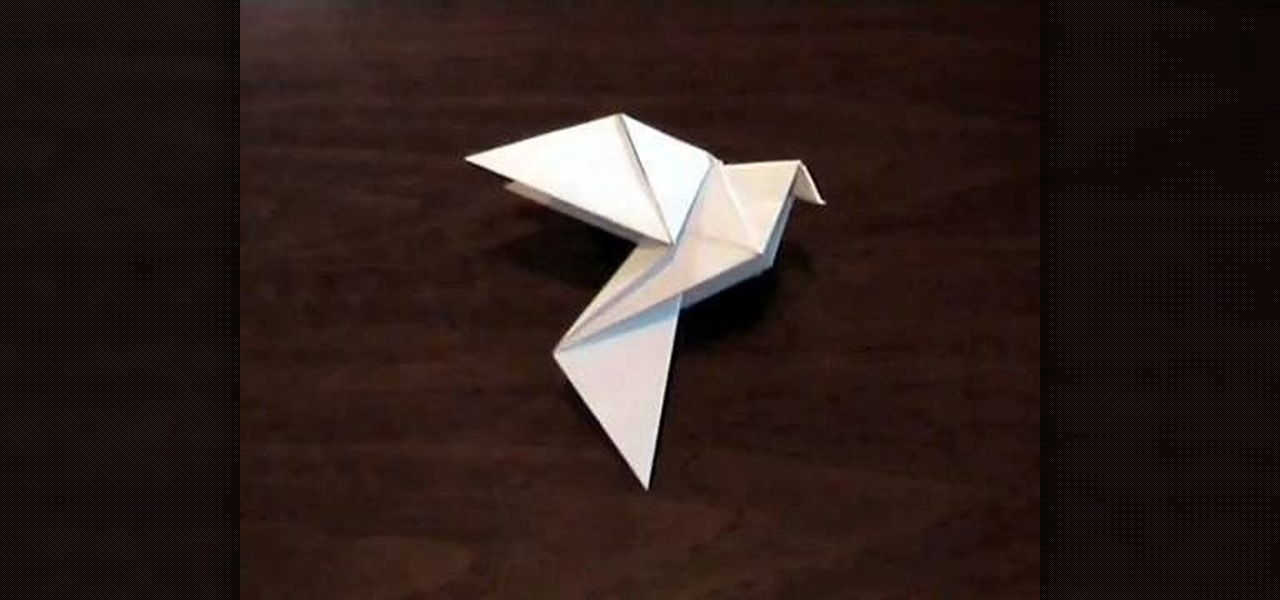
Doves are peaceful symbols of the spiritual rebirth that Easter centers itself on, and are springtime animals that herald the coming of a new season. Celebrate these cute springtime birds by crafting an origami dove.

In this tutorial, learn how to ring in the new season with a classic, girly bonnet. These hats can be made at home with common arts and crafts supplies. You can wear these floppy hats for Easter, Valentines Day, or any other time you need a little shade from the sun and a little style.

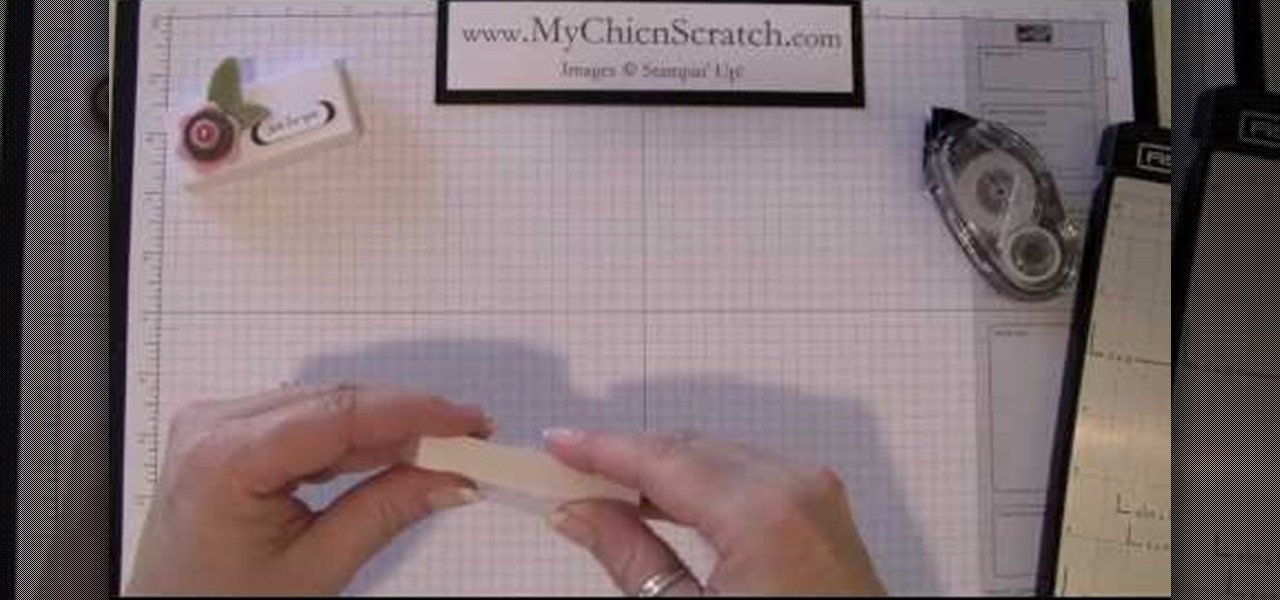
Expand your crafting horizons and learn how to make this cute little box creation! In this video, learn from Angie Kennedy of My Chic n Scratch (and who is also a certified Stampin' Up! demonstrator] how to make a scallop hugs box,. This mini hugs box is perfect to give to someone you'd like to hug! Make an impression with this adorable hand crafted gift idea!

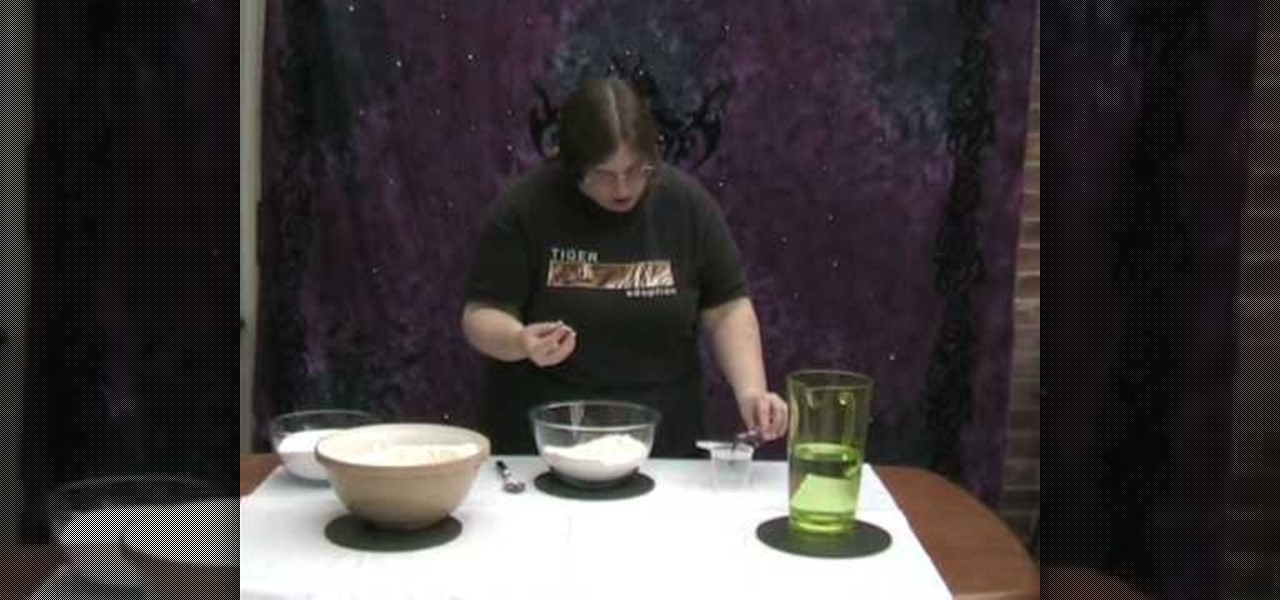
Salt dough can be used like clay for craft. This video demonstrates how to make salt dough. The ingredients required to make salt dough are a cup of salt, two cups of flour, a cup of water and food coloring. Make sure to cover your working surface with old newspaper and use a painting apron as this can get messy. Add the salt and flour in a bowl and mix with a spoon. Then measure one cup of water and add quite a good amount of food color to get the desired color and mix it into the salt-flour...

In this how to video, you will learn how to make an Evergreen wreath. You will need pine cuttings, craft wire, a frame, and decorations such as pine cones. Each cutting should be about 8 inches in length and have a firm section that will attach to the base. They should also be very bushy. Wrap the craft wire around the sturdiest part of the pine cutting. Keep adding and attaching pine cuttings over the previous cutting until you go around the entire frame. Once this is done, add the decoratio...

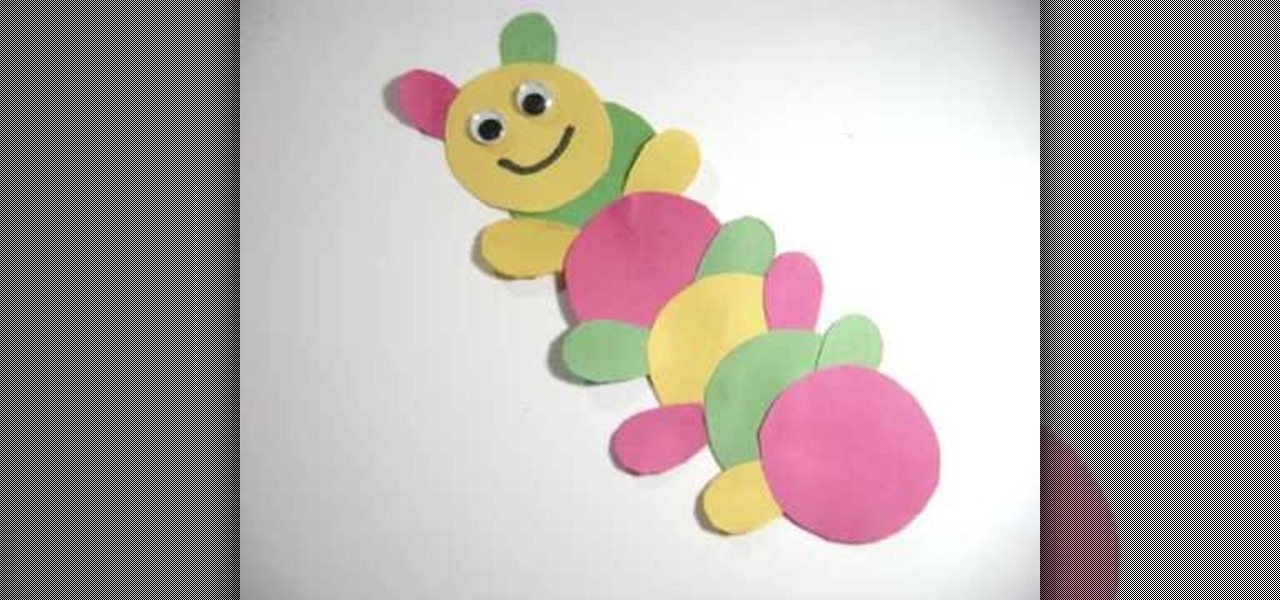
Another adorable craft you can make with your little ones is a paper caterpillar. The best part about this little guy is that he's flat and perfect for hanging on the refrigerator with all of your kids' other masterpieces!

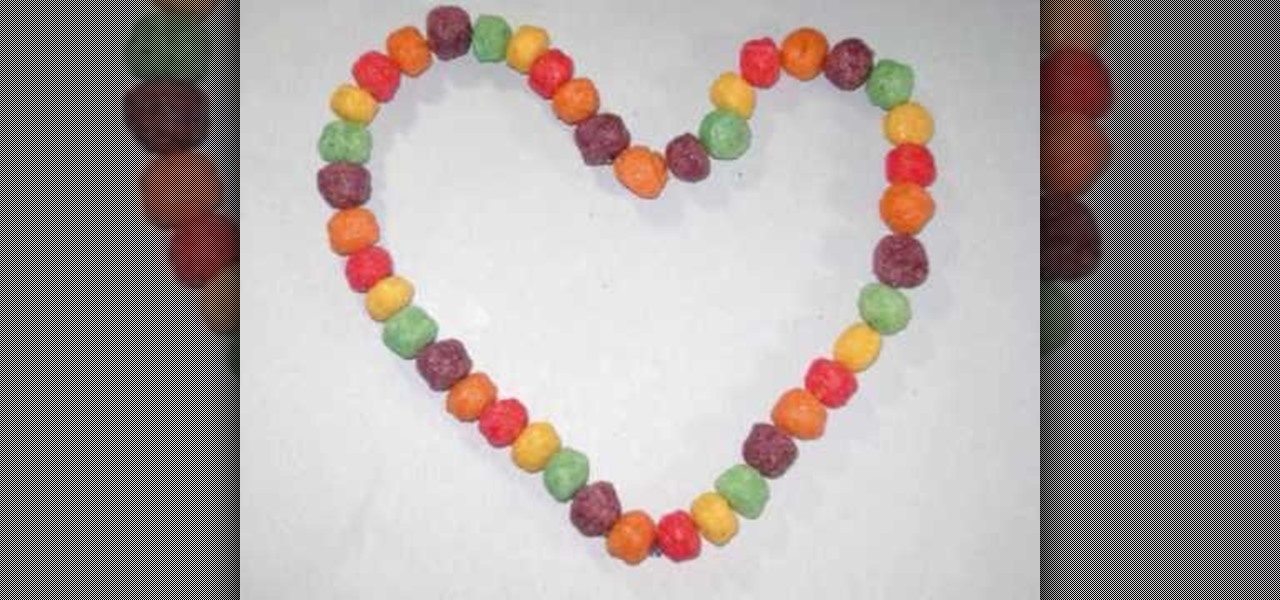
Remember those delicious candy necklaces from childhood? Well, in this tutorial, learn how to make a healthier alternative.

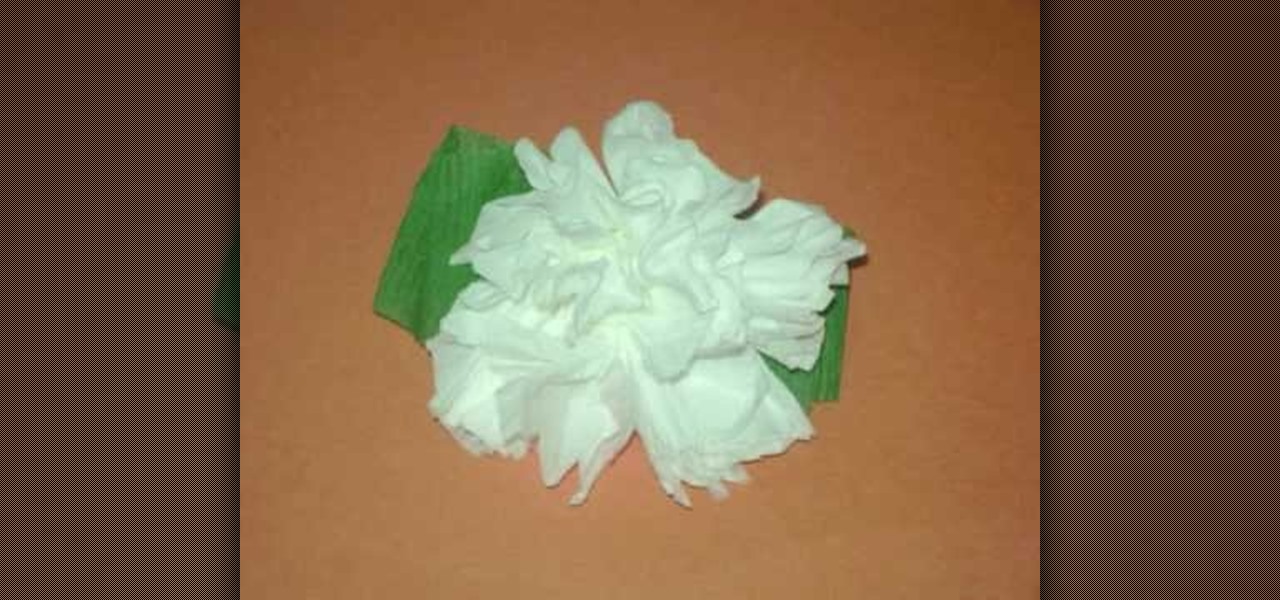
One of the most fun activities when you are a kid is making something pretty to bring home to mom. In this tutorial, learn how to make carnations out of toilet paper for a fun kid's craft. Carnations make a great craft for Valentines or Mother's Day and are easy to make with even the youngest elementary students.

Be a DIY superstar and impress your friends with your newfound craft skills by turning simple votive candle holders into a hanging candle tree. You can do it all with simple home supplies and by following the instructions in this video.

In this video tutorial, viewers will learn how to make a charm bracelet. The materials needed to make the bracelet are: a light silver plated chain, 100 grams of plain glass mix, 1 toggle clasp and 100 headpins. All these materials can bought from Beads Unlimited. The tools needed for the bracelet are: flat-nosed pliers, round-nosed pliers and cutters. This video is descriptive and clearly explains all instructions. This video is at a slow pace and provides step-by-step instructions that will...

In this video tutorial, viewers learn how to make a simple pair of earrings. This craft only takes a minute to do. The materials required to make these earrings are: 2 large beads, 2 medium beads, 4 small beads, 2 seed beads, 2 earring pins, 2 earring hooks and pliers. Put the beads on the earring pin in this order: small, seed, medium, large and small. Use the pliers to bend the pin to a loop and hook it with the earring hook. This video will benefit those young viewers who enjoy making arts...

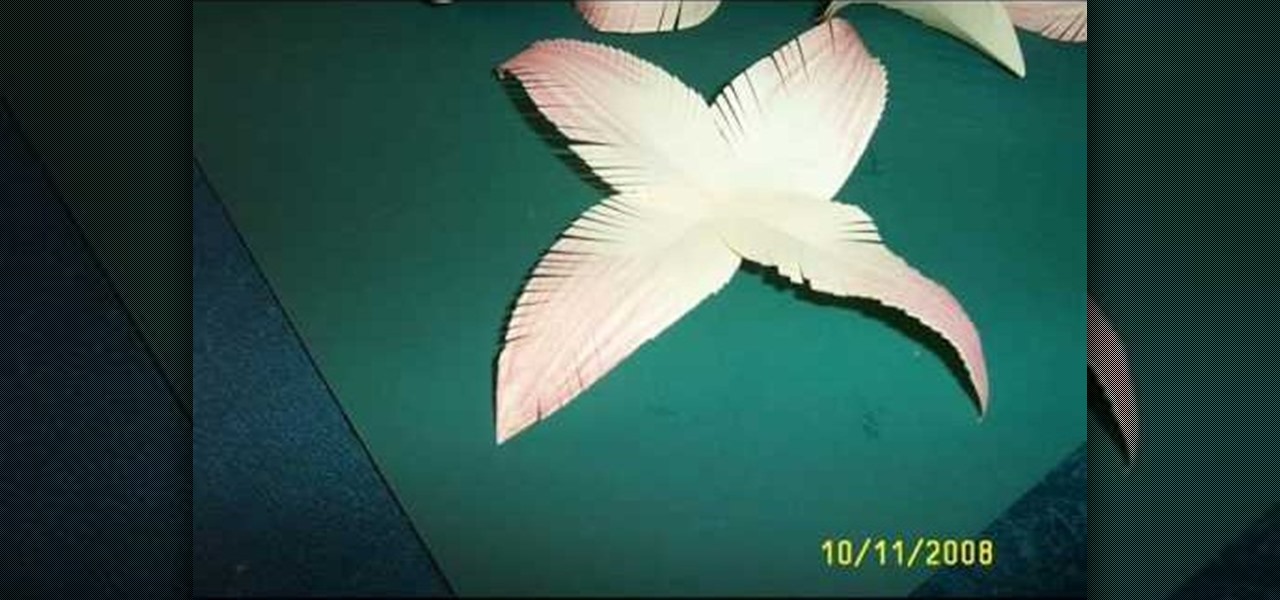
In this video you learn how to make paper flowers with paper, craft glue, crayons, and scissors. First you cut paper into strips and then fold them in half long ways before cutting them into petal shapes. You then color the tips of the petals with the crayons. Next you fold the petals in half again and cut small lines along the unfolded side to make the appearance of more natural petals. Then you layer the petals together with craft glue in a flower shape. When desired shape is reached you th...


