You know those trendy little jewelry stores that line Melrose and Robertson Blvd., filled with gorgeous yet offbeat knick knacks boasting sleek '60s contours and not too much bling? Well, you can create a similar "pretty, but not too pretty" piece of jewelry by watching this tutorial.

When the temperatures dip during the fall and winter, there's no cuter way to dress up your little one than with a pair (or two, or three...) of baby booties! Whether you make 'em in snow white, crimson red, or hippie dippy rainbow hues, they're snug and cute adornaments for those little tootsies.
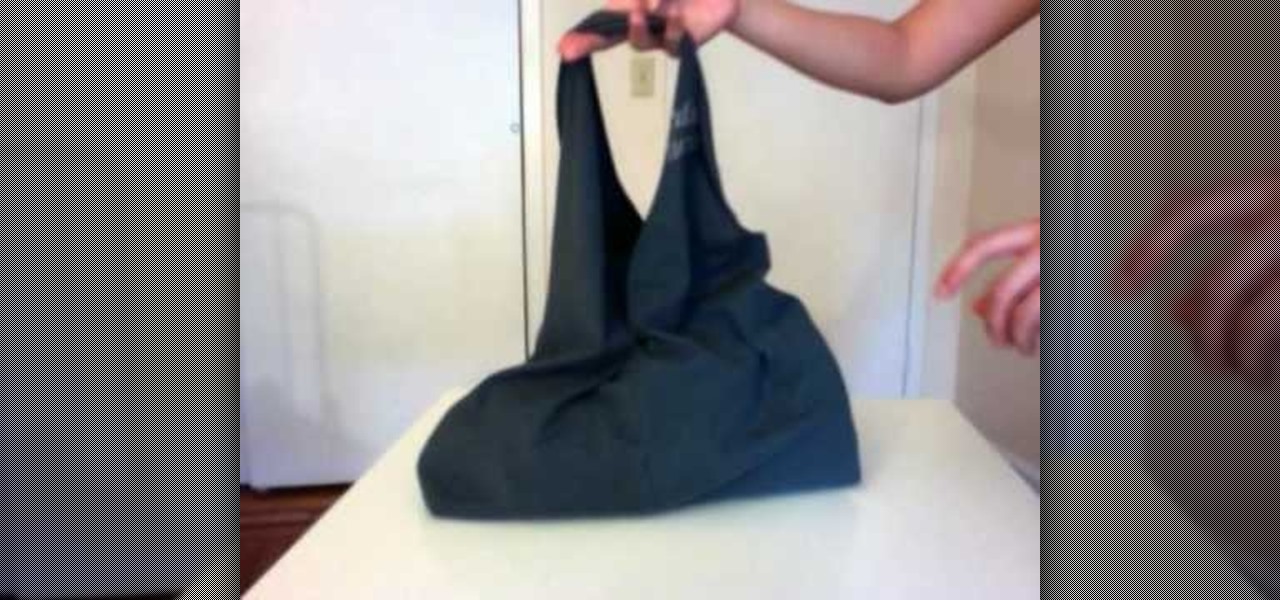
There are many ways to reform your old t-shirts, but this is an easy way to use yours. By taking your unused t-shirts and adding a few stiches here and there, you can create a reusable bag that can be carried along with you during shopping trips to the grocery store or bookstore.
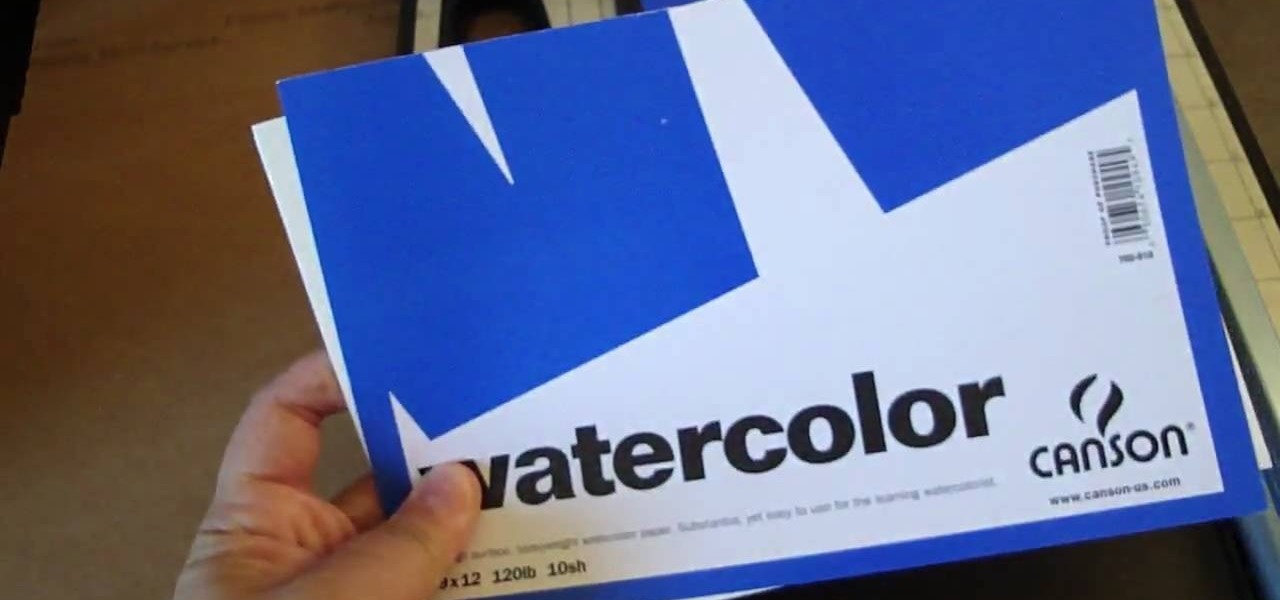
Blogs are a great way to both jot down your thoughts and share them with the rest of the world to build a community based on common interests, but we yearn for the days of good old journal writing on real, actual paper.
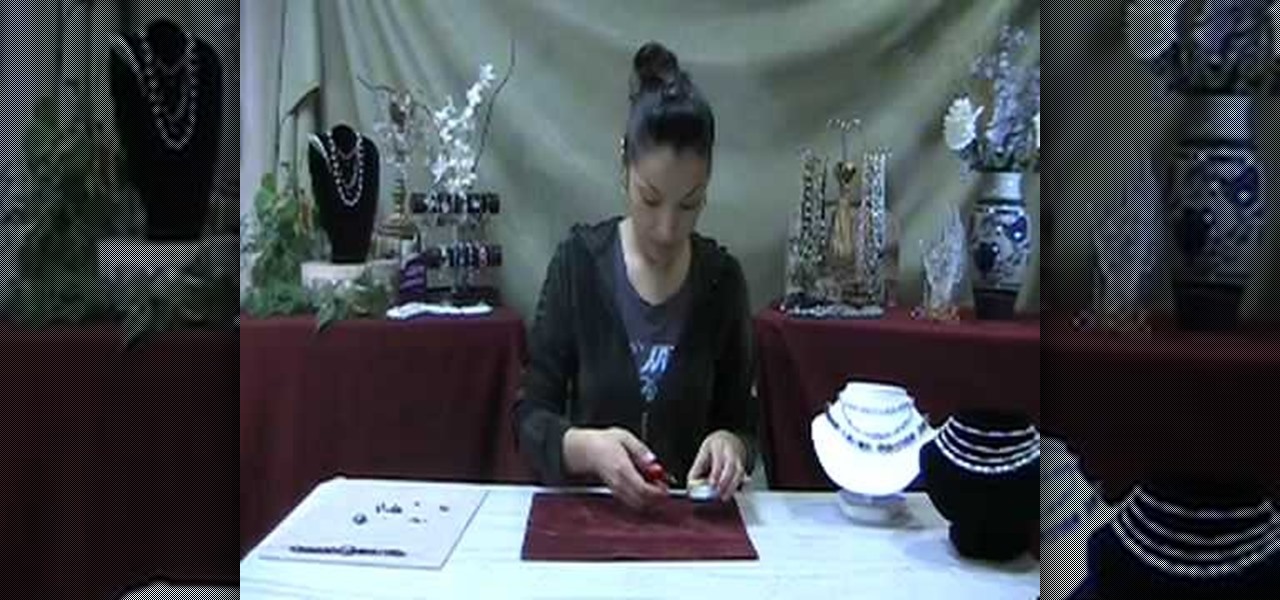
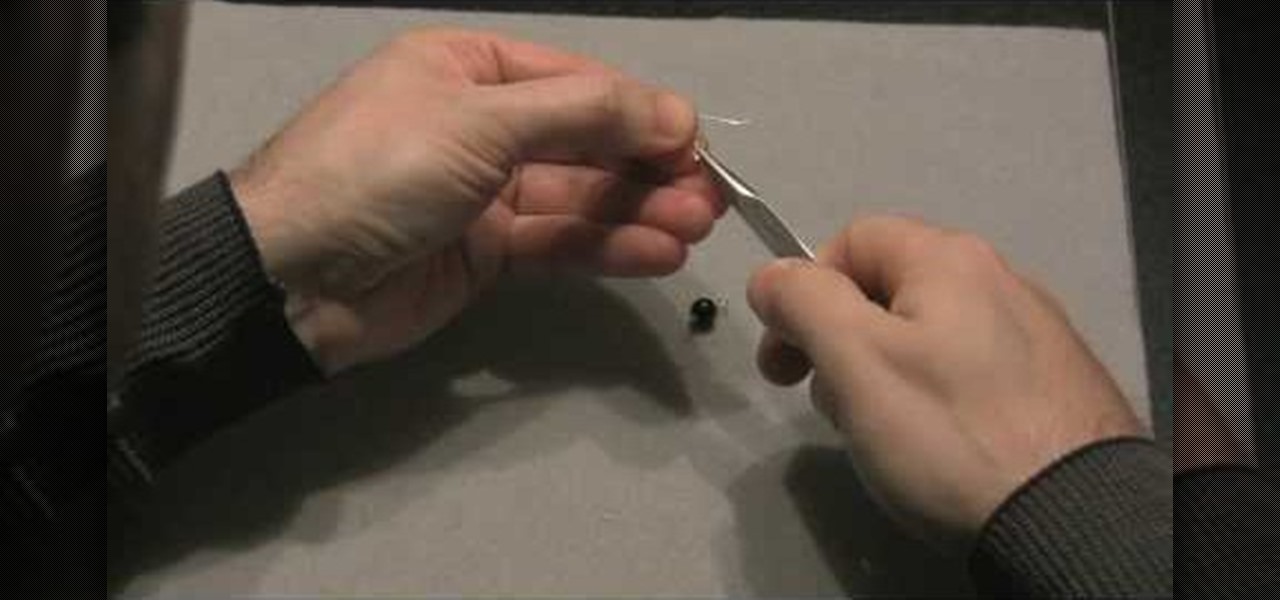
In this video tutorial, viewers learn how to make a beaded watch band with a non-loop watch face. Begin by cutting 2 pieces of the stringing materials to approximately 10 inches. Then put one end of the string through the hole of the watch face and pull it to about halfway. Now users will have 2 strands to work with. Users may choose to making a double strand watch band by putting beads on both strings, or a single strand watch band by running both strands of string through a single bead. Fin...

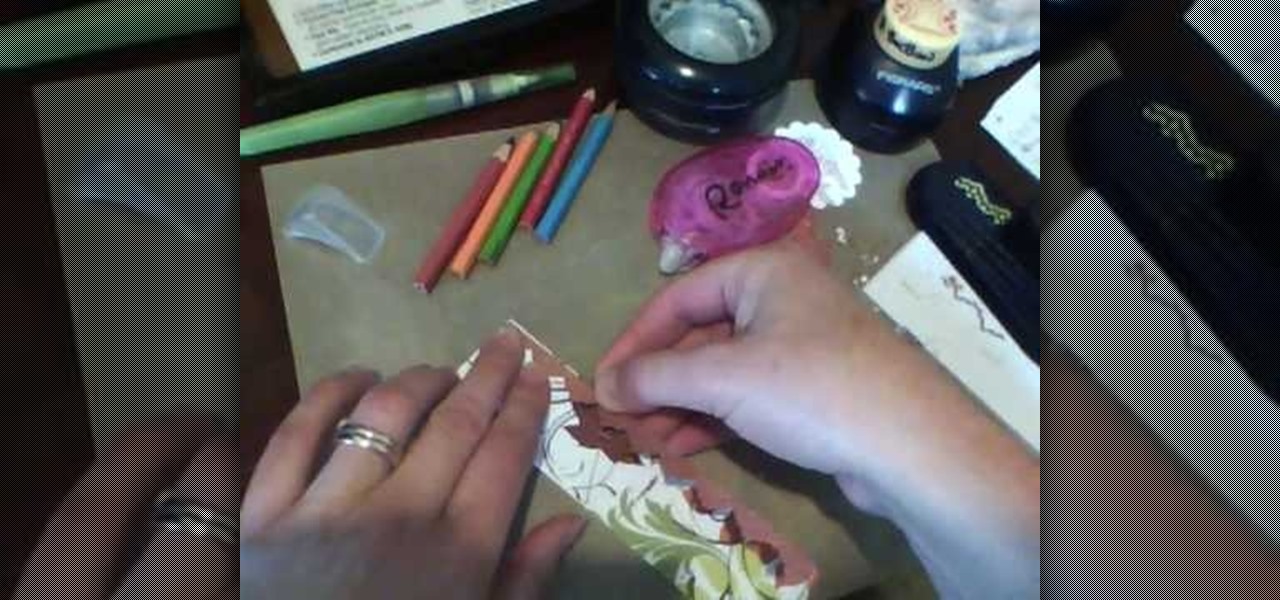
In this video tutorial, viewers learn how to make their own rub-on. This allows users to transfer any designs onto card stock. Users will need to first print the design onto a sheet of acetate. Simply place the acetate paper over the card stock. Then use any kind of tool and simply rub it over the design on the acetate. The transferred design will be lighter in color than the original. Make sure that you if you want to use letters or numbers, print it backwards. This video will benefit those ...

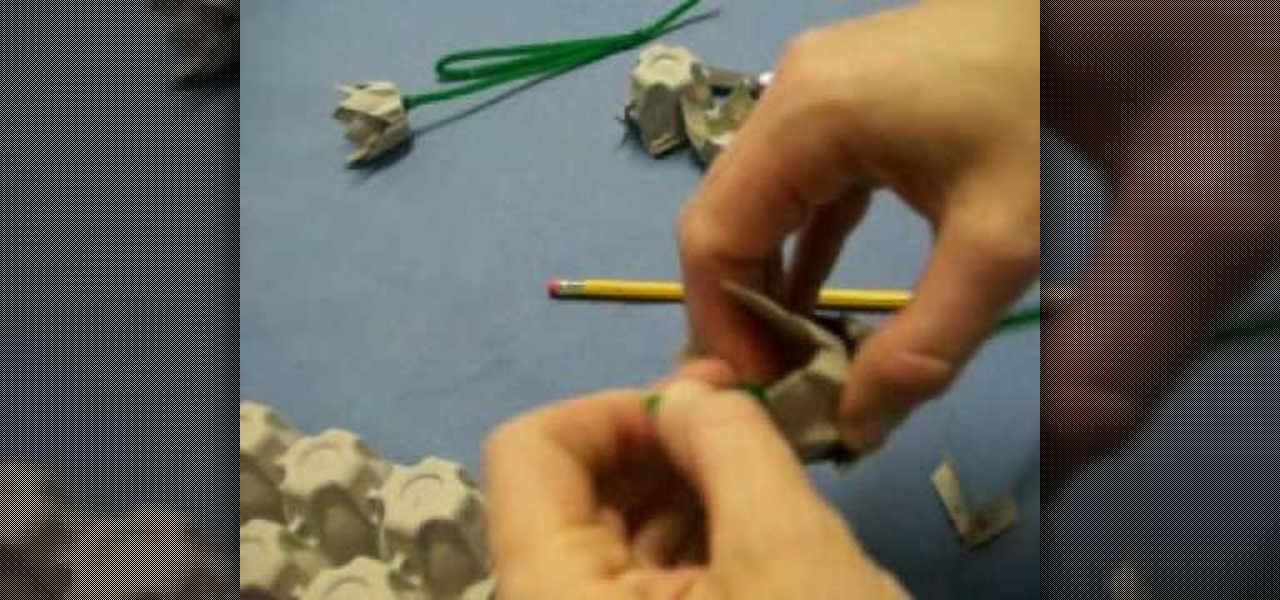
In this Arts & Crafts video tutorial you will learn how to make an egg carton tulip. Cut out two cups from an egg carton. Then cut petals into the cups by cutting out triangular shapes. Make four petals on each cup. Then with a pencil, poke two holes on the bottom of one cup opposite each other in line with the two lowest points of the petals. Do a similar thing on the other cup but, in line with the two highest points of the petals. Then take a pipe cleaner and pass it through one hole of on...

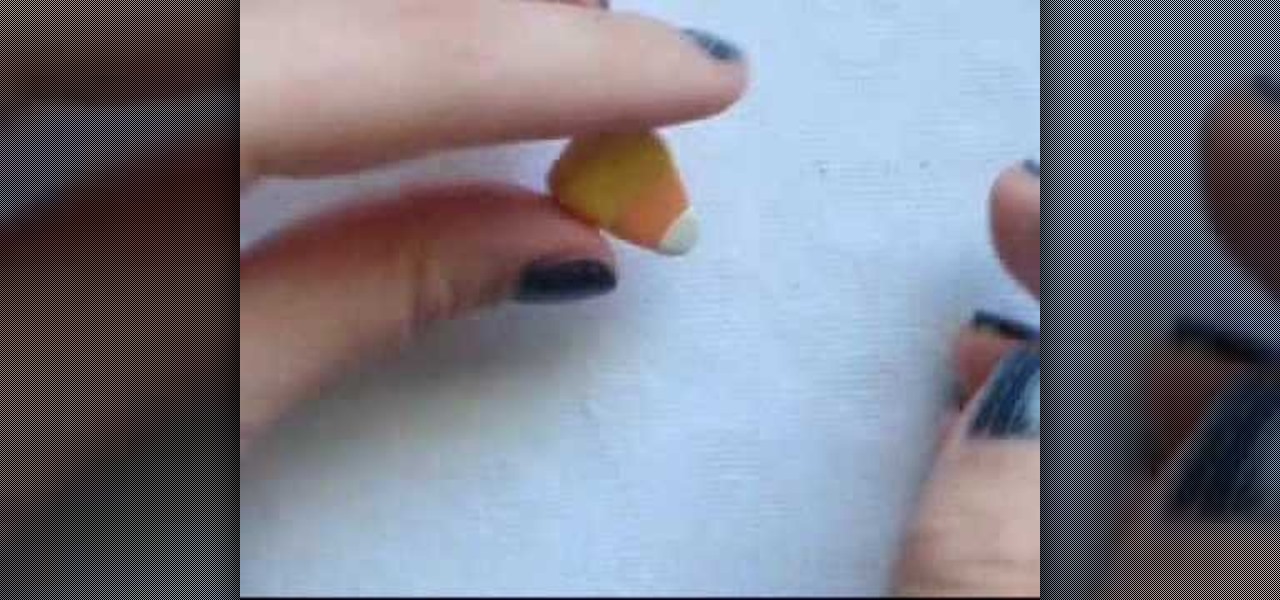
In this video tutorial, viewers learn how to make candy corn out of polymer clay. Users will need yellow, orange and white polymer clay. The yellow is the largest, the orange is the medium and the white is the smallest. Begin by rolling each of the clay into balls and stack them on each other like an ice cream cone. Then flatten it and press on the sides to inflate and square it. Make the top part the widest (yellow) and make the bottom the most narrow (white). It should be in a shape of a tr...

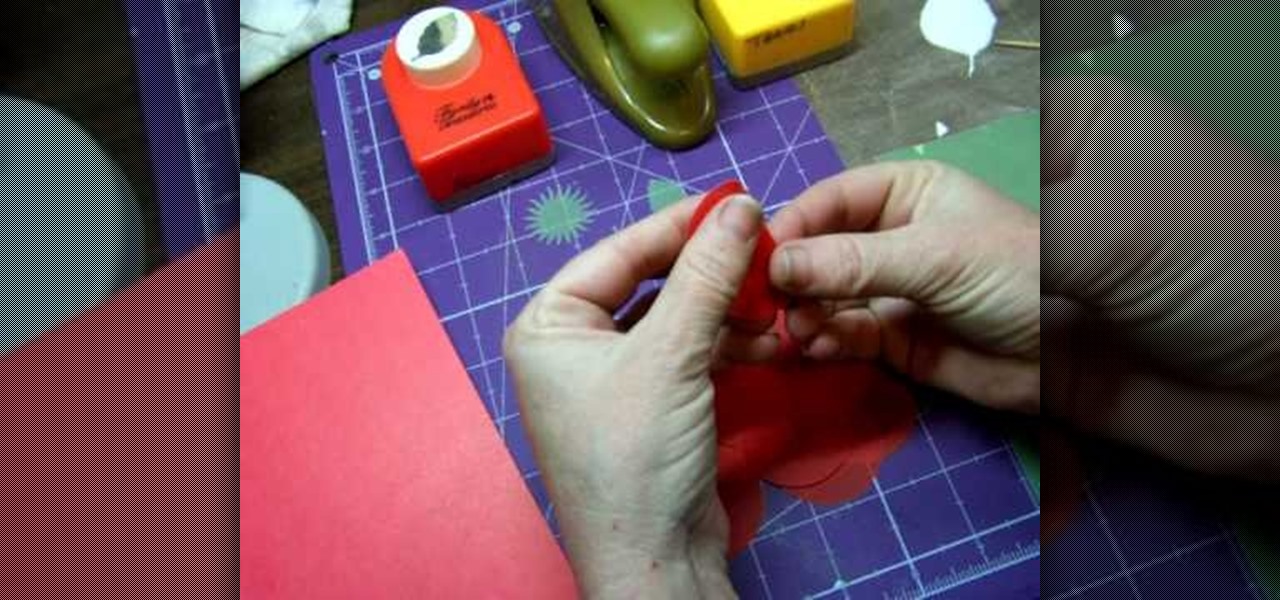
Stampin' UP! punches make just as fun designs as their line of stamps. In this tutorial, learn how to fashion basic flowers out of punches. These flowers make great additions to your scrapbooking or greeting card crafts.

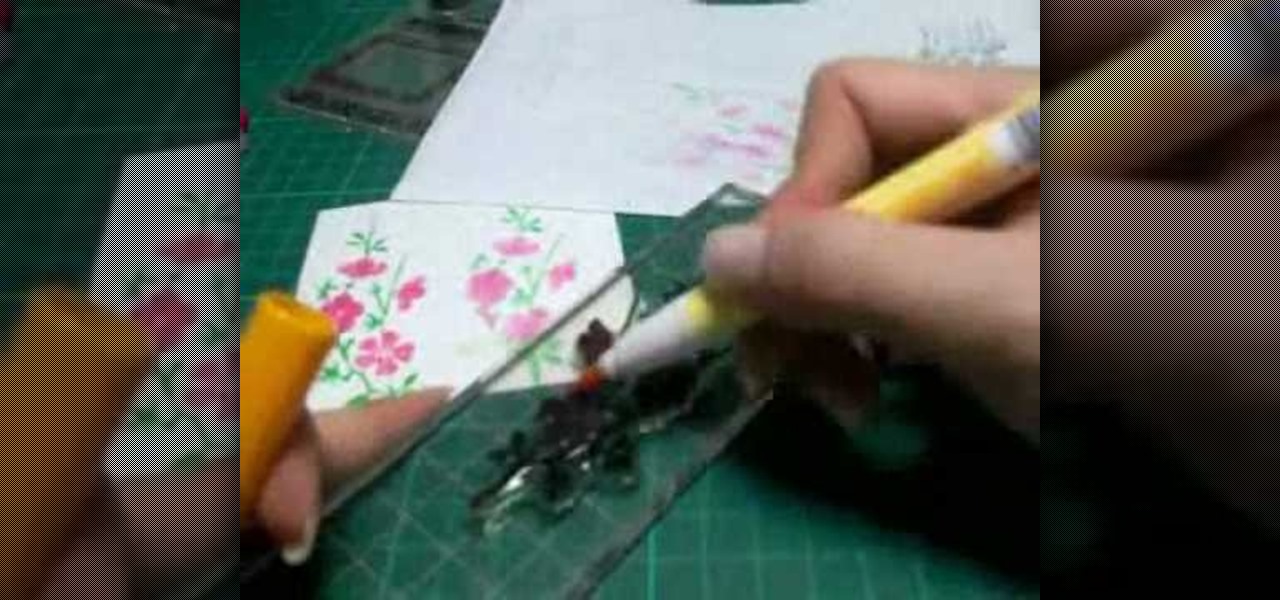
In this Arts & Crafts video tutorial you will learn how to use markers & water to create a watercolor stamp look. You can use rubber and acrylic stamp for this. You will need water based markers, minimister and card stock. Select you stamp and color it with markers as you would do in a painting. For example, you can color the leaves green and flowers red. You can also apply different shades. Then spray water with the minimister and stamp the image. Just stamp and lift, don't keep it too long ...

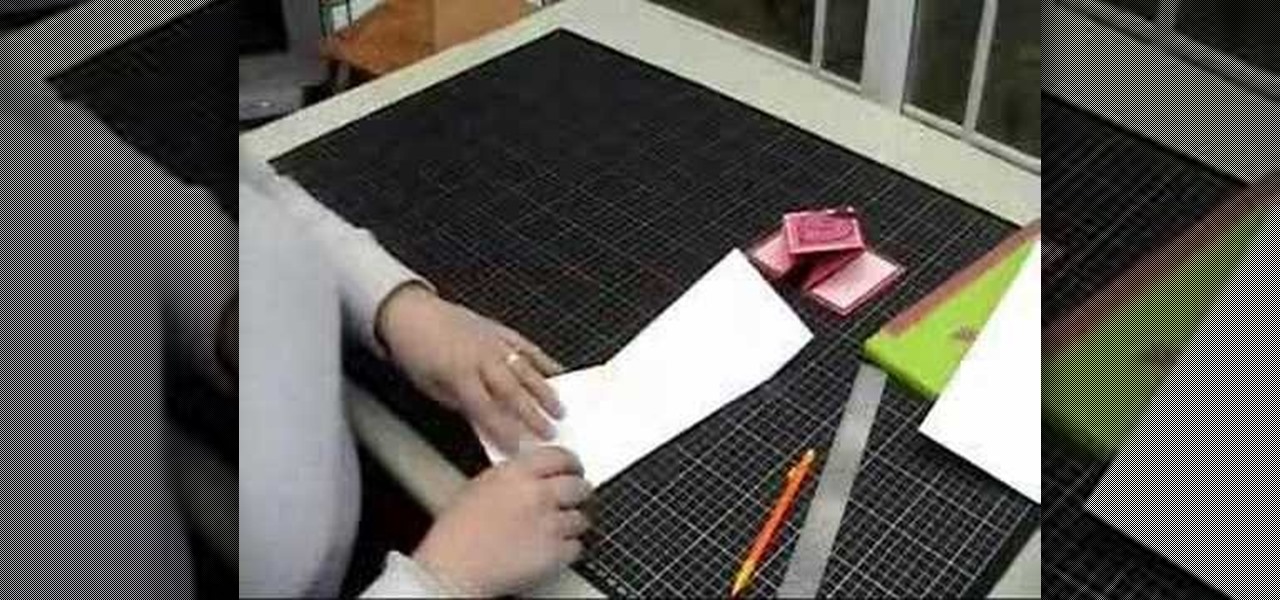
In this Arts & Crafts video tutorial you will learn how to make a diamond folded card. Get a sheet of paper 4x12 inches. Draw a pencil line at the half way mark, that is, at 6inches. Fold one of the lengths to the center pencil line. Do the same to other half of the paper. Open up the sheet and do the same fold in the opposite direction. Open up the paper and flip it over and you will see the diamond fold in the center. Now you fold from each side up to the cross where the diamond begins. Fli...

There's nothing greater than giving a baby a handmade gift that they will treasure. In this tutorial, learn how to sew a simple double sided baby bib. This bib is adorable and durable and will last long enough to pass down from kid to kid.

In this Arts & Crafts video tutorial you will learn how to fold a hexagonal, six-point paper star with origami. Take a hexagonal sheet of paper and fold in half from all corners. Then fold each side inward up to the center point. Open up all the folds. Now fold one side up to the center point. Then fold one corner back over itself and fold the next side of the paper up to the center point. Continue like this for all sides and you will now have a smaller folded hexagon. Then lift up each flap ...

In this Arts & Crafts video tutorial you will learn how to make a lily flower from folded paper with origami. For this, you need a square sheet of paper. First you fold it in half and then fold it in half in the other direction. Next you fold it diagonally across to form a triangle. Then fold it again across the other diagonal. Open up the paper and push the diagonal folds inwards slightly so that the center point is pointing upwards. Then press the folds in to form a triangle. Take one of th...

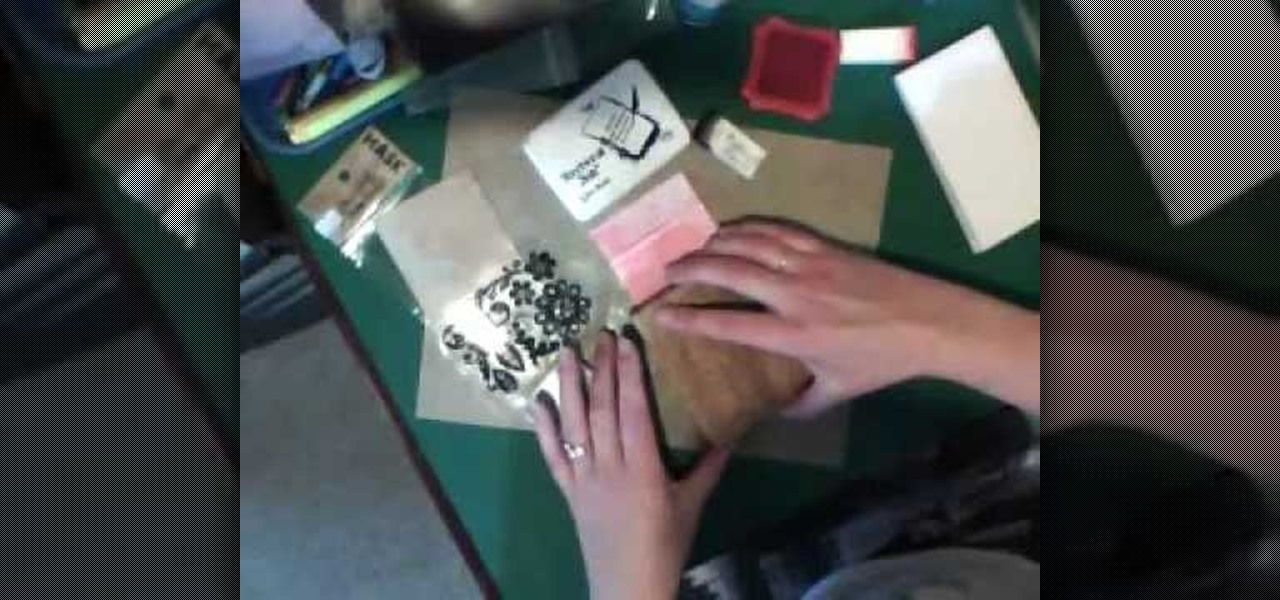
In this Arts & Crafts video tutorial you will learn how to make a stamped notepad cover. Put the note pad on the edge of a bigger sheet of paper, draw the outline and cut the paper along the lines. The paper should be longer than the notepad. Put the note pad on top of the paper aligned with one end and fold the other end of the paper. Remove the paper and crease it properly along the scoring lines. Depending on the theme you want for the cover, apply the required ink with sponge on the paper...

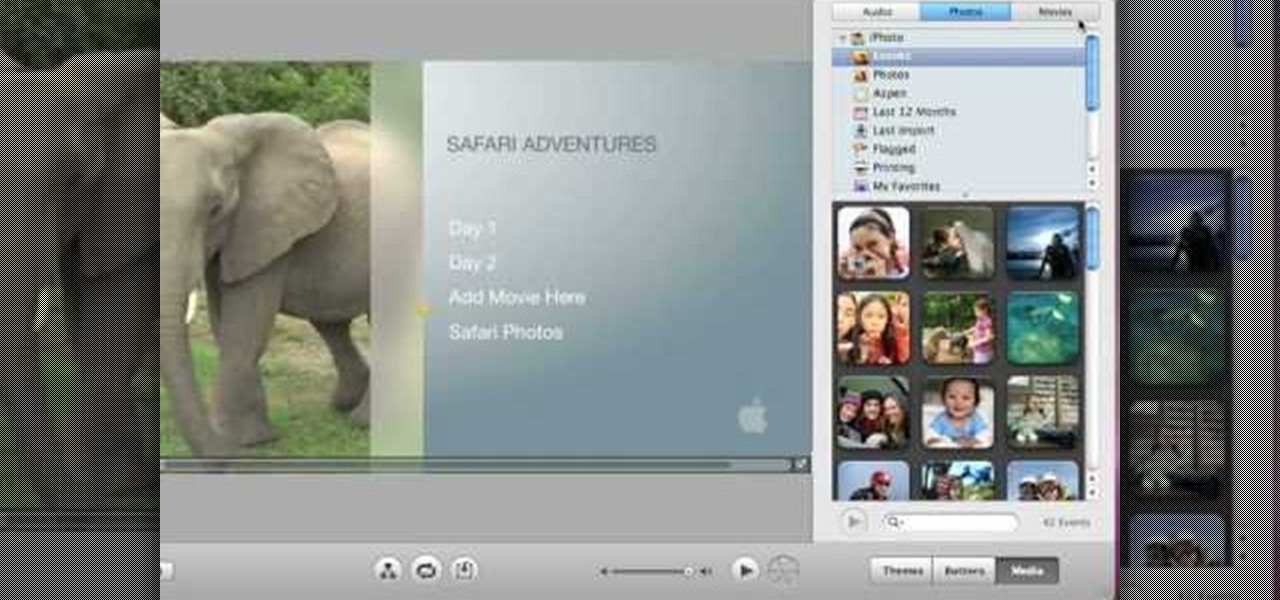
Once you have finished with your ' iDVD' project then you would like to burn it to make a DVD to share it with your family and friends. First of all you need to double check your project for finding any problem in it. To do this, you have to click the "map" button in the toolbar and then drag the slider to view the entire flowchart of the entire menus and media. In case there are any problems anywhere then you shall notice some yellow or red warning symbols. You can point to any symbols and t...

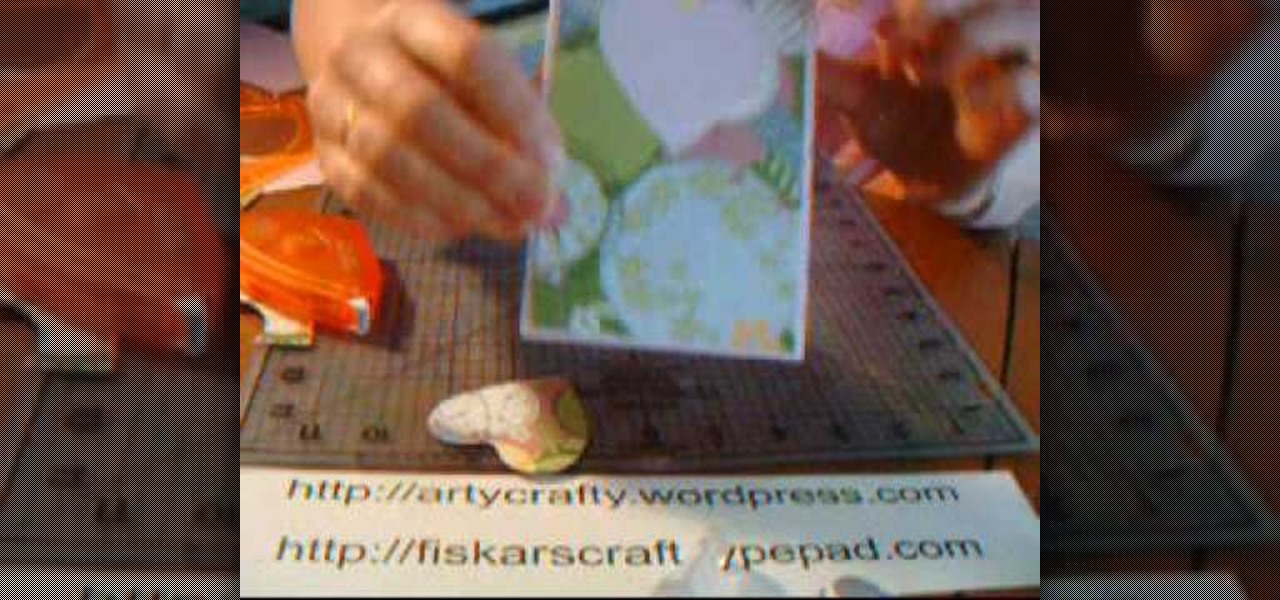
In this Arts & Crafts video tutorial you will learn how to make a vertical Easter greeting card. Take a 6x6 yellow card and fold it in half. Using the Valentrio Fiskars corner punch, you can punch one corner. Cut a 2 1/2” wide metallic cardstock, a 1” wide paper strip, stamp a picture or a design and punch it with Fiskars punch. Punch the 1” wide strip with the Fiskars border punch and glue both the pieces above and below the metallic card stock. Glue the metallic card stock and the pic...

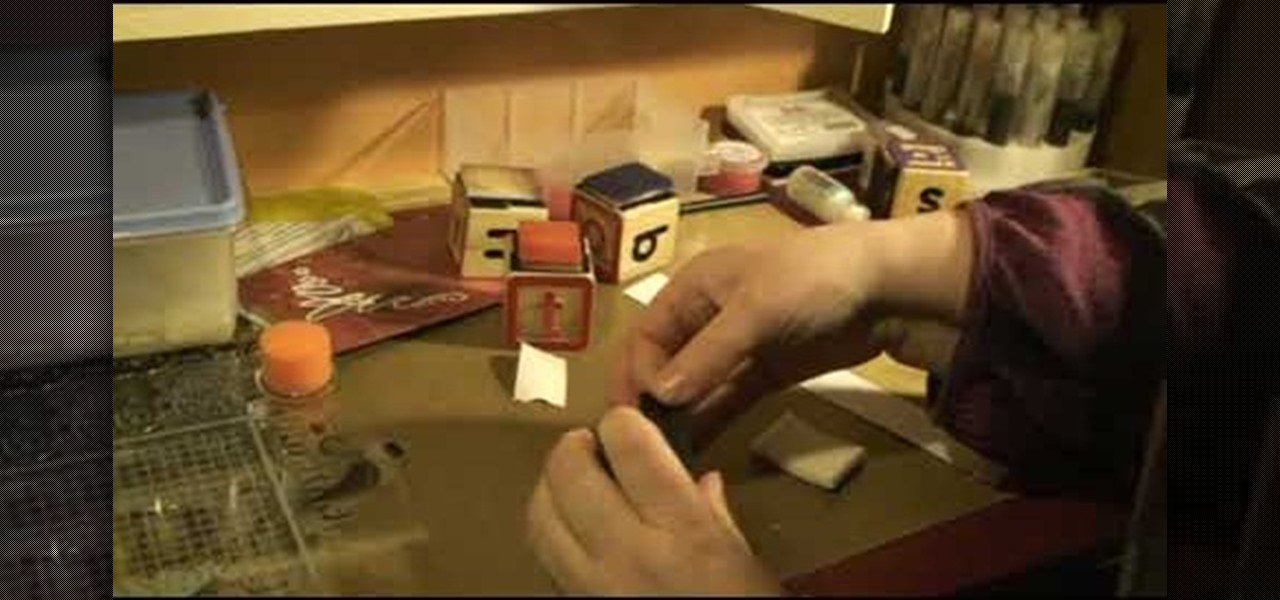
This how to video shows you how to create your own home made foam applicator for blending. This will be useful as you can use items you can find at home and save money. You will need a piece of wood, such as a child's letter block, a piece of foam, and two pieces of velcro. Stick the pieces of velcro on to the block. From there, stick the foam applicator on top of the velcro. Once this is done, you are ready to use your very own home made foam applicator. You can use this for blending and oth...

In this Arts & Crafts video tutorial you will learn how to create a box to hold a mini album or small cards. Take a shiny card stock 10.5 x 6 inches. On the 6" side, score at .5" and 1" on both sides. On the longer side, score at 3, 3.5, 7.5 and 8 inches. Cut out the corners on the flap side of the card as shown in the video. Do a step cut on the other side of the card as in the video. Round the four corners with a corner rounder. You can do some stamping now if you want or you can also glue ...

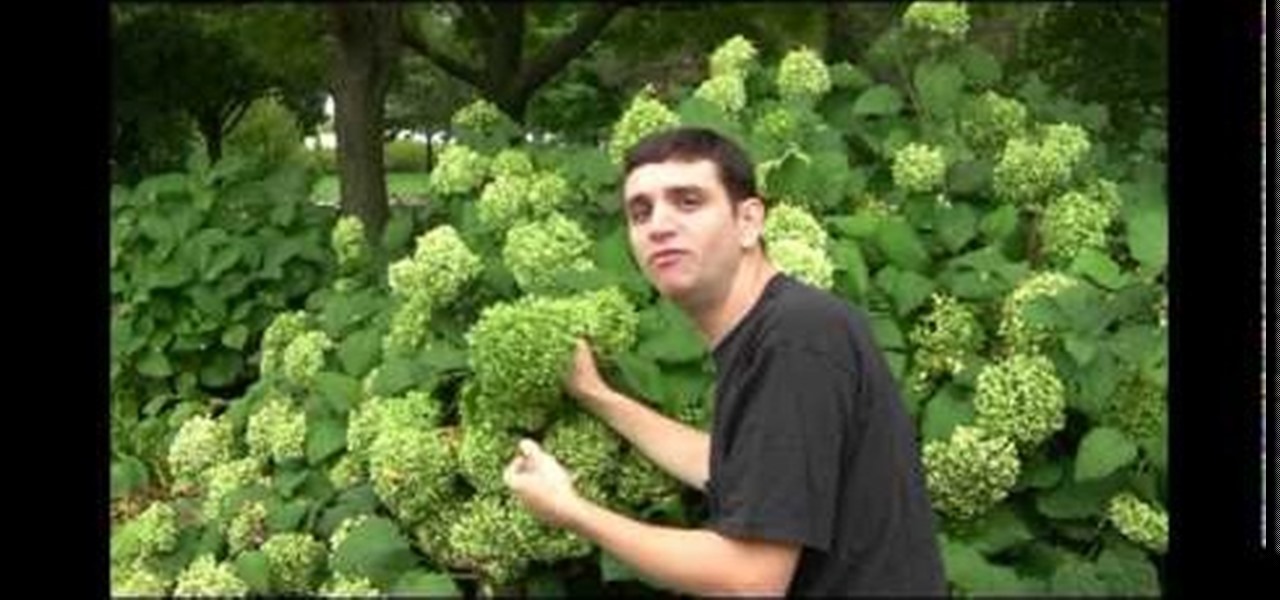
Scott from Spring Hill Nursery with Step by Step Gardening teaches you some basics about hydrangea plants. He talks about how to take care of the plants, how to ensure blooming, and some planting considerations. Hydrangea plants need at least five hours a day in order to bloom so they should not be planted in very shady locations. The blooms can be pink, blue, green, or white, depending on the variety and soil conditions. The blooms can be used in bouquets, or dried for use in crafts. The pla...

Do you have frustrations to take out that can only be helped with magic? If you are in need of the power of a voodoo doll but don't know how to obtain one, check out this helpful tutorial from Planet Voodoo.

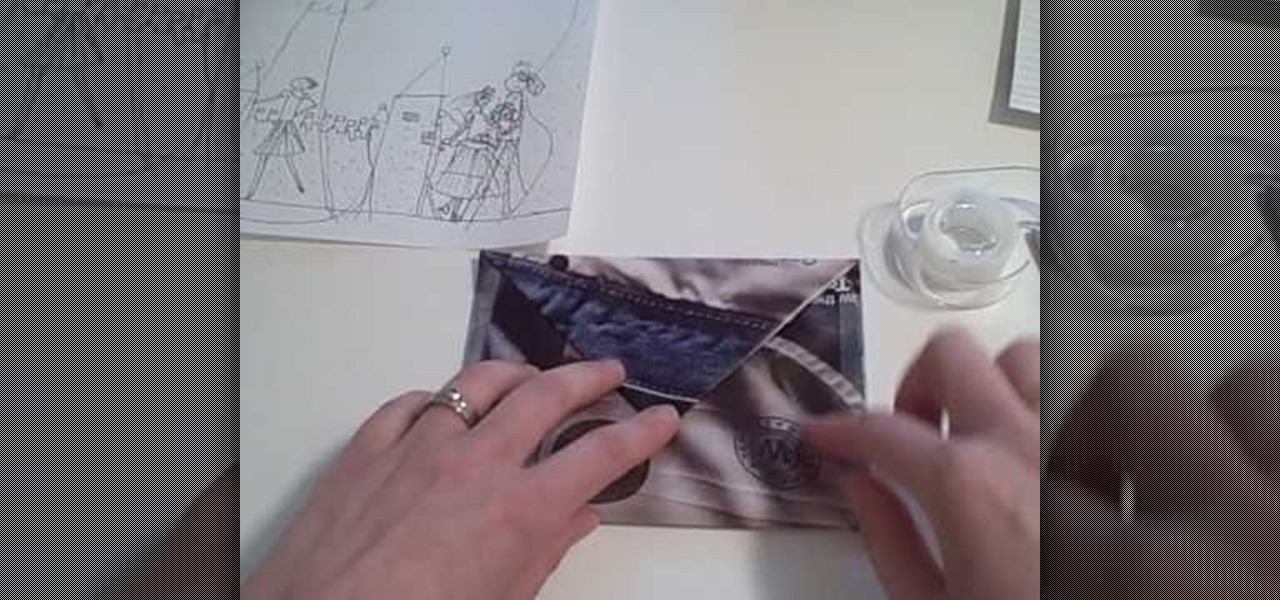
Everyone loves the personal touch of a homemade greeting card, so why send such a beautiful gift in a plain white envelope? To maintain the crafty beauty of your card, why not make a custom envelope to go with it?

In this Arts & Crafts video tutorial you will learn how to stamp & heat emboss on a card. First you rub in a powder on the paper on which you are going to emboss, because embossing powder is really sticky. Then you select the stamp that you want to emboss and apply sticky transparent ink on the stamp. Make sure you do a through job of this. This will make the embossing powder stick to it. Now stamp the card and press it evenly to ensure that the impression is complete. Then pour embossing pow...

In this video tutorial, viewers learn how to make molded paper. The materials required are toilet paper and stamps. Begin by wetting the toilet paper under some water and lay it down. Use about 10 layers of 2 ply toilet paper. Now press the stamp onto the wet toilet paper and then press down on the stamp with a towel or cloth. Remove the stamp and heat dry the toilet paper. Now let the toilet paper dry fully overnight or half of the day. This video will benefit those viewers who are intereste...

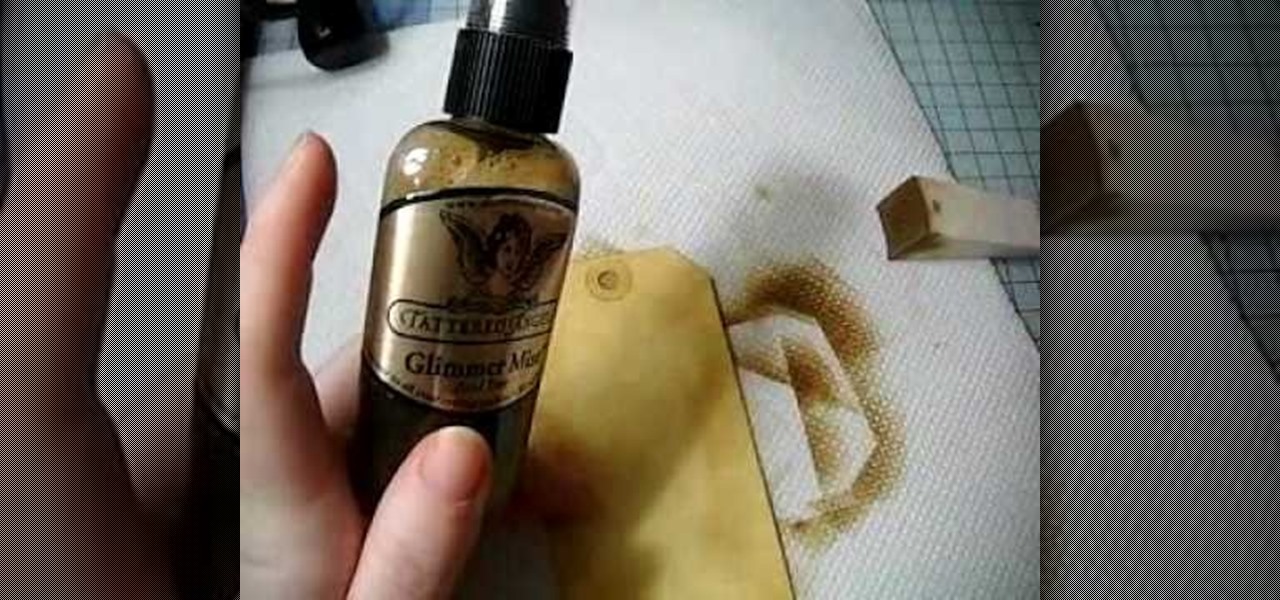
In this Arts & Crafts video tutorial you will learn how to make a distressed scarpbook tag. Take two tags, one red color and one yellow color and strip the threads off. Take a light color ‘Distress’ ink on a sponge and dab one side of the yellow tag with it to give it a light rough look. Now take little darker brown ink on another sponge and dab the edges of the tag with it. Then place the tag in a box and spray Glimmer mist on the tag. Dry the tag with a dryer. Now dab some more brown in...

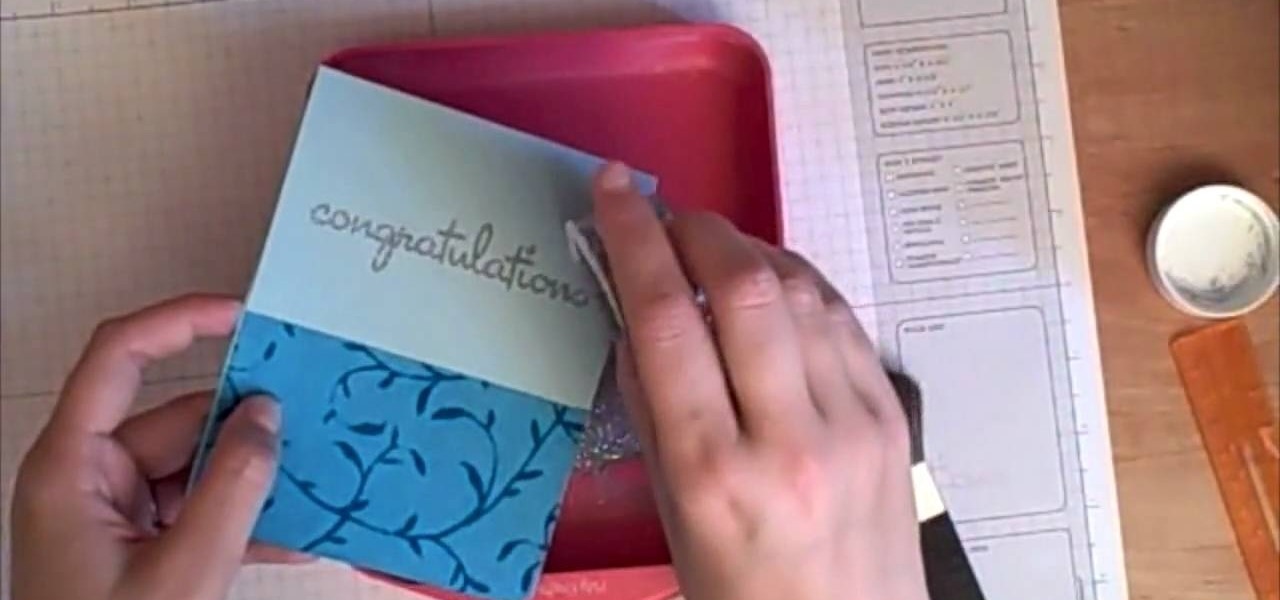
In this Arts & Crafts video tutorial you will learn how to make window cards. Supplies needed are trimmer with scoring blade, Fiskars templates, Fiskars ultra shape xpress, glitter, cardstock and embellishments. Take a 81/2 x 6 inch cardstock , score the center at 3‚Äù mark and fold it. Take a colored paper about ¬O‚Äù smaller than the card, cut out a 2.5 heart with the help of the template and glue it on the card. Then open the card and cut out a 1.5 heart from the center of the 2.5 heart. N...

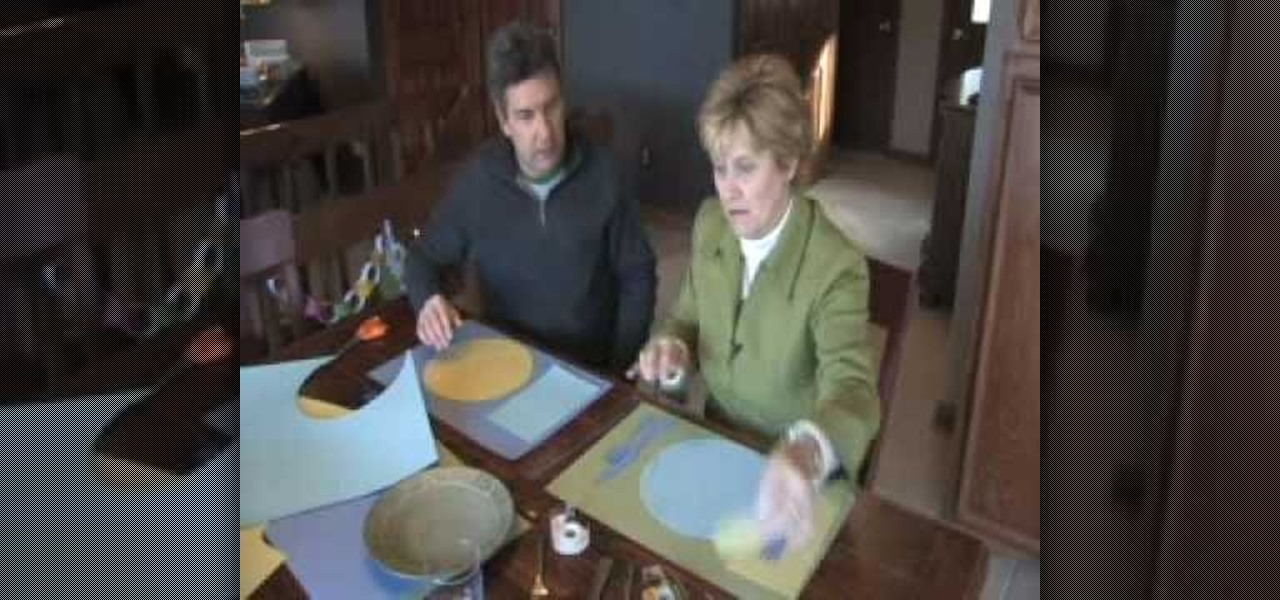
Now when it comes to setting the table you just need three things: fork, plate, and a napkin. But for some, things are more complicated than that. Sometimes they feature the soup spoon , salad fork, and so on and so forth. Although this video doesn't cover every single utensil, it does cover some of the basics. Find out how to make placemats for kids as well as teach them how to set the table. Enjoy!

You know how they always make you cover your books in school? Doesn't using a paper bag kinda stink? They always rip by the middle of the school year and everyone has the same one. So, why not be totally unique and make a heavy duty cover out of duct tape?

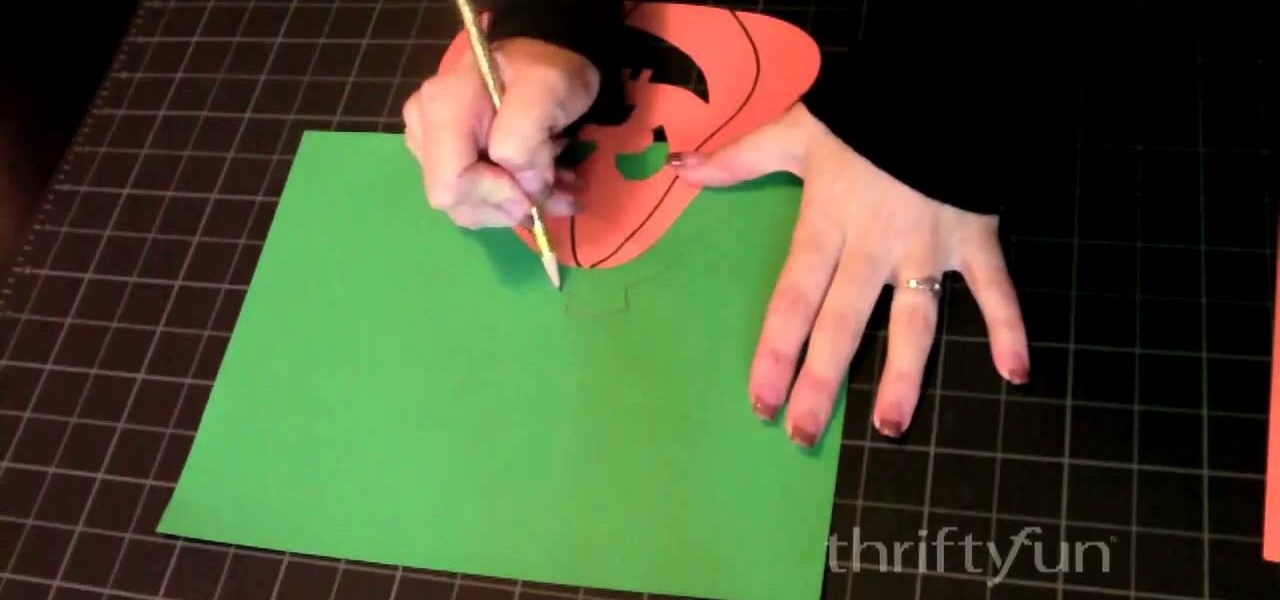
This is a fun and easy craft demonstration that shows how to make a paper jack-o-lantern with orange, green and yellow construction paper, scissors, tape, a pencil, a black Sharpie and an X-acto knife. Begin by drawing a jack-o-lantern on the orange paper. Use the knife to cut out the eyes, nose and mouth. Cut a top out of green paper and attach it with tape on the back. Cut out a piece of yellow paper and tape it to the back, to show through the holes on the front of the jack-o-lantern. Add ...

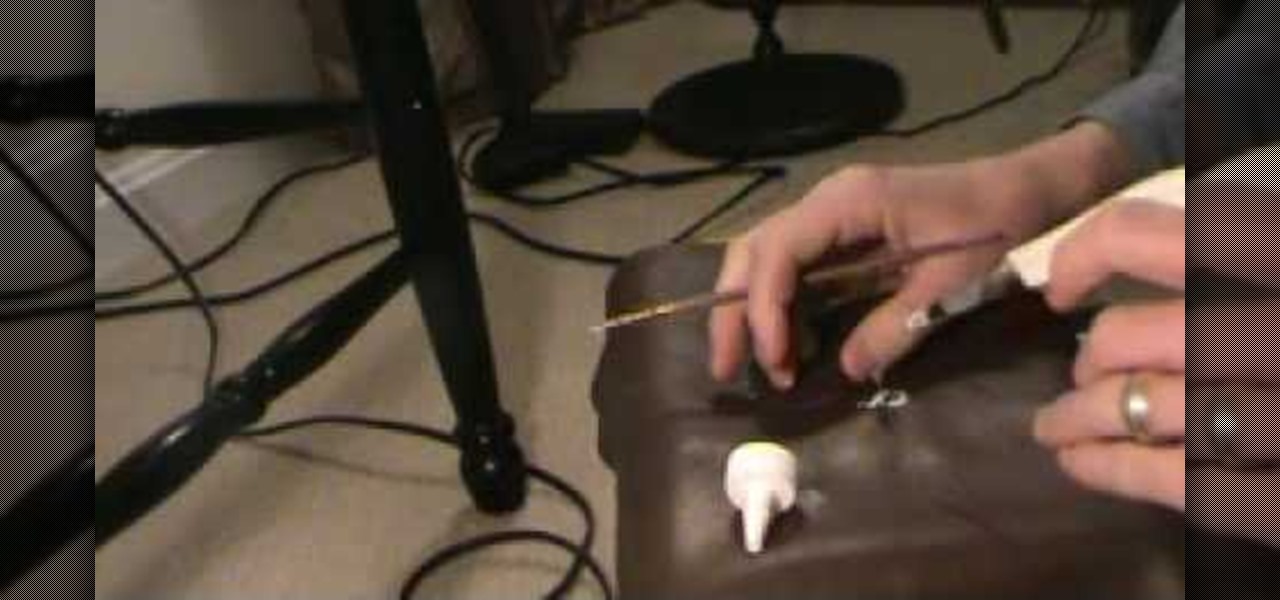
In this how-to video, you will learn how to make a repair in cut leather. This is useful if you have damaged leather you would like to repair yourself. Make a knife cut in the leather, and then cut and place a sew patch into the leather. Push it underneath the leather. Now, glue the sew patch in place with inexpensive craft glue. Rub it around the leather and edges of the cut. Wipe off excess glue with a damp cloth and wait until it dries. Place something heavy on it for a good amount of time...

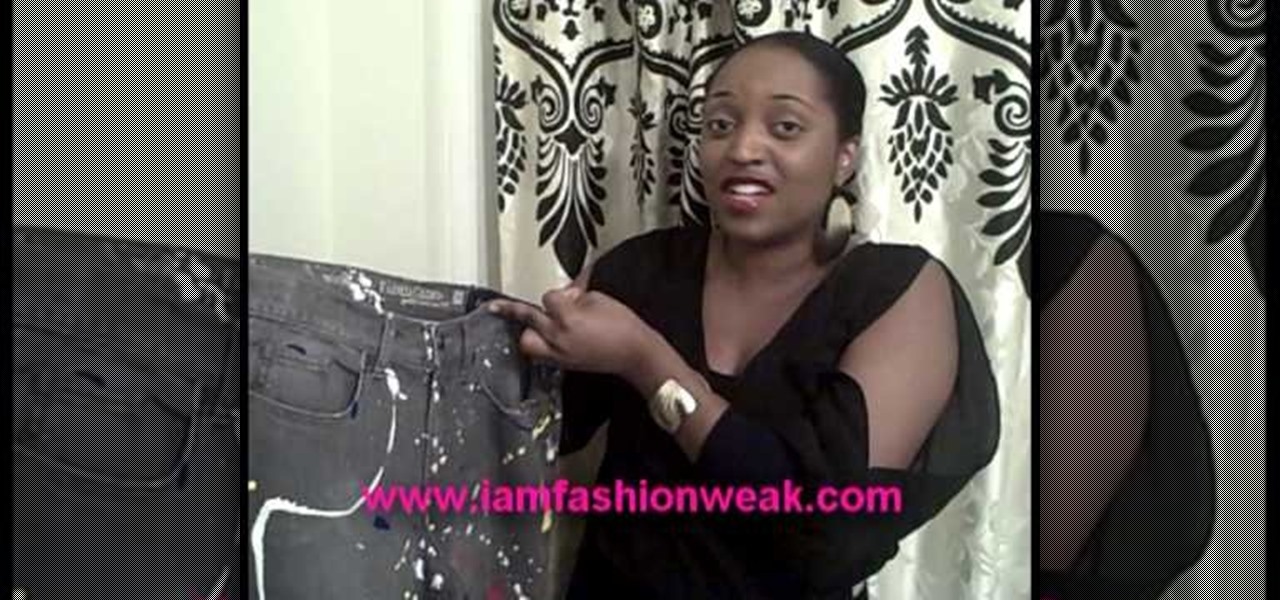
Angela and Shane from I Am Fashion Weak demonstrates how to bleach and paint splatter your own jeans. All you need to bleach your jeans is bleach and a measuring cup. If you bleach black jeans, you can get tan and gray shades. A bathtub is a safe place to bleach your jeans. Crinkle the jeans and pour the bleach over the crinkled spots until it changes into the color you want. After you bleach the jeans, wash them and dry them. You can also use a sanding technique to give the jeans a distresse...

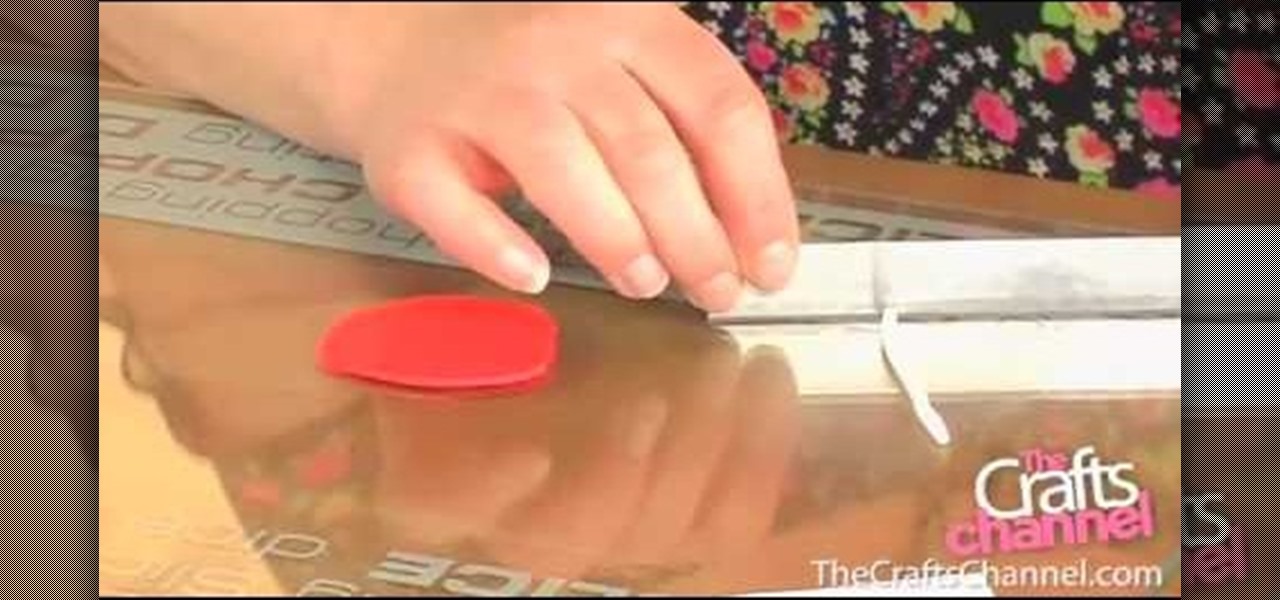
The Crafts Channel teaches viewers how they can make spotty fimo buttons! First, take a piece of fimo and roll it out to about it's a few centimeters thick. Take another color and roll this into a thin long snake shape. Then cut this long snake into lots of tiny slices. Lift them off and put them onto the surface of your rolled out clay. Next, roll over this clay and take a baking surface, cut out the clay with a circular cutter and take away the excess clay. Now with a needle, make your hole...

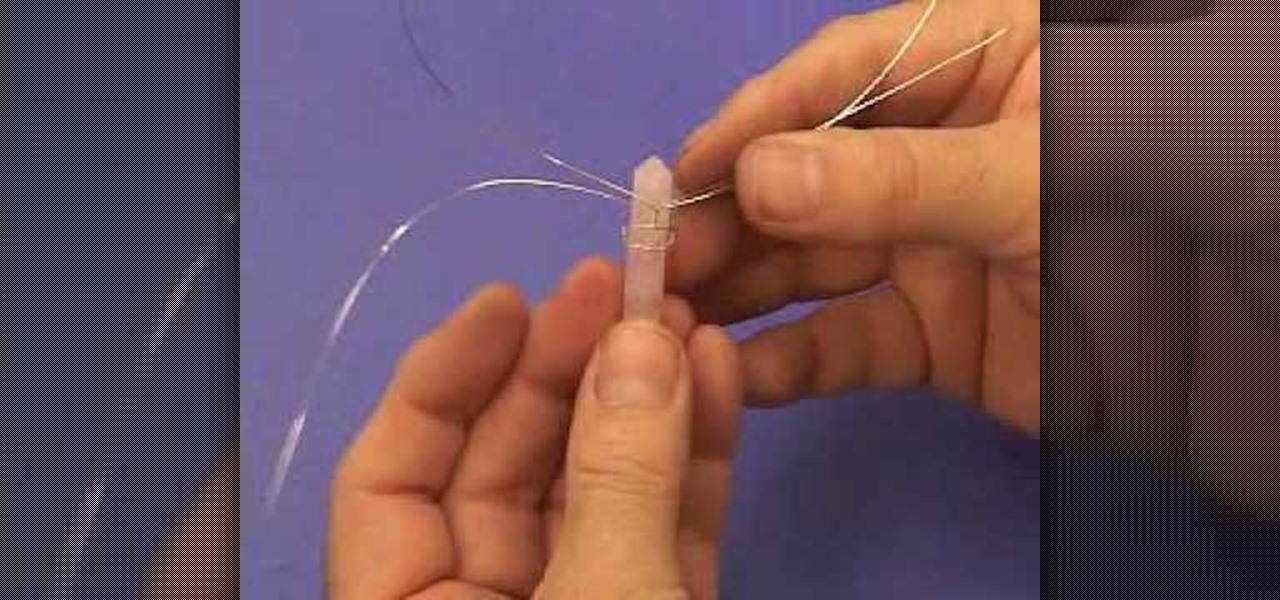
In this video the crafts channel demonstrates how to make a crystal cluster ring. Start with a pen about the size of your finger and wrap your thin gauge wire around it completely twice. Give the wire a simple twist. Put your beads on the wire, then bend the wire around into a circle. Next wrap the wire again around the base on the stone setting. Be sure to wrap it tightly. After twisting the wire tightly around the shank of the ring cut the wire. Use a pair of round nose pliers to create a f...

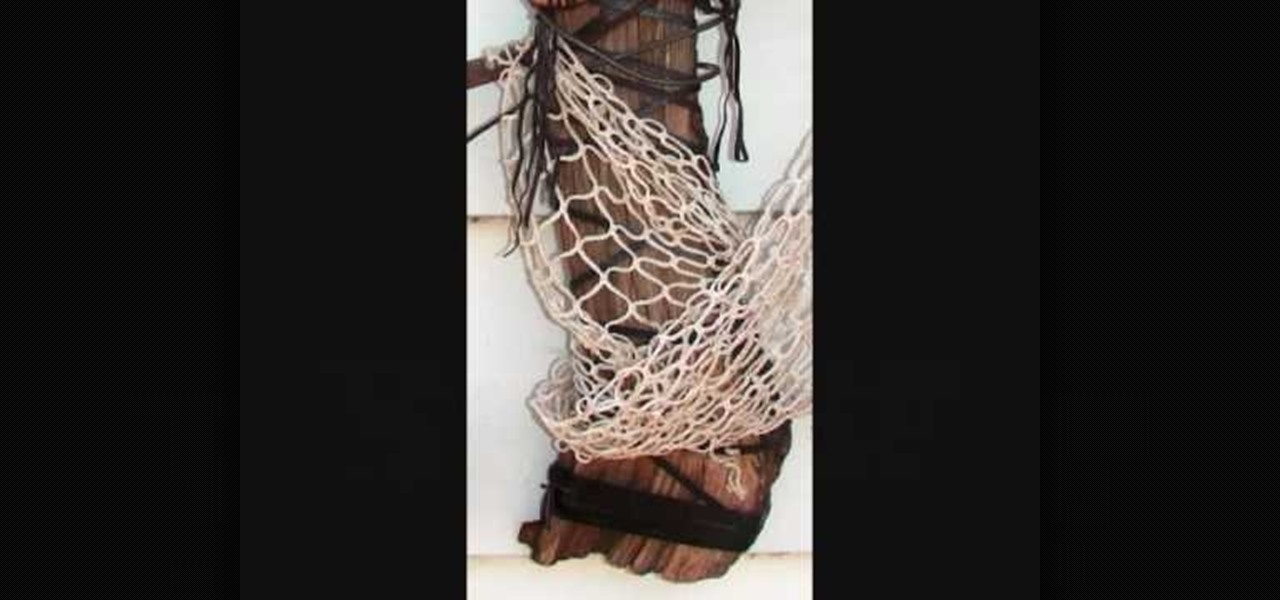
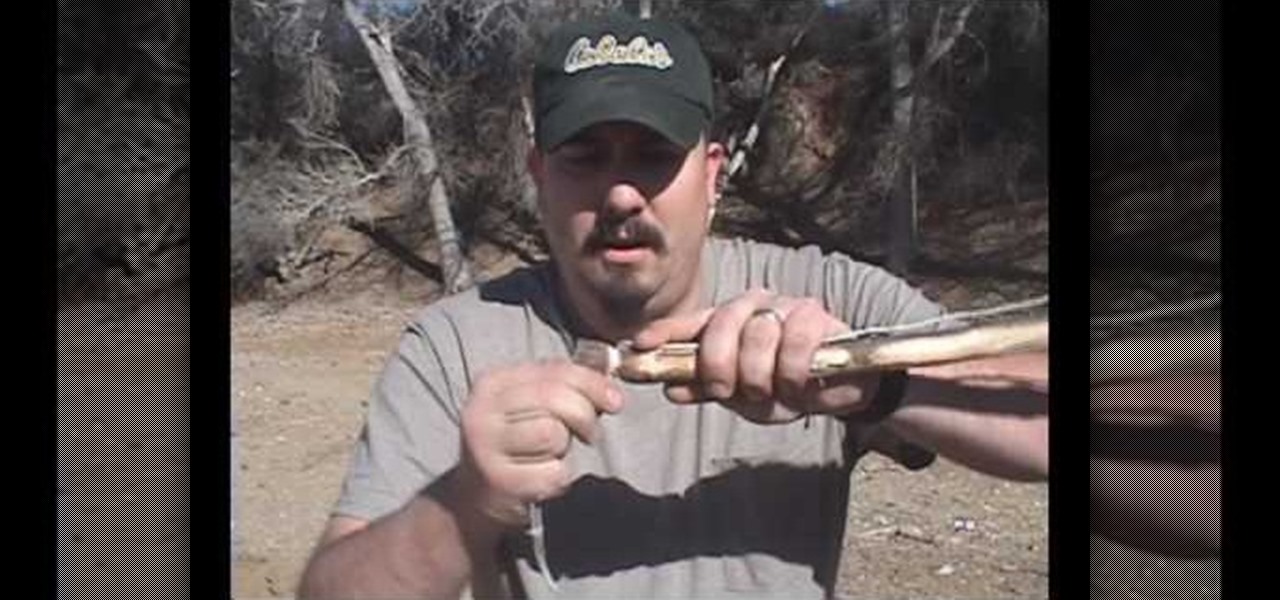
There are various tools to be made and a number of items to be used during a disaster. One can utilize the wood logs for firewood. A bow drill can be made by just crafting the ends of a long wooden stick into necks so that plastic wires can be notched and it can be used made into a bow. Any stone with holes can be used as a notch. This notch holds the end of the bow drill. The wire of the bow drill can be wrapped in a stick and then vigorous forward and backward movement of the bow drill arou...

Not enough storage space? No problem! In this tutorial, learn how to recycle an old cereal box into a very cool magazine holder. This video will take you step by step and soon you will be on your way to being both more organized and more eco-friendly!

In this video by, you are shown how to make miniature pomegranates out of clay for use with doll houses or however you may want to use them. You will be shown exactly what materials to use, how to make the items, painting and even exactly how to glue everything together. There are even suggestions for where you might want to shop to find the materials you will need. She shows you step by step how to make the items, and describes in detail the tools required to make incredibly realistic lookin...

In this Arts & Crafts video tutorial you will learn how to attach an eye pin to a French hook. The video is from Jewelry Making Fun. For this you will need nose pliers, an eye pin and a French hook. One way of doing this is to hold the French hook in one hand. With the pliers twist one end of the loop on the French hook to open it slightly. Then put the loop of the eye pin into the loop of the French hook and close the loop with the pliers. The other way is to open the loop of the eye pin, pu...

Watercolor painting is a great way to get introduced to the world of painting and fine art. The free flowing nature of watercolor allows you to start out simply as you refine your craft. You can make any shape or image that comes to your imagination. In this video series, learn how to paint birds in watercolor.

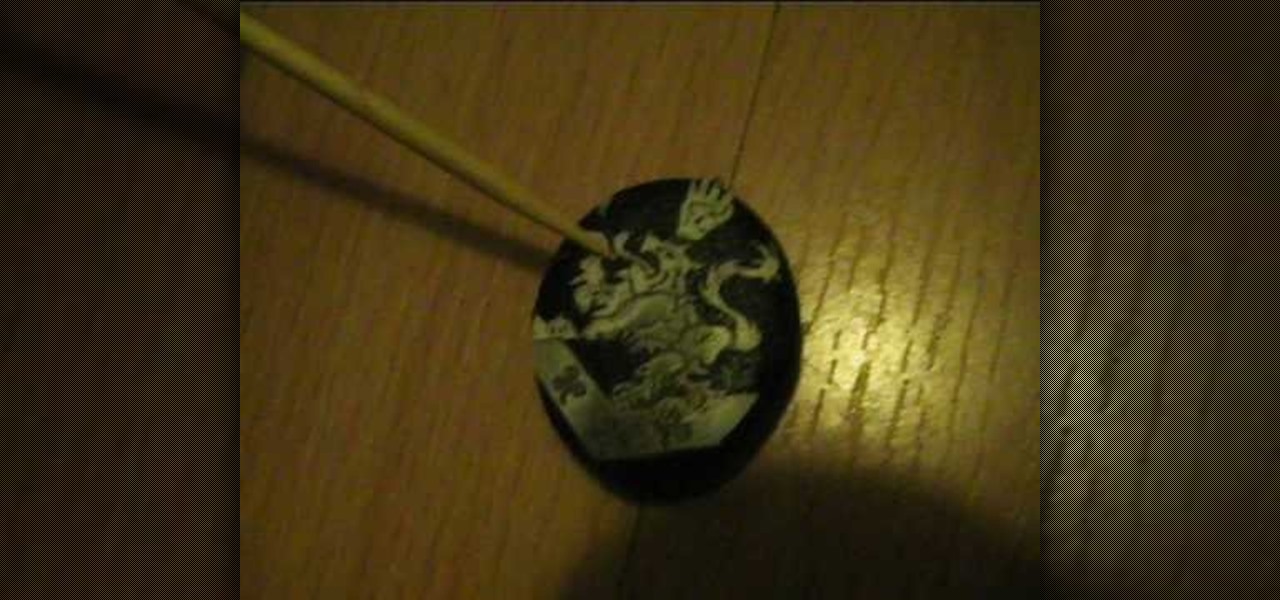
In this video, Alice demonstrates how to make a crest necklace using simple things. For making this necklace she collects some materials such as oblong shaped rock or polymer clay, some paints, a computer print of a cullen crest and so on. She uses the ordinary black paint to paint the rock completely. Next, she collect a computer print of a layout for the culler crest and carefully cutout the shape and using craft glue she stick it on the painted rock to see it fit. she takes some white pain...

Vofgofm33 shows viewers how to use autotune with Skype! First, select Mixcraft program and set up MixCraft for Autotune. First, you need virtual audio cable. Set this up and have the track audio on. Next, you will set your output to VAC. Then, you need to have where you want to use auto tune have input set to VAC - this will be Skype. This can also work with any program. For instance, you can use this with MSN, AIM or any where that you use your headset. When you need to get this effect on Sk...


