New to Microsoft Excel? Looking for a tip? How about a tip so mind-blowingly useful as to qualify as a magic trick? You're in luck. In this MS Excel tutorial from ExcelIsFun, the 2nd installment in their series of digital spreadsheet magic tricks, you'll learn how to create charts via keyboard shortcut as well as how to create dynamic charts with cell references.

To create glossy or reflective vector image, you will need to know how to use the offset options in Adobe Illustrator and the basics for pathfinder. You will be creating a vector image that can be resized without hurting its quality. To start select you text style, which be glossy for this. You will have first a white layer, a shadow, a radiant layer, a white outline and a shadow going underneath. In this video the Oh Gizmo Logo! is being used as the template. Right click create outlines. You...

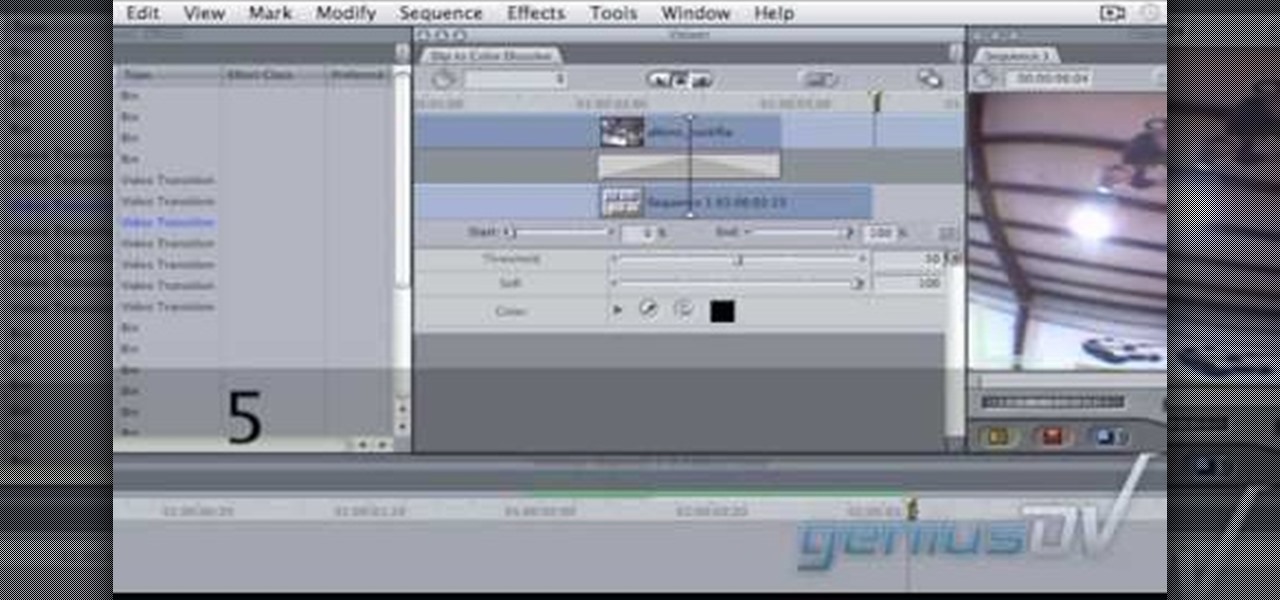
In this video tutorial, viewers learn how to create a freeze-frame effect in Adobe Final Cut Pro. Begin by placing the time line indicator to where you would like to place your freeze-frame. Press Shift and N to create the freeze-frame. The default user preference is 10 seconds. To change it, change the time and click on the insert button to splice the new freeze-frame time into the time line. Now click on the Effects tab and select the Dip to Color Dissolve under Video Transitions and Dissol...

Creating customized brushes is really useful when using Photoshop and is not difficulat to do at all!

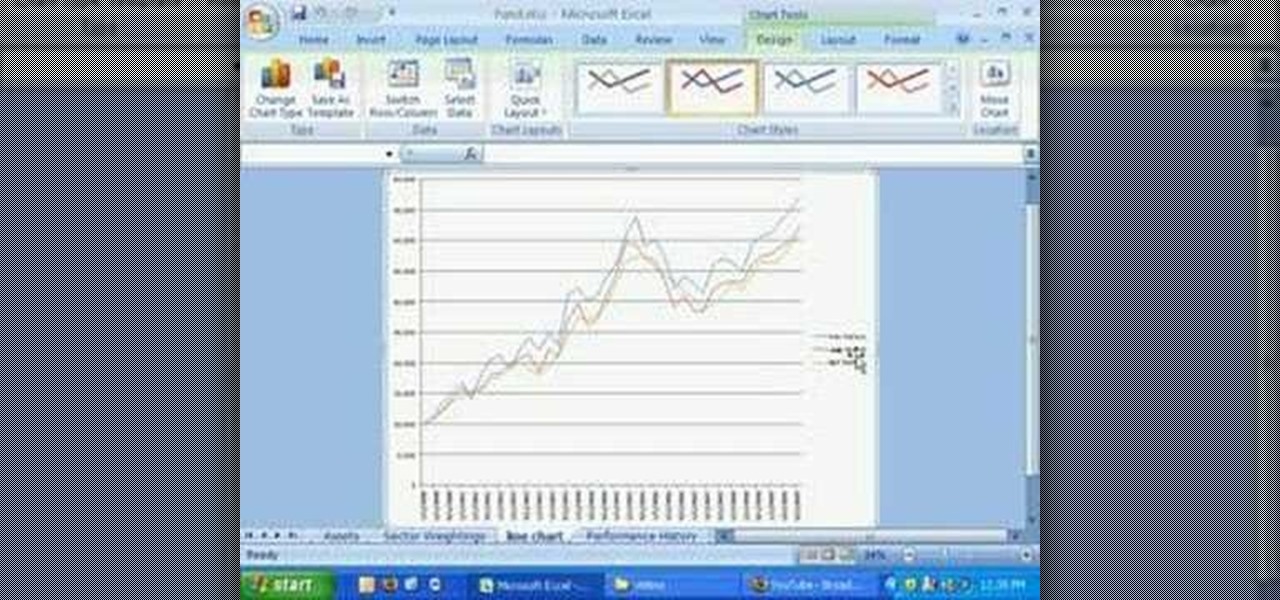
Namuoc demonstrates how to create a line chart in Excel. To create a simple line chart in Excel 2007, first highlight the cells in your worksheet that you would like to include in the chart. Then, select the insert tab on the top of the worksheet toolbar. Next, click on the line option. Select the two dimensional line graph option from the given choices. Move the chart to a new sheet. Label the new sheet in the appropriate field and click the OK button. Your line chart will now be created usi...

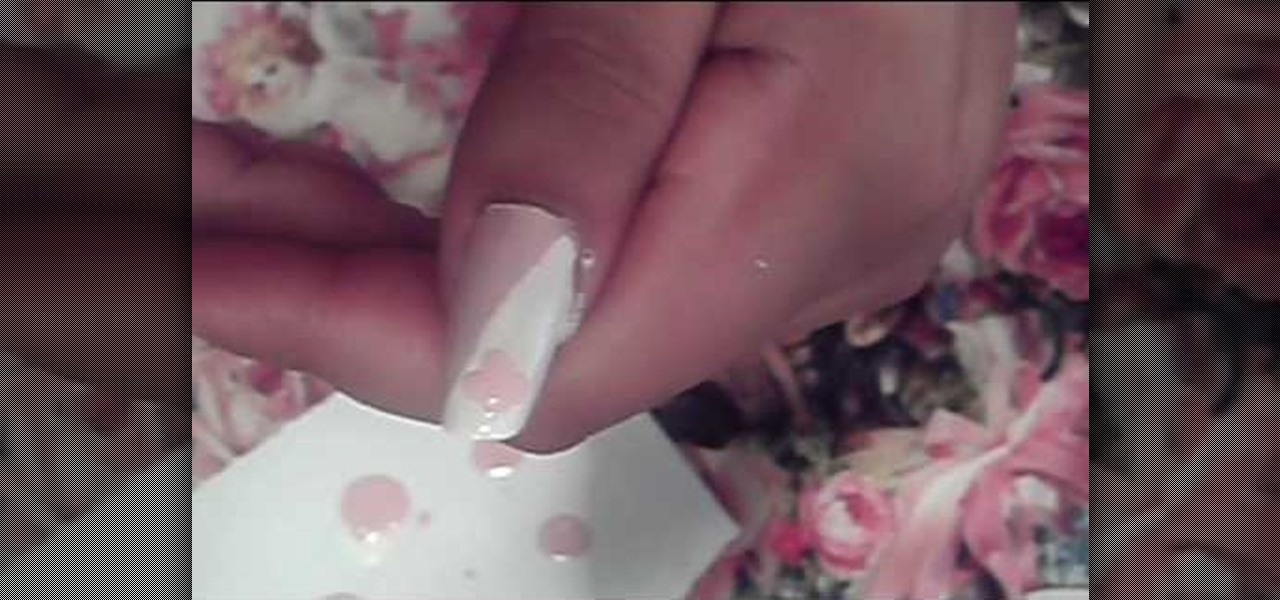
Love4Nails demonstrates how to paint nails with a pink and white sparkly design. First, apply a hydrating base coat. On top of the base coat, apply the color of your choice like a light pink color. Then, create the side swipe which is about half of the nail. Create a straight side swipe in a white color. You may need to do two coats. Then, create a flower with the background color on the white polish. Add a pink rhinestone to the flower. Repeat the technique making a white flower on the pink ...

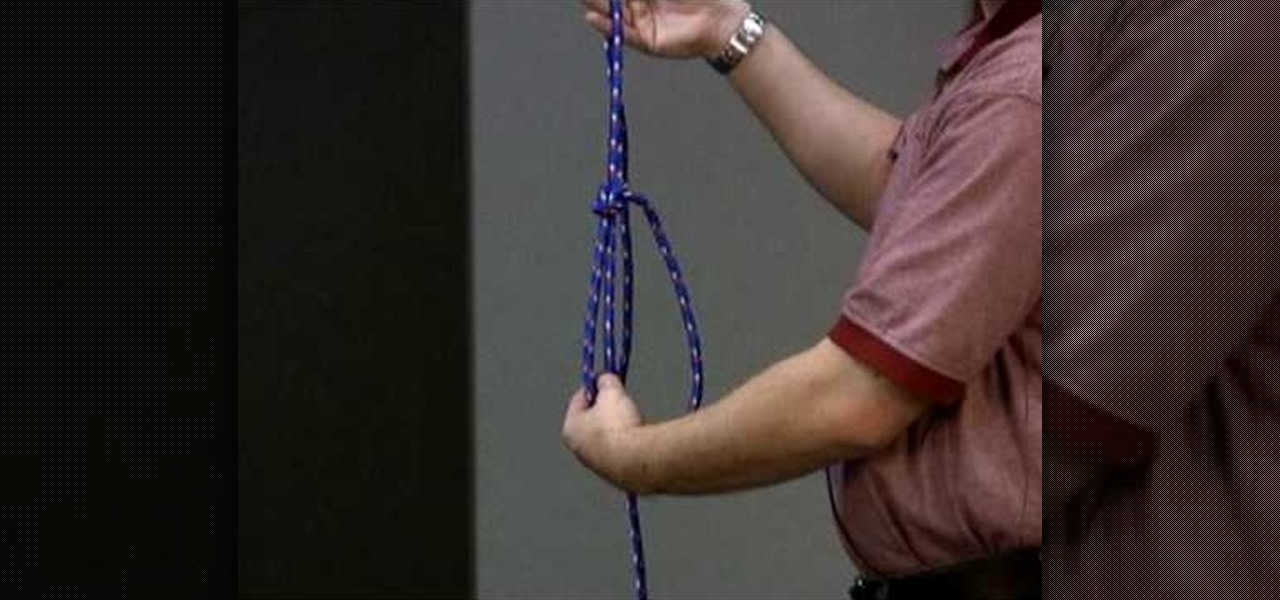
This video describes and shows you how to tie a loop in the end of a rope with a bowline knot. A bowline knot is used in rigging by the ground rigger to create a point for the up rigger to have a point to pull up. This is how you create a bowline knot. First you must create a loop in the middle of the knot. With the free end, come up through the loop, then you go around the standing end of the rope and then you move it back through the loop. You pull the knot tight. That is how you create a b...

IShowU and Shiny White Box demonstrate how to create still image effects in Final Cut Express. First, place your scroll bar in the front of the timeline and click on the clip so that it is selected. Then, click on the motion tab in the preview window. Hit the keyframe button in the scale option. Create a keyframe also where you'd like the effect to stop on the clip. Adjust the line. When you now play the clip, the image's size will be adjusted as you have designated. You can use the same tech...

In this video tutorial, viewers learn how to make an animated GIF file using Adobe Photoshop. Begin by opening the program. Then click on File and select New. Choose the size of your image and click OK. Now create your picture or text image. Once finished creating your image, click on Window and select Animation. Now click on the button on the right side of lower window and select Make Frames from Layers. change the time of each frame to 0.5 sec. Now edit it and save it. This video will benef...

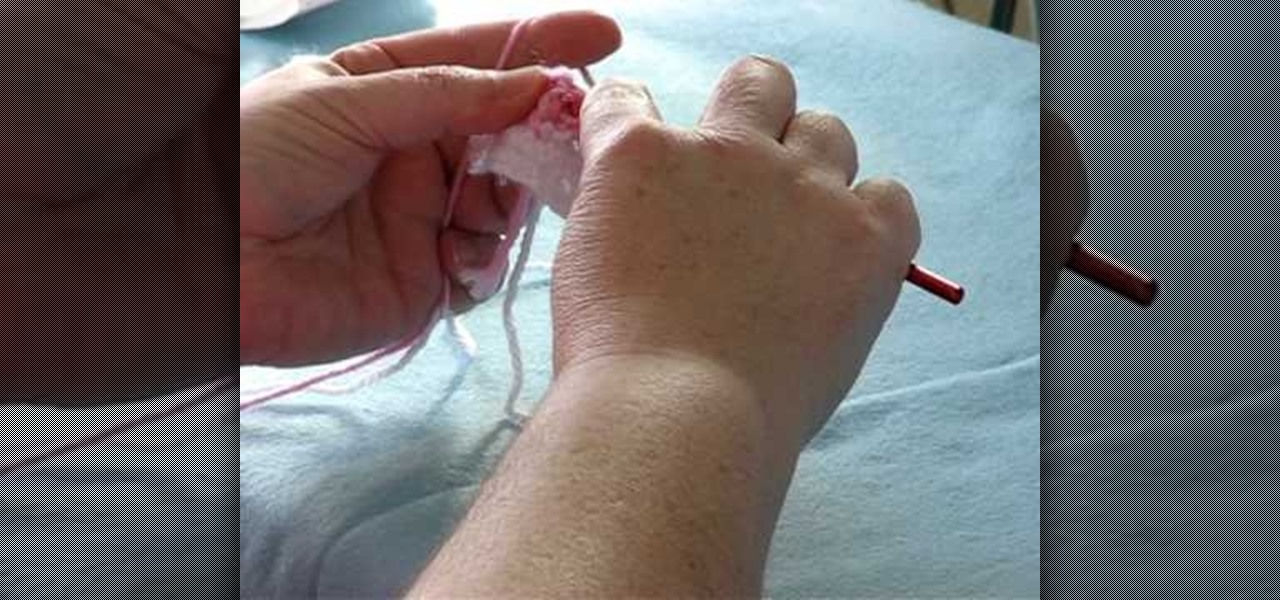
Donna teaches how to do a front-post, back-post crochet stitch. First of all you'll need yarn and a hook. Start with a single crochet. Donna uses white to create the single crochet and to create a heart, goes over the single line with pink to create a double crochet. To create the double line, go around and through. from front to back, through the single post. Always have the yarn going through the same side. The basic method using the pink, is to make the design in a "V" shape. Using this me...

In this video Jesse Liberty demonstrates how to create user controls dynamically (at run time) and how these user controls can raise events to interact with the page that creates them. This is a step by step, extensive tutorial on exactly what you'll need to know when using Microsoft's Silverlight. This is a detailed, easy to follow video, to help you use the program, and all it entails.

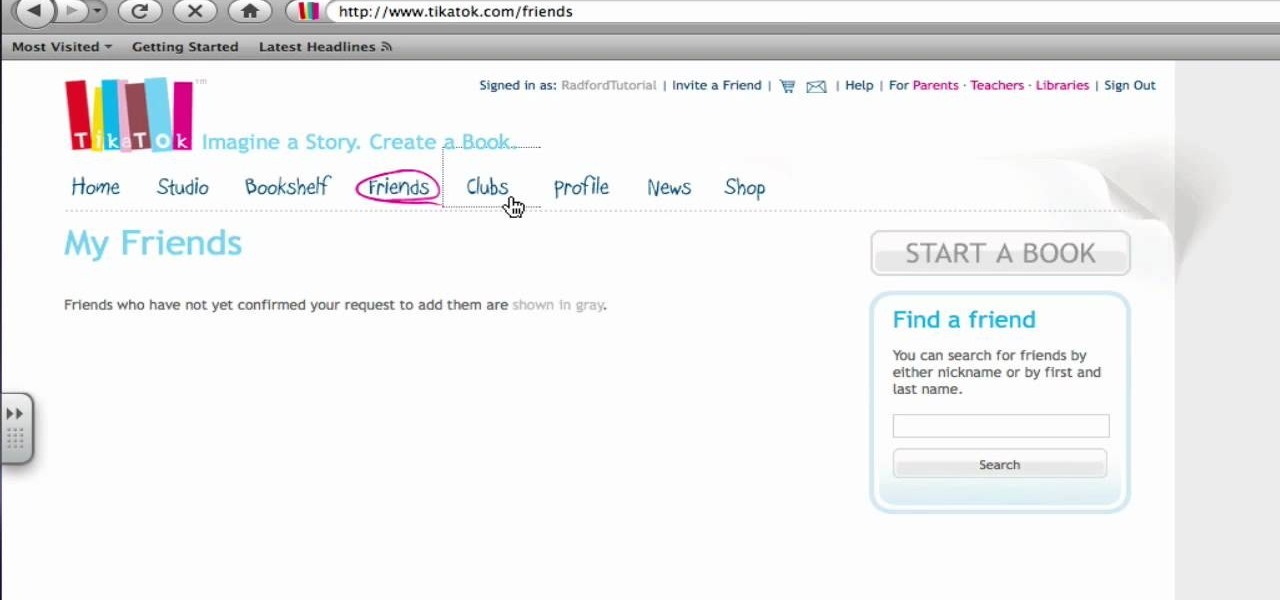
If interested in writing a story this two part tutorial will introduce you to Tikatok. You will learn the basic navigation and setup of the web site. Tikatok allows you to create and publish your own storybooks online. This program is ideal for allowing anyone to be creative and come up with their own ideas for stories.

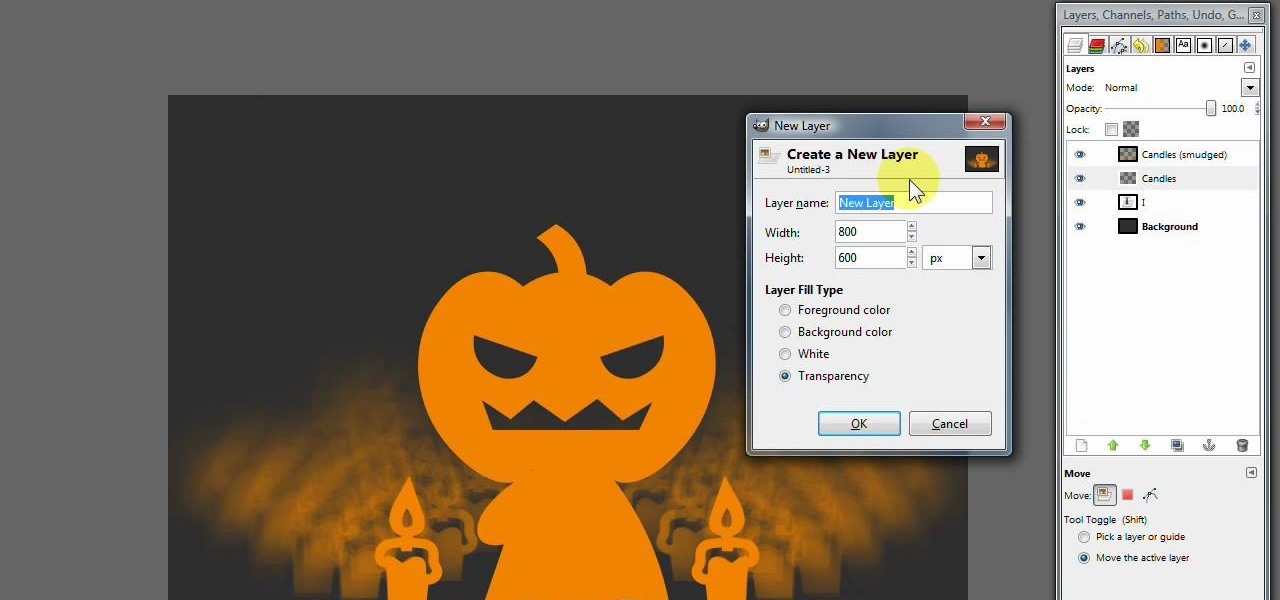
Having a Halloween party and want to make a flyer/invitation or wall poster? In this two-part GIMP tutorial, learn how to create a spooky and creative Halloween poster with the tools from the application, GIMP. Make a statement about your party before the day of the event with one amazing invitation created by no one else but yourself!

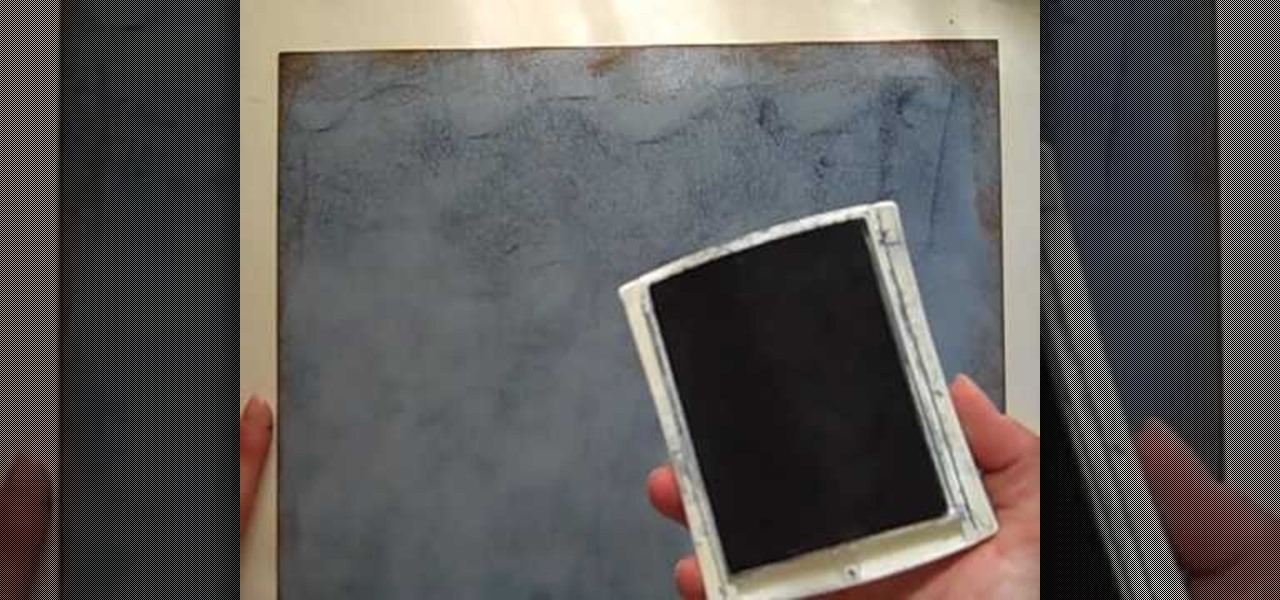
StampinMama1 demonstrates how to add ink texture effects to your scrapbook projects. When creating backgrounds for your scrapbook pages, you can use ink to both create texture and create interesting effects on the layout. Press the ink on the paper to use a direct to paper ink application technique. You can create cool effects like waves using this technique. Don't swipe the pad around or smudge it onto the paper. Instead, drag the ink pad in a motion of waves across the page. Start at one ed...

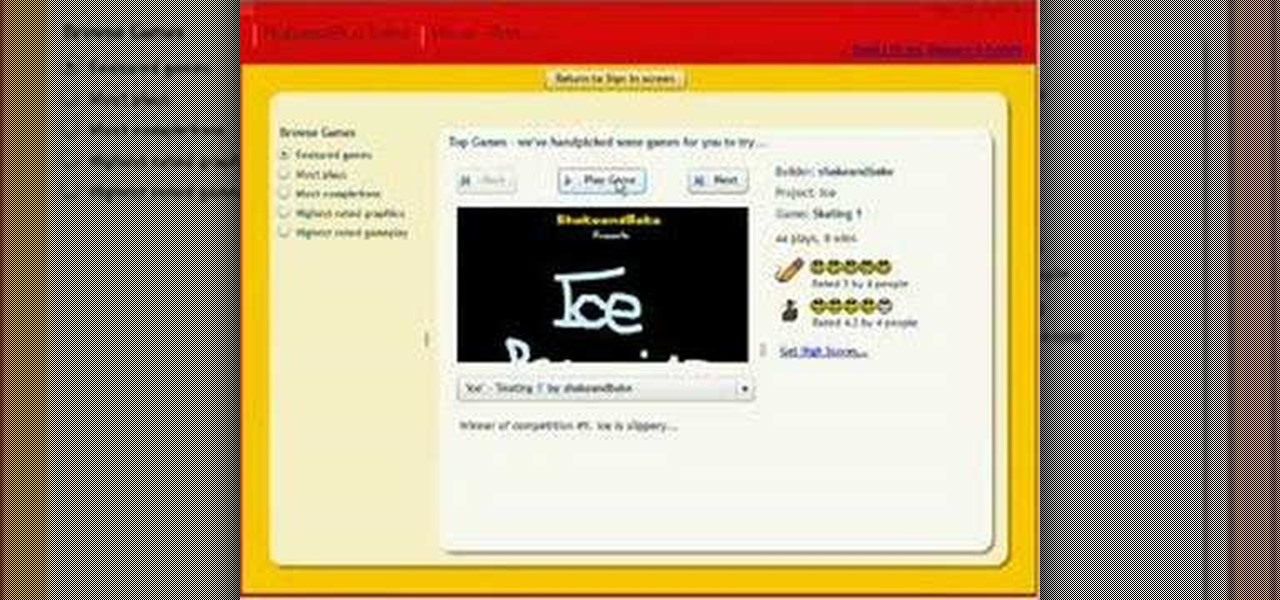
In this demonstration video, learn how to make flash games using My Game Builder. This program will allow you to create your own games for yourself and your friends. The program is free to use at My Game Builder. Once you launch this web page, you will be able to do three things: Play games, browse other users' games, or make games. Under Play Games, you will find different game types as well as featured games. Under the Browse feature, you can see how other people are creating games. Lastly,...

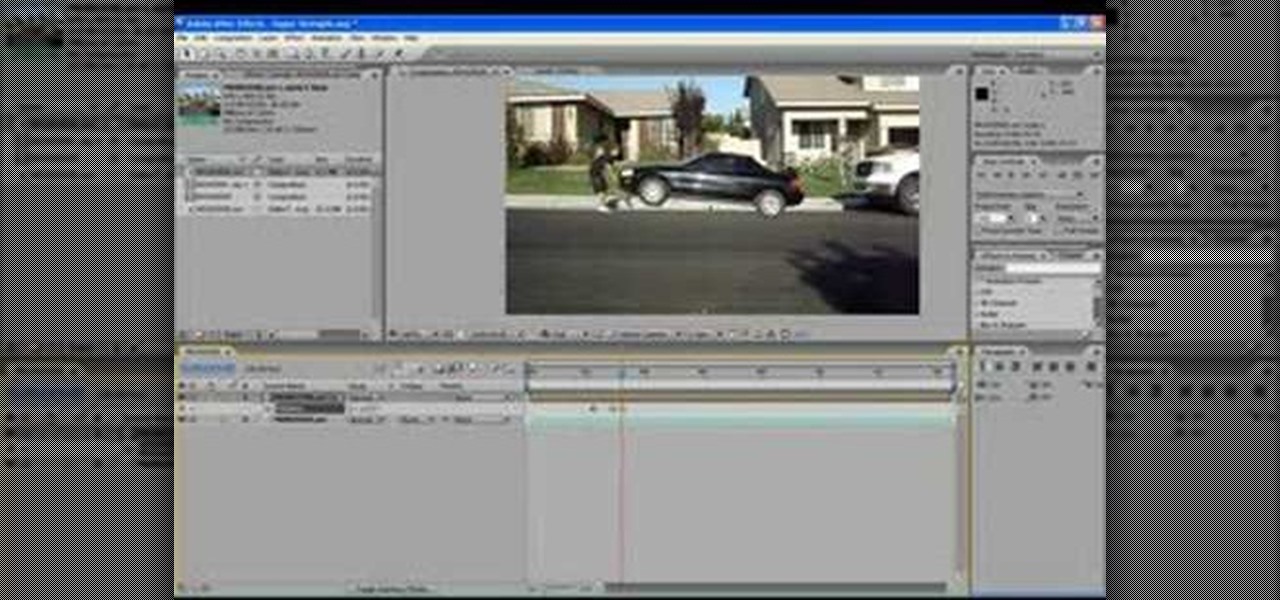
The end result of this tutorial is a video of a person lifting a parked car. The tutorial demonstrates how to create this super strength effect using Adobe After Effects. It is part of a series made by ajones8126 of super hero effects for Copilot.net. First, the narrator, AJ, creates a still from a clip of the parked car using time stretch. Then he trims a clip of himself "lifting" the absent car. He masks out the car, and pre-composes it into the other clip. The car is then carefully rotated...

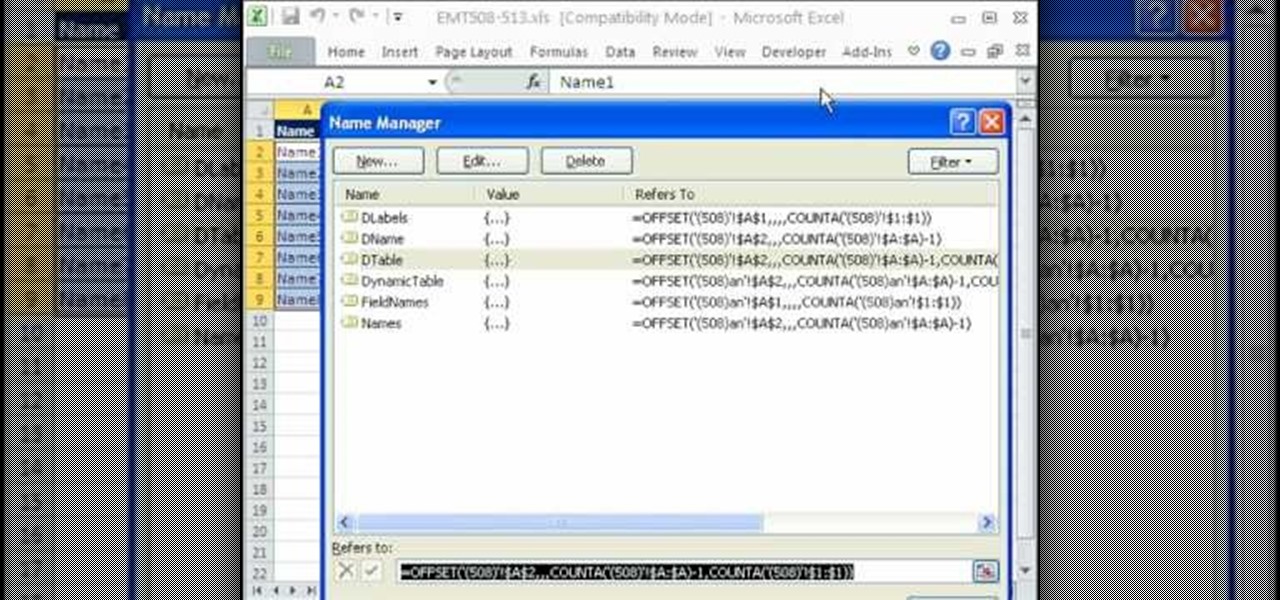
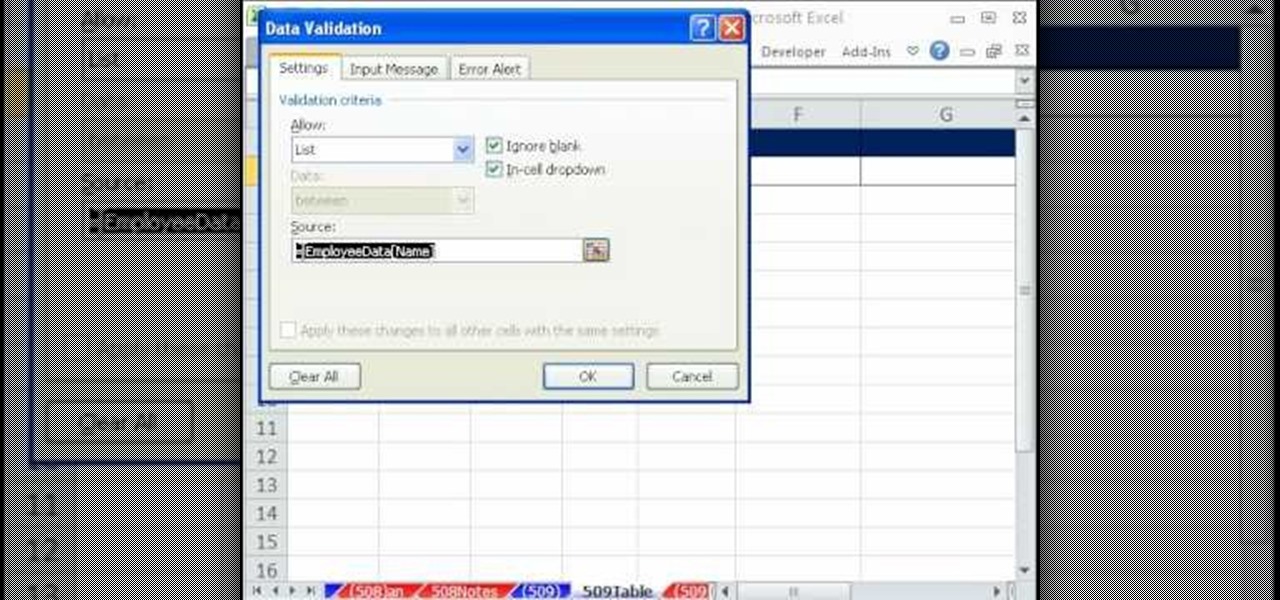
You can use the vlookup function in MS Excel to create a dynamic table in your document. Creating a new dynamic table and a new dynamic lookup area enaables you to add new data or new columns to the lookup table. You can also create dynamic named ranges by using offset, vlookup table and the match table. This function is very useful to businesses working on Excel. This video will show you to create a dynamic table for vlookup in Excel.

In this video tutorial, viewers will learn how to create a table for the VLOOKUP function in Excel. Create a dynamic table for the VLOOKUP function as well as a dynamic lookup area so that as you add new data or columns to the Lookup table. Create dynamic ranges using the Excel Table feature and Table Formula Nomenclature for the Data Validation drop-down list, the VLOOKUP table and the MATCH table. See an IF function formula that creates new labels as new columns are added to the lookup tabl...

This video shows the viewers how to create a simple but well done Halloween text in GIMP. Starting from a simple white background you will end up creating a creepy text perfect to use every year on the 31st of October . The video is actually a easy to learn walk through , showing your each and every step you need to make . Advance users but also beginners can benefit from this short clip . At the end of the video you will surely create the type of text you usually see only in horror movies su...

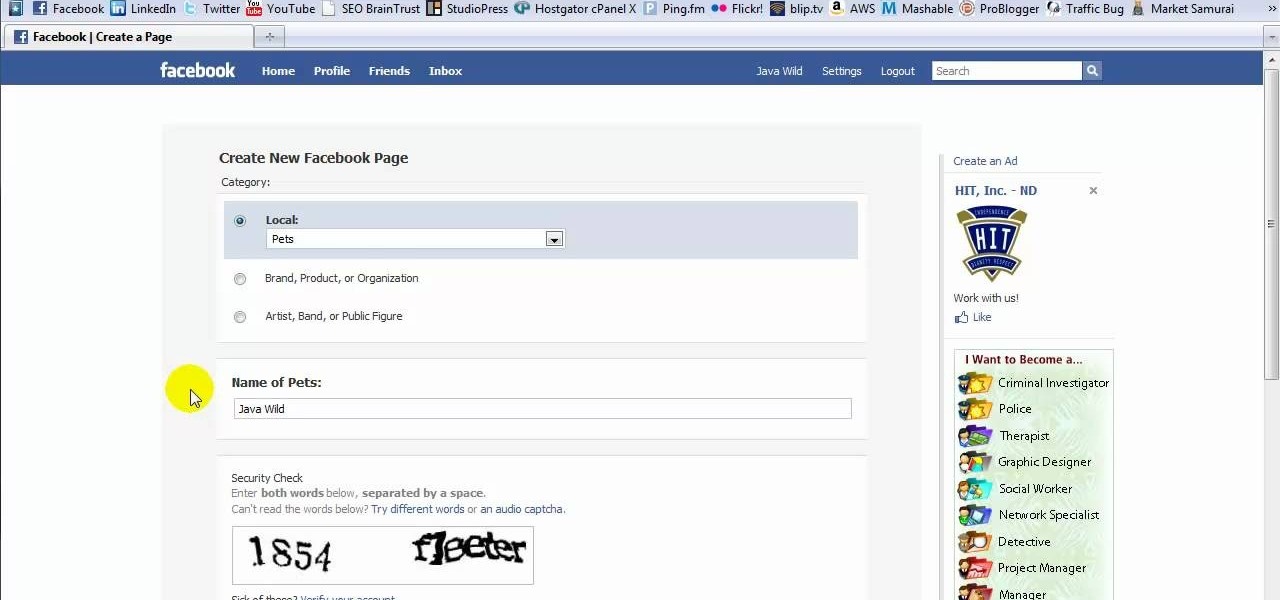
This tutorial is in response to mail to Facebook. Scott Wilde leads you through the process. You can start by creating a brand new profile page. In this case, Mr. Wilde created a profile page for his dog Java Wilde so he could have a fresh new page without having to alter his initial profile page. Fan pages are different than your base profile. Your base profile is not indexed, it is not public, it is private and limited to 5000 friends. A fan page is unlimited up to millions of fans and it c...

HelpTube1 teaches you how to create a watermark for your videos using Adobe Fireworks CS3. Create a new 100x100 pixels file, with a transparent canvas. Create the custom shape that you want. You can add borders and colors, but make sure you don't overcomplicate your design, as people seeing your video will not be able to decipher it. You can also add a short piece of text, preferably in the middle of your watermark. Go to file and save it as Fireworks png. You can then bring up this file in "...

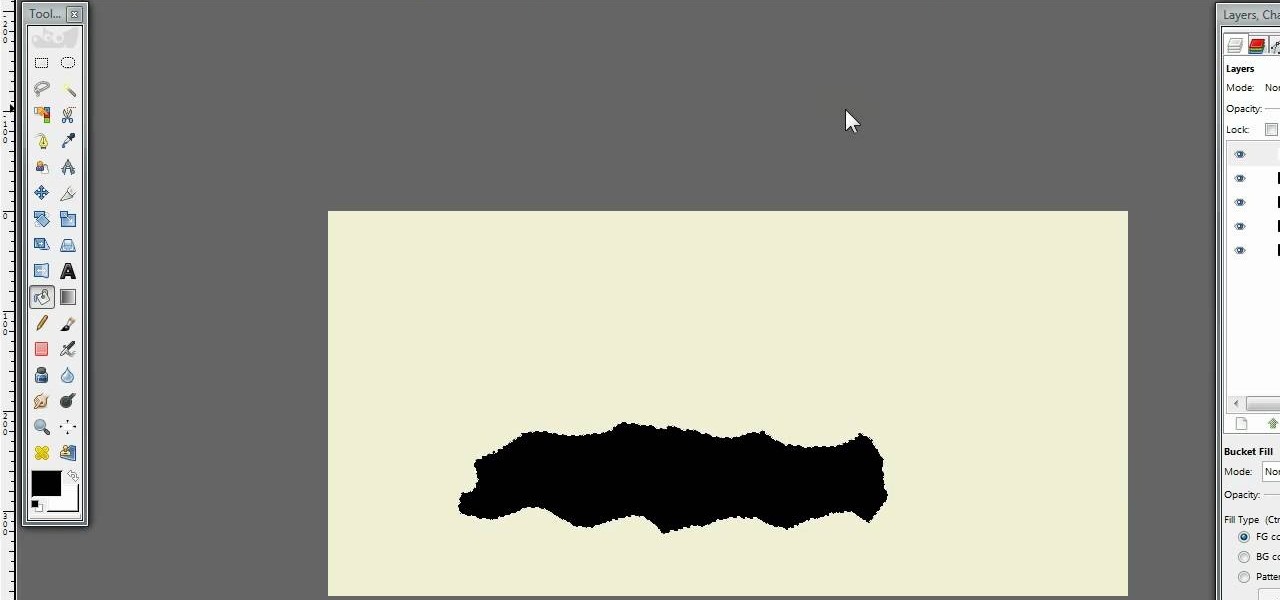
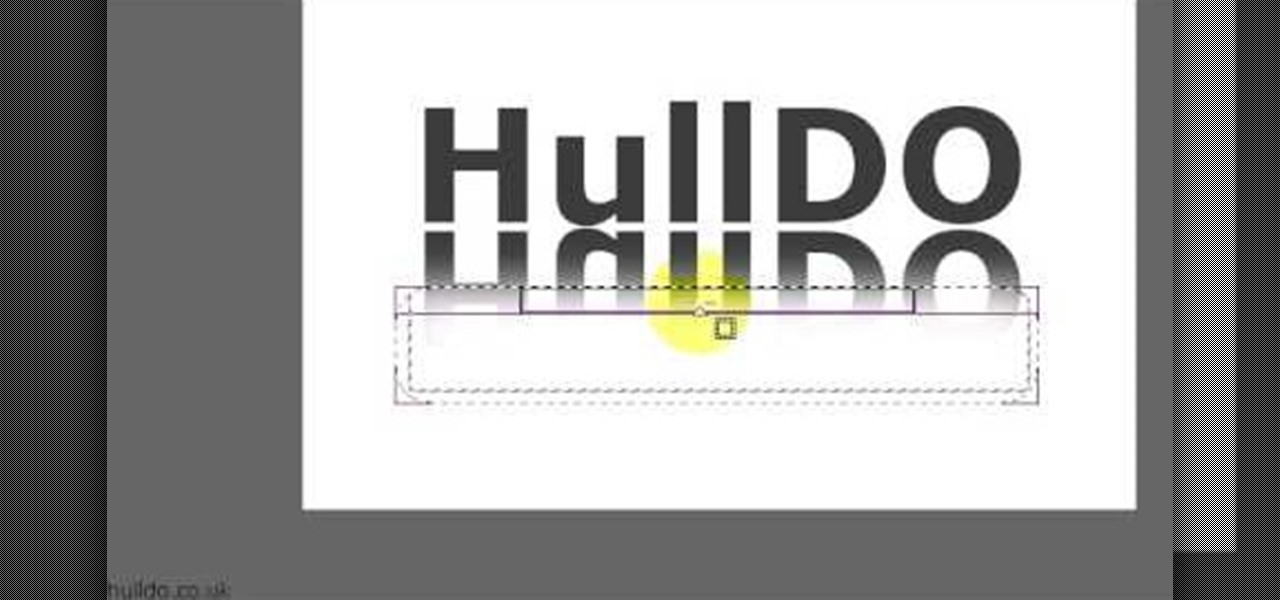
Hulldo teaches you how to create your own headlines in GIMP. You start off with a new file and paint that a light brown. Make a selection on the file and create a new layer on top. Color that layer black and add Gaussian blur. Put that layer beneath so it will make a shadow on your selection. Create the start of a gradient or simply a Grey layer on the bottom of the headline. Then add your text with black color. You can duplicate these layers, reside the selection and change the text. You are...

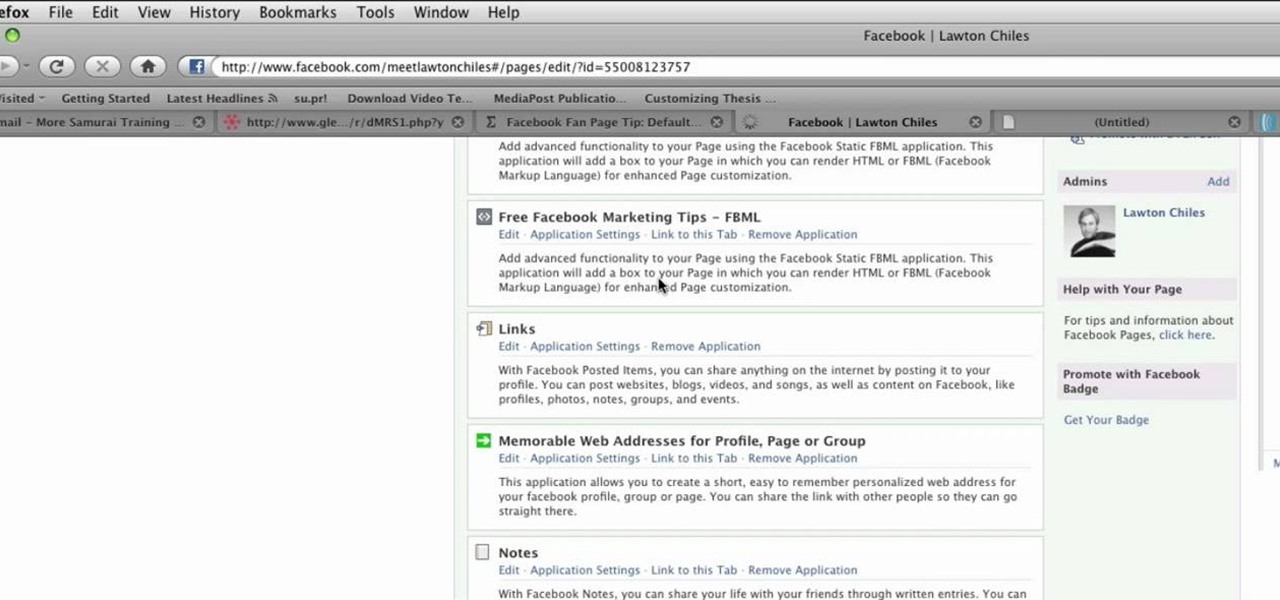
This video shows you how to make a custom Facebook Fan Page for your favorite Celebrity, Club, activity or anything you choose! First thing you must do is activate a Facebook account. Its really simple, just go to www.facebook.com and create a profile. After that type in FBML in your search bar and click on Static FBML. That application will enable you to create many different settings for your Fan page including ads and different looks and security measures for your profile. Now get to creat...

Would you like to learn how to create amazing realistic reflections using GIMP? If so then you need to watch this video. Within 4 minutes you will be making amazing reflections. You can find the source files here. Hulldo will walk you through the simple steps of creating text to make a reflection of, aligning it, creating new layers, and then creating the reflection. In a few simple steps you will have text that looks like it is casting a reflection in front of it. To do this you will first n...

This video shows how to create a search bar in Photoshop. To begin creating a search bar you must select the template and start with a black page. The following step include choosing the color you wish to apply. The instructor explains that you must manually make your tool bar by hand and the pixels set to option five. The final step includes turning on grade in to show the program that what you are creating is an actual tool bar.

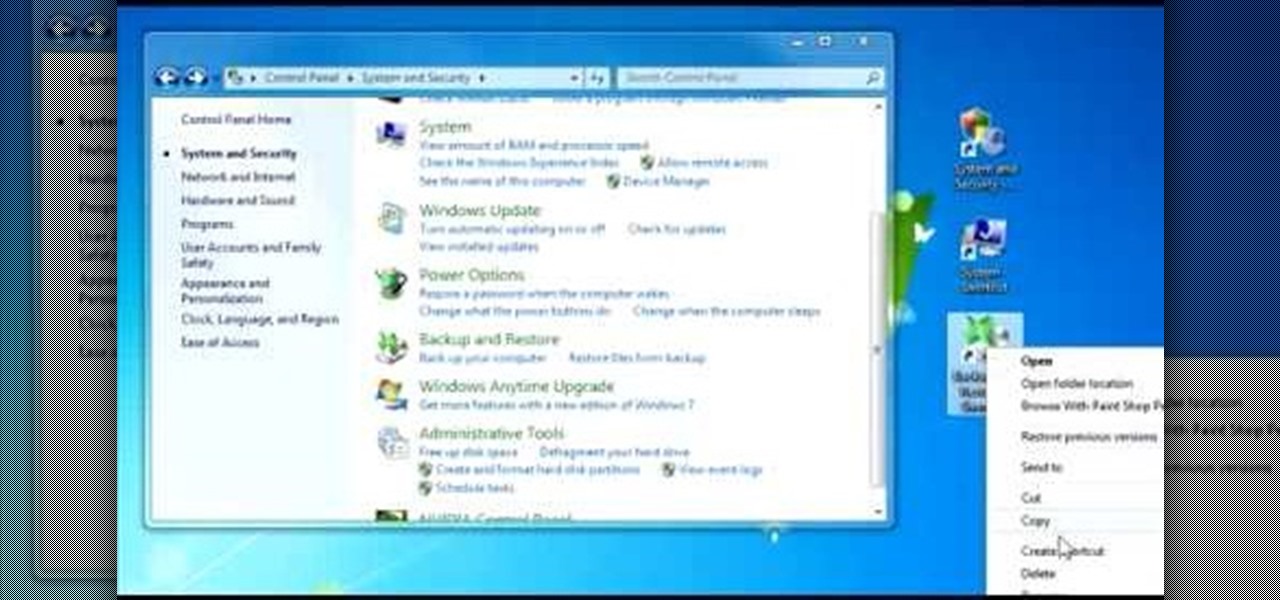
In this Windows 7 tutorial video, host Rich from PC Mech shows you how to create control panel shortcuts on your desktop in Windows 7. You will learn how to use the "drag and drop" method to quickly create shortcuts to various applications you may use quite often in "Control Panel", so that you may access them more quickly, without having to go into the Control Panel menu and drill down through menus and sub menus to find the applications you're looking for.

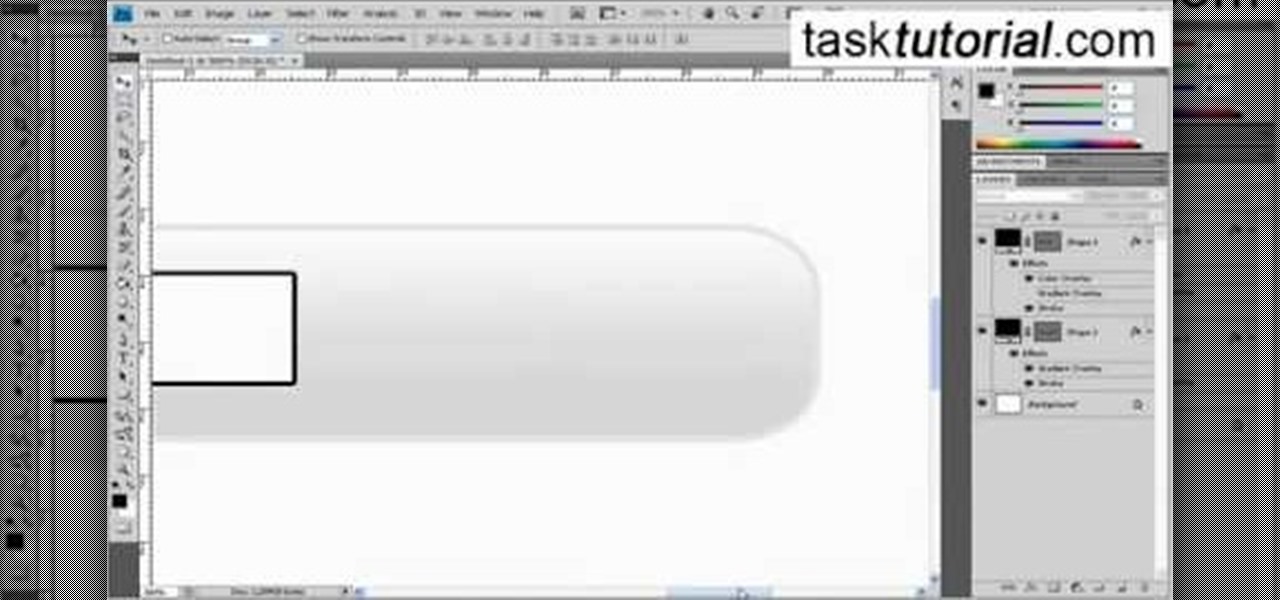
In this Tasktutorial video, learn how to create a button for a website using Illustrator software. To begin, create a rectangle with the rectangle tool and then make the outline gray with a stroke of 3 points. Fill this box with a gradient and change the angle to 90 degrees. A second box within this rectangle, will contain the actual text. Then follow the rest of the steps in the tutorial to show how to change the opacity and color so that the two boxes match in color. To actually animate thi...

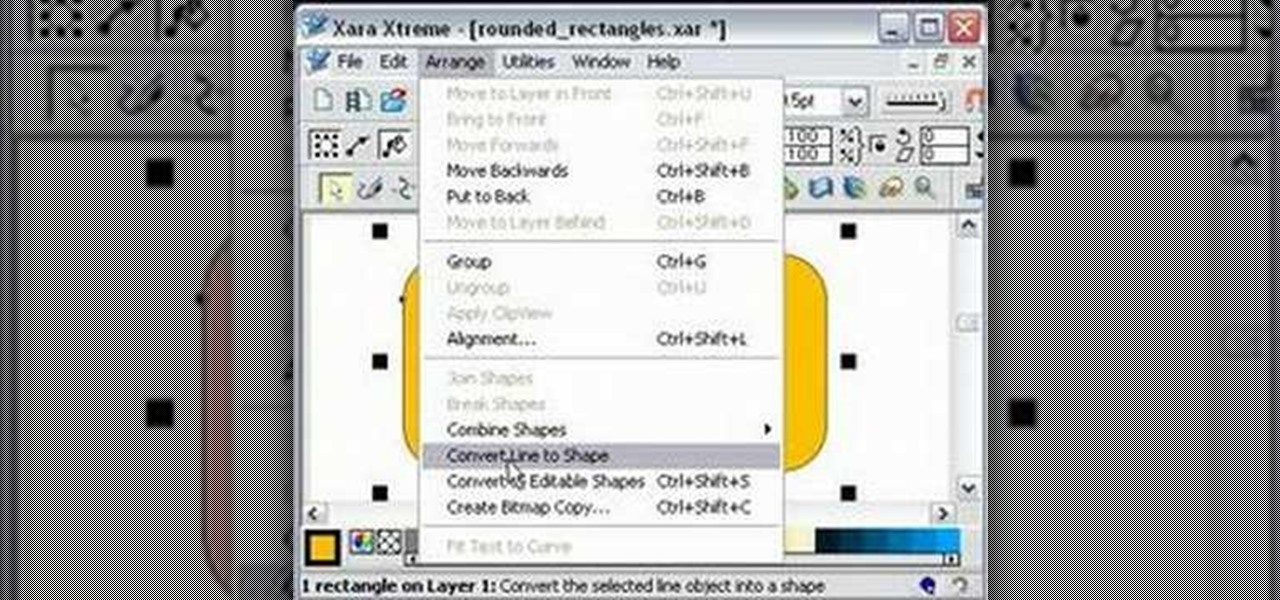
One must have often wondered how to create rectangles with smooth rounded corners. Open Xara Xtreme and create a rectangle on the stage. To change it to rounded corners, click on 'curved corners'. Then one can edit how much curve is required on the rectangle. If we scale the rectangle, then it will lose the curve path. So it should be converted to 'editable shapes'. This will maintain the curves, even if scaled from one angle. This will be helpful to create those party fliers.

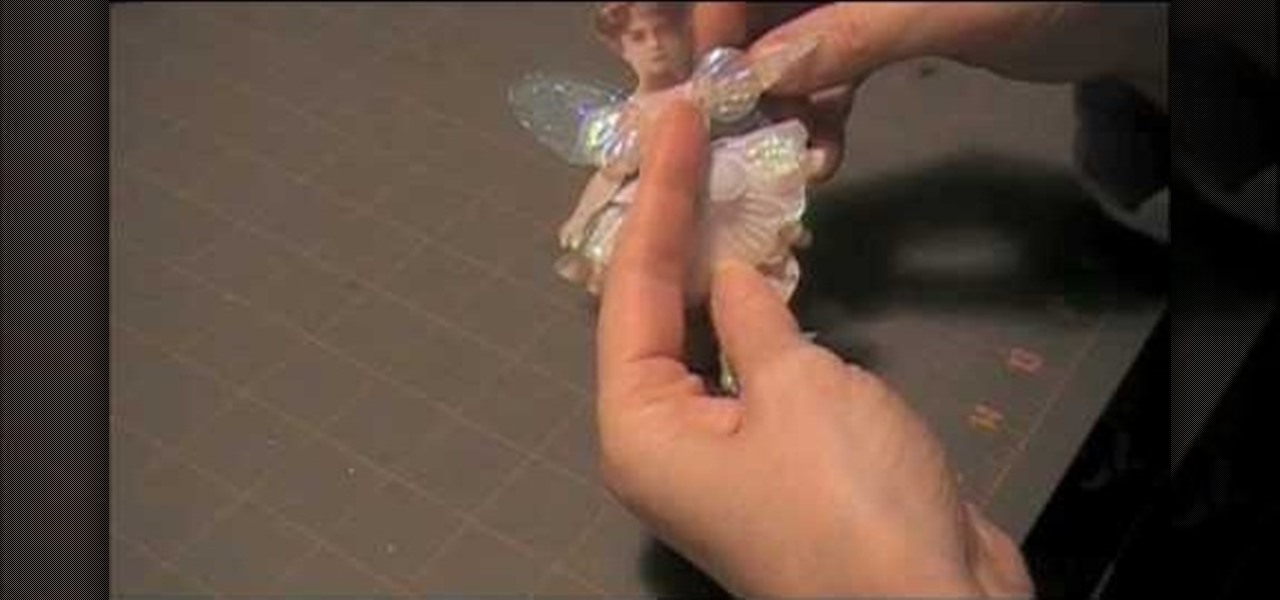
In this video tutorial learn how to make a jointed flower fairy paper doll sitting on top of a trinket box. You will need three strips of paper and two circles cut out of paper. To create the box, curl the strip with a pencil. Then adhere scotch tape to the strip and tape the strip to the circle to create a box-like structure. Cover the perimeter with a larger strip of paper in whatever design you want to use. Follow these same steps to create a larger box. Fit these two pieces together and a...

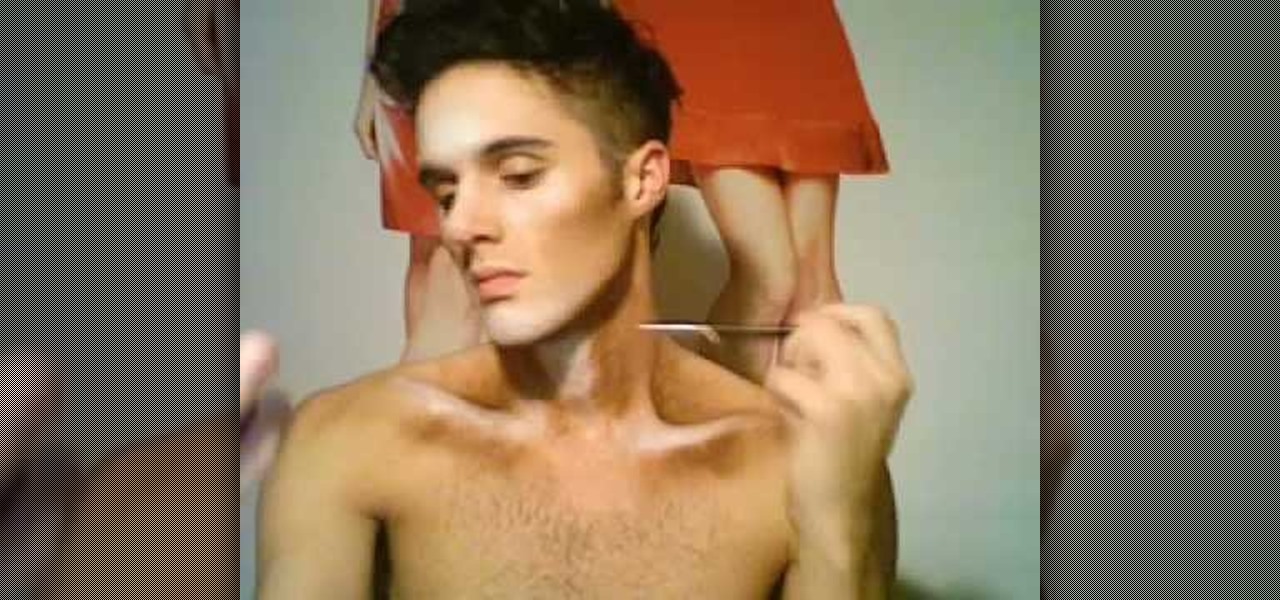
First stipple moisturizer onto your face. Gently rub the lotion into your skin until completely absorbed. Next apply liquid foundation, preferably Mac Studio Fix Fluid (four shades lighter then your skin's natural tint. Shake and dabble your foundation onto a clean surface, using a #187 foundation brush to apply to your face carefully blending into your skin. Now that you've created an even canvas to your face, you're ready to apply a clown white oil based face paint for accent. Apply the whi...

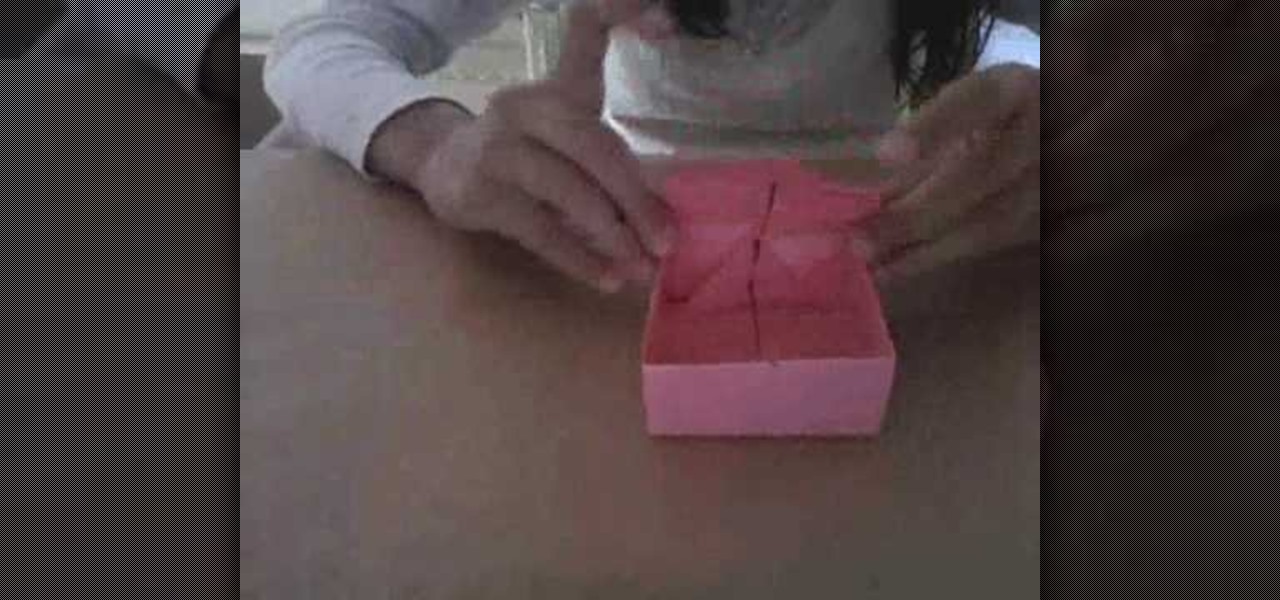
Learn how to make a paper gift box by following the steps in this video tutorial. The first series of steps shows you how to make the lid. Take an 11" by 8.5" piece of paper. You can use whatever color you want. Fold one corner toward the opposite end creating a triangular shape. Trim the remaining rectangular shape. Unfold the piece of paper and create another fold in the opposite direction. Take a marker to mark the center and bring all four corner to that dot. You will create an additional...

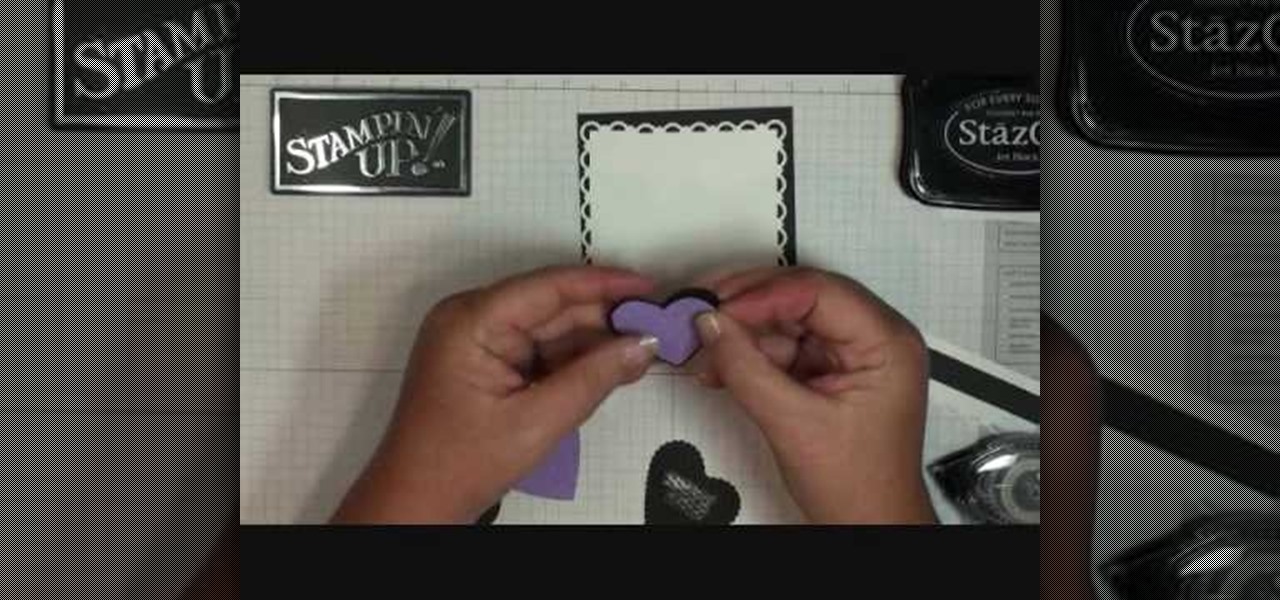
Using products from Stampin' Up you are able to create this great looking easel card. This quick and easy project uses card stock, stock lace created with a border punch, stock cutter, embossing plates, a few dimensionals, and a few other items that can be bought in the Stampin' Up kits. Each item adds it's own unique look to the creation of this easel card. The process to create these cards are sped and simplified with the kits and a variety of items can be created to add a personal touch to...

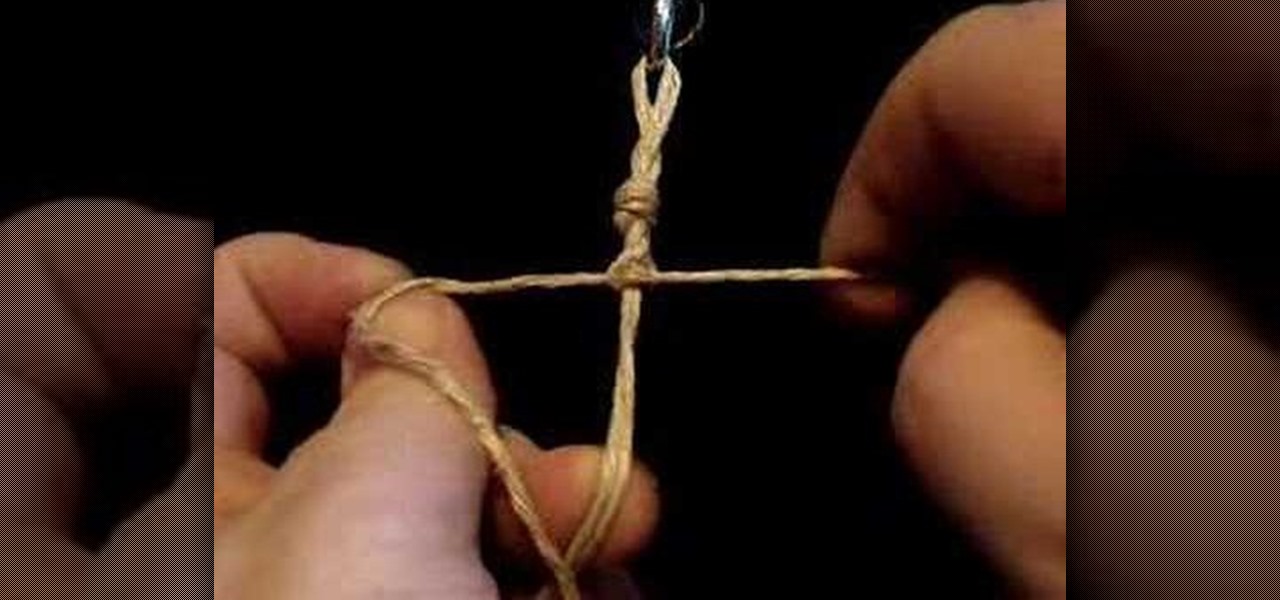
This video is an instructional video on creating and using the right half knot spiral knot tying technique for creating hemp jewelry. The technique creates items like anklets, bracelets, chokers, and necklaces. Also, creator of the video demonstrates every step and procedure for creating the knot spiral. First, tie an overhand knot by crossing the right side of the cord over the left side of the cord. Second, bring the left cording under the right cording to create the second phase of the kno...

Want to create the look of expensive Hollister designer jeans? Fancy department stores, specialty jean stores and boutiques sell them for outrageous prices. Now you can create them at home with simple supplies, a little practice, careful observation and some "elbow grease". The creator of this video uses common hardware store supplies to complete the task. With the help of the video's host, the right sandpaper and with the right moves, you can create all of the most common styles of Hollister...

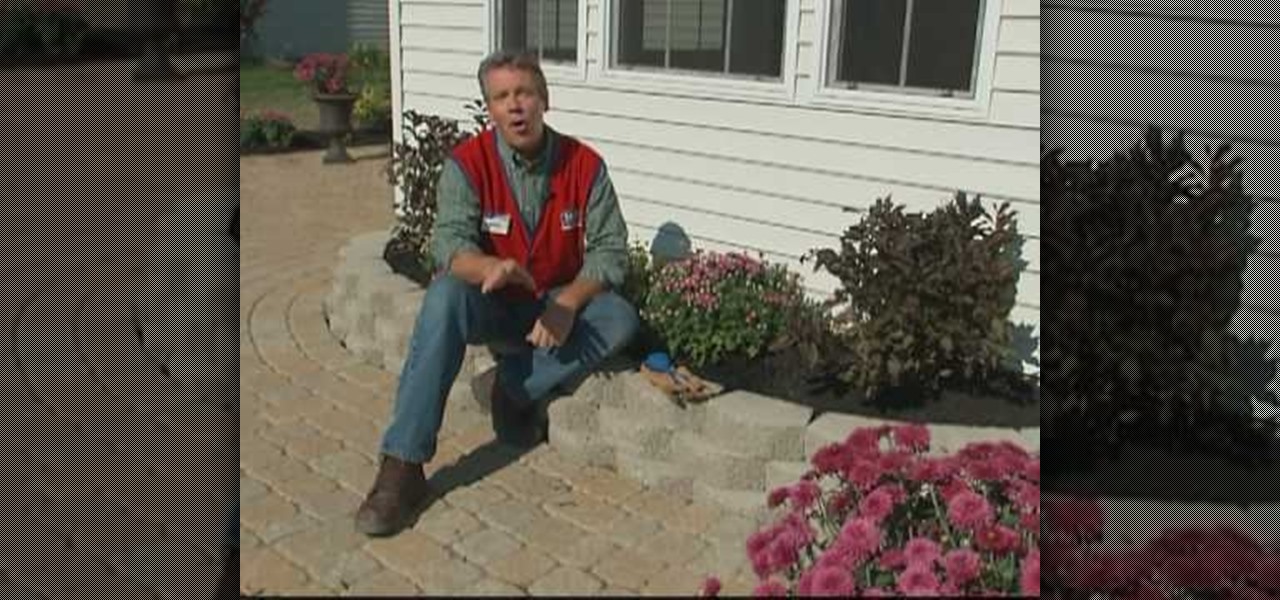
In this installment of home improvement do-it-yourself videos, brought to you by Lowe's, host Mike Kraft, one of Lowe's home improvement experts, demonstrates a landscaping technique that shows you how to create a retaining wall with interlocking wall blocks, that features a raised planter bed. Mike gives you a list of all the tools and materials you will need to create the retaining wall, and offers some tips on creating curved lines when laying out the wall.

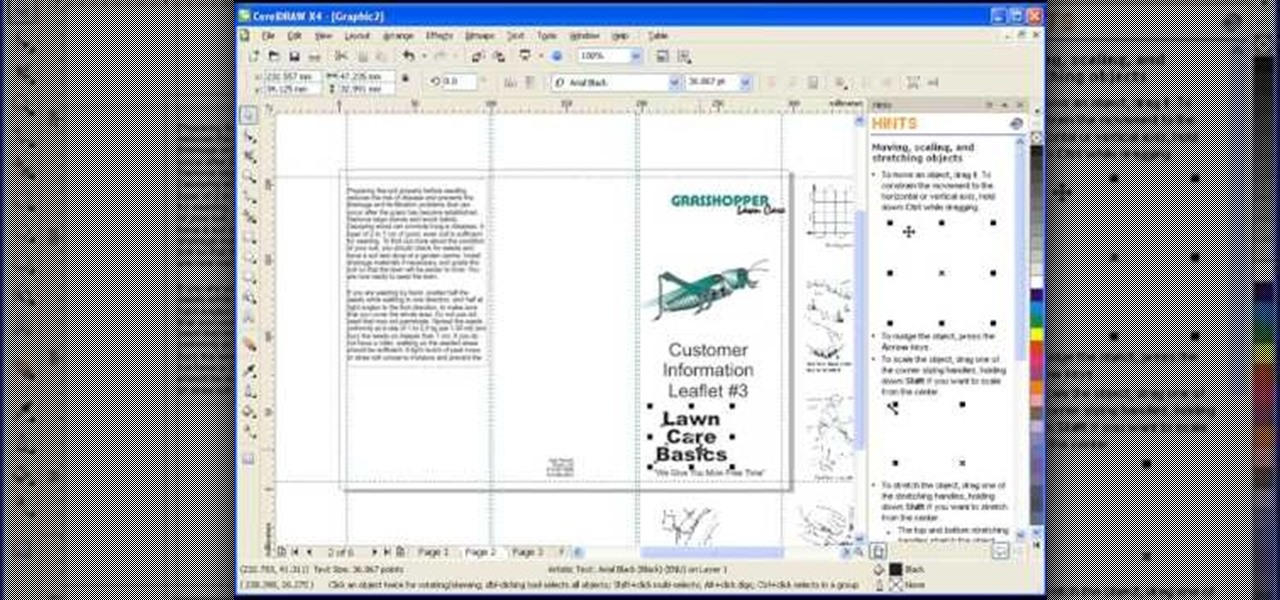
Roger Wam will show you how to creating a brochure in CorelDRAW graphics suite X4. Begin by changing your page to A4 and the view to landscape. Create a page frame and then divide it to thirds. Add a second page for a double sided print job. Remember to number pages. Cleaner brochures look better, don't change fonts all over page, and use color. Import your file to CorelDraw. After files are imported start laying them out on your brochure. Just by using a few simple tools you have created a b...

Do you want to learn how to create a comic book style cloud using Photoshop? Now you can with this video. First of all, create a blue colored layer. Next, create a few white shapes on this background. Now duplicated this layer. Go to the bottom layer and make it black. Go back to the top layer and move it a tiny bit so that the black shows. Combine the layers and now blur it. There you have it, a comic style cloud in under 3 minutes.

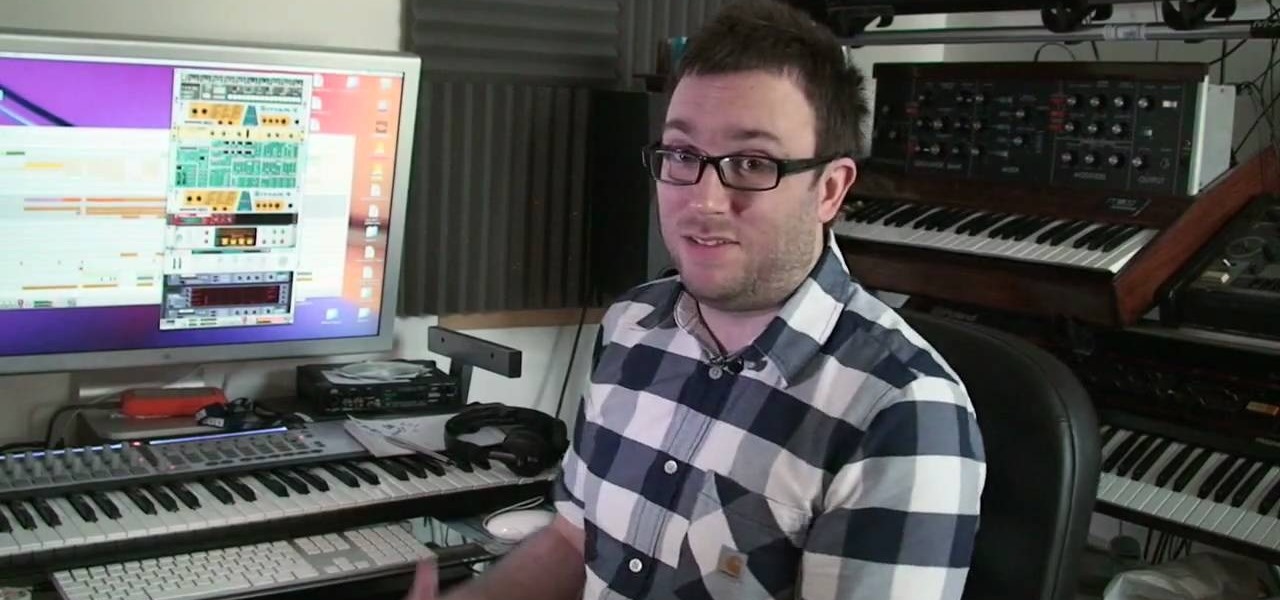
British record producer David Spoon explains how he uses the computer program Propellerhead Reason 4 to create rhythm and bass tracks in his home music studio. He explains that by just messing around with the controls within the program, you can create a lot of interesting sounds and effects. Sometimes the best sounds are discovered by accident. He uses Filter 2 to create interesting effects that he describes as "acid-y" or "nasty", having to do with the resonance of the bass sound. He also a...

In this video the author shows how to sign PDF files and create digital appearances. To do this open any document where there is a place provided to digitally sign it. Now double click that area and you will be shown a pop up menu that helps you to sign the document. Now if you already have a digital sign prepared you can go ahead and sign the document. If not there is an option to create a new sign and this video shows the procedure of how to get it done. Using this feature now you can digit...

In this video by Task Tutorial we learn how to create a simple text effect in Flash. The first step is to create the text you want to use. Then use CTRL-B to break apart and distribute to layers. Now, convert your letters into movie clips using the menu options. Then add key frames and edit Alpha values in all of the letters. Alpha must be 0. Then add motion to the values and at frame 10 add a key frame. And at frame 15 add another key frame. Next use the free transform tool to move the text ...


