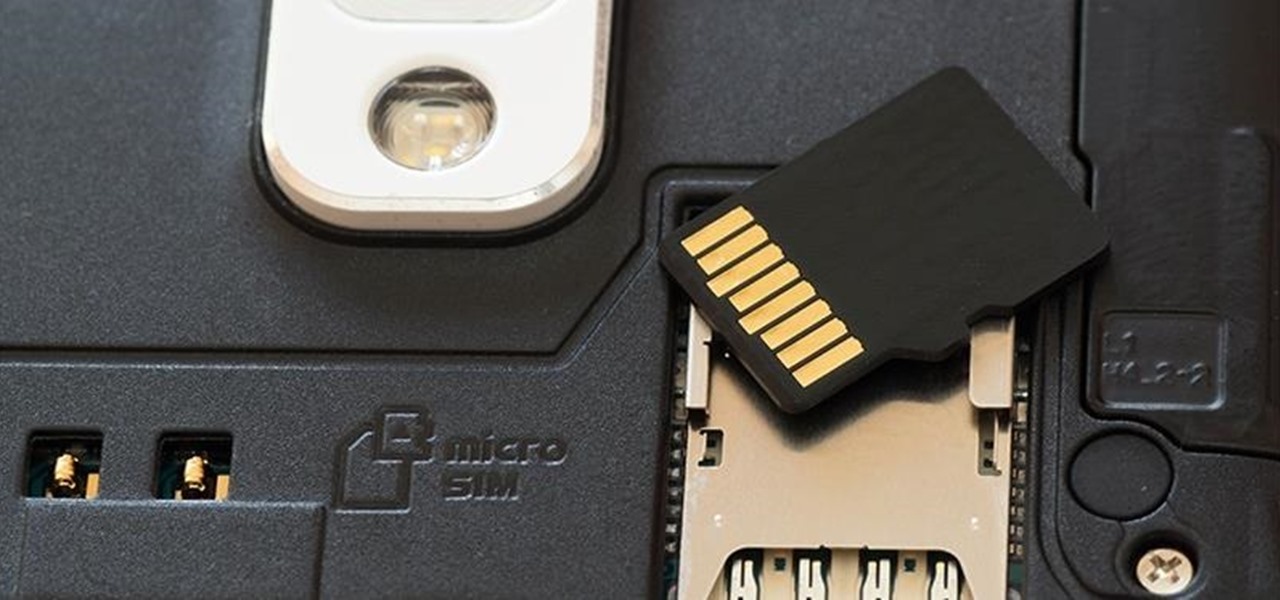
In the tech world, it's all too common to slap a fake label and packaging on a lower quality product, especially SD cards. If you've ever bought an SD card on the cheap from a slightly-less-than-reputable source (or even a reputable source, in some cases), how do you know if it's the real deal?
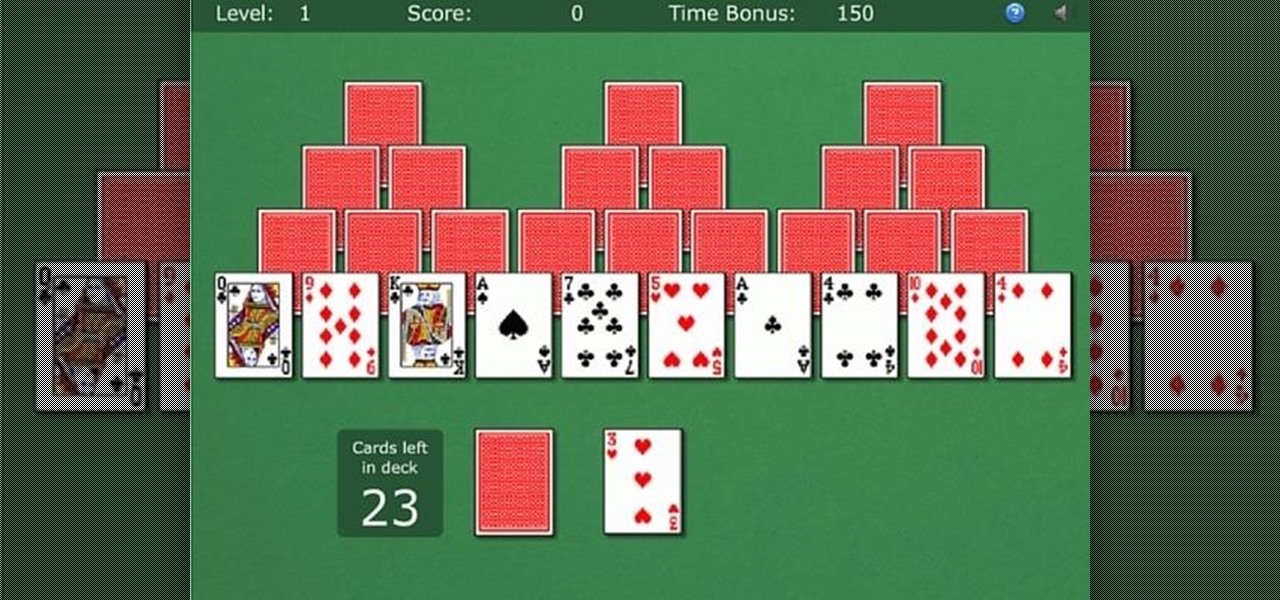
There are a number of variations of solitaire games you can play. Their popularity has remained huge over the past couple of years.

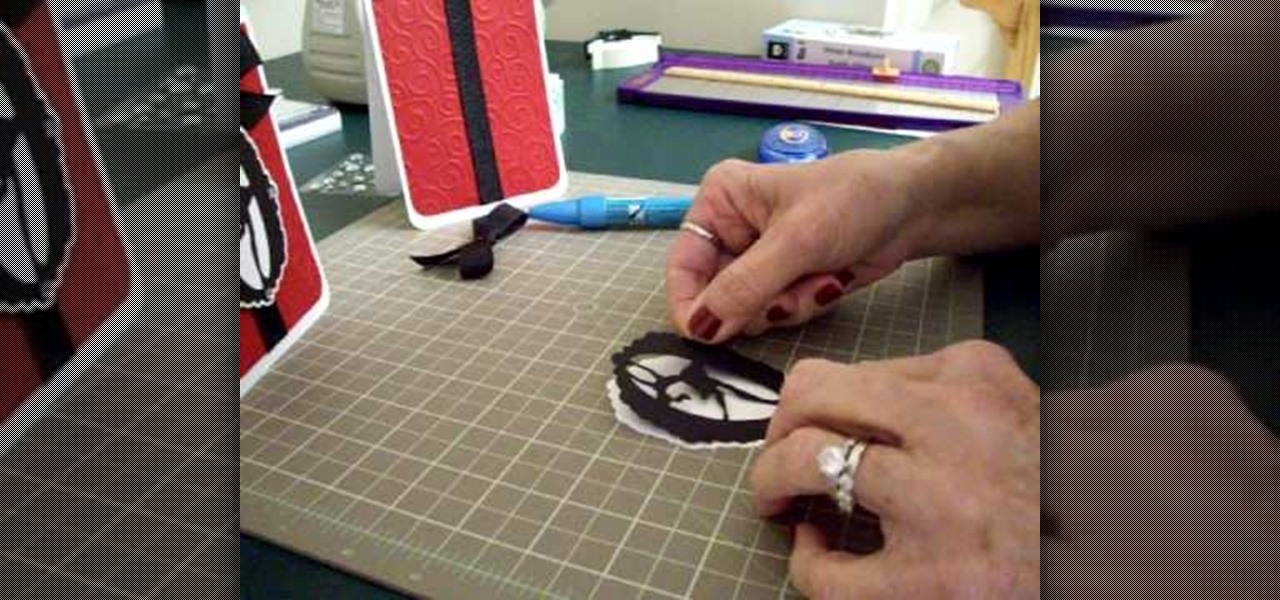
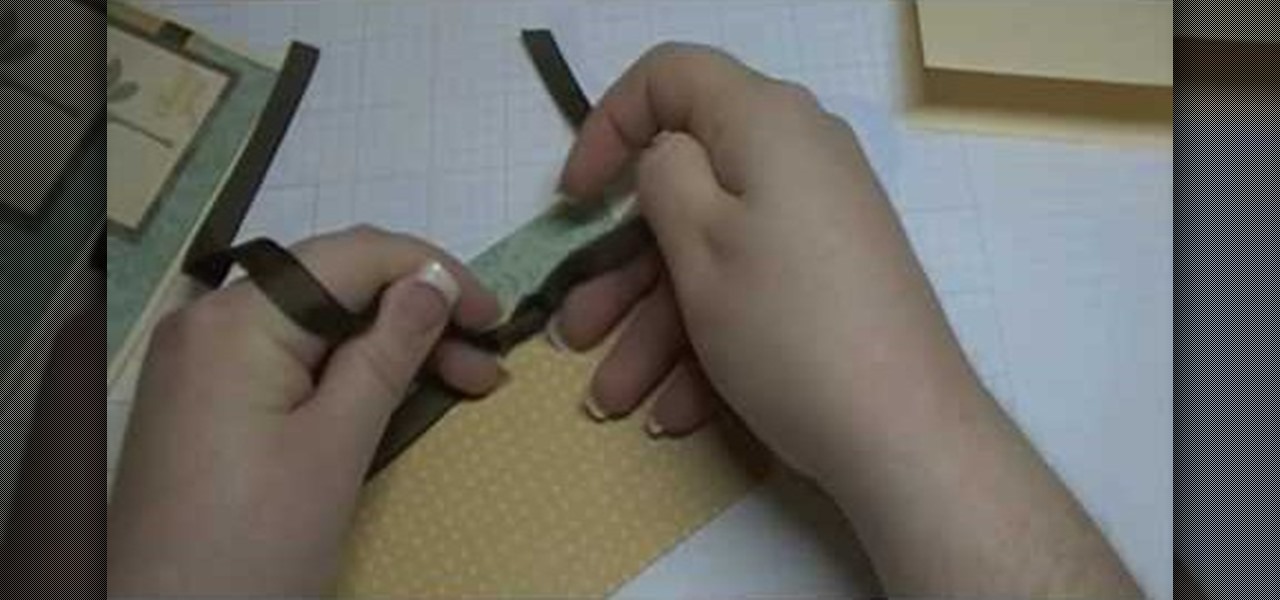
In order to make the Spinner Pinwheel Card with your Cricut, you will need the follow: the Cricut Wild Card cartridge, card stock, ribbon, brads, printed/patterned paper, adhesive, and an ink pad.
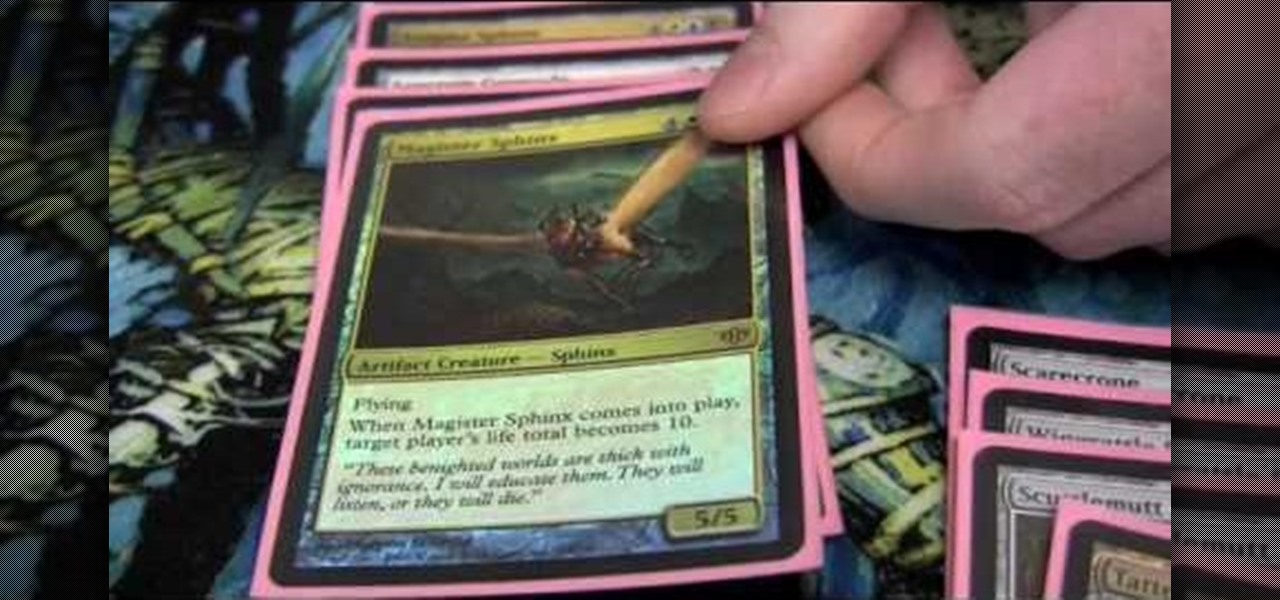
If you've haven't tried Elder Dragon Highlander, check it out. It's an awesome variation of Magic: The Gathering. This video will teach you how to make a powerful deck for it based around the Reaper King card and an army of scarecrows.
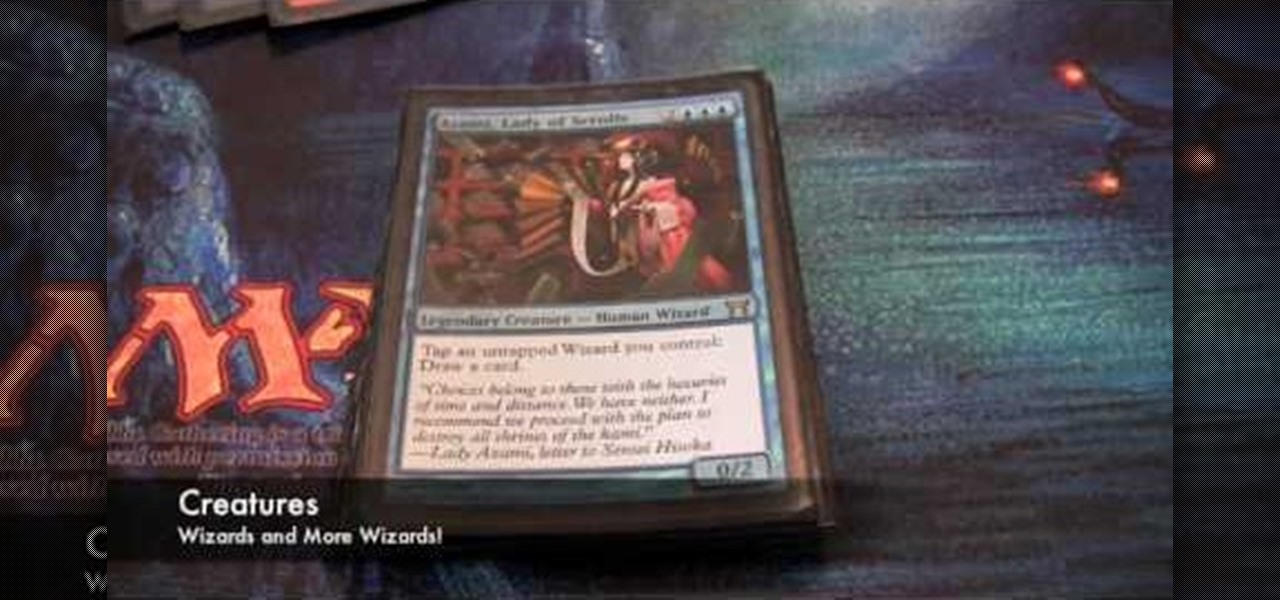
Are you one of the those Magic players who likes to play with all-blue deck that can barely inflict any damage but keep everyone else from using their cards? This video is for you. It will teach you how to build a killer blue spell suppression deck for Elder Dragon Highlander, an awesome Magic variant.
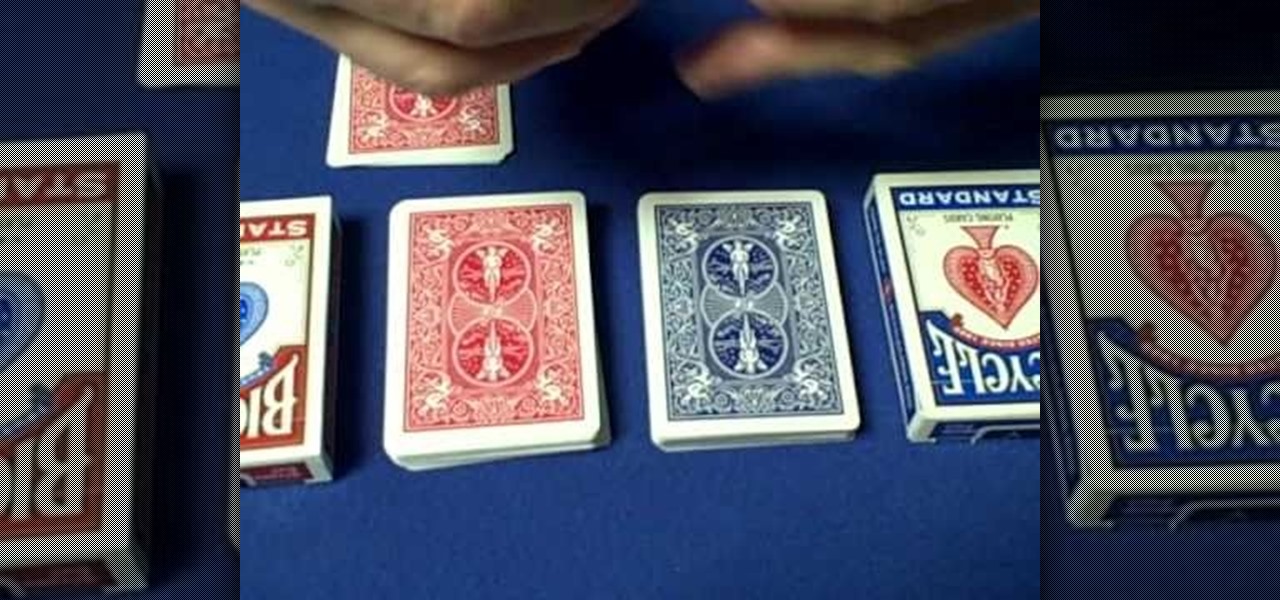
Mentalism and card magic work great together, as the trick that you will learn how to do in this video so eloquently demonstrates. It's called the Deck Divination Effect, and this video will show you the trick and then exactly how to do it for your next close-up magic show.

In this tutorial, we learn how to make a bear pop-up card. First, draw a big bear face on a 4x6 card. After this, fold the card in half so the face is in half. From here, use scissors to cut along the mouth line up until you reach the nose. After this, bend that flap up and down so it's creased and will flip both ways easily. After this, open the card back up and push the nose of the bear into the top. Then, close the card again and the nose will pop up from the page, enjoy!

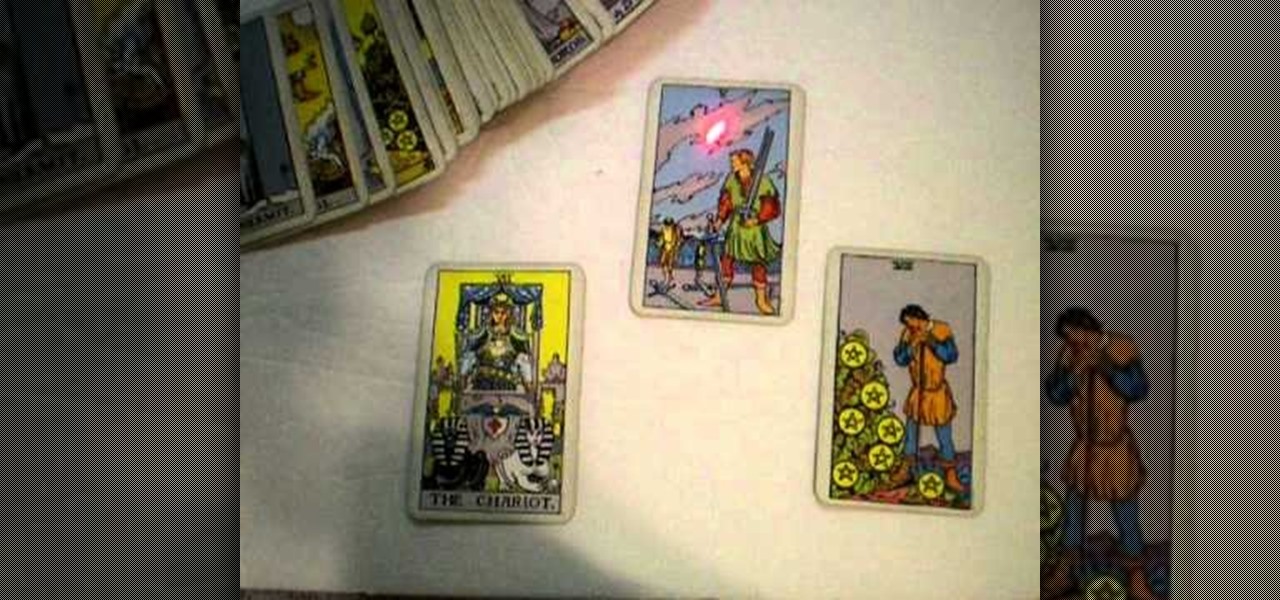
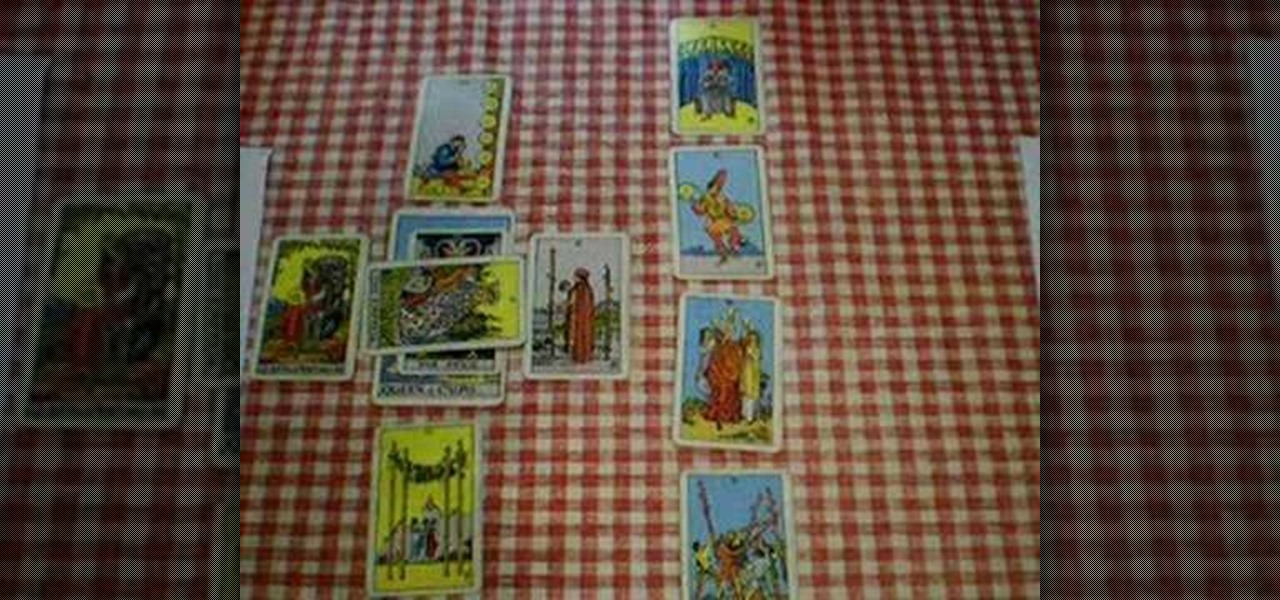
Most of the time, a divination using the Tarot cards will be performed for someone else. But if you have your own questions about the future, Peter John teaches you how to use a simple three card spread for a Tarot card reading when you are the querent.

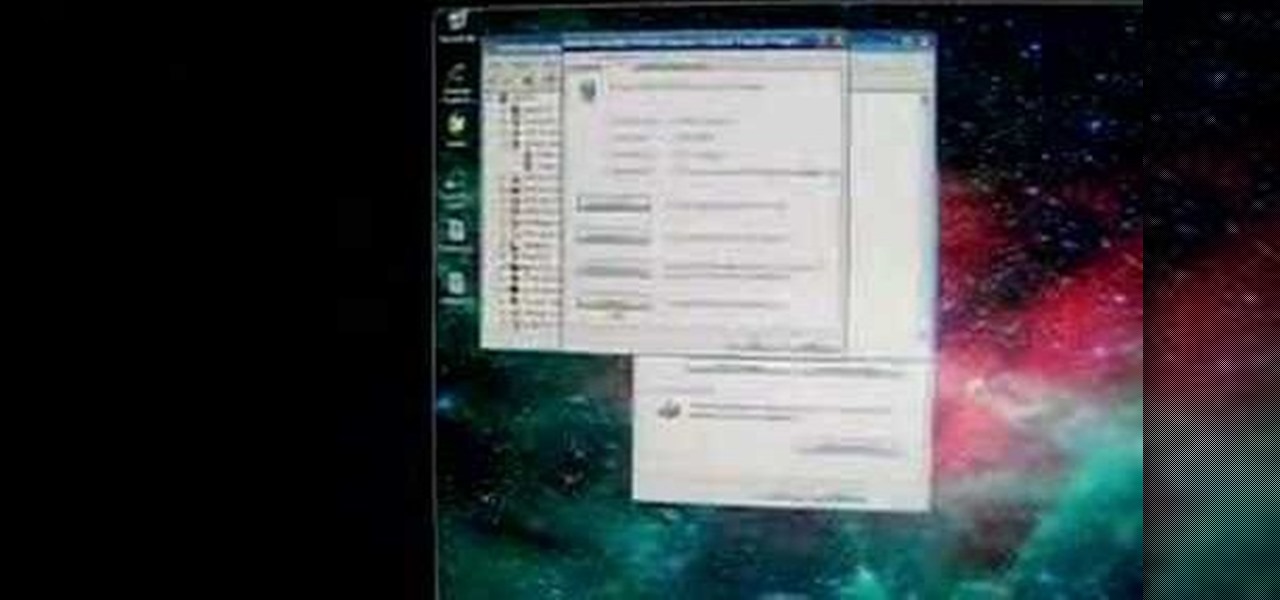
In this video tutorial, viewers learn how to uninstall the video card drivers on a Windows computer. Begin by clicking on the Start menu. Then right-click on My Computer and select Properties. Now click on the Hardware tab and click on Device Manager. In the list, click on Display Doctors and select the desired video card. Now double-click on the video card and select the Driver tab. Finally, click on Uninstall and follow the process to remove the drive. This video will benefit those viewers ...

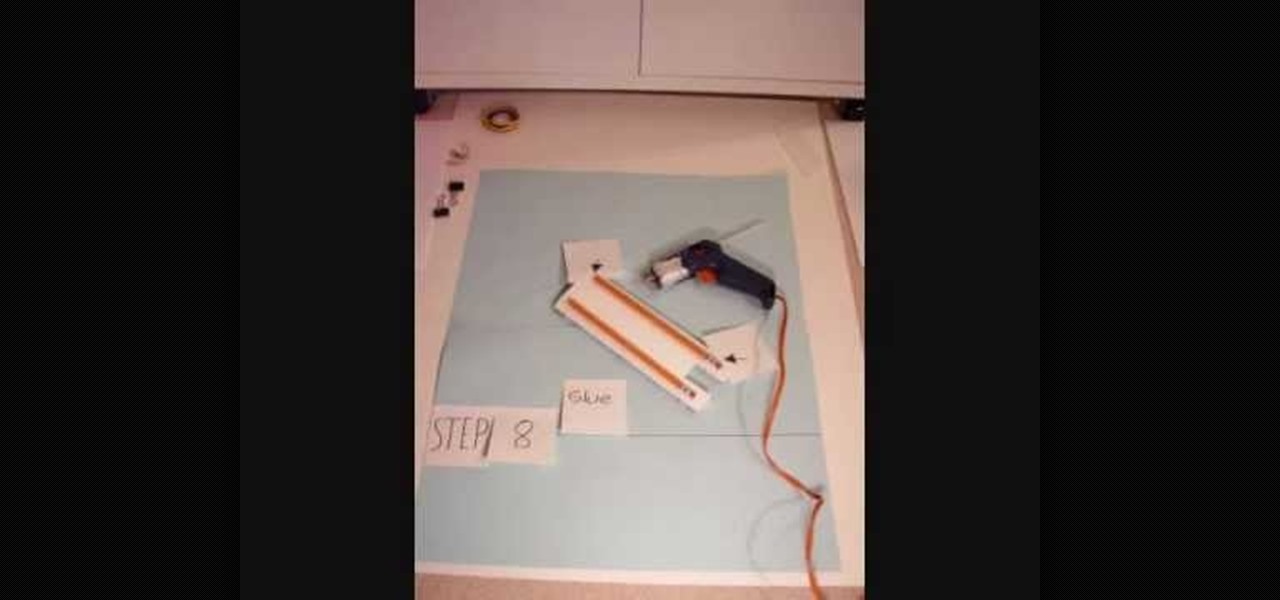
To make a rubber band car you will need one sheet of card stock, four paper clips, two binder clips, one plastic straw, 8 inches of dowel that fits into the straw, two pencils and one rubber band. You will also need four CDs or round pies of cardboard, tape, a ruler and a marking pen. First, unfold the paper clips. Then fold the card stock and attach the paper clips. Cut squares out of the card stock. Then, cut the straw. Attach it to the card stock. Affix the pencils to the card stock with h...

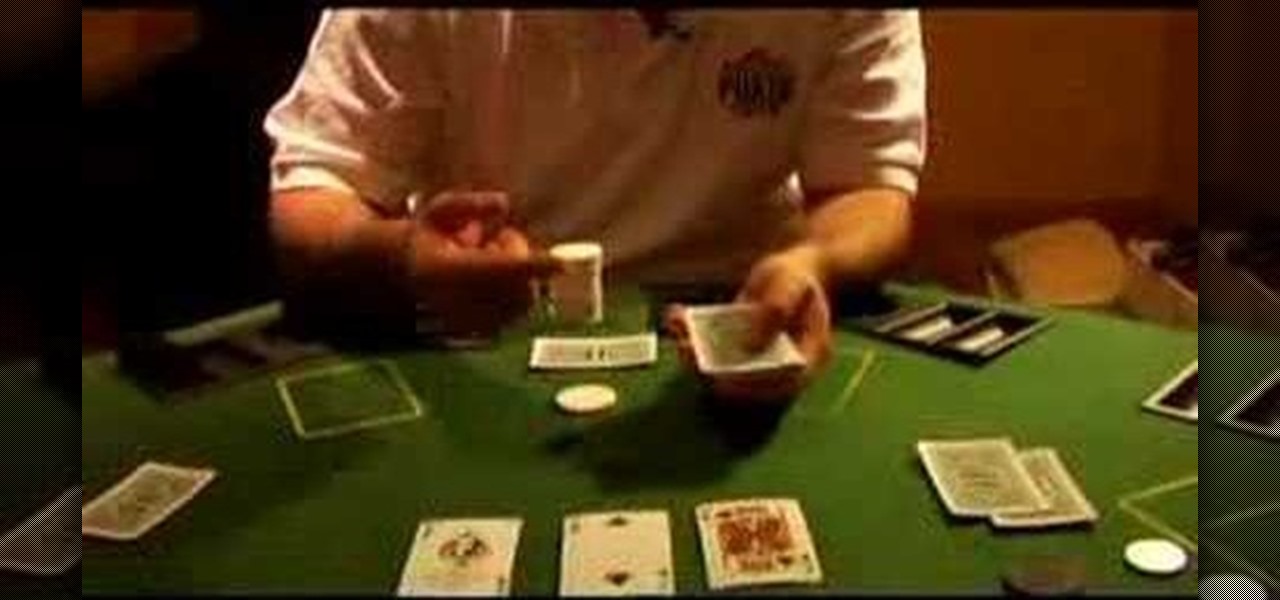
This video shows you the basics of dealing a hand of Texas Hold 'em. When dealing you always start off dealing the cards to your left; deal two cards to each player to start the initial round of betting. After the round of betting is over you "burn" one card by placing it face down, then turn over three cards called the "flop". This is followed by a round of betting. Then you burn one card and flip over one card called the "turn". This followed by another round of betting leaves you to burn o...

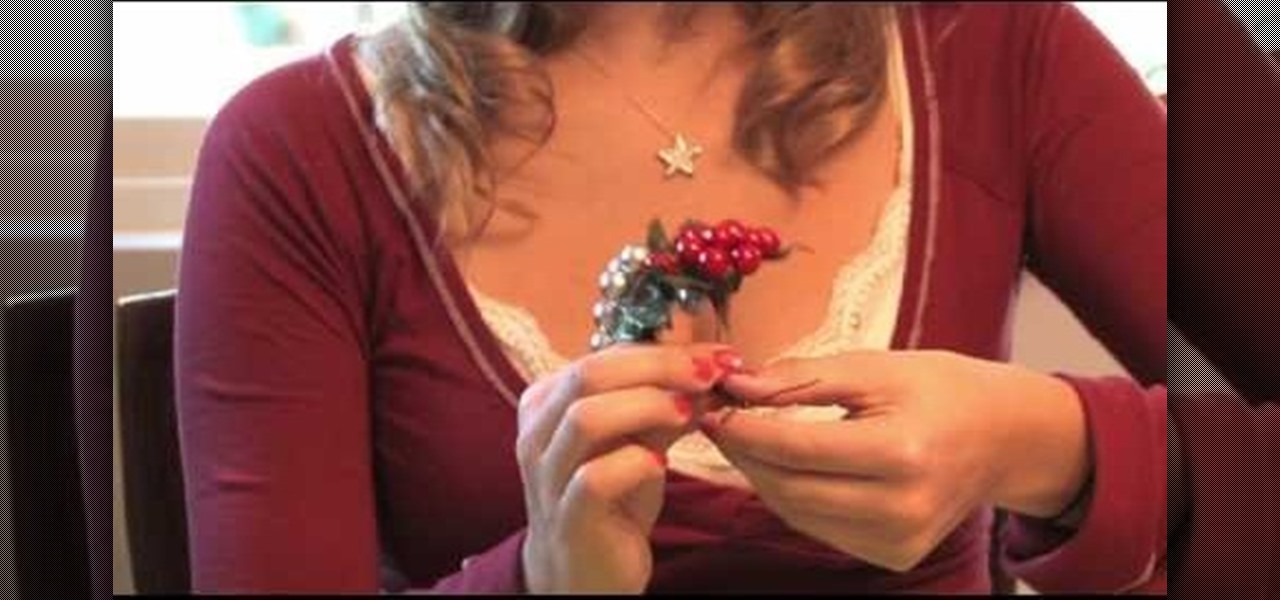
Learn how to make this fun Christmas craft! Making Christmas place card holders for the table is as simple as tying two sprigs of holly together and placing a card between the berries. Create simple and homemade place card holders with instructions from an experienced craftswoman in this free video on Christmas crafts.

There are several different patterns used to predict the future from tarot cards. Peter John demonstrates a psychic card lay out useful for over-the-phone readings in this step by step video guide. Watch this video tutorial from Peter John and learn how to give a psychic tarot card reading over the phone.

These in-the-embroidery hoop gift card holders are a wonderful way to dress up cards and make gifts even more appreciated! You can even add a ribbon loop to hang them onto a Christmas tree. It's not only the gift that counts - it's the embroidered wrapping too! Watch this instructional video to learn how to create your own embroidered gift card holders for birthdays and holidays.

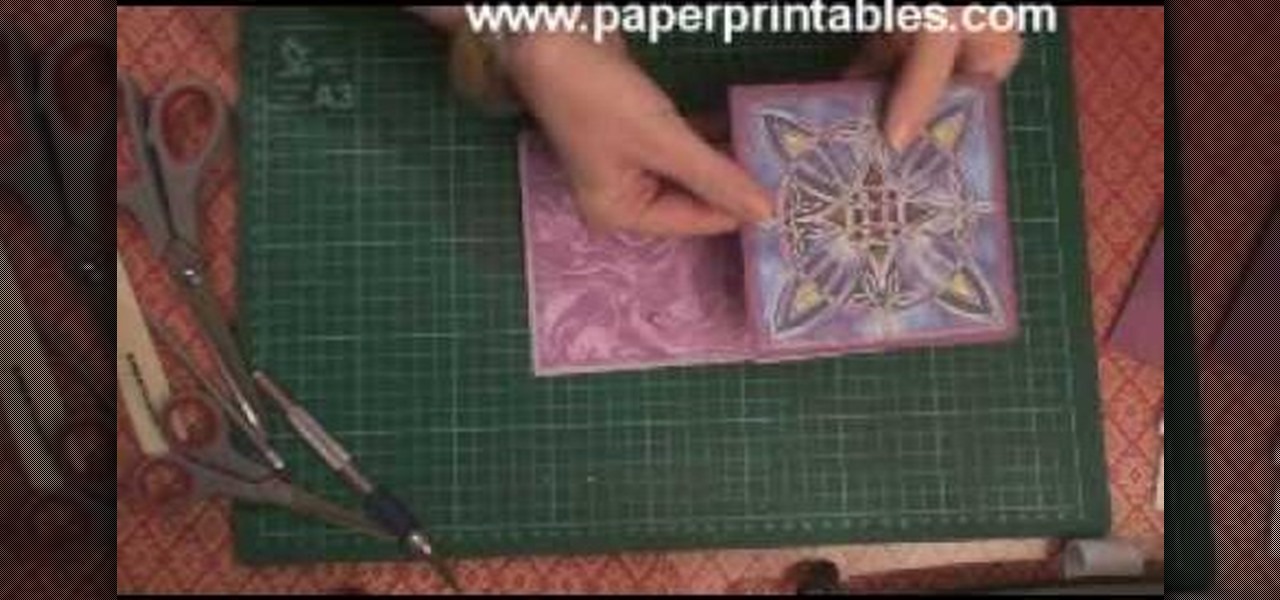
Create a card with an embossing machine and chalk. Any embossed image can be colored in easily with a little big of chalk for a soft effect. Watch this video card-making tutorial and learn how to use embossed paper and chalk to make a card.

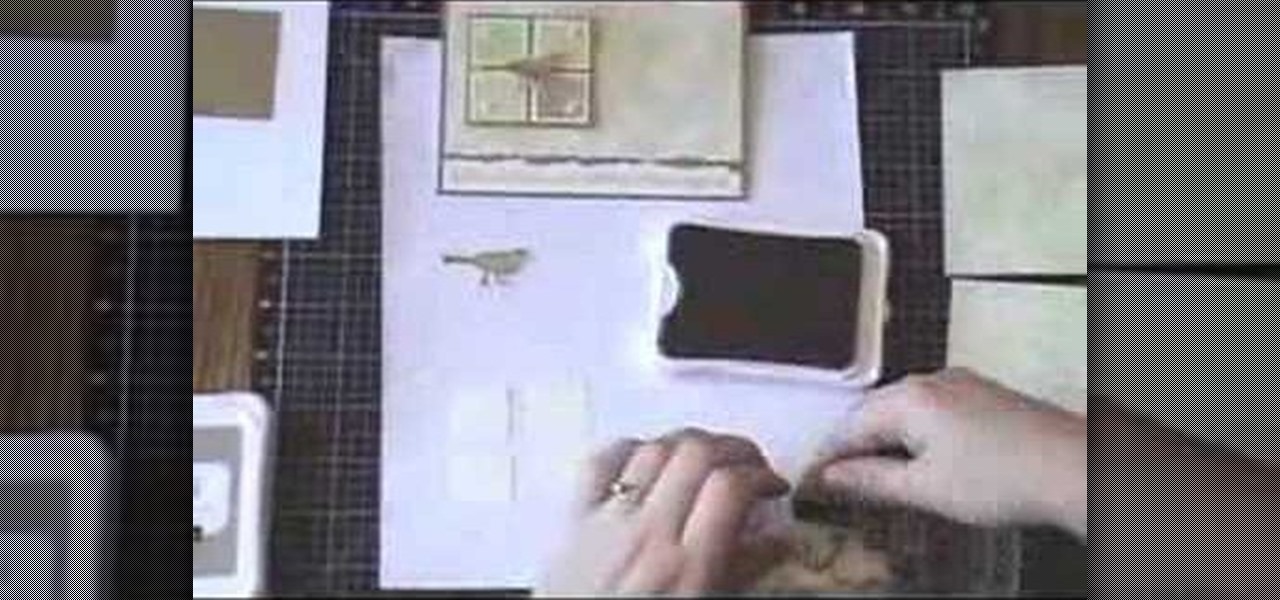
This adorable Father's Day card is a great way to show dear old Dad that you care. You'll need designer paper, stamps, and the patience to do a little bit of origami. Watch this video card making tutorial and learn how to make a thoughtful Father's Day card.

This embellished greeting card folds open just like a road map. Be careful not to add to many decorations or it won't fold nicely anymore. The pattern can be a little tricky, but follow along. Watch this video card mkaing tutorial and learn how to make a map book fold greeting card.

This video card making tutorial shows how to make a mini tri-fold album card. You'll need designer paper, ribbons, a hole punch, and a sheet of acetate. Watch this instructional video and learn how to make a mini-trifold album card, as a gift or to treasure yourself.

Glossy cardstock and an acetate sheet protector are great material to use for doing a fossilized stone technique on paper. This effect makes an unusual finish you'll find yourself using over and over in greeting cards. Watch this video card making tutorial and learn how to create a fossilized stone technique on glossy cardstock, and how to make an all occasion greeting card using the stone finish paper.

This video tutorial shows how to download .cut files onto Cricut software to design cards. Learn how to use this card making software, and get instructions for how to make a strawberry greeting card.

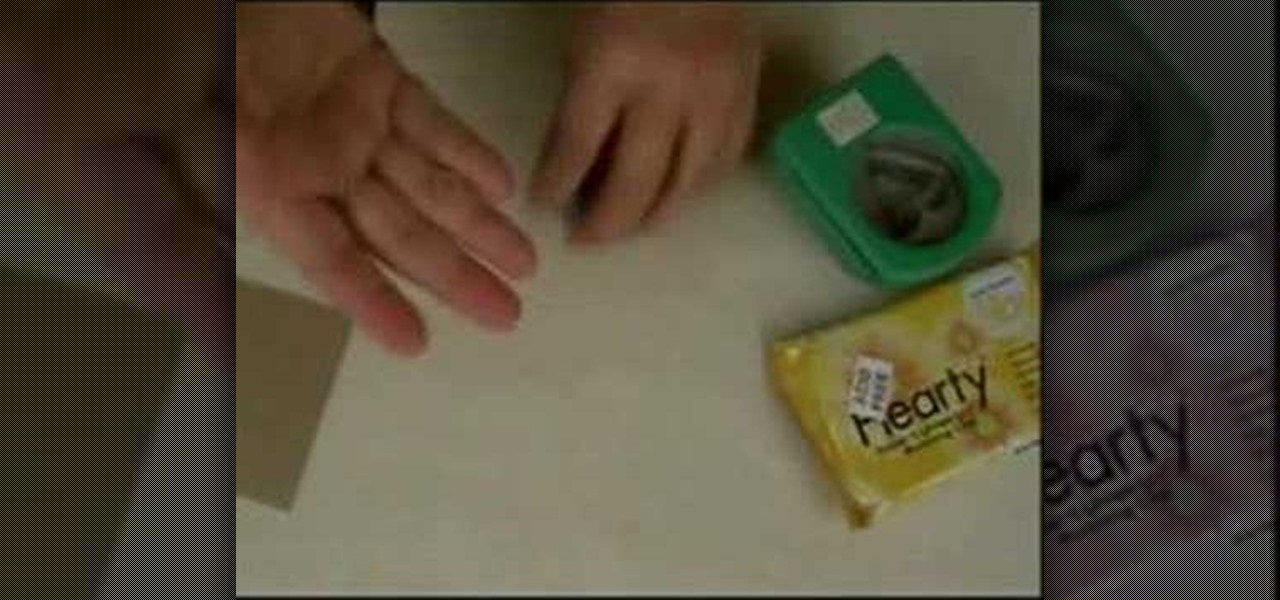
Ilysa & Kira show how to create Artist Trading Cards and Artist Cards Editions as well as Originals. They also show some things they have made using Hearty & Lumina brands of air dry polymer clay. This is a great show to learn how to get started creating your cards.

Learn how to do an 8-card romance/relationship tarot card spread. Check out this how to tutorial for techniques on understanding tarot cards including different spreads and meanings.

Gift cards are such a life saver. After all, we all have those hard to buy for friends and family for whom only something they pick out by hand will do. But how do you package a gift card to look like an actual gift?

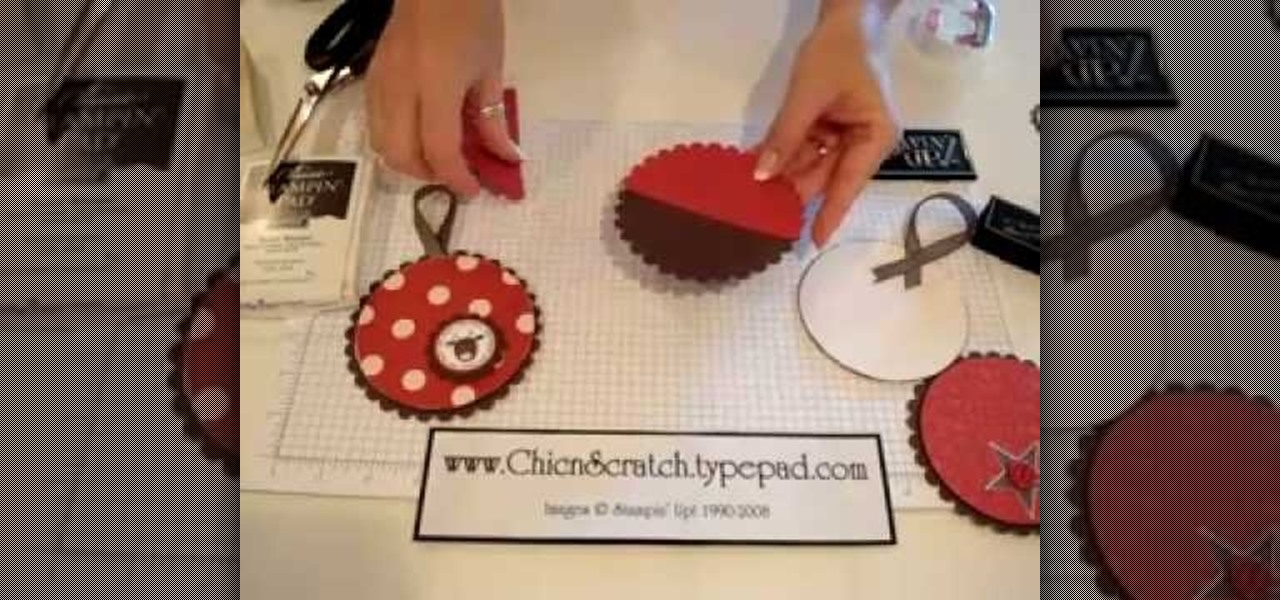
This video tutorial is in the Arts & Crafts category which will show you how to make a faux suede looking card with Stampin' Up! Take the creamy caramel card stock and punch out a large star using the large star punch. Now use the bone folder to curl the star you punched out. Flip the star over and repeat on the other side as well. You will see the edges coming apart. Then peel the star apart and what you will get is a piece of card stock that looks like suede and is really soft. Now you can ...

In this tutorial, we learn how to make a half/quarter easel card. First, grab several pieces of colors of card stock that you like. After this, fold the main one up into a square. After you have folded this, fold the edges into the middle and push the creases down. From here, you will glue the bottoms of the other pieces and glue them onto each other so they are backgrounds. After this, you will create a border around the front main picture. When finished, fold this up and then you will have ...

In this tutorial, we learn how to play blackjack using basic tutorial. To start, the dealer needs to deal cards to the players at the table. Then, the dealer will lay out cards on the table. If you think that you have the right cards to make 21, then you can tell the dealer to lay out another card or you can hold if you don't want to go over 21. Whichever player comes closest or exactly to this number will be the winner overall. This is one of the most easy casino games to learn how to play a...

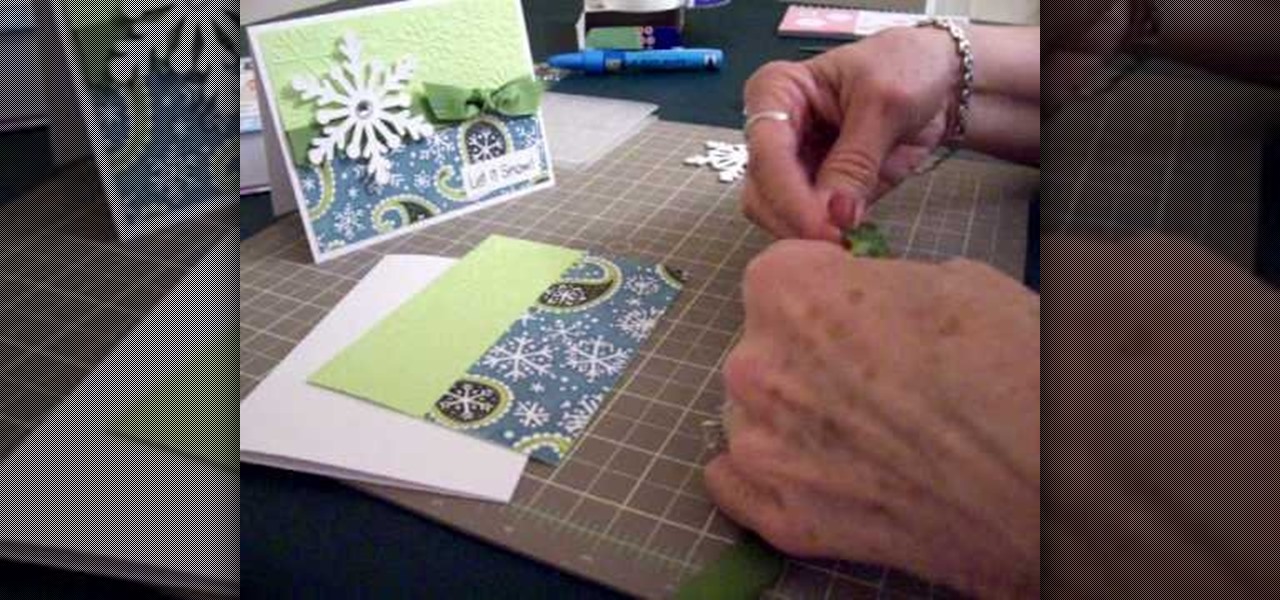
In this video, we learn how to make a snowflake card using Cricut Winter Woodland. You can find the snowflake on page 35 of the manual, then cut it at 3.5", cutting it four times to make it thick and chunky. The top of the card can be run through the Cuttlebug with a snowflake design, and the bottom can have a holiday snowflake print. The sentiment should say "let it snow" and you can place a green bow in the center next to the thick snowflake you make. You can write what you wish on the insi...

In this video, we learn how to make a jingle bell card using Cricut Storybook. you will need the Cricut Storybook cartridge and Cuttlebug Music Notes folder to do this card. First, you will take a cut out of the word "jingle" that has a bell attached to the bottom of it. You can find this in your Cricut crafting books. Next, apply a checkered green paper over a forest green card stock. Next, grab a holiday embossed white paper and apply a ribbon to it, then glue this onto the checkered paper....

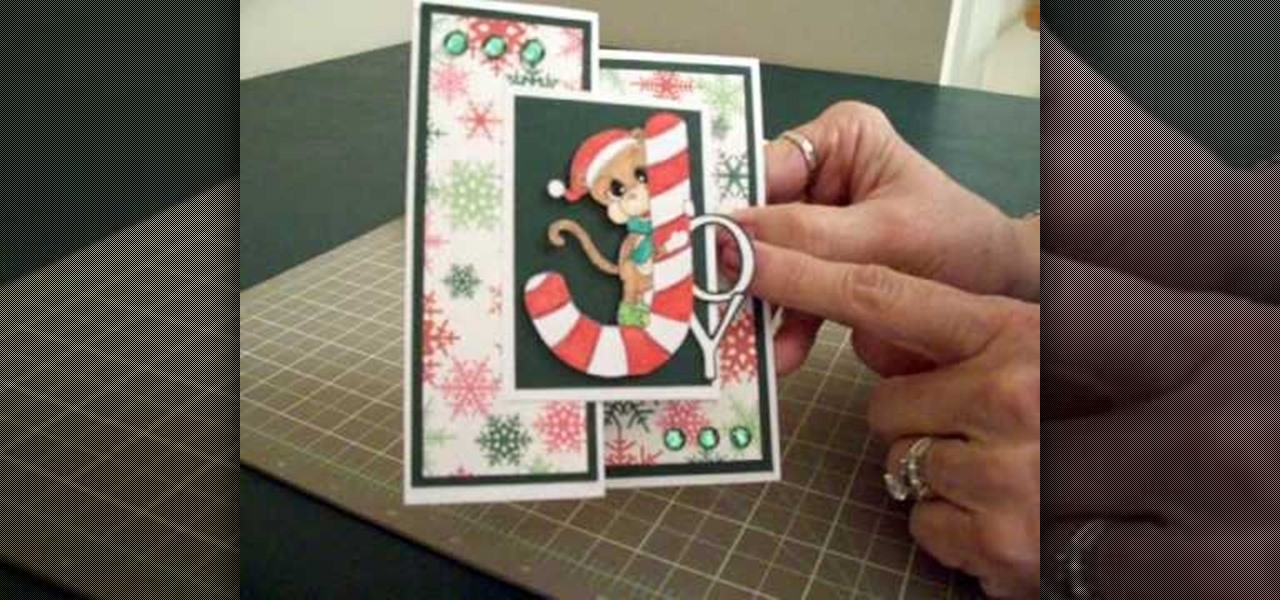
In this video, we learn how to make a Joy S-fold Christmas card using Cricut George. First, fold the card and mark it so it's in the S shape, then stamp the background of the card with colored snowflakes in different sizes and shapes. After this, use a black outline along the sides of the papers, then add in a black piece of paper to the middle of the top fold. Apply a monkey with a Santa hat to the front and wrap him around a J shaped candy cane. Add in the letters "o" and "y", then add in a...

In order to make a pocket card out of an envelope, you will need the following: a used envelope, printed paper, adhesive, card stock, paper cutter, cuddle bug, an ink pad, stamps, markers, and crystals.

Make a simple, elegant card using Winter Woodland. Go to page 50 of manual. Cut tag and skater at 3 inches. Use 8 1/2 x 11 cardstock and cut vertically to 4 1/4 inch. Fold from top to bottom. Round corners of cardstock and red matte. Make red matte 4x5. Run red matte through cutter bug using swirls folder. Insert between two plates and run through. Place black grosgrain ribbon down the center. Stick to front of card. Glue skater to background. Place square crystals around skater. Create and p...

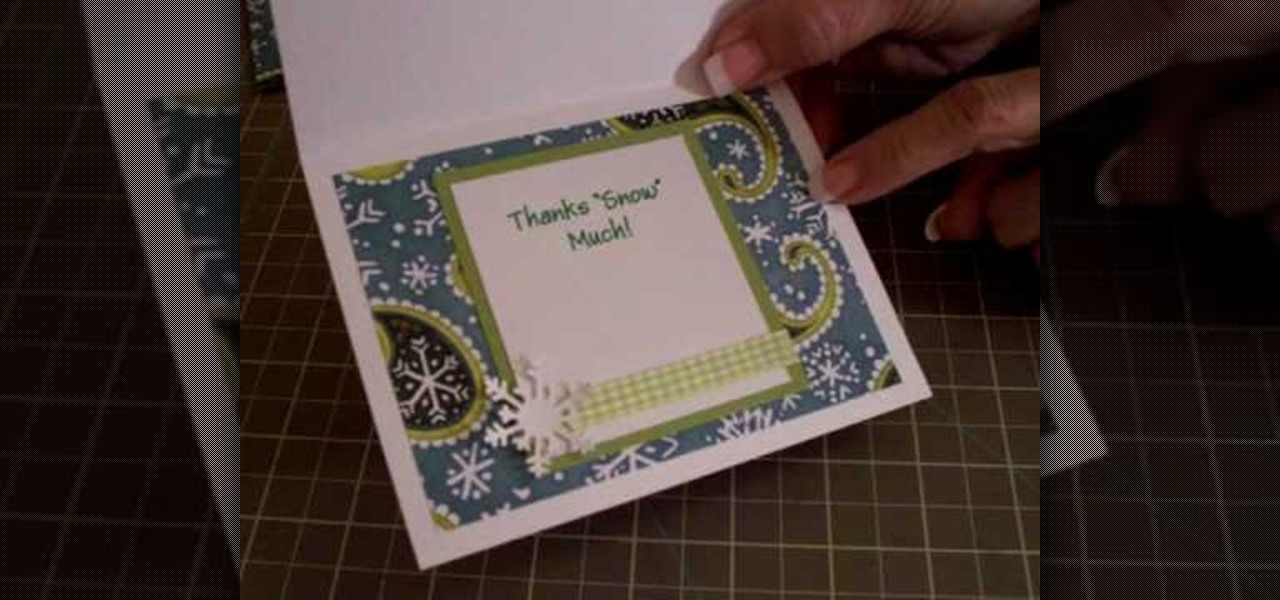
In order to make a thank you card for Christmas gifts, you will need the following: Winter Woodland cartridge, glimmer misty, pop dots, adhesive, gingham ribbon, and pattern paper.

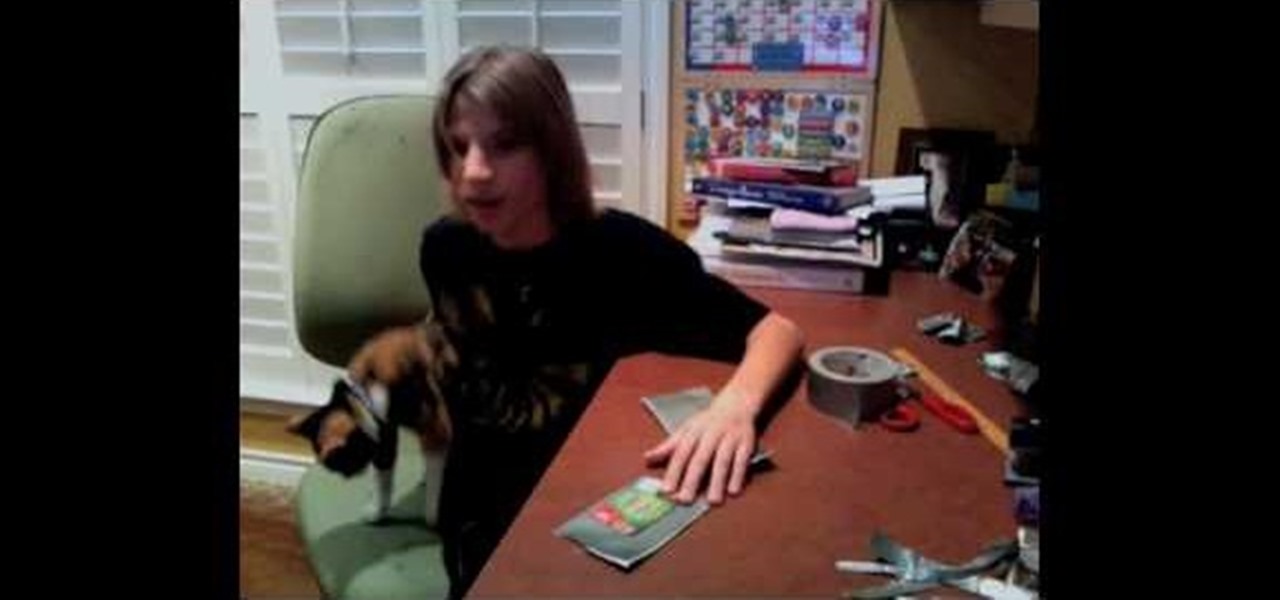
In this tutorial, we learn how to make a wallet with card holders from duct tape. First, you will need to cut out duct tape in several strips to the size you want. You can use any color of duct tape you want. Next, you will start to overlap the duct tape on top of each other so there are no stick sides, then finish it by overlapping the last piece. Continue to do this, then fold it in half to make a wallet shape. Next, you will make card holders. Measure out how large the holders should be by...

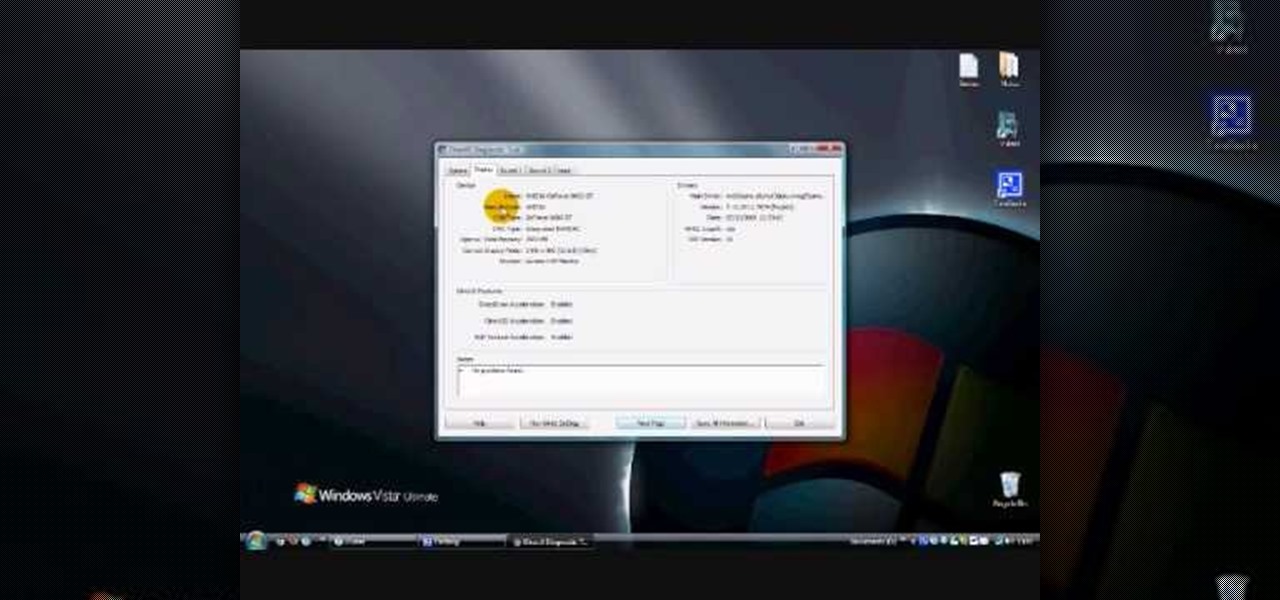
In this video, we learn how to update your nVidia graphics card drivers. First, go to your start menu and type in "dxdiag", then search for this. After this, go to the display table to get the information for your card. Now, go to the website for the manufacturer through your web browser. After this, click the link where you can download drivers and search for new drivers for your graphics card. Once these are finished downloading, go to your control panel, then uninstall your previous driver...

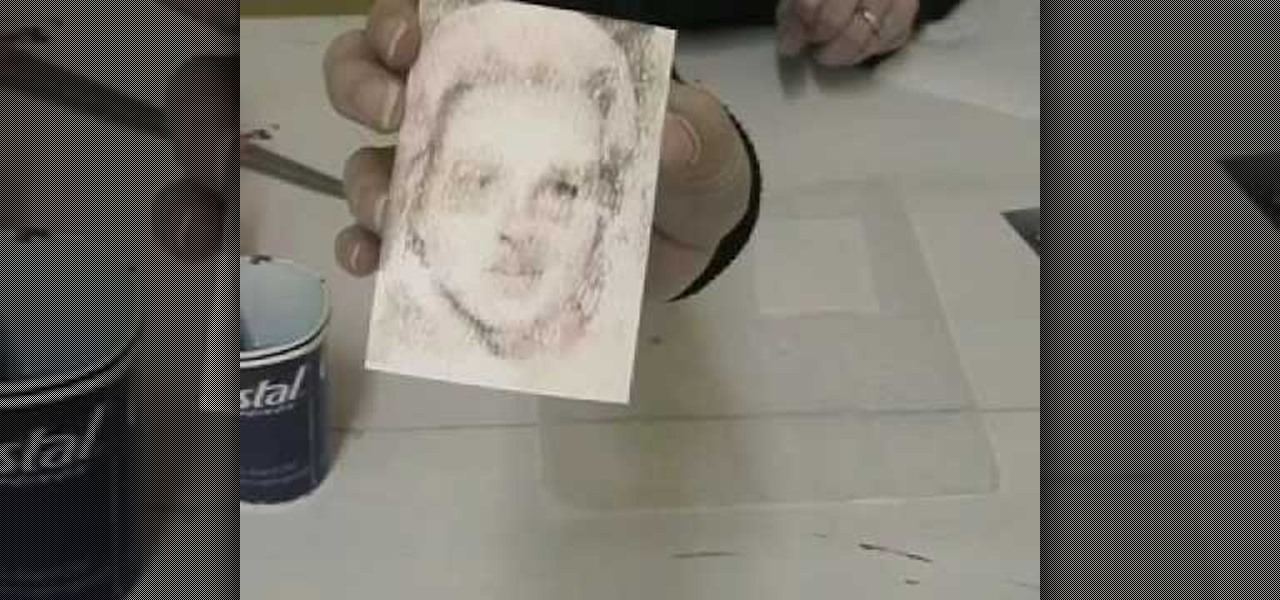
Make homemade trading cards of your family! These won't look exactly like baseball cards, or even feel like them, but they're cute and somewhat artsy depictions of your favorite photographs. You only need a few items (listed below), but make sure you have a nice photograph to transfer over. It won't look exactly like the picture, but it will look roughly hand drawn, but not quite. Definitely an interesting paper craft. Try it out. Experiment.

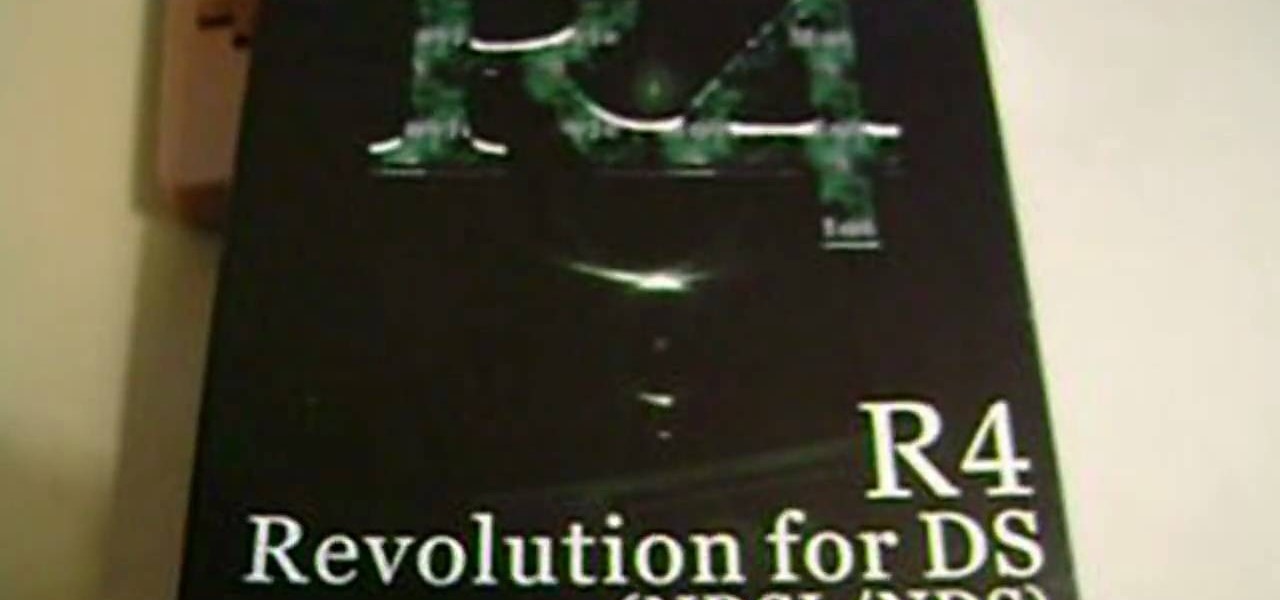
This video tutorial is in the Video Games category where you will learn how to set up your R4 card without the setup disk. If you get the message 'couldn't find DS menu' on your DS, take out your micro SD card and plug it in to your computer. Then you will get a window with a 'this folder is empty' message. Right click on the icon and click on 'extract R4 DS set up'. Now open up the set up folder and copy and paste everything in this folder in to the 1st window. You can then delete the set up...

In this video tutorial, viewers learn how to three easy tricks. The first trick is the coin in the hand. The magician drops a penny into the spectator's hand 3 times. on the third time, the coin ends up being a nickel instead of a penny. The second trick is vanishing coin. The magician simply takes a coin, blows on it and it appears under his elbow. The third trick is the throw away card. The magician holds a card, throws it away and magically makes the card appear back in his/her hand. This ...

In this video tutorial, viewers learn how to make their own rub-on. This allows users to transfer any designs onto card stock. Users will need to first print the design onto a sheet of acetate. Simply place the acetate paper over the card stock. Then use any kind of tool and simply rub it over the design on the acetate. The transferred design will be lighter in color than the original. Make sure that you if you want to use letters or numbers, print it backwards. This video will benefit those ...

A thank you coming from you is sweet, but your gal pal will absolutely explode with delight if Pooh bear does it. Watch this video to learn how to make a "Thank You" note card for a friend using Cricut and the "Pooh and Friends" Cricut cartridge.

In this tutorial, learn how to make a basic Christmas card in under 5 minutes using paper and glitter glue.


