In this video, Peter John teaches us how to palm read the heart and head line on the palm. When you see the heart line come across the mounds of Jupiter, you will be able to tell if someone is going to be wealthy. If the heart line is broken up, this shows the person has extra emotions. The heart line going towards the mounds of Jupiter is someone who is looking for a perfect mate to be with. When the heart line crosses and goes between the first and second person, it means that this person i...
When we were five years old, there was nothing better to do at recess than to whip out a bag full of popsicle sticks of all sizes, some glue, and then piece together the pieces as if solving a puzzle. We'd make forts, bridges, and even stick people.
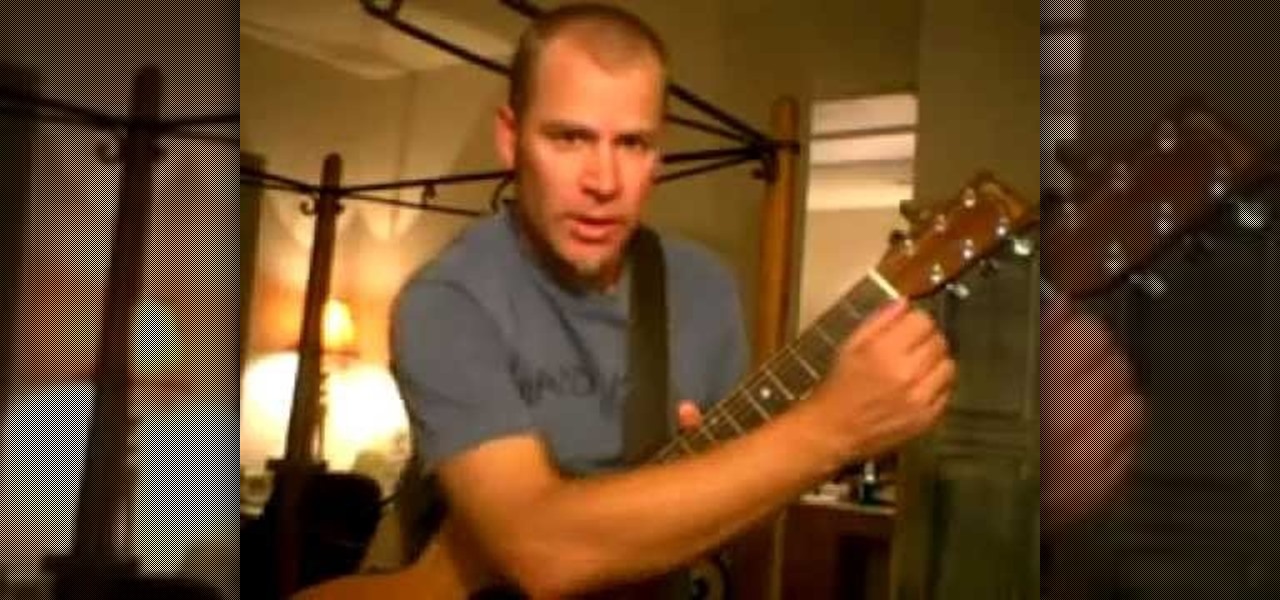
In this video, we learn how to play practical jokes using your guitar. The first trick is called the jack in the box. First, take your pick and put it in between your strings and slide it down. Then, put your hand over it and play the jack in the box song. The next trick is to give the illusion you are tuning your guitar in the middle of a song. You will cover your fingers with your forearm to give the appearance and play with your other hand to make it look like it's being tuned. The last tr...
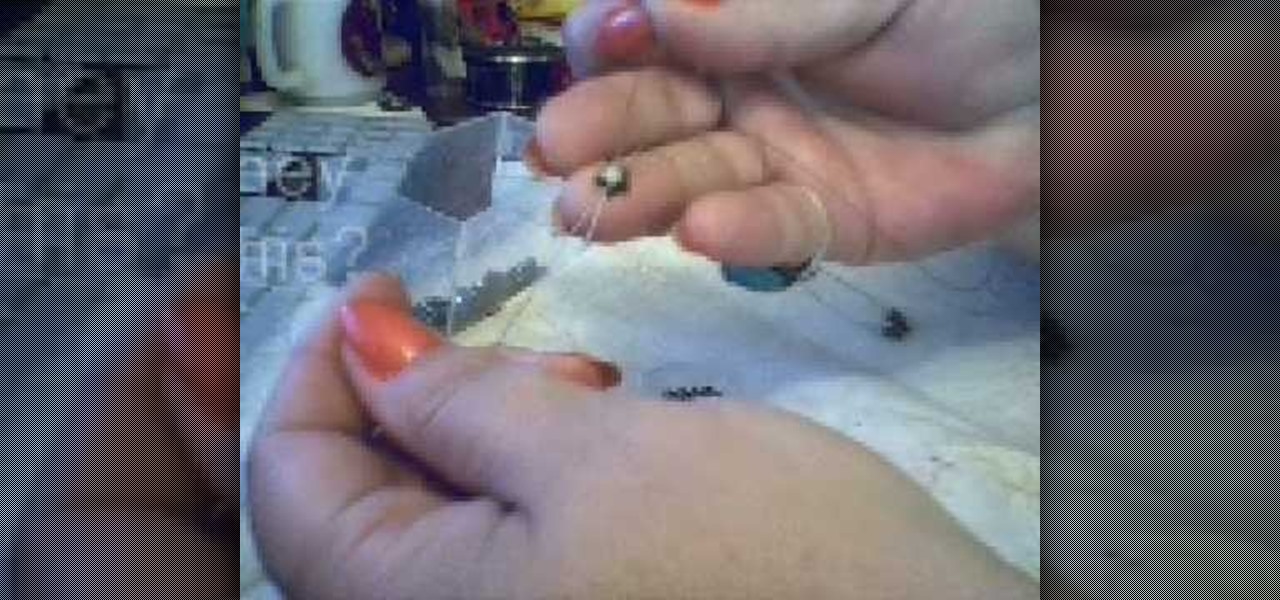
Make a hematite bead ring
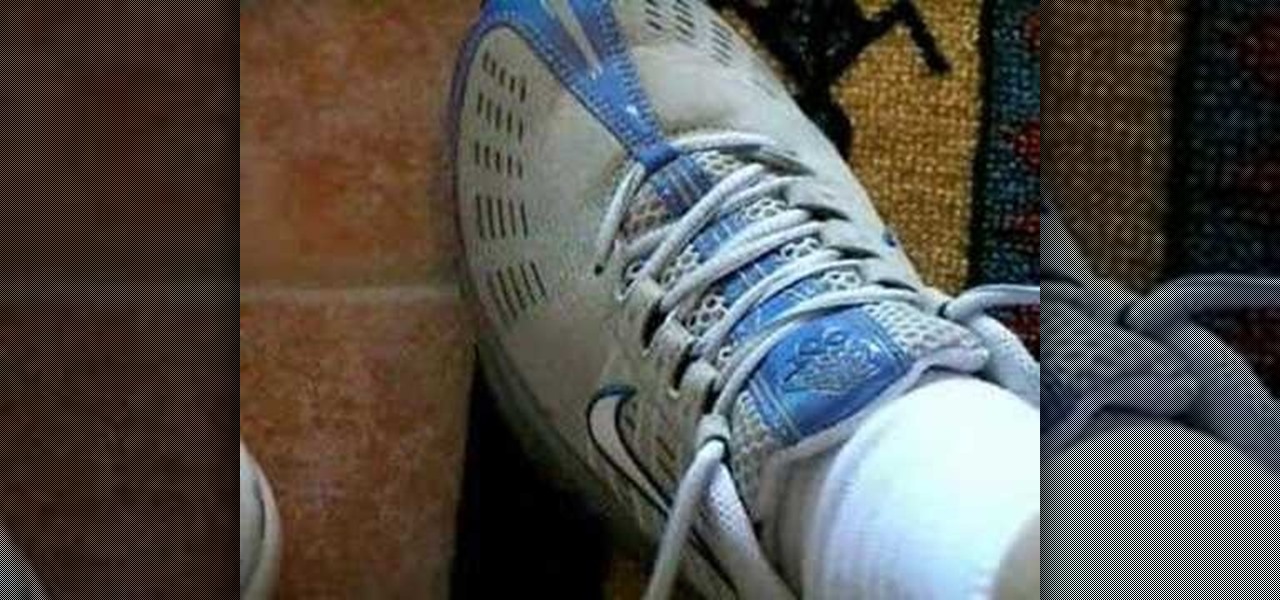
In this video, we learn how to tie your shoes. First, tie a knot at the base by crossing the laces over each other. Then, make a loop with one lace and wind the other one over it. Come underneath with a loop and then grab both loops and pull. To do this with the other hand, you can do the same thing just use your dominant hand to make the loops. This is only one of the many different ways to tie your shoes. It will take practice, but it can be done and once you do it it's very simple!
If you want to scare the living daylights out of your friend, check out this next prank tutorial. In the video, you'll find out how to perform the fake car crash prank. It involved using some big speakers and a soundtrack of a car screeching to a halt.

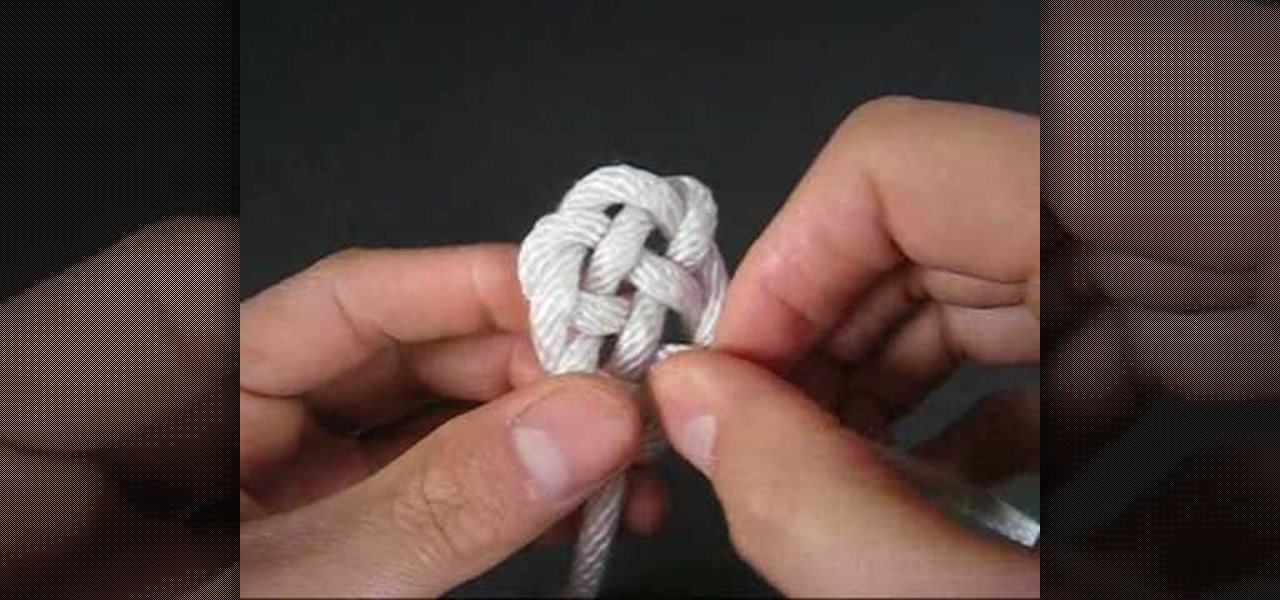
In this video, we learn how to tie the basket weave knot. First, place the string on a hook, then cross the two sides and make a loop. Next, make the loop wider and take the right and left strings up, then pull the loops down to make a pretzel shape. Now, twist the bottom loops around and place one on top of the other. After this, push them on either side of each other, then bring the right string around and loop it through the left loop, then bring the left string into the right bottom loop....
In this video tutorial, viewers learn how to find the length of a triangle using sine. This task is very easy, fast and simple to do. This formula can only be done on right triangles. Begin by finding the angle first and figure which trigonometric ratio to use. Then find which sides are given. For sine, users need to divide the opposite and hypotenuse of the triangle. Then cross multiply it with the sin degree to find the length of the triangle. This video will benefit those viewers who are s...
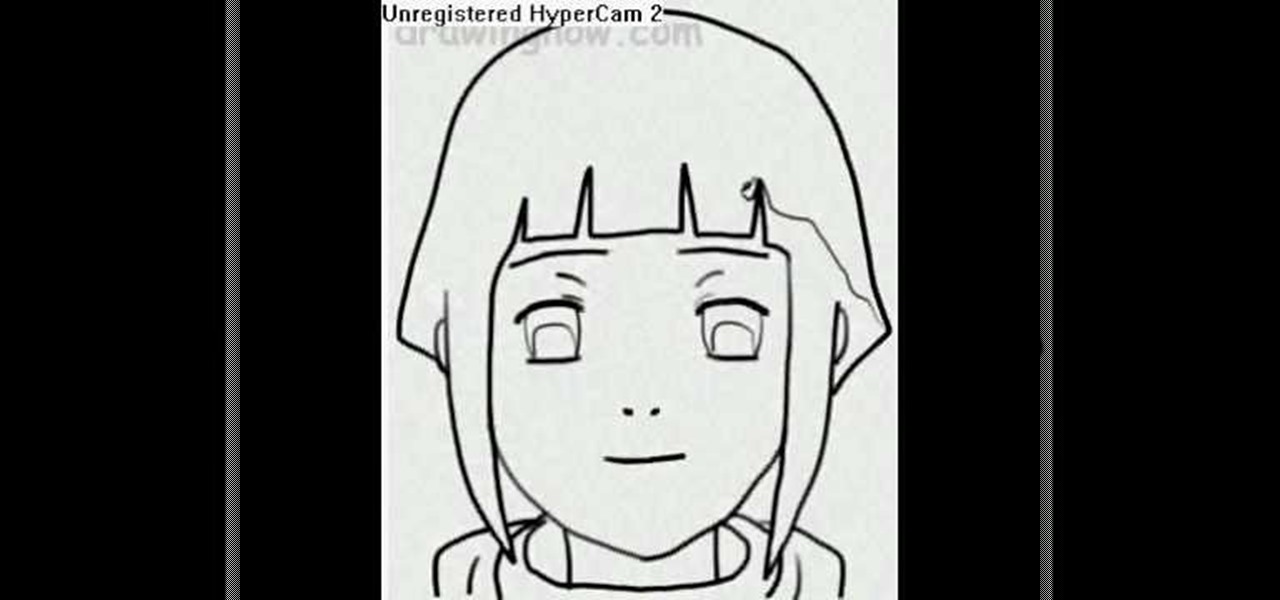
In this video, we learn how to draw Hinata. First draw a circle, then draw crossing lines through the circle. Draw in eyes where the lines intersect, then draw in the nose and mouth. Make the eyebrows after this, then remove the lines inside of the face. Next, draw in the hair and make the bangs lie flat on the face with long bangs on the front of the face. Draw on the top of the shirt and then start adding in further detail. Add lines to the face, then add in color if you prefer. To finish, ...
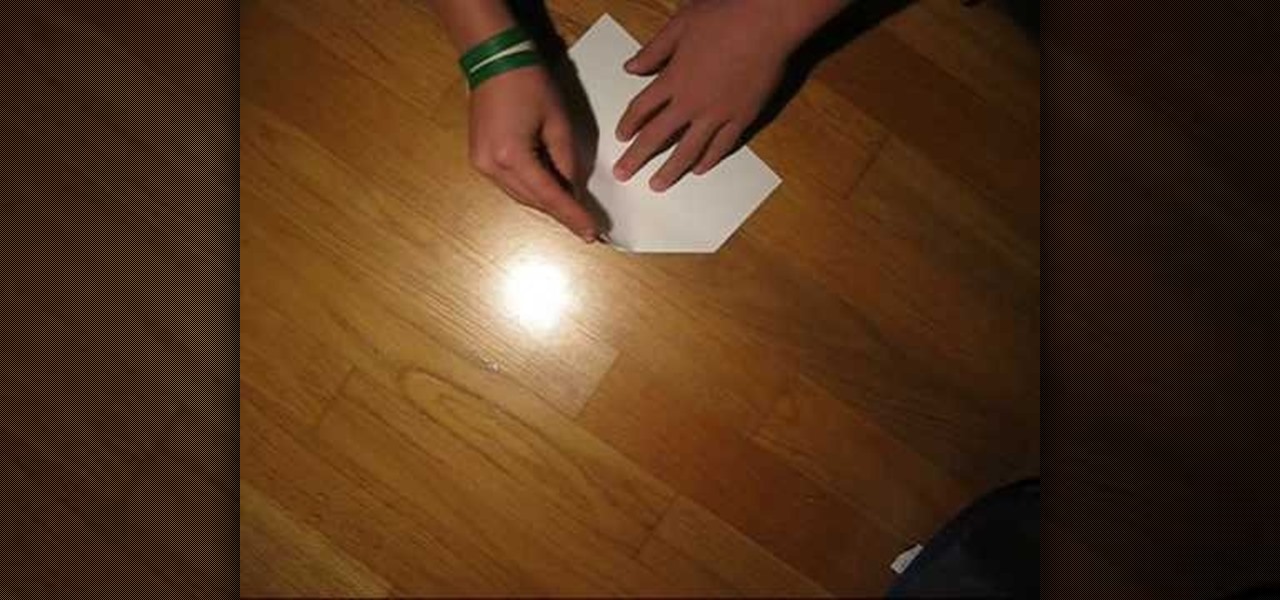
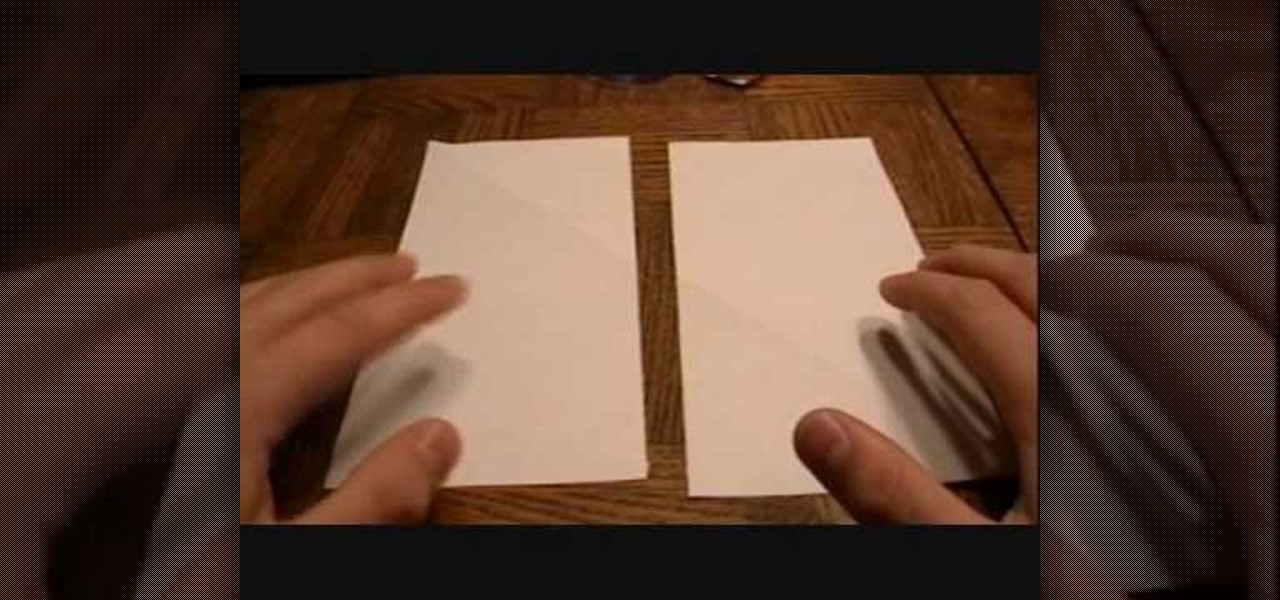
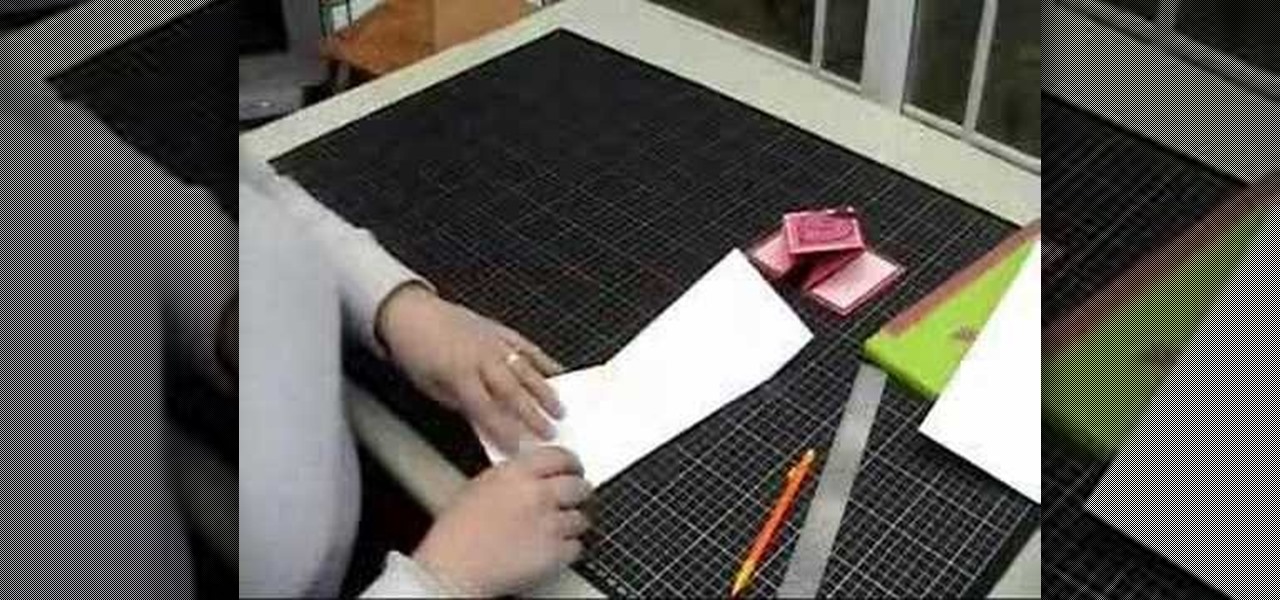
This video shows viewers how to make a paper airplane. You should begin with an 8.5 x 11 piece of paper and fold one corner to the opposite side, making a triangle. This should be repeated on the other side, so that a cross is formed on your paper. Folding down opposite sides of the creases, you should have a triangular flap on your paper. Fold both sides of the flap upwards and then flip the paper over. You should then take the tip of the paper and fold backwards. Fold the paper in half so t...
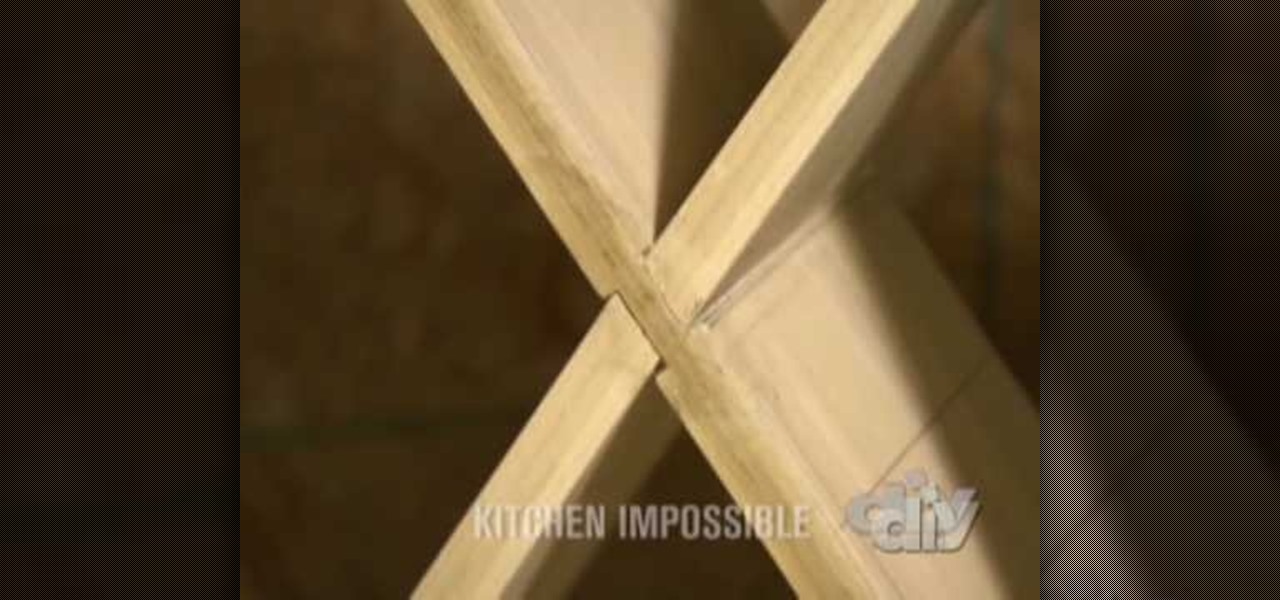
In this tutorial, we learn how to make a poplar wine rack. First, cut the top, bottom, and sides of the rack. Then, use a router to cut out the center of it. Now, assemble the rack together by using wood glue. After this, measure the length of the diagonals, then add in pieces of wood that are criss crossed throughout the box. Next, keep these in place with some wood glue and then place wine bottle on the inside of them. This will make a great wine rack for any home and you can paint it as we...
If you're looking for a dance that is hot, full of emotion, and a great workout, salsa may be for you. Salsa is a dance that keeps both partners feet moving and features many twists and turns.
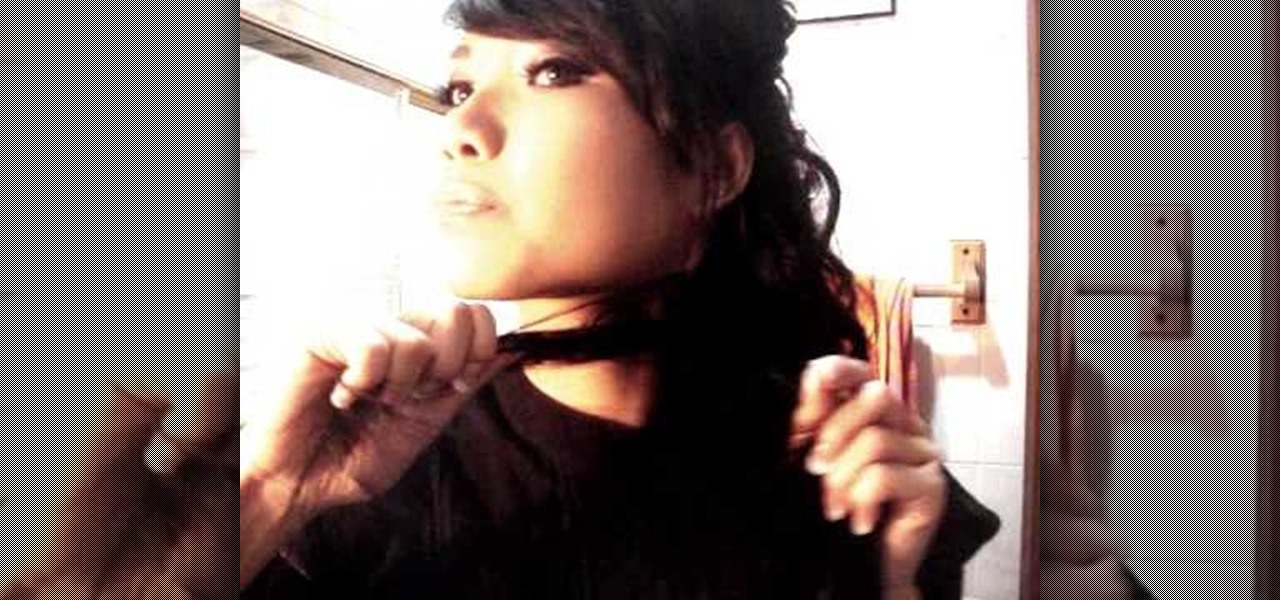
In this tutorial, we learn how to do a messy fishtail braid. First separate your hair so the bottom layer is exposed, then place on volumizing mousse and hair spray to this layer. Now, expose the rest of the hair and add the mousse and hair spray to this layer. Next, curl your hair with a 3/4" to curl the hair away from your face. When finished, section your hair so the upper half is in the back of your head, then clip this securely. Next, start doing a fishtail braid by braiding the outer si...
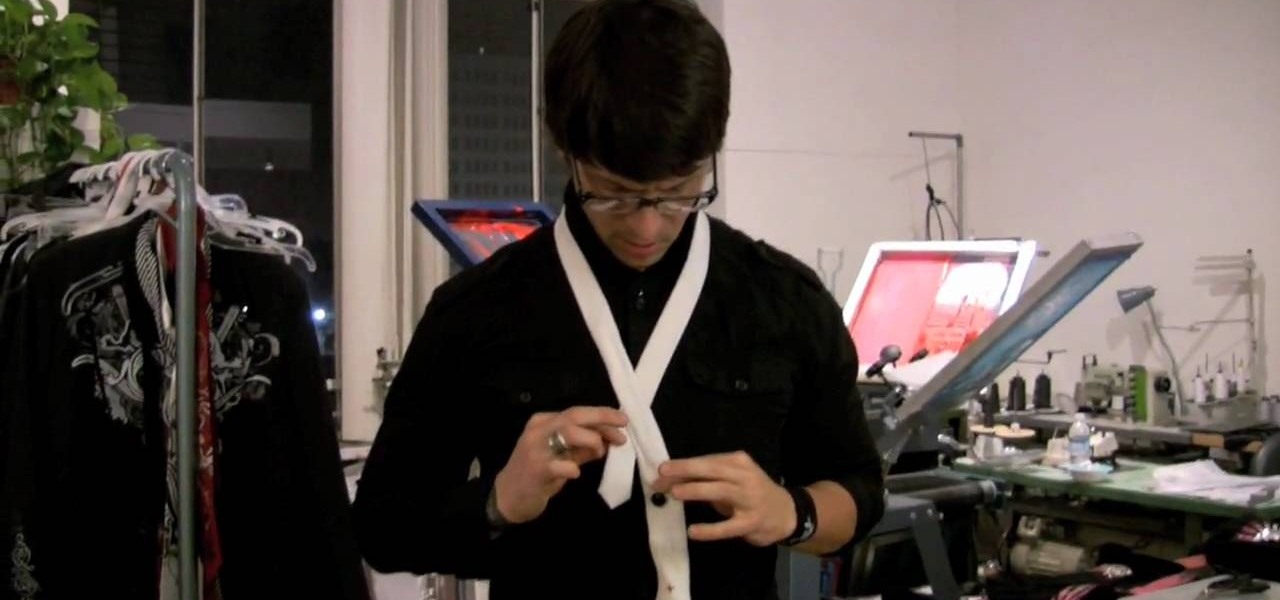
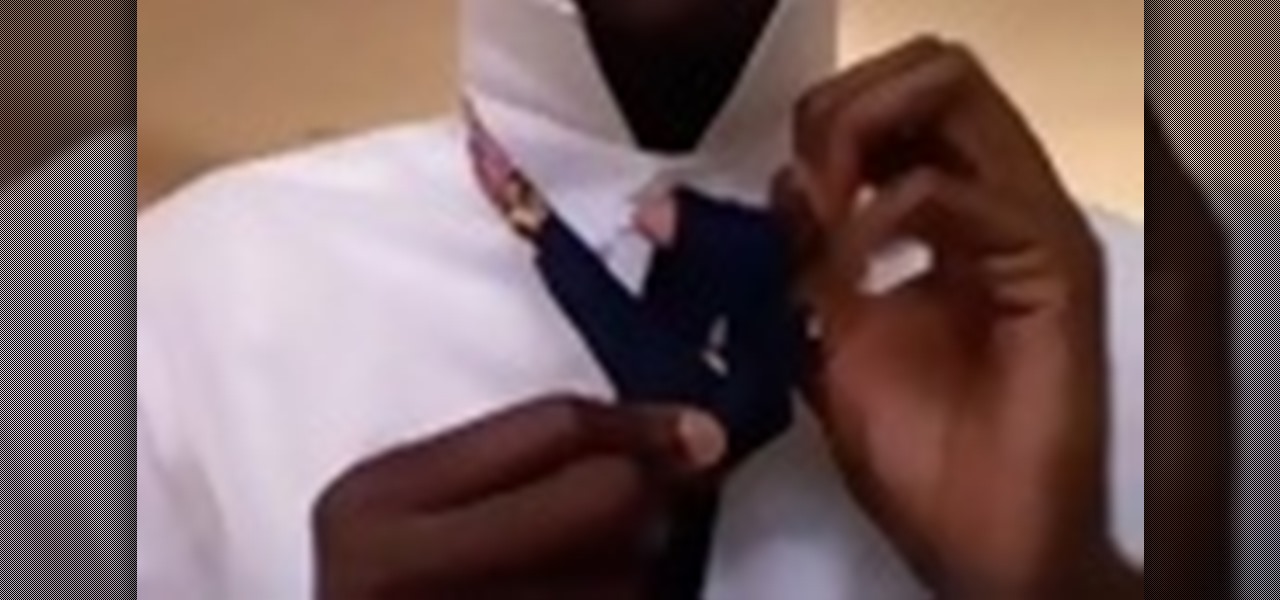
In this video tutorial, viewers learn how to tie a necktie. Begin by placing the tie around your neck, with the wider end 2 times lower than the narrow end. Then cross the wider end over and under the narrow end. Now bring the wide end through the V gap between the neck and . Wrap it once more over and under. This time, create a small loop. Bring the tie through the V gap and through the loop. Finish by tighten and adjusting the tie. This video will benefit those viewers who are attending a s...
In this Arts & Crafts video tutorial you are going to learn how to fold an origami ninja star. Take a normal paper. Fold it diagonally from one corner and cut off the extra portion to make a square. Fold it in half and cut into 2 rectangles. Fold each piece in half along the length. Fold both ends of each piece in opposite directions to make a triangle. Now fold the ends again to make a bigger triangle at both ends of each piece of paper. Each sheet will form a 'Z' shape. Now place one sheet ...
In this video, we learn how to do sit ups to lose love handles. First you will need to lay down facing the ceiling and cross your arms over your chest. Raise your body up using your stomach and try to touch your elbows to your knees. Continue to do this and remember to breathe while you are doing this. Do as many crunches as you can, and try to do different variations to change things up. When you are finished, do more exercises and stretch your body out. Doing these every day can help you lo...
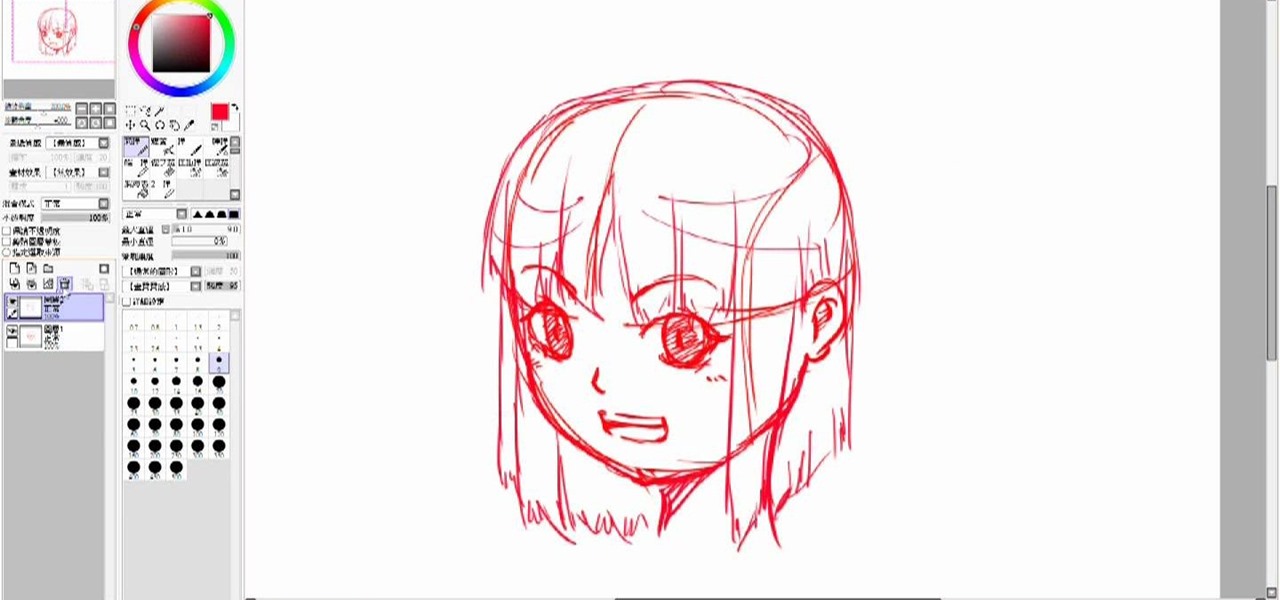
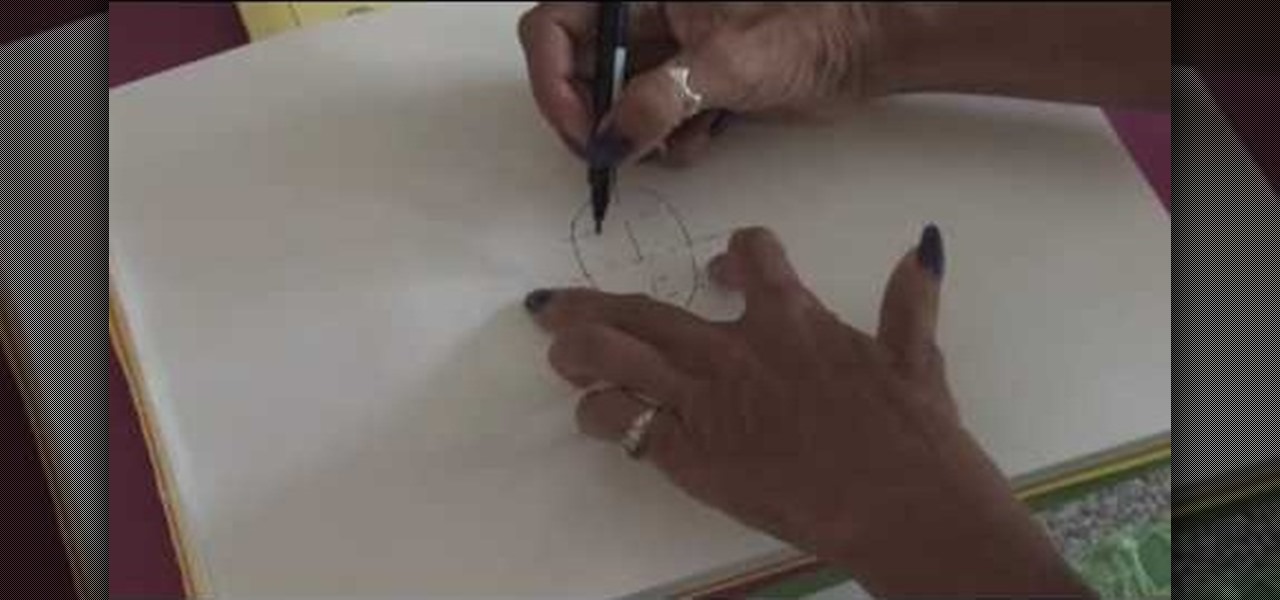
In this tutorial we learn how to draw a manga face. Start off by drawing a circle, after that add a cross in the middle as a reference point for where to draw the eyes, mouth, and nose. After you do this, you can start adding in further details to the face to make it look more realistic. Don't forget to add in lines on the face for wrinkles and pupils to the eyes. Ears should be placed on both sides of the head and don't forget to draw in hair as well. Outline the pictures with a darker brush...
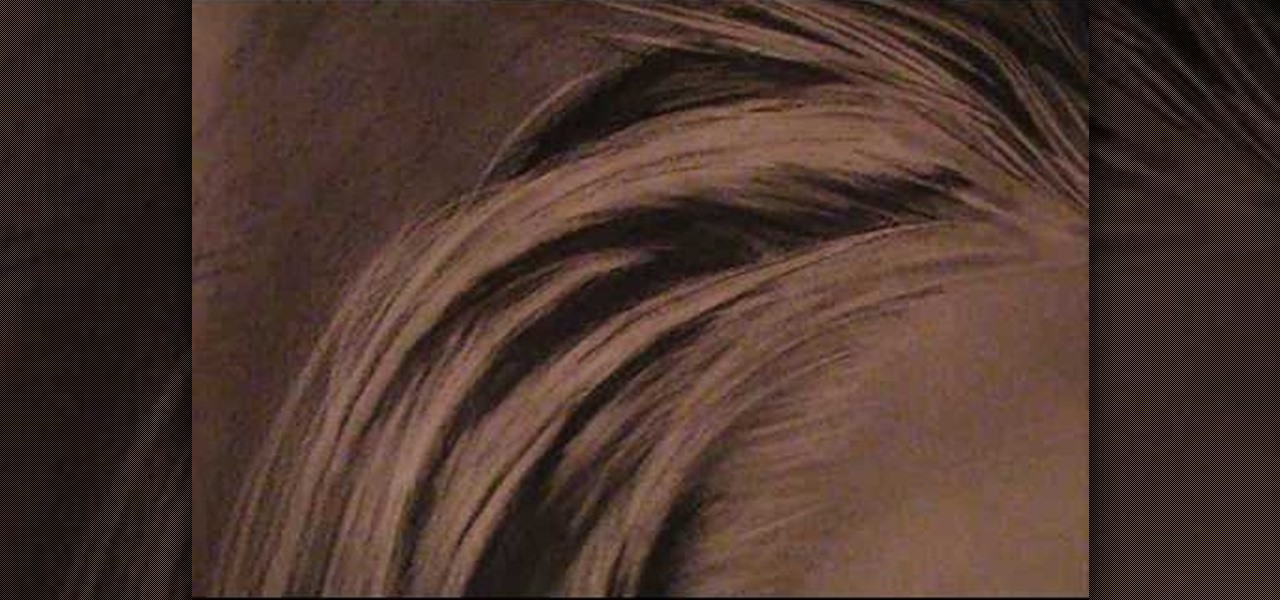
In this tutorial, we learn how to draw realistic hair. Start out with a rough outline and look where the hair is clustered together. Draw the clustered area first. Then, cross hatch over the entire surface of the area and blend in. Add hair to the forehead area, then use a darker pencil to form the shape of the hair. After you do the clusters, start to draw the hair that is separated from the rest. Keep looking at the picture you are drawing, then use an eraser to change the drawing to match ...
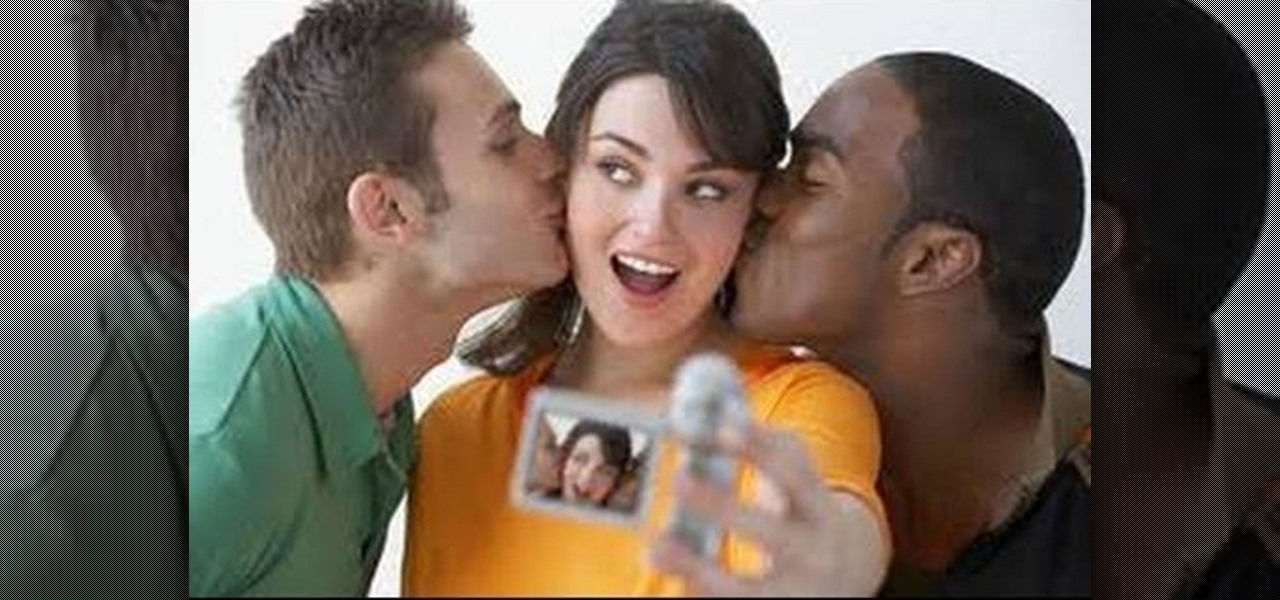
In this tutorial, we learn what to do if she already has a boyfriend. If you talk to a girl that already has a boyfriend, tell her you are interested but you won't cross a line with her. Tell her you want her to be happy and would love to take her out if her and her boyfriend break up. Don't be her girlfriend and hang out with her and go shopping, then she will put you in the friend zone. Also, don't put pressure on her to break up with her boyfriend and go out with you. Take it easy and let ...
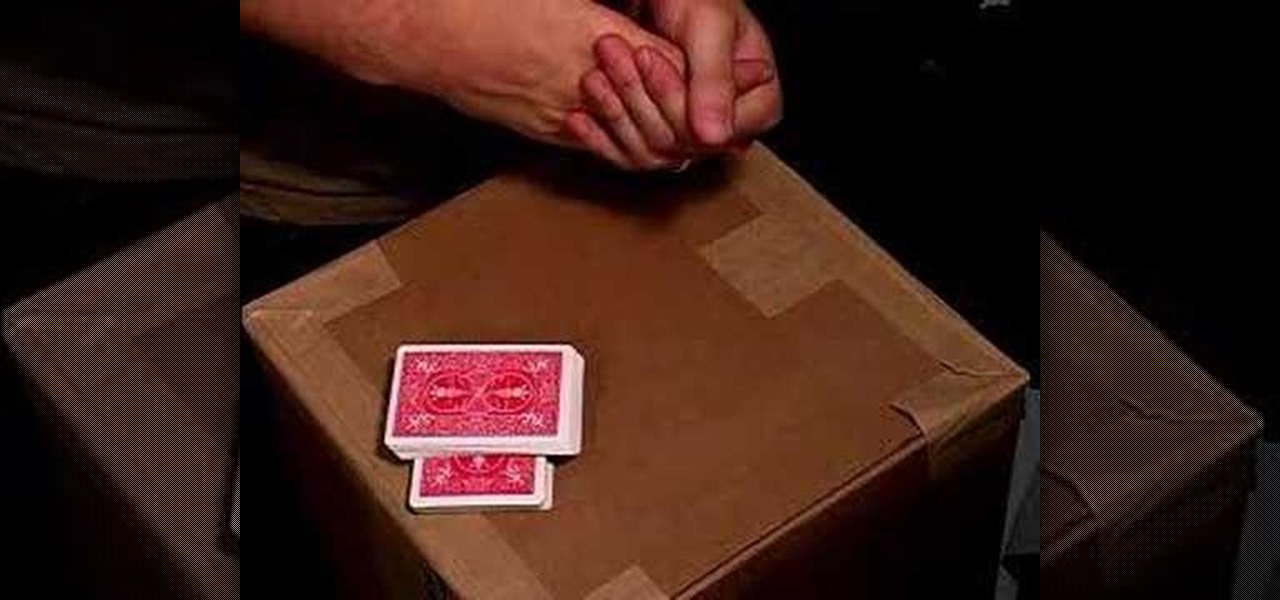
In this video tutorial, viewers learn how to force cards. Card forcing is when it looks like the users has a free selection of cards, but in reality the magician has predetermined a card to be selected. The force taught in this video is the cross cut force. Take the desired card on top of the deck and place it face down on top. When you shuffle the deck, make sure that the desired card always remains on the top of the deck. This video will benefit those viewers who are interested in magic, an...
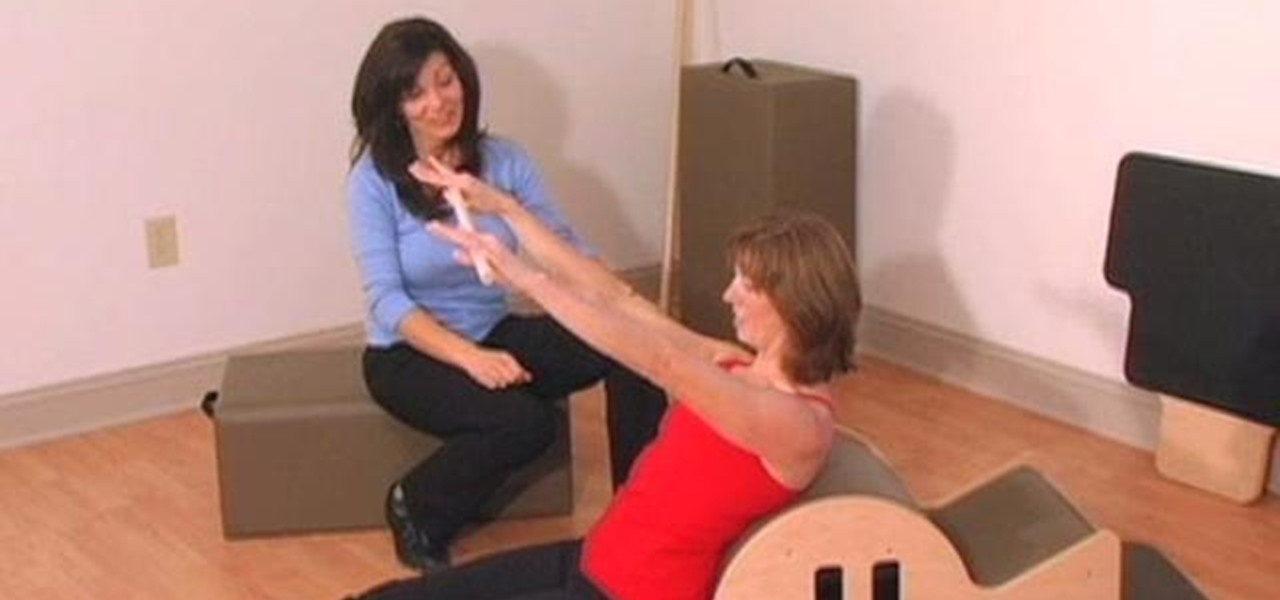
This clip demonstrates a Pilates routine effective in combating forward head posture. With Pilates, as with any physical fitness system, a basic mastery of proper technique is essential for both maximizing the effectiveness of your workouts and avoiding accidental injury. Whether you're looking to slim down or merely tighten up your core, you're sure to be well served by this home fitness how-to from the folks at Balanced Body Pilates. For complete instructions, give this free exercise video ...
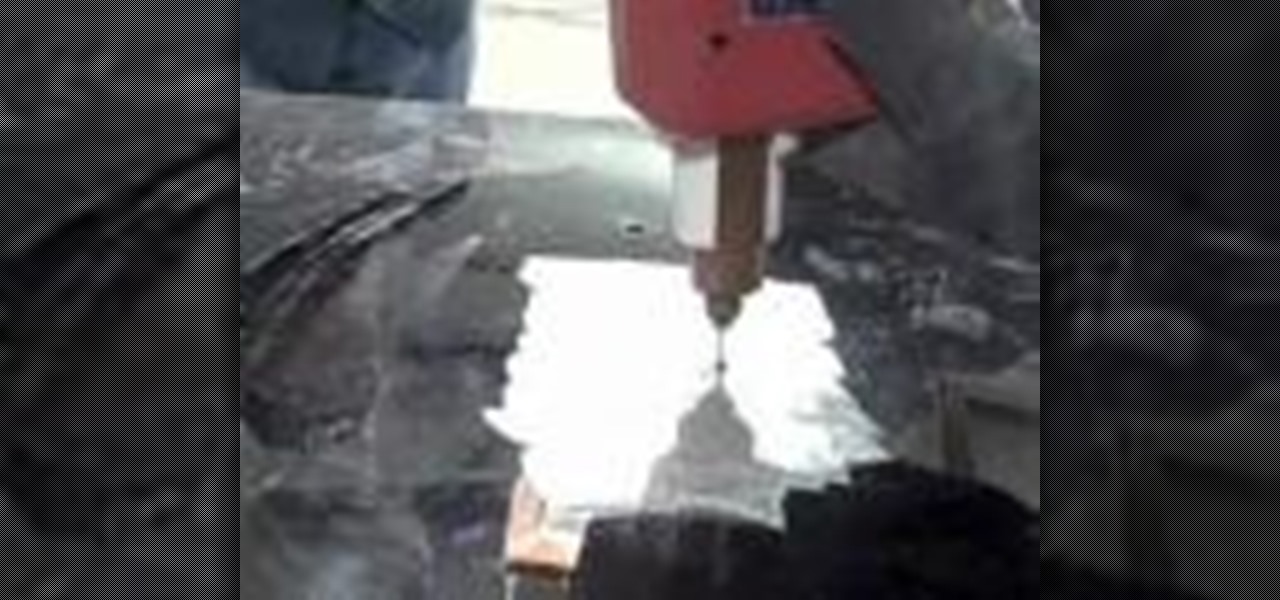
In order to repair a dent in a car with a stud nail gun, you will need the following: a stud nail gun, pliers, a grinder, protective gear, and a body hammer.
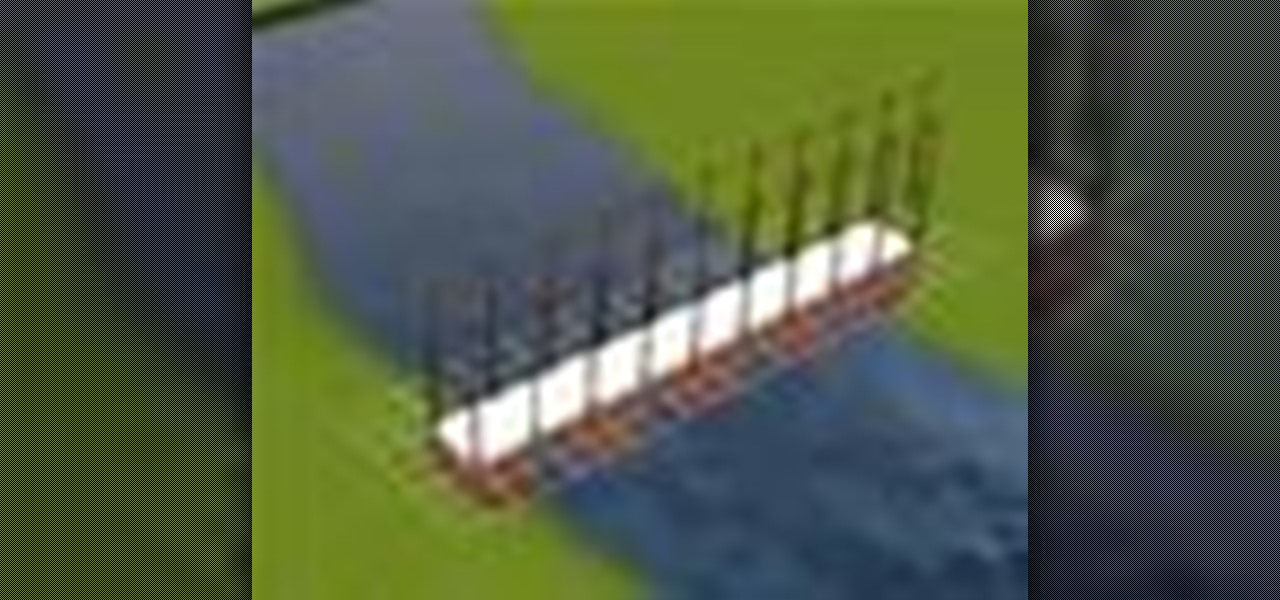
In this video tutorial, viewers learn how to build a bridge in the game, The Sims 3. This task is very easy, simple and fast to do. Begin by adding a foundation across the water. Then select every second block of the foundation and remove it. Now place a platform over the stands of the bridge. Add any fencing or stairs if desired. This video will benefit those viewers who play the Sims 3 video game, and would like to learn how to create a bridge for the virtual characters to cross over water ...
In this video tutorial, viewers learn how to do a seated spinal twist yoga exercise. Begin by placing both butt cheeks onto the floor. Then bend your right knee and place it on the floor. Now cross the left ankle over the right thigh. Place your left hand behind your back. Inhale as you raise your right hand up and exhale as you twist to the left side. Place the right arm on the left thigh as you twist. Do the same on the opposite side. This video will benefit hose viewers who are interested ...
In this tutorial, Gina teaches us how to do a backspin in figure skating. This is when you are spinning on the opposite foot but in another direction. The most difficult thing is to find the right balance in your body. It takes a lot of practice to get used to this. You can use an exercise of doing backwards cross overs to get used to finding the spot that will be perfect for your body to balance. Start by doing an open position, the go into a rotating position. If you are in the right positi...
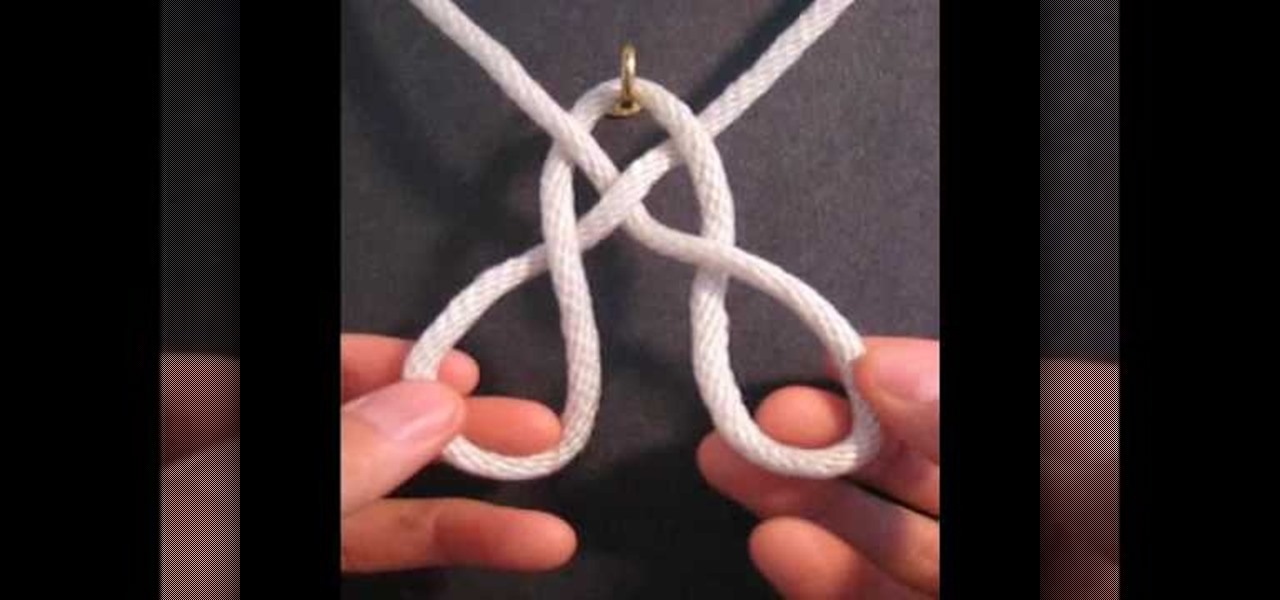
In order to create a Key Hole Weave Knot, you will need: rope or twine. Begin by making a loop. Then, make a second loop next to it. Cross the loops, placing one on top of the other. Weave a free end through the loops. Next, weave the other free end through the loop. Pull them both through carefully. Next, you'll need to shape your knot, by making sure that the spacing is even.
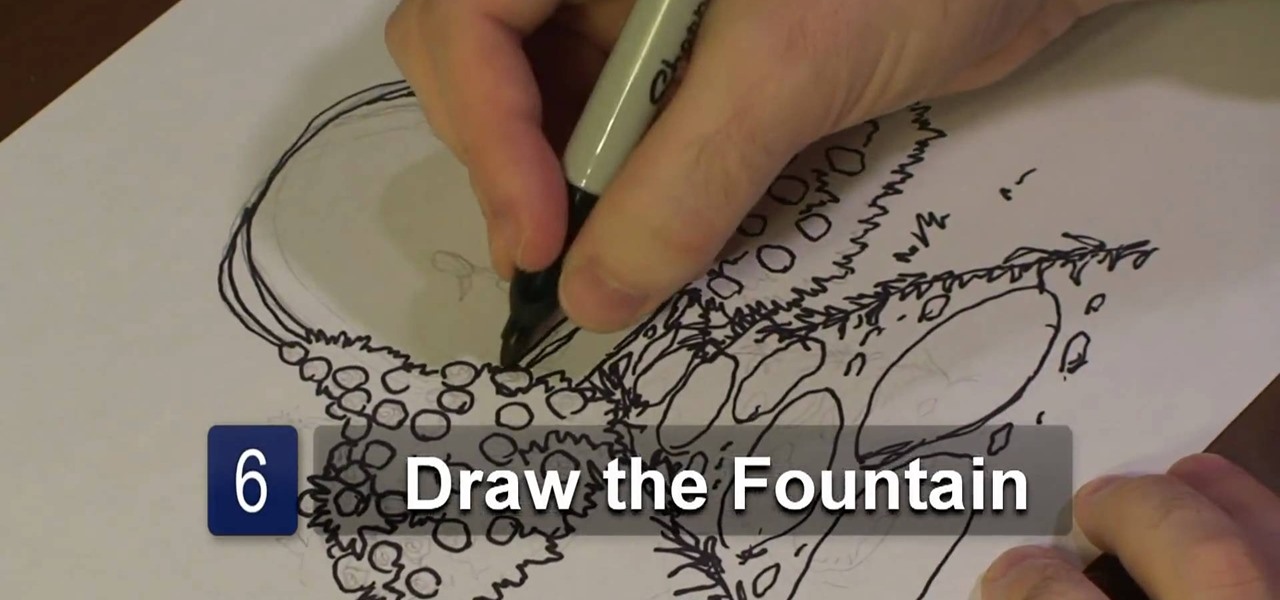
In this video tutorial, viewers learn how to draw a rose garden. Begin by marking the locations of the objects, such as the pathway and the arch. Then draw the rosebushes surrounding the path and arch. The bushes only need to be drawn with cross hatching or quick lines. They don't need too much detail. Then add some circular boxes into the bushes as the roses. Now draw some grass around the pathway and stones in the pathway. In the center of the arch, add the center fountain piece. Finish by ...
In this video tutorial, viewers learn how to tie a necktie the British way. Begin by putting the tie around your neck. Cross the wider end of the tie over the narrow end. Then bring the wide end of the top up through the loop between the neck and tie. Pull it back down and slightly tighten it. Now bring the tie over and through the loop once again. Then bring with tie around the unfinished knot, under and through the loop one more time. This video will benefit those viewers who need to dress ...
Draw a persons face with this lesson by a professional artist. Start with a basic oval shape. Draw a light guideline through the middle of the face, then a cross line where the eyes might go. Then, draw a line for the nose and mouth. This will leave your drawling divided in three sections. Next, you begin the eyes. Draw oval shapes on the eye line. Then, draw the circles for the middle of the eyes. Then draw in the brows. Next, begin drawing the nose then the mouth. Now you're ready to draw t...
You may have all the tools and people needed for putting up a fence, but something that should not be skipped is coding. Checking the coding and property lines to your place is important for making sure you don't cross into a place that you aren't supposed to be. This can result in bad blood forming and the removal of your hard work. So check out what you'll need to do in order to prevent that, in this tutorial. Enjoy!
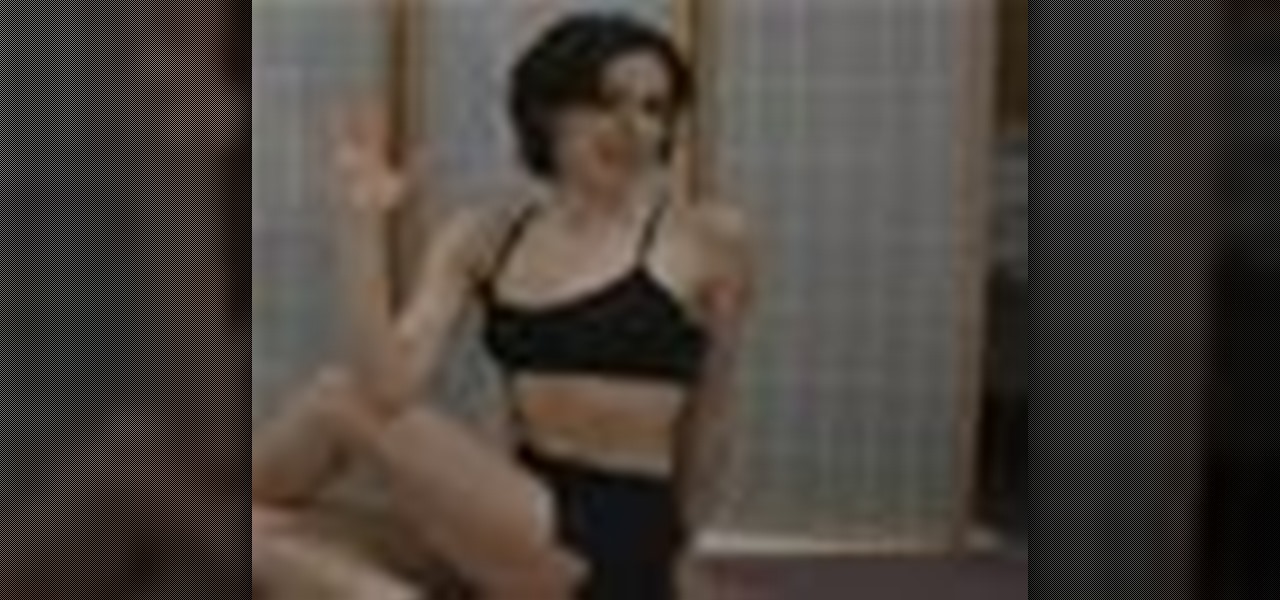
You can't be a successful and certified cross dresser/drag queen without a nice rack. A realistic looking pair of titular fun bags finishes off an outfit as much as a six-inch pair of stilettos, so it's very important to know how to put them on.
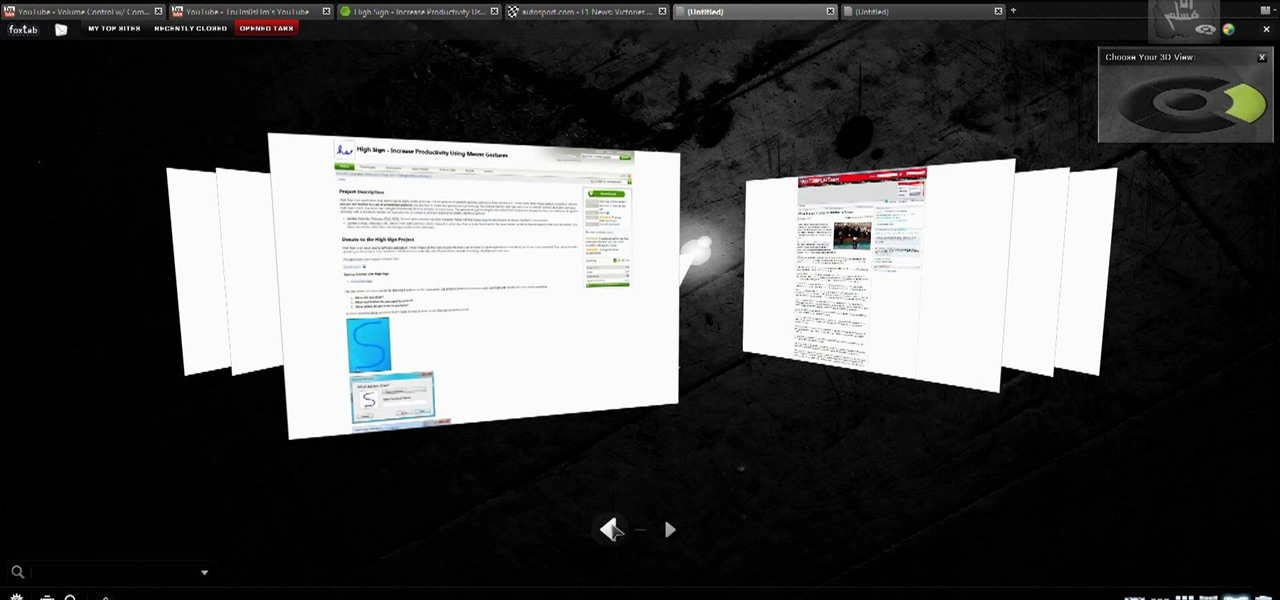
If you like the way Compiz works, then you'll love this browser-based compositing windows manager for Firefox. It's an add-on you can install in any Firefox web browser, whether on Windows, Mac or Linux computers.
To make the country bump hairstyle as seen on Carrie Underwood, Dean Banowetz, a stylist from American Idol demonstrates for BeautyTV. First, he takes a section of hair from the forehead to the crown and from the center of one eye to the other. Then he sections it from side to side and back combs the hair lightly to create the bump in the front. Additional back combing or a tail comb can be used to increase the volume of the bump as desired. After smoothing the top layer of hair over the bump...
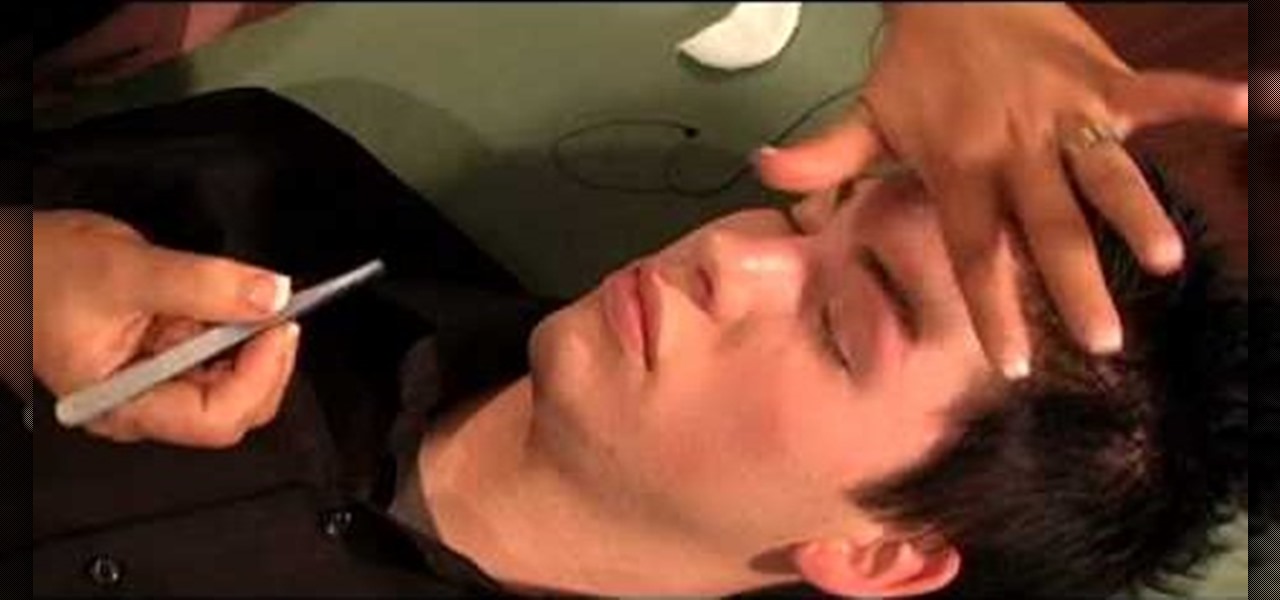
This is a video tutorial that is showing its audience how to remove their excess eyebrow hair by simply using a thread. The first step in removing your eyebrow hair with a thread is to ask the client how they want their eyebrows to look when you are finished. Take two threads and place them between your fingers, crossing the thread in the center. Then you should begin to slowly shape the eyebrow. Ask the client to close their eyes so that you will have access to the whole eyebrow. For men mak...
In this Arts & Crafts video tutorial you will learn how to make a diamond folded card. Get a sheet of paper 4x12 inches. Draw a pencil line at the half way mark, that is, at 6inches. Fold one of the lengths to the center pencil line. Do the same to other half of the paper. Open up the sheet and do the same fold in the opposite direction. Open up the paper and flip it over and you will see the diamond fold in the center. Now you fold from each side up to the cross where the diamond begins. Fli...
In this video tutorial, viewers learn how to tie shoelaces faster. The knot presented in this video is the Ian Knot. Begin by doing an overhand knot by grabbing he two strings, cross one over, tuck it in the loop and pull down. Now grab the left string with your left hand. The string should be on top of your thumb and index finger. Do the same on the right side. Now crossover the strings and pull. This video will benefit those viewers who have trouble tying shoes or would like to learn a easi...
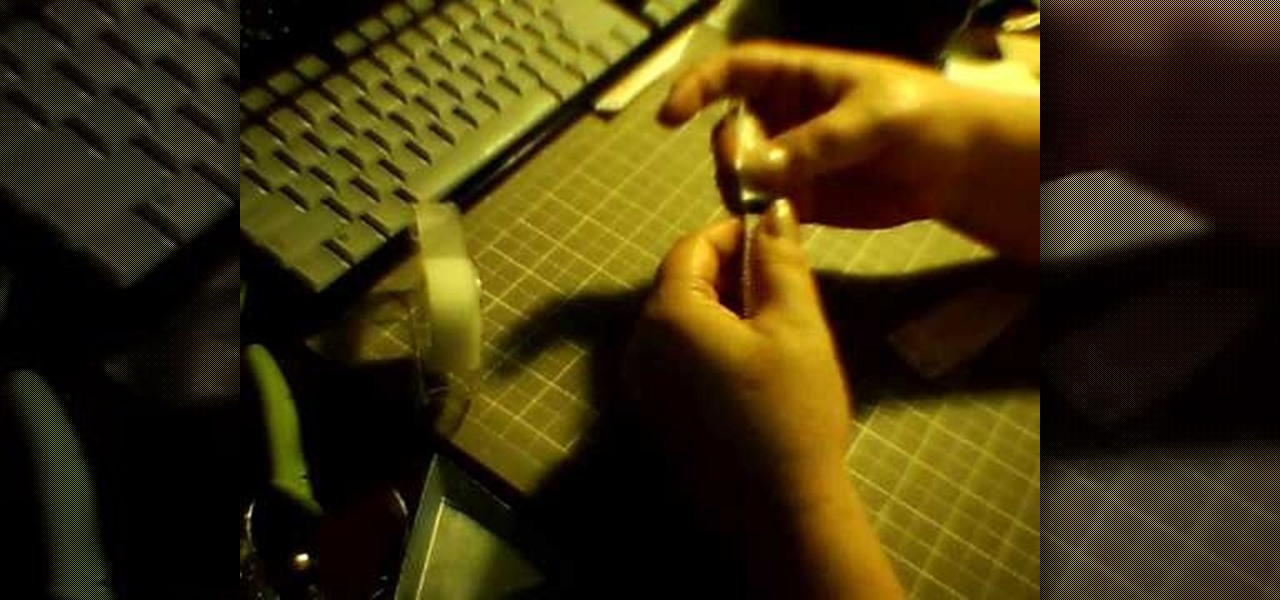
This video illustrate us how to make a piano bracelet on a loom. Here are the following steps: Step 1: First of all secure the piano tabs to the loom and criss cross the string on the tabs.
To create a quick hair quiff, start with a triangle section from the crown to the edge of the eyebrows on both sides. Take the section at the crown and back comb with a fine comb, but pushing down through the hair and gathering hair to the root about three times. Pull the hair that is left over it and repeat with another section. Finish with all sections until only one is left at the front. For the final section, back comb one time, and smooth over the other previous sections. Use a small bri...
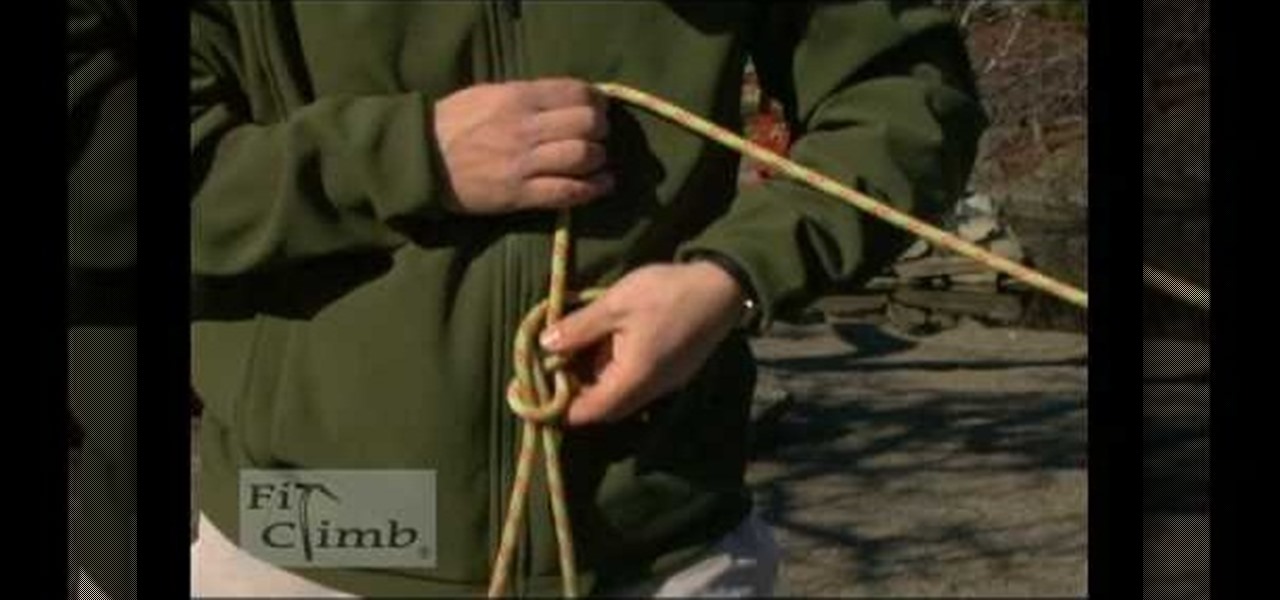
How to tie a Eight Figure Knot.
Place you tie around your neck. Make one side longer and one side shorter. Then you will criss-cross the two sides of the tie, with the longer end being placed over the short end. Take the long end and loop it around the shorter end. Then you will take the longer end and bring it through the little loop that you have already formed by looping the end around. This will give you the ascot. To do a scrunchy tie, take the ends and pull them through the loop that has formed, and then you will have...