In order to do the resting crocodile pose, you will need to lie on your stomach. Separate your legs. Space your legs greater than hip distance apart. Your toes should be pointed. Cross your arms. Your arms and chest should form a triangle with the floor as the base. Rest your head on your hands and breathe deeply. As you inhale this will work your lower abdominal muscles, while it sends more oxygen to the cells of your body. This pose is a recommended pose for anyone who is rehabbing muscle o...
In this video tutorial, viewers learn how to build a bridge in the game, The Sims 3. This task is very easy, simple and fast to do. Begin by adding a foundation across the water. Then select every second block of the foundation and remove it. Now place a platform over the stands of the bridge. Add any fencing or stairs if desired. This video will benefit those viewers who play the Sims 3 video game, and would like to learn how to create a bridge for the virtual characters to cross over water ...
In this video tutorial, viewers learn how to do a seated spinal twist yoga exercise. Begin by placing both butt cheeks onto the floor. Then bend your right knee and place it on the floor. Now cross the left ankle over the right thigh. Place your left hand behind your back. Inhale as you raise your right hand up and exhale as you twist to the left side. Place the right arm on the left thigh as you twist. Do the same on the opposite side. This video will benefit hose viewers who are interested ...
In this tutorial, Gina teaches us how to do a backspin in figure skating. This is when you are spinning on the opposite foot but in another direction. The most difficult thing is to find the right balance in your body. It takes a lot of practice to get used to this. You can use an exercise of doing backwards cross overs to get used to finding the spot that will be perfect for your body to balance. Start by doing an open position, the go into a rotating position. If you are in the right positi...
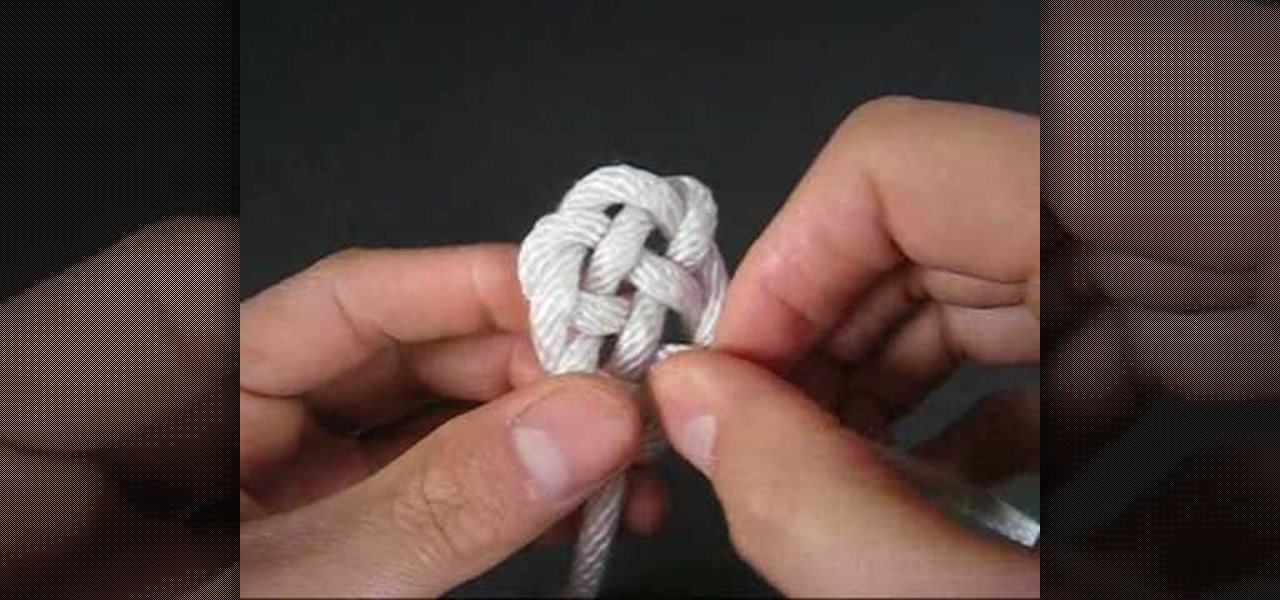
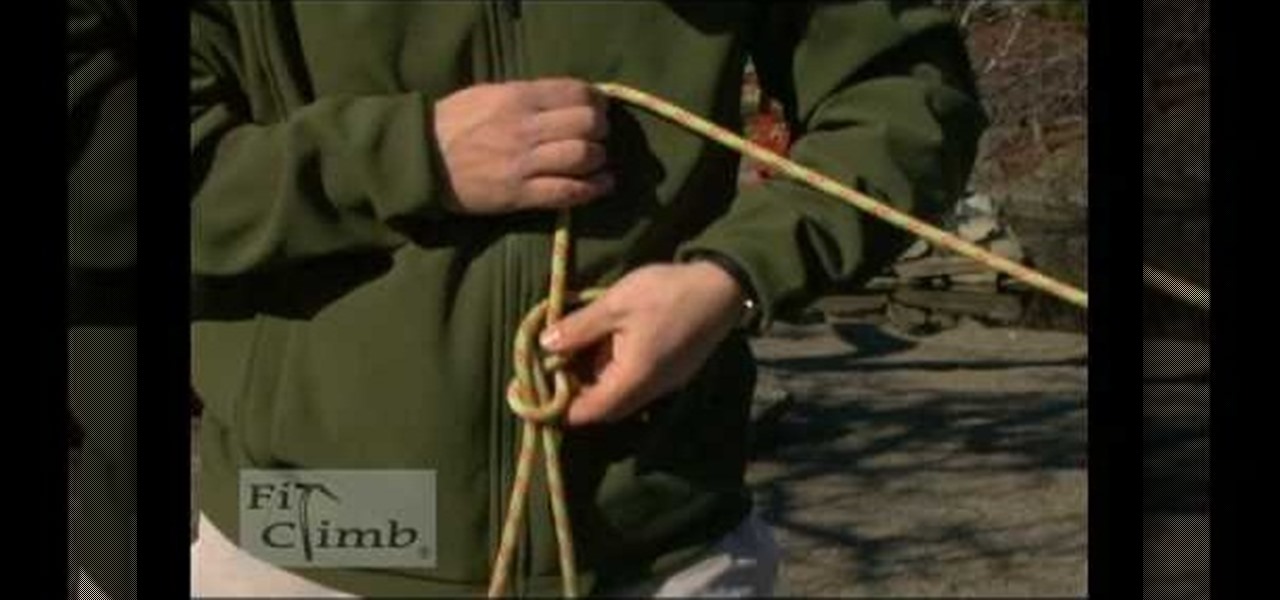
In order to create a Key Hole Weave Knot, you will need: rope or twine. Begin by making a loop. Then, make a second loop next to it. Cross the loops, placing one on top of the other. Weave a free end through the loops. Next, weave the other free end through the loop. Pull them both through carefully. Next, you'll need to shape your knot, by making sure that the spacing is even.
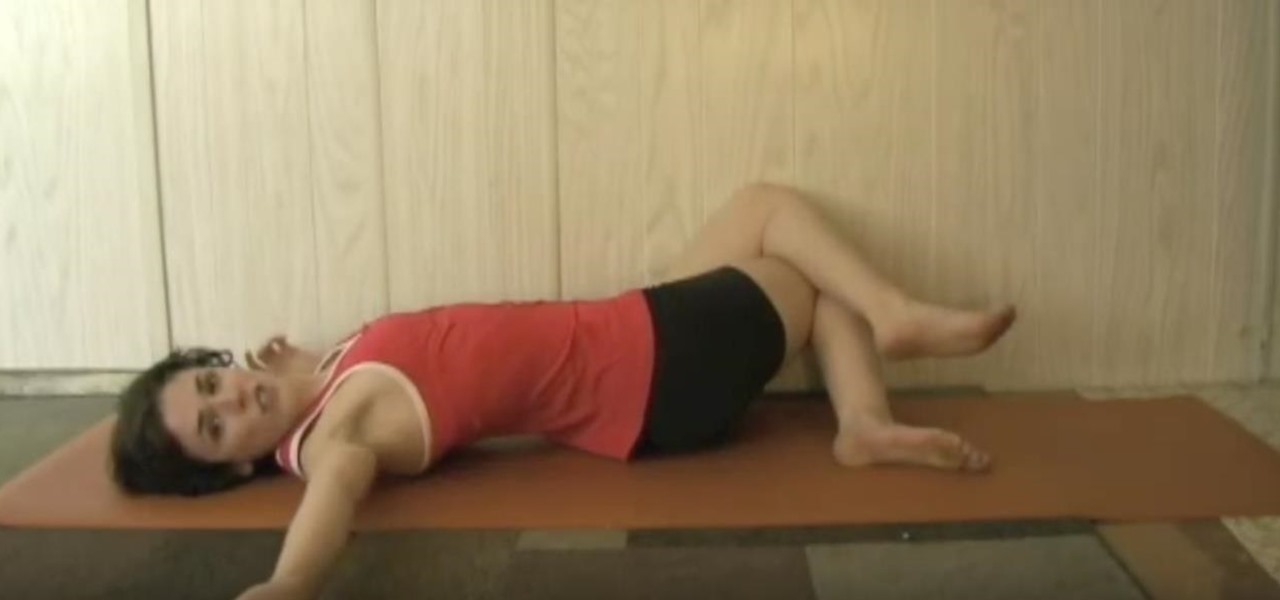
Doing a low back relief exercise can make your body feel more relaxed, and stretch out your muscles. First, lay down on your back with your arms at a T, and cross your right leg over your left. Deep inhale and when you exhale, let your knees drop to your right. As you are doing this, turn your left pinky finger to the wall behind you. When you inhale, go back to your regular position. The left shoulder should stay down and the outer edge of the left foot should go up to the ceiling. Keep repe...

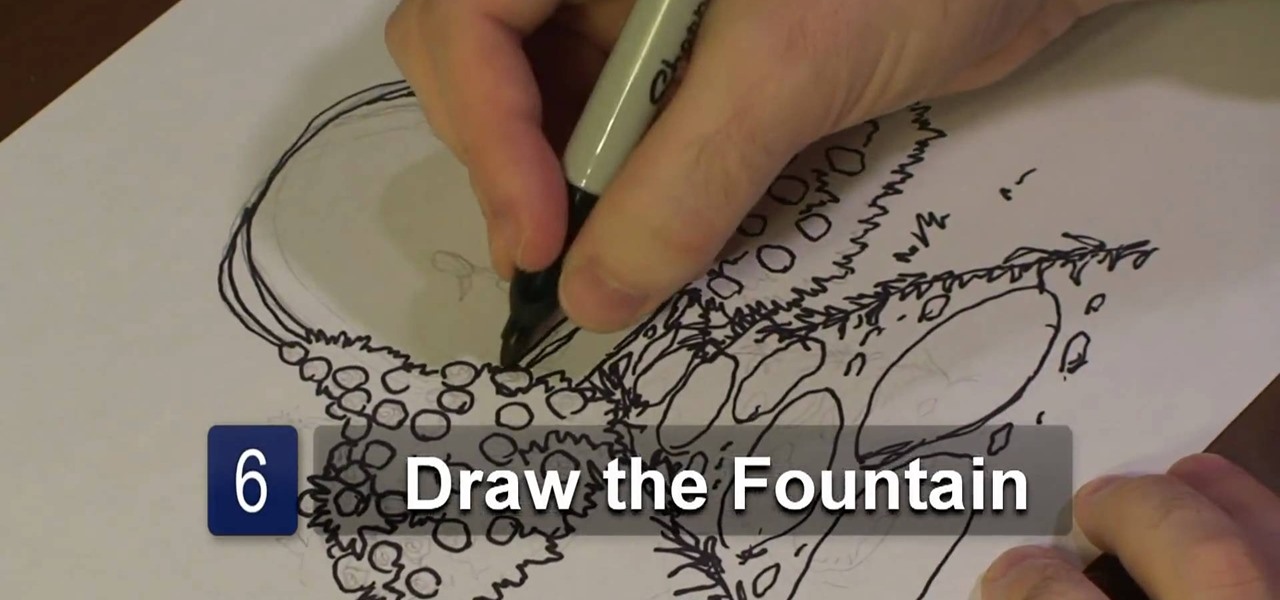
In this video tutorial, viewers learn how to draw a rose garden. Begin by marking the locations of the objects, such as the pathway and the arch. Then draw the rosebushes surrounding the path and arch. The bushes only need to be drawn with cross hatching or quick lines. They don't need too much detail. Then add some circular boxes into the bushes as the roses. Now draw some grass around the pathway and stones in the pathway. In the center of the arch, add the center fountain piece. Finish by ...

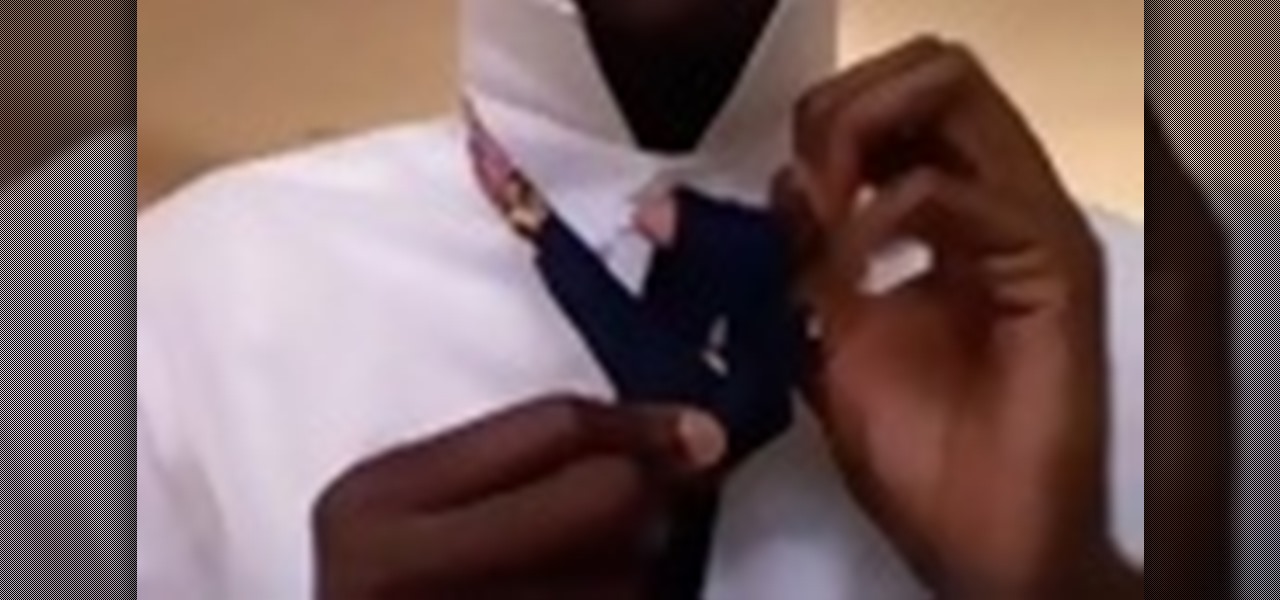
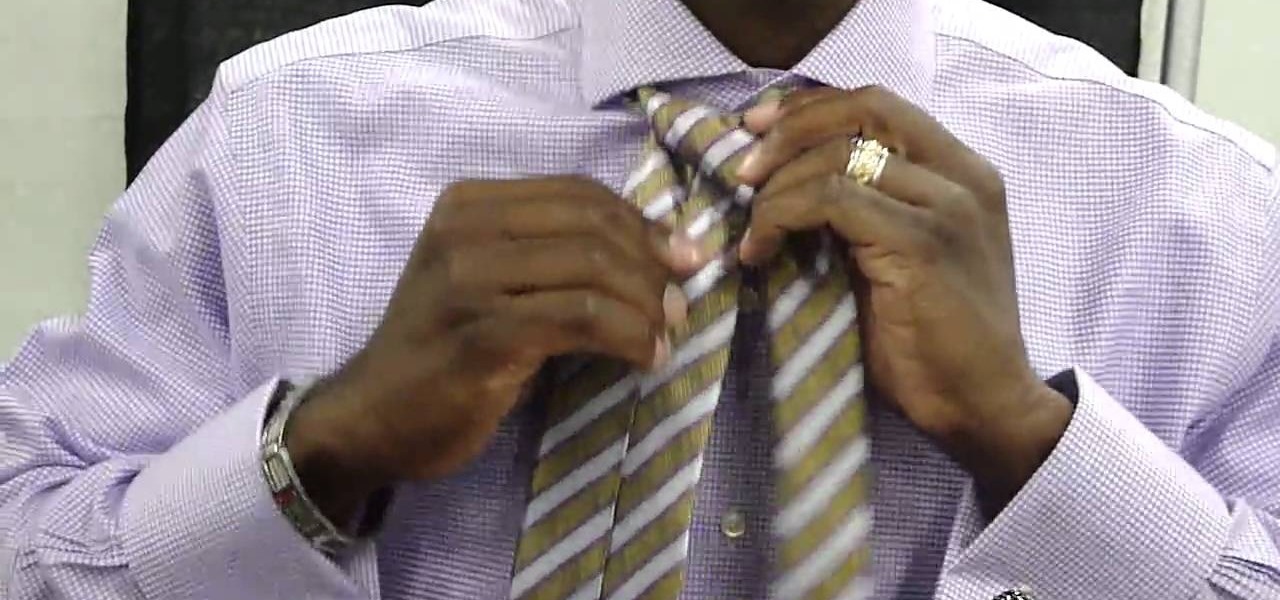
In this video tutorial, viewers learn how to tie a necktie the British way. Begin by putting the tie around your neck. Cross the wider end of the tie over the narrow end. Then bring the wide end of the top up through the loop between the neck and tie. Pull it back down and slightly tighten it. Now bring the tie over and through the loop once again. Then bring with tie around the unfinished knot, under and through the loop one more time. This video will benefit those viewers who need to dress ...

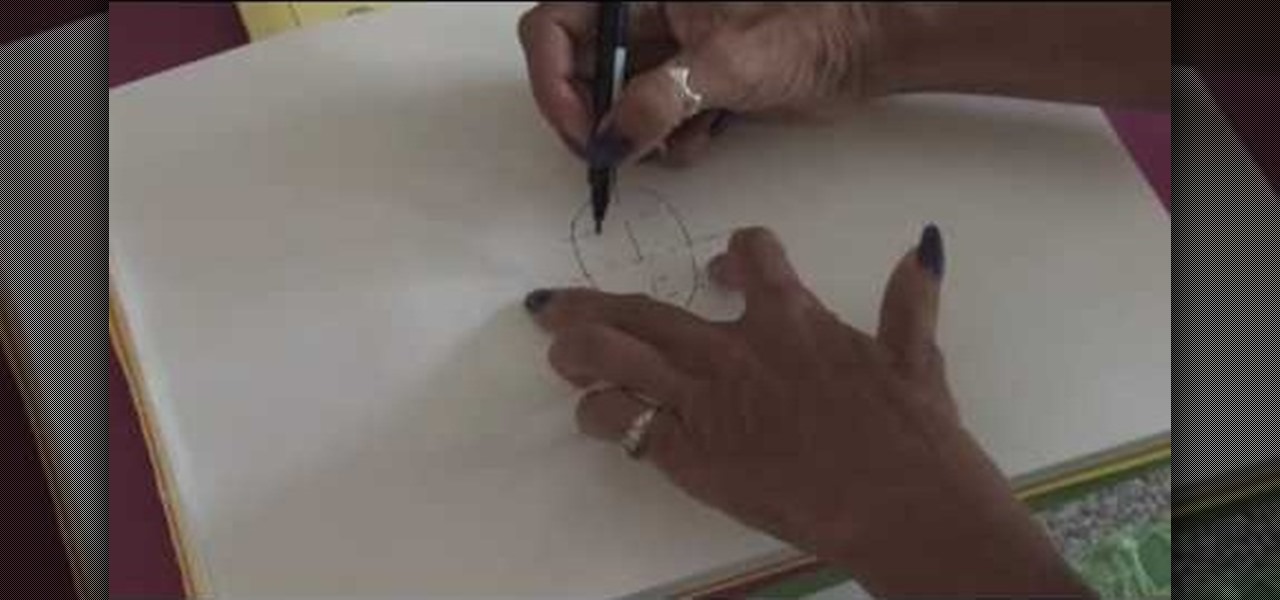
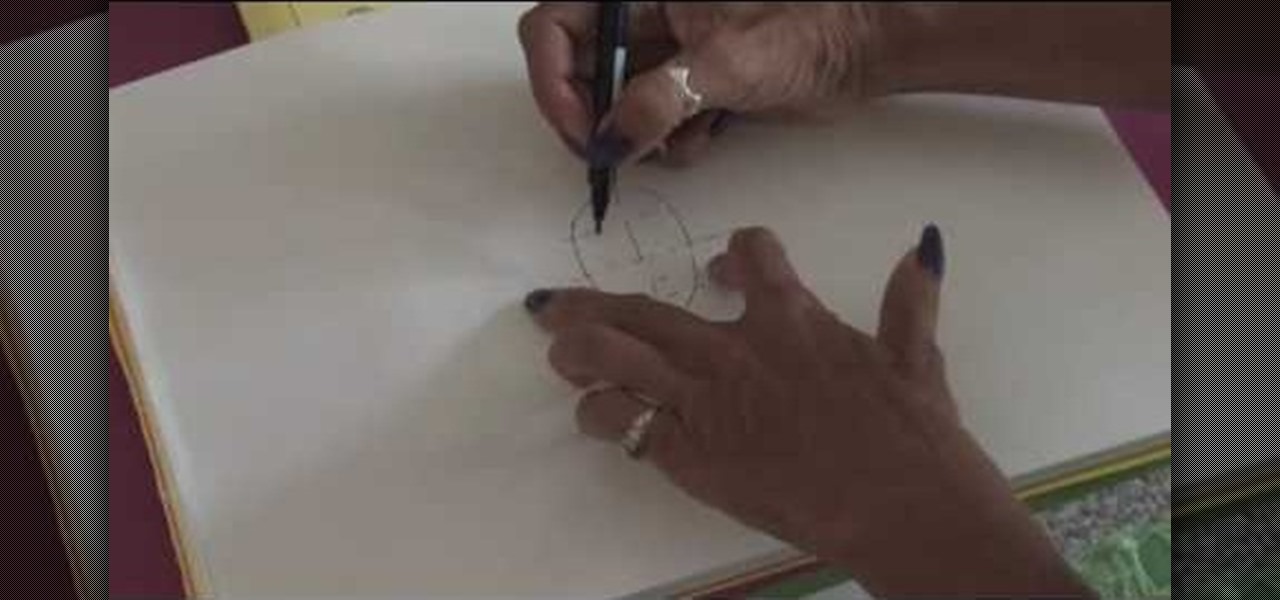
Draw a persons face with this lesson by a professional artist. Start with a basic oval shape. Draw a light guideline through the middle of the face, then a cross line where the eyes might go. Then, draw a line for the nose and mouth. This will leave your drawling divided in three sections. Next, you begin the eyes. Draw oval shapes on the eye line. Then, draw the circles for the middle of the eyes. Then draw in the brows. Next, begin drawing the nose then the mouth. Now you're ready to draw t...

You may have all the tools and people needed for putting up a fence, but something that should not be skipped is coding. Checking the coding and property lines to your place is important for making sure you don't cross into a place that you aren't supposed to be. This can result in bad blood forming and the removal of your hard work. So check out what you'll need to do in order to prevent that, in this tutorial. Enjoy!

You can't be a successful and certified cross dresser/drag queen without a nice rack. A realistic looking pair of titular fun bags finishes off an outfit as much as a six-inch pair of stilettos, so it's very important to know how to put them on.

If you like the way Compiz works, then you'll love this browser-based compositing windows manager for Firefox. It's an add-on you can install in any Firefox web browser, whether on Windows, Mac or Linux computers.

To make the country bump hairstyle as seen on Carrie Underwood, Dean Banowetz, a stylist from American Idol demonstrates for BeautyTV. First, he takes a section of hair from the forehead to the crown and from the center of one eye to the other. Then he sections it from side to side and back combs the hair lightly to create the bump in the front. Additional back combing or a tail comb can be used to increase the volume of the bump as desired. After smoothing the top layer of hair over the bump...

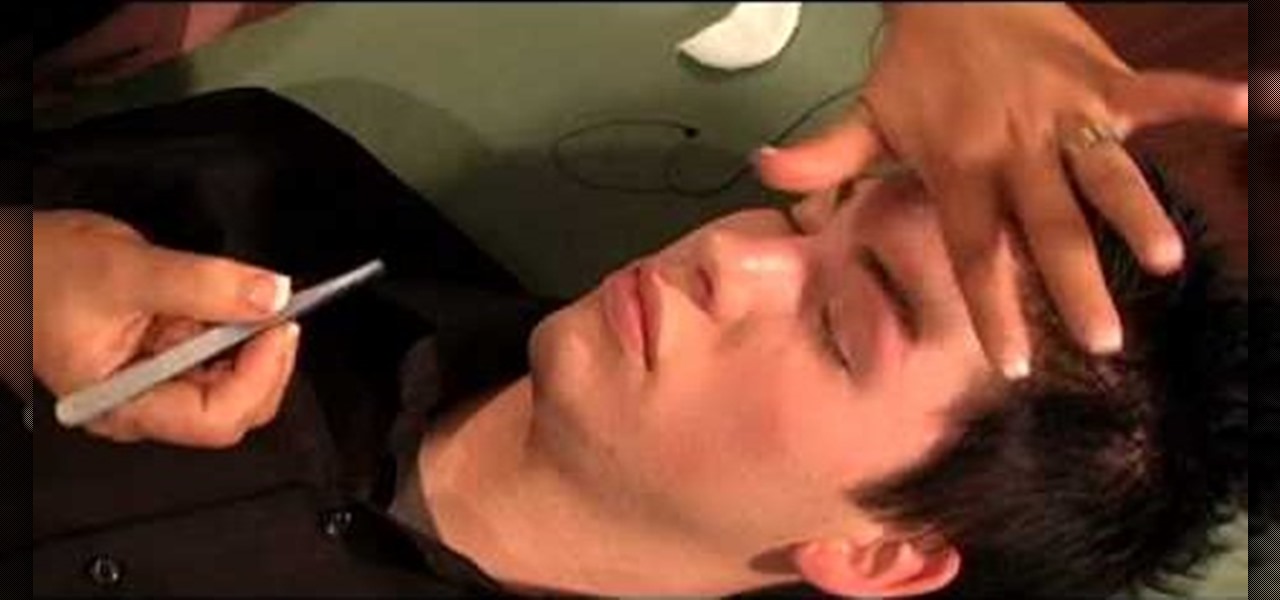
This is a video tutorial that is showing its audience how to remove their excess eyebrow hair by simply using a thread. The first step in removing your eyebrow hair with a thread is to ask the client how they want their eyebrows to look when you are finished. Take two threads and place them between your fingers, crossing the thread in the center. Then you should begin to slowly shape the eyebrow. Ask the client to close their eyes so that you will have access to the whole eyebrow. For men mak...

This video illustrates how to draw a Gondor soldier.Here are the following steps: Step 1: Firts of all take a sheet of paper and pencil and start drawing the face of the soldier by drawing a circle and then draw eyes within it and draw lips as well as the nose.

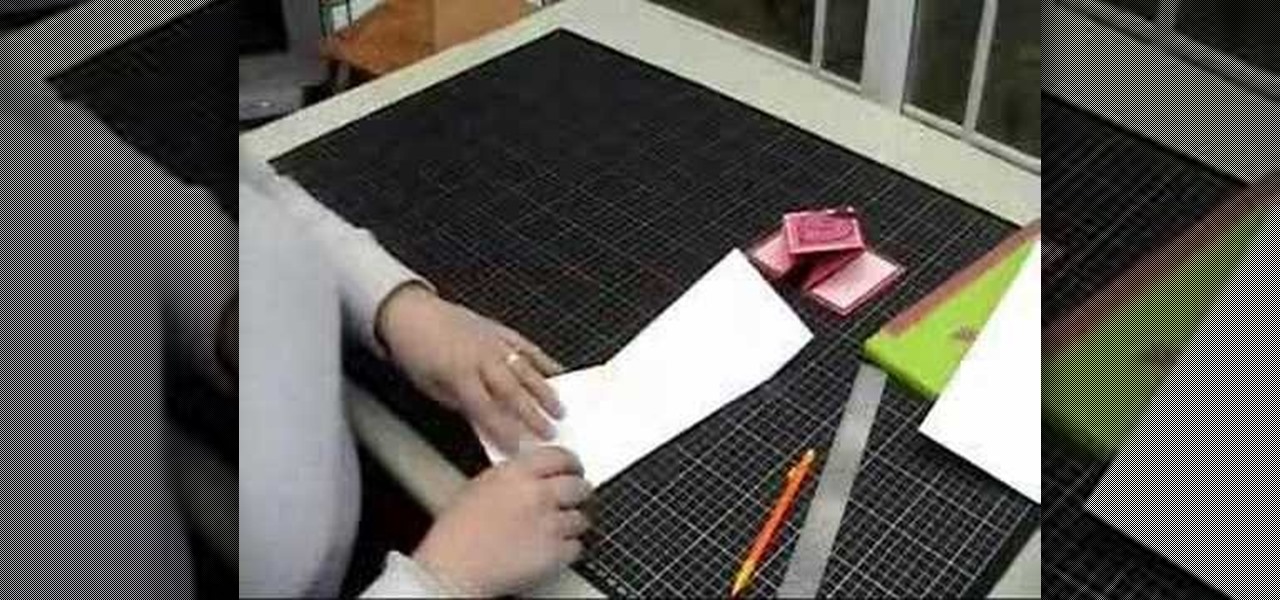
In this Arts & Crafts video tutorial you will learn how to make a diamond folded card. Get a sheet of paper 4x12 inches. Draw a pencil line at the half way mark, that is, at 6inches. Fold one of the lengths to the center pencil line. Do the same to other half of the paper. Open up the sheet and do the same fold in the opposite direction. Open up the paper and flip it over and you will see the diamond fold in the center. Now you fold from each side up to the cross where the diamond begins. Fli...

In this video tutorial, viewers learn how to tie shoelaces faster. The knot presented in this video is the Ian Knot. Begin by doing an overhand knot by grabbing he two strings, cross one over, tuck it in the loop and pull down. Now grab the left string with your left hand. The string should be on top of your thumb and index finger. Do the same on the right side. Now crossover the strings and pull. This video will benefit those viewers who have trouble tying shoes or would like to learn a easi...

This video illustrate us how to make a piano bracelet on a loom. Here are the following steps: Step 1: First of all secure the piano tabs to the loom and criss cross the string on the tabs.

To create a quick hair quiff, start with a triangle section from the crown to the edge of the eyebrows on both sides. Take the section at the crown and back comb with a fine comb, but pushing down through the hair and gathering hair to the root about three times. Pull the hair that is left over it and repeat with another section. Finish with all sections until only one is left at the front. For the final section, back comb one time, and smooth over the other previous sections. Use a small bri...

How to tie a Eight Figure Knot.

Place you tie around your neck. Make one side longer and one side shorter. Then you will criss-cross the two sides of the tie, with the longer end being placed over the short end. Take the long end and loop it around the shorter end. Then you will take the longer end and bring it through the little loop that you have already formed by looping the end around. This will give you the ascot. To do a scrunchy tie, take the ends and pull them through the loop that has formed, and then you will have...

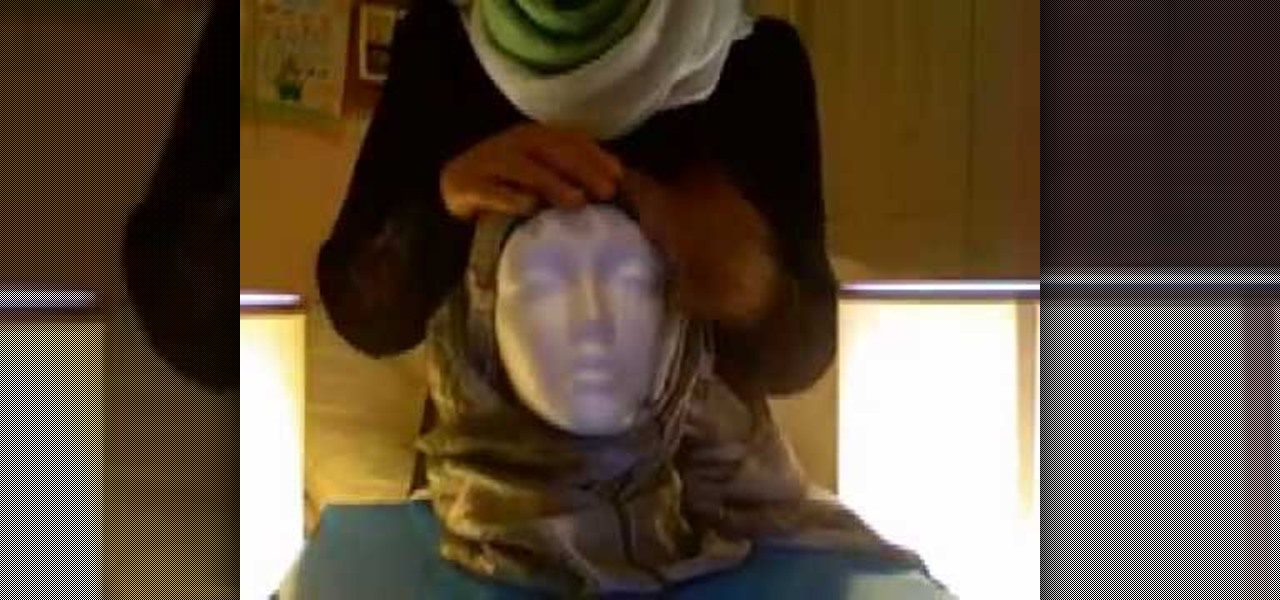
This video is a demonstration of how to fold a stylish hijab the way it's done in Egypt. Start with the undercap, and use a pashmina for the hijab and a few straight pins to help hold it in place. Take one end of the hijab and fold it over to make a triangle, making the tail longer or short as you like. Lay it over your head so the open point of the triangle is at your forehead. Pin it to the underpiece at the sides. Let the short side hang down. Wrap the long end around under your chin and u...

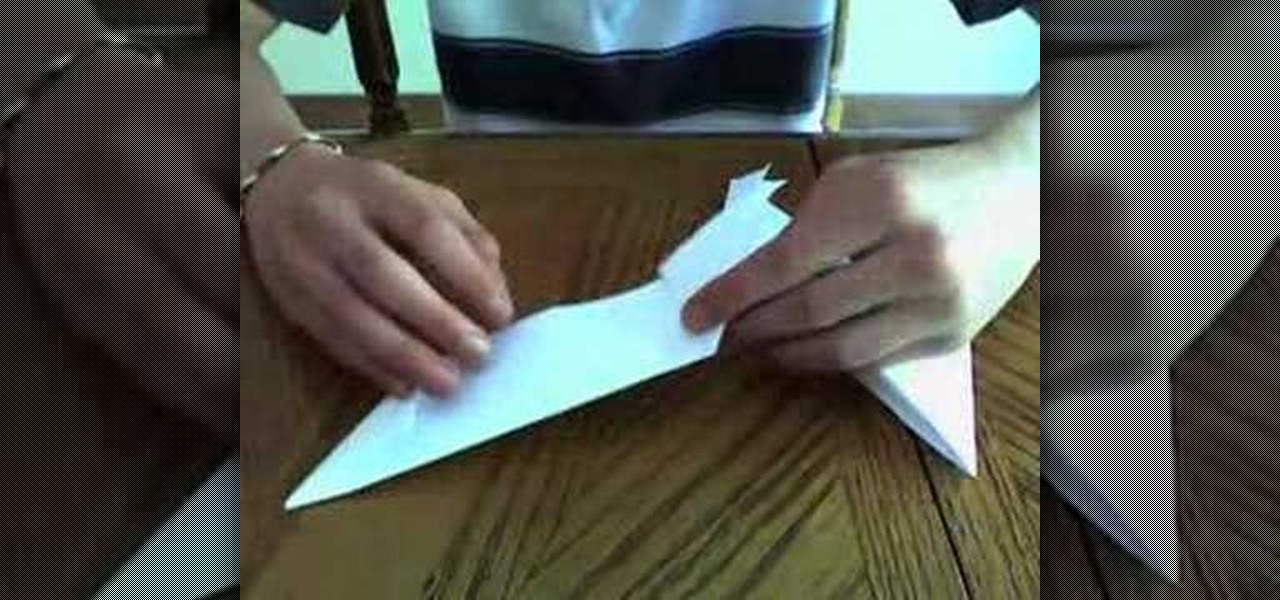
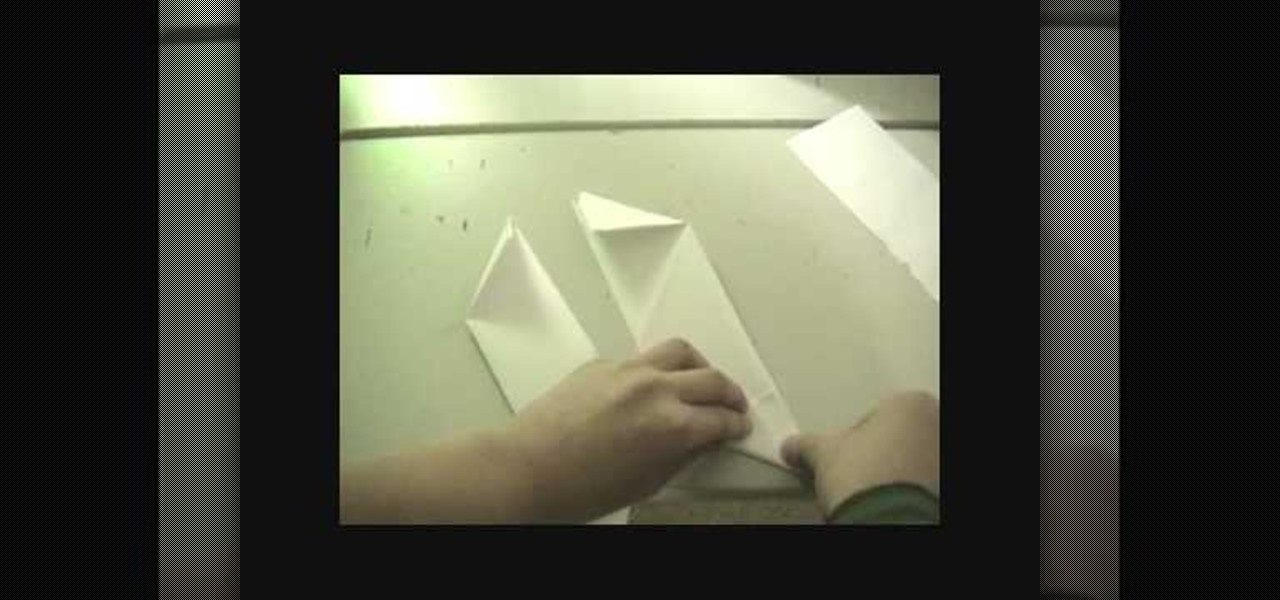
In this Weapons video tutorial you are going to learn how to make a paper shuriken (or ninja star). Take a square size paper and cut it into half. Then fold each piece in half lengthwise. Fold one end to make a triangle and fold the other end in the opposite direction to make a triangle. Now fold the ends again to make a bigger triangle. Then each sheet will form a ‘Z’ shape. Now place one sheet on top of the other forming a cross. Then fold in the protruding triangles of one over the other p...

In this video Pro Rider Matt Crowhurst talks about the wake jumps and what needs to be done to execute them. At the beginning of the video Matt says that in order to execute them one has to mater the perfect riding position, being in ease with moving left and right, inside and hillside edge, crossing and execute smooth turns. For executing wake jumps one has to concentrate on three major areas-1. Starting out wide, cruising along and a flat board.2.A progressive edge3.Holding that edge and po...

The instructor in this video is showing viewers how to make a Block G in 3D. The process involves drawing the initial capital G. Then a line is made as an outline around the top of the letter and another line is made the same way at the bottom of the letter, so it appears to have a G made with 3 lines. Then the whole G is colored in to make a solid block letter. At the top of the G, a parallel line is drawn and filled in to appear the top is 3D. Another parallel line is drawn at the bottom in...

A small section of the hair is taken and separated into three parts. It is then braided nearest to the end. The centered hair of the three is held. Then there is the pushing up of the other two side hairs. This creates a design. Hair pin is used to attach the designed hair to the side of the head, leaving the end not platted. The remainder hair is grabbed into a side bun. The bun is loosely platted and crossed with hair pins until held firm. Parts of the bun are slightly pulled to create a me...

In this Weapons video tutorial you will learn how to fold a ninja star (shuriken) out of paper. Take a square piece of paper and fold it in half and tear it off to get two pieces of rectangular paper. Fold each piece of paper in half lengthwise. Then fold one end of each paper like a triangle. Fold the other end in the opposite way. Now fold both the ends to get a bigger triangles and the final shape of the paper should be like ‘Z’. Put both the pieces over each other in the form of a cross. ...

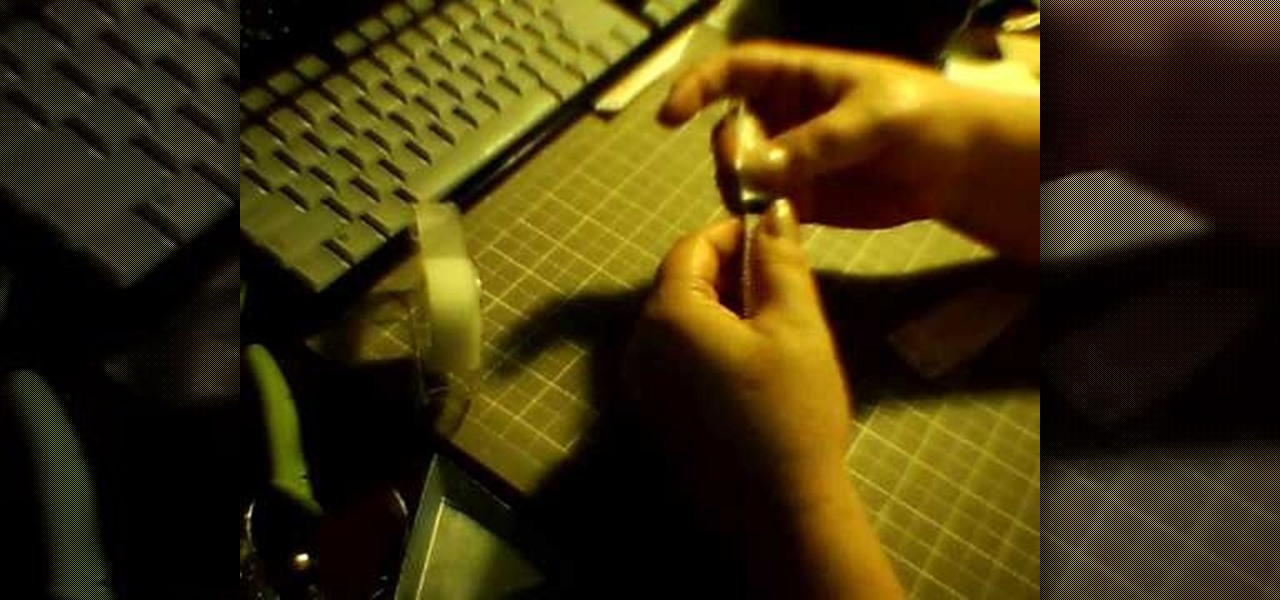
Artbeads demonstrates how to make a simple loop using eye pins. Simple loops on head pins or eye pins are great ways to attach charms to your jewelry. To make a simple loop use chain nose pliers to make a 90 degree bend in the pin above the bead. Then, cut the wire so that there is a 3/4 inch tail on the wire. With round nose pliers, create a loop on the end of the wire. Use chain nose pliers to open and close the loop to attach it to a chain or clasp. You can also make a loop by using the ro...

In this video tutorial, viewers learn how to tie an ascot. Begin by placing the ascot around your neck. Make the right side just a little bit longer than the left. Then cross the left side over the right side. Now bring it up and over through the middle. Fluff it out to spread out the ascot and then tuck it inside your shirt. Make sure that it is flat and smooth inside the shirt. This video will benefit those viewers who are preparing for a formal dinner, party or special occasion, and would ...

This video shows the method to multiply two digit numbers using the grid method. First make a grid of three rows and three columns. Put a cross in the first row and first column or the (1,1) position. Separate the ones and the tens in the number. In our example 43 is broken into 40,3 and 56 is broken into 50,6. Put these numbers in the remaining places in the first row and first column. Now multiply every number with the other and place it in the corresponding location in the grid. In our exa...

In this how-to video, you will learn how to tie a single Windsor knot. This will be useful if you need to wear a tie at a formal event. First, place the tie around the back of your neck. Next, cross the bigger side over the smaller side and then pull it up through the loop. Next, bring it underneath the knot and around the front of it. Bring it through up through the loop one more time. Pull the end through the knot. Make sure to adjust the tie so that it is at the desired length. By viewing ...

If you've ever been curious as to how the traditional Islamic hijab is worn, then this video is perfect for you. This video will show you how to properly wear the hijab and the type of hijab it begins with is the square hijab. Begin by folding it into a triangle and placing it upon your head and pin it underneath your chin. Then, take either the right or left side and wrap it around your head and tuck it underneath, near the same place you pinned it. Lastly, take the other side and flip it ov...

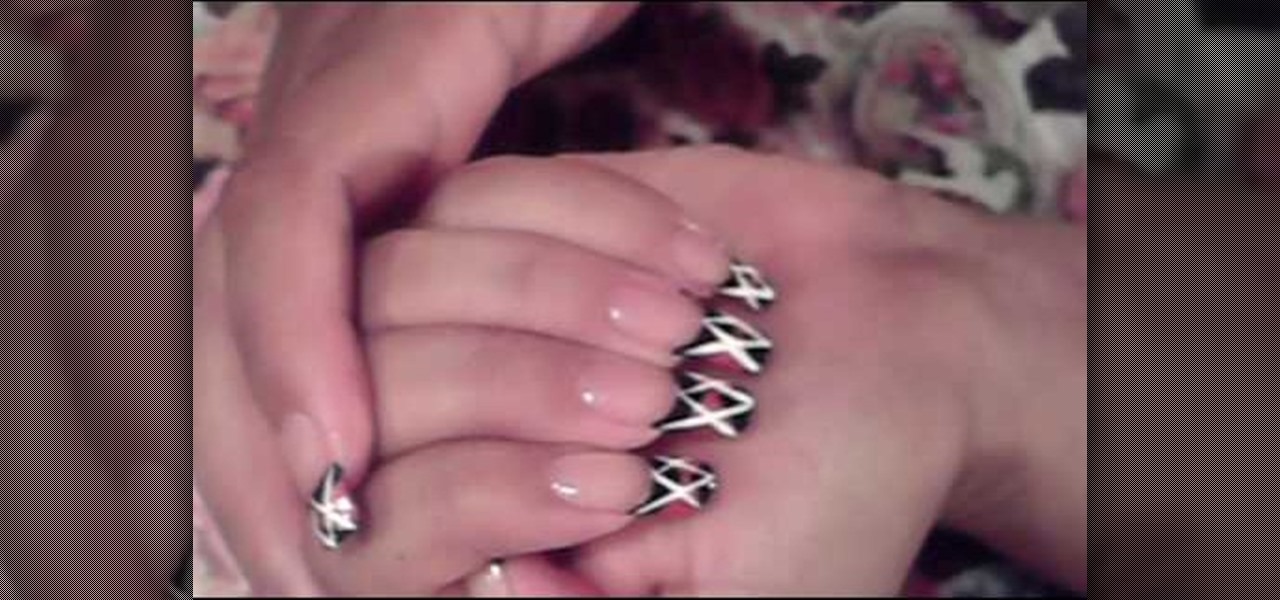
this short video shows how to paint nails in a black, pink, and white art design. The steps are simple and easy to follow. The first thing to be done is a regular black, French tip manicure. Once the black French manicure is completely dry, a pink thin tip nail polish is taken. From the middle of the nail , on the black tip, draw a V mark facing sideward on both sides. The next step is to fill the two "V"s, inside with the pink color. Once dried, with the white thin tipped nail polish, a line...

Chau-Minh, a private tutor, discusses cramming and how to do it effectively. This video does not intend to endorse cramming, but if you are probably screwed then you might as well see it. When you cram, don't expect to get a high grade because you lack time. To pull out a high grade, we need to do deletion. Deletion is just like chopping a branch to make the tree smaller. The tree would signify the lectures of your professor. Crossing out the topics that are discussed rarely by the professor ...

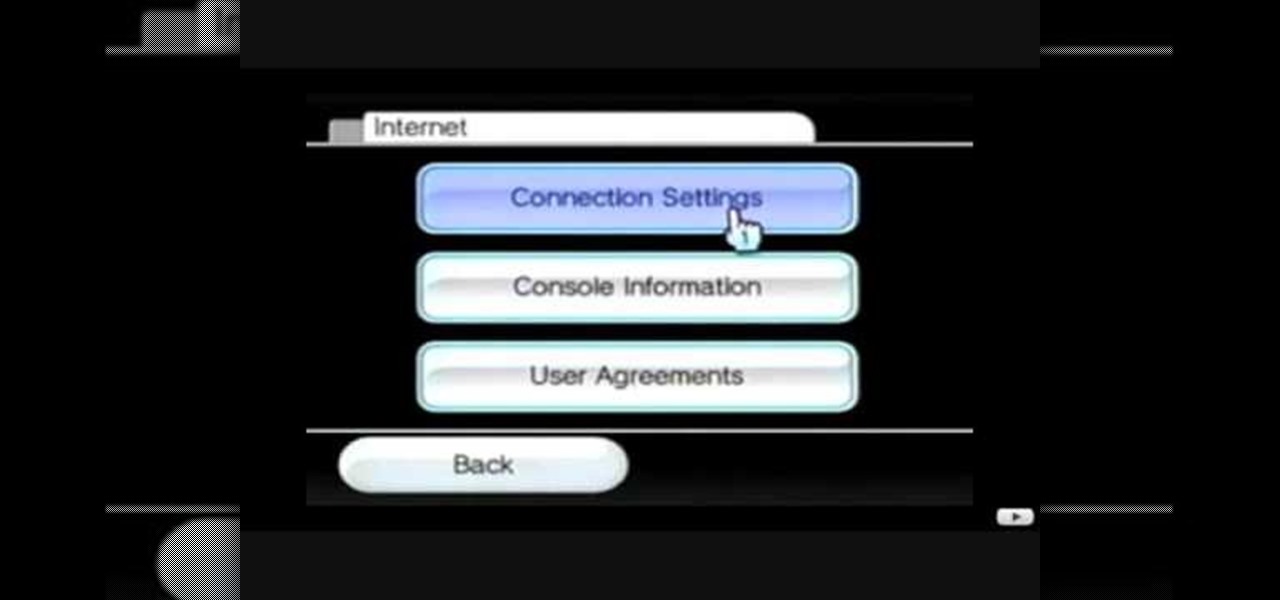
This video tutorial shows how to connect to the Internet using the Wii video game system. The advantage of connecting to the Internet with your gaming system is to play games, such as Animal Crossing or Call of Duty, with other players. You can also get the Internet Channel which allows you to watch YouTube videos and do other tasks you would normally do on the internet. You will need a wireless router to do this. On the Wii home menu, click on Options, Wii Settings, and scroll once to the ri...

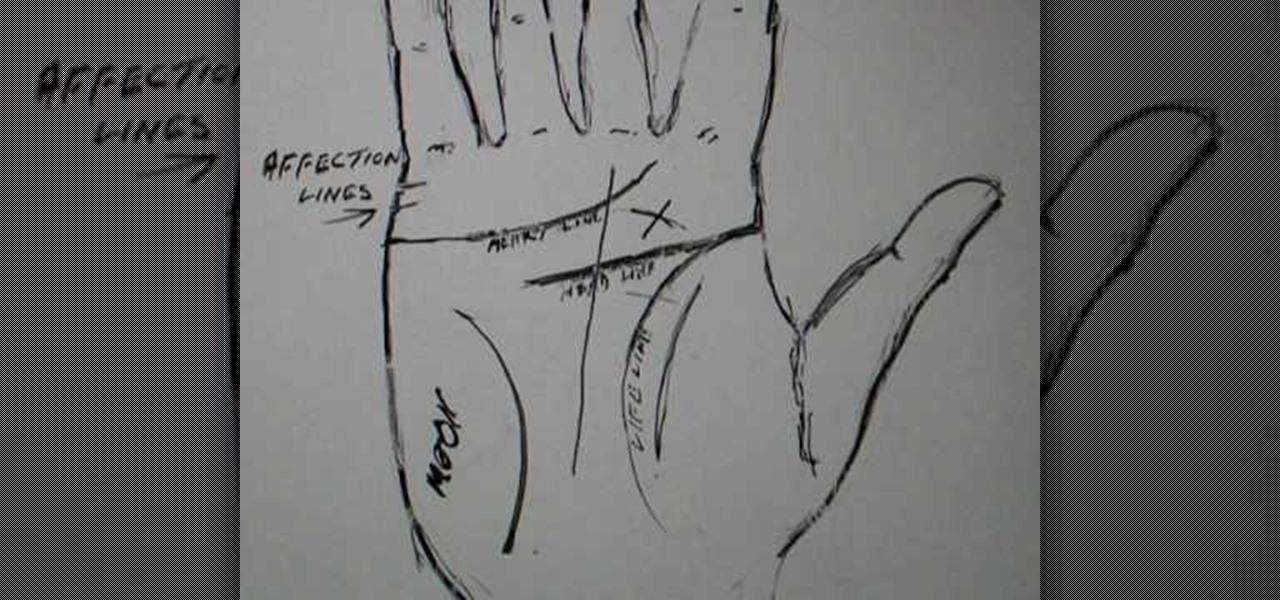
This video provides a diagram and explanation of the some of the more common mysteries in palm reading. Although the video does not provide much instruction for the actual act of palm reading, the diagrams are very helpful in determining which lines on the palm of the hand would be used to conduct a reading. The diagram shows the names and locations of each line that can be read on the palm. The life line, line of affection and line of intuition are explained in detail. The psychic cross is a...

Not a very good artist? Well Joe makes it simple for anyone to create a great looking wiener dog! First he starts with the eyes. He draws two large circles then adds the dots for eyes. Joe gives them a little personality by making the eyes a little cross eyed. He next moves down to the nose where he draws a small round circle and fills it in. Next he follows his way down and creates the long body for the dog. He even includes realistic aspects such as eyebrows and a smiling mouth. Learn from ...

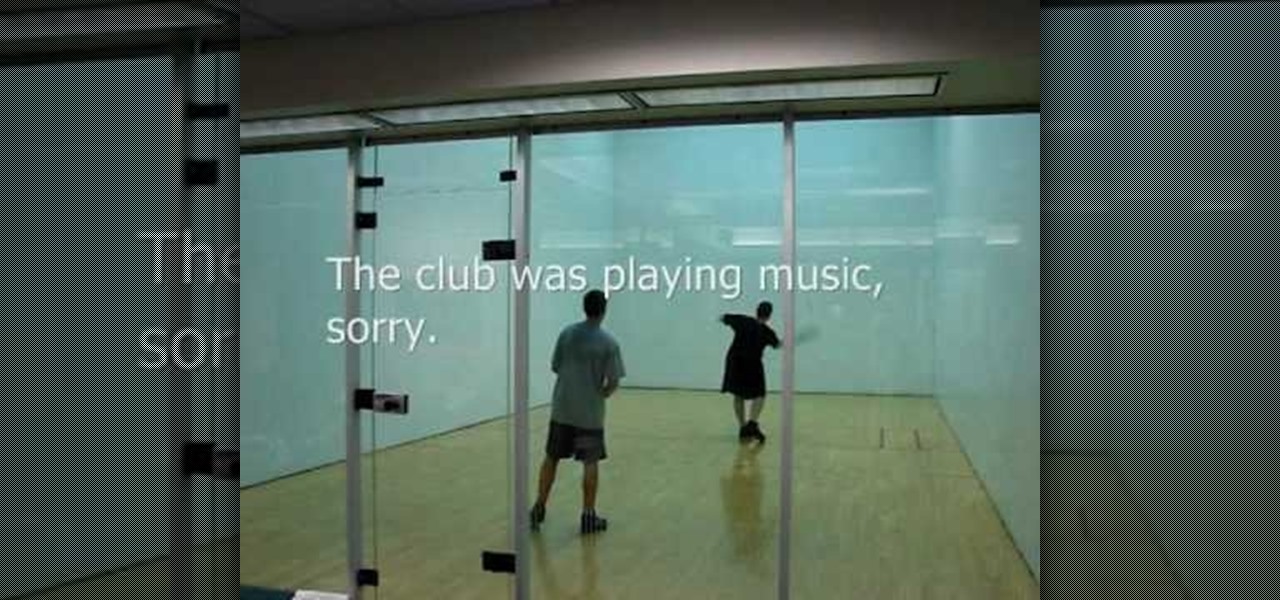
This video demonstrates how to play the deadly wide angle pass in the racquetball. The video shows that one of the best kept secrets in racquetball is wide angle pass. It is similar to a cross court pass, but it hits the side wall on the fly around the dotted line. Then it "wraps" around behind your opponent and bounces twice before hitting the back wall. A scene of two players playing the racquetball and making the deadly wide angle pass is shown. The videos tells the wide angle pass is very...

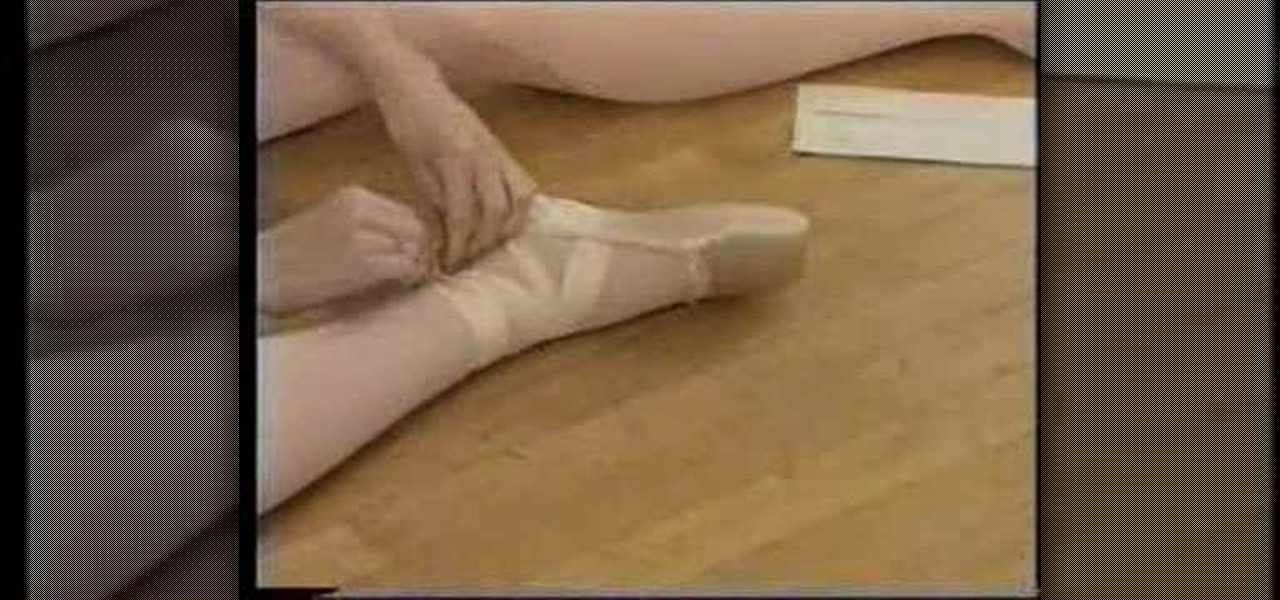
This video demonstrates how to properly tie ballet shoes before doing ballet. First, in addition to the ballet shoes, some paper towels will be needed for padding. Fold about three paper towels together until they form a rectangle approximately 3" by 4". This will be used to pad the toes. Now, pulling the show onto the foot, pull the strap over the top of the foot and place the folded paper towels around the toes and top of foot to pad. Pull the shoe snugly onto the foot. The side straps shou...

TVLessonDotCom teaches you how to draw a person's face from the front. Start with a basic oval shape. You can do this part in pencil and then erase it. Use a vertical cross line and a horizontal one. Add two more horizontal ones to break the face into sections: hairline, eyes, nose and mouth and then chin. The eyes are small oval shapes. You can also create a small circle in the middle and then eyebrows. Draw the nose next and then add the mouth. Everything must be in proportion, so the verti...


