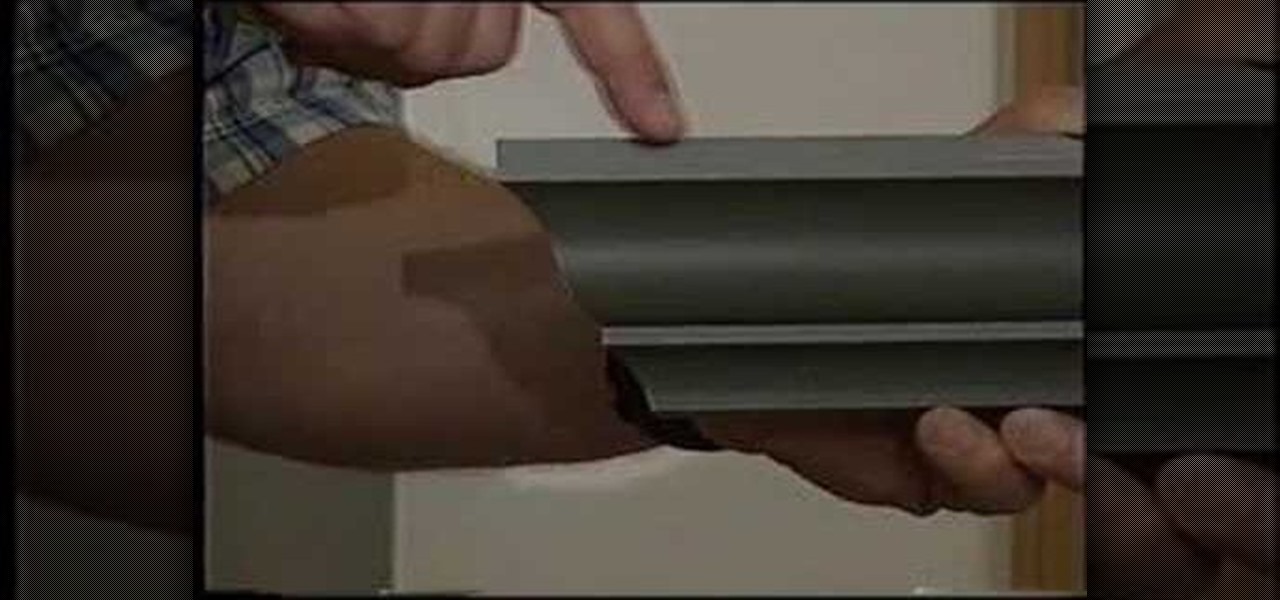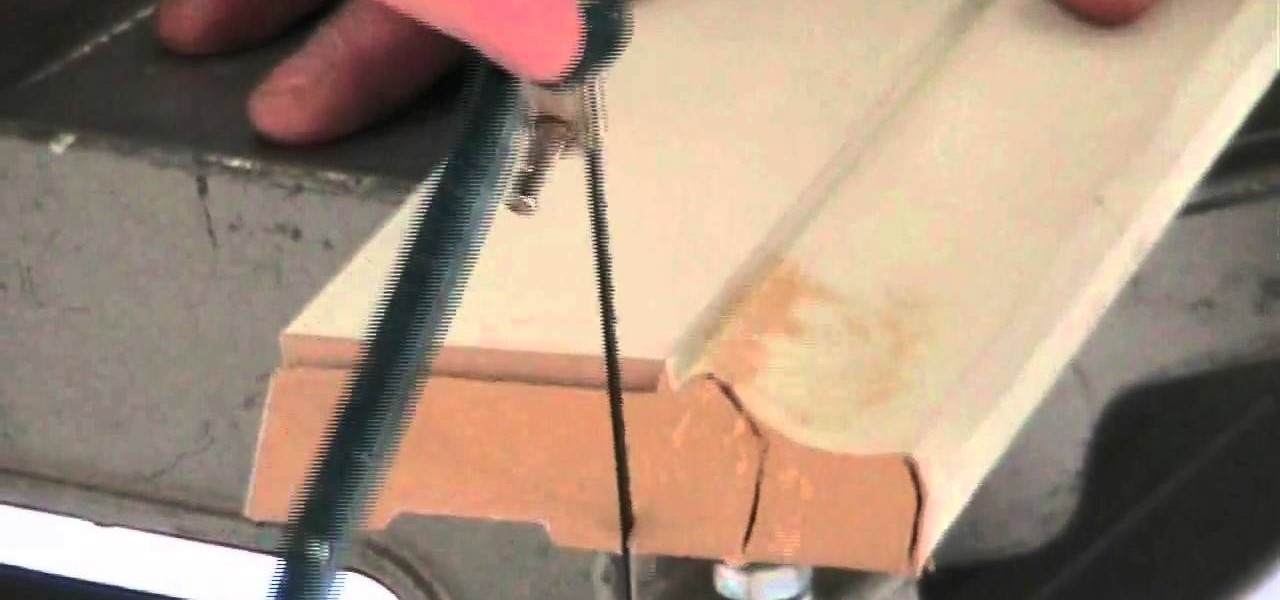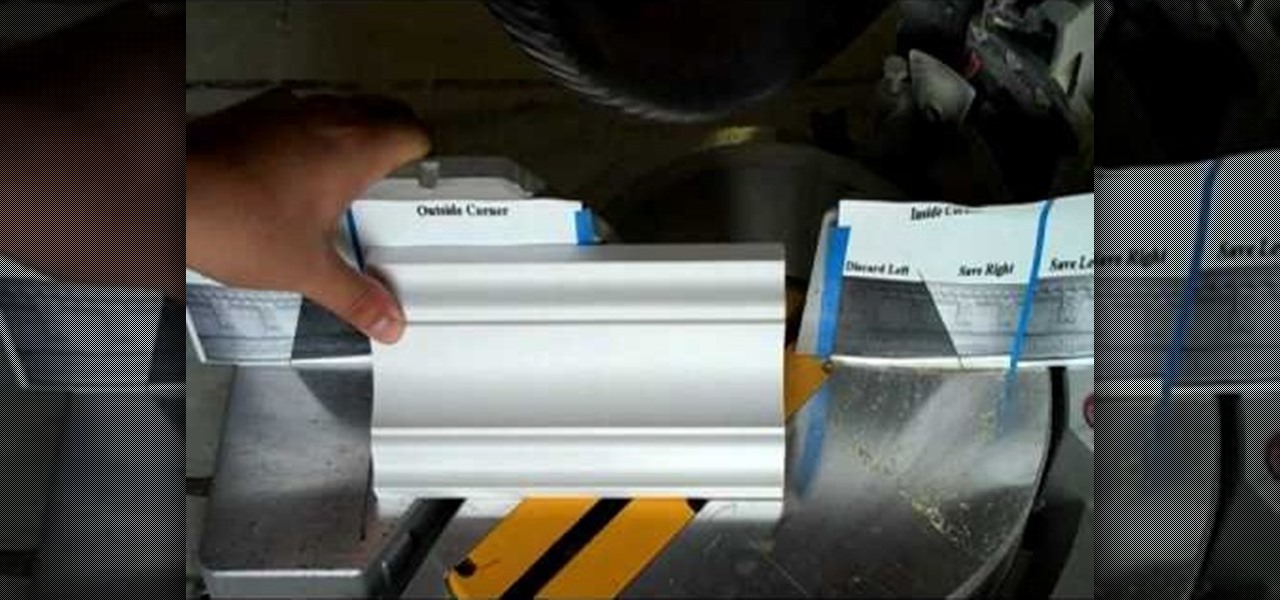
This video, from Superior Building Supplies, demonstrates the proper technique for cutting the inside corners of crown molding. The presenter suggests downloading several diagrams from the Superior Building Supplies website. These diagrams show the correct position of the miter for several different cuts. When using a miter saw think of the fence as the ceiling and the table as the wall. Cuts for inside corners will always be made using 45 degree angles on your miter saw. Using these techniqu...
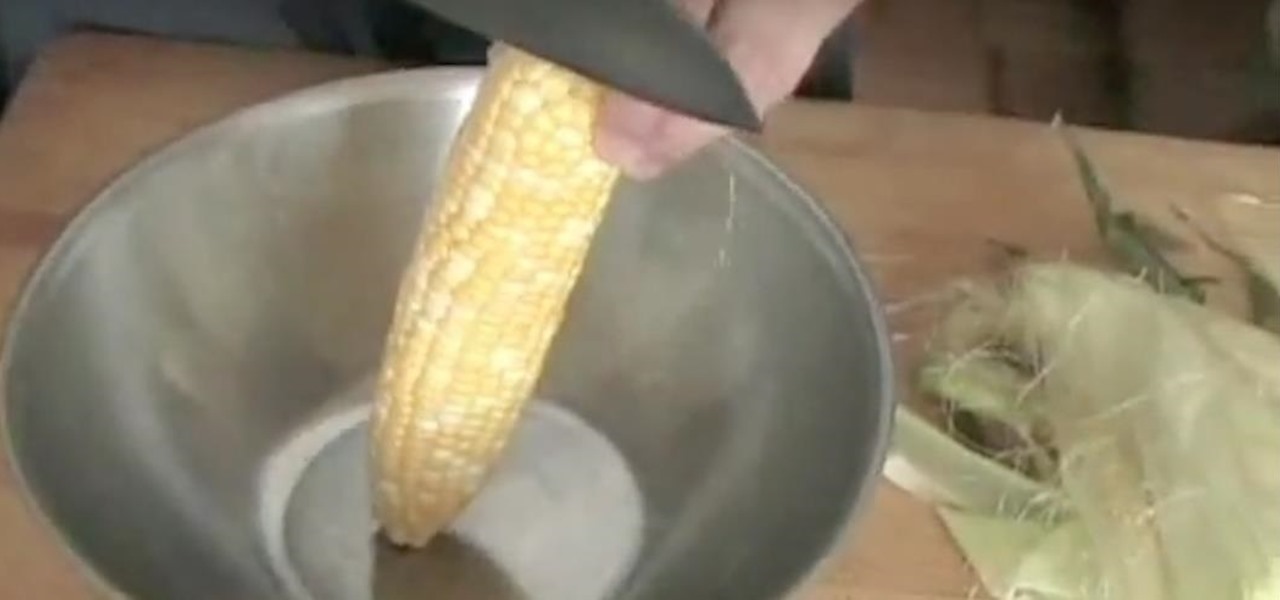
Now that fall has officially begun, corn is soon to be in season and will be abundant and ripe at most supermarkets and local farmers markets. So if you're looking forward to making corn chowder or tossing some in a slad, simplify the task by checking out this knife skills video.

Here, Foodie tips instructs how to cut corn off the cob! First, get your corn on the cob. You will want to place the corn firmly, standing up straight, on your cutting board. Take your knife or cutting tool, place it on the edge and top of the cob and ride it down softly. You'll want to softly and slowly drag the knife down the cob so the corn does not pop everywhere. Hold the corn firmly to help the cob be stable. You can also lay a towel down to further stabilize the cob. Continue doing thi...
Fresh corn on the cob is so good but many people can't enjoy it on the cobb for one reason or another. Maybe you have dentures, and it is just too difficult. Learn how to cut the corn off the cobb so everyone can enjoy the flavor.
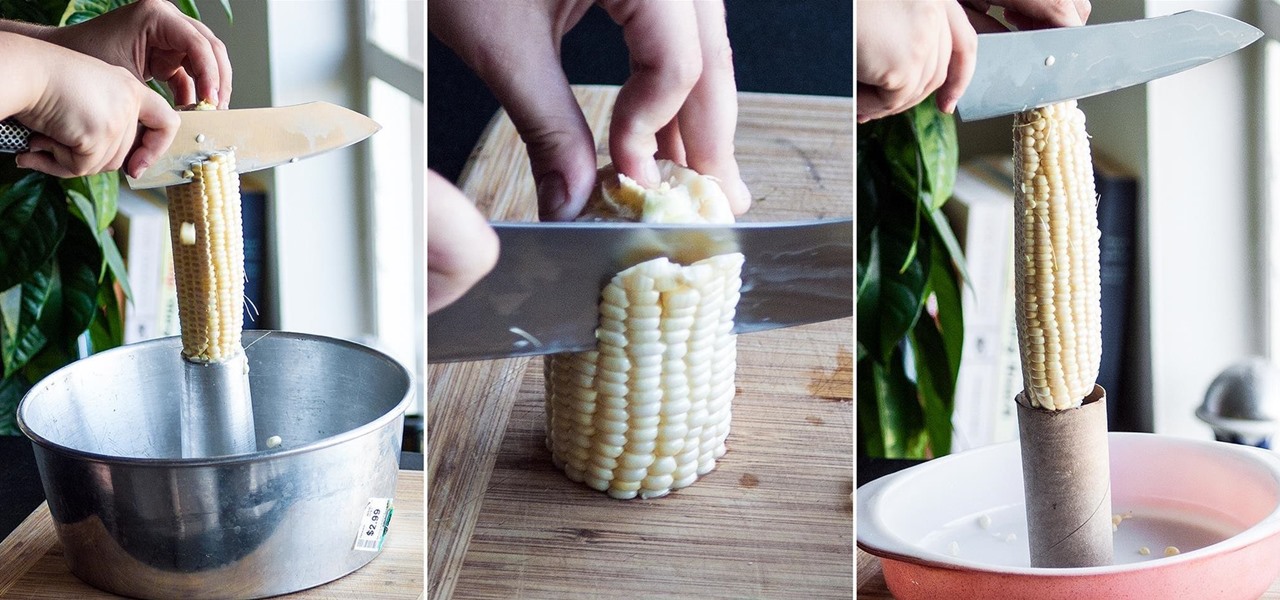
We've all been there: we're enjoying a nice cob of corn, happily covering our face in butter and salt, when suddenly we realize that there's a thread of corn silk stuck in our teeth. We try to dislodge it with our tongue; no luck. We pick around with our fingers; still no luck. That silk is staying there until you return home to your toothbrush and dental floss. And if you think that corn silk is bad for most people, try having braces!
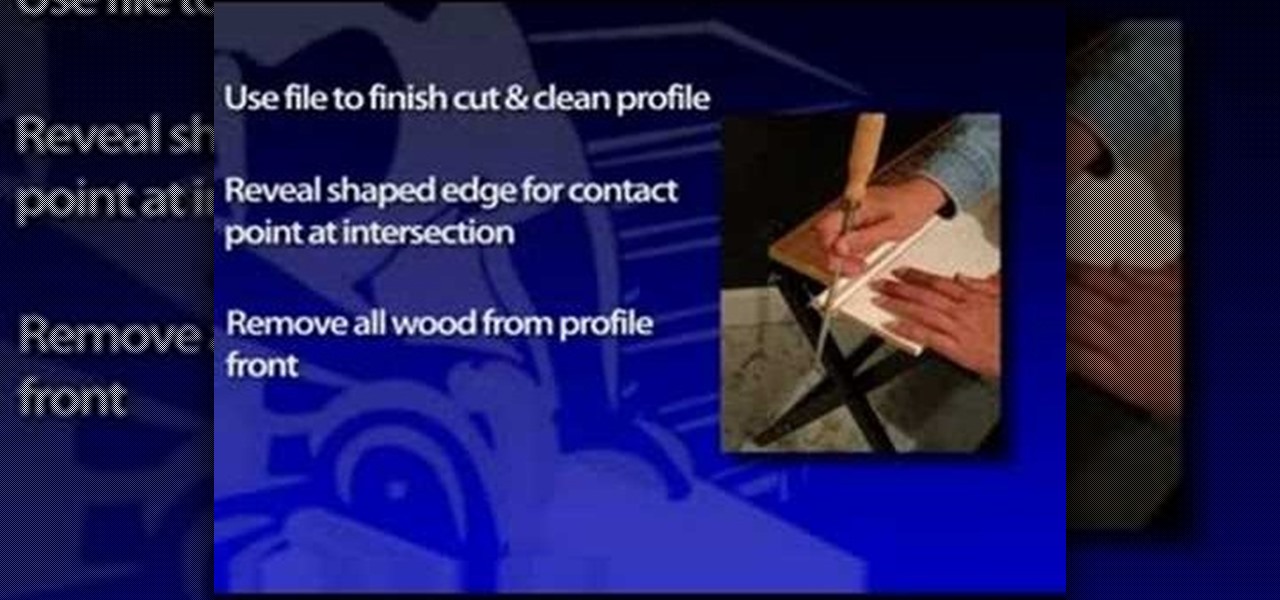
When installing baseboards, crown molding ("moulding") and chair rails, it's tempting to cut 45-degree miters at the corners and hope for a sure fit. The problem is that most walls aren't square. Joining two 45-cut molding pieces may give you a square joint, but a square joint may not work for your crazy corner. In fact, it seems like every wall is just a “hair” out of square. This problem could be due to a framing error or a buildup of drywall compound in the corner. But even a perfect miter...

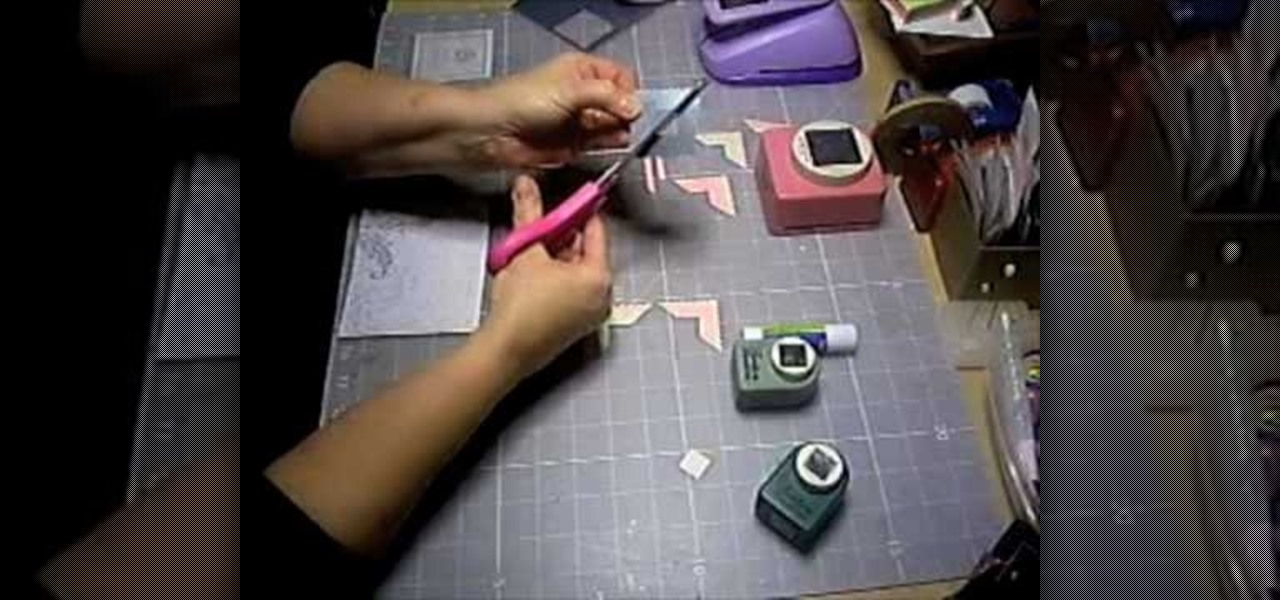
This video shows Joanne McKenzie working at her table talking about making her oversized/giant photo corners for her paper cutting projects. Using an assortment of different sized and colored punches, she explains how to use the punches, saying the smaller one is the better one to start with. She talks about using the next size up and then centering the paper to be cut from corner to corner and layering the different cut out corners for decoration. Very clear and professional.

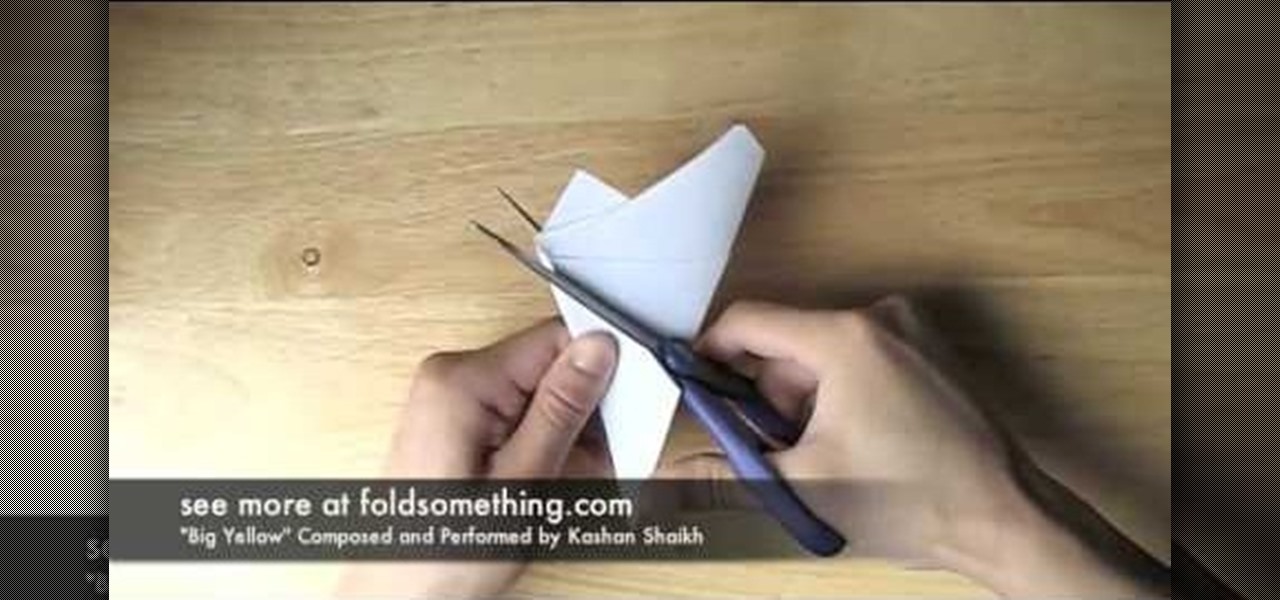
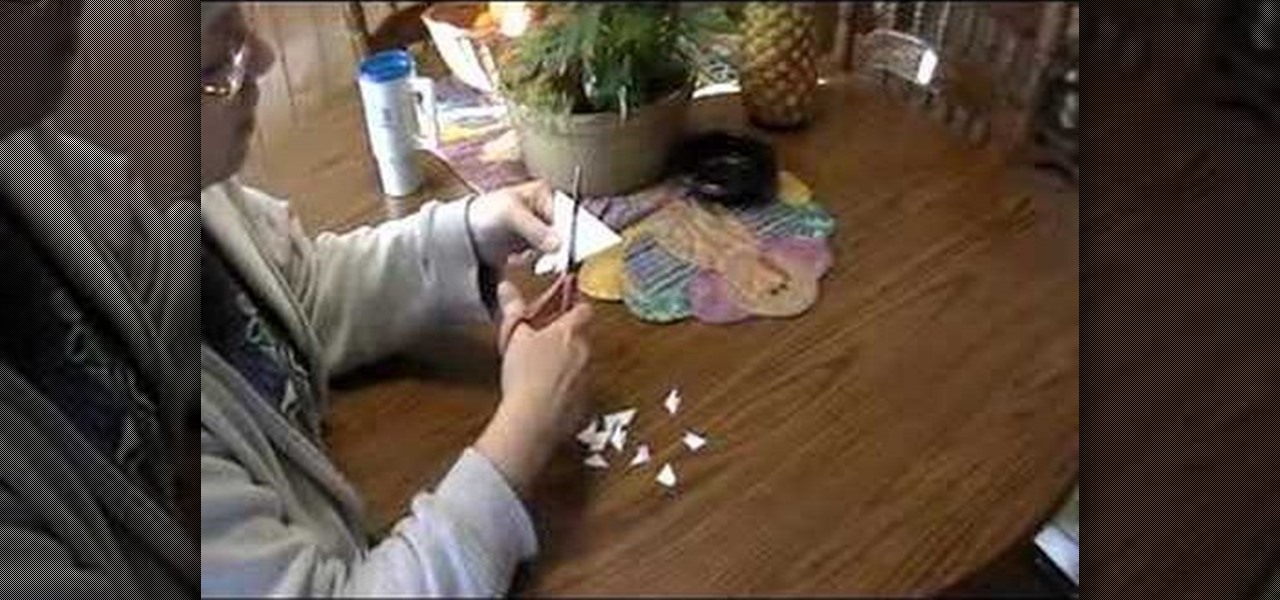
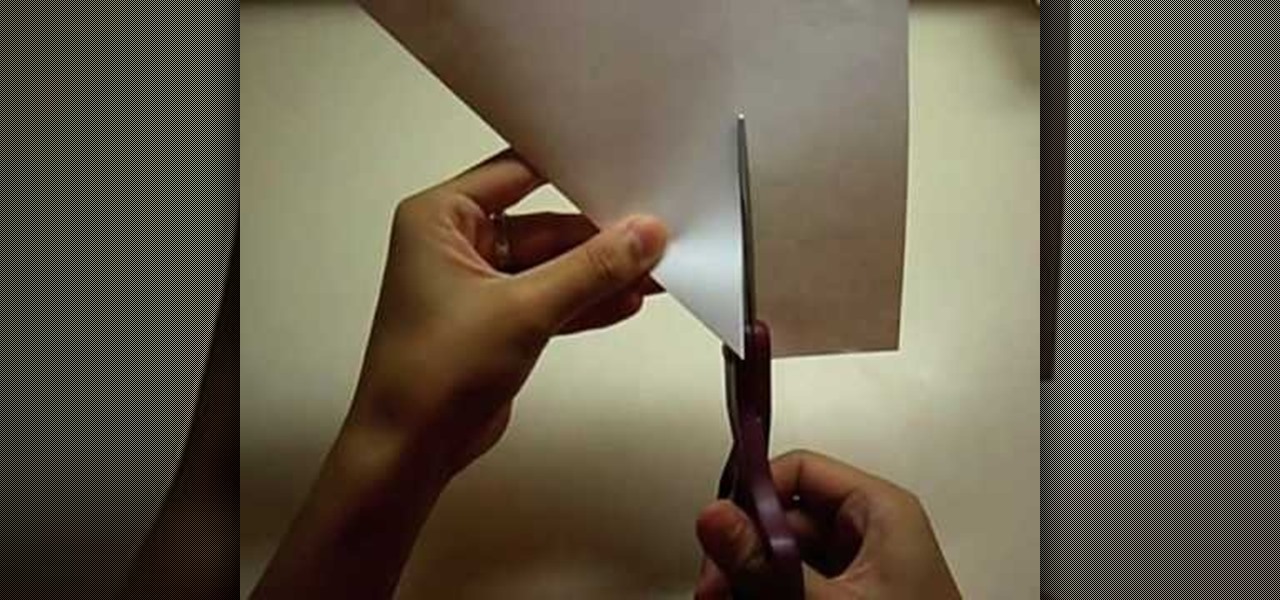
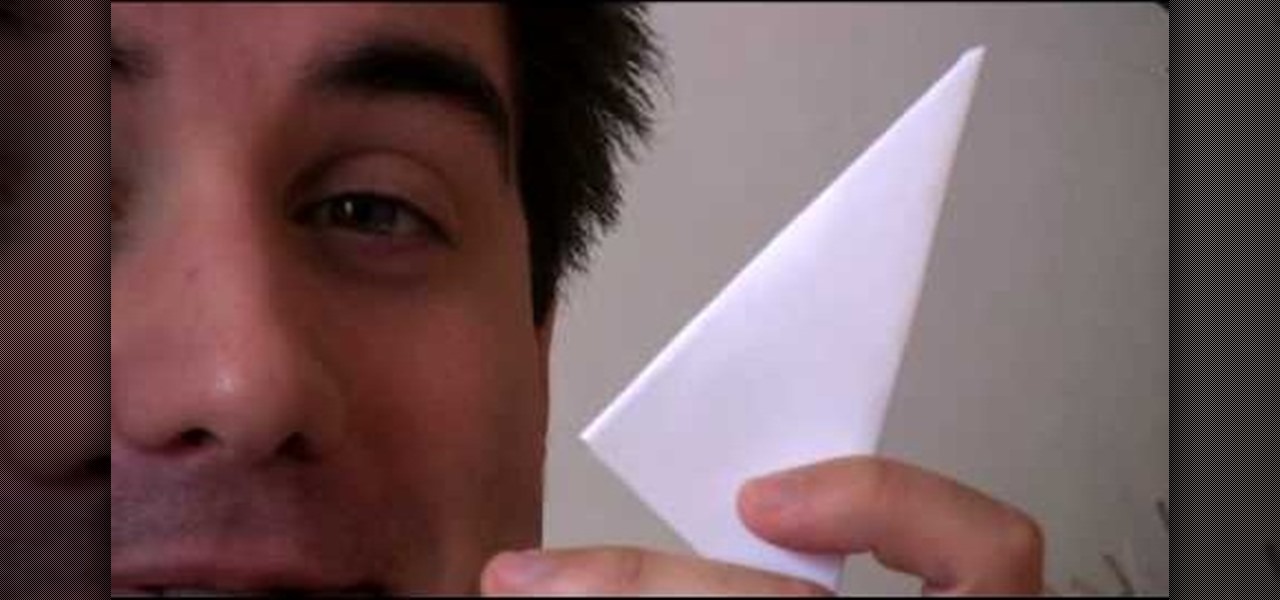
In this tutorial, we learn how to make a paper snowflake. First, take a copy paper and fold a quarter of it over to the other edge. Next, cut off the excess paper so you have a triangle shape. Now, fold a corner to the next corner, and repeat so you have another triangle. You can now cut corners off so they are even and you have a rounded snowflake. Then, cut a triangle starting from your edge points that you just created. Now cut slits a quarter inch apart into the middle of the paper all th...

To make a paper gift box is one of the simplest projects that you can create on your own. In order to do this you need some materials: a Square of Paper, a Pencil, a Ruler & a Folding Bone. Take any size square of paper and draw two lines diagonally from corner to corner. This will form a large X, marking the center of the square. In turn, fold each corner into the center of the square. Firmly crease the fold. Fold the first corner to the line of the first fold made on the opposite side. Repe...

In this tutorial, we learn how to make a paper Christmas tree. Start out with a square piece of paper, then fold corner to corner and open it, then fold it on the opposite corners and open it. Now, turn it over and fold it side to side on both sides. Now, the paper will automatically fold into it's shape because of the creases you made. Now take each of the four flaps and flatten them out with your finger. After this, cut your trunk out of your tree at the bottom, then cut slits on the side o...

Before you paint the walls it is important to paint the trim first. A painting pad is a very useful tool for painting along the edge where the ceiling meets the wall. It has guide wheels on it and will roll right along as you paint the trim. Next you will want to paint your woodwork including your baseboards and trim. When you go to roll the wall first take some painters tape and run it along the top of the baseboard to keep the specks that fly off the roller from getting on the baseboards. U...

In this Arts & Crafts video tutorial you will learn how to create a box to hold a mini album or small cards. Take a shiny card stock 10.5 x 6 inches. On the 6" side, score at .5" and 1" on both sides. On the longer side, score at 3, 3.5, 7.5 and 8 inches. Cut out the corners on the flap side of the card as shown in the video. Do a step cut on the other side of the card as in the video. Round the four corners with a corner rounder. You can do some stamping now if you want or you can also glue ...

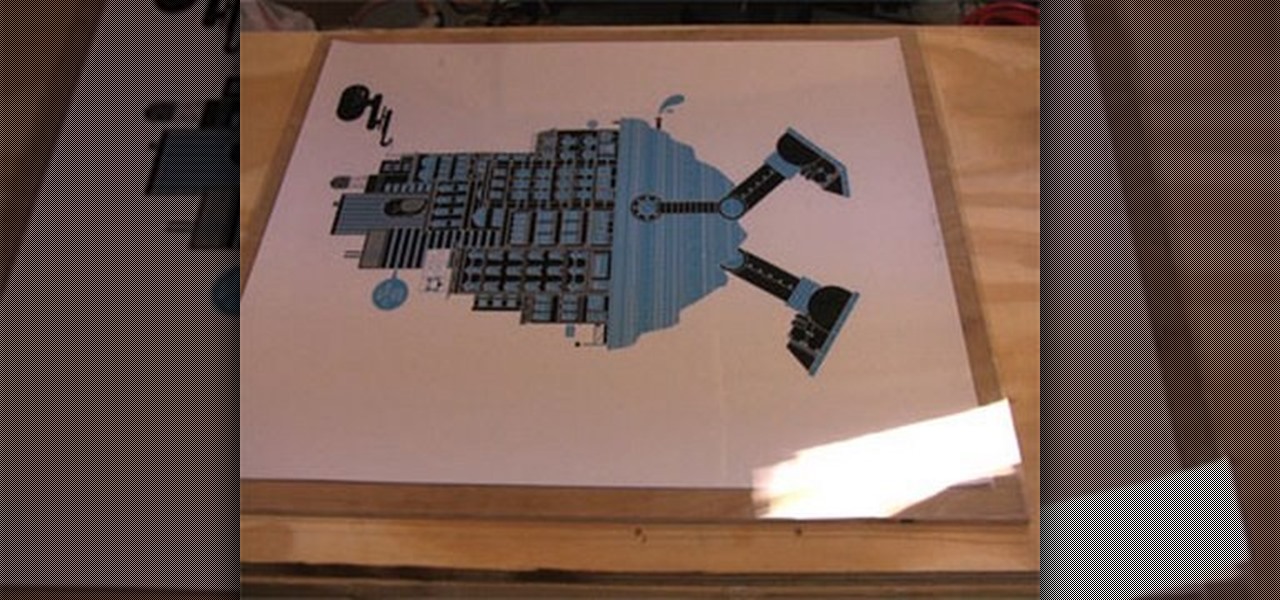
Framing and matting your favorite posters or art can get expensive! In this Curbly video tutorial, you'll learn how to make a quick and inexpensive frame. All you need are some basic supplies available at almost any arts and crafts supply store including: A sheet of plywood, a plexiglass cut to the size of the plywood, archival paper cut to the size of the plywood, frameless corner clips, and a bracket.

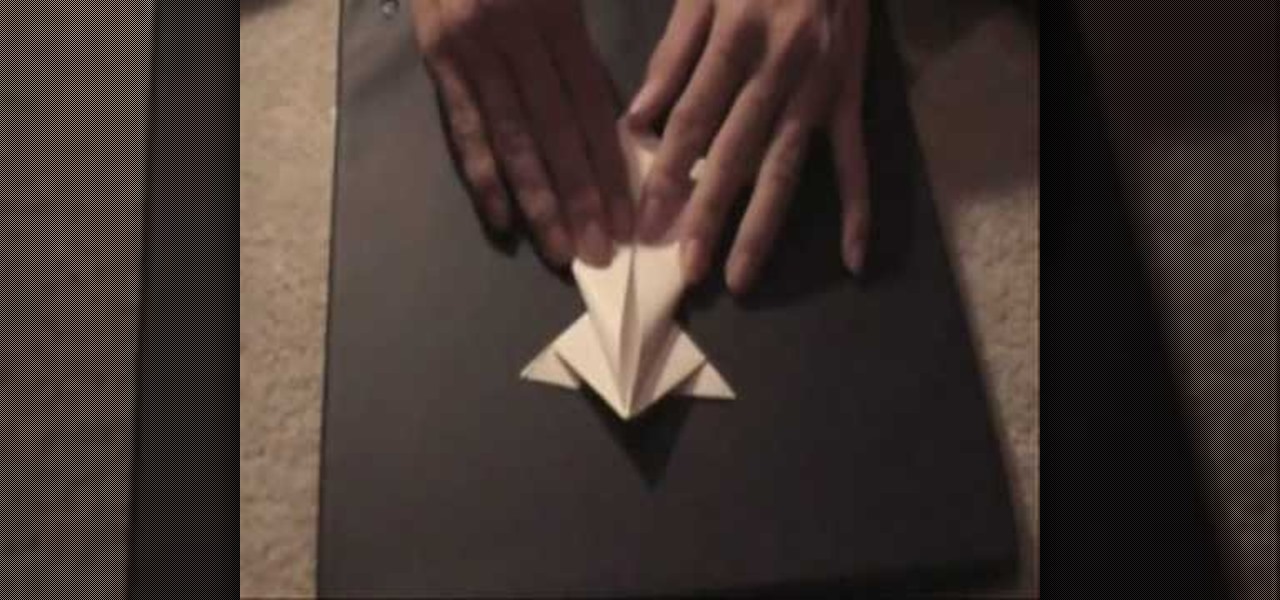
Kevin demonstrates how to make a paper frog. Take a regular sheet of construction paper. Fold the outer ends towards the center forming a triangle. Fold a crease at the base of the triangle and cut it out. Open the folds and you can observe two creases. Create two X-shaped creases by bending the opposite corners. Hold the triangles on the side of the X and squash it down such that the other two triangles meet. Repeat the process on the other side. This forms a square with a diagonal cut conta...

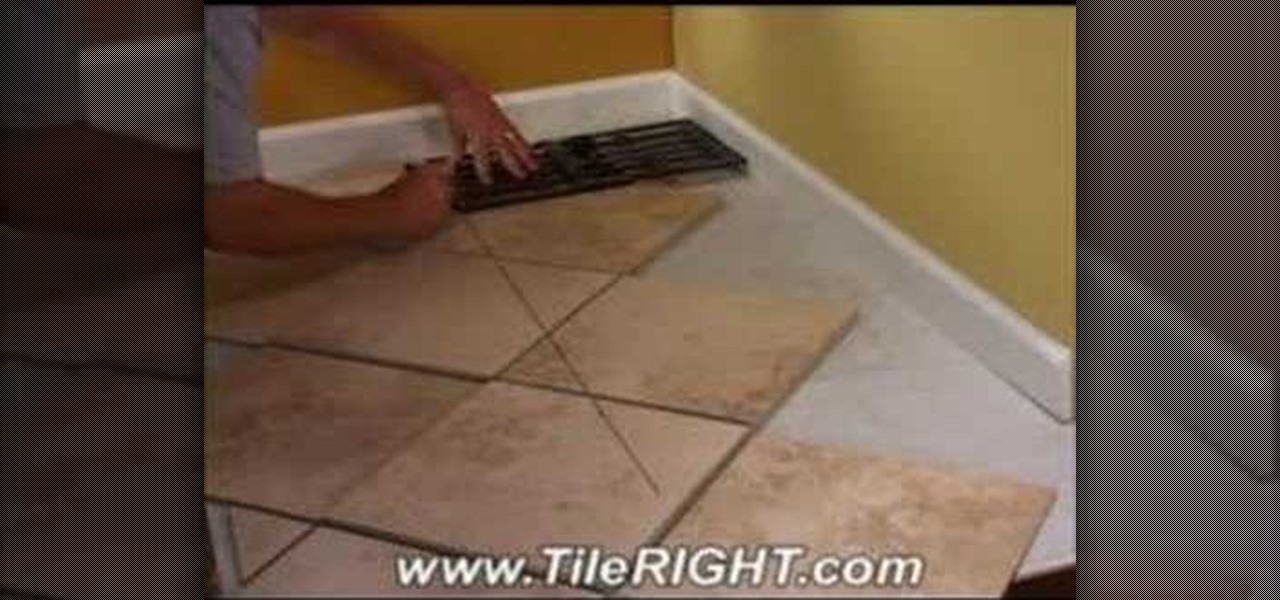
Tile RIGHT demonstrates how to tile a diagonally cut tile. First set the Measure Right Pro to the appropriate setting, extending it from corner to corner along your tile. Account for your grout line and the space up against the wall. Then, lock the tool. Next, place the tiles you're going to use on top of your set tiles. Slide the Measure Right Pro along the wall and mark the tiles. Place the sections in the appropriate place. Then, cut your tiles. Lay the tiles where you've previously marked...

This is a video tutorial in the Arts & Crafts category where you are going to learn how to fold a five-point paper barn star. You will need a square sheet of paper. Fold it in half to make a rectangle. Take the right folded corner and fold it up to the left edge of the rectangle. Place the corner about 1/3 from the top edge and fold the sheet. Next take the left corner and fold it over the edge you just folded. Finally take the flap on the right and fold it over to the opposite side. Now cut ...

It's no secret, artists are broke. That's why they're referred to as "starving artists". One day these artists will achieve unimaginable success, but for most of their lives, they'll be struggling to survive… struggling to keep their vision alive. That's why they need to work cheap. And that's why they stretch their own canvases, not buy pre-made ones or have the hobby shop do it. If you’re a starving artist, save a few bucks, hone your carpentry skills, and stretch your own canvas.

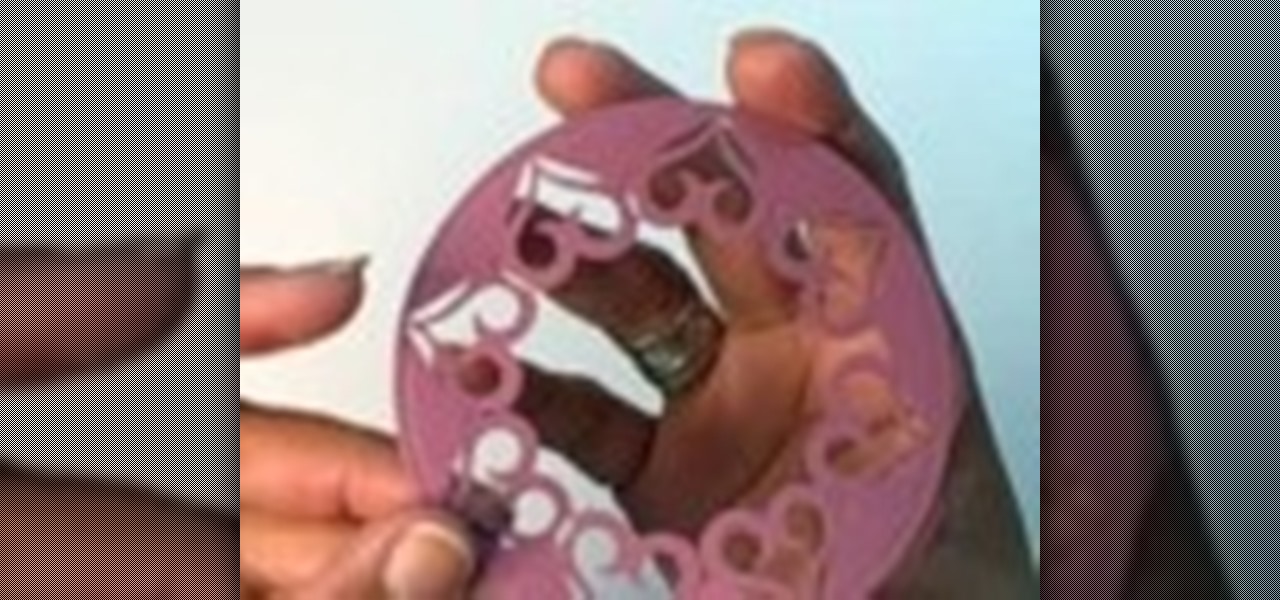
This scrapbooking video demonstrates how to decorate a paper circle frame using EK Success Corner Punches. You will need x-acto knives to make specific cuts. You can use store bought paper cutouts or make your own using scraps of recycled paper. Use embossing ink, embossing powder and a heat gun to add extra texture to you paper picture frame.

Cutting crown molding is simple with these tips from Tim Carter. Your crown molding will easily fit any inside or outside corner if you follow Tim's tips. Simple crown molding will be even easier and complex crown molding will be doable.

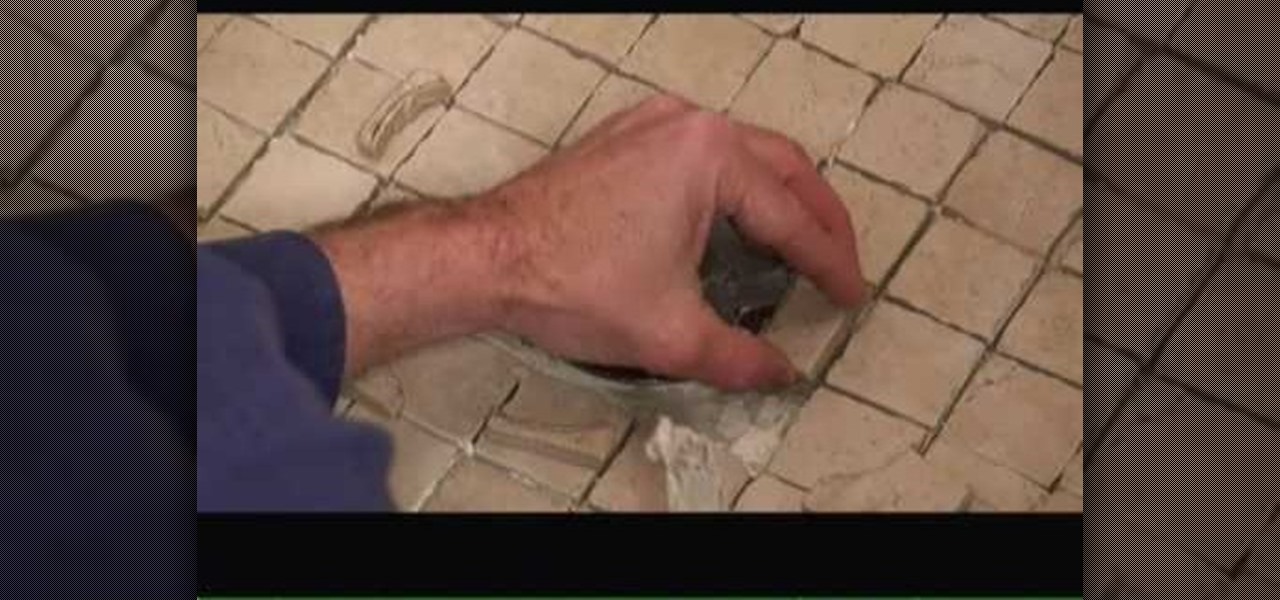
In this tutorial, we learn how to tile a shower floor and curb in your own bathroom. To start, you will need to apply the foundation of your tile with a smoothing tool from corner to corner of each of the corners. After the mortar is lied, grab your tile and press it down firmly onto the mortar. Use your hands to press down on all the corners of the tile, then place another one next to it and continue until you reach the end of the shower. Use a straight edge to cut tiles where the are too lo...

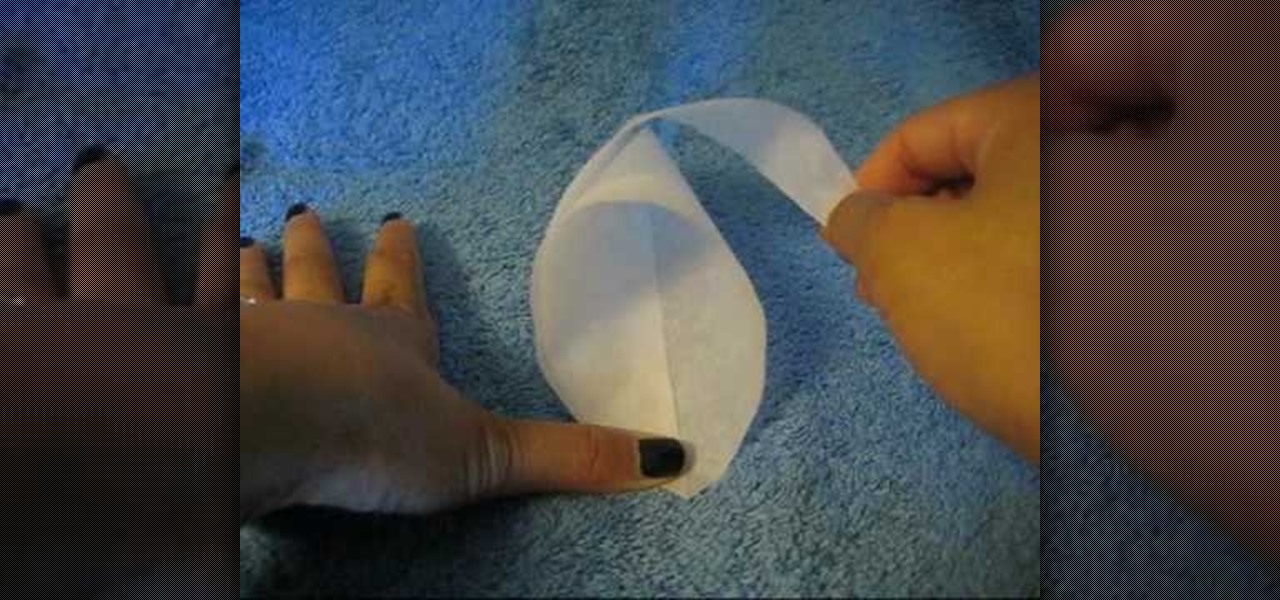
Want to make parchment cones for cake decoration? The secrets of making parchment cones for cake decoration are given in simple steps. First cut a parchment paper into an isosceles triangle of any size you wish. Now roll one corner inwards to the bottom end, curl it under and hold it. Now roll the other end over it and curl it under to form a cone, all the three tips should meet. Now fold the end with a sharp point inside the cone twice to secure it. If you are going to use it as decorating t...

Tim Carter breaks down the steps to creating 4-cut crown molding corners. Tim's simple explanation truly shows how simple the corners are to make.

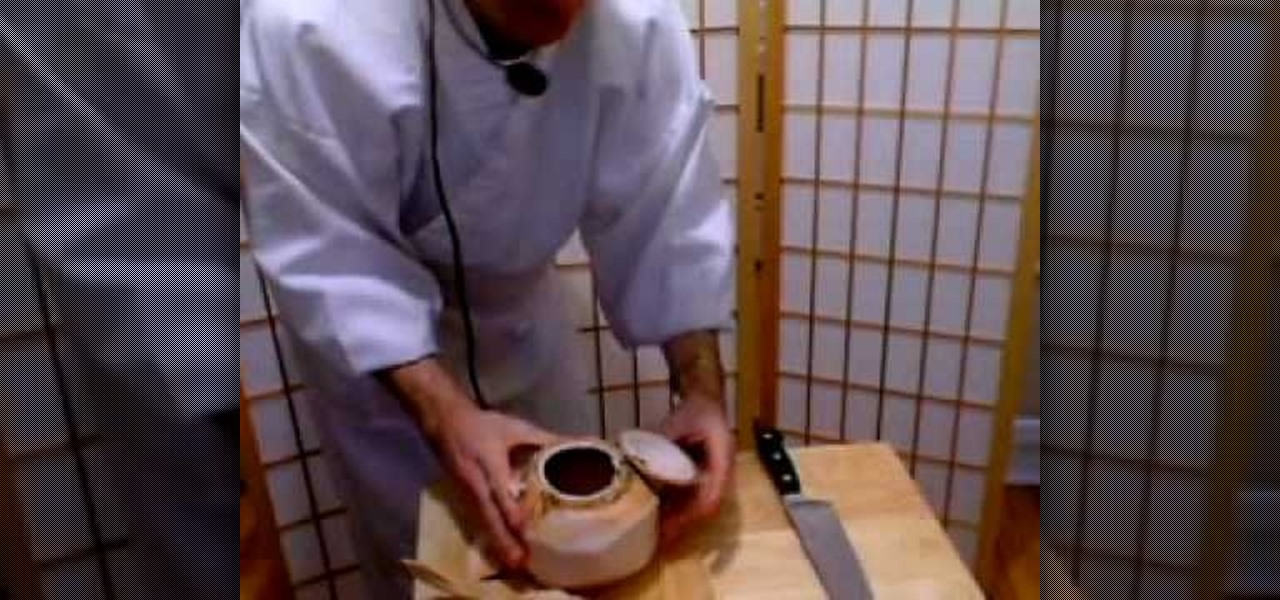
In this tutorial, we learn how to open a fresh young coconut. First, you want to grab a sharp and large knife, then go around the coconut cutting the husk off. After you have done this, you should be down to the nut of the coconut. Some areas of the husk will be thicker than the others. Next, use the corner of the knife to knock the top corner of the coconut. After this, take the knife and stick it into the hole that you made. Wedge it in there slowly, then turn the knife towards you and cut ...

In this tutorial, we learn how to fold a Christmas tree. First, start with a square paper and fold it in half, then open it and fold it corner to corner. Open the paper again, the turn it over and fold it side to side. Open it once more and fold again side to side. The paper will not automatically fall into the shaped creases and you will have four flaps. Take your finger inside and flatten all the flaps. You should have four flaps on each side and then you can cut the bottom to form a trunk ...

Cardcrazy09 teaches you how to create a popsicle birthday card using Cricut. You'll need the Doodlecharms cartridge for this. Start with a white piece of card stock, then apply an orange piece on top, slightly smaller than the one below. On top of that add a smaller piece of card stock with circles on it. This is the base for the card, you are ready to move on to the next pieces. You cut a small piece of orange card stock and then on top of that glue a smaller piece with the text message. Glu...

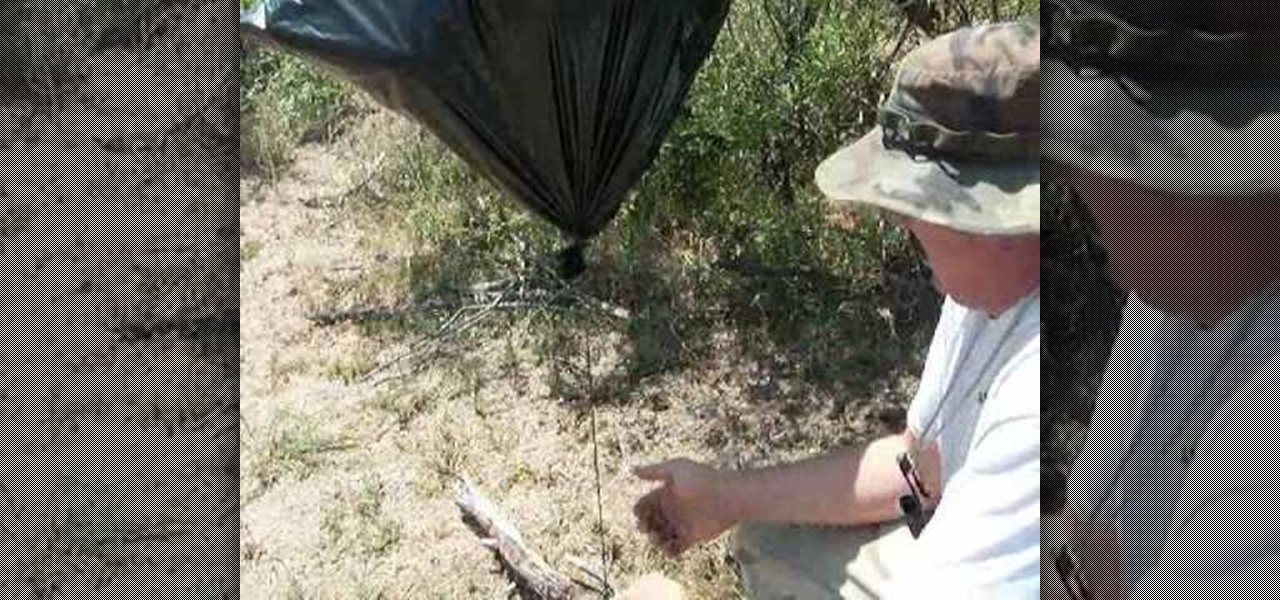
This video is about how to supplement water in the desert using a trash bag. You find a tree that is edible and not poisonous and you open the trash bag and place it over a few of the branches with leaves and seal the opening off. Then you take a little cord and tie off the corner of the bag and find something heavy to weigh the branch down. You want to make sure the corner of the bag is down so that all of the water will run down to that corner. When you feel some water in the bag you can cu...

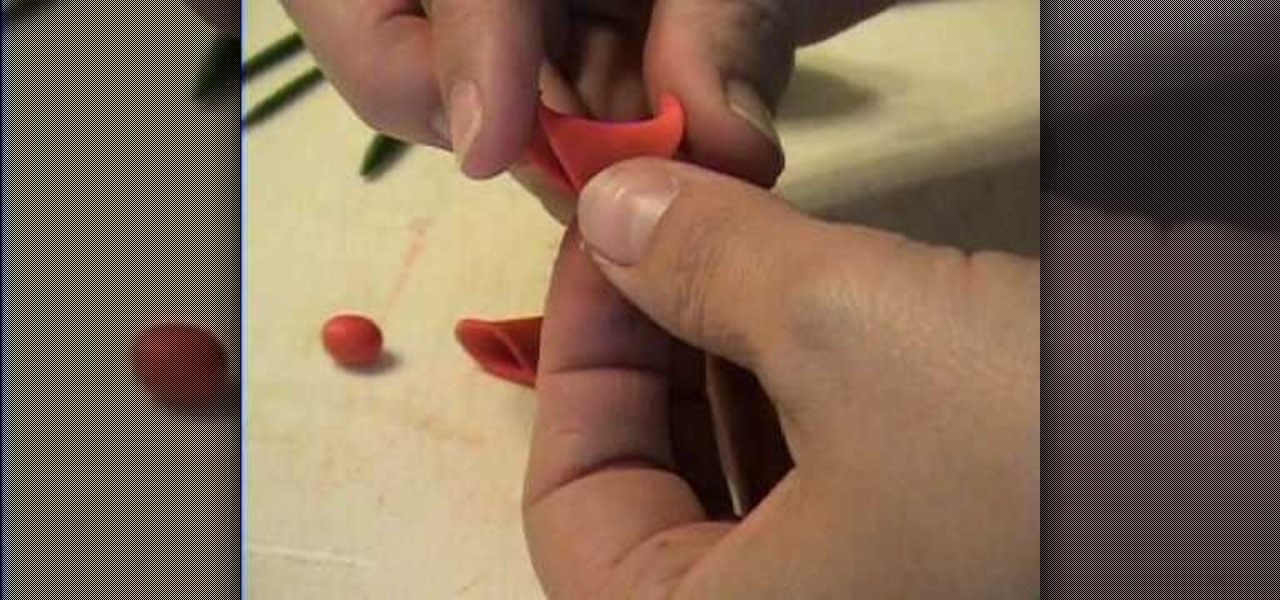
Take the clay, roll it out to make a pretty thin sheet. Take the square cutter and cut out two pieces from the clay sheet. Meet opposite corners of each square to form a triangular form but squishing only in the middle. Bend slightly outwards the unsquished corners of each triangle for decorative purposes. Place the triangles facing each other with the squished corner overlapping, pressing and joining them in one single piece. Take another little piece of clay and make a small ball with it. P...

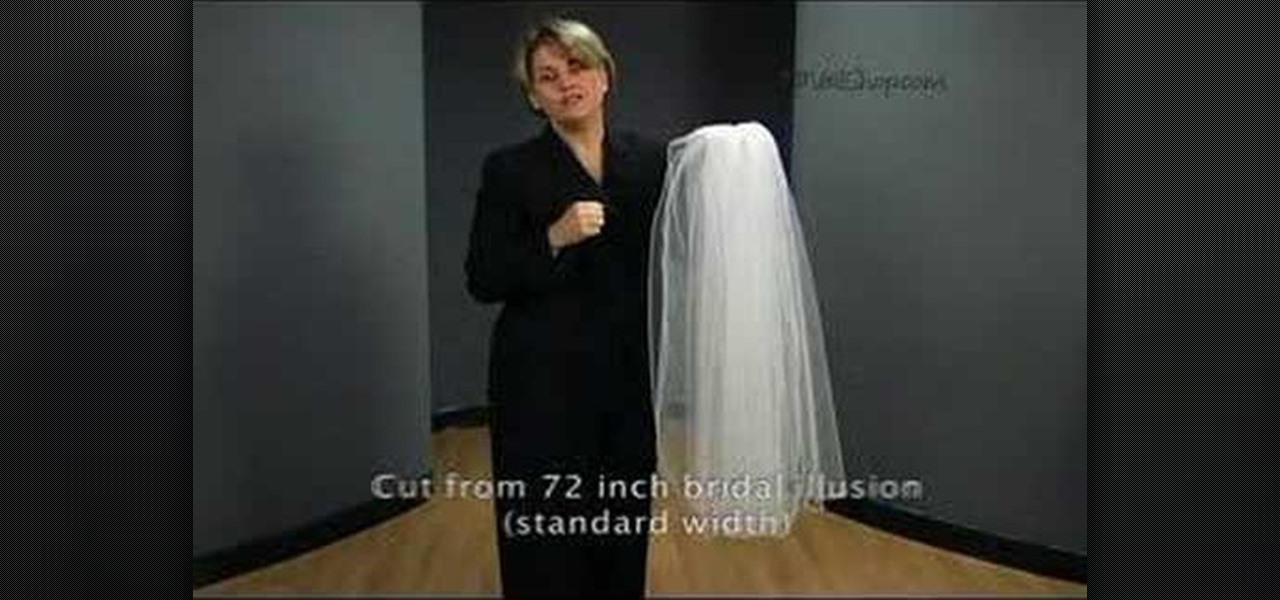
In this video tutorial, viewers learn how to cut an oval style wedding veil. The oval cut veils are exactly like the standard cut, except the sides are straight and the corners are curved. Only begin cutting 72 inches from the bridal illusion. Do not cut the veil any less than that. The standard width is 72 inches. The oval cut veil creates a more angular/squared off look. The oval cut style is only available in 2 layer styles. This video will benefit those female viewers who are getting marr...

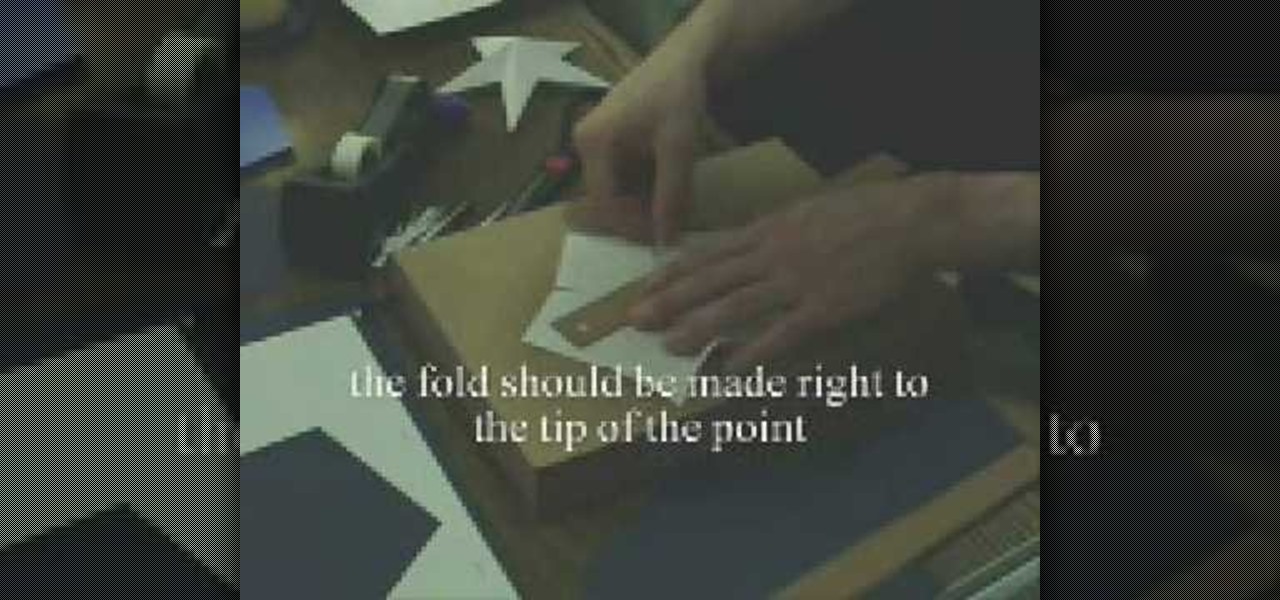
This video shows how to make a 3D five point paper star. First cut a pentagon using a sharp flat blade and a ruler. Folding halfway between each two corners to the opposite corner. These folds are the points of the star. Make a mark half-way between the edge of the paper and the center point created by the folds. Using the ruler and X-acto knife, cut straight along the fold from the mark to the edge. Cut two small triangles off of each side 1/4" up from the middle of the edge, cut a line stra...

Tim Carter, of Ask the Builder, demonstrates a few easy tips to make perfect cuts on wood crown molding, especially in the corners of a room. You have to gave your house looking beautiful, don't you?

Video: . Installing baseboard / skirting board: How to cut and install skirting boards / baseboards for a perfect internal corner. Where baseboards meet at an inside / internal corner, a coped joint is used.

First, take a matchbox; cut a striker off the matchbox; attach a spring to a cut off match stick and shove that through a hole in the striker you just cut off. Then, you take the matchbox drawer, cut a hole in the corner, and stick the striker with the spring stick into the matchbox drawer so when you pull a match out of the box, the match will light.

Here is an educational video for ART (Advanced Robotic Technology) Plasma customers. The HDP Plasma SX Profile Cutter is designed for heavy duty manufacturing environments where power, precision, speed, quality low cost, productivity, and durability are demanded by business owners. See in these sixteen videos how it works, from the inside out, and another video on what it actually is.

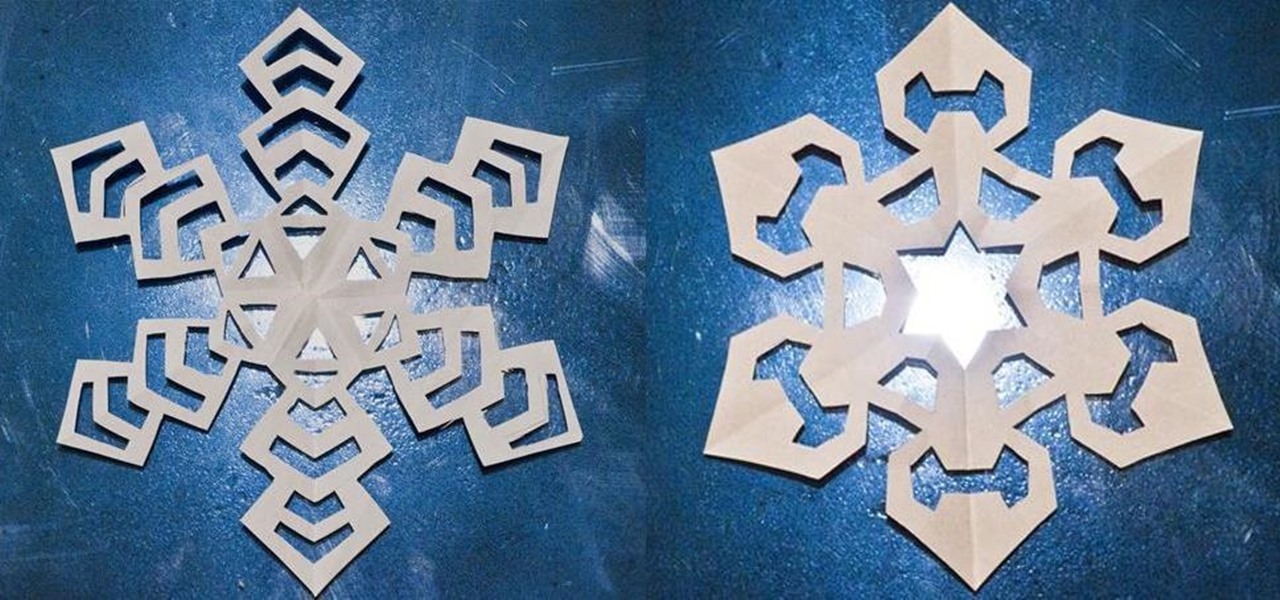
We've all made them. I remember making hundreds of paper snowflakes when I was in elementary school. You take a piece of paper and fold it in half, then fold it in half again. You now have a piece that is one fourth the size of the original. Now you fold it in half diagonally. You then cut slices out of the edges of the paper, and unfold to find that you have created a snowflake. The resulting snowflake has four lines of symmetry and looks something like this: If you fold it in half diagonall...

This tutorial teaches you how to create a blue and gold cut crease makeup look. Use MAC's uppity fluid base on the lid and inner corner. For the lid, use Shock Tart and put it all over. For the inner corners use Obsessive Compulsive Cosmetics called Oric. Blend it into the lid color. Now take MAC's technical color in Auto Day Blue from the outer corner going through the crease. With a small smudge brush, use a dark blue color to cut the crease. Blend the blue out towards the eyebrow making it...

Tim Carter shows you how to install the sink with these easy to follow tips. Watch this video for best results. Position the new sink upside down on the countertop and accurately trace the outline of the sink. This provides a guideline for the real mark for the cut-out. The cutout will normally be about 3/16" inside the original mark. This allows for the lip of the sink to overhang the counter top. Check the sink installation directions for the proper measurement. Don't make square corners wh...

In this video tutorial, viewers learn how to make paper cube. Begin by folding the paper diagonally in half and cut the bottom bottom edge off to make a squared paper. Open the paper up and fold diagonally on the other side. Open it up and pinch in the two upper corners. Align the two corners together and fold the inside to flatten it out. Do the same on the other side. Grab a corner and fold it up to the center. Do the same for the rest of the corners. Grab a flap and fold it to the center a...

Evil Penguin Master demonstrates how to make a paper spinner. First fold a regular sheet of paper in half, defining the lines well. Then, cut the paper along the crease with scissors or tear it with your hands. Next, fold the halved paper again lengthwise. Then, fold down the corner. Flip the paper over and fold down the other corner so it forms a slanted rectangle. Repeat the technique with the other sheet. Lay the sheets on top of each other so they form an X or a star. Fold each triangle i...

Don't throw away that old keyboard! You can make a sweet wallet with the circuit sheets inside! Inspired by this Instructables project. Hack together your own cool wallet with this mod video.

A seasonal how-to for creating easy, perfect paper snowflakes. This is a fun Christmas craft this holiday season. To begin, start with a square sheet of paper. Fold the sheet corner to corner. Fold again to create a new triangle. Cut like crazy! For all sorts of patterns and ideas check out this accompanying article:


