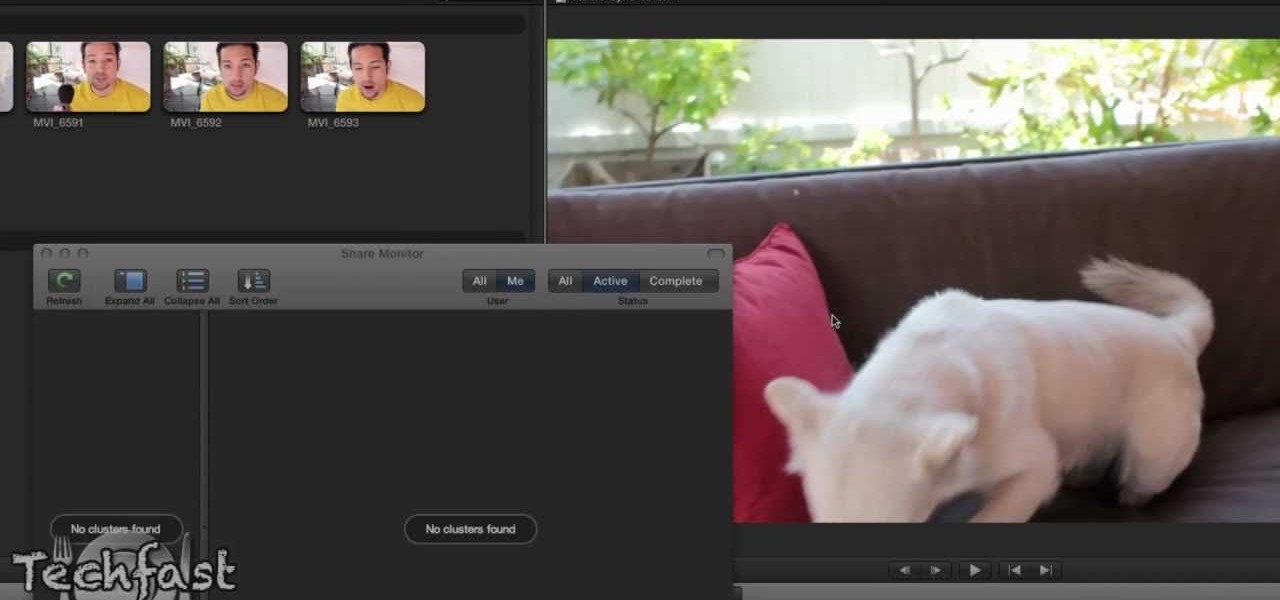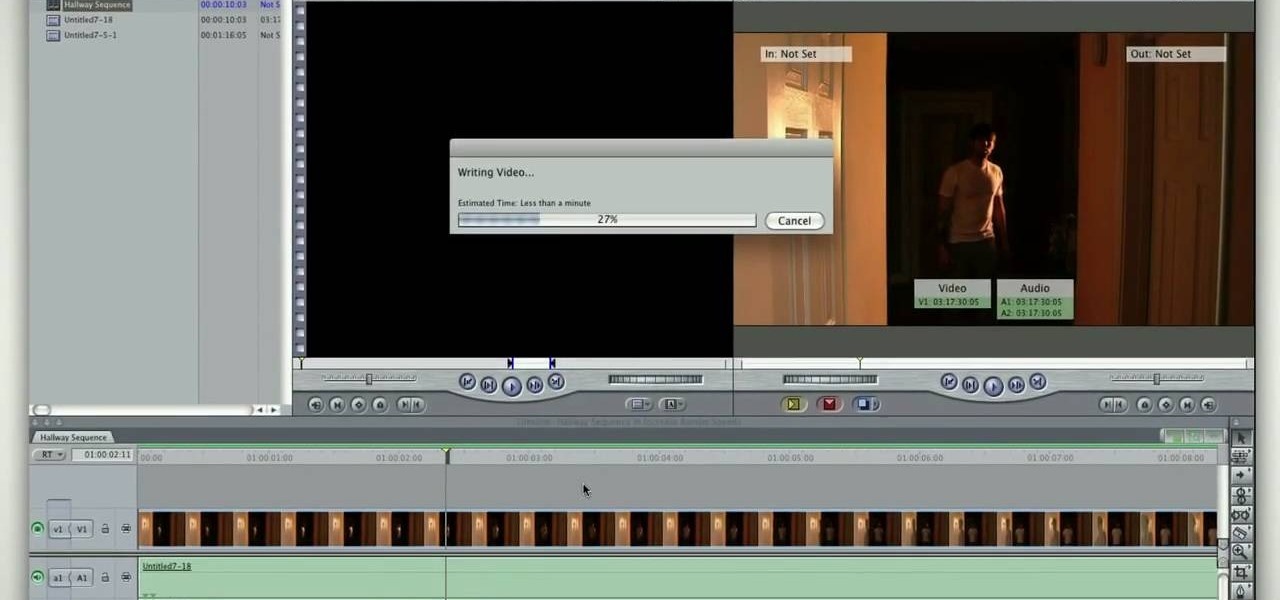
Learn how to write your movie to tape or store it as a digital file using Apple's Final Cut Express in order to share it with others. Using this process, you can play your movie on a VCR, website, iTunes, iPod, DVD, or any other device or format.
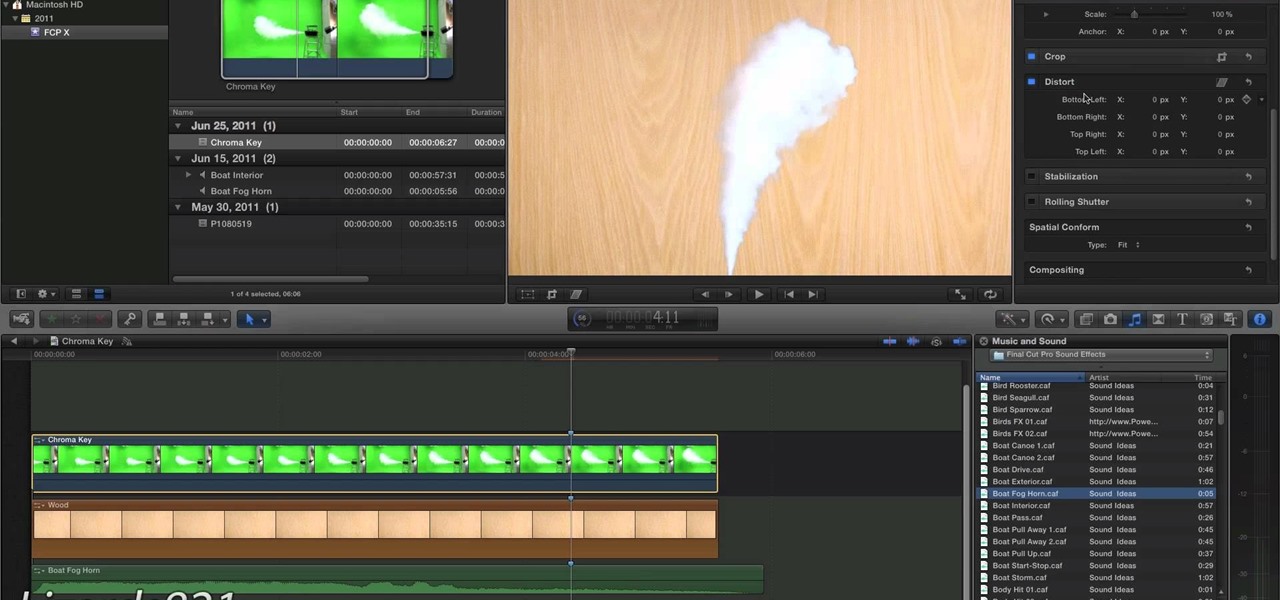
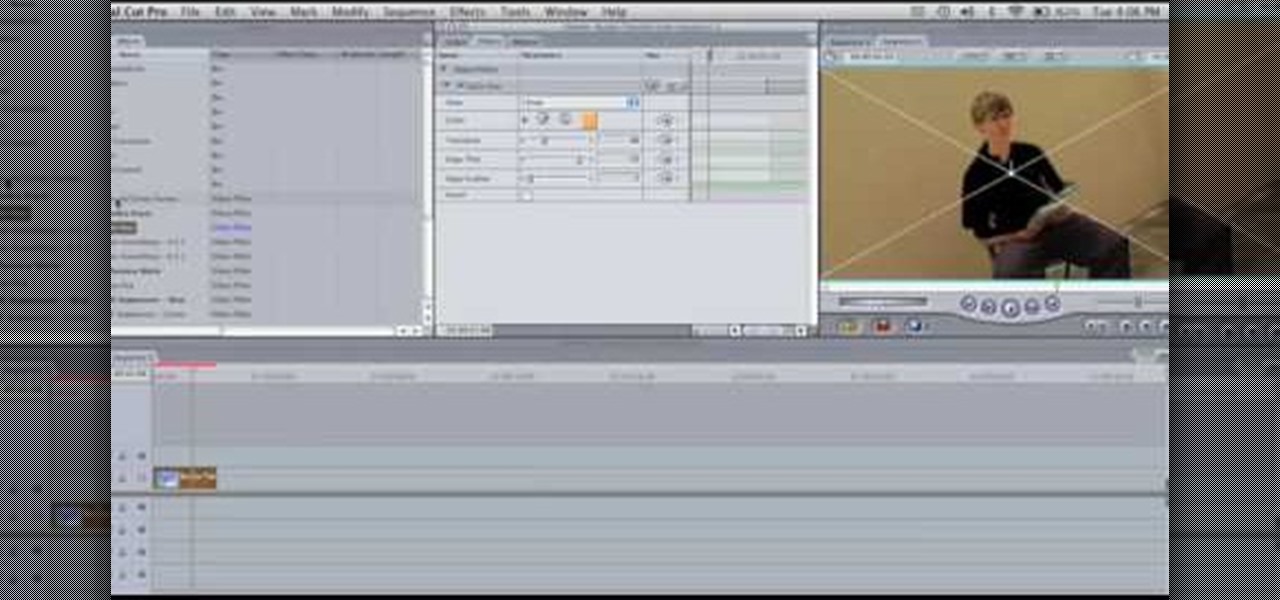
This instructional video explains the basics of Chroma Keying in Final Cut Pro. This is used when you want to remove or key out a specific color from a scene. Created as a component in the Temple University Instructional Video Database.
In this video, Israel Hyman demonstrates the “Ken Burns Effect.” Using this technique, you can use still photos to add interesting effects to your videos. It’s dead simple to do in iMovie, but Final Cut Pro works just as well!
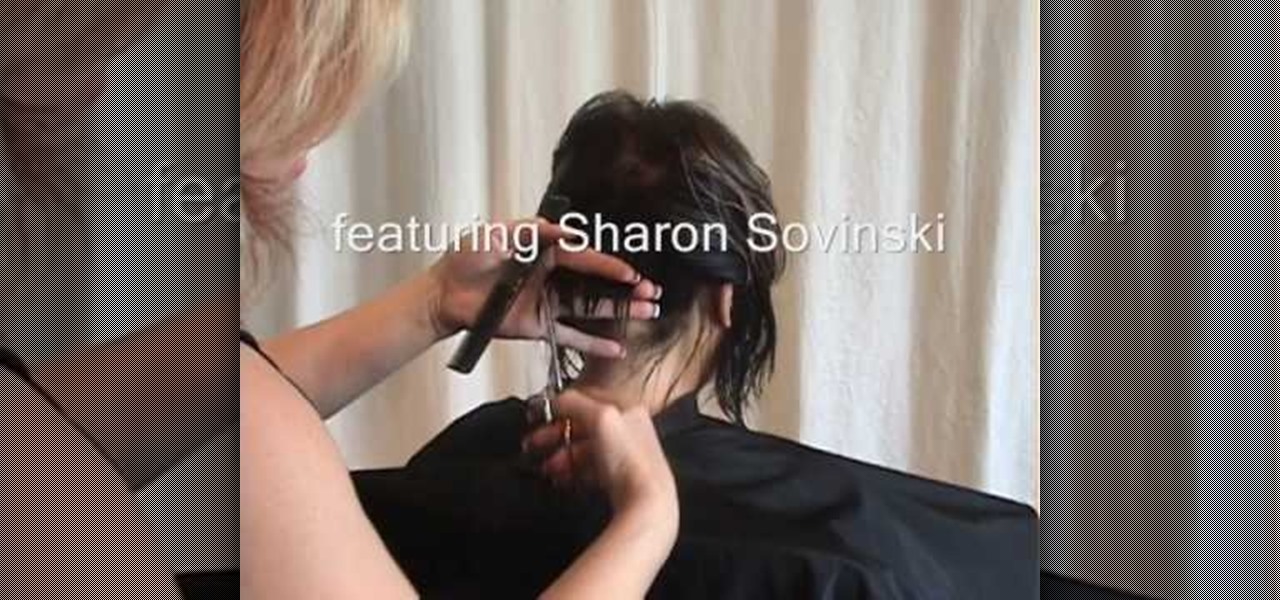
Does a bob haircut remind you of flappers from the 1920's? Originally, the hairstyle (as worn by flappers) was meant to be an androgynous cut, boyish in length and style.
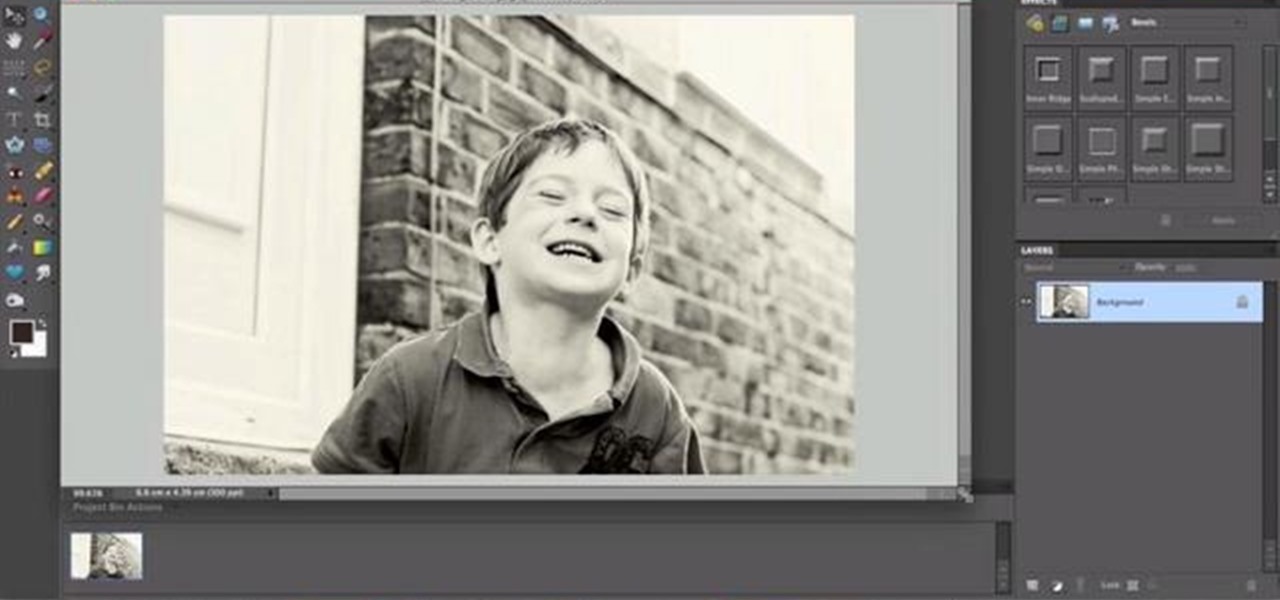
Learn how to create Web 2.0-style rounded corners in Adobe Photoshop PSE or Photoshop CS4. This clip will teach you what you need to know. Whether you're new to Adobe's popular raster graphics editing software or a seasoned professional just looking to better acquaint yourself with the program and its various features and filters, you're sure to be well served by this video tutorial. For more information, including detailed, step-by-step instructions, watch this free video guide.
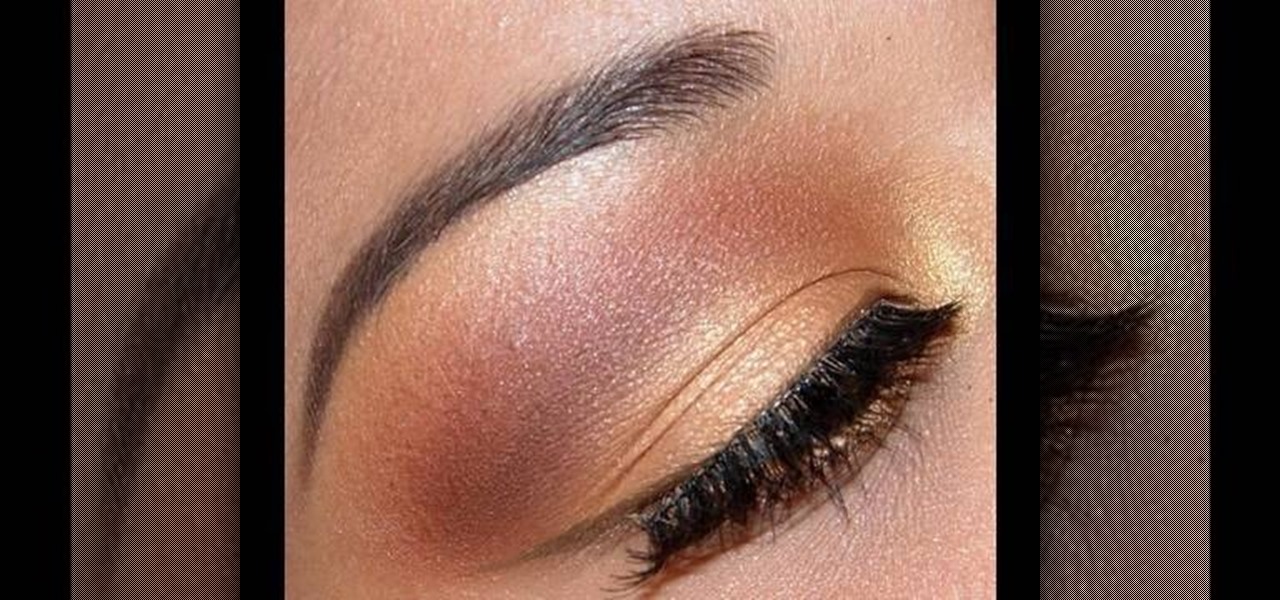
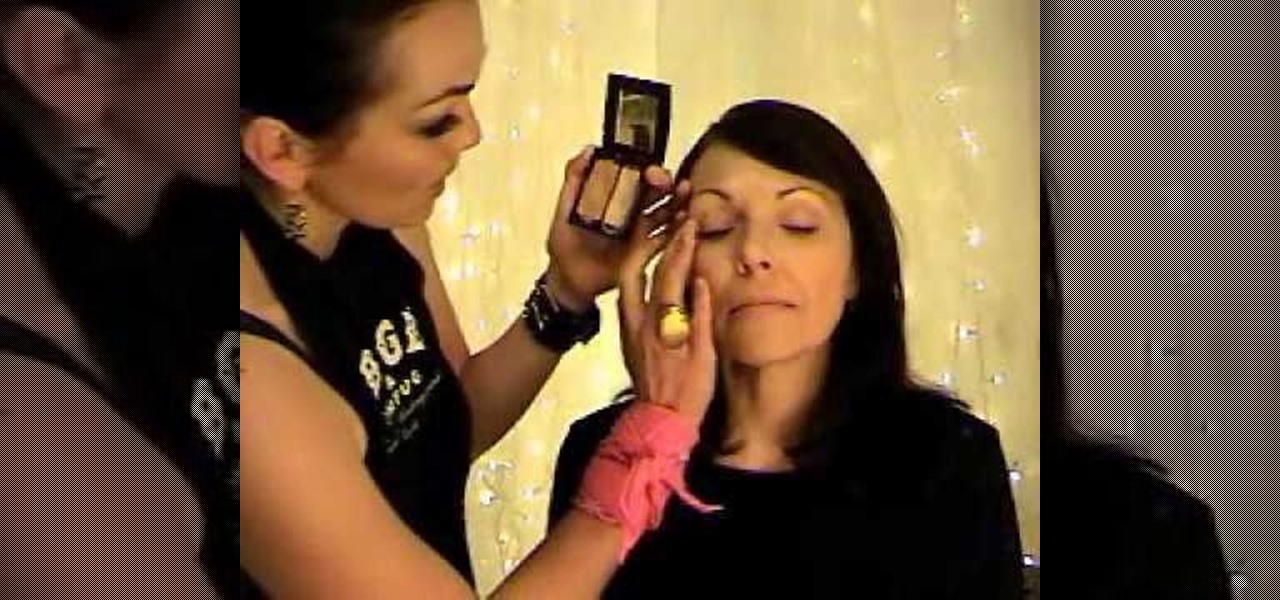
In this tutorial, we learn how to apply autumn gold brown eye makeup. First, apply a primer to the eye, then apply a gold color to the inner corner of the eye. Next, apply a dark gold color to the middle of the eye going up to the crease of the eye. Next, use a matte red/brown eyeshadow on the outer crease of the eye. Next, blend all of the colors together. Next, take a dark brown color and blend it on the outer right corner of the eye. Now, apply a light layer of black eyeliner to the top an...

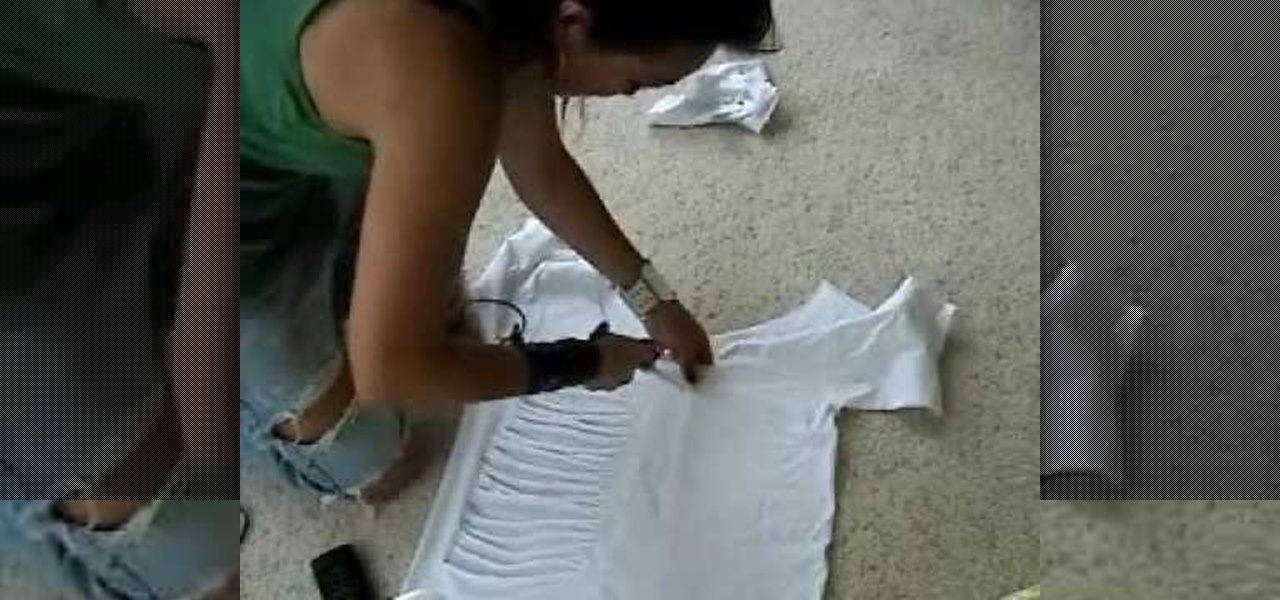
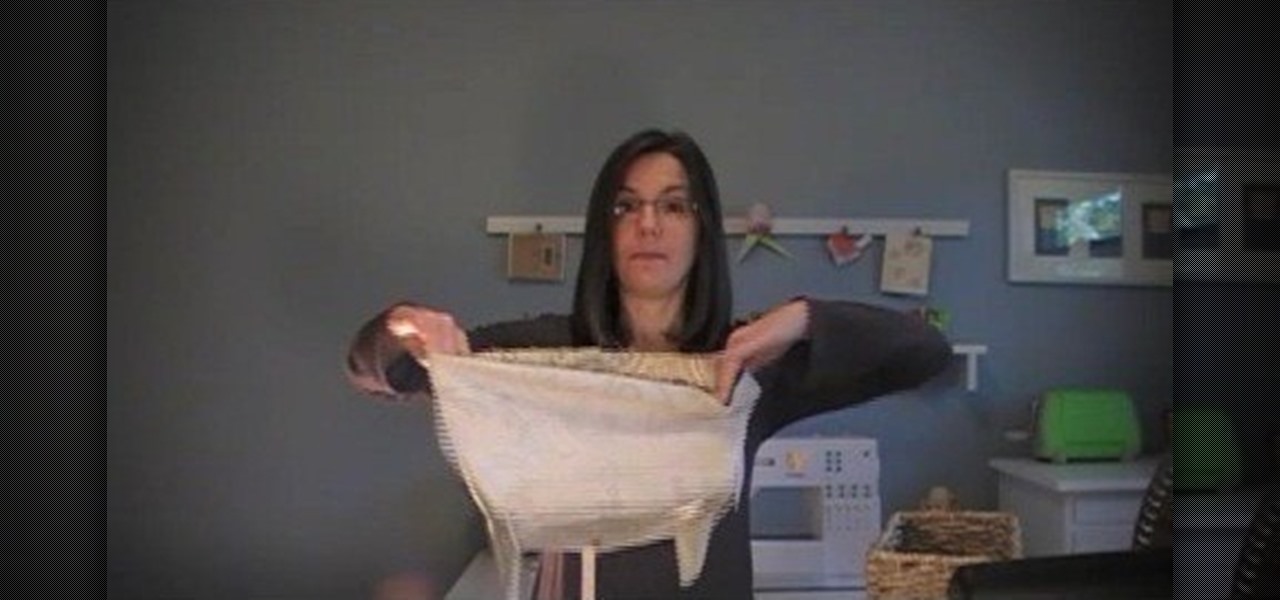
This video is a demonstration of how to cut up a T-shirt, inspired by 80's rock band fashions. Use a regular white T-shirt and start by cutting a deep scoop neck out of it, starting about an inch outside the neckband. Turn the shirt over and fold it in half Snip horizontal lines down half of the shirt all the way down. Then stretch out the thin strips. Cut the other side of the shirt the same way. Cut the sleeves off completely so it's more like a tank top. Wear the shirt over another tank to...

In this how to video, you will learn how to build a post. Court yard posts create beautiful accents to your yards. They can be used as entry monuments and fence posts. When using corner blocks, make sure the long sides are at the outside of the post. First, place these corner blocks in a square. Align the blocks with the square. Next, place four more blocks on top of the original blocks. Make sure the blocks touch two blocks. Keep on stacking them to the desired height. Add two post caps. Sec...

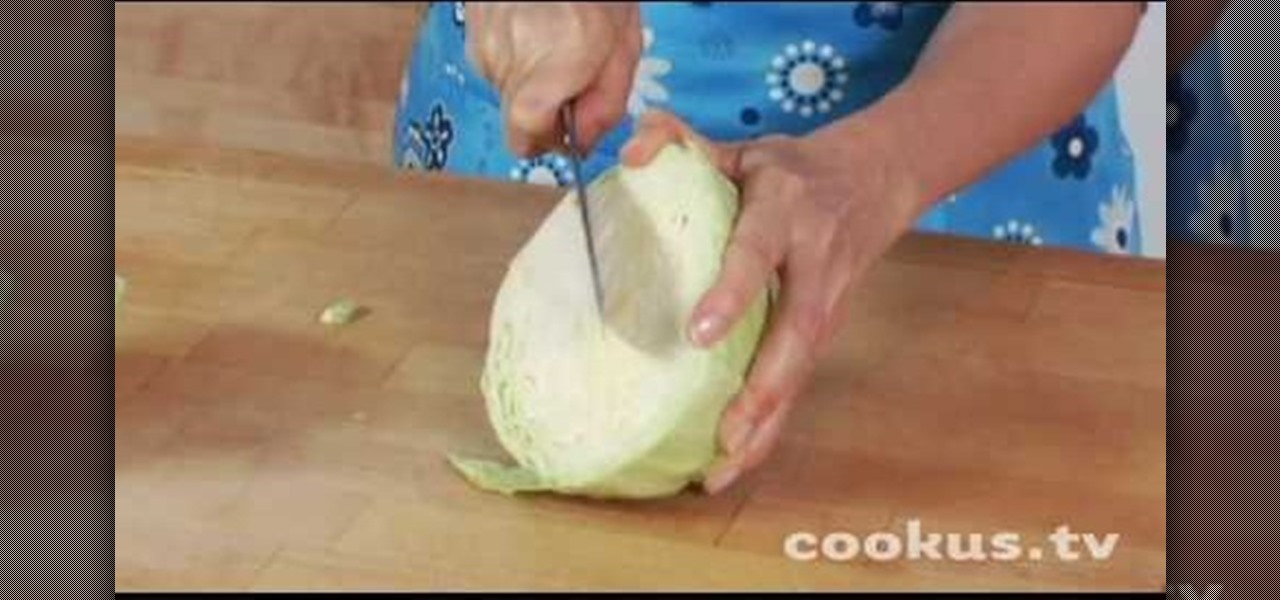
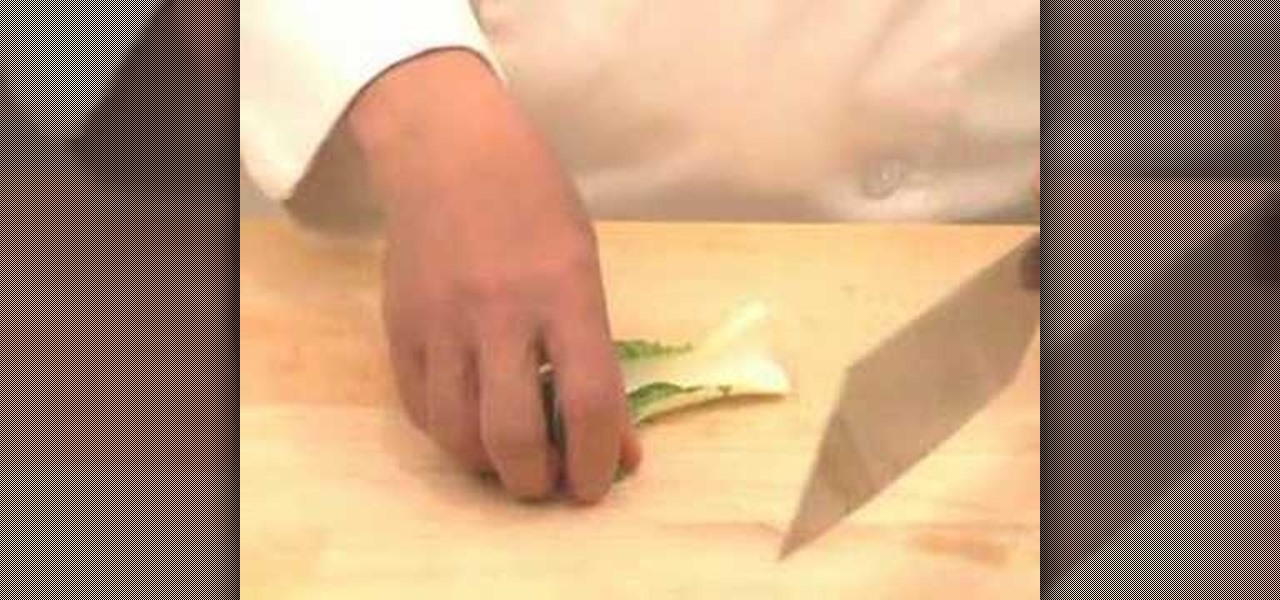
This video is a demonstration of the proper way to cut up a cabbage. Large vegetables like cabbage can be hard to cut up because they are so big and tend to move around on the cutting surface. The first thing to do is to create a flat surface, so make it safer to cut. Cut the whole cabbage in half holding the end of the core on top. Cut the core out of each half in a big V shape. Cut it in half again to make quarters. Take the cabbage apart so that you can flatten it out and cut thin slices f...

Instructions for building wall panels and posts using Alan Block materials. This is How-to Sheet #190, for the Courtyard Collection. Combine walls and posts in a three step process: build a post, build one wall off the post, then build a second wall off the first. Corner blocks help make perfect corners, and have one long and one short side. Offset the vertical seems by alternating. Blocks used for the wall include Dublin center-split, Dublin end-split, and York center-split. You will need to...

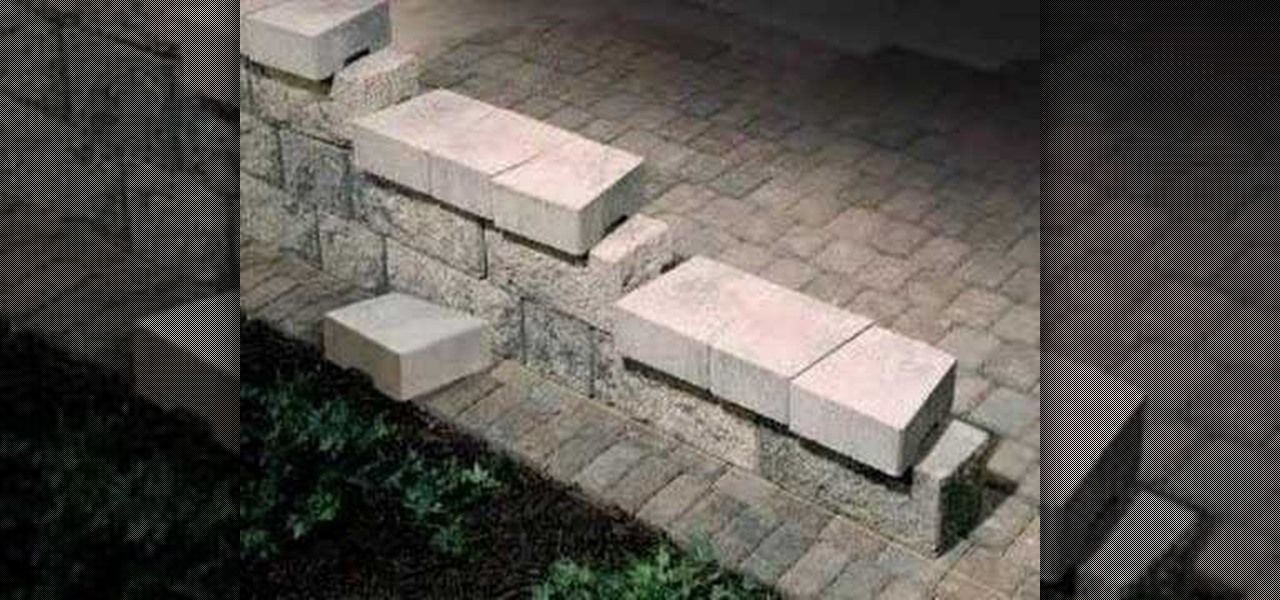
In this Home & Garden video tutorial you will learn how to step down or end your patio wall. This video is from www.allanblock.com. Get the installation details and the location of the nearest dealer from the website. The instructions are on How-to sheet #160. The easiest way to create step down is to create corner blocks. Simply place corner blocks at the end of each course overlapping the block as the wall steps down. Finish the wall with wall caps. Once the wall caps are in place, you can ...

How to prepare bok choy for Chinese food

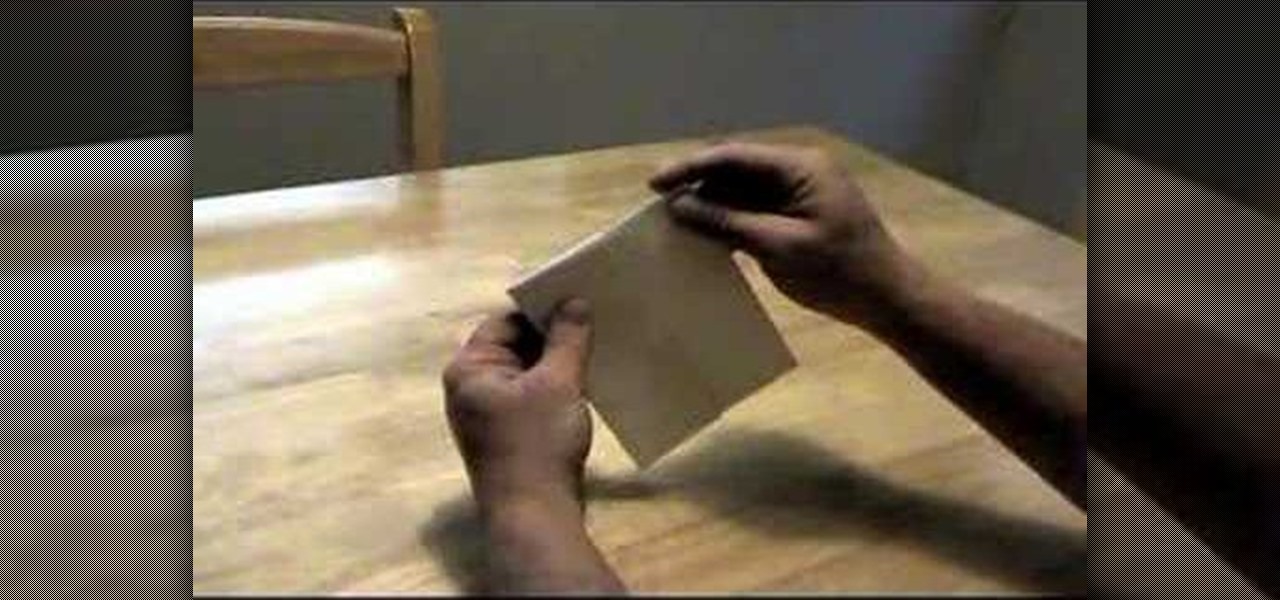
This video demonstrates how to make a loud and annoying paper popper. Prepare a regular sheet of paper and lay it down on the table or a flat surface. Fold the lower portion of the paper at about an inch and a half (1.5") or two inches (2"). Fold it the second time at about the same length you did with the first. Then, fold the paper right in the middle in the opposite direction with your first two folds. Your paper should now be folded to resemble a nurse's hat. Hold one corner of the folded...

Kandee is a makeup artist who takes us through this great youthful looking cougar makeup look. First put a primer all over the face. This is great to fill up any wrinkles or lines. Areas to highlight are the eyelids, underneath the eye, and all areas around the nose. Take the powder and only place it on the key areas which include the eyelids and gently underneath the eyelid, and around the forehead. Next pick an eyeshadow and was the entire lid in that light color. Then choose a dark eyeline...

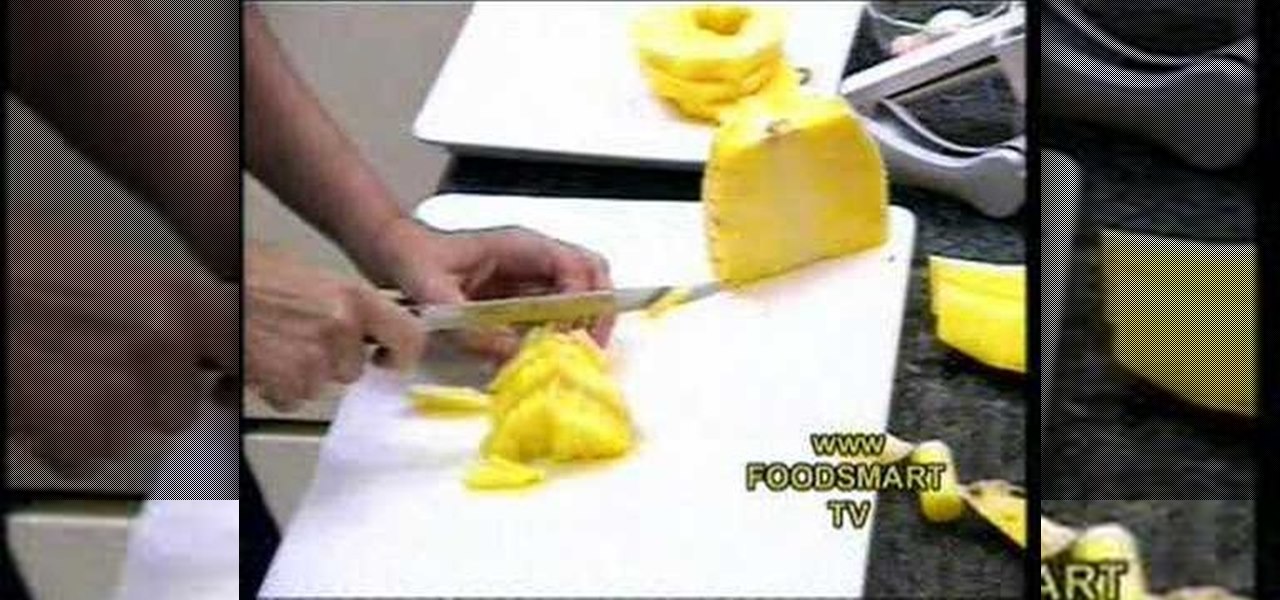
This is a video that demonstrates how to cut up a pineapple for a healthy snack. She places the pineapple on it's side and then cuts one end off and then the other. She then stands the pineapple up and cuts around until all the outer part of the pineapple is gone. She slices down the side of the pineapple in strips, turning it after each strip is removed. She then cuts the pineapple in half. She then cuts it again and removes the core, doing that to both of the larger pieces of pineapple. She...

To create a winged out eyeshadow look you first take a paint pot as a base. Apply to the eyelids and under the bottom of the last line. Blend with finger after you're done applying with a brush. Next, take a brush and place black eyeshadow above the lash line on the eyelid, while doing this, brush outwards in the corner of the eye to make a cat-eye. Don't place the eyeshadow too high on the eyelid or it will change the shape of the eye. Make sure to place the eyeshadow in the corner creases o...

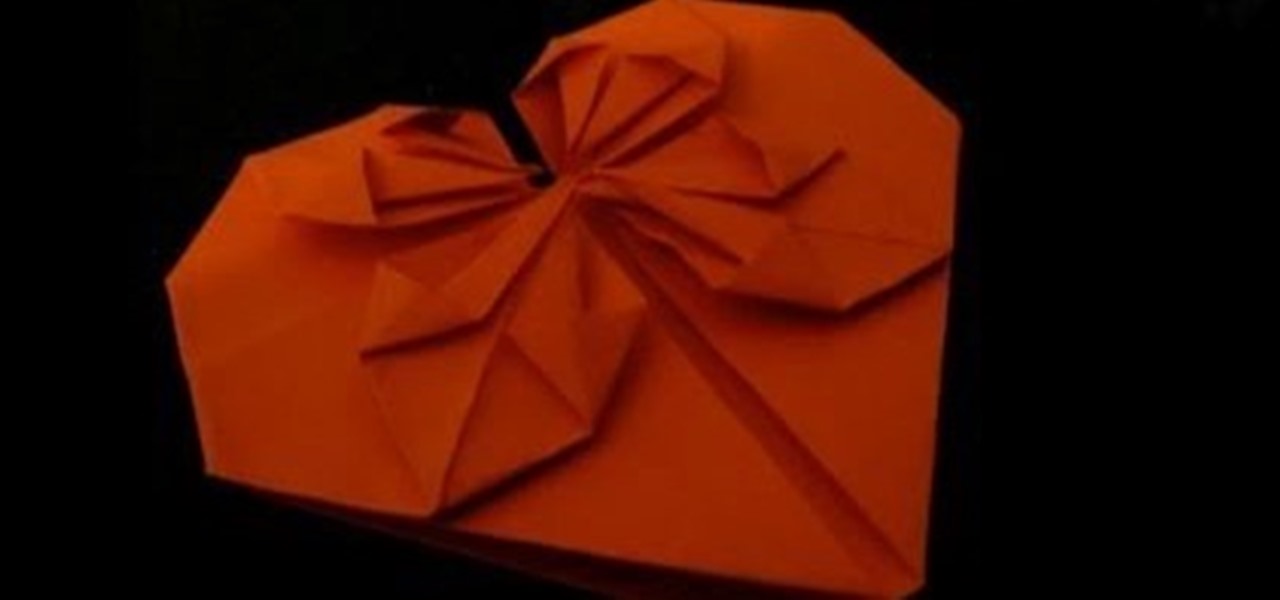
In this video, Nekkoart demonstrates how to make an origami valentine heart. Begin with a sheet of paper that is nineteen cm by eight cm. Fold the paper to form a square. Unfold. Fold both sides to the center crease. Unfold again. Fold the paper in half horizontally (not forming a square) and unfold. Fold a corner to the edge of the center crease. Unfold and repeat with the other corners. Squish both sides down to form a square. Fold down the upper half. Fold down the two triangles at the top...

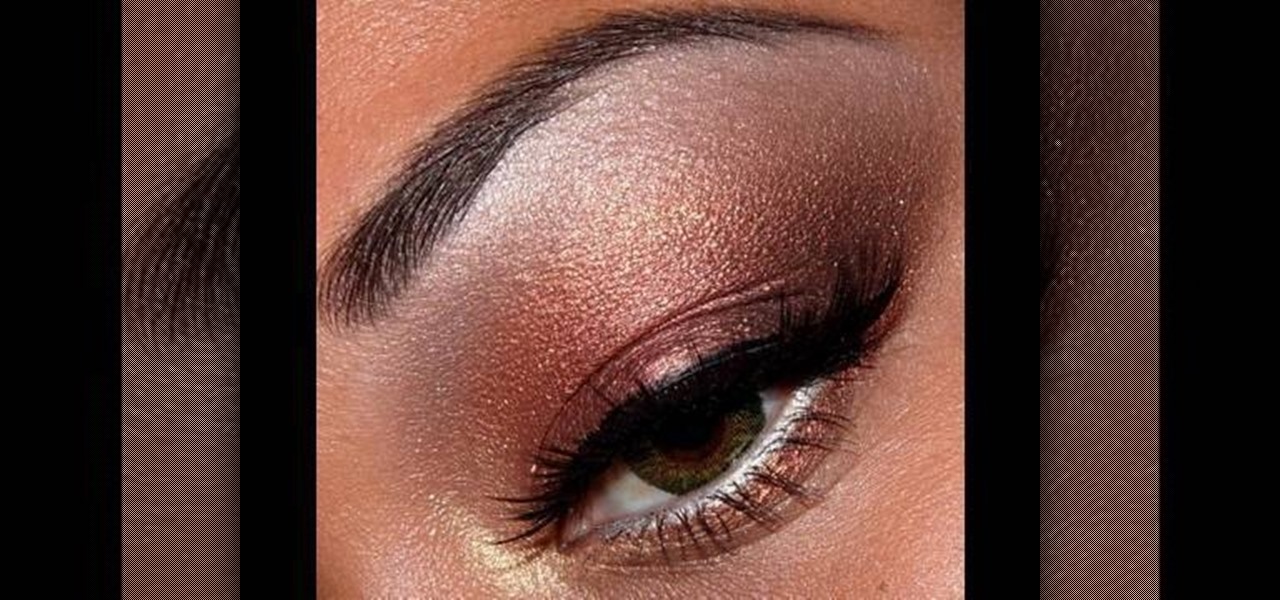
A combination of red and gold eyeshadow is great for emphasizing green eyes - this is because red and gold are complementary colors to green. For the base, apply a clear or skin-colored base to the entire eye area. Use a highlight base just beneath your eyebrows. Blend it in. Use a black liquid base on the upper eyelid. For eyeshadow, start off with a shimmery gold by putting it in the inner corners of the upper lid. Take your red and start off slightly in the middle of your eye, where you le...

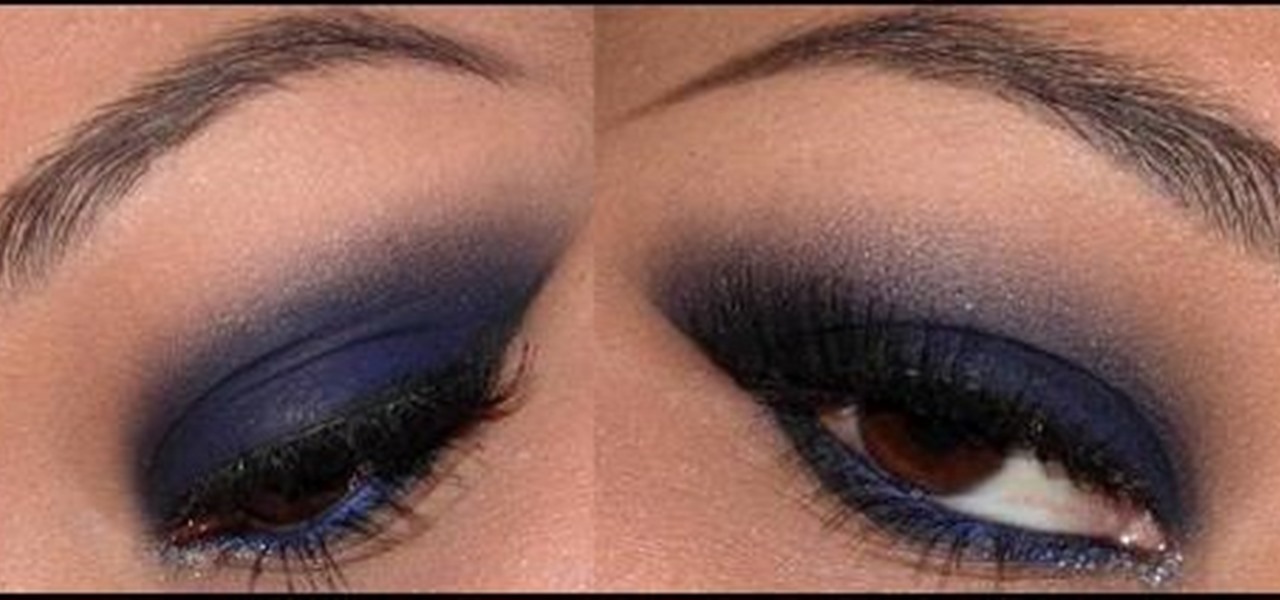
This video shows you how to get a New Year’s Eve look that is very fun, flirty, but simple using glitter. For a base use two face eye shadow insurance all over. Take a blue and put it onto the lid up and away. For the bottom use a dark blue and with a small brush smudge it across the bottom of the eye. Use Aqua Black and with an angle brush apply it as a liner. Use MAC glitter liner and put it on the inner corner of the eye. With a clean q-tip take a silver glitter and dotting it into the gli...

Check out this DIY video tutorial from Curbly, the best place to share pictures of your home, find design ideas, and get expert home-improvement advice.

In this tutorial, we learn how to get Leona Lewis' Avatar themed "I See You" makeup look. First, you will need to apply black eyeshadow to your entire lid up until you reach the crease. After this, use a brush to blend the color out and create a winged effect on the outside corner of the eye. Next, apply this color on the bottom lash line, making a slightly smudged effect with your finger. From here, you will apply a teal colored shadow all over the eye and on the outside flare as well. Then,...

Everyone who spends a lot of time outdoors will get corner skin cracks eventually, and they are ugly and painful. Watch this video for some tips on how to cure these unfortunate facts of lip life with at-home remedies and medicine.

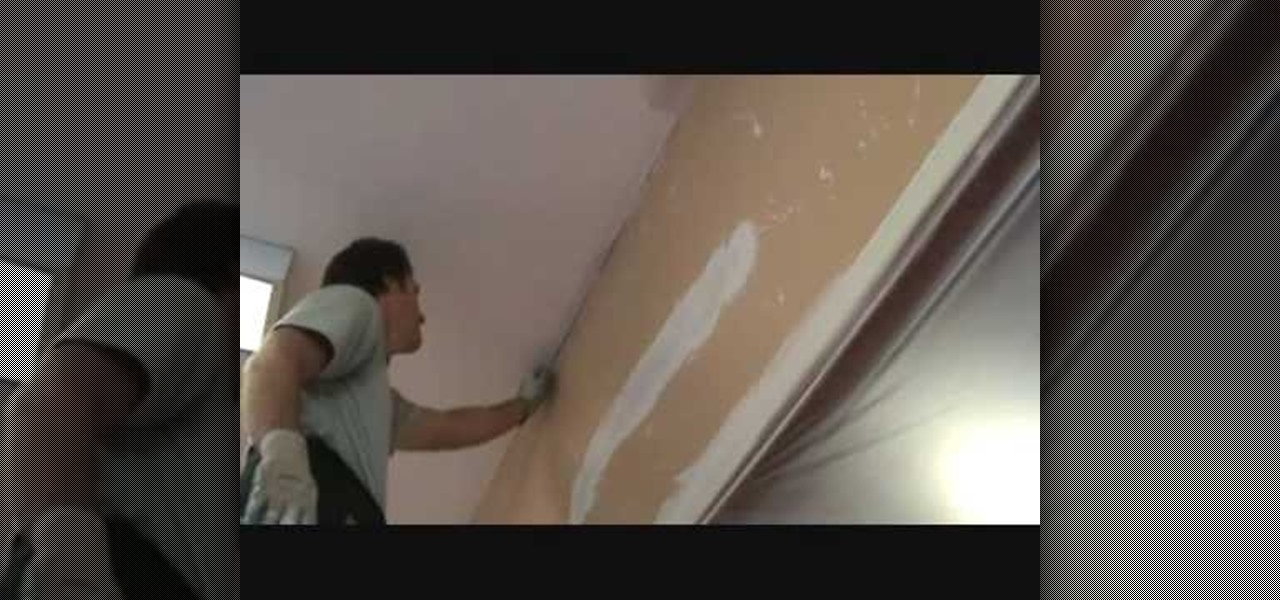
Video Joe Knows demonstrates how to install an inside corner ceiling patch when installing drywall. First, give the paper tape a definitive crease. Then, wipe quick set on the ceiling and the wall. Make sure you get enough material behind the paper tape. Have more quick set on than you need because you can wipe off the excess. Build it up on the edges using a three or four inch knife. Next, apply the tape by pushing it into the corners of the desired area. Finally, wipe off the excess quick s...

Lots of people love magic, and most of those people like card tricks, so why not learn a few? Whether you're a magician or not, you can still impress your friends with a few card tricks up your sleeve.

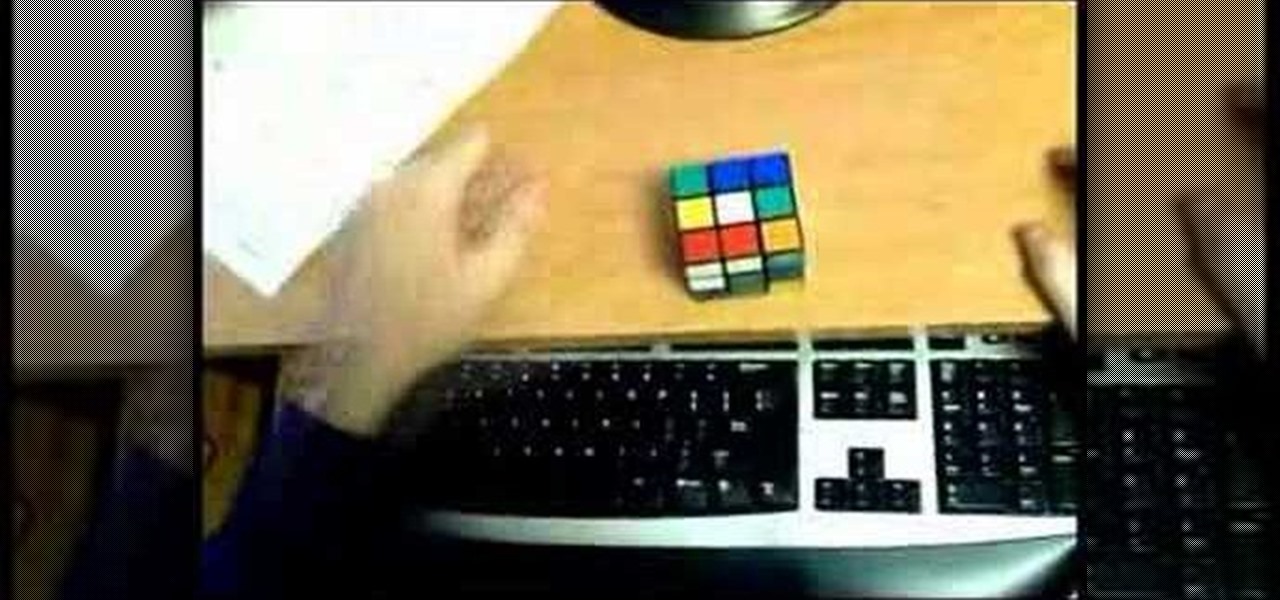
Are you a beginner Rubik's Cube solver? Can't quite figure it out yet? Too slow? Well, solving the Rubik's Cube is easy, but solving the Rubiks Cube fast is hard, just keep that in mind.

This video explains how to overtake another kart safely in corners when Go-Karting.

This tutorial gives tips on how to properly enter corners when go-karting for the fastest times possible and while being safe.

How to use Roundpic.com to put rounded corners on any digital photo or image on your computer.

If you are into visual effects, then Chroma Key is a feature of Final Cut Pro X that you have to know. Watch this video to elarn all about the Chroma key green screen tool that you can use to screate stunning FX.

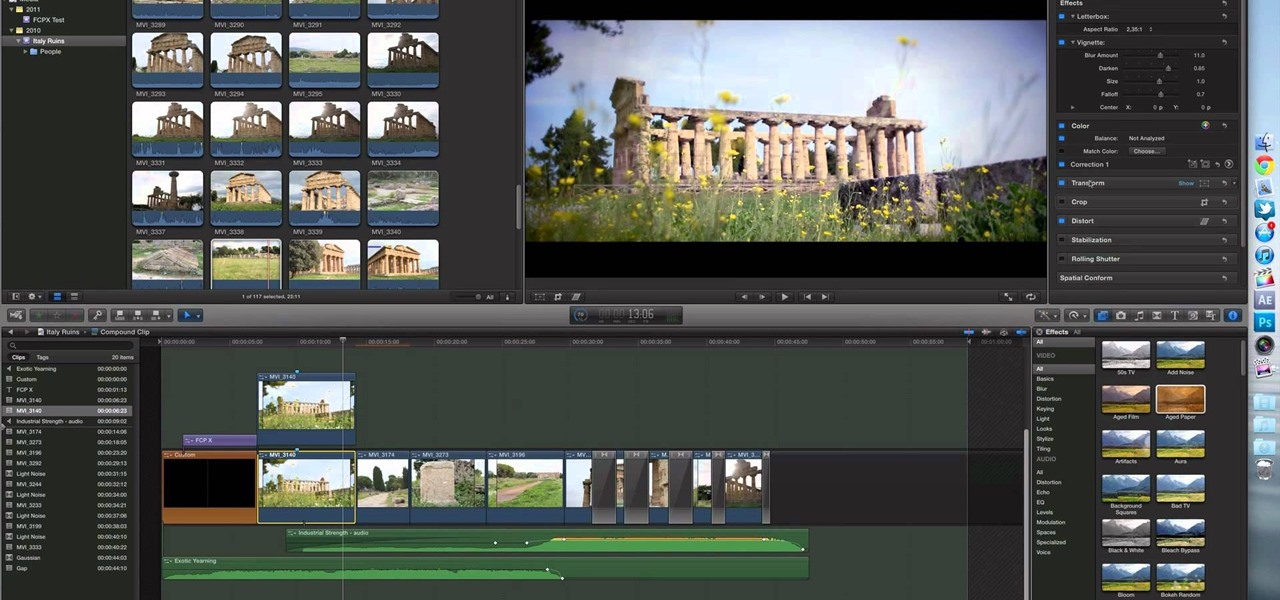
Final Cut Pro X has all new effects and transitions that no other video editing software has. This is your video guide to all of the things you can with FCP X on your Apple computer. Learn about the adding Boca effects, aged paper effects, and more.

Feeling limited by the export options in Final Cut Pro X? Watch this video to learn how to use Compressor 4 to export custom settings and reduce your file sizes in FCP X. Make the most of your Apple video editing software.

So you've filmed your scene using multiple cameras, and now it's time to sync them up into a coherent whole. This tutorial shows you how to take advantage of the multi clip edit feature in Final Cut Pro when you're in post production.

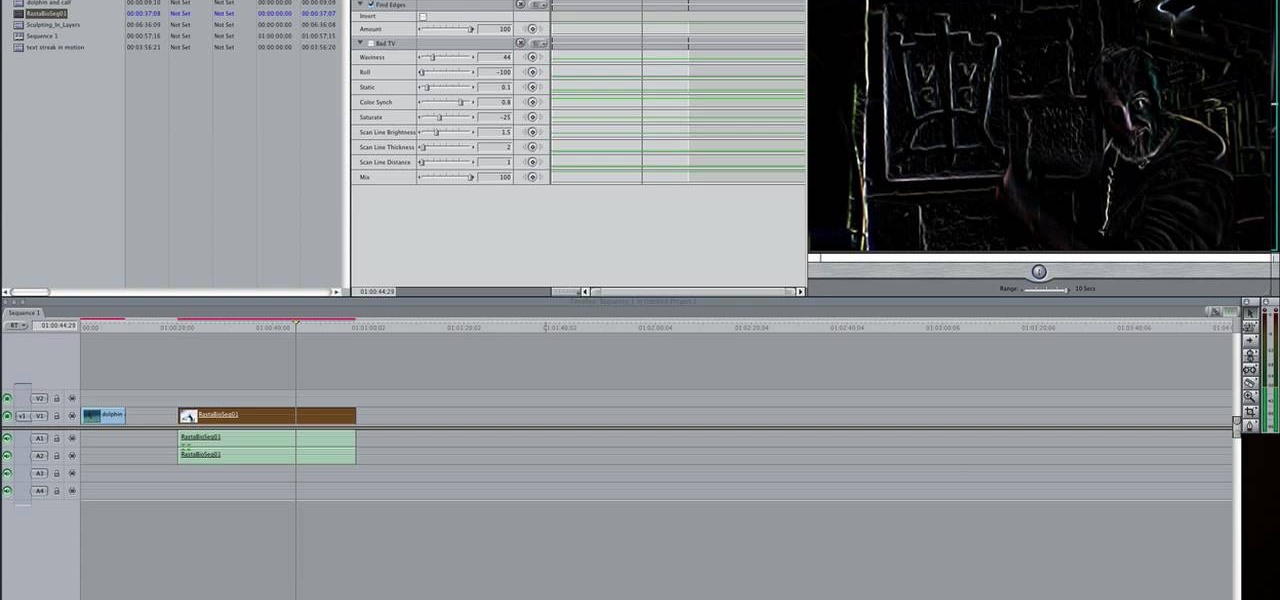
Want to create a selective desaturation effect à la Sin City? This clip will show you what you'll need to know. Whether you're new to Apple's Final Cut Pro non-linear video editor or just want to better acquaint yourself with the popular video editing program, you're sure to benefit from this video tutorial. For more information, including detailed, step-by-step instructions, watch this tutorial.

Learn how to use FCP's SmoothCam filter to fix shaky footage after the fact. Whether you're new to Apple's Final Cut Pro non-linear video editor or just want to better acquaint yourself with the popular video editing program, you're sure to benefit from this video tutorial. For more information, including detailed, step-by-step instructions, watch this tutorial.

This FCP-user's guide will teach you how to preview a clip without rendering it first. Whether you're new to Apple's Final Cut Pro non-linear video editor or just want to better acquaint yourself with the popular video editing program, you're sure to benefit from this video tutorial. For more information, including detailed, step-by-step instructions, watch this tutorial.

Meet (and learn how to use) the Final Cut 7 graphical user interface or GUI! Whether you're new to Adobe's popular motion graphics and compositing software or a seasoned video professional just looking to better acquaint yourself with the program and its various features and filters, you're sure to be well served by this video tutorial. For more information, including detailed, step-by-step instructions, watch this free video guide.

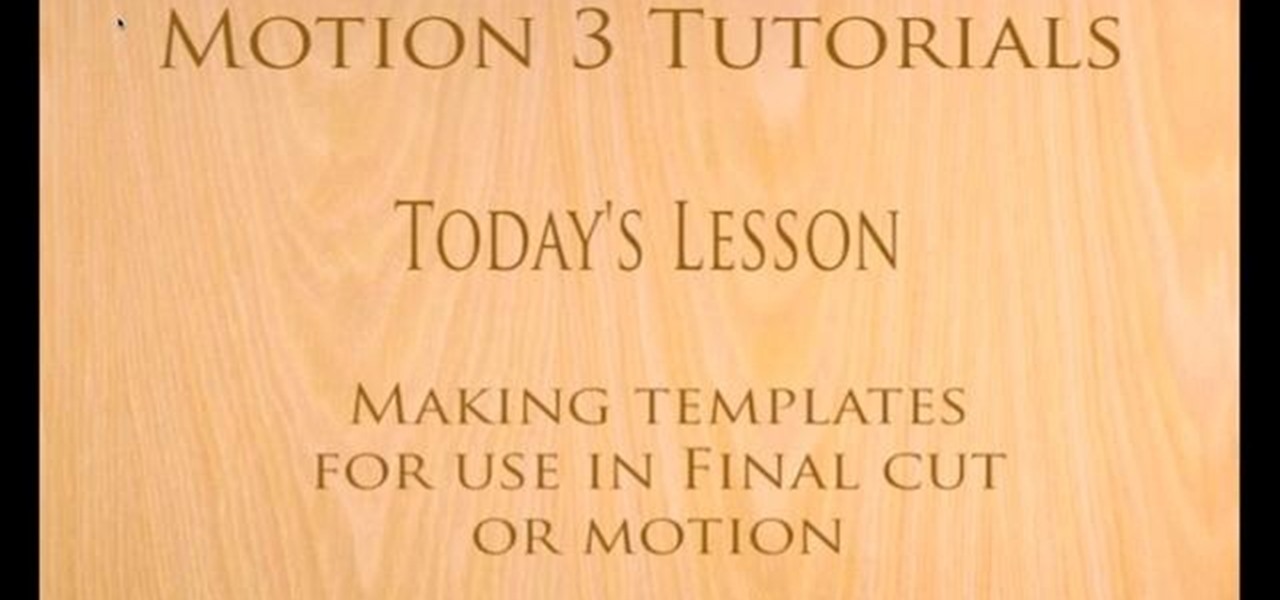
With this clip, you'll learn how to create templates for use in Final Cut Pro and Motion. These templates are editable in FCP. Whether you're new to the Apple's popular motion graphics editor/compositing application or are a seasoned digital video professional simply wishing to get better acquainted with Motion 4, you're sure to find value in this tutorial. For more information, and to get started creating your own custom templates, take a look.

When it comes to filming a great movie, having a great creative vision is just as important as more practical aspects of cinema, like how to employ film editing programs for the perfect widescreen shot or a camera jamb arm for stunning overhead shots.

In this video tutorial, viewers learn how to increase the rendering speed in Adobe Final Cut Pro. Begin by right-clicking on your current sequence and click on Settings. Click on the Video Processing tab and select "Always Render in RGB". Then click OK. This change will only be noticeable when working with really high quality high definition footage or film. Even then, you are able to re-render at a higher bit rate later, without having to affect the original image or export. This video will ...

In this video tutorial, viewers learn how to create a tilt shift effect with Adobe Final Cut Studio. Begin by changing the video's speed to 300% and disable the Frame Blending. Now click on Effects, go to Video Filters, press on Time and select Strobe. Change the Strobe rate to 7-15 fps. Now switch to Motion and Duplicate the group. Then create a simple mask in the upper group and apply defocus to the lower group. Under Mask, increase the Feather rate up to 100%. Now add another mask around t...


