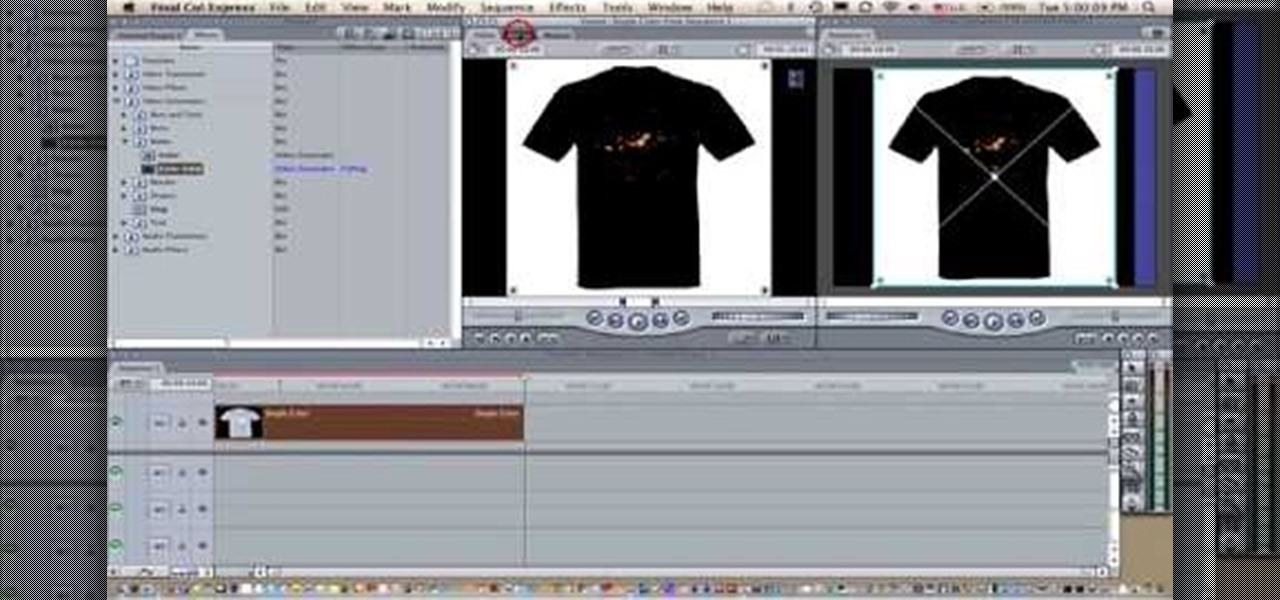
If you make a flub at a store and buy a shirt in the wrong color you're usually stuck with it (unless, of course, you were smart and saved the price tag just in case). But in Final Cut Pro, anything is possible, even changing the color of a shirt to fit your taste.
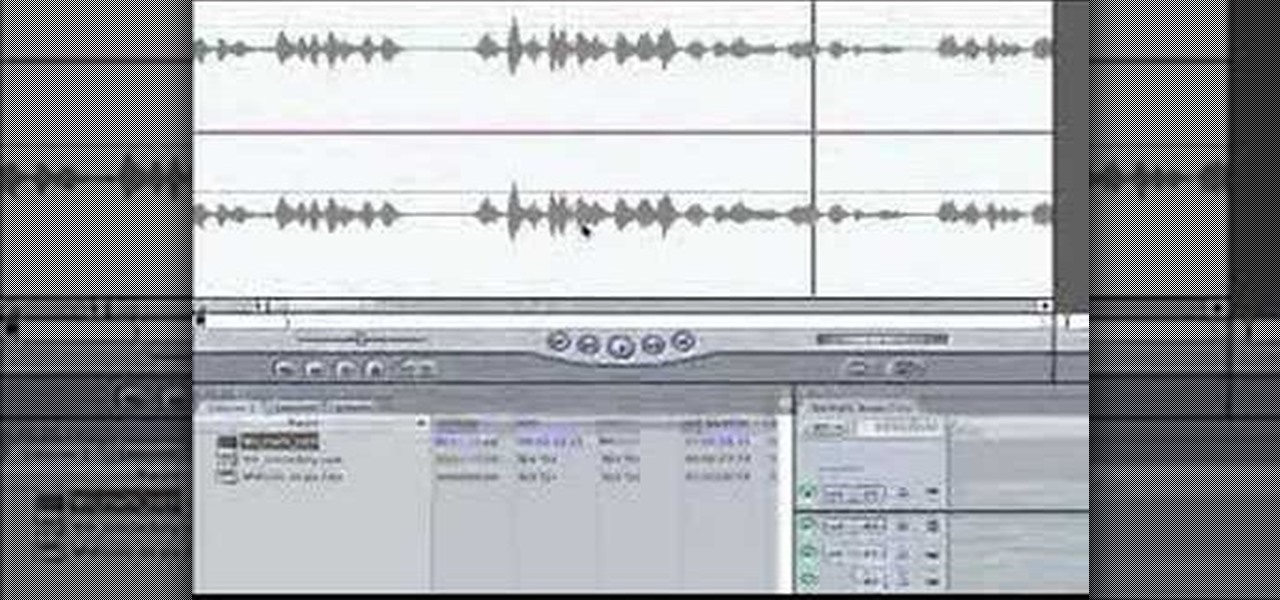
Once you have your footage imported, you're ready for editing! This tutorial goes over how you can edit footage in Final Cut Pro 6 and even goes over real-time editing abilities. The tutorial is well paced and easy to follow. You'll be an expert in no time!
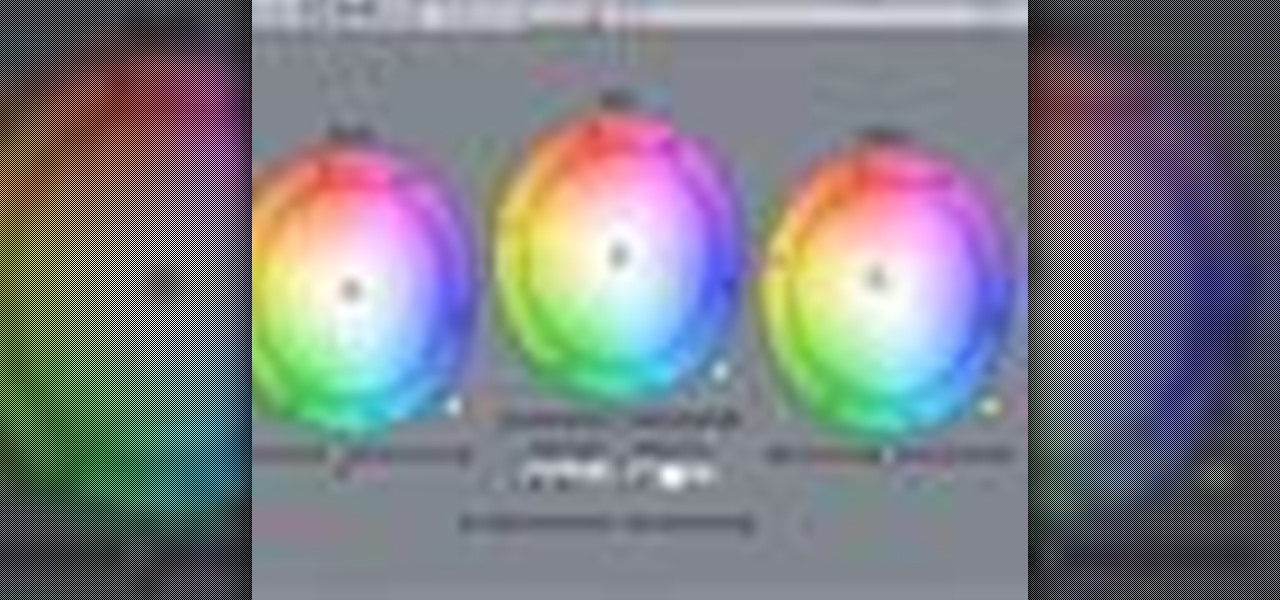
This tutorial covers how to use different filters in Final Cut Pro 6 and specifically goes over how to use the color correction filters since these are some of the most important filters used. Easy to understand and see, this video tutorial is worth watching.
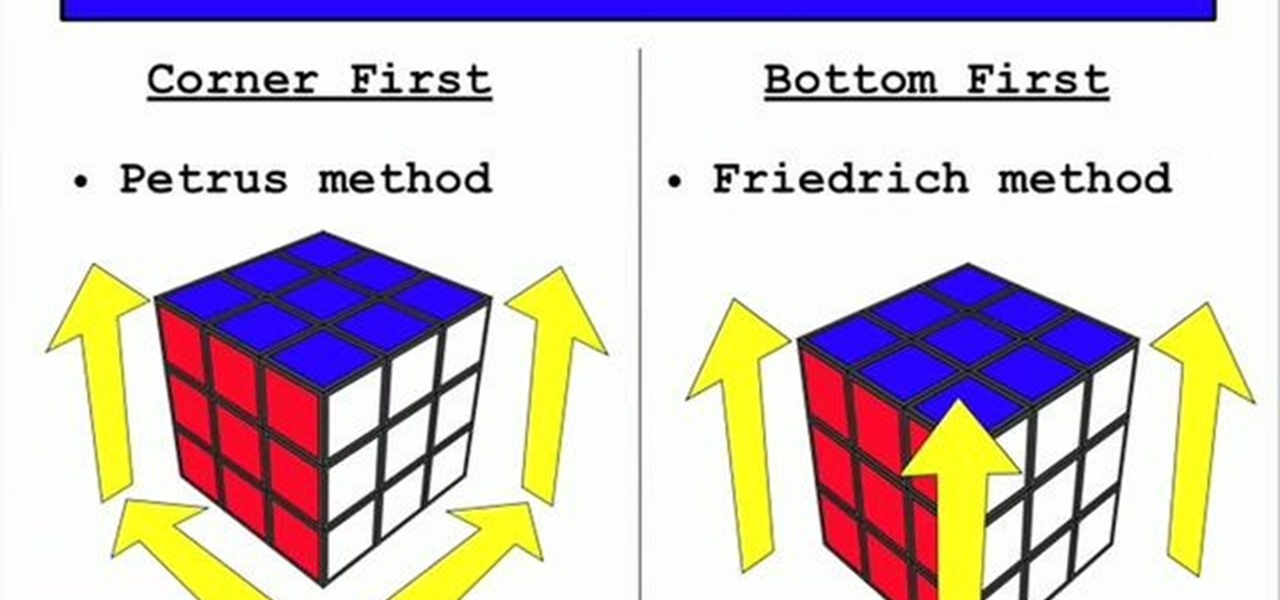
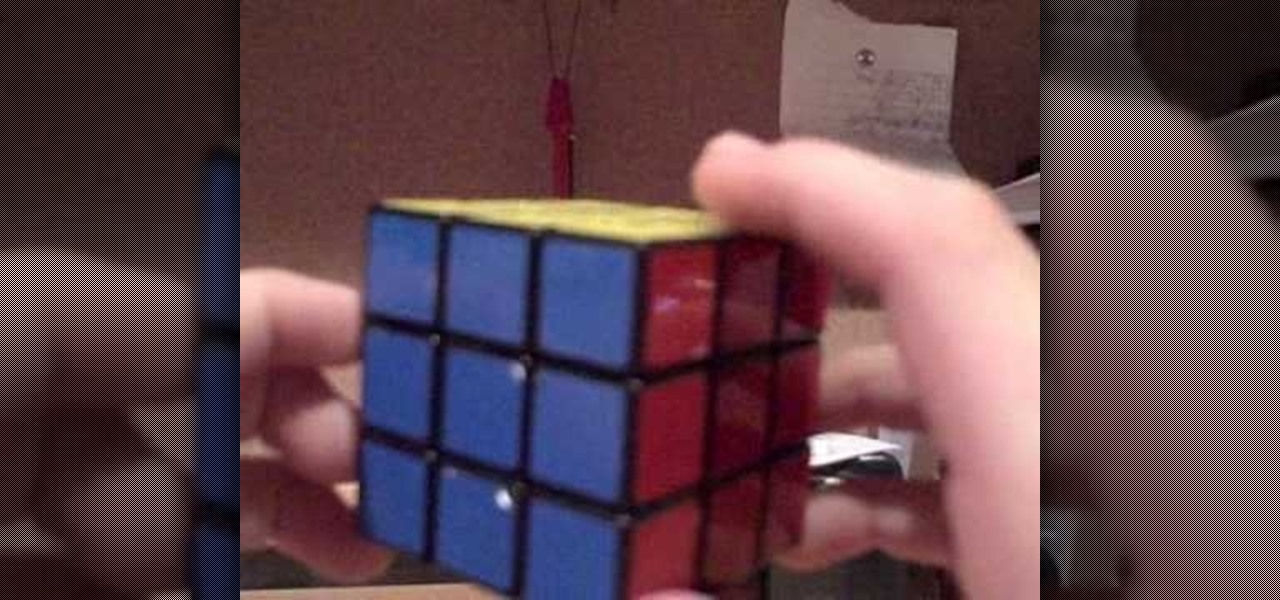
Learn how to solve a Rubik's cube in ninety seconds in this video. You'll learn that there are couple of common methods used to solve the cube. The Petrus method which starts with the corner and the Friedrich method which starts at the bottom and moves up. The presenter shows how he uses several methods and algorithms to create seven steps to a solved cube. The first step is to make a cross on the bottom layer. The second step is to correctly place the bottom corner pieces. The third step is ...

To make an 8 sided ninja star first you need to take a sheet of the paper you are using and fold this in half, the short way. Unfold this so you have a crease. Now, fold the corners into the center crease. Do this to the top corners. Now, flip this over and fold over the bottom of the paper to the back and crease this. Now, you will want to tear this bottom half creased part off. Fold this into a square and fold the square into halves on both sides and tear this off to create smaller squares....

Love4Nails teaches viewers how to paint nails with a blue, white and gold nail art design! First, you need to apply your background color. This color will be a blue nail color. You should let this dry. Now, take a black nail art polish and do 3 stripes, that start at the bottom corner and go up slanted. You do not have to go all the way to the top. Next, get a white nail art polish and start the stripes at the opposite corner and paint two across - these two stripes will touch at the corner. ...

1: Place paper sideways. Place the paper on the flat surface with the long edges at the top and bottom. 2: Fold long edge to opposite edge and unfold. Fold one long edge to the opposite long edge, crease, then unfold. 3: Fold longs edge to center and unfold. Fold one long edge to meet the center crease you just made. Now do the same with the other long edge, so they both meet in the center. Unfold completely. 4: Fold short edge to opposite edge and unfold Rotate your paper and fold one short ...

To make a Paper Orchid you need to know the steps as follows: First fold a square sheet of origami stock paper into a triangle, bringing both points together. Use this as your flower base. Fold the paper again bringing both corners together. Rub your finger along the crease of the fold to make sure that it stays put. This step completes the triangle base. Begin making the flower base by taking the triangle base folded over twice and adding a third piece, folding it over as well to meet with t...

For all origami enthusiasts, here is something new. This video details how to make your own origami enigma box. As with all origami pieces it can be made using just a single piece of paper. The paper is first folded, taking from two separate parallel ends, in such a way that both sides meet in the middle of the paper. This will make four rectangles when unfolded which are to be further folded into half to make eight. Now, the paper is to be taken from the other two ends and folded to meet in ...

It might seem easy to a few, but some of us out there grew up with email and consider "the letter" an artifact. However, writing a letter is the ultimate in class and shows someone you took the extra time to get in touch with them. Whether you are writing a business letter or a friendly letter, these tips will guide you in properly writing that letter to a special someone, friend, or client.

There are plenty of films out there with baseball bats, but if you want your bat to explode on impact, you'll have to make it yourself. A smashable baseball bat is perfect for any gangster flick or sports movie. Watch this video tutorial to learn how to make a breakable baseball bat movie prop.

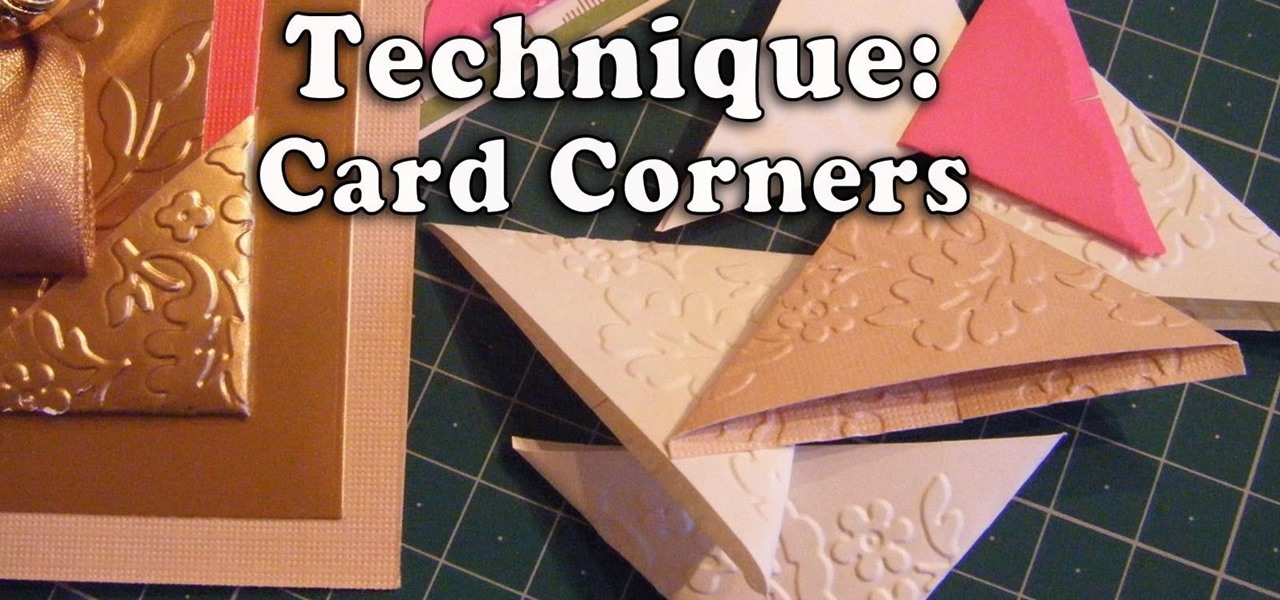
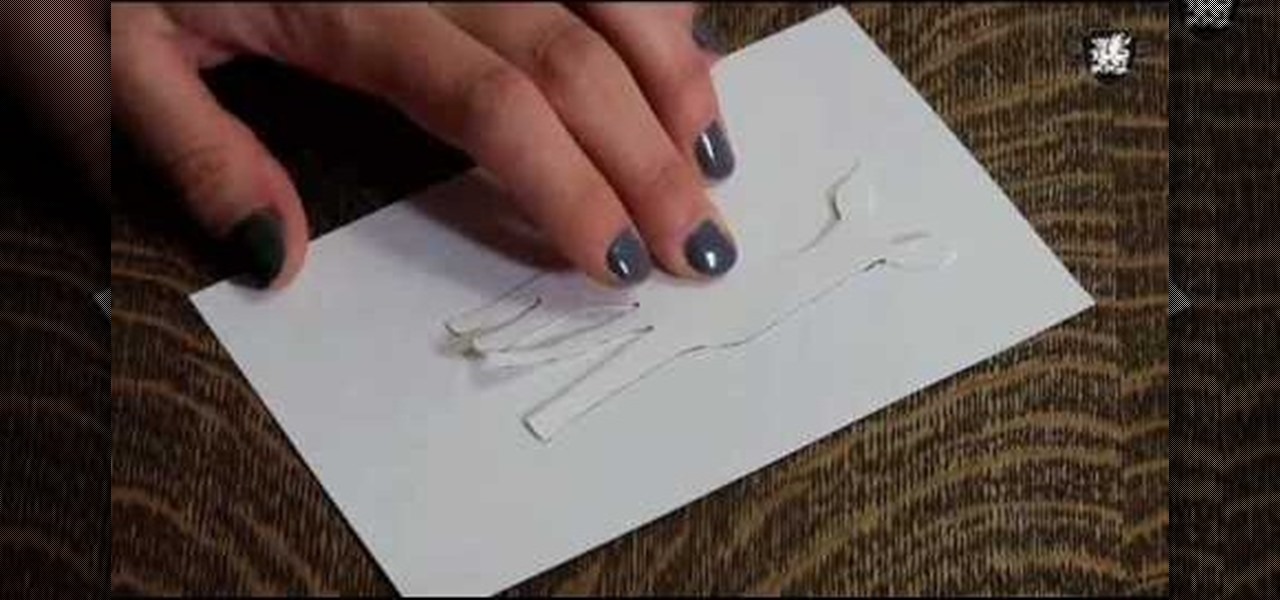
In this Technique Demonstration I show you how I make card corners in both plain and embossed card for all your card, scrapbooking and paper projects. Easy and quick to make, and once you make them, you will be wanting to add them to everything.

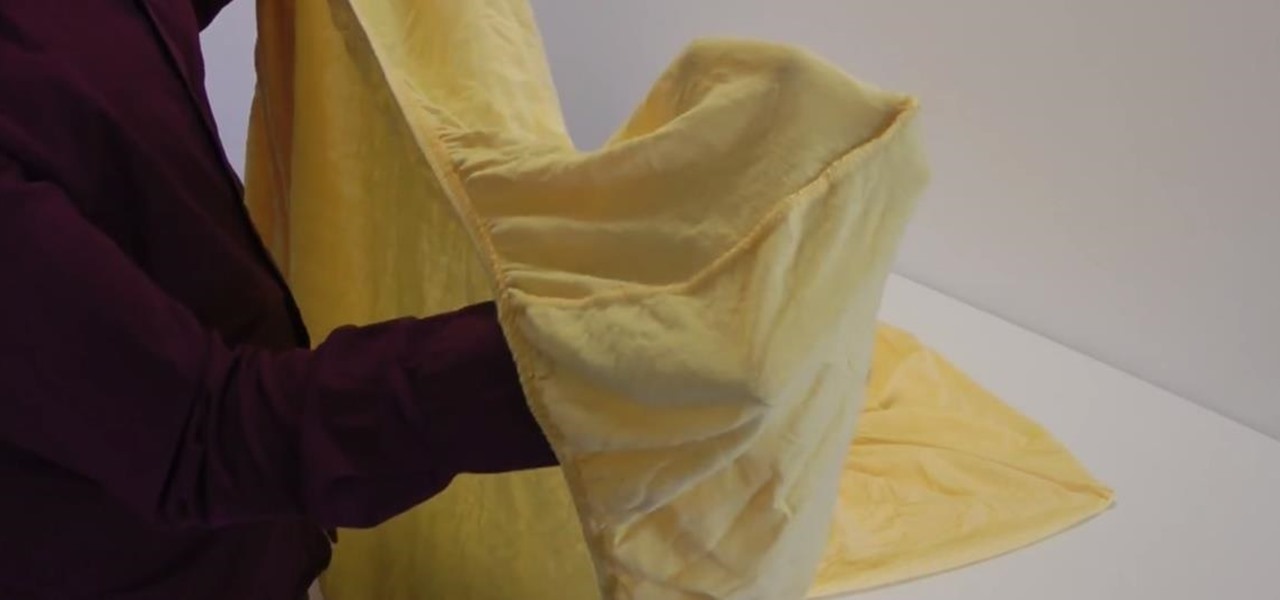
Folding fitted sheets seems nearly impossible, but with a neat trick it's just as easy as folding a blanket.

Need some help tackling your first multi-angle project in Final Cut Pro? This two-part tutorial will teach you what you'll need to know. Whether you're new to Apple's popular motion graphics and compositing software or a seasoned video professional just looking to better acquaint yourself with the program and its various features and filters, you're sure to be well served by this video tutorial. For more information, including detailed, step-by-step instructions, watch this free video guide.

Do you have some footage from the Sony XDCAM EX digital camera memory card that you need to get into Final Cut Pro? Well, check out this brief tutorial on ingesting that XDCAM EX footage into Final Cut Pro with ease by downloading some software, like upgrades. You'll need the Sony camera and a USB cable, then just watch the video to see how it's all done in Final Cut Pro. This will work with Sony EX1 or EX3.

The first License Tests in Gran Turismo 5 on the PlayStation 3 to unlock are the National B License Tests. Once you've unlocked them (which can be done by simply purchasing a car) you can start playing the challenges. This video will show you how to get the gold trophy on the third one (B-3).

This video tutorial is in the software category where Kerry Garrison will show you how to use vignettes with Adobe Photoshop Lightroom. By this you can remove the dark corners in a photo created by some zoom lenses. Select the photo, kick in the vignettes and fade out the corners focusing on the main subject matter. For this, select 'lens correction' on the right hand side and with the help of the sliders apply the vignettes. You have the choice of applying either a light or a dark vignette. ...

Husky and broad-shouldered as they are, cowboys occasionally get chilly while working the herd outdoors or casually saving a damsel in distress on his way to pick up a swankier cowboy hat in town.

In this tutorial, we learn how to refinish and paint cabinets. Start off by grabbing a fresh brush and dipping it into your favorite color of paint. Next, brush the outer edge of the cabinets, brushing off the corner instead of in the corner, which will create a mess. Now, paint the entire outside of the cabinet, making sure to paint more heavily in the parts of the cabinet that has gaps and creases in it. Next, apply a new layer but paint very smoothly so you don't get any bubbles or brush m...

Many science fiction feature films and TV shows feature holographic communication and interfaces. Specifically, this video addresses how to use corner pinning within Holomatrix. Red Giant Holomatrix allows you to easily recreate that effect with just a few clicks. Whether you're new to Adobe's popular motion graphics and compositing software or a seasoned video professional just looking to better acquaint yourself with Red Giant Holomatrix, you're sure to be well served by this video tutorial...

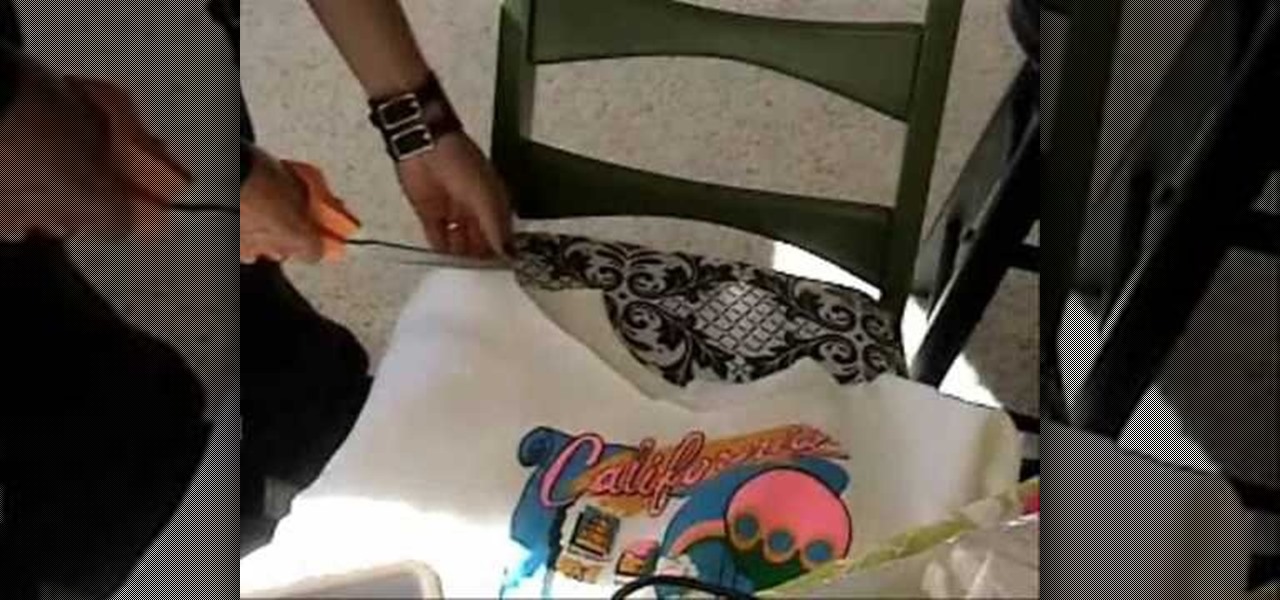
In this Beauty & Style video tutorial you will learn how to cut up your t-shirt and look unique and stylish. Take a loose baggy style shirt and make two marks with scissors just near the shoulder seam. Then cut down the center of the t-shirt about 2inches. Now cut from the shoulder marks up to the center point and on the back just cut straight along the shoulder cut marks. Then cut open the top part of the sleeves little short of the shoulder seams. After this cut off the bottom seam. Then st...

This HelpVids.com tutorial shows the basic options for setting an alarm on an iPhone. To begin, open the "clock" app. There are four sub-menus in the the "clock" app. Choose the "alarm" sub-menu. To create a new alarm, touch the "+" in the upper right corner of the screen. A new screen appears and the user has different options. A repeat time for the alarm can be chosen. The user can choose the sound that plays when the alarm goes off. The "snooze" option can be toggled on or off, and the ala...

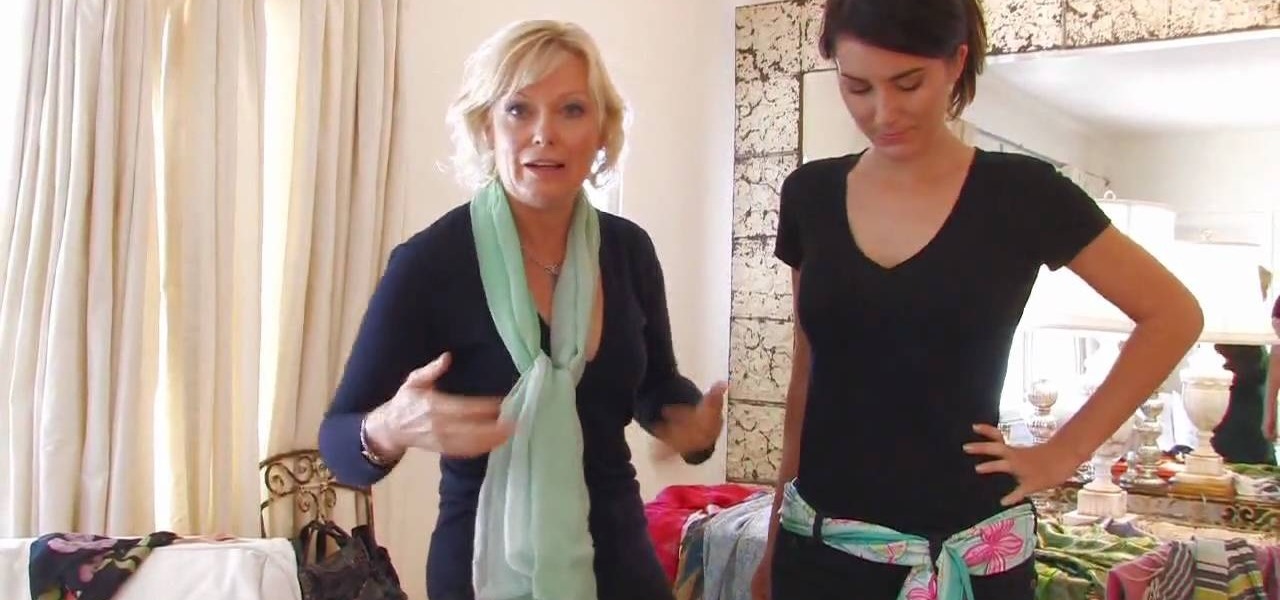
In this Modern Mom video, costume designer and fashion consultant Cate Adair shows how to wear a spring scarf. She shows how to use a long thin scarf as a belt. She threads the scarf through belt loops and tying it in a simple knot around the belt loop at the end. During the video, she discusses using fabric as a scarf, or changing the width of the scarf depending on body shape. Finally, she uses a large square scarf folded in half from corner to corner to tie a "sarong" style splash of color...

This is a great instructional video on how to apply star wars makeup. First you have to take off some glue stick to smudge on the second half of your eyebrows. Apply liquid green all over the face. Now apply yellowy green powder allover the face with a brush. Now contour bitches. Draw eye shadows with dark colors and eye brows with black color. Taper it out into a point both on the outer corners going up and in the inner corners going down, an Arabic kind of eye. Now set liner with black powd...

In this video tutorial, viewers learn how to use the vanishing point filter in Adobe Photoshop. Begin by selecting the image you want with rectangular marking tool. Then hold Control and C to copy it. Now go to your 3D shape. Press on Filter and select Vanishing Point. Click on one of the corners and drag to each corner. Hold Control and drag it down to create another selection. Now paste the photo by hold Control and V. Then drag the photo to the selected shape area. This video will benefit ...

Has a Rubik's Cube got you stumped? This video demonstrates how to understand notation in a three-by-three cube. Step one of the video is to understand that there are three types of pieces in a cube. One is a center pieces, these demonstrate what the color of the side must become. Next, is an edge piece. This is one piece with two stickers. Lastly, there is a corner piece. This is a corner on the cube. It has three stickers. Finally, once you understand the notation of the pieces of the cube,...

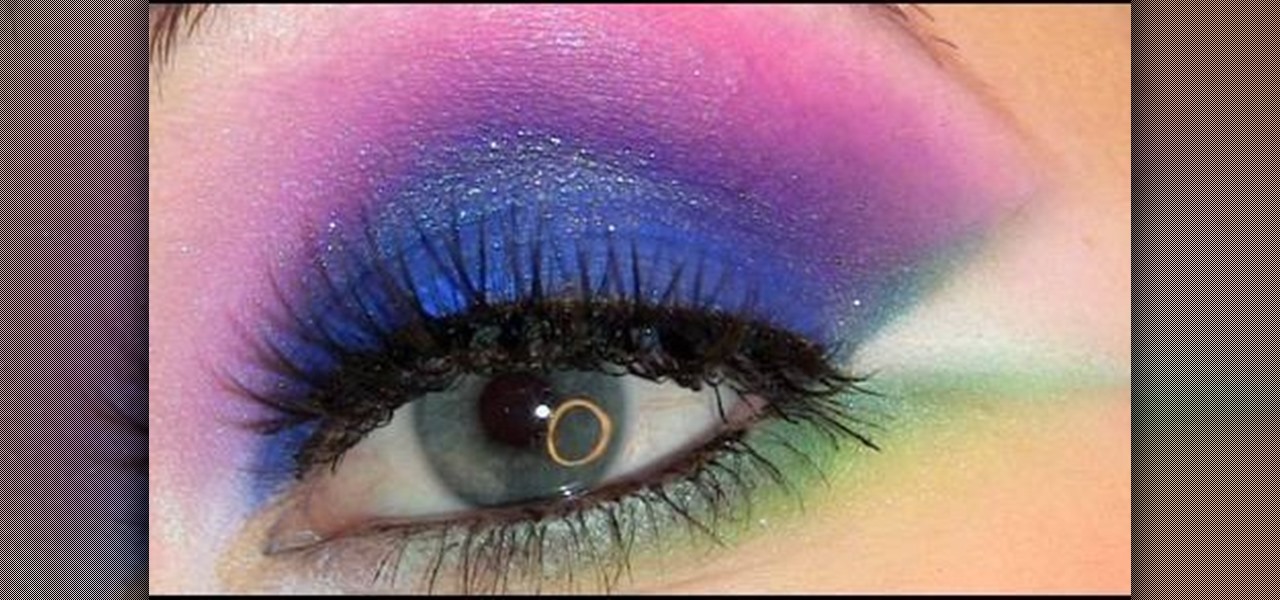
This video teaches the secrets of creating an Electro pop makeup style in simple steps. First wet a dark blue eyeshadow powder and apply to your eyelids. Now apply a pink eyeshadow using 222 brush and apply it over the blue. Now use white color and highlight under your eyebrows. Apply a green color using a flat brush under your lower lash and apply a brighter green over it. Apply a white eyeliner to the inner corner and make a triangle shape at the outer corner. Now apply some eyeliner, lashe...

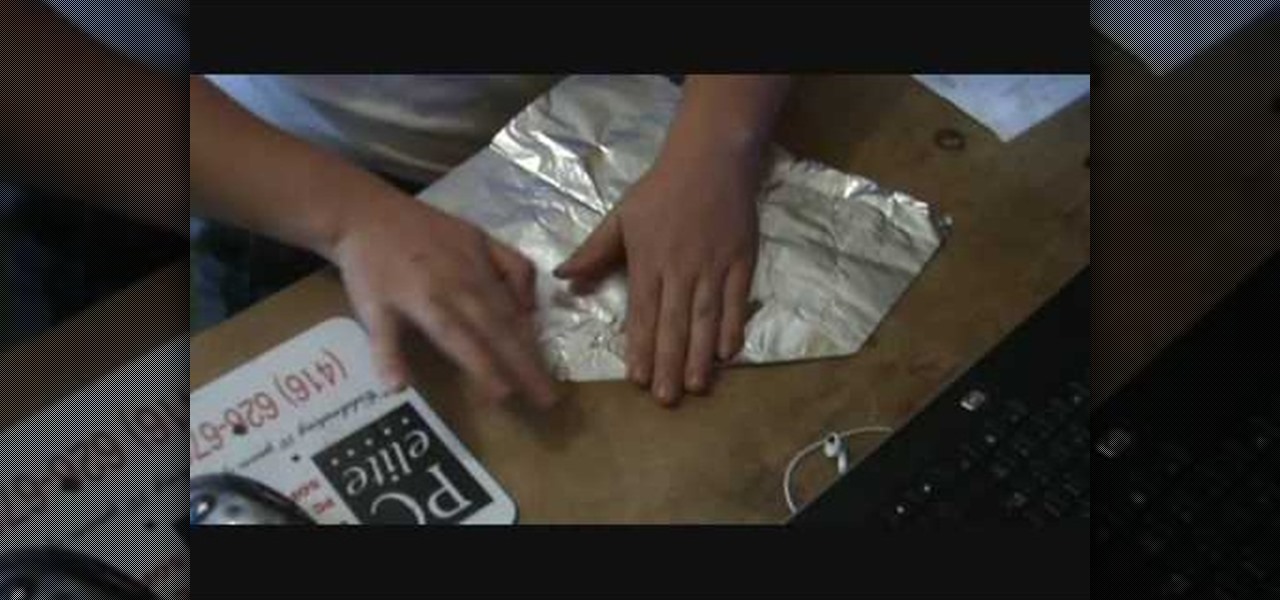
Learn how to make the perfect tinfoil airplane glider, every time. Obtain a rectangular sheet of tinfoil. Fold the shorter side of the rectangle foil in half and make a crease. Unfold the foil. Fold one of the corners into the middle crease. Fold the opposite corner into the middle crease. Fold the side into the middle crease. Fold the foil in half along the middle crease. Fold each side down so that it meets with the bottom crease and creates flaps. Press down on plane to strengthen the crea...

In this video tutorial, viewers learn how to make an origami fortune teller. Fold a sheet of blank paper in half--vertically and horizontally. Fold the four corners of the paper into the middle. Flip the paper over and fold the corners into the middle. Fold it on the horizontals and diagonals. From then on, users can decorate the fortune teller. This video will benefit those viewers who enjoy origami and art.

Makeup artist Sarah Jagger demonstrates how to fashion your hair and makeup with an "everyday" version of Versace winter 2007 styles. She uses a hair straightener to iron hair flat with a flick at the end. She then adds black-gel eyeliner with a flare pattern on the outer corner of each eye. Eyeshadow is applied to meet the eyeliner at a point and create a 1960's style appearance. Lighter tones are then blended-in above the eye, and added around the corners, to complete a wing-shape makeup ey...

This is a video about how to fold an awesome origami elephant by the help of paper only. For this you have to complete the following step (1) Fold half of the paper. (2)Again fold in two outer edges. (3)Fold corner across middle and then fold edge into center(4)Collapse triangle inside and fold corner inwards.(5)Create the ears and trunk also, at last create the body of elephant. This is a very good origami to use or play.

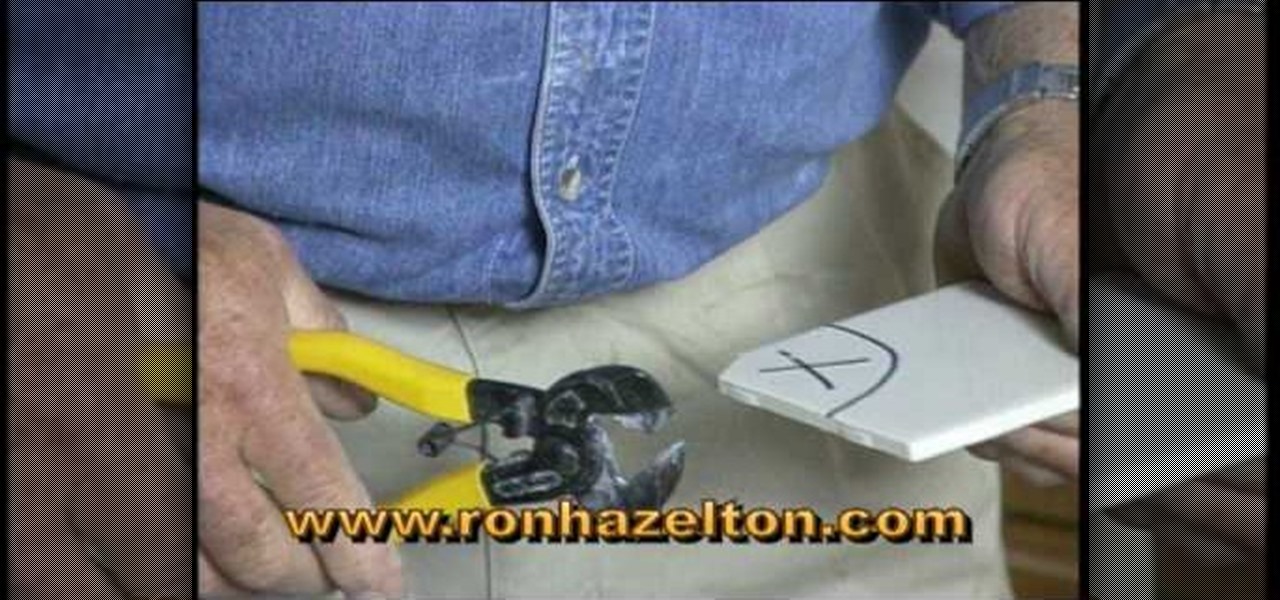
If you lay tile it is rare to do a job and not have to cut a curved piece of tile. If you do have to cut a curved piece there are two ways to do it. First, you have to draw outline of the cut that you need to make on the tile itself and mark the part you are going to remove with an X. The low tech method involves using a pair of tile nippers. You nip away pieces of the tile until you have nipped away the whole area until you have a circular cut out. For a more polished cut you can use a spira...

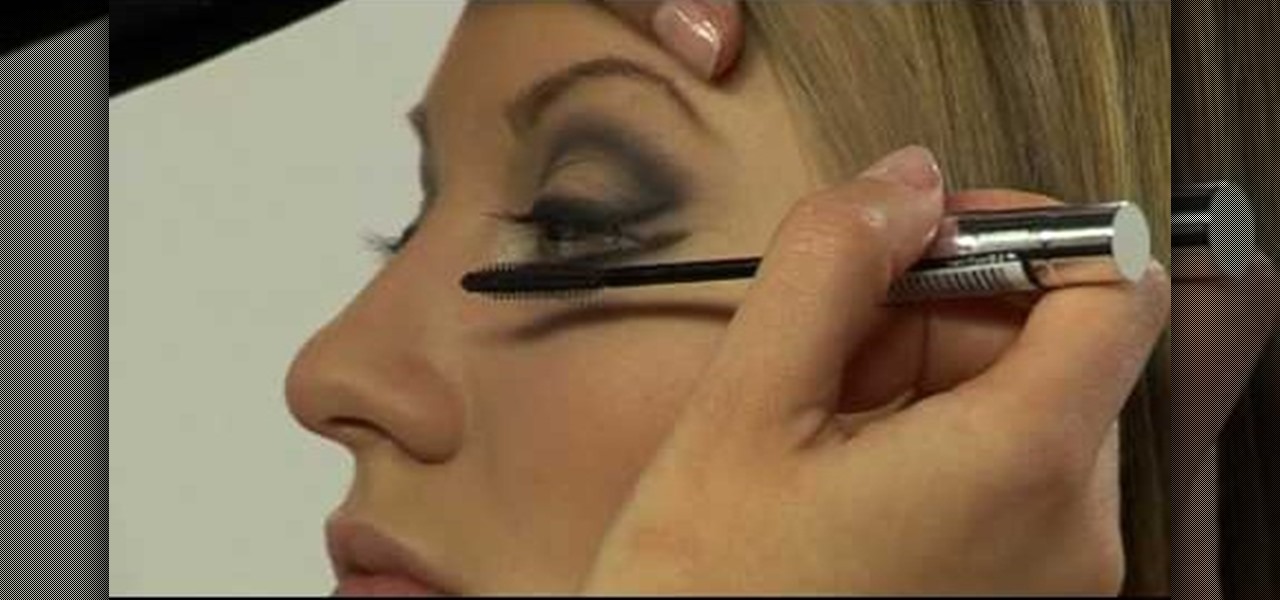
This tutorial is a great one to watch if you are looking for an elegant but still natural smoky eye look. Start off by taking the eye shadow Grey Stone and applying it all over the lid. Then take the MAC eye shadow called Omega right over the crease, rounding it off at the end. Use the MAC Charcoal Brown eye shadow right on the outer corner of the eye. Then put the NYX dark brown eye shadow on the outer corner, as well brushing it into the outer bottom of the eye. The next step is to take a s...

Watch this video as it gives easy instructions on how to make a mini paper airplane that flies far. -Get a small piece of paper. 4X8" would be best.

Woodturning uses skew and gouges to create designs in wood on a lathe. Learn about making cuts with these tools from a woodturning expert in this free crafts video series.

In this video, we learn how to create a realistic looking cut using cinema makeup. Start out by using silicone putty on the face to help make the cut on the face look more real than ever. Use brushes and a spatula to help mix colors together and apply to your face flawlessly. Also make sure you have fake blood with you so you can apply to the face to make look more realistic. After you have let the silicone dry, start to apply the red, dark red, and black colors onto it and blend to create a ...

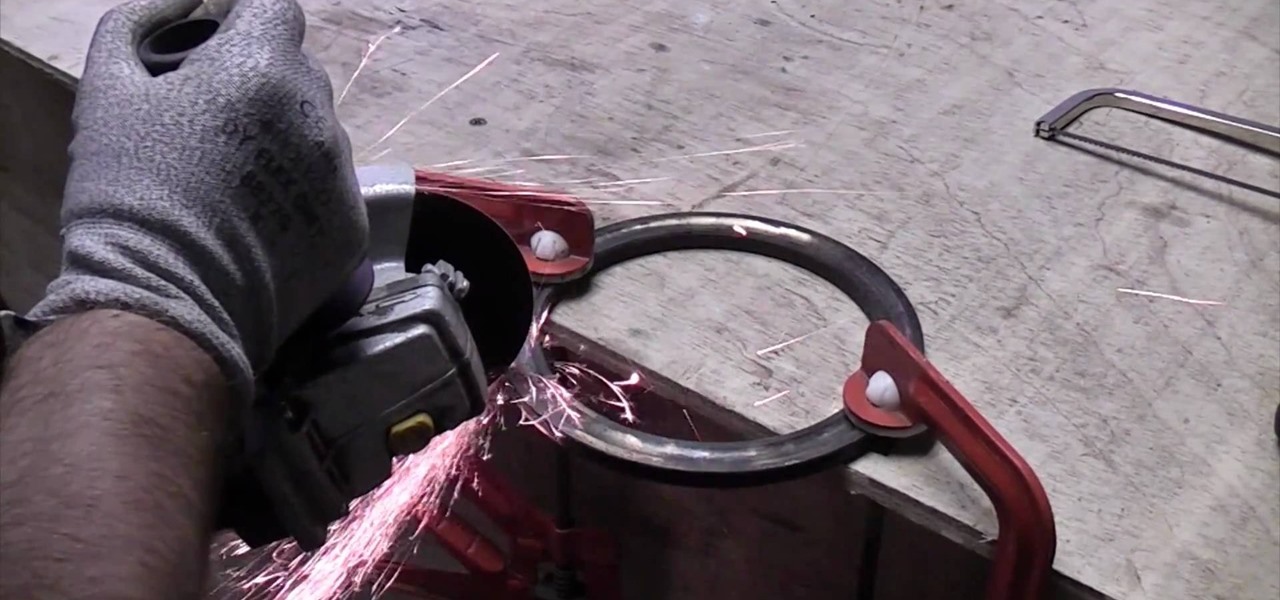
Hardened steel is a very useful material, but working with it is tough because it is nearly impossible to cut with simple tools. What you really need is an angle grinder, and this video will show you how to use one of the powerful power tools to cut a hardened steel ring.

In order to make paper cutting art for your home, you will need: paper, pencils, X-acto knife, card stock, scissors, self-healing cutting mat, poster board, adhesive, and a scanner.

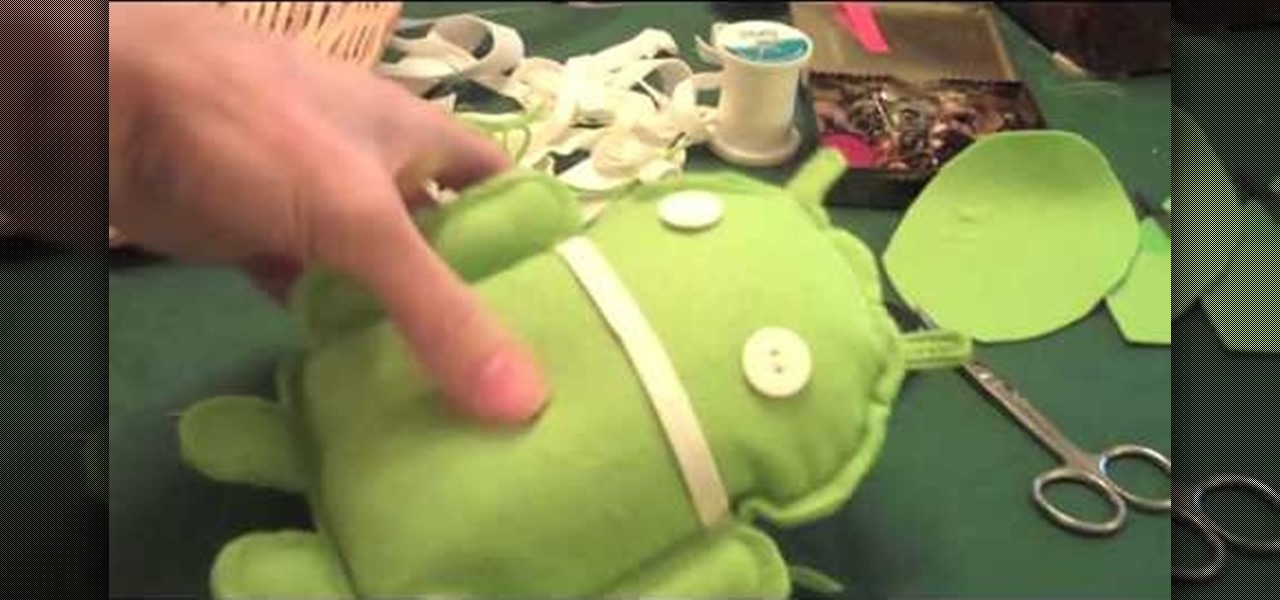
In this tutorial, we learn how to make an Android doll at home. First, print out the Android logo from the internet, making it large enough to make a doll. Now, cut out the print out with scissors cutting out the different sections individually. Next, place the cut outs onto a piece of green felt, then pin it down so it doesn't shift around. Now, cut around the paper so you get the same pattern. After this, cut out all the other parts, making two of the shapes so you have a top and a bottom. ...

In this video from kandeejohnson we learn how to cut a sports jersey or sweats into trendy summer tops. On a football jersey, she cut the shoulders off, right above the seam. And where there was too much fabric, she folded it and pinned it so it wouldn't hang too low. With a sweatshirt on, look in the mirror and see where you want to cut it. Make snips which will be your mark so you know where to cut. Make a rough cut of it while you are still wearing it. Now take it off and straighten all th...


