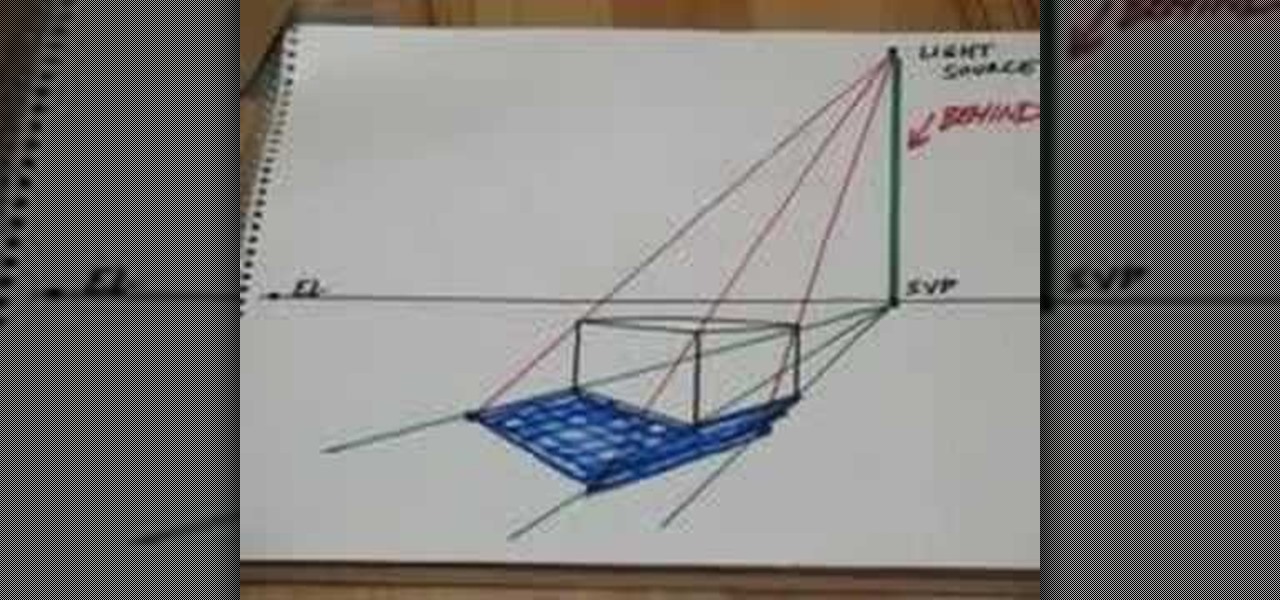
This video demonstrates the process for drawing prospective shadows using a light source. Start with the shadow vanishing point which is directly below the light source on the horizon line. Draw lines from the shadow vanishing point to the front three corners of your box. Next draw lines from your light source to the top three corners of your box. Where the shadow lines intersect, that area defines the shadow area and can be filled in for shadows. The shadows, of course, will line up with you...
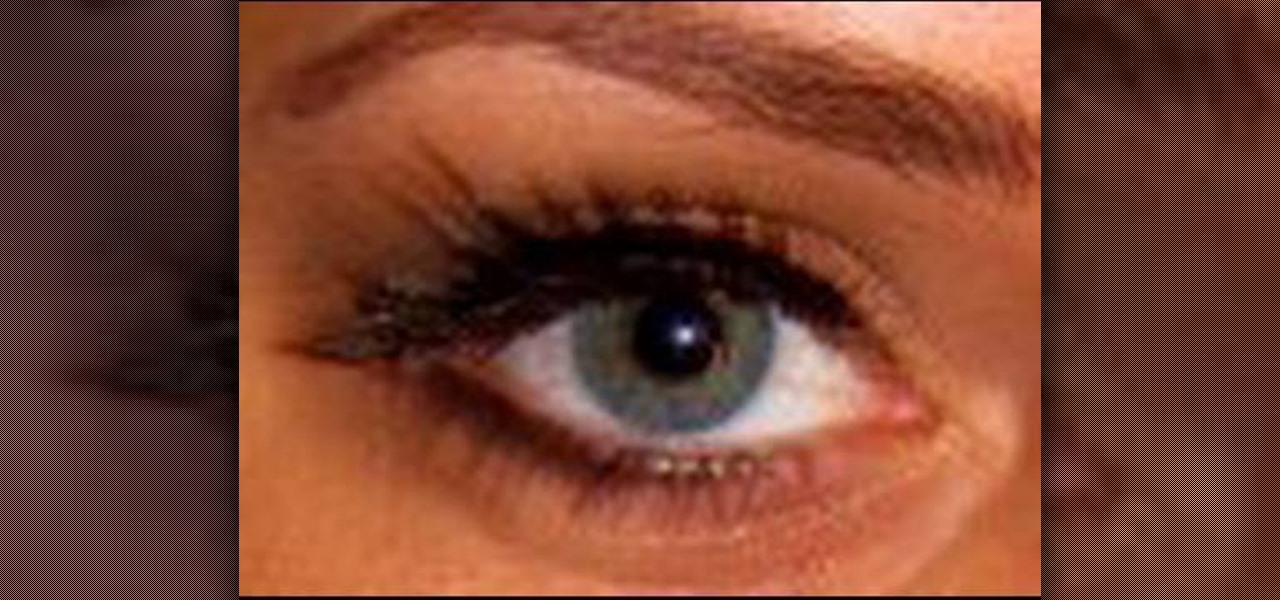
Judy teaches the secrets of creating a smoky bronze country girl look in simple steps. First apply the primer, then apply a light brown color to your lids. Now apply a bronze color over your lids and to the inner corners apply a ivory color. For the outer corner apply a darker brown and use black color to deepen the crease. Apply a black eyeliner to your upper lashes, then a dark brown to your lower lashes and add some false lashes. Now blush your cheeks using gingerly and apply some lip glos...
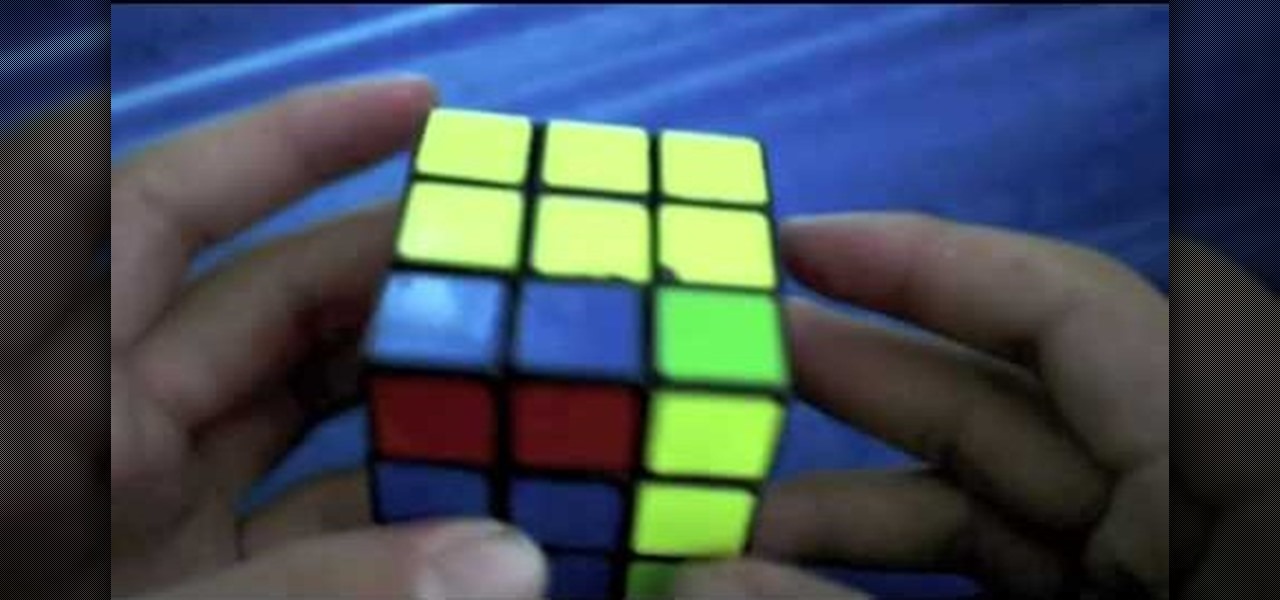
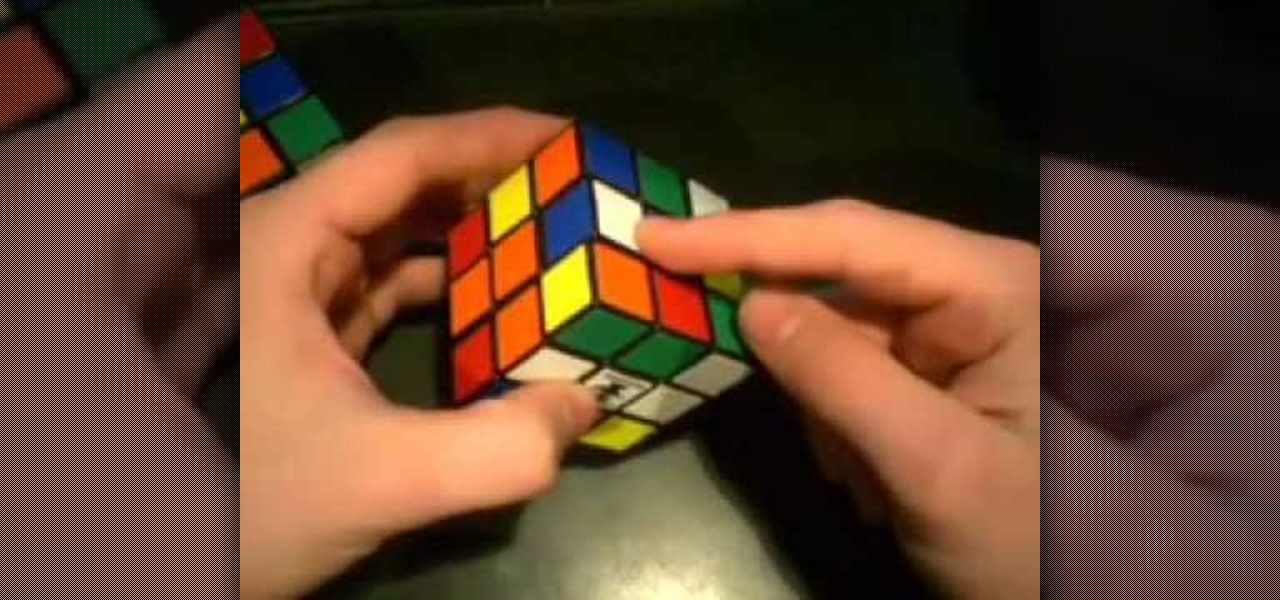
The video shows a unique method of solving a Rubik's cube. The method is called F2LL or 'winter variation'. There is very little information about this method on the internet. It deals with Corner Orientation. The person in the video is a skilled cube handler. There are 27 algorithms and their mirrors in the F2LL method. While you form an F2LL pair, you need to orient the corners at the same time. This method makes cube solving all the more easy.
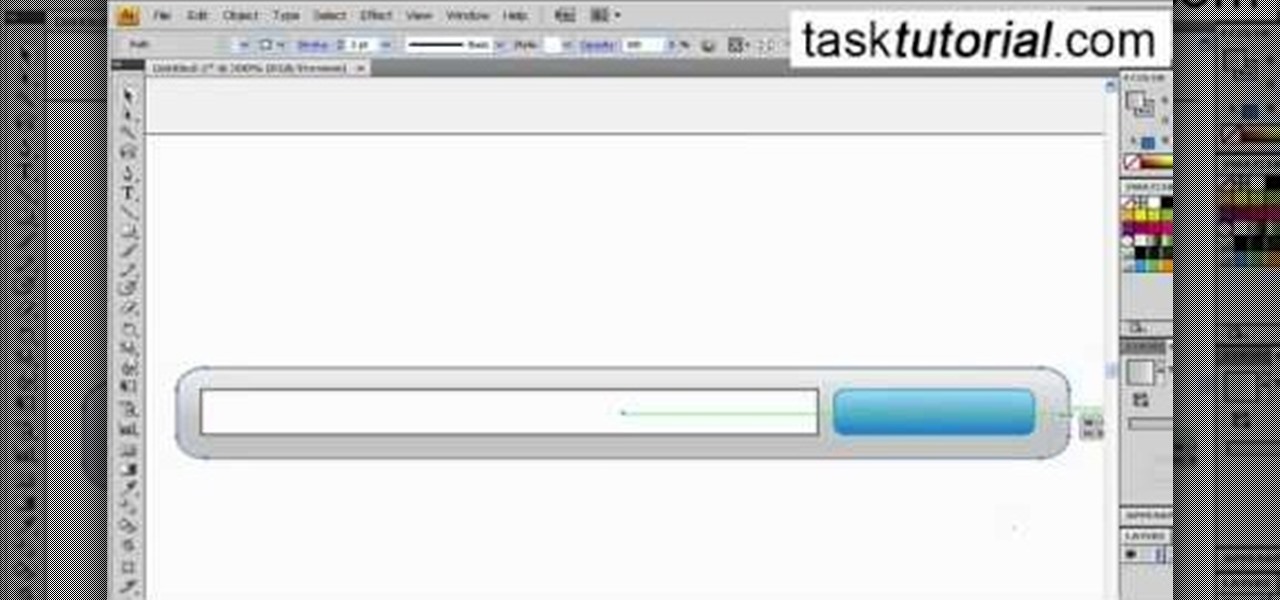
In this video tutorial by Tasktutorial ,shows you how to . Select the rectangle tool and set the corner radius to 15px and draw a rectangle. Select gray stroke color and the stoke weight as shown. Select the gradient fill and set the angle to 90 degrees as shown. Resize the rectangle as desired, select the rectangle tool with white fill color, 1px stroke weight and draw the rectangle as show. Select the rectangle tool again with the corner radius of 5px and draw a rectangle as shown. Apply th...
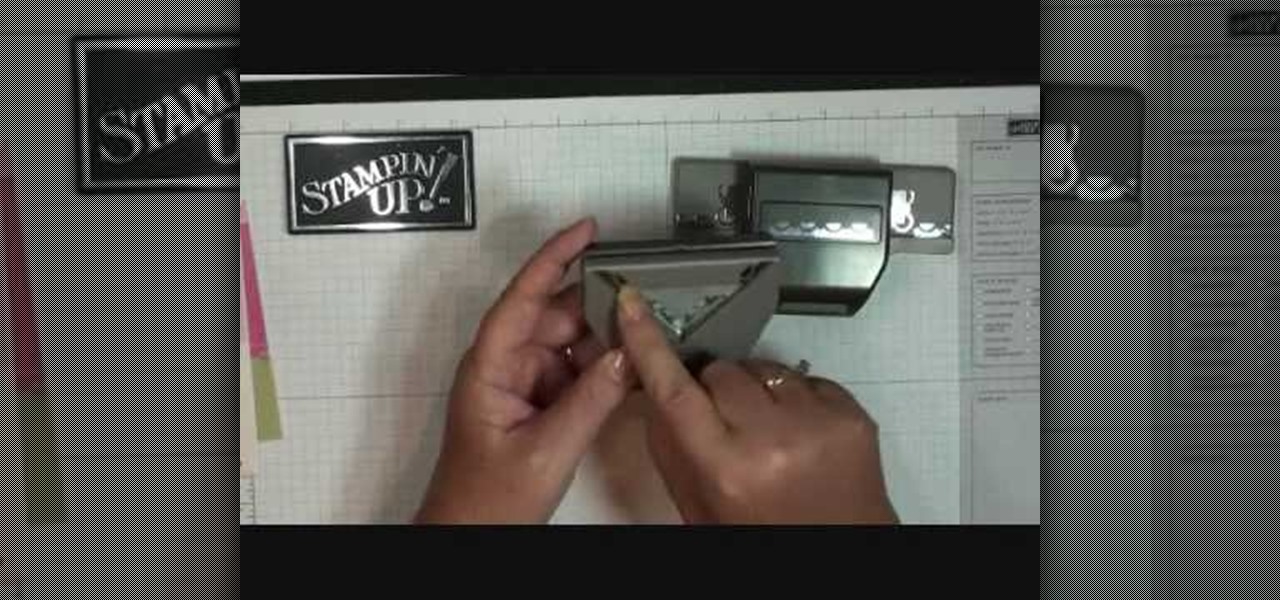
In this video, Dawn, an arts and crafts expert shows you how to work with stamping and stenciling. She goes through two different styles that can be created with stamps/stencils. The first is a "scallop trim border" on card-stock paper. She takes you through various steps to complete this. She then goes on to show you how to make a "scallop trim corner punch" with stamps. The process is quick and easy, you need card-stock paper, various stamps, and stencils.

Check out this video cooking tip from The Chef's Toolbox in Australia. Watch this tutorial to learn how to cut a whole pumpkin like a chef. Cutting a whole pumpkin for recipes is easy with a little know-how, see how to do it right here.

A cutting board is essential — even if you only ever cut drink garnishes, slicing limes on a dormroom desk is pretty gross.

Steel cut oats are whole, preserving the nutrients that would normally get cut out. To make steel cut oatmeal you will need steel cut oats, water, raisins, nuts, or whatever else you want to flavor it. Watch this video cooking tutorial and learn how to cook steel cut oats for oatmeal.

In order to make a Christmas pedestal/easel card, you will need the following: Cricut Storybook cartridge, ribbon, Beyond Birthdays, glue pen, glitter, and adhesive.

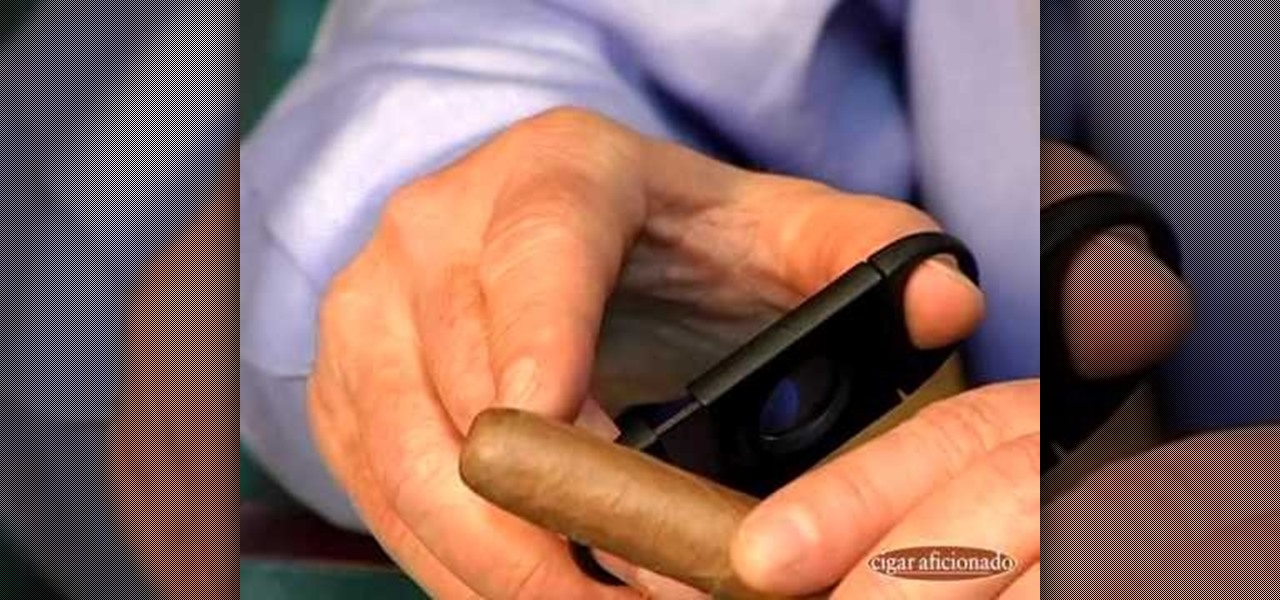
Many people ruin a good cigar by a badly placed cut. YouTube user Cigaraficionadovideo is here to help. First in order to understand the cutting mistakes you must first know how a cigar is put together. A hand made cigar is held together a the tip by, what is called, a cap. When cutting this cap you want to do it above the shoulder. Be carful here because a bad cut a little lower could result in the wrapper falling it apart can lead to a mouth full of tobacco which will pretty much ruin your ...

This video explains how to cut cucumbers when you're using them in sushi. Begin by peeling the cucumber. Cut off both the ends then cut it right down the middle so you have two pieces. Hold the cucumber in one hand and skin it with the other hand. This is to be done in one, long, slow, rotating motion. The knife needs to be moving up and down the whole time while you are cutting extremely thin. This requires a lot of patience and time. It is very important to not rush through this. When you g...

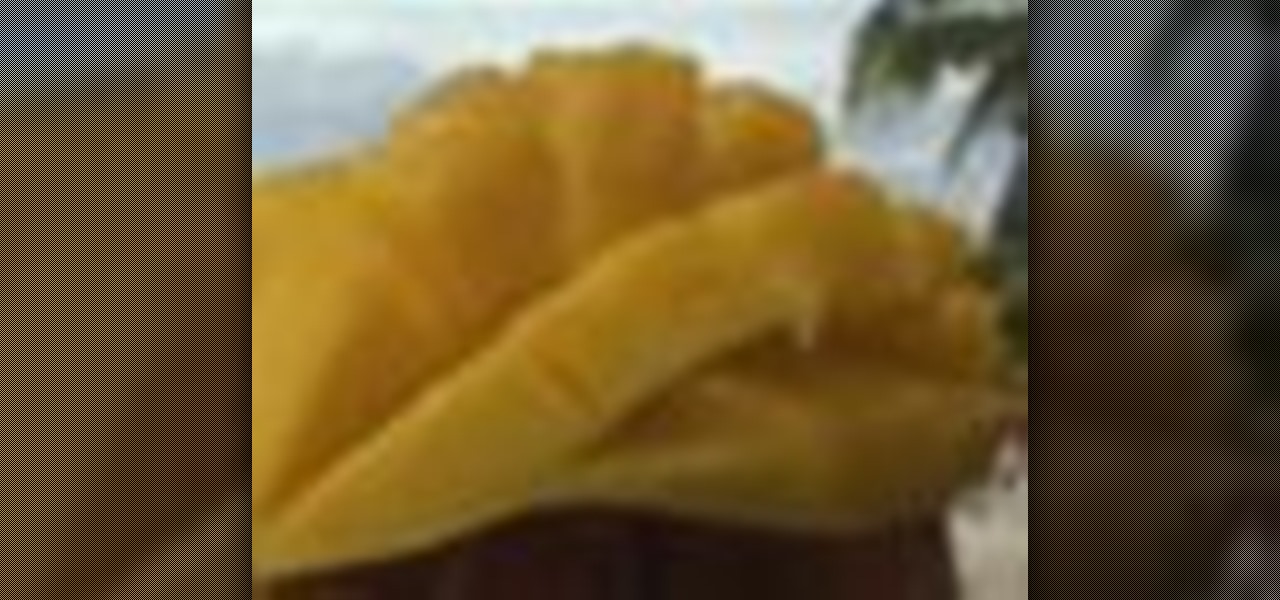
It's irresistibly exotic and lusciously juicy; it's also got that enormous pit that sometimes makes the mango seem like more trouble than it's worth. Tame this tropical teaser with a few well-placed cuts.

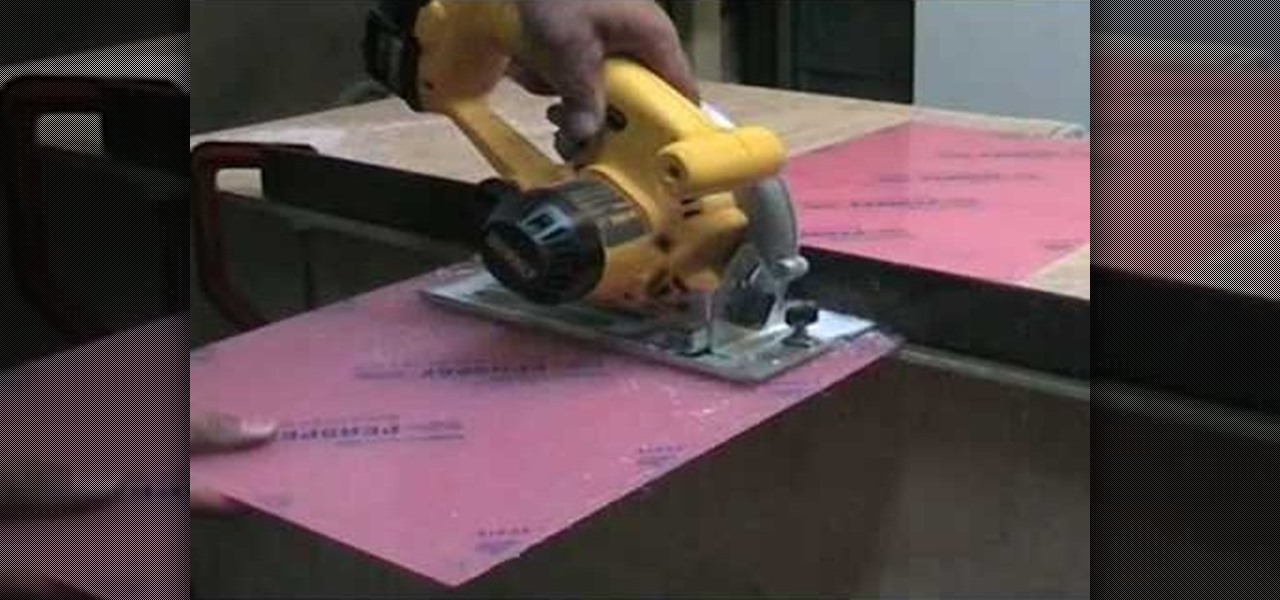
Wondering how to cut Perspex (or acrylic glass) easily? When cutting Perspex at home, you're more or less limited to using circular saws and jigsaws. For cutting straight lines, the circular law works best; for curvy lines, you'll want to use your jigsaw. For more information, including step-by-step instructions on cutting your own acrylic sheet, watch this DIY home tutorial.

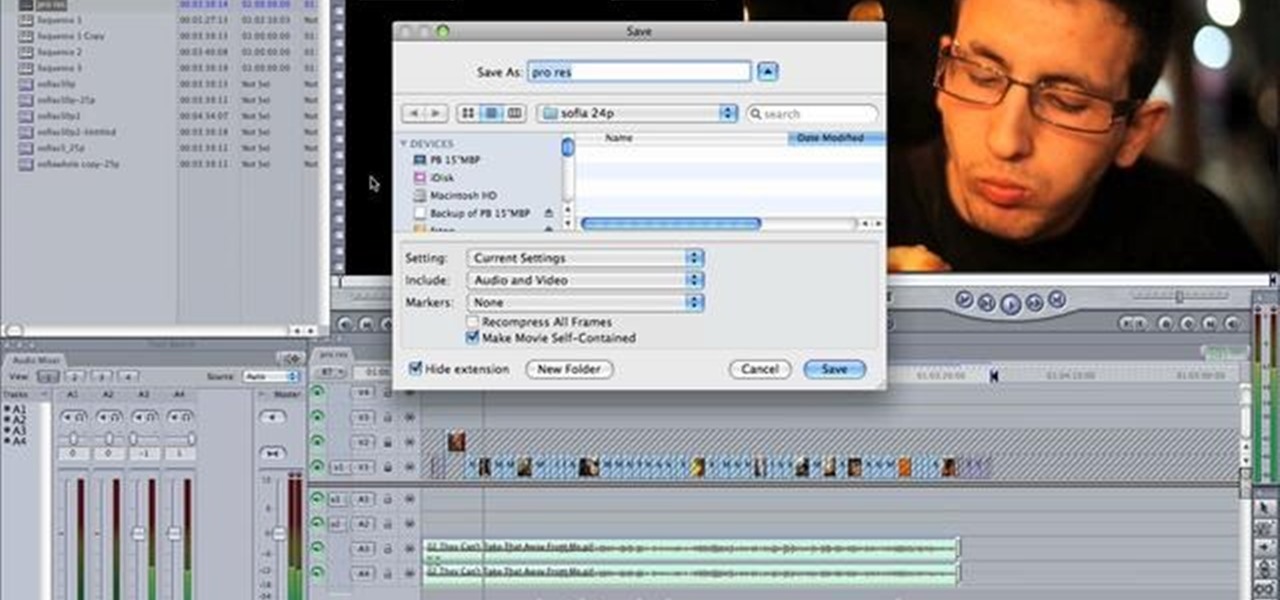
A tutorial using Final Cut Studio 2 on how to convert footage shot in 30p to perfect 24p. Used in the short Sofia's People. Can't quite figure out why you have two of the same filters in FCP? This quick clip will sort you out. Whether you're new to Apple's popular motion graphics and compositing software or a seasoned video professional just looking to better acquaint yourself with the program and its various features and filters, you're sure to be well served by this video tutorial. For more...

Interested in editing footage shot on a Canon DSLR in FCP Studio? You've come to the right place. Whether you're new to Adobe's popular motion graphics and compositing software or a seasoned video professional just looking to better acquaint yourself with the program and its various features and filters, you're sure to be well served by this video tutorial. For more information, including detailed, step-by-step instructions, watch this free video guide.

In this clip, learn how to convert photo shot on a Canon EOS DSLR camera to Apple ProRes for convenient editing in Final Cut Pro Studio. Whether you're new to Adobe's popular motion graphics and compositing software or a seasoned video professional just looking to better acquaint yourself with the program and its various features and filters, you're sure to be well served by this video tutorial. For more information, including detailed, step-by-step instructions, watch this free video guide.

If you're headed through the firey hell region of Dark Souls, you may encounter the Ceaseless Discharge boss when you pick up the item in the corner. If you want to defeat the boss, take a look at this guide from IGN on utilizing a safe spot.

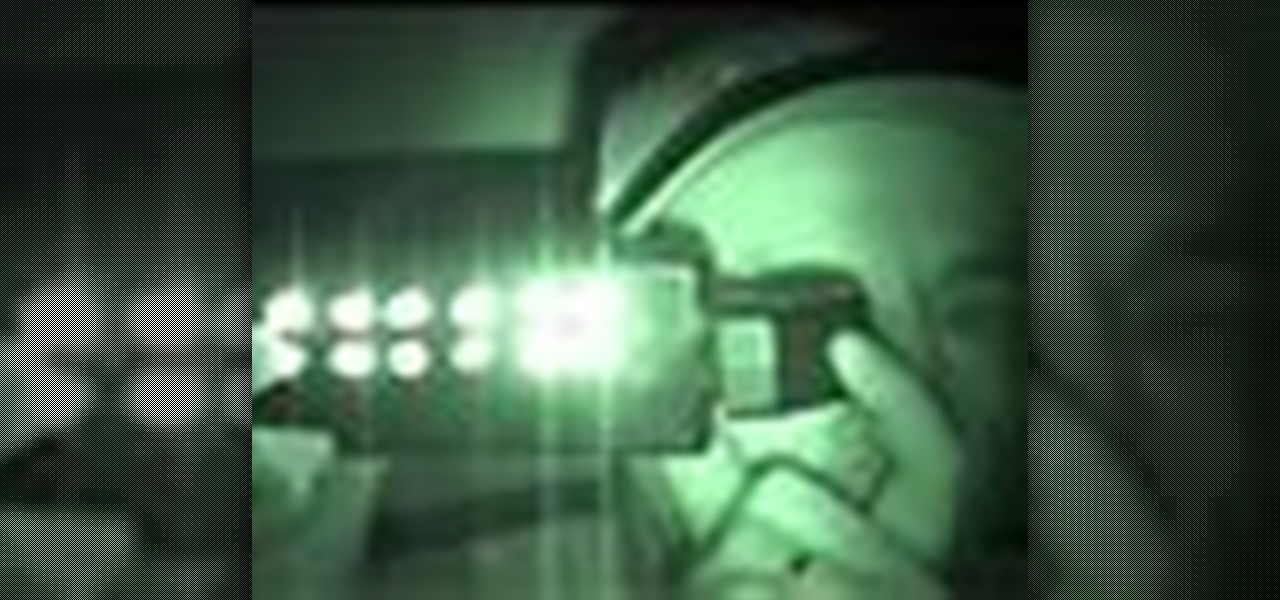
Watch as Kipkay hacks a bulky VHS camcorder and turns it into a night vision headset. This video tutorial will show you that old technology can still be useful in today's world. Just think, you might not have ever been able to see in the dark corners of the night without this hacked VHS camcorder. Night vision isn't just for the military, it's for you, and me, and your dog...

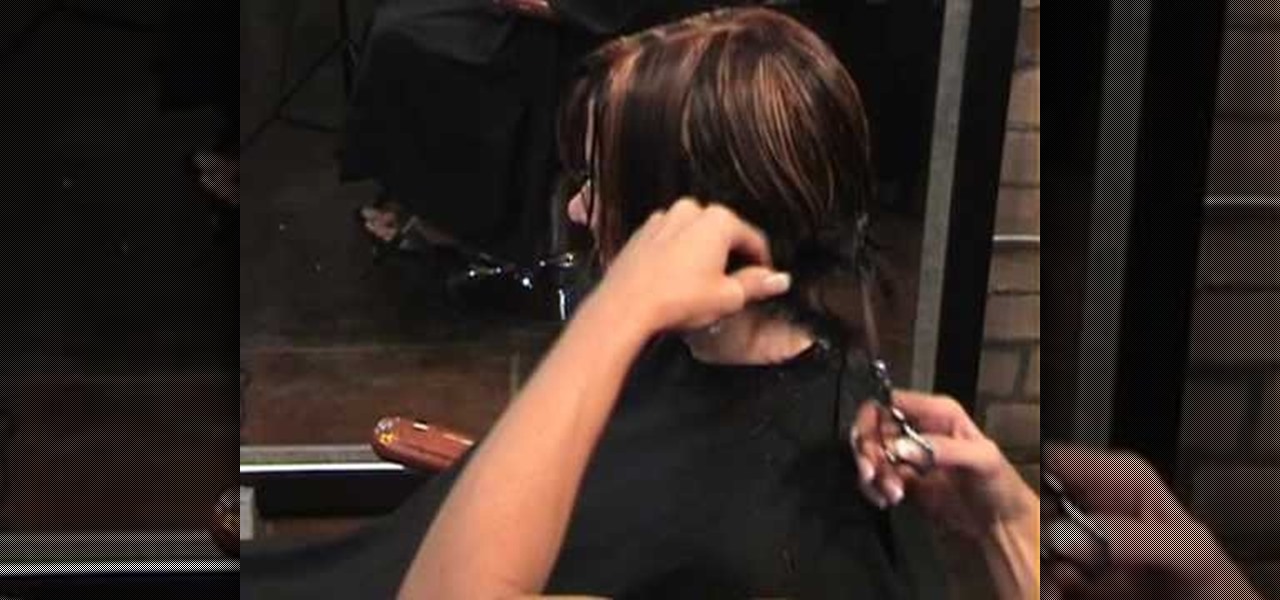
If you're still obsessed with Olivia Wilde's blunt-cut bob in "Tron," then why not get the cut for yourself? We know it's a really big change, especially if you have long hair, but if you're ready to take the plunge, then check out this video to learn how to cut an assymetrical angled A-line bob.

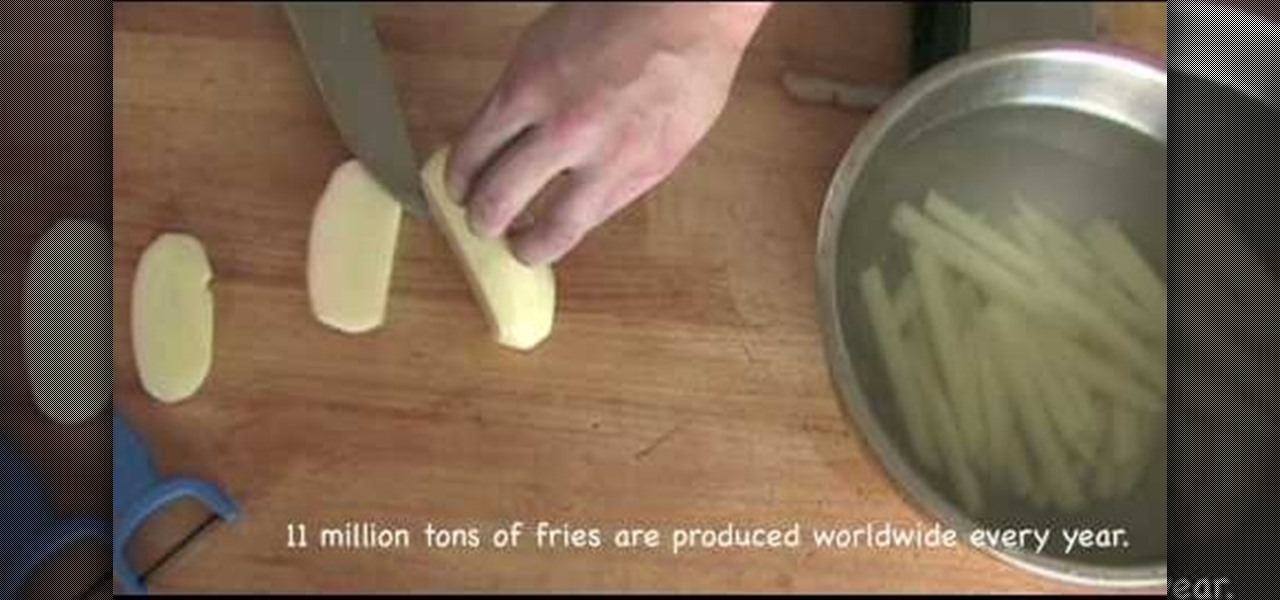
It's quite unfortunate, but most of us don't possess a french fry press at home (you know, the big clamping machine with square cut shapes on the bottom to produce perfectly cut french fries at fast food joints).

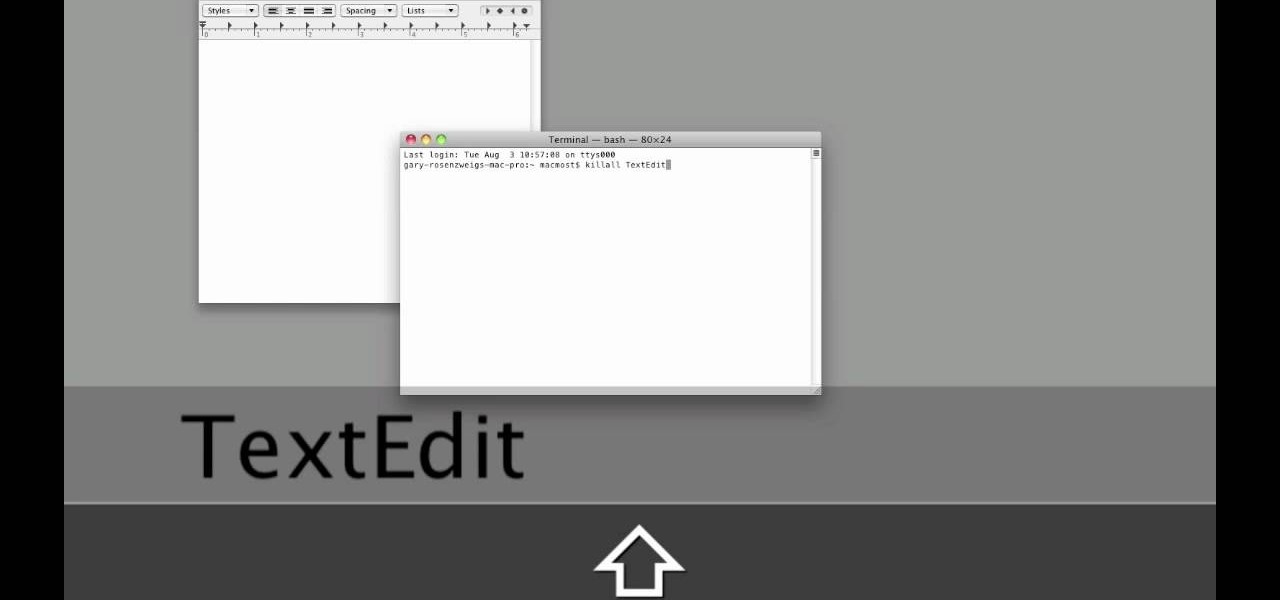
When it comes to closing applications in Mac OS X, there are more options available than just clicking the little red circle in the left-hand corner of an application window. There are, in fact, 10 different ways in which a person can quit an app. And this handy home-computing how-to demonstrates each and every one of them.

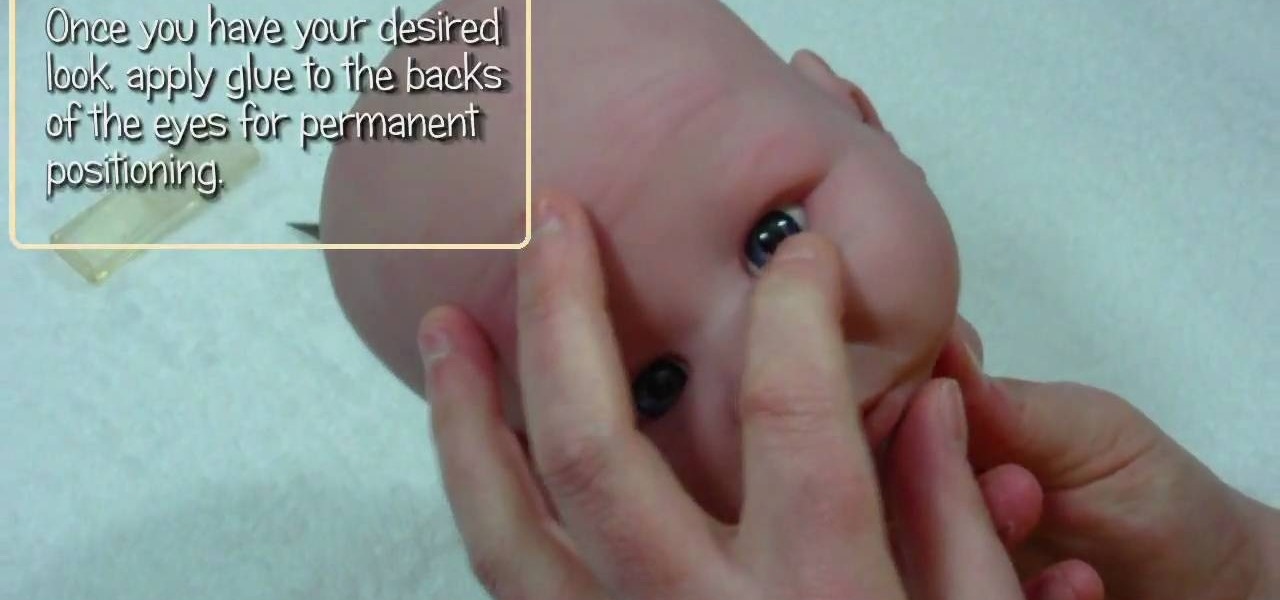
In this tutorial, we learn how to insert eyes from the back of a Reborn baby doll. To do this, you will need: a cutting knife, glues, and the correct type of eyes for your baby doll. Start off by cutting the vinyl on the back of the head, using your thumb to push the socket back into the head. After this, cut the bottom half just enough to push the eye through the socket. Insert the eyes into the cuts that you made, letting it sit flush to the vinyl. Look at the front of the doll to make sure...

In this video tutorial, viewers learn how to replace caulk on a bathtub. Begin by placing a fresh blade into a utility knife. Then use the knife to cut out the old caulk. You want to make 2 cuts. The first cut with the knife plying flat on the edge of the tub. The second cut with the knife tip up at about a 45 degree angle. This will allow most of the caulk to come out in one piece. For any remaining caulk, take a razor blade and scrape it off. To remove any remaining mildew, apply 6 ounces o...

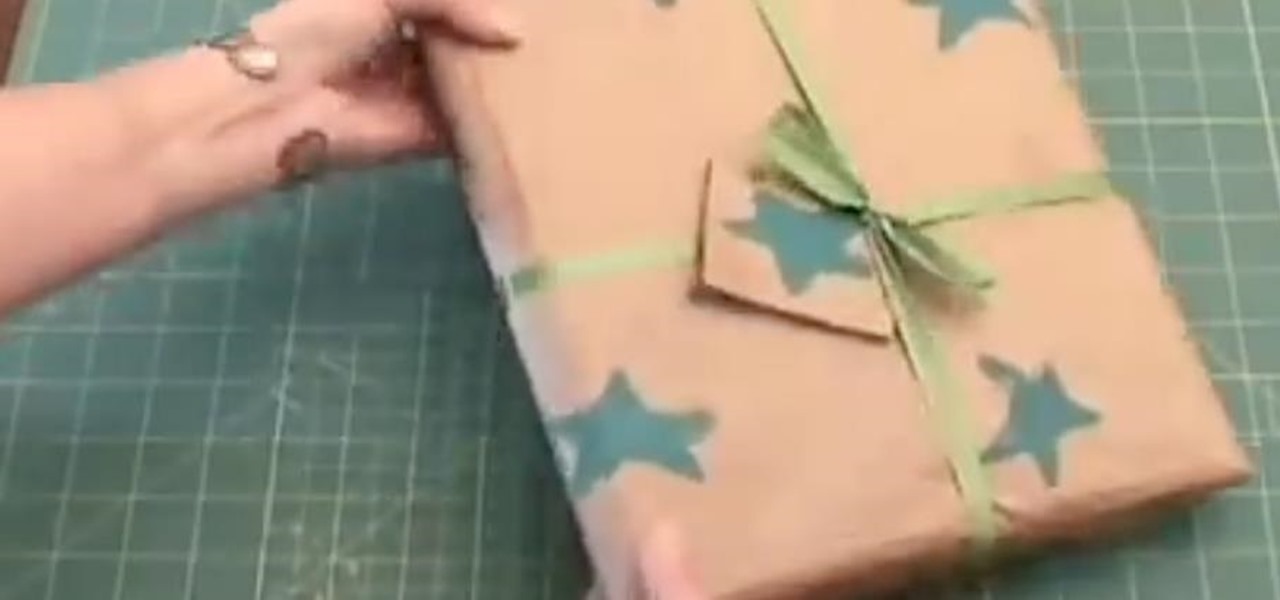
In this video tutorial, viewers learn how to gift wrap using recycled material. The materials need for this project are: a potato, large paper bag, tape, ribbon and paint. Begin by cutting the potato in half and draw a simple shape onto the sliced surface of the potato. Then cut out the negative part of the shape with a knife. Now open the bottom of the paper bag and cut down the side so that it lays flat. Then brush some paint onto the potato stamp and press it down along the paper to form a...

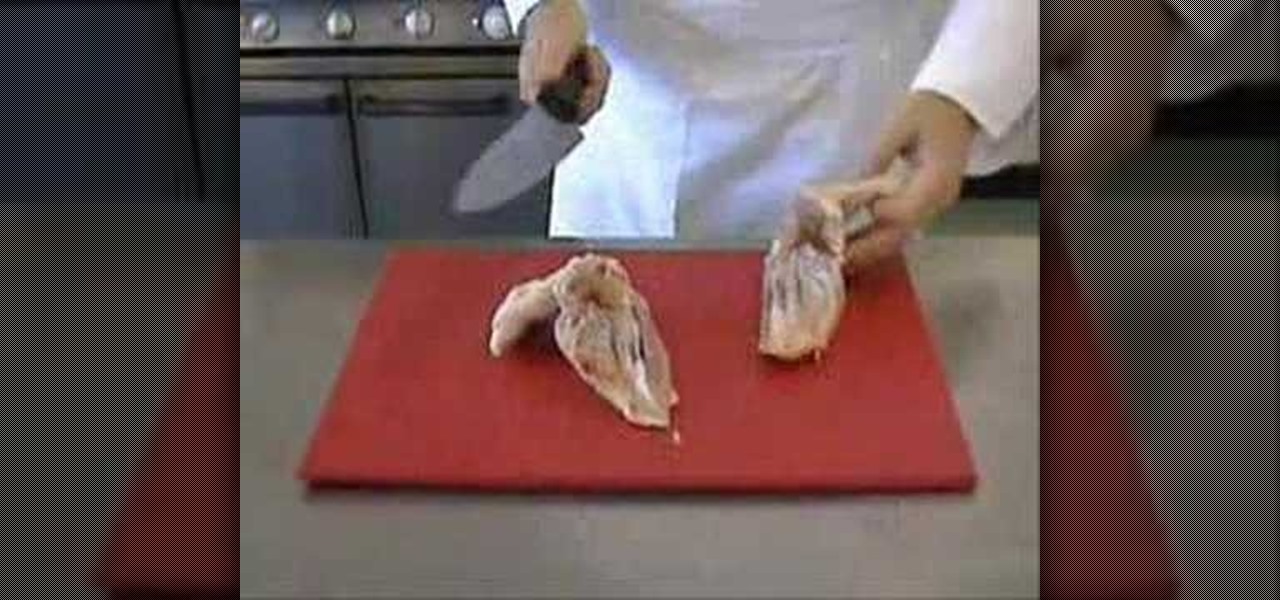
In this tutorial, professional chef Jason Hill shows you how to cut up a chicken into eight parts and get more bang for your buck. Follow along as Jason shows you exactly where to cut and pull for any recipe.

In this clip, learn all about onions and how to cut them without tearing up. Don't cry over cut onions anymore! The girls from Show Me The Curry offer you fantastic tips and fun options for onion cutting.

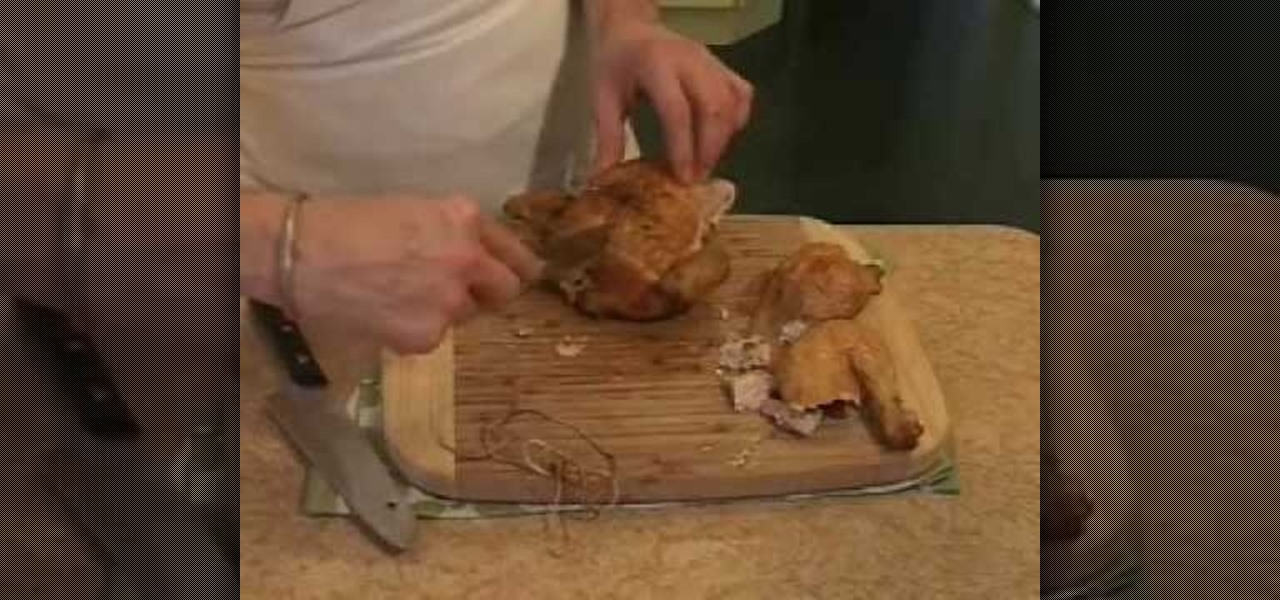
In order to Carve a Whole Roasted Chicken, you will need the following: a cutting board, a fully cooked roasted chicken, and very sharp knives.

Learn basic features for use on your computer. Cut, copy, and paste text, media, or file/folders anywhere in your machine. This video will show you exactly how to cut, copy, and paste on your computer.

It is usually less expensive and fresher to purchase a whole chicken as opposed to pieces. In this two part tutorial, learn how to cut up a whole chicken for cooking with Rob Hinsley, head of Hospitality & Catering at Stoke on Trent College in the UK.

Benson Trenh and Mark Norris show viewers how to build a bottle rocket using common household items. To build this creation you will need tape, a hole puncher, scissors and string. Also use a black plastic bag, or any color, for the parachute! Cut the black plastic bag into a square, any size you would like! Next, take the square and punch a hole at each edge of the square and string the string through the hole tying a knot. You should now have the parachute! For the body of the rocket, get a...

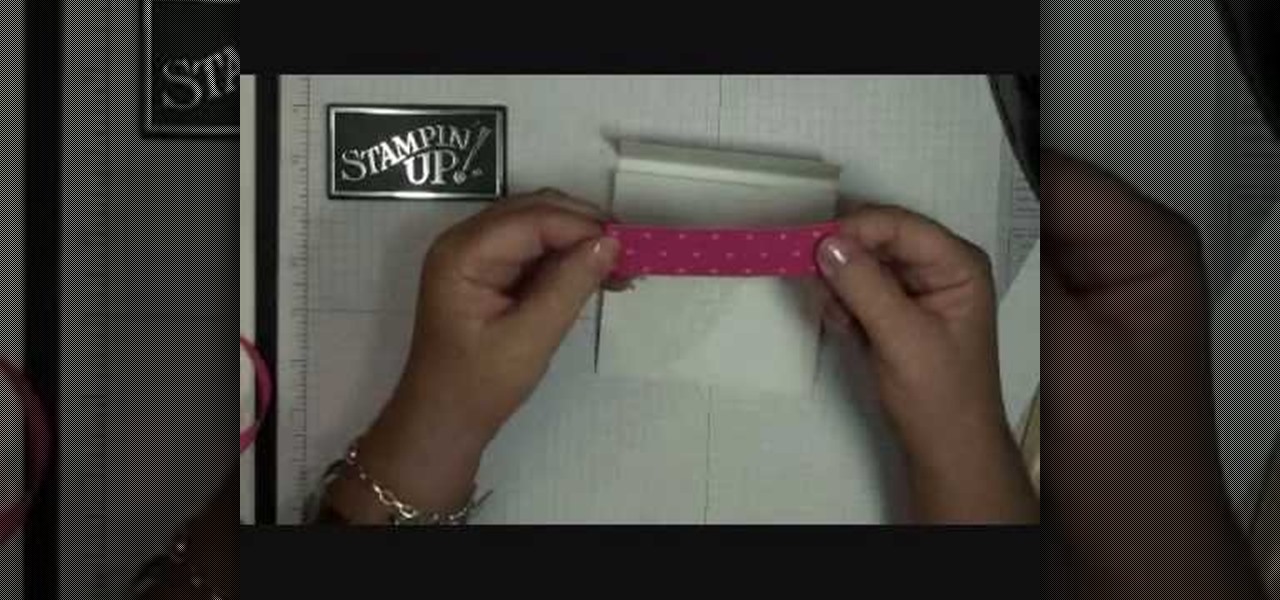
This video shows the method to make a gift card holder with "Stampin' Up." First, we use the Movers and Shapers to cut a heart shape on a paper. We use the add-ons cut by the Movers and Shapers to punch windows. Next, we use the Big Shot machine. Next, put a piece of Whisper White in the machine and cut at four and a quarter to eleven inches. Fold it into half and cut an inch and a half off the front top. Score the back panel at one and quarter inch. Take bags measuring 3 5/8 inch to 6 5/8 in...

Learn how to master the Rubik's Cube puzzle... watch this video tutorial to see how to solve the Rubik's Cube in under one minute. You don't have to be a genius to accomplish solving the 3x3 Classic Rubiks Cube.

Check out this video tutorial on how to make cheap dragon wings, controlled by body posture. You can do this project for $18 if you use plastic garbage bags and Scotch tape for the membranes. You'll see how to make very light and strong costume wings. How strong? That strong.

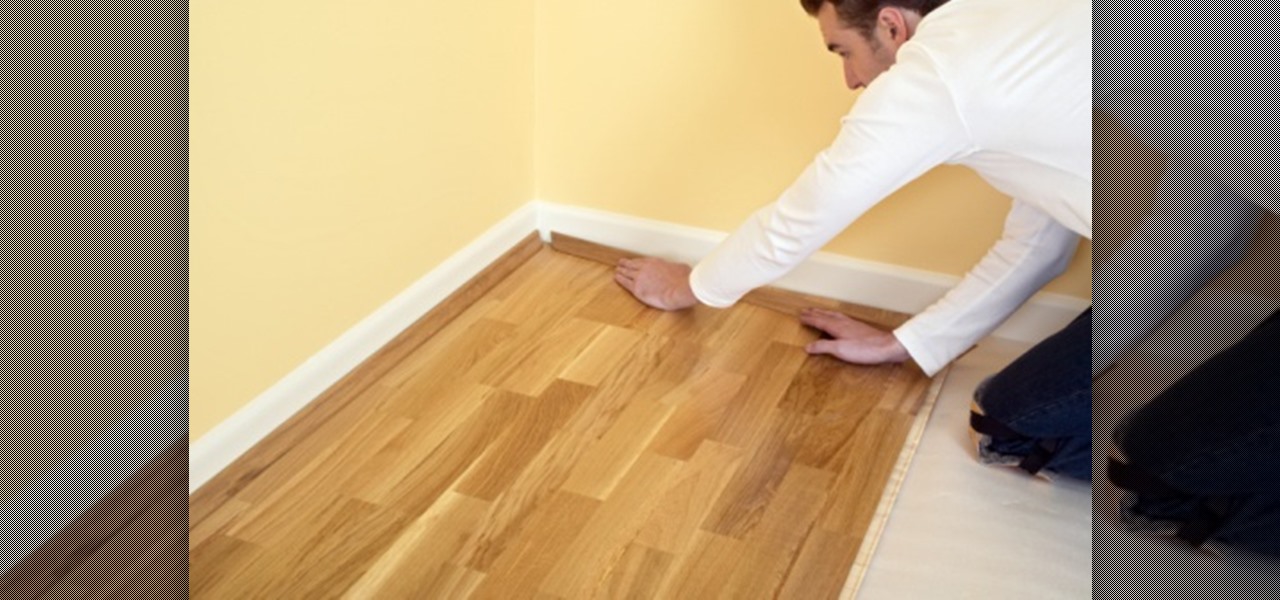
Laminate floor planks look beautiful and add elegance to a home. However, if a plank gets damaged, it detracts from the beauty of the flooring. Do you call in a professional and pay tons of money to replace the plank? Thankfully, no. There actually is an easy way to replace a damaged laminate plank if you are ready to spend some time and have a little bit of patience.

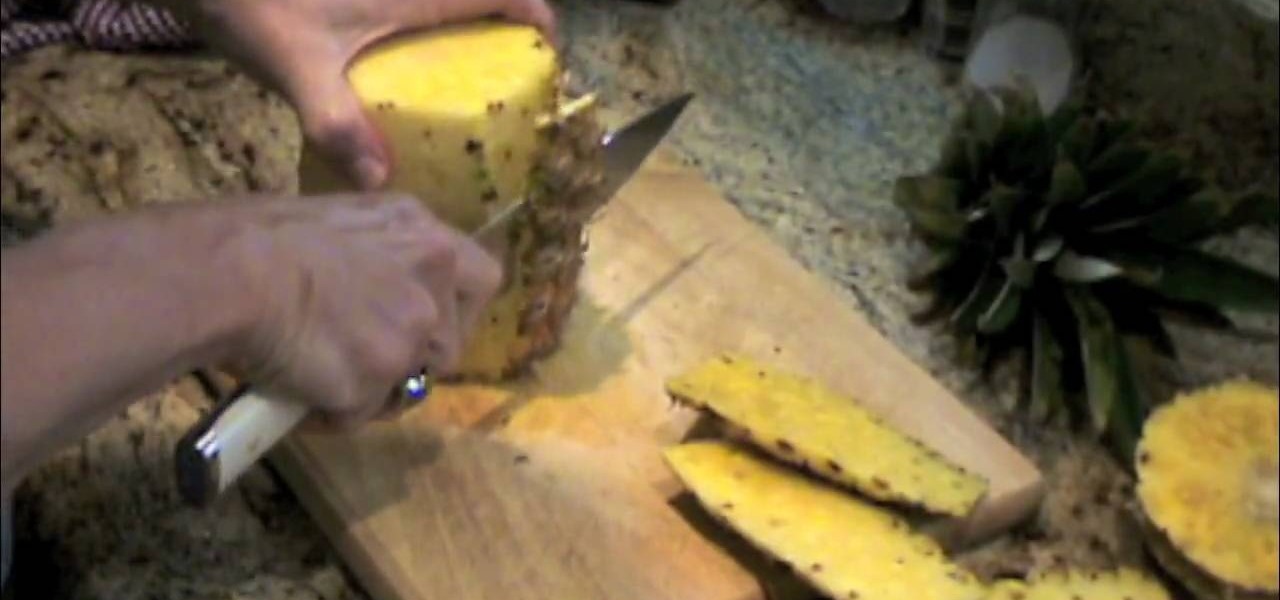
In this video, we learn how to cut a pineapple. First, take your pineapple and remove the leaves from it. Then, using a sharp knife you will cut off both ends of the pineapple. From here, turn the fruit on one side and gently cut the edges off of it with the sharp knife. Continue to do this all the way around the pineapple until there is no more skin left on it. After this, you will place the fruit on it's side and cut it into thick slices. After this, take each individual slice and cut the r...

In this tutorial, we learn how to prepare a cantaloupe. First, cut the top and the bottom off of the cantaloupe. After you have these cut off, take a sharp knife and cut from the top to the bottom of the fruit. Cut just the skin off, making sure you get the least amount of orange left on the skin when it's cut off. Continue to cut all the way around the cantaloupe until there is no more green or skin left on the fruit. After this, cut the fruit in half and then scoop out all the seeds. From h...

In this video we learn how to use a table saw with Skil & Lowe's. The rip cut and the cross cut are two cuts that are most useful. A rip cut goes with the grain of the board to cut it to width. The cross cut goes against the grain and cuts it to length. First, position the board next to the blade and then raise the blade. The blade should be just above where the board is at. Slide the rip ends over to the dimensions you want and then lock it down. Put your safety glasses on, then turn on the ...

In this tutorial, we learn how to make a bunny shape out of an apple. First, grab your apply and cut it in half using a sharp knife. Next, cut a quarter out of one half of the apply. Now, take that cut quarter and cut out the very middle of it. Next, make a v-shaped cut on the outside of that same quarter. Next, cut another quarter out of that same half and make the same cuts as the one before. Cut two more quarters out of the remaining apple and remove the skins. Place the apples in an ice b...

This video tutorial is in the Arts & Crafts category where you will learn how to make Mexican papel picado paper cuts using chisels. This is a traditional craft of Mexico. There are various forms and sizes of chisels used for this purpose. The designs you can cut on paper are only limited by your imagination. First you got to make a design on paper. Then you got to stack up 40 to 50 sheets of paper and staple them together. Now you can start cutting the paper stack using a chisel and a hammer...

In order to cut a long layer haircut, you will need a good pair of scissors. You must stay in the exact same standing position the entire time. Bring all of the hair together on each side, in order to cut it.


