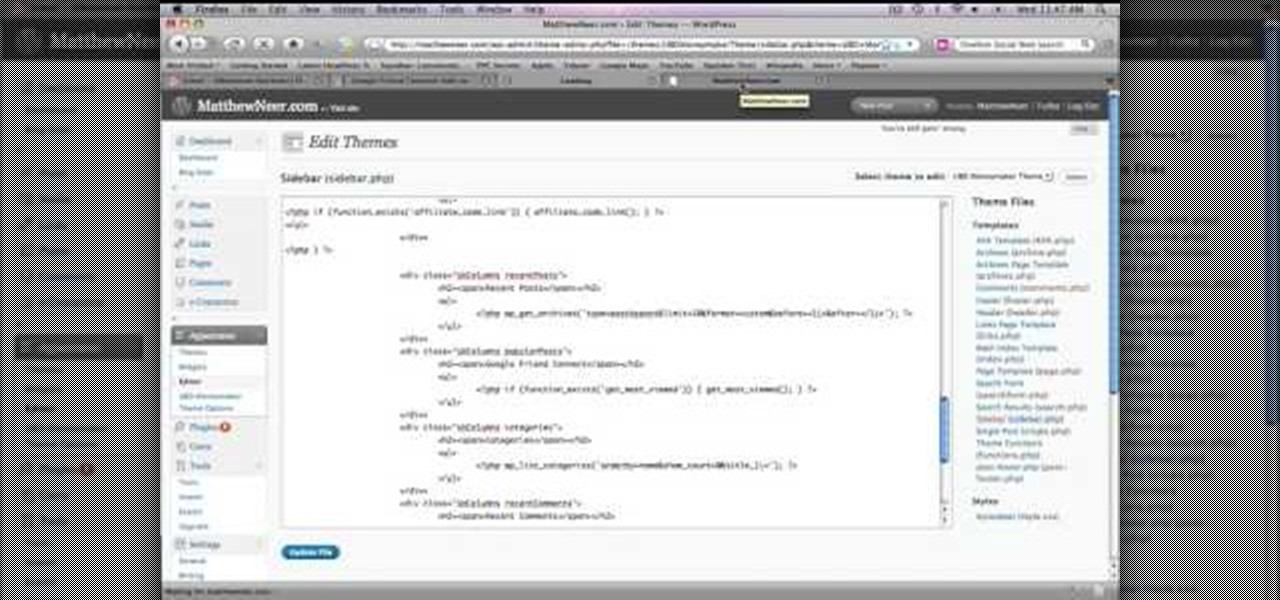
In this how to video, you will learn how to layer videos in Final Cut Pro. First, open Final Cut Pro. Get your original clip and then put the clip that you want in the clip and drag it in over the top in the time line. Change it to image and wire frame. Grab the corner of the image and drag it down to the size you want. You can also move it around. Next, go to sequence and render it. Once that is done, change the selection back to image. Once you play the file, both clips will be playing. If ...
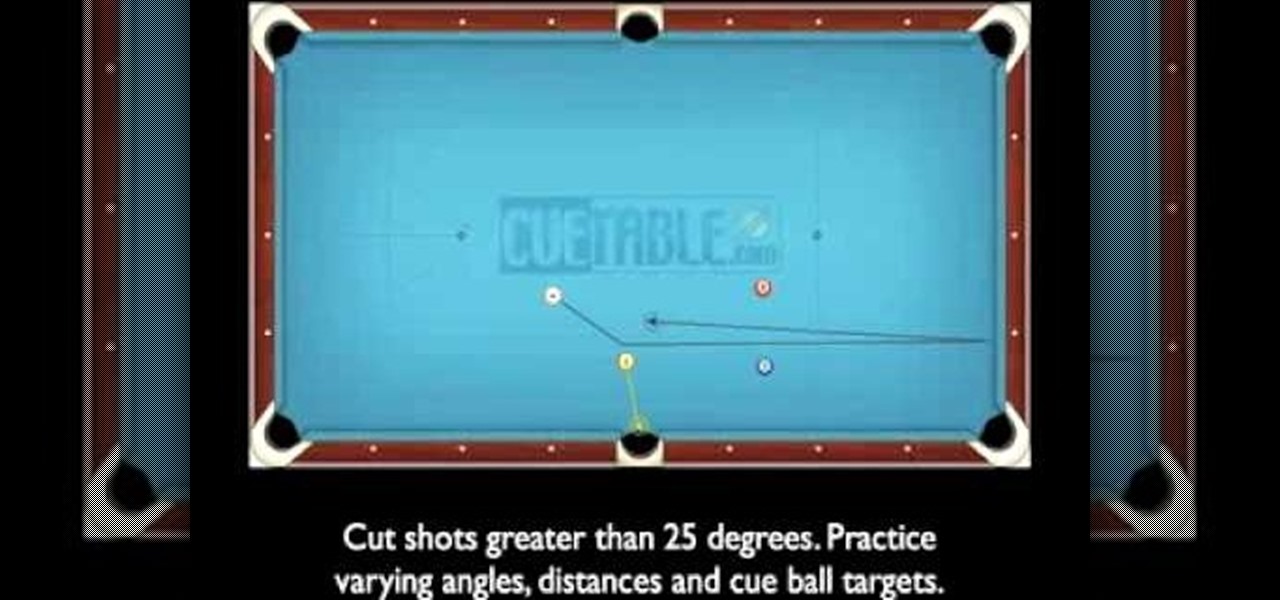
In this video, we learn how to play pool by making a side pocket cut shot. Thin cuts into the side pocket require the cue ball to travel 8 or more feet. The best way to do this is to pocket the 7 into the side pocket, then run the cue ball down to the short rail. After this, do a straight angle on the 8 and hit it into the right hand corner. This shot may look very easy, but controlling the cut ball is very difficult. Practice this skill to develop it and you will be able to do this shot with...

This video describes how to make flower with the help of paper. Take a card paper, one cutter and screw. Firstly cut the paper with the help of cutter. The cutter cuts paper in form of flower, then cut this paper from corner and then make a hole in the middle of this paper. Now take a another piece of paper of a different color and cut this paper in the shape of a small flower. Now put this small paper in the middle of the first paper and tighten with screw. Now your paper flower is ready you...
In this video, we learn how to turn a composition book into a decorative notebook. First, measure your composition book, then measure out that same size on a piece of decorative paper. Next, put adhesive on the back of this on all four edges, then diagonally. Now, you will have a solid attachment for the paper to be placed on top of the composition notebook. Use a straight edge to push it down and it's completely flat. Then, use scissors to cut any excess paper off of the edges and corners. Y...

In this Home & Garden video tutorial you will learn how to build your own windmill with household materials. Materials needed for the windmill are a template, scissors, straw, some yarn, some pennies, a paper cup, rubber bands, pencil, single hole punch, a skewer and thumb tacks. Take the template, cut it out along the solid lines and punch holes on the corners as shown in the video. Now with a thumbtack and a pencil make a nice hole at the center of the template. Fold the template along the ...
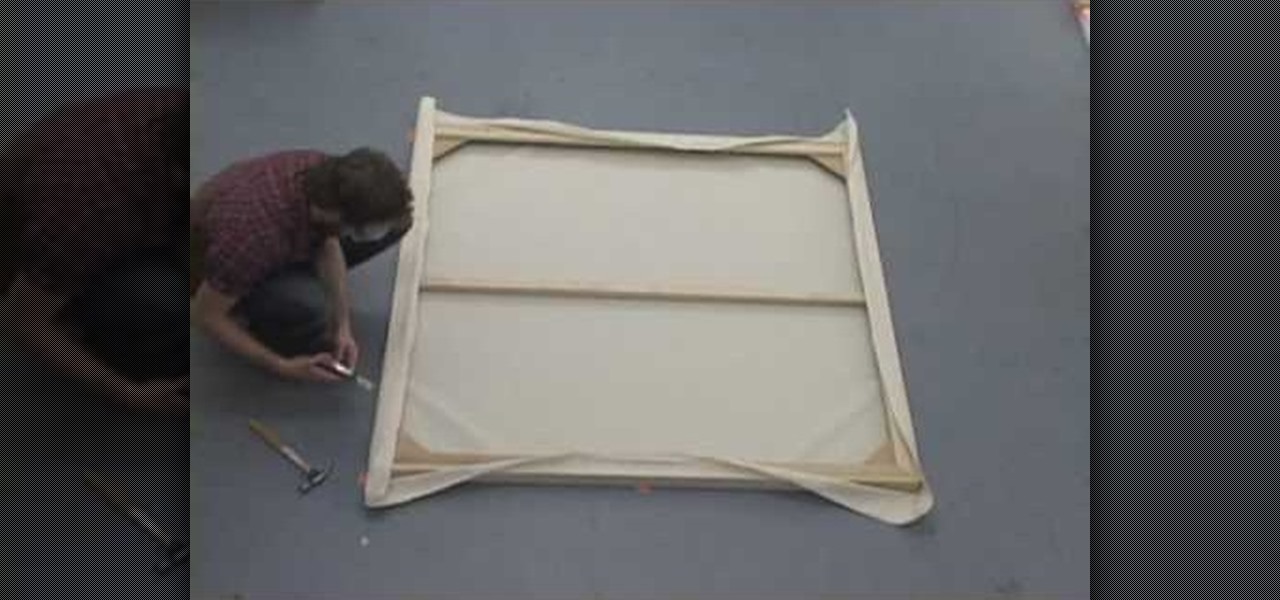
In this tutorial, we learn how to stretch the perfect canvas. First, measure the canvas. After this, center the canvas and make sure there are no wrinkles. Then cut the canvas and staple it to the frame. This will take several minutes, and you will work your way from the inside to the outer corners. After you are finished stapling hide the folds on all of the corners with the stapler gun. When you are finished with this step, you will be done and ready to paint on your new canvas! These steps...

In this tutorial, we learn how to make a Japanese screen. First, cut your wood out and sand it down. Then, use a corner clamp to drill a hole in and screw the different sides together. Also use wood glue to help stick the pieces of wood together. Once your frame is assembled, sand the corners of it. Next, you will stain the wood with black Japan wood stain. You will only have to put one or two coats of this on, because the color is so dark. Now score notches onto the wood to allow your screen...

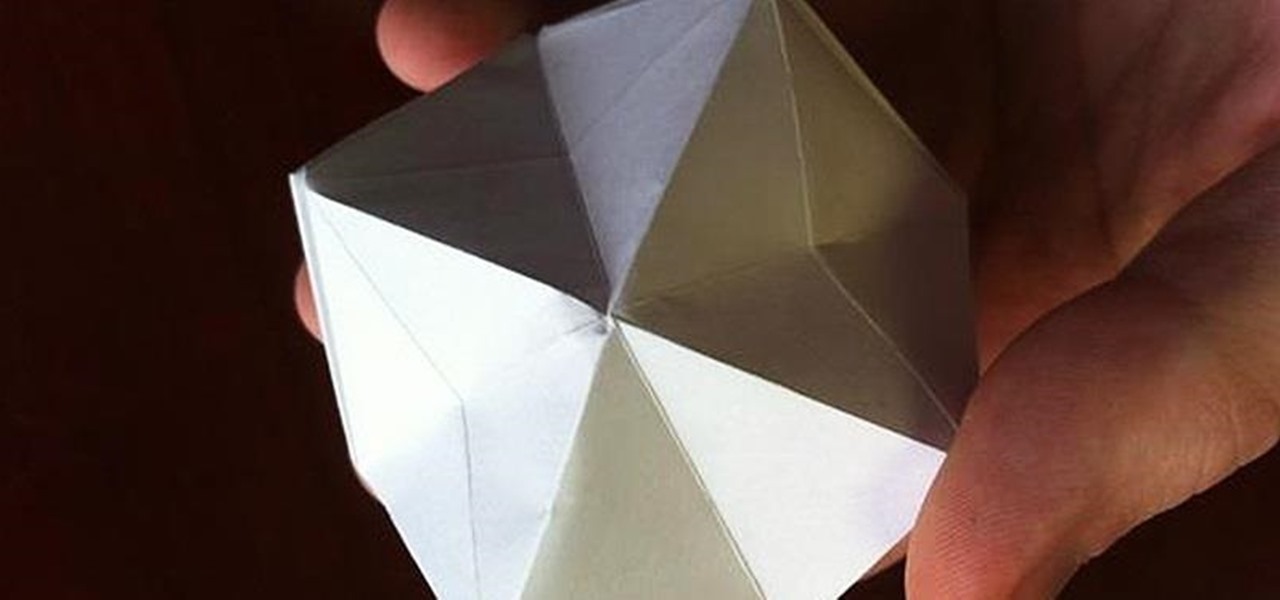
To create an origami buckyball, you must start with a piece of paper cut into a triangle with each side about two inches long. Fold the corner of each side into the middle of the opposite side and then unfold to create creases that will be your guide. Next, fold a side up to the midpoint of the creases and repeat on all sides. This will create a star-like shape. Now, fold two sides in and pinch out the extreme, outer corner and repeat on all sides. This will create a small star inside your pa...

DominickDiy teaches you how to use a wood router. You figure out what and how you will use it for by looking at it and adjusting the blade. Then lock it into place and you're ready to cut. The piece of wood you'll be working on should be on top of a piece of rubber mat, so that the wood doesn't slip. You also don't want the router to slip, as it might injure you or cut a wrong way. You go from a rip to a cross cut, when going from one side to another, via a corner. So one time you will be pus...

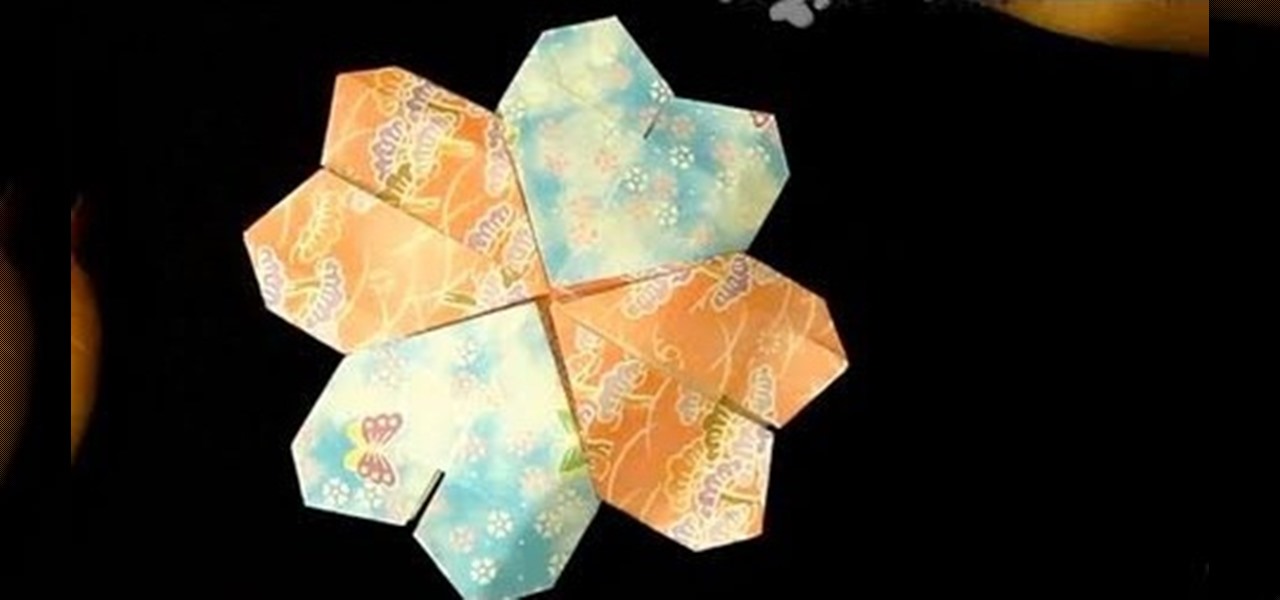
To fold an origami mandala heart you need to follow the steps below. First cut 2 triangles out of the paper you have, fold one of the triangles in half. Then, unfold the folded in half triangle and fold the top of the triangle down about two thirds of the paper. In this stage you will be making folds 3 and 4. Next, fold both of the side corners of the paper up to the top, creating the picture below. Now you will make folds 5 and 6. Then, turn the paper around. Now just fold the top flaps into...

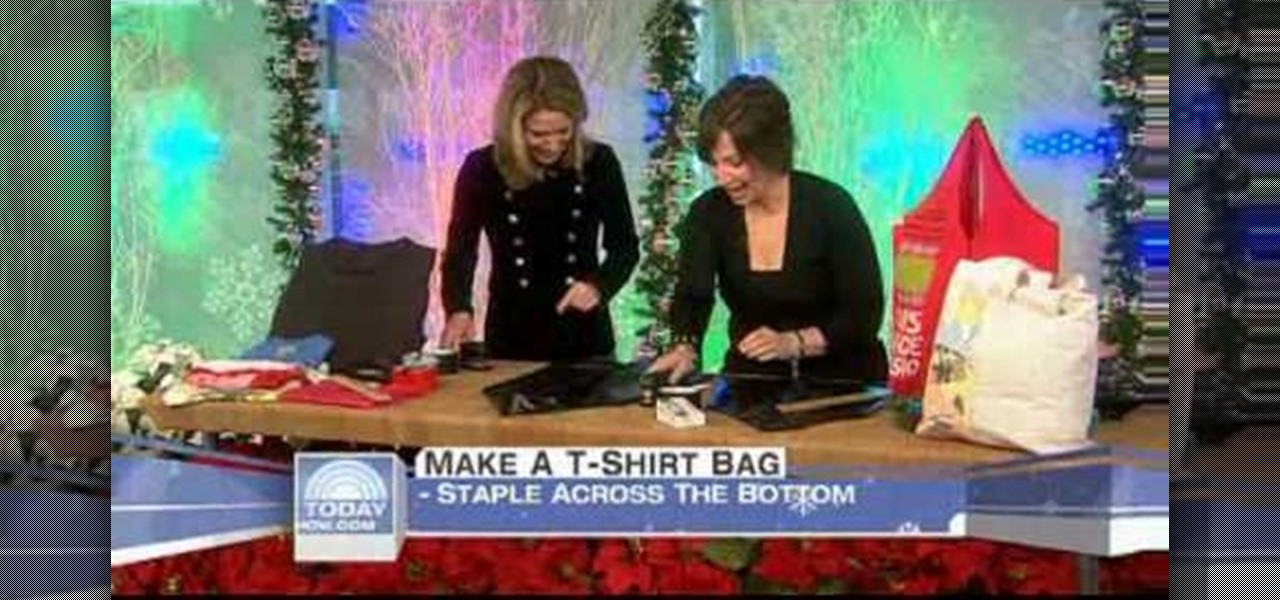
This video shows the viewer how to turn an old t-shirt into a tough bag that can then be reused many times. This is done by first cutting the sleeves off. This creates a top that resembles a tank top. The t-shirt should then be turned inside out and then covered completely in duct tape. The bottom of the bag is then stapled closed and another layer of duct tape then covers this up. A line is then stapled across each corner to change the angle and create more conventional corners. When the bag...

Start with a cereal box, then measure and cut away the top corner at a diagonal. Once you've cut out your magazine holder, you can further recyle magazines as decorations, or paint and stencil your own! Hold papers, books, magazines or anything else.

In this tutorial, we learn how to create a realistic looking cut using cinema makeup. This is a great look for a new year or holiday look that you want to make yourself look more unique and stand out! First, take a brow pencil and redefine your brows so they are darker and more intense. Avoid using black, most people cannot pull this look off. Now, use eyeshadow primer on the eyelids to enhance the eyeshadow color. After this, use gold eyeshadow and apply on the outer v of the eye. Then, take...

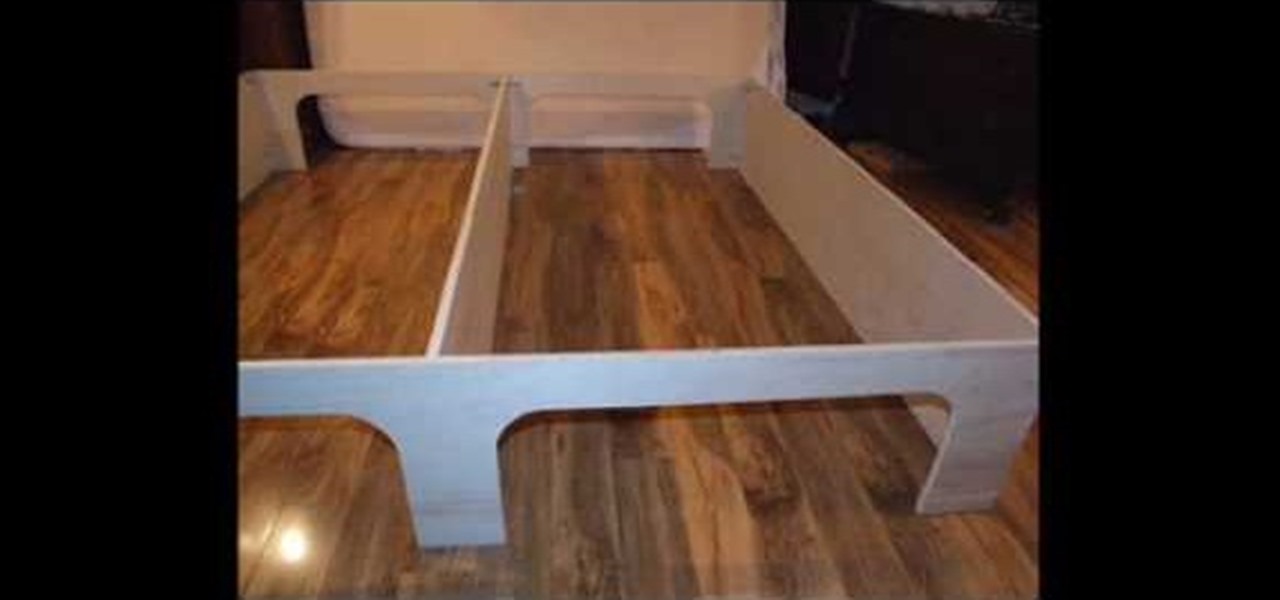
Following are the steps to describe how-to build a platform storage bed at a low cost: 1. All you need are the following materials: (Say a bed size of 16. 5 inch)4 sheets of plywood, 3 (1x4x8) plywood, 20 2-inch corner braces, 1 (1/4-inch) drywall screw, few nails.

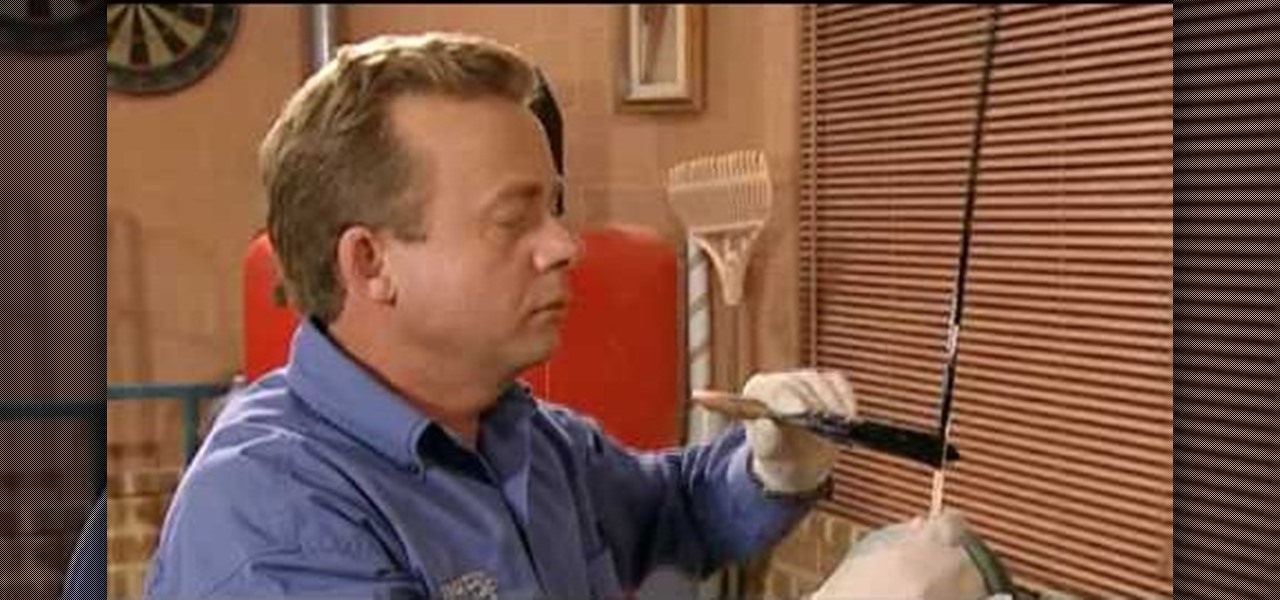
Tim Carter from AsktheBuilder.com shows how to easily cut perfect angles for trim in the corners of your room.

In this how-to video, you will learn how to add text and titles to videos using Final Cut Pro. First, place a time line play head where you want the text to appear. Move the mouse to the lower right corner of the viewer window and click the add text pop up menu. Select text and the viewer will change to a black box with Sample Text in the middle. Click on the tab labeled Controls. You can edit the text in this new window. You can move the text by selecting Image and Wire Frame. This will allo...

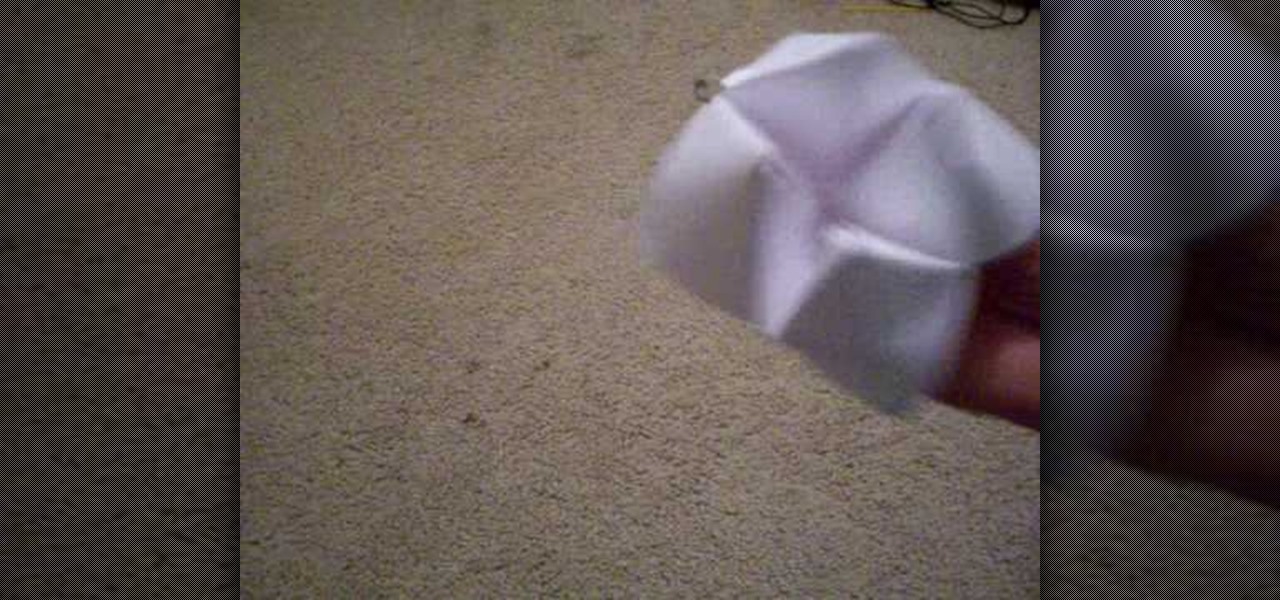
One of the most popular and basic origami geometric shapes is the "water bomb," which is a simple inflated cube. With a few extra folds and only a minor shift in approach, a more complex geometric shape can be achieved.

It's always a dilemma when you're organizing your closet and deciding whether you want to keep or throw out a meaningful old t-shirt that you don't wear anymore. Many of our t-shirts have been with us through thick and thin, so preserve their memory (and stop creating more waste) by reusing them.

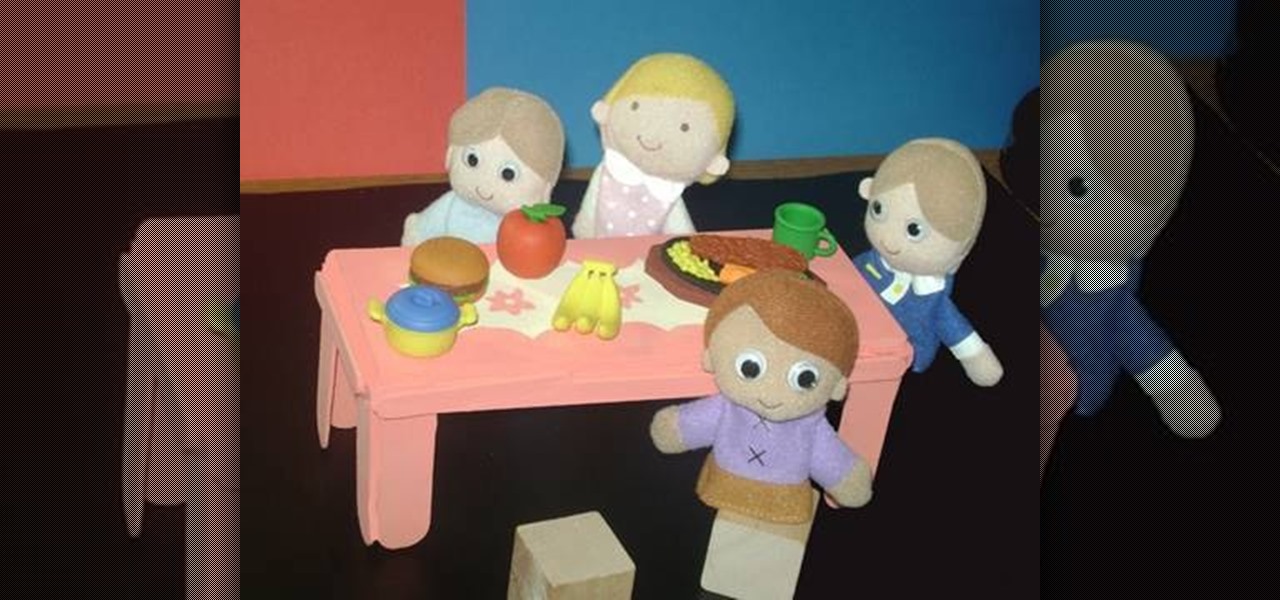
In this tutorial, we learn how to make a miniature table. Materials you will need are: a wood slat, 4 popsicle sticks cut in half, paint, paintbrush, and glue. Heat up your hot glue gun and then grab your popsicle sticks. Glue one stick to the side of every corner of the slat. After this, you should have two on each side of all four corners of the wooden slat. After you're finished placing them on, let the glue cool and then harden. To finish, you can paint this and decorate it and use it ins...

Clinton Kelly teaches us how to prepare an easy radish appetizer in this tutorial. First, take a radish and cut off both ends. Next, scoop out a little bit of the center of the radish going in a circular motion with a pairing knife. Now, take softened butter and place it into a plastic bag and push into the corner. Snip off the corner of the bag, then fill the middle of the radish with butter and sprinkle with kosher salt. Next, place this on a platter with a bed of kosher salt on the bottom ...

Secure a square-shaped piece of paper preferably six inches long on both sides. Cut the square paper into two equal halves. Fold one piece longitudinally right at the middle. Open the fold and refold it horizontally, on the shorter side. Refold the longitudinal crease you made earlier. Then, fold both sides diagonally but facing opposite each other.

In order to make a Two Pocket Card, you will need the following: double sided large card stock (8 x 4), precision trimmer, a ruler, tape, or glue, a pencil, and a ruler. Fold it in half, widthwise. Open it up and fold it lengthwise. Open it back up.

In this Arts & Crafts video tutorial you will learn how to make a vertical Easter greeting card. Take a 6x6 yellow card and fold it in half. Using the Valentrio Fiskars corner punch, you can punch one corner. Cut a 2 1/2” wide metallic cardstock, a 1” wide paper strip, stamp a picture or a design and punch it with Fiskars punch. Punch the 1” wide strip with the Fiskars border punch and glue both the pieces above and below the metallic card stock. Glue the metallic card stock and the pic...

You will use an old work glove to make the string. First cut the seems of the glove to the finger tips with scissors. Cut out the palm part of the clove. Remove the elastic off of the back with a knife. remove the hem with your scissors. Next, start cutting at the edge up around the shape of the glove. Keep going round until it starts turning into one long piece. Go back around the leather and trim up the rough edges and corners. He ends up with about seven foot of string. It's a cheep free w...

In this Arts & Crafts video tutorial you will learn how to make a folded paper ostrich with origami. For this project, you need a square sheet of paper. First you fold it diagonally across to form a triangle and cut it off in two. Then take one piece, fold it in half to form a smaller triangle, open and fold down along the centerline from the top of the triangle. Open it up and again fold along the centerline from the base of the triangle. Now fold from one of the corners up to the intersecti...

This video demonstrates how to make a hexagon from a square paper. Fold a square paper into half horizontally. Fold this rectangle into half again forming a square one-quarter of the original size. Fold the open edge towards the center fold on either side forming a crease. Take the closed corner and fold towards the center crease. Open the center fold and fold it inwards. Fold the corner towards the diagonal edge on both sides, this forms a cone like structure with a paper edge at three-quart...

How to make cool paper cube

In this video, Karen shows us how to decorate cupcakes in different ways. You can use McCormick frosting in a bowl, add neon green food coloring and mix this together. Put some frosting on the cupcake and smooth it out onto the cupcake. Another great thing is to put frosting into a small plastic sandwich bag, cut the corner of the bag and you now have your own icing bag! You can use this to make any design you'd like on your cupcakes. Make the clip on the corner bigger or smaller, depending o...

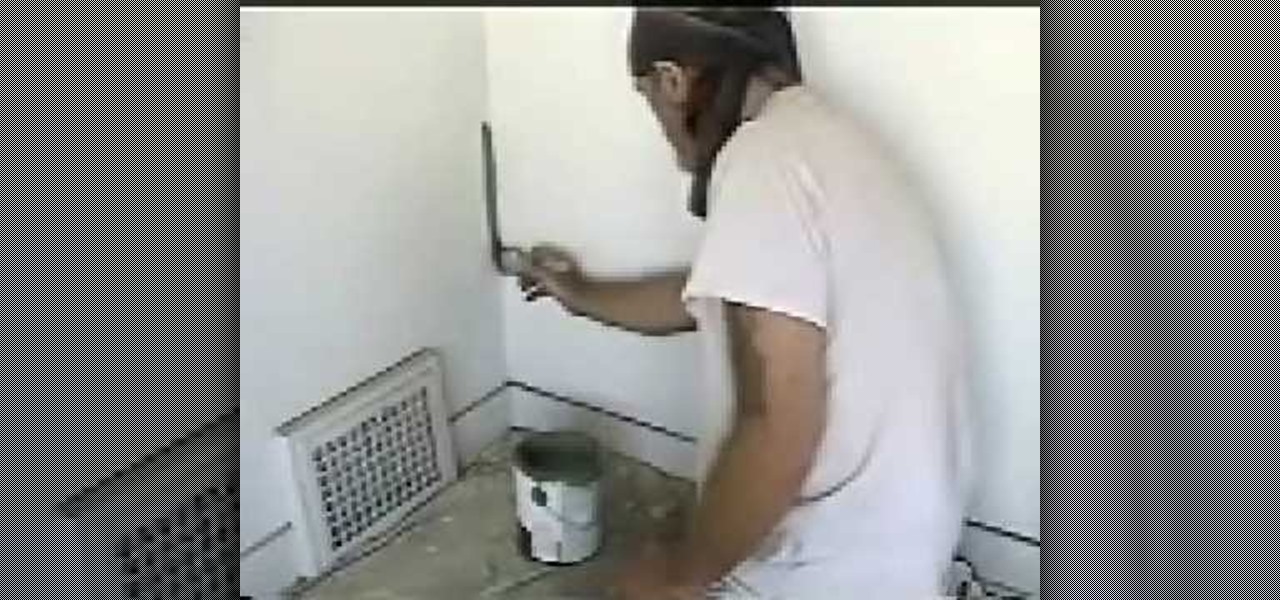
In this video, we learn how to cut a line using paint onto your walls. To do this you will need walls, a paint brush and your choice of paint. Make sure you get just the right amount of paint onto your brush and place the bristles against the wall right next to the corner of the wall. Slide it down making the line as straight as possible. Keep going until you have a line all the way down the corner, making it very straight and neat. Do this on both of the walls and you will a have professiona...

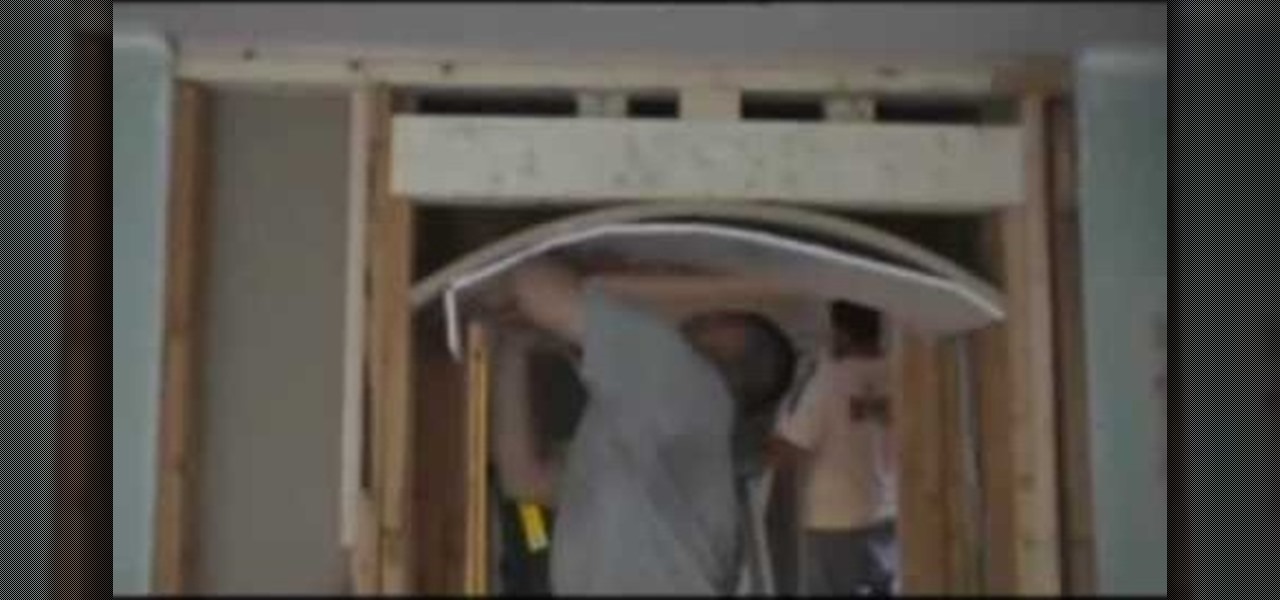
Watch this video learn how to drywall an archway in five quick and easy steps. Measure and cut drywall to fit your arched opening. Score the back of your drywall to help it bend to your archway. Place drywall into opening. Tack or nail to hold the drywall in place. Screw drywall into arch. Mark and cut the drywall for the face of the archway. Place drywall over archway and use as a template to cut the drywall. Nail/Screw drywall to the face of the archway. It is now ready for corner bead, tap...

Steps on how to cut copy and paste on a Mac. Make sure that all your Windows are closed. 1. Click the Apple on the upper right corner. 2. Select and click System Preferences and a small window will appear. 3. Double click the small mouse picture and a bigger mouse picture will appear 4. Click on the right tab that says Primary Button and click to select Secondary Button. 5. Close the window. 6. When you right click the mouse a menu will appear and you can already cut copy and paste just like ...

Two cousins teach how to make the perfect origami rose Obtain a square sheet of paper, preferentially origami paper. 6X6 is the best size for the paper, but 15X15 will also be fine. If the paper is not square, measure the sides and cut the paper to make it a square. Fold in the square sheet of paper diagonally, corner to corner and make a crease. Unfold the paper. Fold the paper diagonally the other way and make another crease. Fold in the two flaps of one side in to get a triangle shape. The...

Gamer Dude 5000 Arts and Crafts Demonstrator offers a short tutorial with a single sheet of 8 1/2" X 11" paper and pair of scissors. First you fold the corner of your paper out till the top half of your paper and the side of your paper is flush. You cut off excess paper with a pair of scissors. When you open the paper back up, you will have a square sheet of paper that you can fold. You fold all the corners of your square in to the center. Then you flip it over to the back and repeat. Once do...

Learn how to make simple tri-fold cards with these instructions. What you will need: -5 1/2" by 11" cardstock paper -Scorer -Scissors and paper cutter -Pencil and Ruler What to do: -Score the cardstock to 3" by 7 1/4" -Using the 3 3/4" flap, from the corner measure 2 1/2" and mark with a pencil. -Repeat on the horizontal side of the cardstock. -Cut the corners using the marks as your guide. -Round the pointed end with your scissors. -Fold the card at the score line. -Embellish your card as de...

Try this fool-proof recipe for a wonderful guacamole dip. Just use a resealable plastic bag. Just dump all the ingredients into the bag and mush it all together. Cut one corner to pour to the fresh guacamole into a serving bowl.

In this tutorial, Lowe's teaches us how to hang wallpaper. Wallpaper can update a room and give it personality. Make sure you prep and measure your wall before you begin to hang. Now, cut out your paper to the appropriate size for your wall, then draw a line on the wall from the corner to a few inches out of the wall. After this, apply a clear adhesive to the wallpaper if it isn't already adhesive. Now, dump them into a water box and fold the water together and let set. After this, apply the ...

In this Home & Garden video tutorial you will learn how to build an outdoor kitchen. You can build it yourself using the AB courtyard walls collection. You should have all tools as per How-to sheet #341 before you begin. Determine the location of your outdoor kitchen and with a measuring tape mark the location of the back wall. Mark the line with masking tape. Begin the 1st layer by placing a corner block in the corner. Then place a large piece of a split block next to it. For information on ...

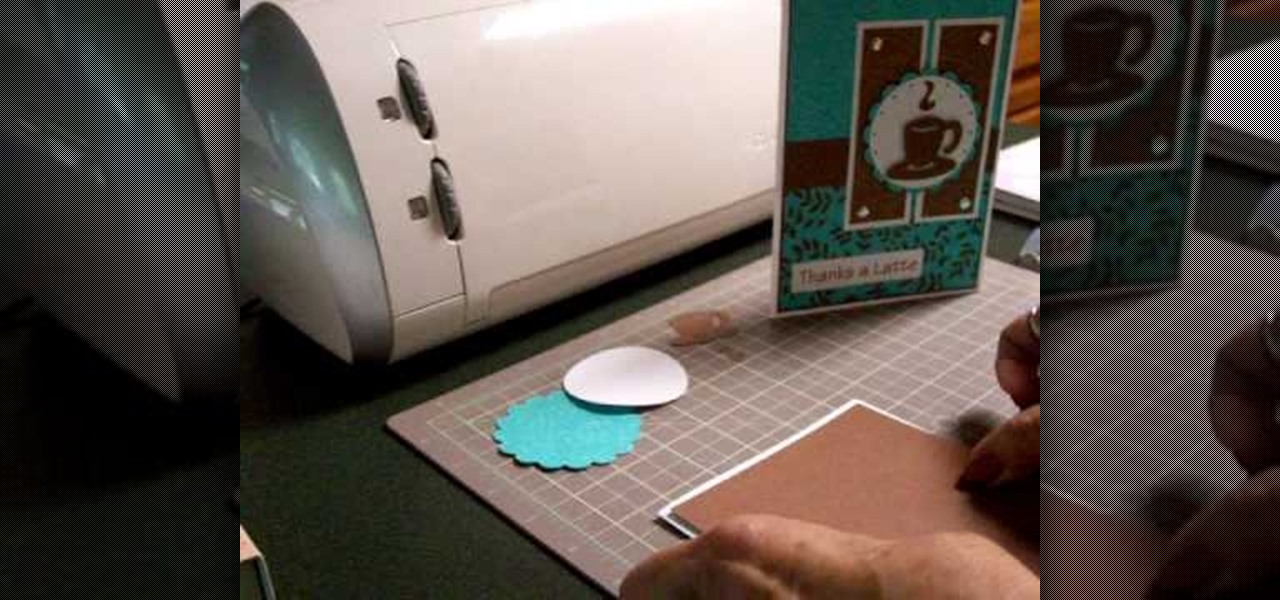
cardcrazy09 teaches you how to make a Cricut latte-themed thank you card. You start with a brown piece of cardboard as a bottom. Then add two pieces of blue card stock. Add a small brown card slice in the middle and the background is done. You will print the message on a card stock and cut it out. Stick it in the lower left corner of the card. For the background of the coffee cup you will need two more slices of brown cardboard with thumb tacks at the top and bottom. On top of those stick a b...

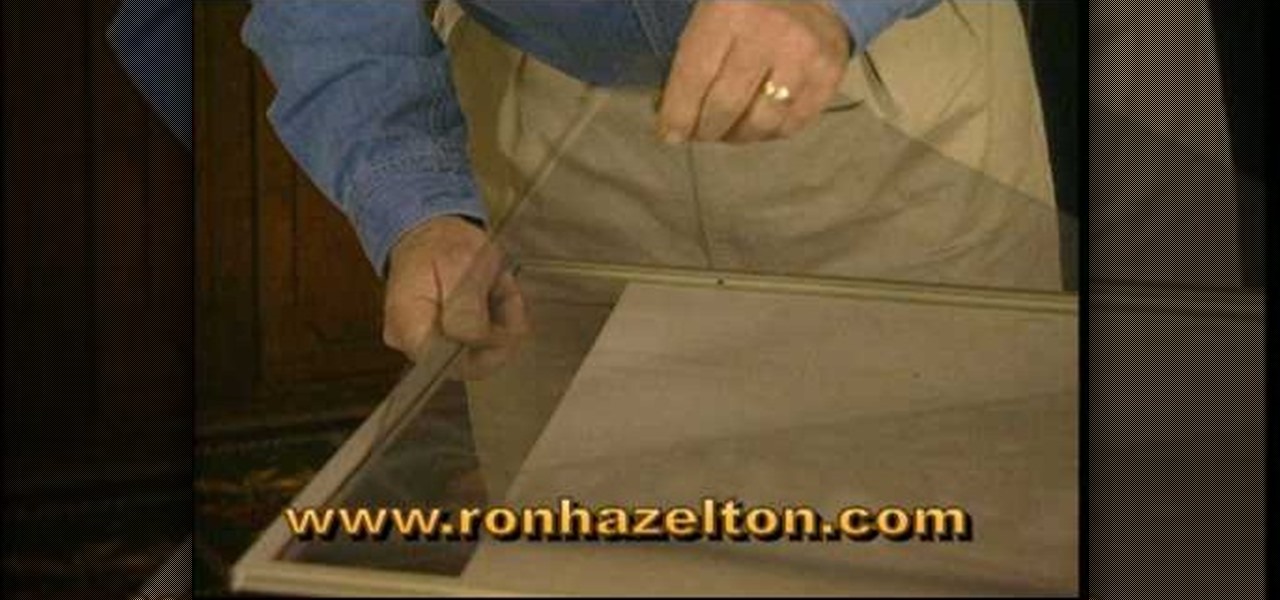
Ron Hazelton describes how to replace a screen in a door or window. The screen is held in the frame by a vinyl cord that can be removed with a knife. Lift the old screen out of the frame. With the new screen on a flat surface, using the frame as a template, cut the new screen a half-inch larger than the frame all around. Cut 45-degree notches in the screen at each corner. Place the screen evenly on the frame. Press the cord back into the groove on the sides first, then the top and bottom. Fin...

Not enough storage space? No problem! In this tutorial, learn how to recycle an old cereal box into a very cool magazine holder. This video will take you step by step and soon you will be on your way to being both more organized and more eco-friendly!


