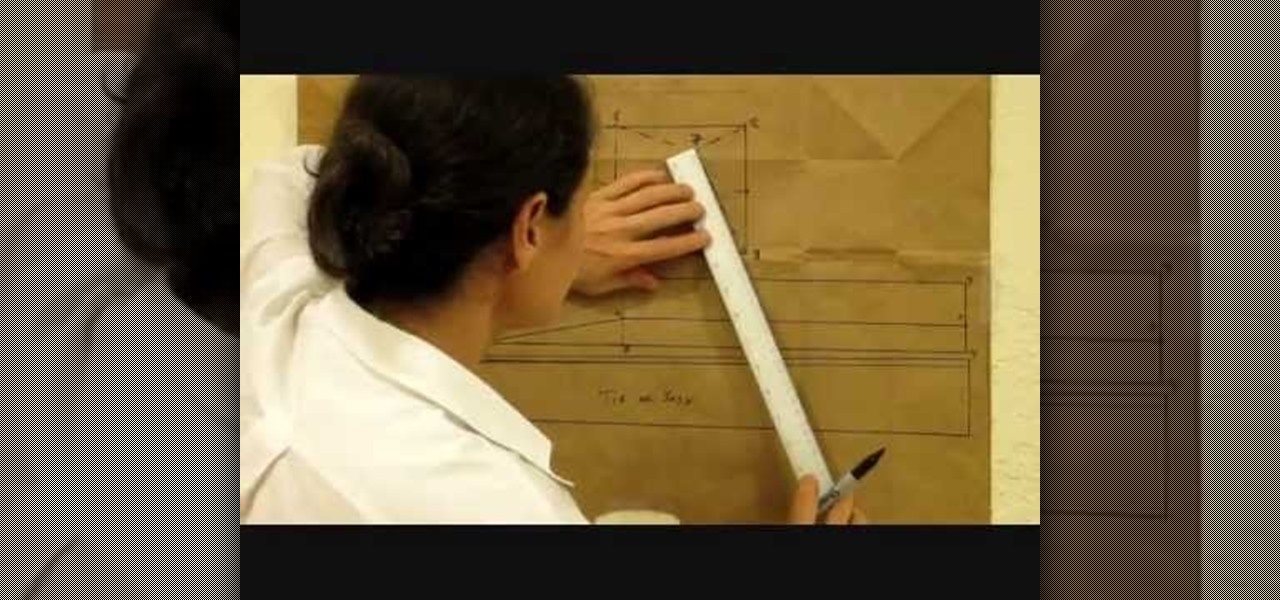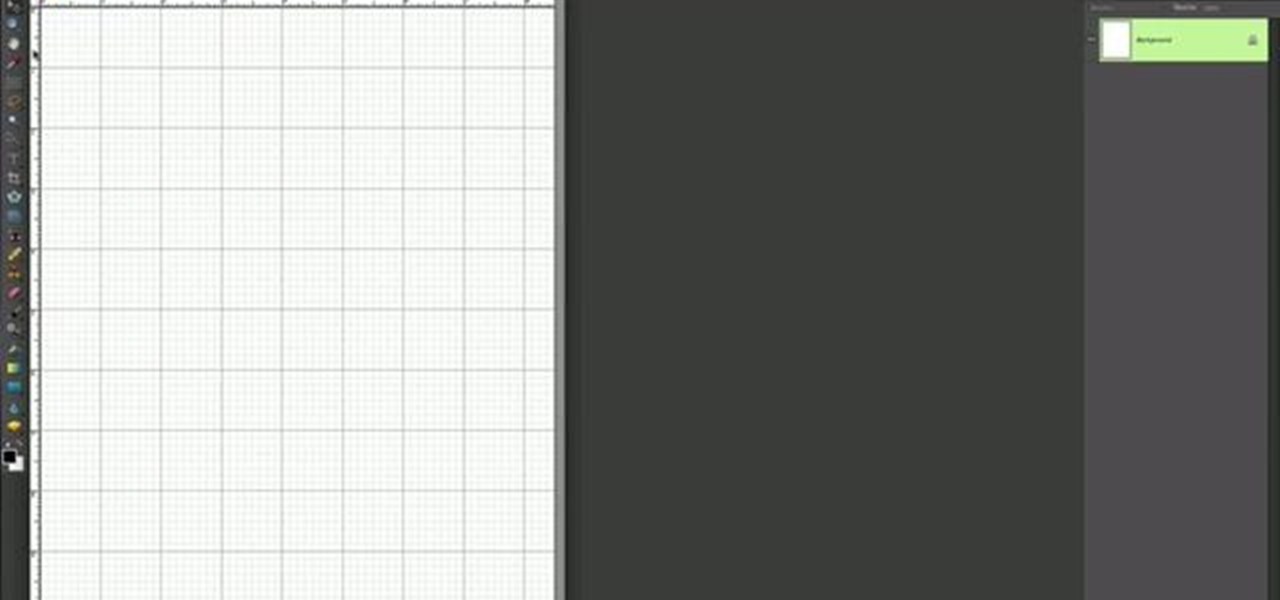
This is a simple Photoshop Elements tutorial on how to make rounded photo corners for quick and tidy effect. See how to make photos with one, two, or opposing rounded corners. This could be turned into an overlay, too! This is a great, detailed Photoshop tutorial on rounding your picture corners. Easy to learn.
With a little practice a cushion cover can be made at home easily. The materials/equipments required are as follows: fabric of your choice (having appropriate dimensions) to make the cover, scissors, measuring tape and ruler, needles, threads, sewing machine and an iron.
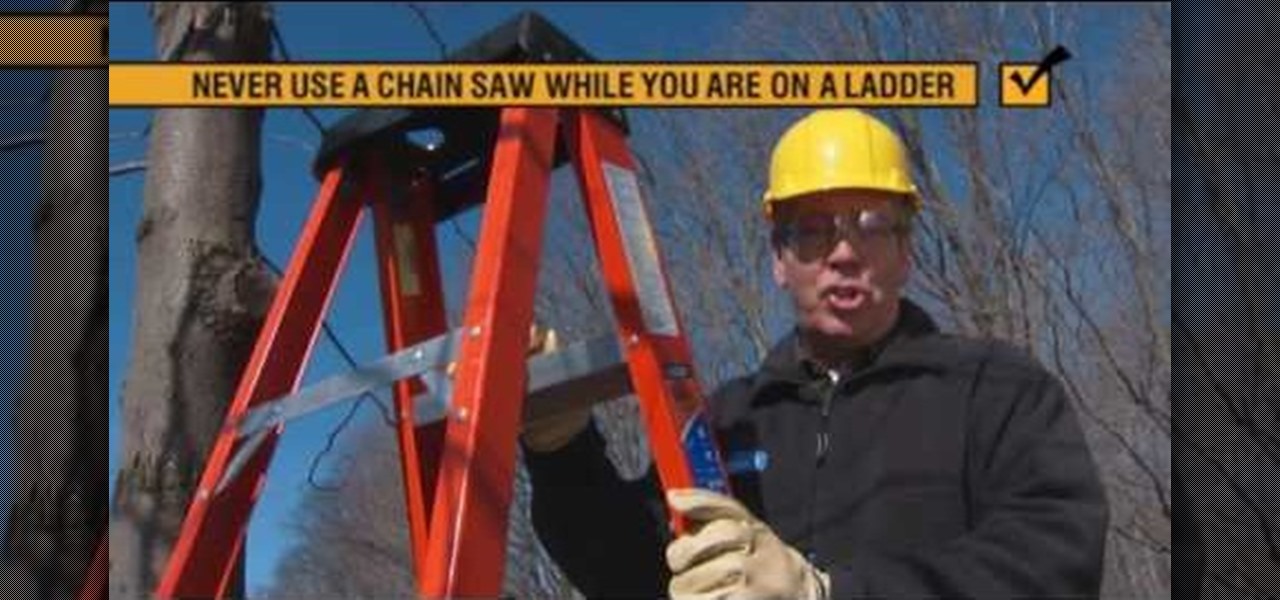
In this tutorial, we learn how to prune and trim a tree with Lowe's. Pruning your trees will help them stay healthier and look better. It will help the tree grow new and healthy branches and stay alive for longer. Make sure you gather all the tools you need first so you are prepared for your trees. Now, take some pruning shears and climb to find the dead branches on the tree. Cut along the inner corner of the branches to cut them off from the tree. When finished, clean up the dead branch debr...
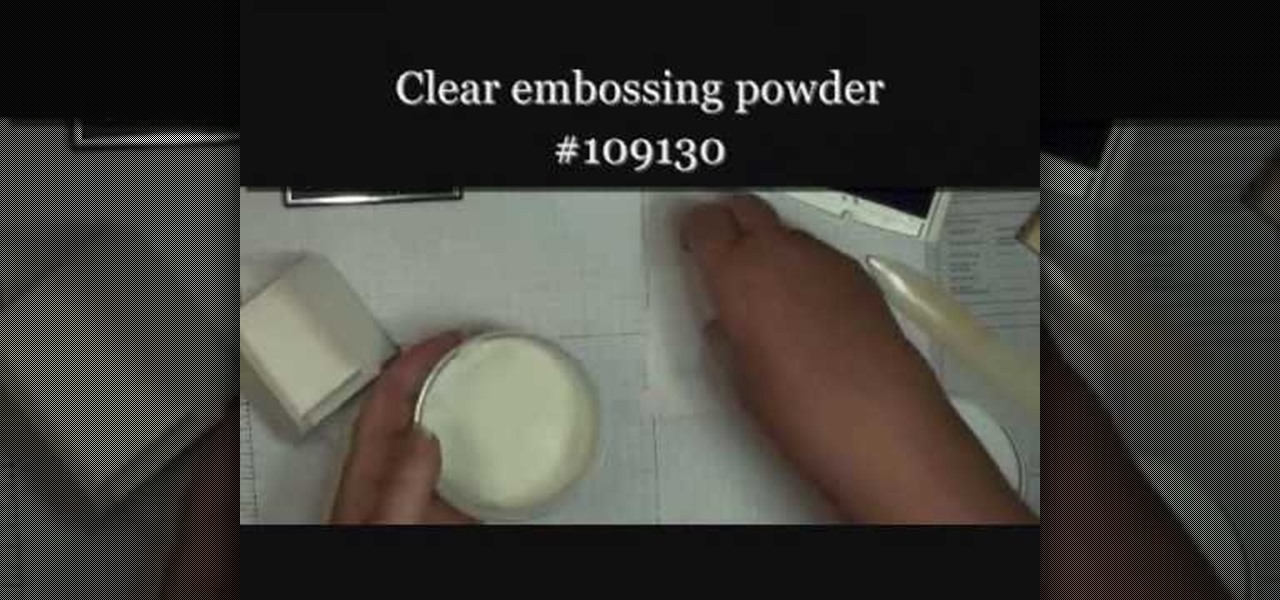
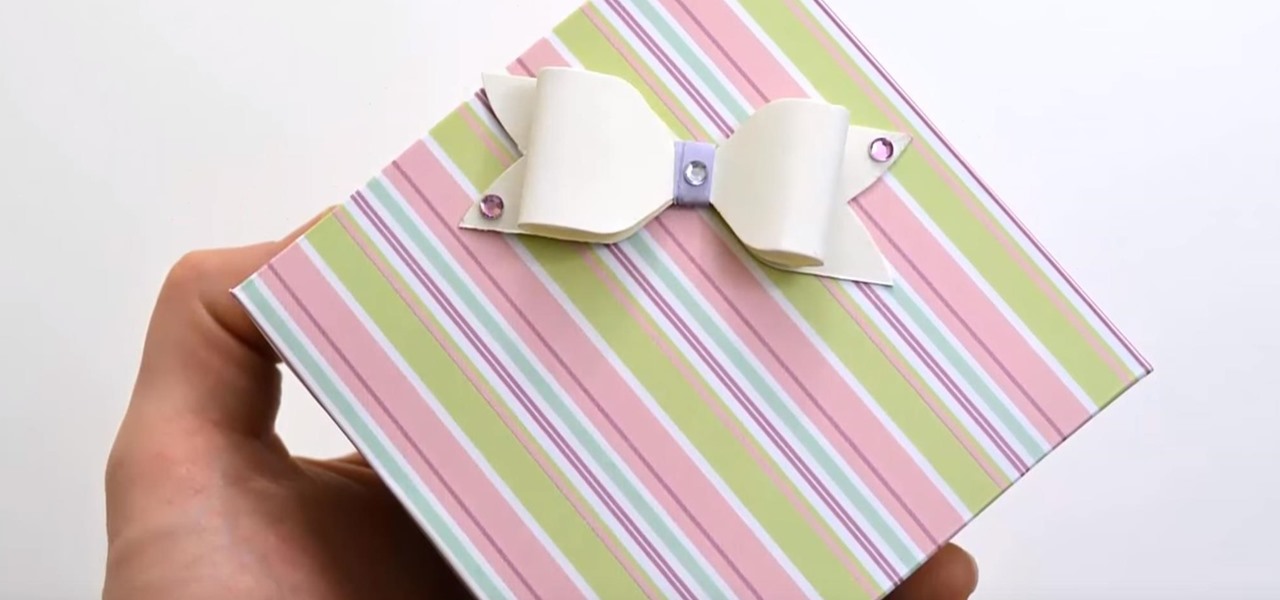
In this tutorial, we learn how to make a small folding box for Easter. First, cut a shimmery white piece of card stock to 6" x 8 1/4". After this, score the paper at 2 and 3/8". Then score again at 2 and 7/8", flip it over and do again on the other side. After this, cut the four corners with score lines off, then fold the score lines that are left. Now, grab an Easter stamp and stamp the inside of the box underneath the top flap. Place a candy inside of the box, then fold it up and place an E...

Your iPhone may be great, but like any other mobile device, it might be wasting more battery power than it needs to. If you want to learn how to conserve your battery life, there's plenty of precautions you can perform. So what all can you do? Best Buy has answers. The Best Buy Mobile team explains how simple it is to maximize the battery life of your Apple iPhone. You can put it in standby mode, reduce screen brightness, and turn off Location Services when you're not using them.
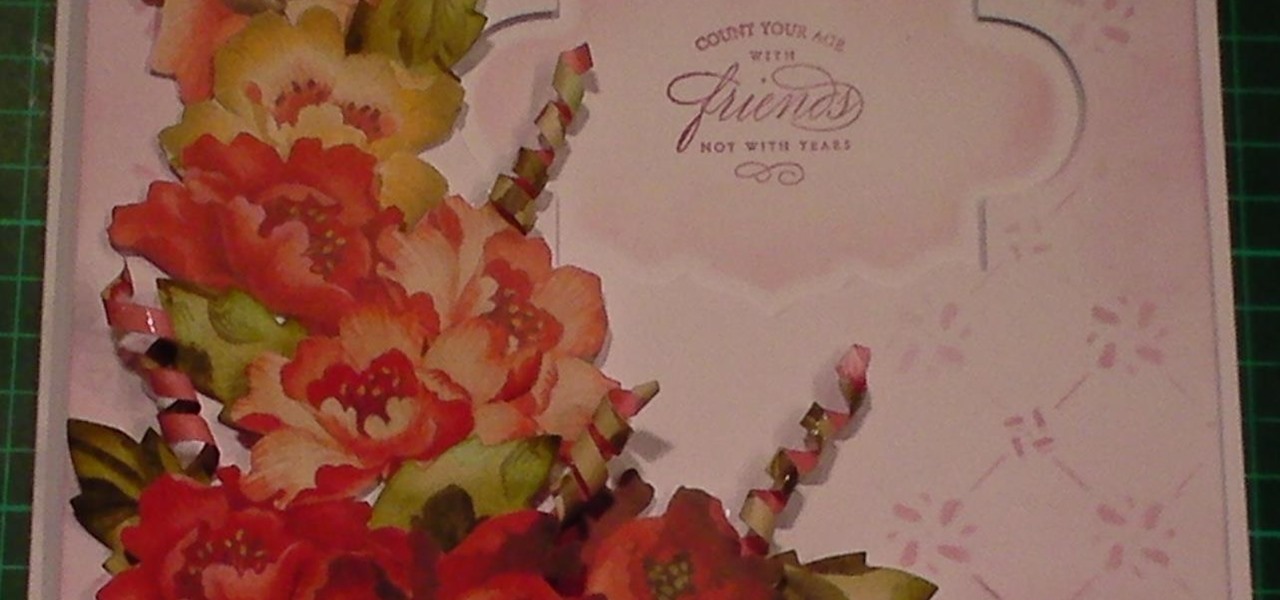
In this cardmaking tutorial I make a gorgeous card using cut out decoupage from a sheet of 12x12inch paper from Anna Griffins range of fabulous papers. I finish off the card with the matching leaves and paper curls. This looks like a time consuming card but apart from the cutting out of the flowers, it is quite quick & easy and all from 1 sheet of paper. Step 1: Items Used

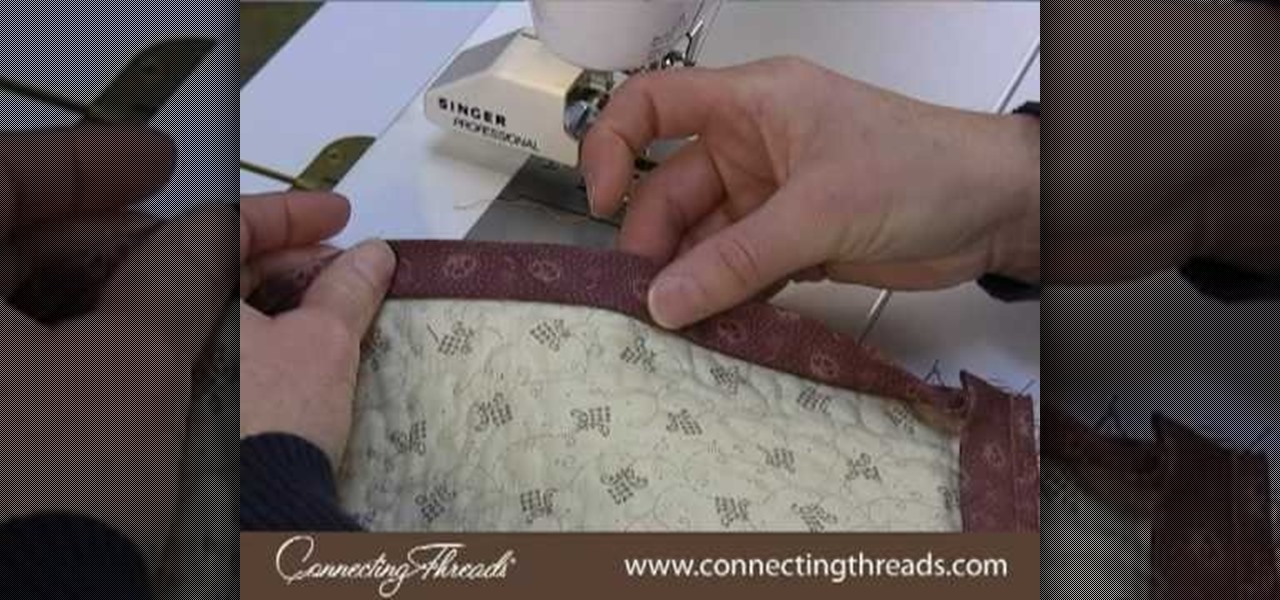
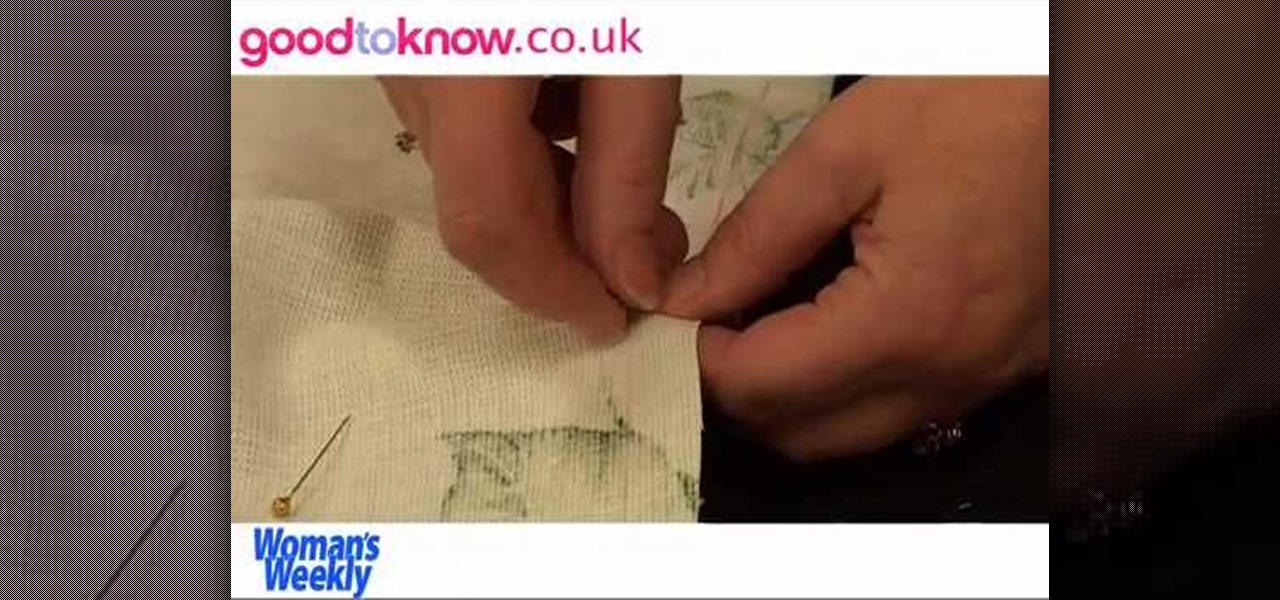
This video shows a demonstration of how to machine sew the binding of the quilt, especially the tricky corners. She starts with the binding already sewn onto the front of the quilt and points out how she made the corner like a little pocket. As she sews along the side and approaches the corner, she folds up the binding on the edge that's past the corner and pins it, so it keeps the corner in shape. Then she folds that entire edge up all the way to the corner, holds the corner down tightly wit...

The first step to create a boomerang paper airplane is to take a square piece of paper and measure to make sure it is a perfect square. You must then fold all of the corners of the cut of paper into the middle and then fold in half. The wings must then be folded down on the two chosen side. The final step is to fold the wings up to give the crease and cut of paper it's boomerang like shape. The video ends with examples of the type of flight that can be expected from a boomerang shaped paper a...

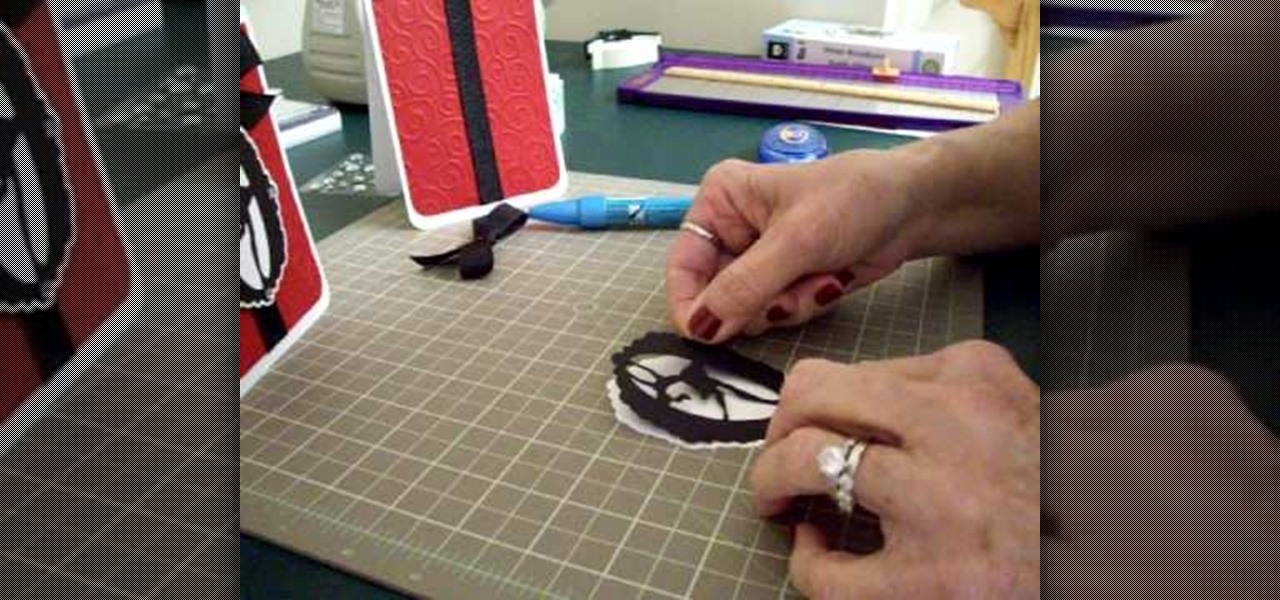
Make a simple, elegant card using Winter Woodland. Go to page 50 of manual. Cut tag and skater at 3 inches. Use 8 1/2 x 11 cardstock and cut vertically to 4 1/4 inch. Fold from top to bottom. Round corners of cardstock and red matte. Make red matte 4x5. Run red matte through cutter bug using swirls folder. Insert between two plates and run through. Place black grosgrain ribbon down the center. Stick to front of card. Glue skater to background. Place square crystals around skater. Create and p...

In order to make your own envelopes, you will need a piece of paper, glue, scissors, and optional decorating tools/stickers.

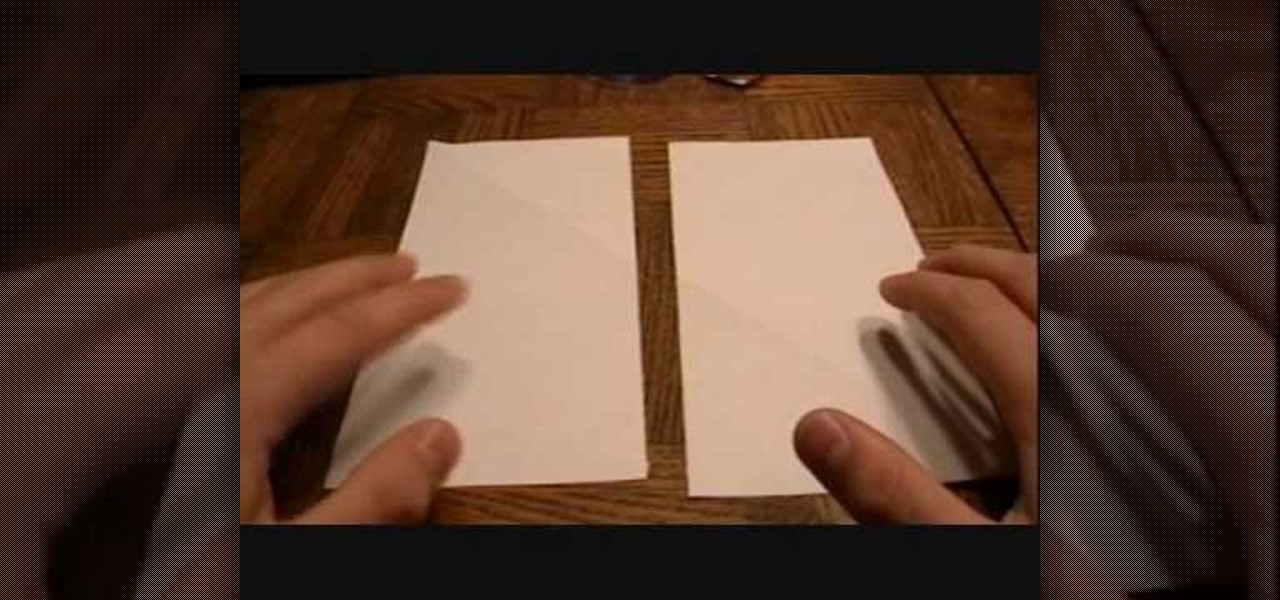
In this Arts & Crafts video tutorial you are going to learn how to fold an origami ninja star. Take a normal paper. Fold it diagonally from one corner and cut off the extra portion to make a square. Fold it in half and cut into 2 rectangles. Fold each piece in half along the length. Fold both ends of each piece in opposite directions to make a triangle. Now fold the ends again to make a bigger triangle at both ends of each piece of paper. Each sheet will form a 'Z' shape. Now place one sheet ...

In this video tutorial, viewers learn how to make a toy parachute. The materials required are: lightweight fabric, ruler, scissors, string, 4 hole button and a toy army man. Begin by measuring a 10x10 inch square on the fabric and cut it out. Fold over each of the 4 corners and cue a small hole. Measure and cut 2 lengths of 36 inch string. Take the string and tie it to one end of the hole on the fabric. Run the other end through the button hole and tie it to the diagonally opposite hole on th...

In this video we are shown how easy it is to complete the finishing join on a quilt binding. Just before the final join 6 inches of binding should be left over at the beginning and the end, while the rest of the binging should already be sewn down. The two ends of the binding should overlap by at least 6 inches. You will then need to cut the thread and remove the quilt from the machine, then measure the binding width and overlap the two pieces and cut off the excess binding to match the width...

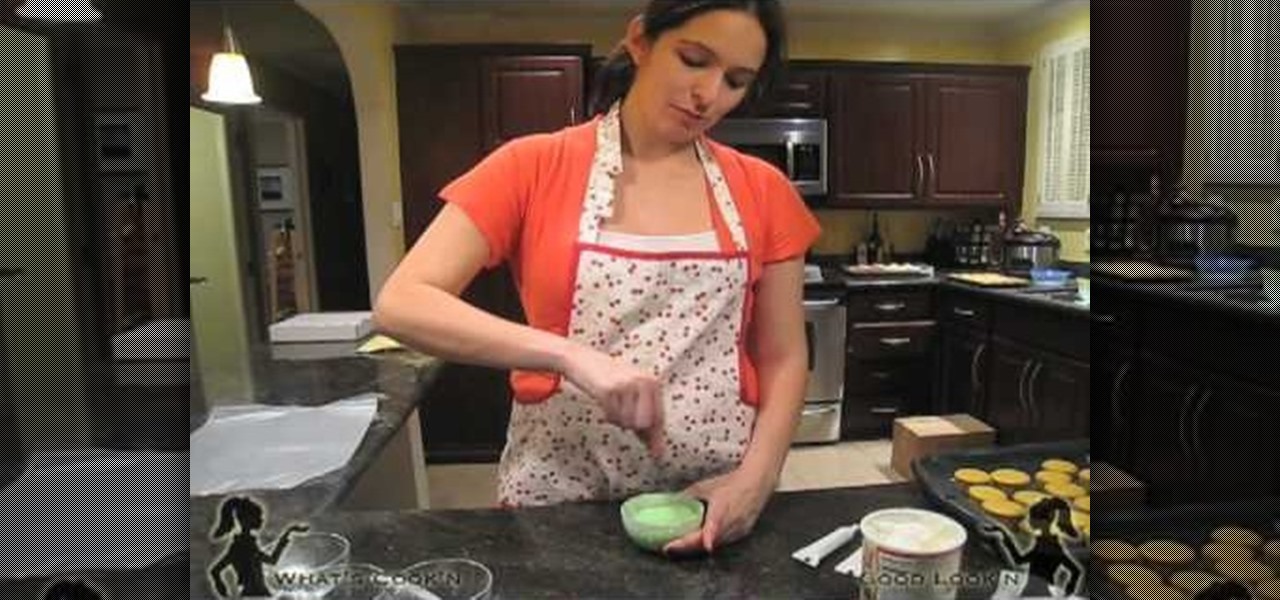
Stephannie teaches us how she prepares her "not so famous" mini cupcakes for a nephew's birthday party. After mixing up the yellow cake mix and putting it into a large plastic bag, you cut the end off the bag and squeeze the batter into cupcake cups within a pan. You should then proceed to cook them at 300 degrees F for 15 minutes until they are done. With a bit of humor Stephannie shows us how to mix food coloring into white frosting and a neat icing trick. By placing it in the microwave aft...

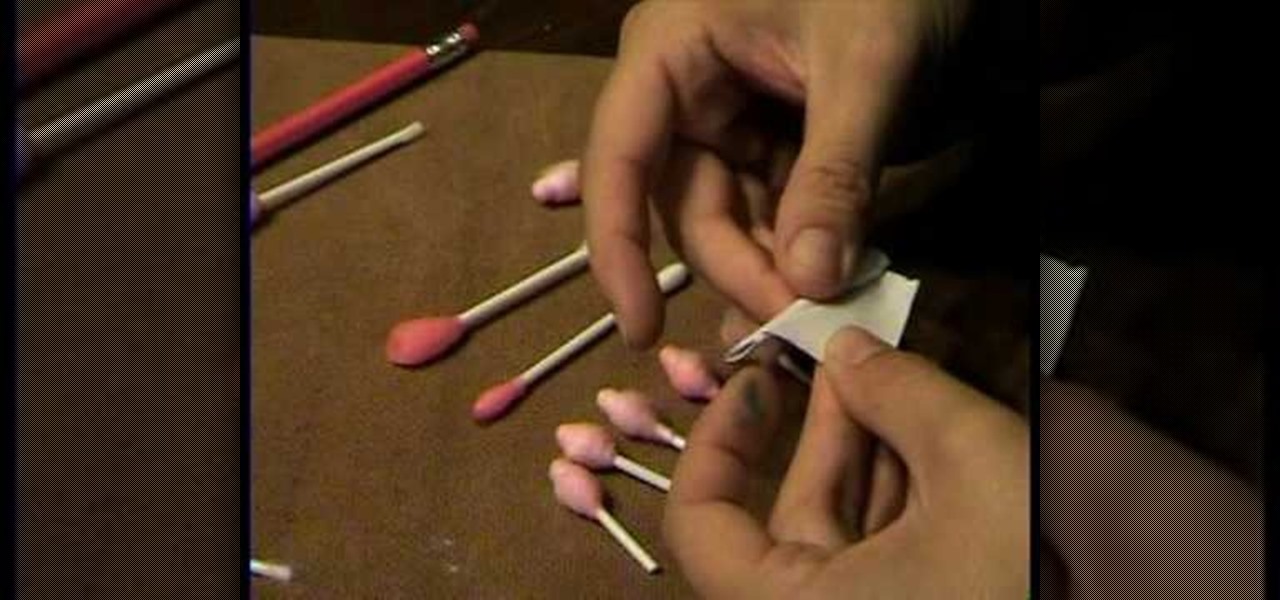
Use a q-tip (ones for little kids will have a larger base, but are not required). Put a few drops of red food coloring in a glass of water and stir it up as necessary. Dip q-tip in red water, get it nice and saturated. Remove q-tip and let sit overnight. Cut q-tip in half, then take a small rectangle of paper, apply glue from glue stick to one side, then make a small fold from a corner and roll (this may take some work). Use scissors to cut down to the correct size. Next rub q-tip's cotton si...

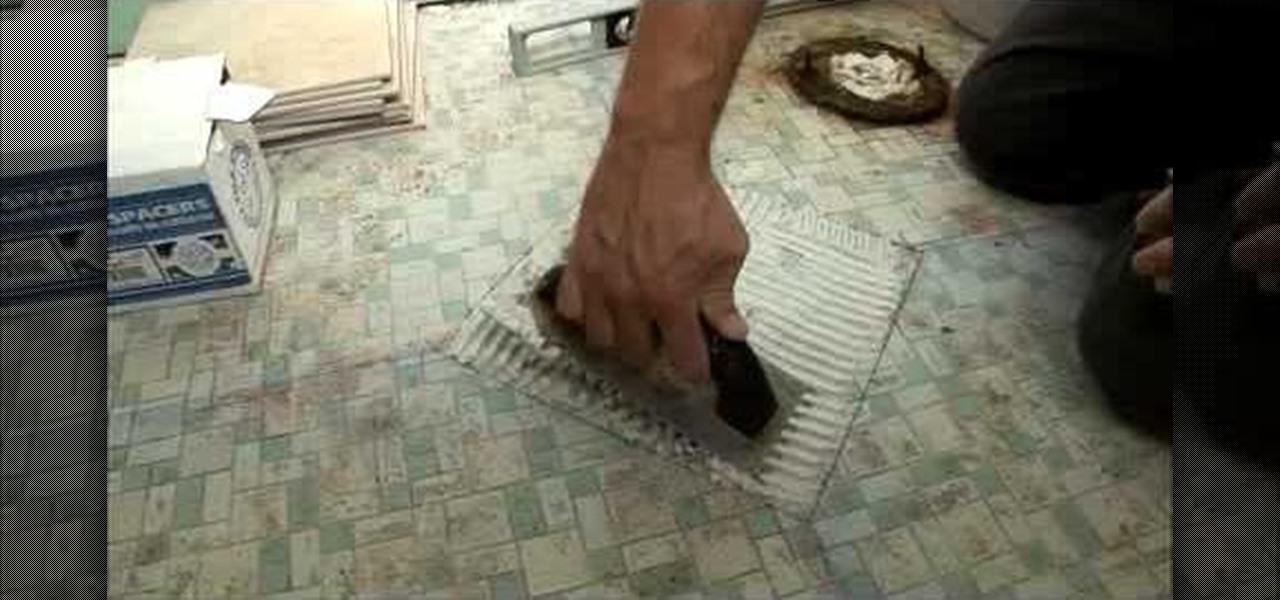
This video is from DannyLipford and covers the proper technique to lay tile in the bathroom. The first step is to lay some chalk lines to find the exact center spot of the room. The first tile will be put down diagonally so that the corners sit on the four chalk lines. Next the mastic is put down on the floor for the first tile and the tile is set into place. The process repeats itself until the tiles reach the toilet where some cuts are required. The presenter is using a portable wet saw tha...

This clip was filmed as part of a One to One training day with Mike Browne. Focus the camera on a bunch of window panes. There is a row of window panes which cuts across the bottom left hand side corner. There's actually nothing right or wrong with it, only thing that matters is whether or not it works for you. Mike Browne believes that because it is strong and dominant you should crop the image so that it will no longer be visible. You can always remove that in a computer later, thanks to di...

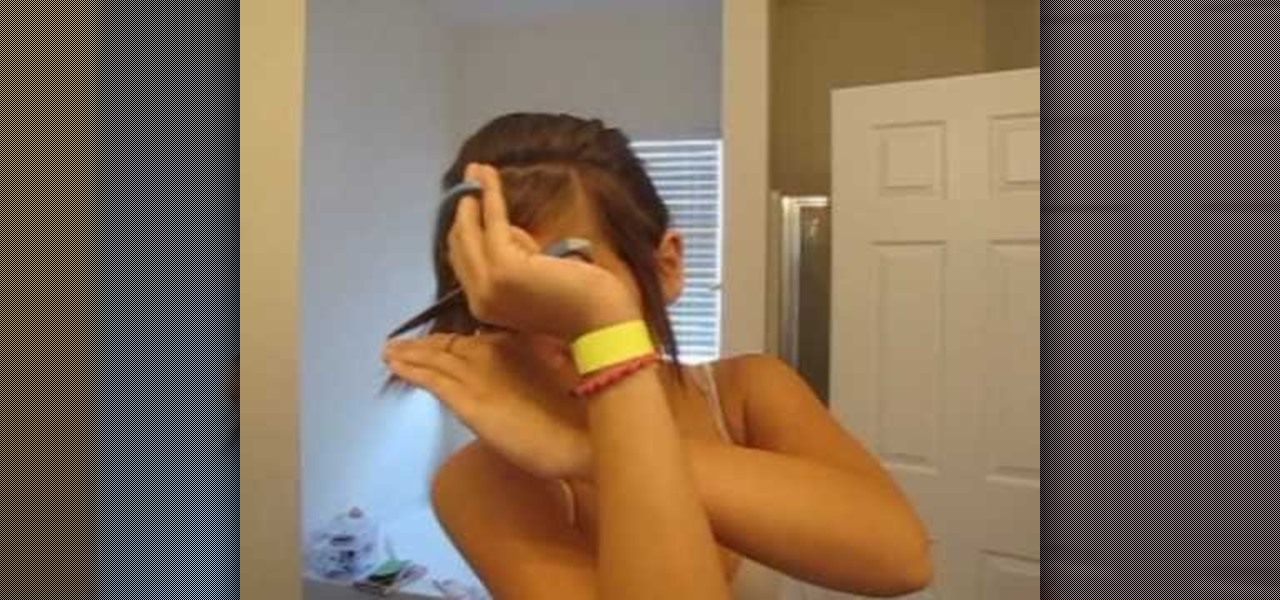
Learn to style your bangs like Nicole Richie! First, pull the rest of your hair into a pony tail to keep it out of the way. Now take a straightener and straighten your bangs and sides. Choose where to part them, from the corner of the eyebrow is a good choice. Pull your bangs to the side. To cut them, take some scissors and run them down the side of the bangs in small snips, making the parted side shorter than the other side. To style them, straighten the bangs with a straightener and spray w...

Learn to make an origami flower with just a few easy steps in this video tutorial! 1. Use an 8 inch by 11 inch piece of paper.

In this how-to video, you will learn how to add movement to still images using Final Cut Pro. Click on the view mode button in the canvas window. Set the mode to Image and Wire Frame. Move the canvas play head to the clip you would like to affect, and select the time line. To control the scale, grab the corner to shrink or enlarge. Reposition the clip by clicking on the image and dragging it around. To rotate the clip, move the mouse over the edge and click and drag it to spin it. Select the ...

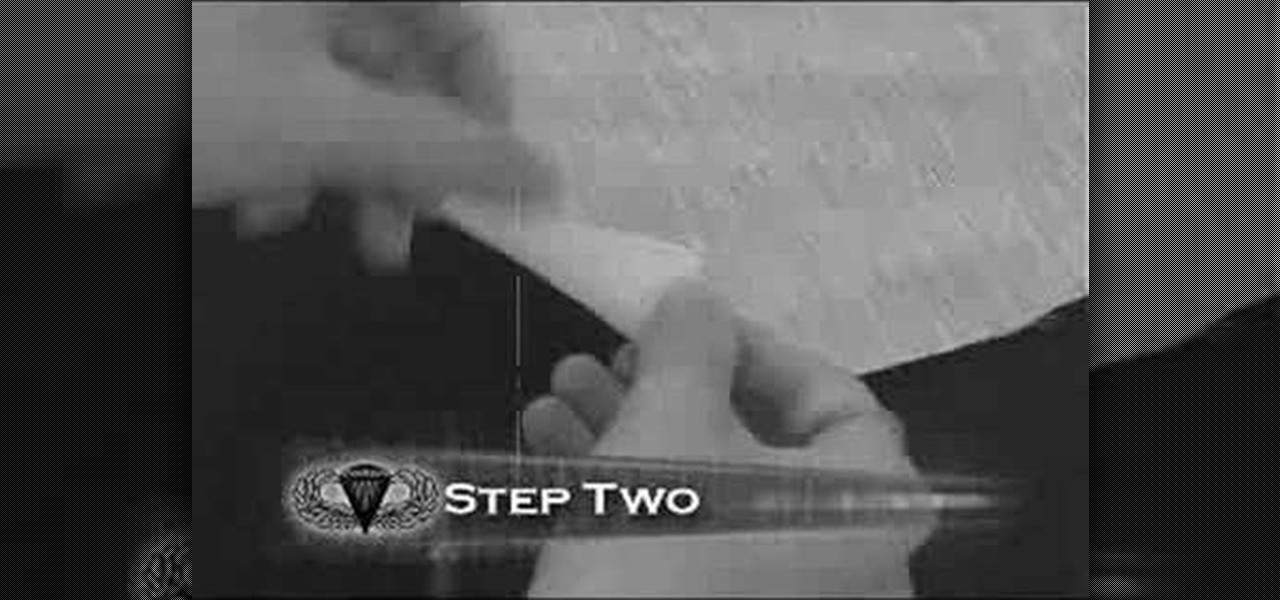
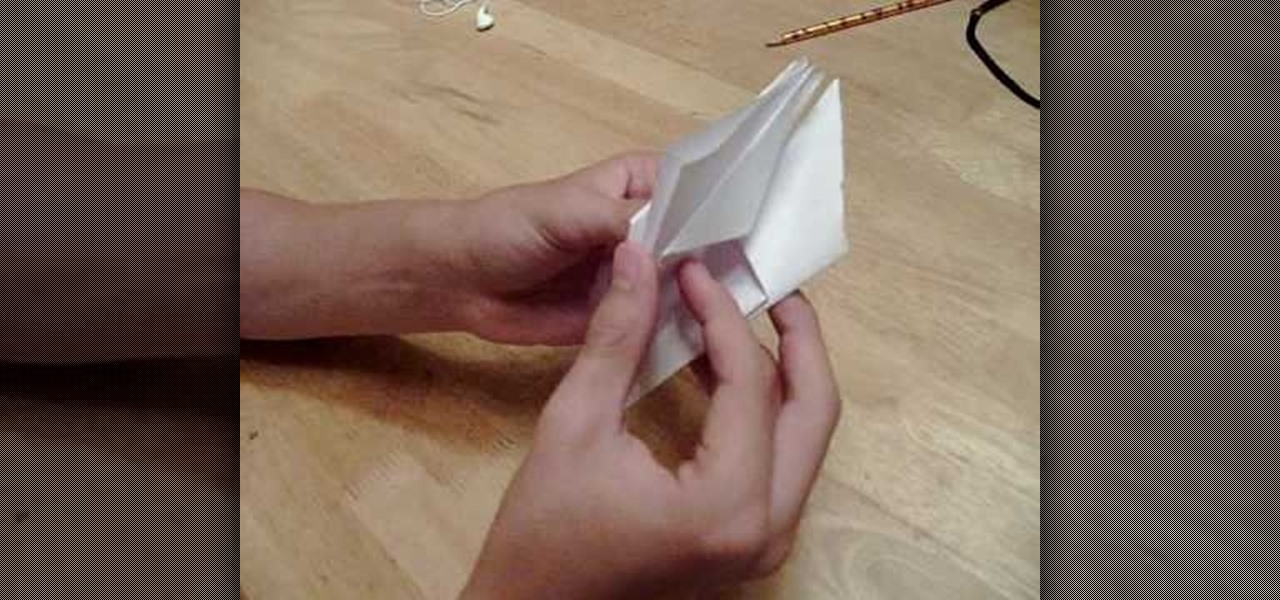
In order to make a paper airplane, you will need the following: 8 x 11 sheet of paper and a scissors. Lay the paper out on a flat surface. Pick up the right side bottom corner. Bring it over to meet the left edge of the paper, at the point at which the left hand corner is perfectly bisected. Crease it. Open it. Repeat the fold on the other side. Open it. Now, make an accordion fold. Fold the 2 small corners down. Then fold the 2 diamond shapes upward. Next, fold both sides in. Tuck the points...

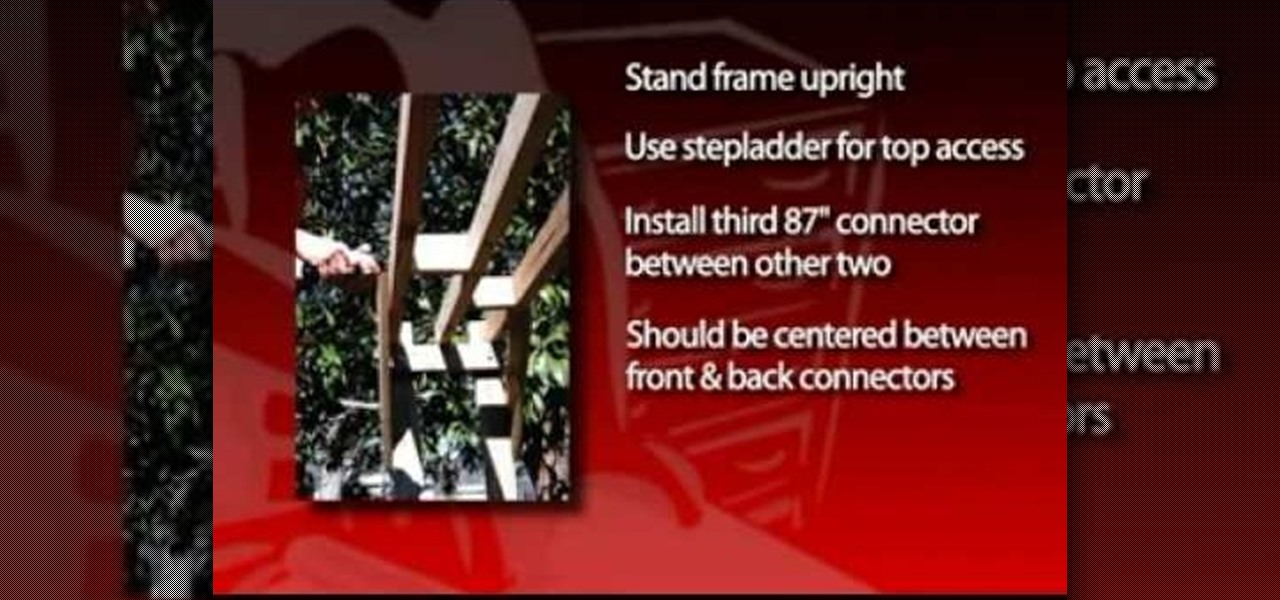
In order to build a backyard swing arbor, you will need the following: 2x4s, 1x6s, a bench swing, 4x8' sheet, a drill, carriage bolts, galvanized nails, and screws.

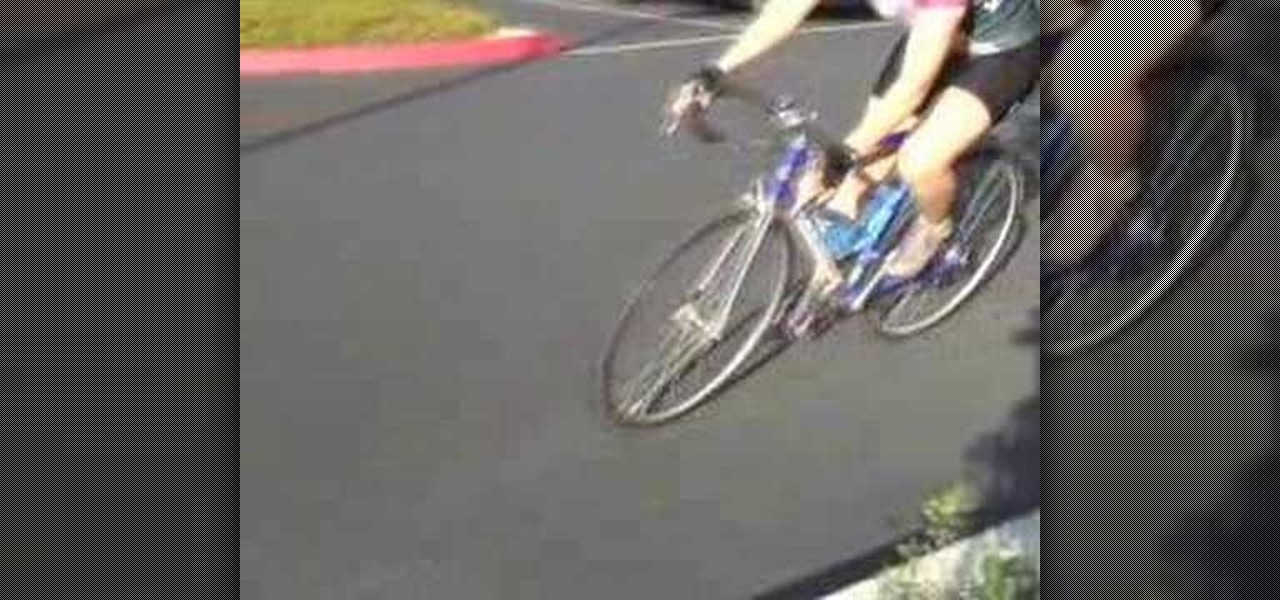
Active Expert Gale Bernhardt provides helpful tips on cornering techniques for cyclists in this instructional cycling video. Depending on the particular situation you're faced with when turning the corner, you may have to turn a corner with a tight radius or a wide radius. See how fast you can go in each situation and learn how to turn the corner the fastest way around a corner in various circumstances with this cycling tutorial video.

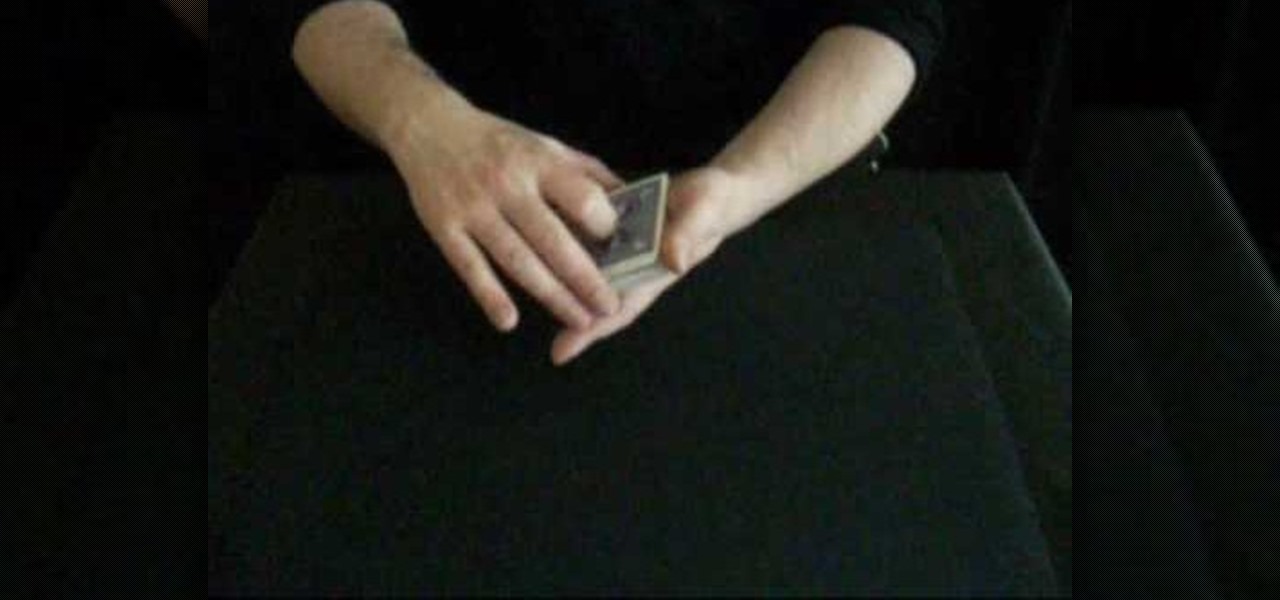
In order to do a false shuffle, you will need the following: a deck of cards.

Create a rounded corner box with CSS in the Adobe Dreamweaver! Whether you're new to Adobe's popular WISYWIG image editor or simply looking to pick up a few new tips and tricks, you're sure to benefit from this free video tutorial from TutVids. For more information, including step-by-step instructions on how to create your own rounded-corner boxes, watch this web designer's guide.

This tutorial it's step by step instructions, so it's very easy to understand it. Don't forget to like, comment and share this project :)

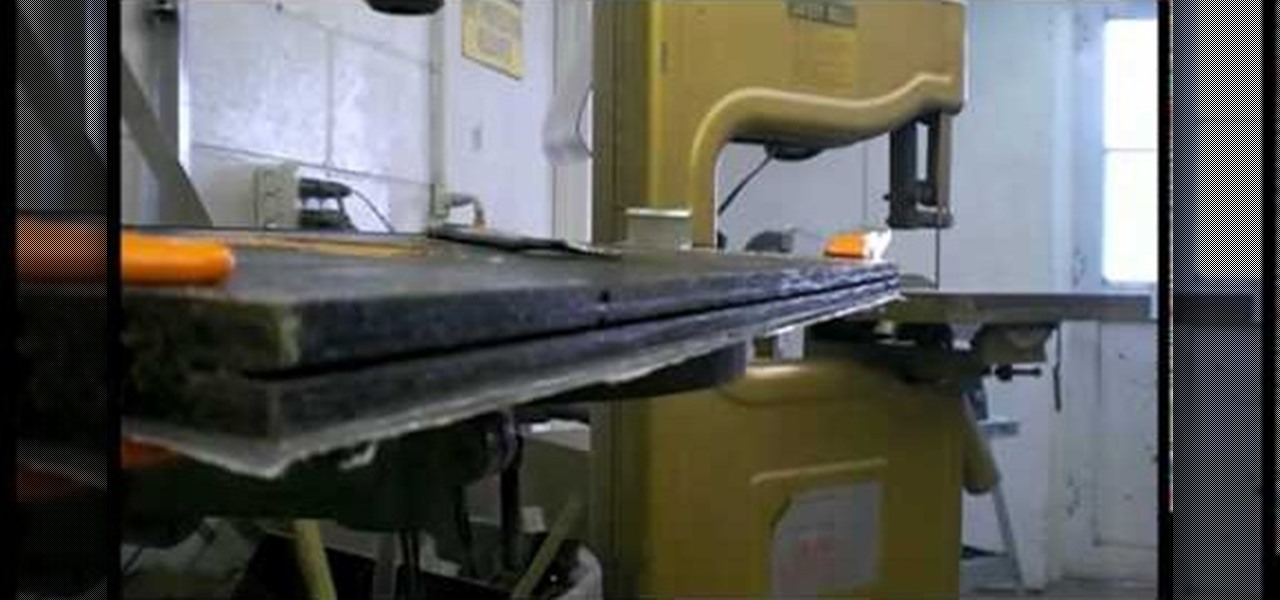
In this video we get to see how to cut a lexan for your control panel overlay. First we have to lay the control panel on the lexan. Now go to any corner. We use just three tolls in our process two drill bits and a scoring tool. Take the scoring tool and drag it along the sides so that the lexan breaks or cracks. There is no reason to worry since lexan is very easy to work with. Now take the torn lexan and place it on the top of the panel. Clamp it using the clamps at the corners. Now we take ...

Origami is a creatively fun and entertaining artform that can relieve stress and help you with your hand eye coordination. This video will demonstrate how to create an 8 Point Origami star.

This is were things get interesting (and FAST!)— B-7, then seventh of the National B License Tests in Gran Turismo 5 on PlayStation 3. You'll be testing out your high-speed control of lines and throttle control. If you haven't yet, simply unlock these tests by purchasing your first car.

In this video, I show you the better way to cut pizza rolls. My son Eston and I love pizza rolls. I always cut them up for him so they cool off faster, also so they're smaller bites. I was always annoyed with how much stuff fell out of the pizza rolls when I cut them. So I figured out a better way…using a scissors!

This video tutorial demonstrates how to make an Origami necktie and a shirt card. Begin with a square two sided paper. Fold the paper in half, forming a triangle. Open it back up and use the center fold as a guide. Take one corner and fold it in toward the center fold. Repeat this on the other side. You end up with a kite shape. Turn your paper over. To make the front knot of the tie, fold down the smaller corner toward the center about a third of the way. Fold the point back up toward the to...

In this video tutorial, viewers learn how to make a tied fleece blankie. Select any colored fleece and a coordinated patterned fleece. Purchase one yard of each fleece. Cut the fleece so that you have two pieces of 36 x 30. You will need a pair of scissors and a ruler. Sandwich your fleece together and lay it on a flat surface. Make your first cut at the 4 inch mark. Continue to cut in on strips until you reach the end of the fabric. Then turn the corner and cut a 4 inch square out of the fab...

Final Cut Pro and Final Cut Server work seamlessly to give you a smooth and integrated work flow. To upload a Final Cut Pro project into Final Cut Server, drag the project file into the Final Cut Server asset pane.

Video: . Whether you are gardening, cooking, riding a motorcycle or just want to cover up on a bad hair day, doo rags are easy to make and fun to personalize to suit to your style. If you would rather just download the durag pattern click here.

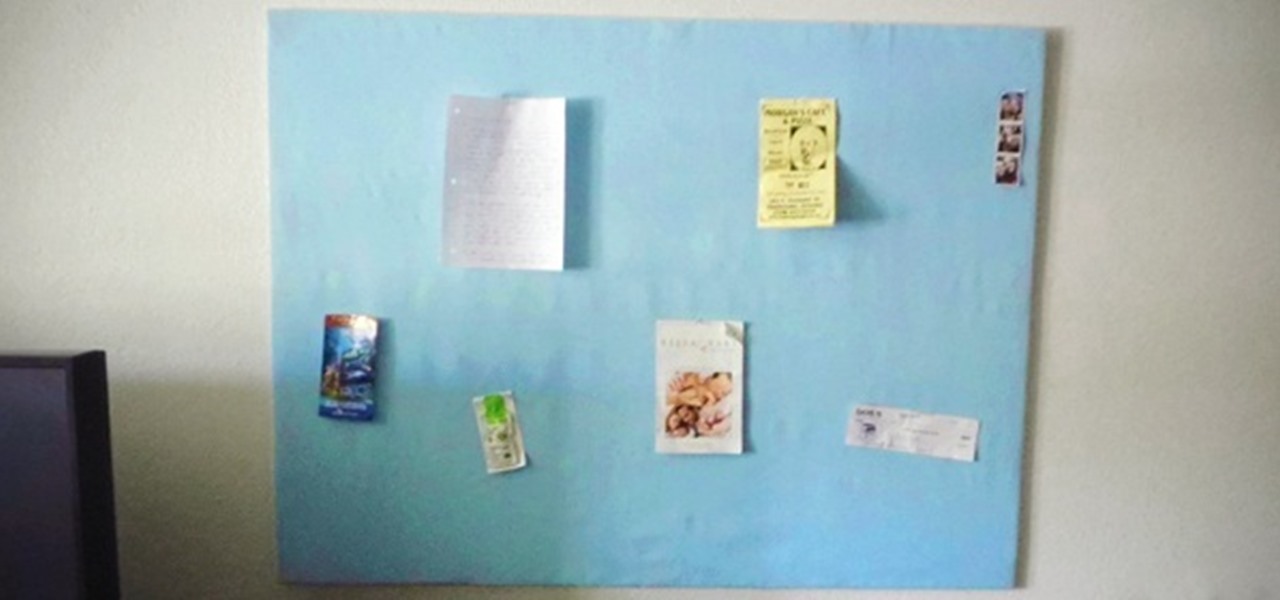
One thing that's always important to have in your home office is a bulletin board, because they let you quickly display papers that you need to see every day, such as schedules, notes and memos.

Frustrated with blankets and sheets that bunch up around the corners? This tutorial shows you how to make perfectly square corners (or hospital corners) on your bed. It doesn't matter what size mattress or sheet you have, this technique will work on any bed.

The fifth (B-5) of the National B License Tests in Gran Turismo 5 on the PlayStation 3 is all about basic cornering. This video will show you how to get the gold trophy! If you haven't unlocked these tests yet, all you need to do is purchase your first car.

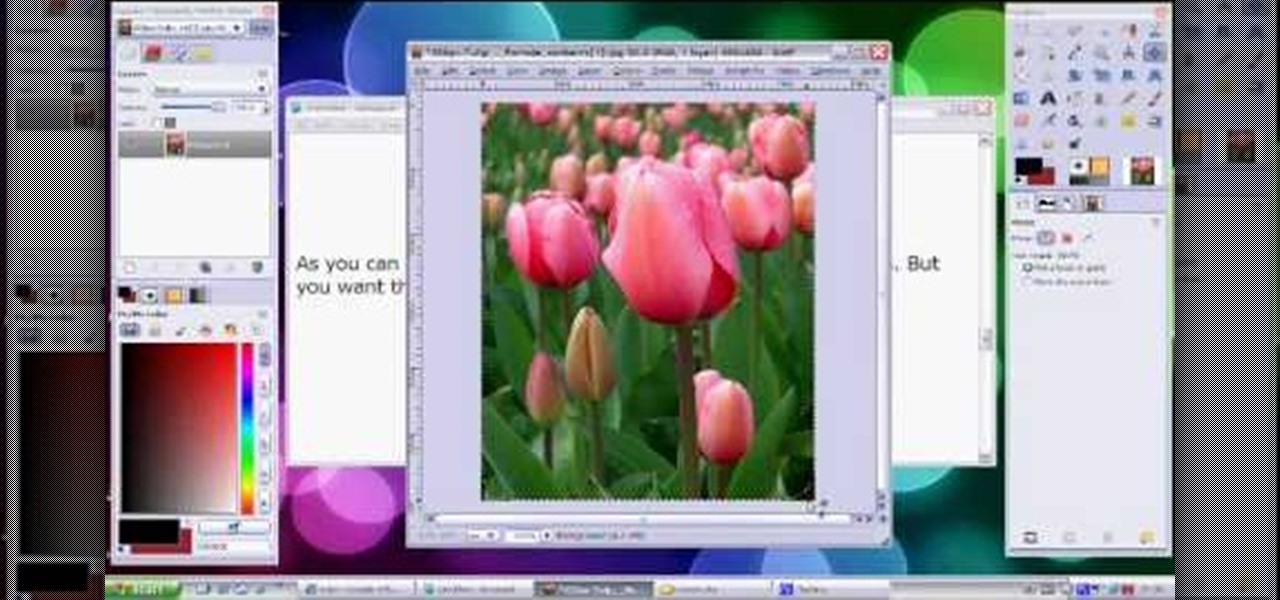
Video demonstrates how to make rounded corners in GIMP. First step is to open an image. The image needs to have transparency for this to work. An alpha channel is to be added to the image. This can be done by going to the layer option in that select transparency and add alpha channel. By doing this if the picture grays out it means the image already has transparency and there is no need to add an alpha channel. Now Select option is selected and in that rounded rectangle is selected. The radiu...

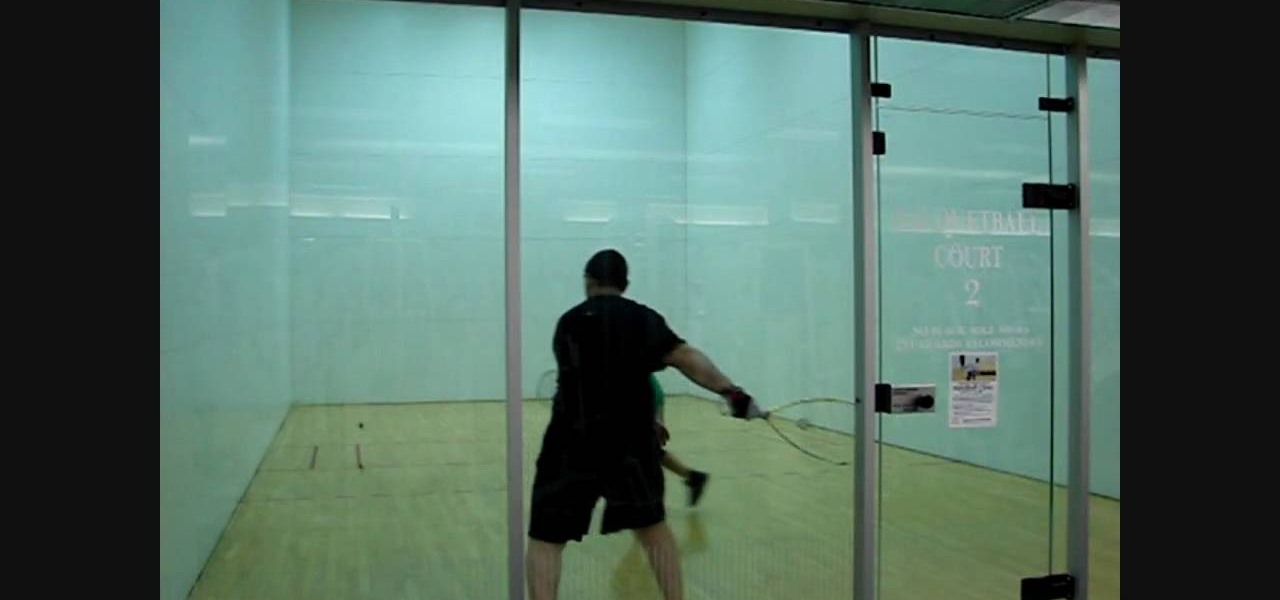
In this Sports video you will learn how to hit shots from the corner in racquetball. When your opponent hits a shot into one of the corners, the common mistake that a lot of players do is to run into the corner in order to dog out the ball. If you do this, the ball can jam you to ‘short arm’ the shot. Don’t crowd yourself into the corner eliminating your full extension. The video demonstrates how by staying a few feet from the corner, the player was able to extend his arm fully to take a full...

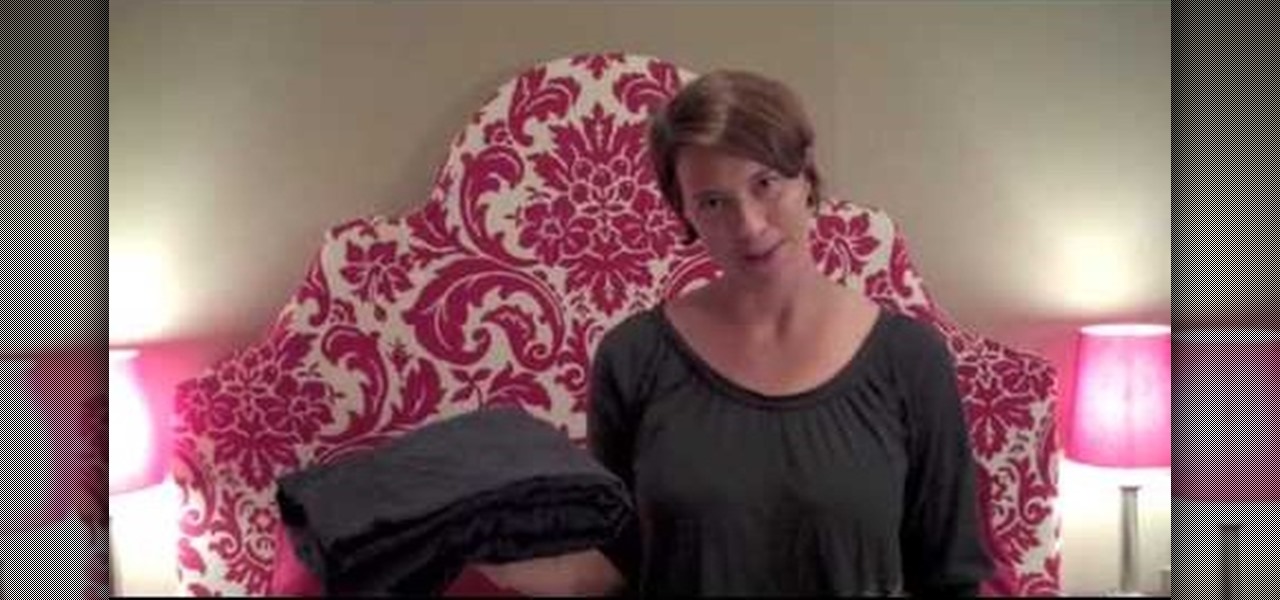
Fitted sheets can be quite a hassle if you are unsure how to tame the elastic edging and odd form. Cure Wrinkles, with Erin Bried, teaches you how to fold a fitted sheet correctly. Start by having the sheet inside out and place one hand in one of the corners and the other hand in the corner closet to the first corner. Then put one of your corners into the other corner so that one hand has two corners and the other is free. Watch the rest of the video to learn how to turn that clump of a sheet...


