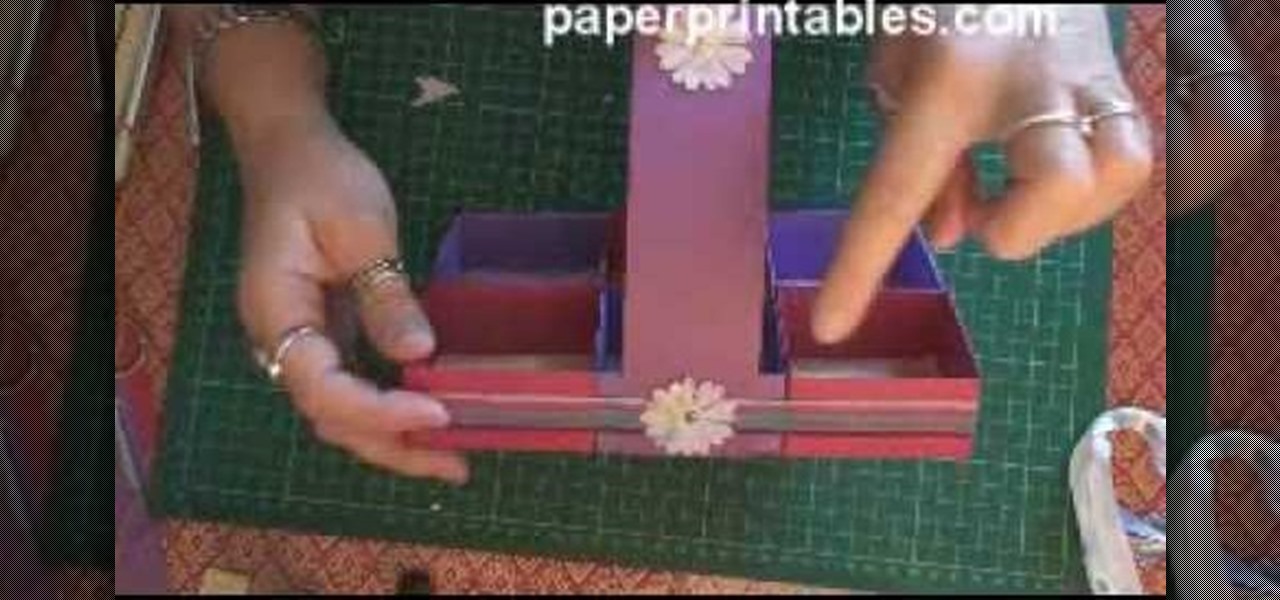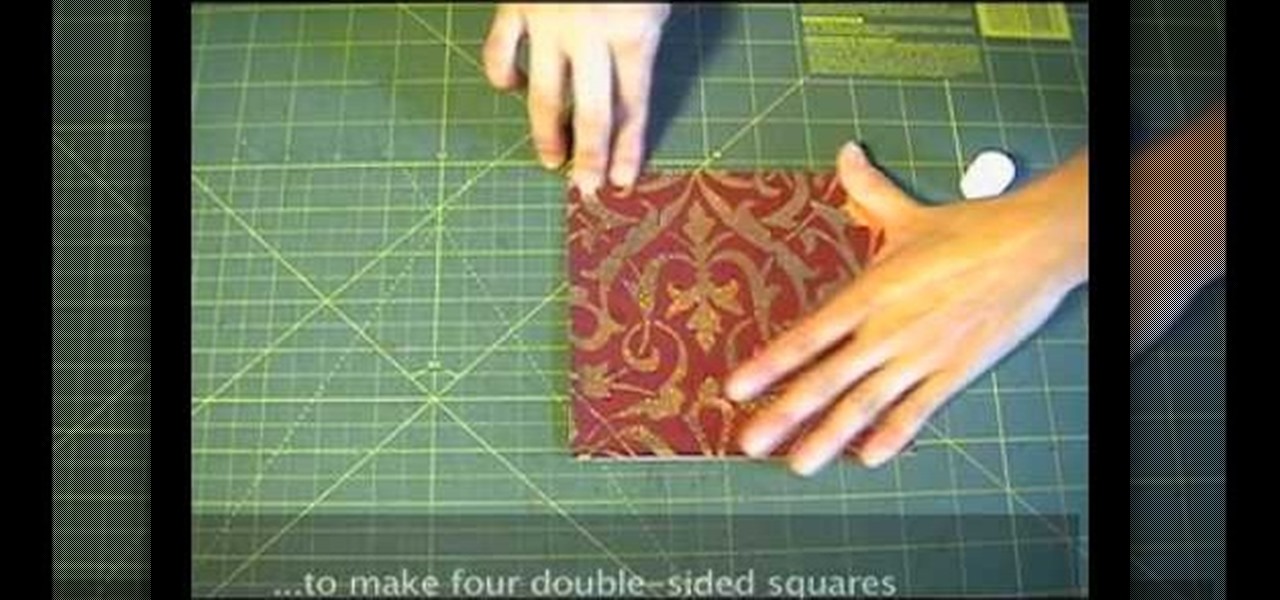
Shiho Masuda Teaches you to make 3-D origami star using recycled materials. The materials required are leftover wrapping paper, ribbons, two 3. 25" cardboard squares, ruler, scissors, glue, double sided tape and an X-acto knife. She cuts out 8 6"x6" squares from paper and glues them back to back to make four double sided squares. The four pieces are folded into 3"x 3" squares and stuck together with double sided tape. The 2 cardboard pieces are covered with paper and 12" ribbons are taped to ...
Systm is the Do-It-Yourself show designed for the common geek who wants to quickly and easily learn how to dive into the latest and hottest tech projects. They will help you avoid pitfalls and get your project up and running fast. In this DIY episode, see how to create cheap WiFi antennas for better reception.

This technique drill video shows you how to hit a backhand corner drive in squash. 1. When you're moving into the backhand corner

The Professor of Silliness returns with some paper. Watch this instructional video to make a tall tree out of newspaper. You need an old newspaper, masking tape, and scissors. Simply lay out the newspaper pages from end to end and tape them together. Then roll it up at a diagonal, starting from one corner, and pack i it into a compact tube. Use tape to keep the tub intact Use the scissors to cut vertical lines half way down the newspaper tube. Pull out the inner most layer and turn your recyc...

This is an instructional video on hitting a forehand corner drive in squash. 1. Make sure when you are moving into the back corners
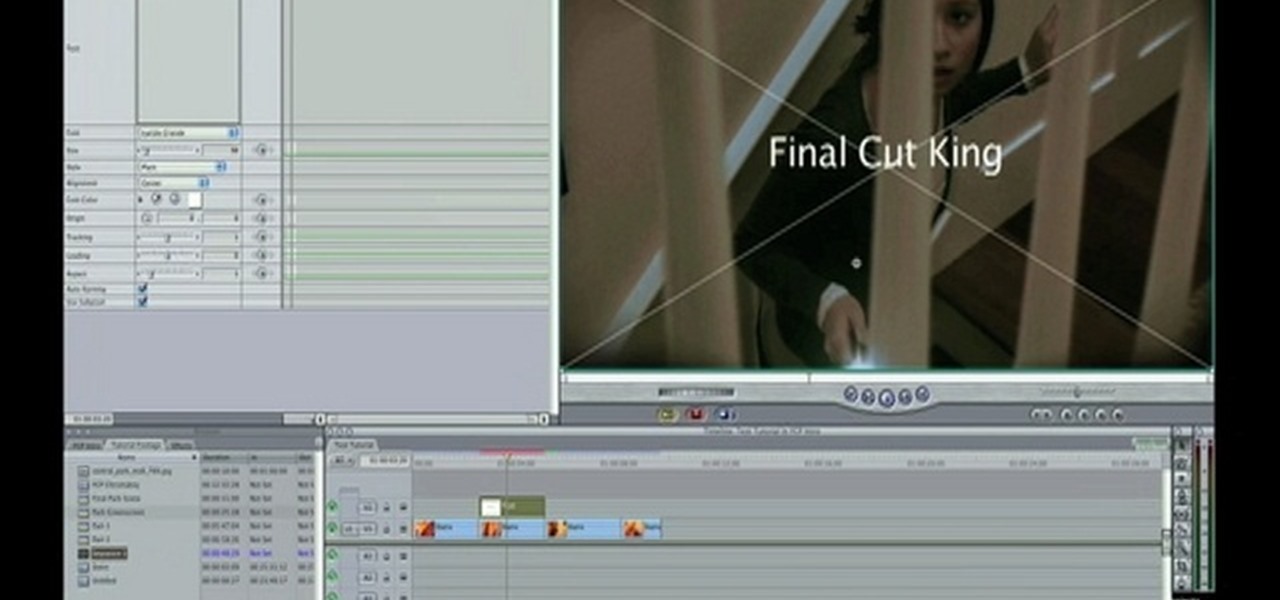
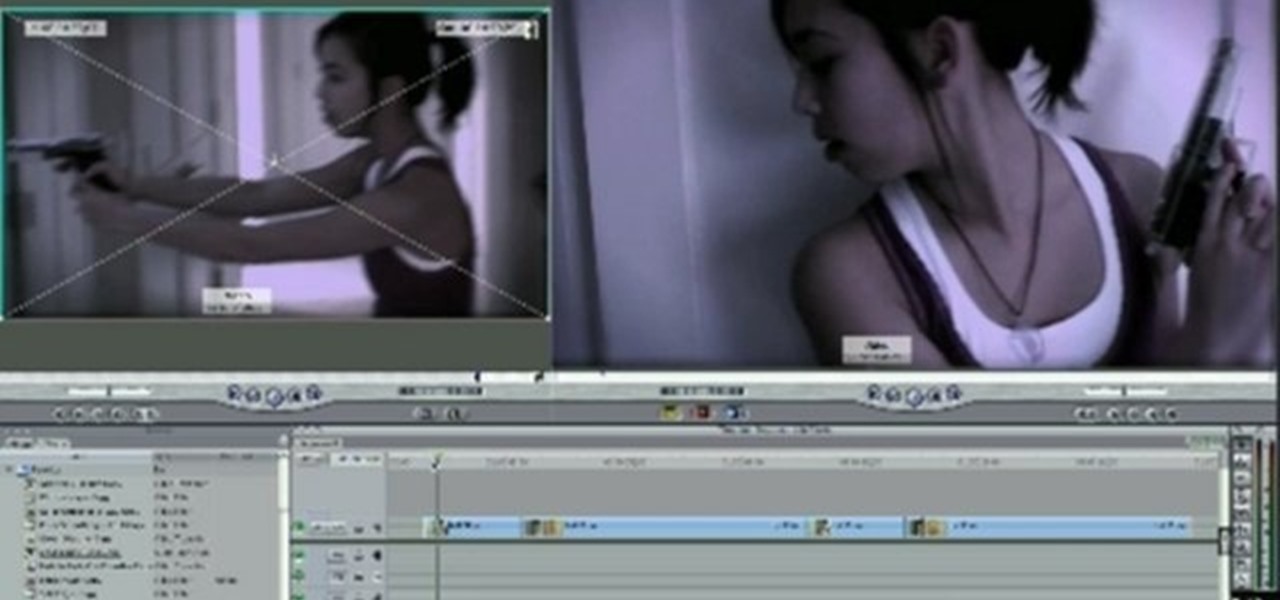
For this Final Cut Studio video tutorial, Zach King will teach you how to create and manage text in Final Cut Pro. To create and manage text, just go to the Video Generators Tab in the Viewer window, go to Text, and choose your favorite option, or just the plain old Text. Check out the rest of the process in Final Cut. Let the Final Cut King show you how!

For this Final Cut Studio video tutorial, Zach King will teach you how to apply a filter pack in Final Cut Pro and Final Cut Express. To apply a filter pack, you'll just click on the clip with all your applied filters, go to effects tab and press Make Favorite Effect. It saves your filters in the Favorites folder with the exact same settings. Let the Final Cut King show you how!

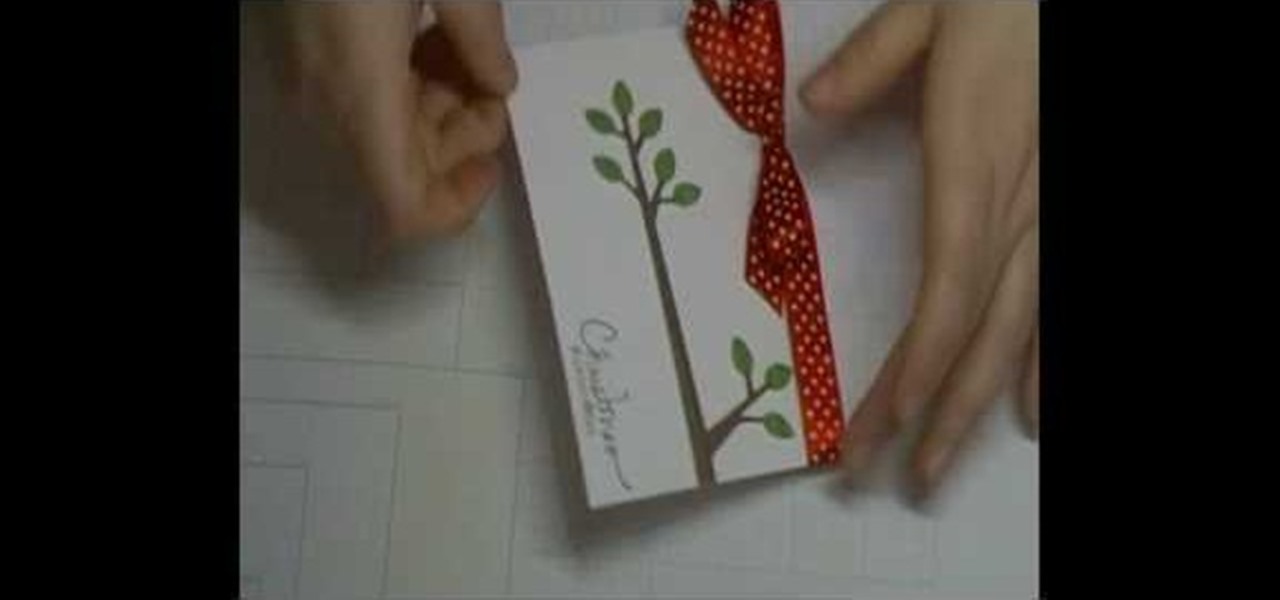
In this tutorial, we learn how to use Cricut Serenade & Joys for a simple Christmas card. First you will need to take a piece of white card stock and tie a red and white polka dot ribbon to the top. After this, you will need to take a tree branch stamp and stamp it on the side of the card like it's growing out of it. After this, make sure the color on the leaves is green and the branches are brown. Now, you will cut out another piece of card stock in a punch out to create the ornament that wi...

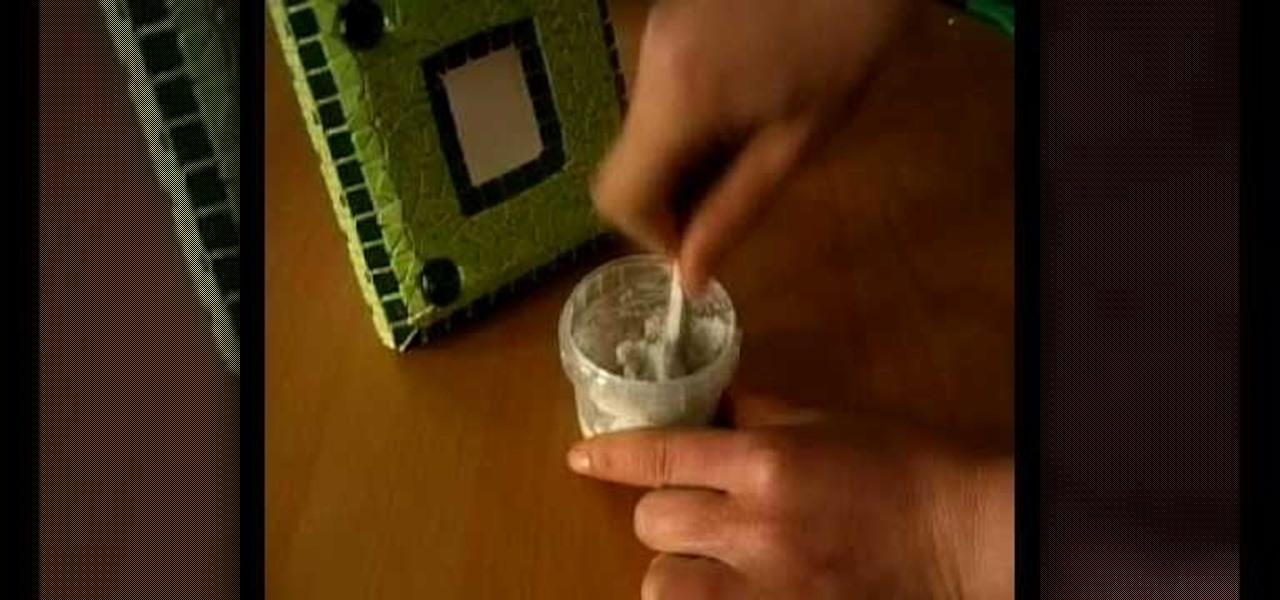
In this video, we learn how to make a mosaic picture frame with ceramic micro tiles. First, glue on the four gemstones. These will go on all four corners of the frame. Next, place the square mosaics onto the base. You will place these around the edges of the frame that are perfectly square. After this, cut the other squares in half and glue them onto the entire frame in the middle of the squares on the frame. Next, let the frame dry for two hours, then mix the powder together with water and r...

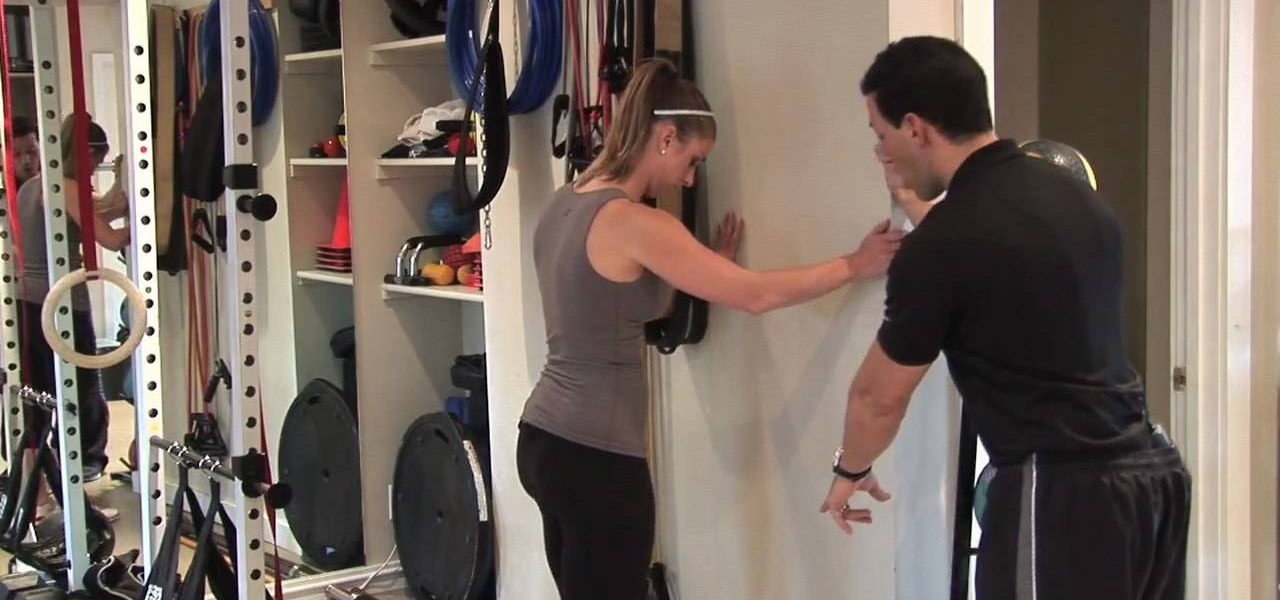
Want your bum to look as perky as it did twenty years ago in a bikini? Unfortunately there's no way to cut corners when you want to tone your glutes and thighs (lipo is an alternative, but that just gets rid of fat and doesn't actually help you tone or increase muscle).

This tutorial demonstrates how to make Ninja stars out of 2 pieces of lined notebook paper. Lined paper make your star look cooler and help you keep track of your folds. Fold you paper into five equal sections with a small section left over at the top. This is about five and a half lines per section. Next fold over one corner of the edge that is farthest away from you and then fold over the corner of the opposite edge. Set this paper aside. Repeat the process with your second sheet of paper e...

This video illustrate us how to make a light bulb oil lamp. Here are the following steps; Step 1: Take all the things required that is bulb, socks,adhesive tape,scissors,kerosene, rim with a hole in the center.

In this how-to video, you will learn how to make a paper snowflake. This is great for the winter. The best way to make a good snowflake is with the way you fold it. Start off with a square piece of paper. Fold the paper into a triangle. Now, fold the triangle along the height into another triangle. Take one of the lower corners and fold it 60 degrees. Fold the other side the remaining 30 degrees. Snip off the trails with scissors. Now, cut patterns into the sides of the paper. Unfold and then...

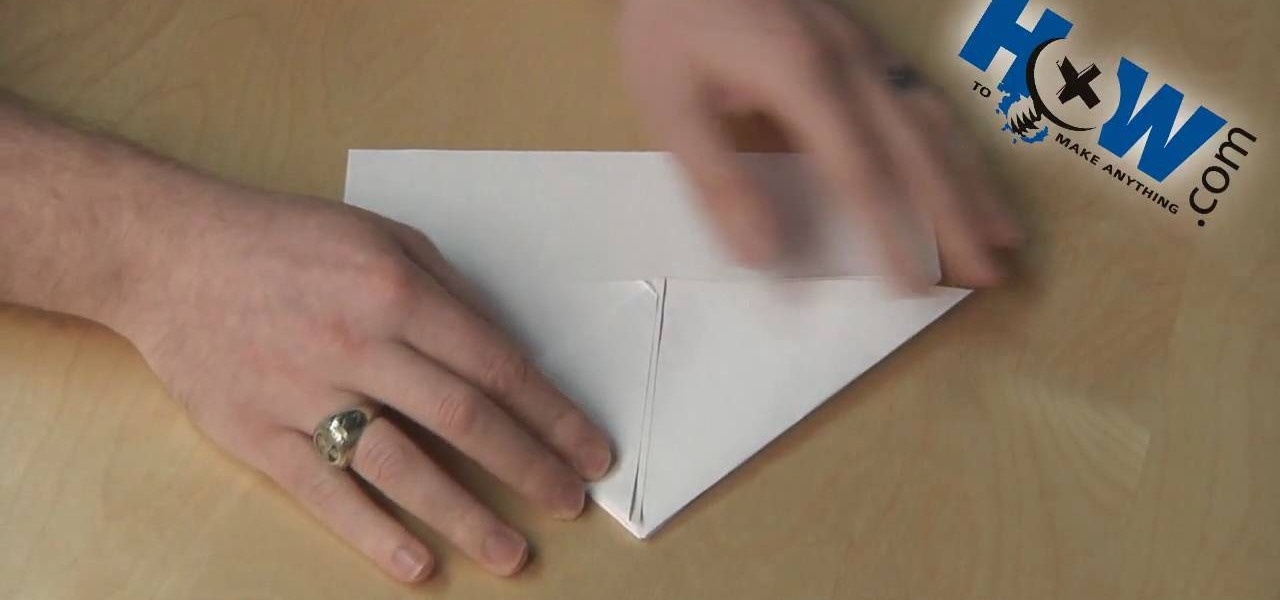
First of all take a rectangular sheet of paper. Now take a corner and fold it across to meet at the corner. Now crease it. Now take another corner and fold it over to the other side and crease again. Now bring in the x as shown so the sides are drawn inside and they form a triangle. Now crease it. Now take one corner of the triangle and bring it to the top. Now crease it. Now do it similar for the other corner. Now fold the bottom piece over and bring it to top. Then fold once again as shown....

Decorating using tissue paper is an inexpensive and it is much prettier than streamers. To make tissue paper flower, all that you need is tissue paper of your color. Have two shades of color for contrast to make it more attractive. Cut the tissue paper into half. Take eight sheets and cut them half which gives you sixteen sheets. Take six to eight of those and lay them on top of each other and make corners match up. Now take the tissue paper and fold it over half inch to one inch and then fol...

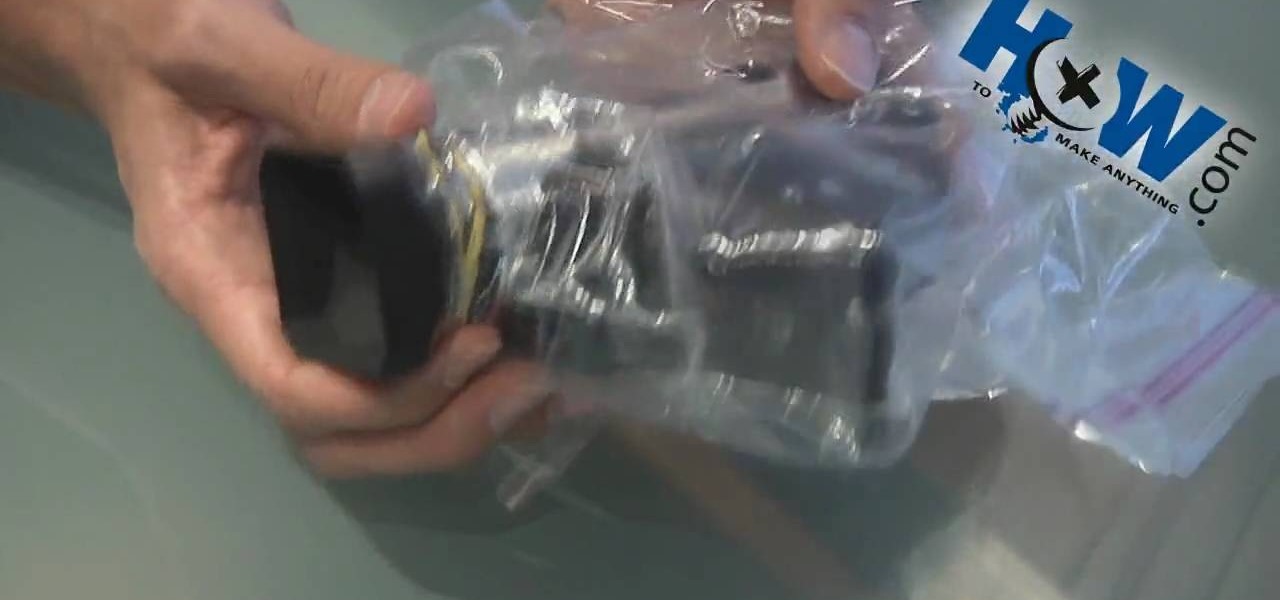
To rainproof your camcorder start by purchasing a lens hood for it. This lens hood helps to rainproof the camera lens but it also prevents flaring from the sun. Take a zip lock bag and cut the corner off of the bottom so that it creates a hole that is big enough for the lens hood to fit through. Put the camera in the bag and push the lens hood through the hole in the bottom of the bag. Take a rubber band and wrap it around the outside of the plastic bag just behind the lens hood to keep water...

This video from Origami in 30 Seconds demonstrates how to make a paper box in 30 seconds. Start with a square piece of paper and fold it diagonally to make triangles from both corners. Unfold it, and fold each corner into the middle. Unfold two of the sides and fold the edges of the other sides toward the middle. Turn it over and fold the triangular corners back so they touch in the middle. Fold the corners over backwards. Take the two sides and pull them out, and fold the outside corners in ...

Create a photo frame out of an origami paper or any art paper in minutes! 1) Lay the paper down on a flat surface. 2) Fold the paper in half with the shortest ends together. 3) Fold in half again so that you get quarters. 4) Unfold step#3 and with the first fold at the top, fold the top corners down along the center fold. 5) Unfold the corner flaps, open up the original fold and fold the corner flaps inside, now close the original flap. 6) Fold the lower edge up as far as it will go, do the s...

Steps on how to make 3D paper snowflakes for decorating your home. Things you need: 6 pieces of square paper of equal size. scissors. gum. stapler. Steps: 1. Fold one paper to make a triangle. 2. Make three uniform cuts from both directions towards the center leaving a gap along the center. 5. Unfold the paper, let the edges of the inner cuttings meet to make a tube-like appearance and gum the edges together. 6. Turn over the paper and do the same on the second cutting. 7. Turn back again to ...

This is a video related to Computers and Programming. This is the video regarding CSS Rounded Corners: Dreamweaver Tutorial. They have discussed some images regarding CSS rounded corners. CSS is not just chatting about and doing stuff. There's a CSS book regarding all this computers and programming. Due to this, it is very much easy to implement. We do not need to face any problem. It's a great book. In this video, they have given the full video about how we can create rounded corners in CSS....

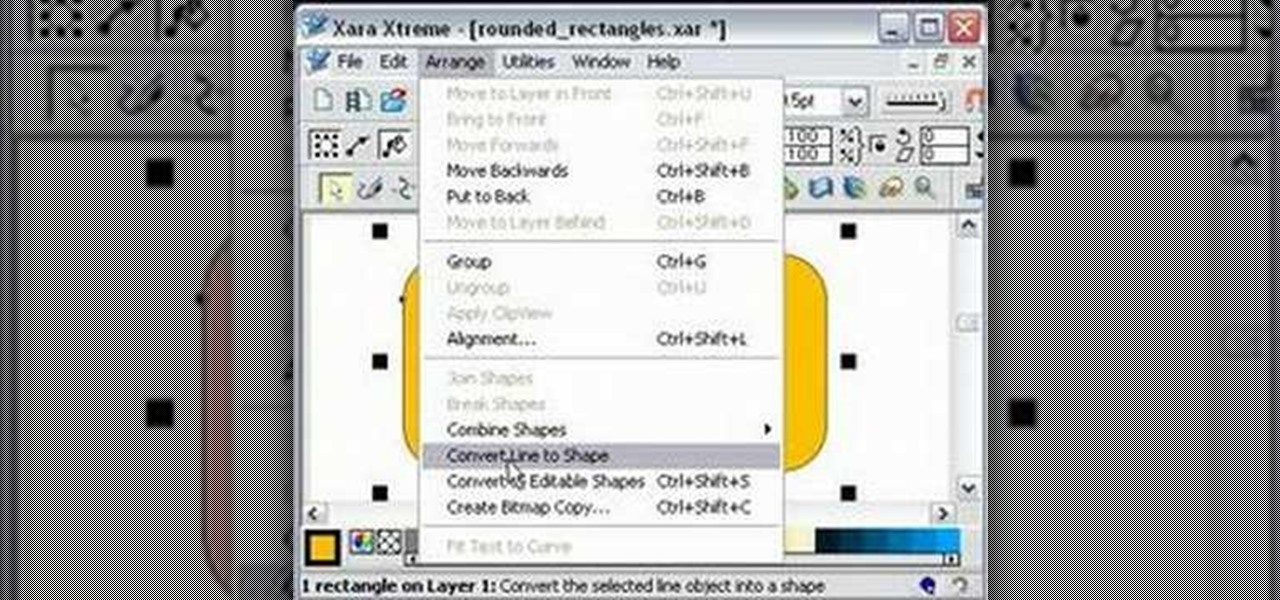
One must have often wondered how to create rectangles with smooth rounded corners. Open Xara Xtreme and create a rectangle on the stage. To change it to rounded corners, click on 'curved corners'. Then one can edit how much curve is required on the rectangle. If we scale the rectangle, then it will lose the curve path. So it should be converted to 'editable shapes'. This will maintain the curves, even if scaled from one angle. This will be helpful to create those party fliers.

Making rounded corners is literally a cornerstone of learning Photoshop. That's because rounded corners are used in many different applications, from harmonizing pictures in a family photo album to create a fun pamphlet for class to setting up an Indie-style vintage picture for your Flikr.

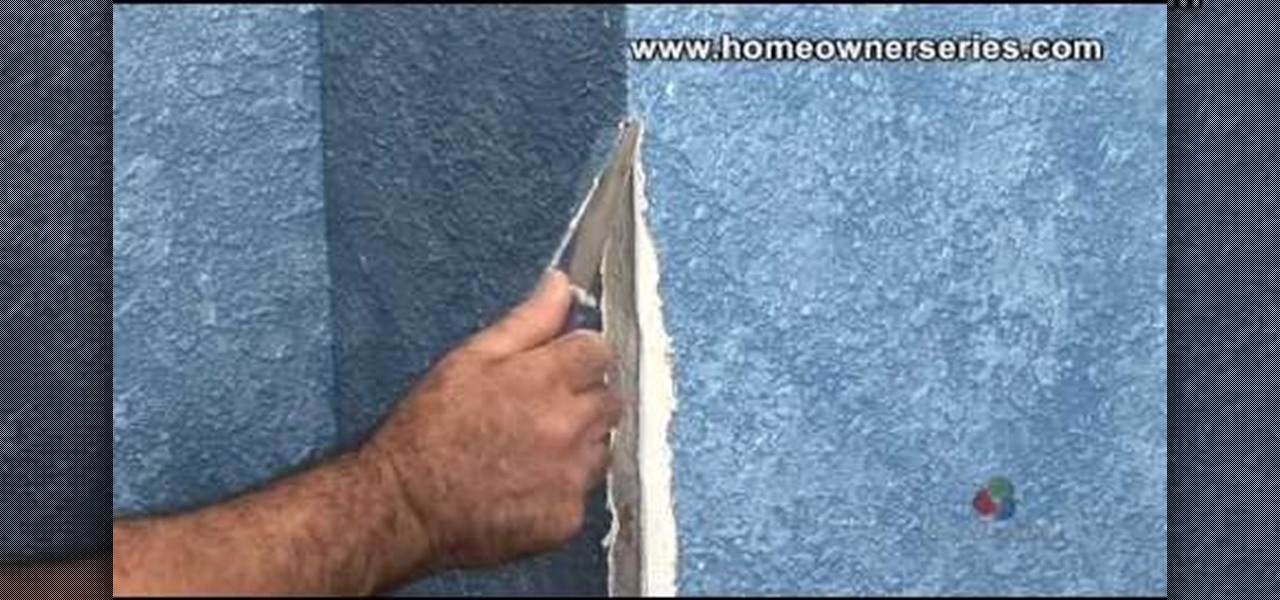
Home repairs might seem foreign to some people, but it's not as hard as dealing with contractors. If you have to patch up some holes in your drywall but don't know how, let this video series be your guide. In these videos, lean how to fix a damaged corner bead on drywall.

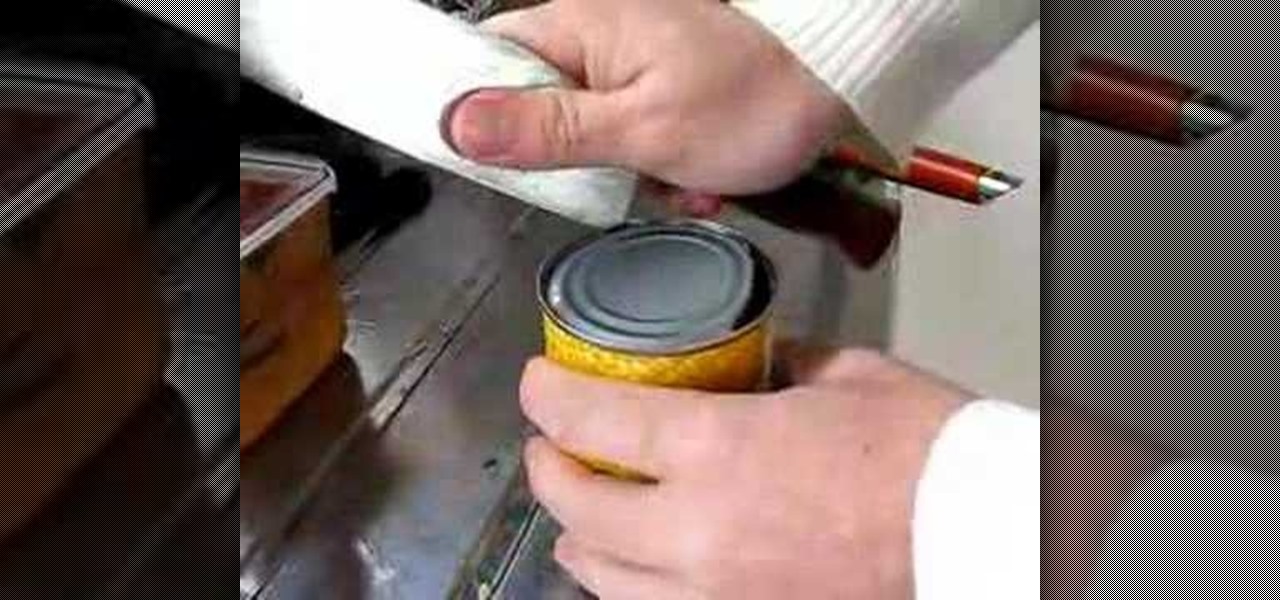
This video is how to open a metal can with the corner of a knife. First, you must find a knife that has a ninety-degree angle where the corner is a sharp point. A cleaver, like the one shown in the video, type of knife would be best. You use the corner to puncture the can and continue puncturing it as you rotate the can. Make sure to tilt the knife outwards after you puncture. Puncture successively and simultaneously rotate the can so that each puncture mark starts where the last one left off...

Photoshopuniverse shows you how to quickly add rounded corners to photos using Photoshop. He talks about vector masks which he is going to use to give the photo in the video a rounded corner. He uses layers inside of Photoshop to complete this task and also use the Crop tool. He also adds a border around the image then makes it green. IF you watch this video, you will learn how to add rounded corners to photos and how to add boarders and color them.

iMovie 08 is a great way to keep all your videos organized and quickly make a rough cut. You can import your projects into Final Cut Express to fine tune your edit with the same tools the pros use.

In this video tutorial, you'll learn how to execute ripple edits within Final Cut Pro 7 by using markers. Whether you're new to Apple's Final Cut Pro non-linear video editor or just want to better acquaint yourself with the Final Cut Pro 7 workflow, you're sure to benefit from this free video tutorial. For specifics, watch this Final Cut Pro lesson.

This Final Cut Studio tutorial shows you how to make a multi screen video in Final Cut Express. If you need a wall of monitors each playing different videos, or are just working on some cool split screen effects, you'll find everything you need in Final Cut Express (no Final Cut Pro necessary) and this tutorial.

First, you will need a gallon of milk that's about a quarter full. It's best if you empty out the contents, but make sure to save it though because you will be needing it later.

If you’re looking for a new drink to make your signature then with summer just around the corner you have to try a Campari and soda. This drink is easy to make and is popular and refreshing because of the soda water and the fresh lime.

In this video, we learn how to lay floor tiles. Lay the tiles in a diamond pattern, using a tape measure to make sure you have enough of them. You will need to cut the corner tiles so they fit in with the rest of them. Lay the tile adhesive down first before you lay the tiles down and make sure they are pushed down into place securely. Continue to lay the tiles down until you have covered the entire area. After this, you will lay mortar in the middle of it and then wipe it off clean to finish...

In this tutorial, we learn how to make a paper cup cake/muffin basket. First, take a piece of paper and fold it in half. After this, curl the edges up from each of the corners until you end up with a small square in the middle of the paper. Use scissors to create slits where you will make the tabs to construct the box. After all the tabs are cut, push them together so you have a small basket with a neat line. To finish this up, add a handle to the top and push into the sides. Then, draw on an...

In this tutorial, we learn how to make a Deadpool sword. To do this, you will need: a marker, scissors, hard plastic, cardboard, silver spray paint, duct tape, saw, electrical tape, sandpaper, and hot glue gun. First, cut the plastic into three thin knife shapes. Then, use sandpaper to smooth edges. Then, use the cardboard to create three layers of a rectangle. Make the corners round and then tape around them with duct tape. Put a hole in the middle and then put it into the plastic. Now, glue...

In this video, we learn how to create an Egyptian queen makeup look with a headdress. Start by padding gold shadow all over the lid, avoiding the crease area. After this, take a black eyeshadow and place it into the crease, not making it a v-shape, cutting it from the bottom of the eye. After this, apply black eyeliner to the top of the lid, going out to the side underneath the black shadow. Next, apply a silver shadow underneath the brows as a highlight. Apply black eyeliner to the bottom of...

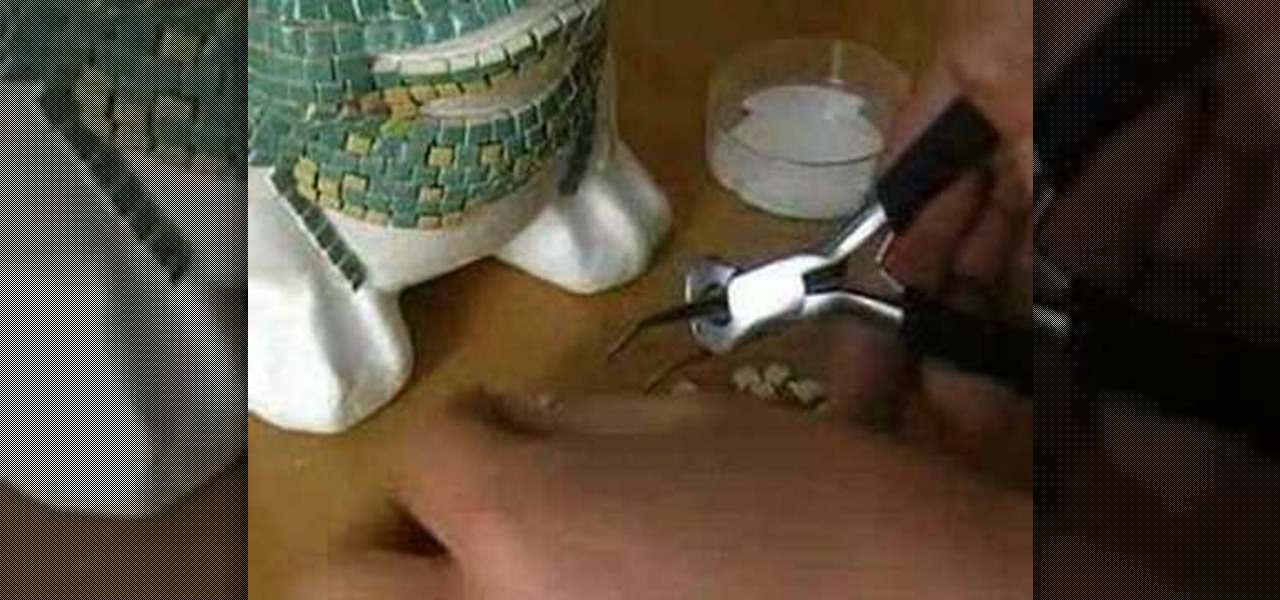
In this tutorial, we learn how to make a mosaic frog for your garden. Start by painting white glue over the eye sockets where the eyeballs will be placed. After you place the eyes on, brush on glue to all surface areas and start to place the mosaic on the glue. Follow directions that are given to you for the patterns so you know where to place each tile. You must cut the corner pieces so they fit in correctly. After two hours of drying time, you will rub a powdered solution all over the frog,...

In order to make an "I love you, Mommy" pop-up card, you will need the following: scissors, card stock, glue, and markers.

Got a pile of old clothes collecting dust in the corner of your closet? Before you get the incentive to finally donate that lump to the Salvation Army, consider reusing some of those seemingly "useles" clothing.

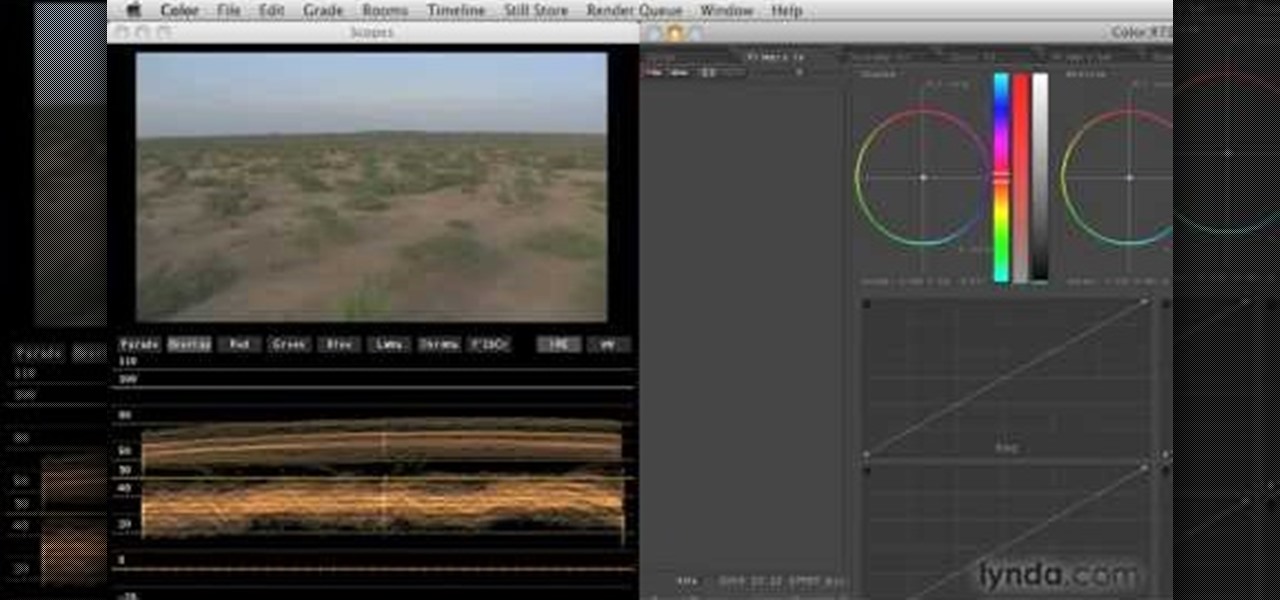
In this video software tutorial, you'll learn how to apply primary color correction within Final Cut Studio's Color 1.5. Whether you're new to Apple's Final Cut Pro video editing suite or just want to better acquaint yourself with the Final Cut Studio workflow, you're sure to benefit from this free video tutorial. For specifics, watch this Final Cut Pro lesson.

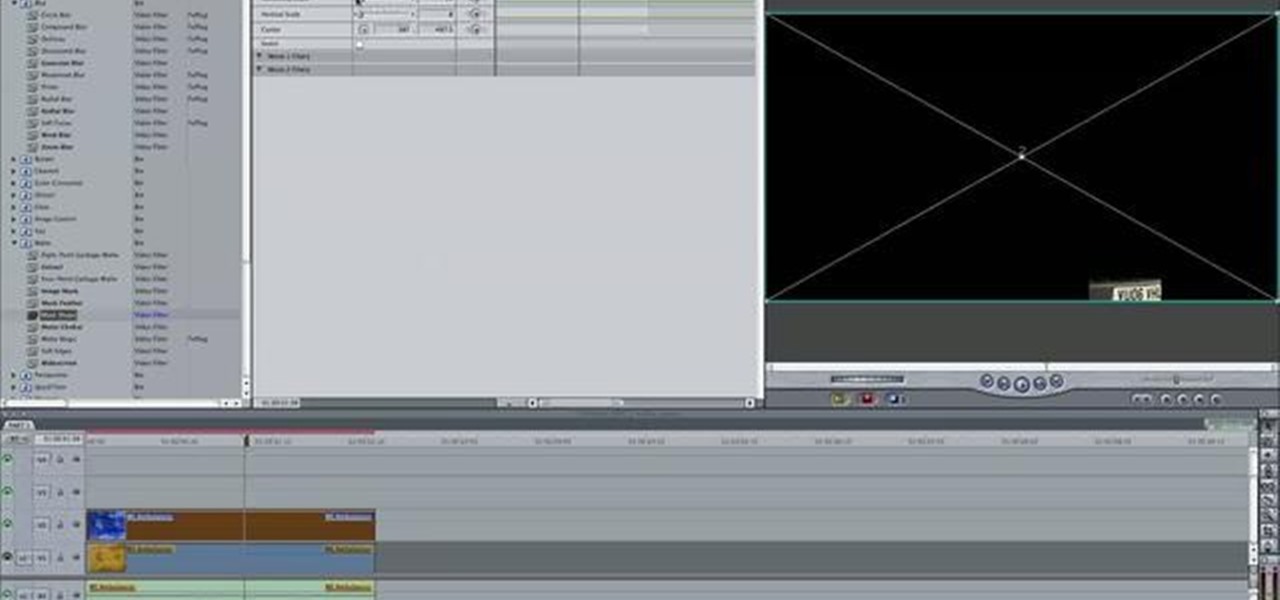
In this tutorial, you'll learn how to blur out a couple of car number plates in a static shot in Final Cut Pro. Whether you're new to Apple's Final Cut Pro non-linear video editor or just looking to pick up a few new tips and tricks, you're sure to benefit from this free video tutorial. For specifics, including detailed instructions, watch this Final Cut Pro lesson.

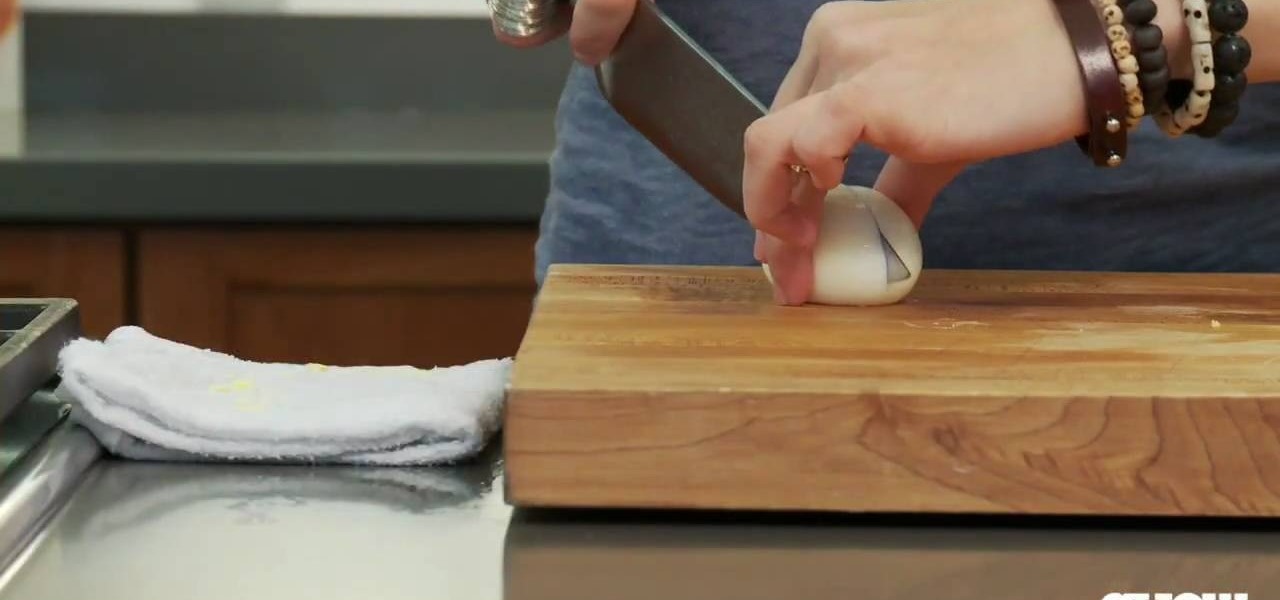
How to make deviled eggs while avoiding common mistakes


