Shorts, learning from your audience and the fundamental plausibility of being hustled in the desert Mike Clattenburg, creator of Trailer Park Boys and Afghan Luke, was kind enough to talk to us from Nova Scotia, where he was hard at work in preproduction, about Crackin’ Down Hard, his short that screens Monday and Tuesday as part of TIFF’s Short Cuts Canada Programme. We picked his brain about realism versus surrealism in comedy, the virtue of shorts, and the virtue of turning negative skinny...
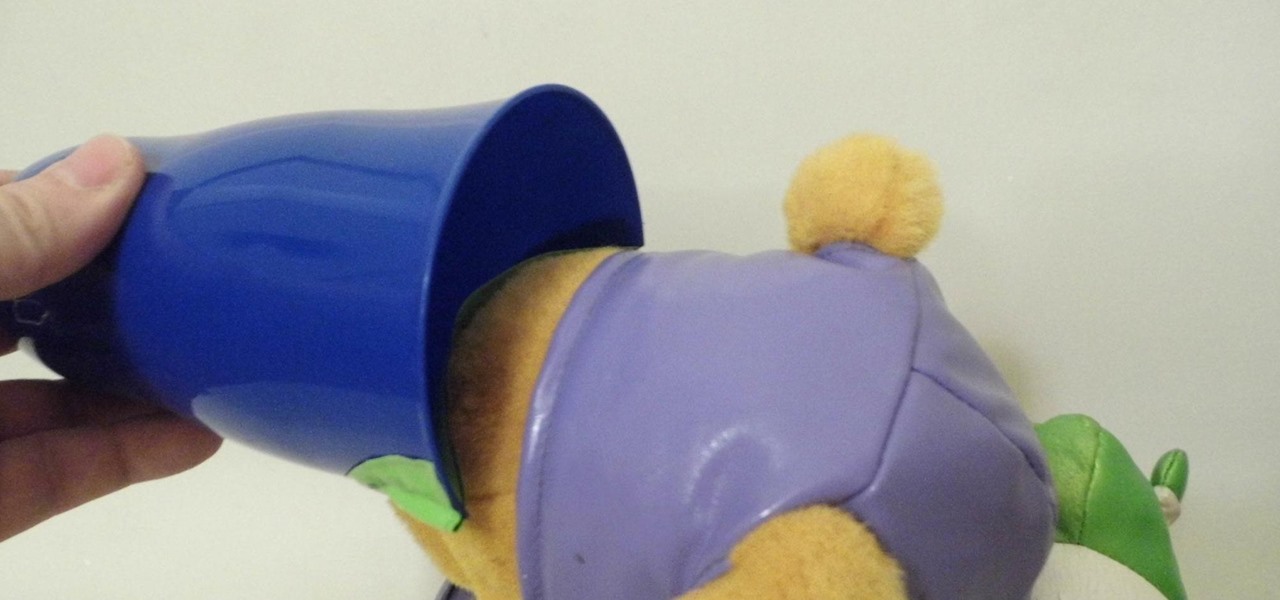
For those of us with small children, bath time can be very fun. Kids usually love splashing about and playing with their toys in the water! One thing they don't love however, is getting water in their eyes or on their face.
Most people think that you have to be a whiz with the needle and thread as well as proficient on the sewing machine in order to make or tailor your own clothing. But the truth is that for easy modifications, like turning an old t-shirt into a modified, chic top, all you need is a pair of scissors and perhaps a stitch or two.

Pulling out your hair trying to beat Theme 1, Level 22 of Rovio's Cut the Rope HD with three stars? See how it's done with this gamer's guide, which presents a complete walkthrough of the stage. With the right strategy and technique, you'll find it quite easy to beat. For more information, and to get started beating level 1-22 of this whimsical puzzle game on your own iPad, watch this helpful video guide.

The first step to create a boomerang paper airplane is to take a square piece of paper and measure to make sure it is a perfect square. You must then fold all of the corners of the cut of paper into the middle and then fold in half. The wings must then be folded down on the two chosen side. The final step is to fold the wings up to give the crease and cut of paper it's boomerang like shape. The video ends with examples of the type of flight that can be expected from a boomerang shaped paper a...
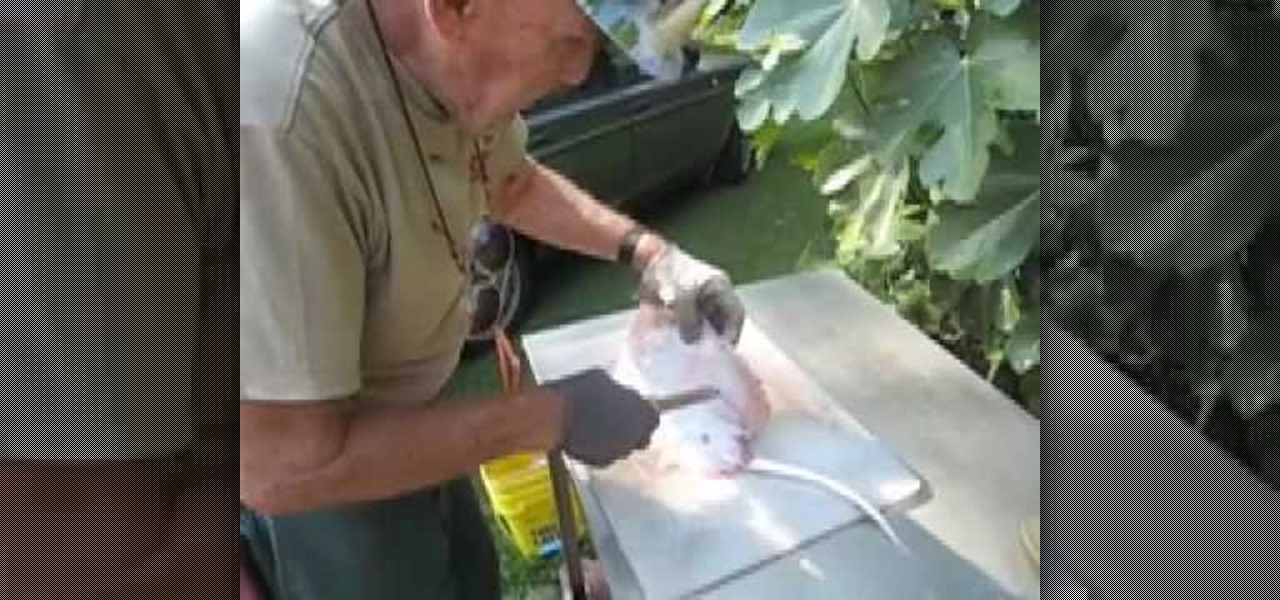
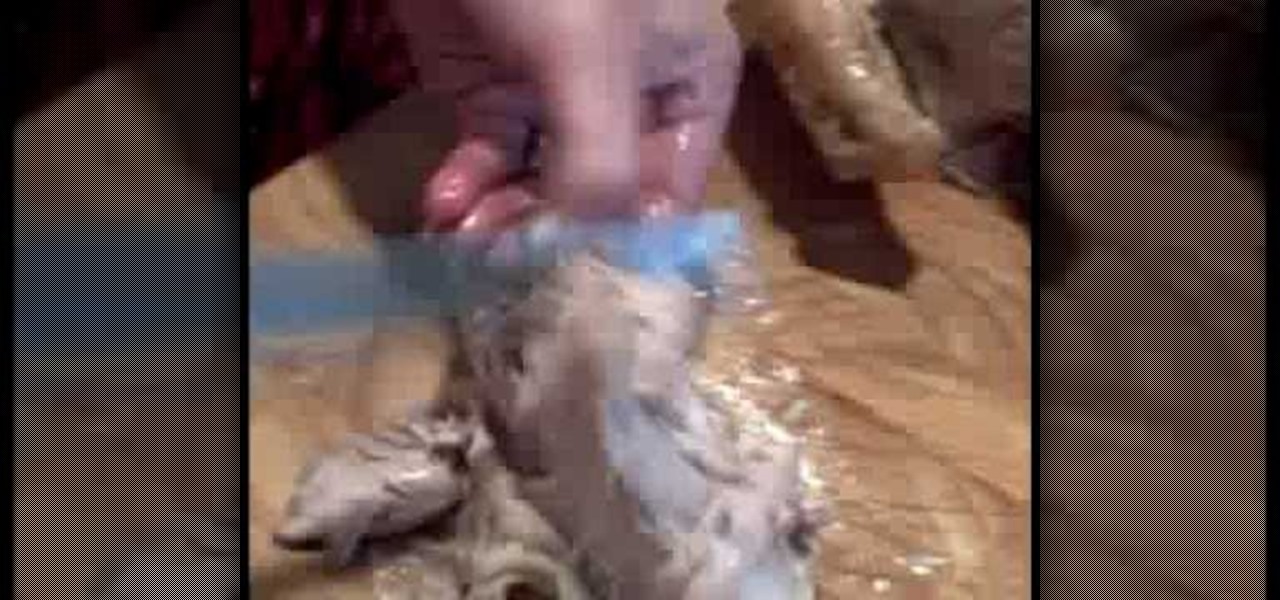
In this video, we learn how to clean skates or rays. First, use a sharp knife to remove the roughness from the top of the ray. After this, stick the knife in both of the sides and cut all the way down. From here, you should just have the middle left and the two sides should go in a bath of clean water to get the dirt off. Continue to repeat this process for all of the rays that you have. You can cook however you want when you are finished cleaning. Make sure you cut the right parts off, the m...

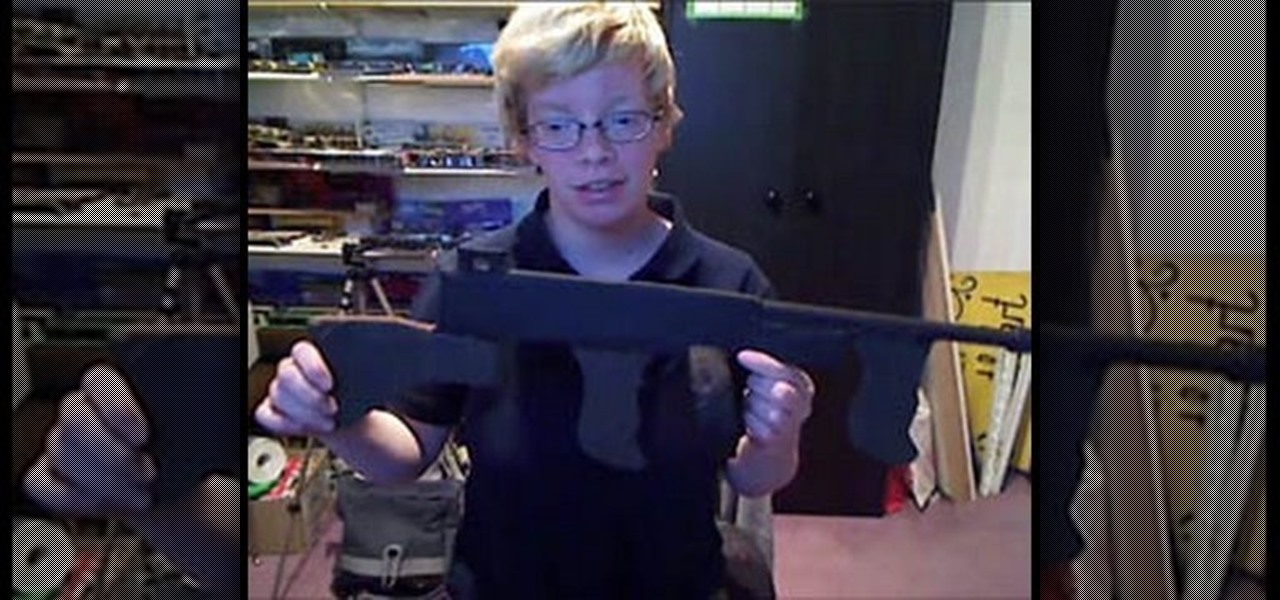
This video begins by showing the necessary tools needed to make a prop tommy gun out of a cardboard base. The first step is to trace a simple handle shape on the cardboard and repeat eight more times until you have eight exact copies of the handle. Then using an image of a tommy gun make an outline on the gun to cut in another piece of cardboard. You must cut and make eight more copies of the entire gun body to have the appropriate thickness for realism. The handle must be glued to the gun bo...
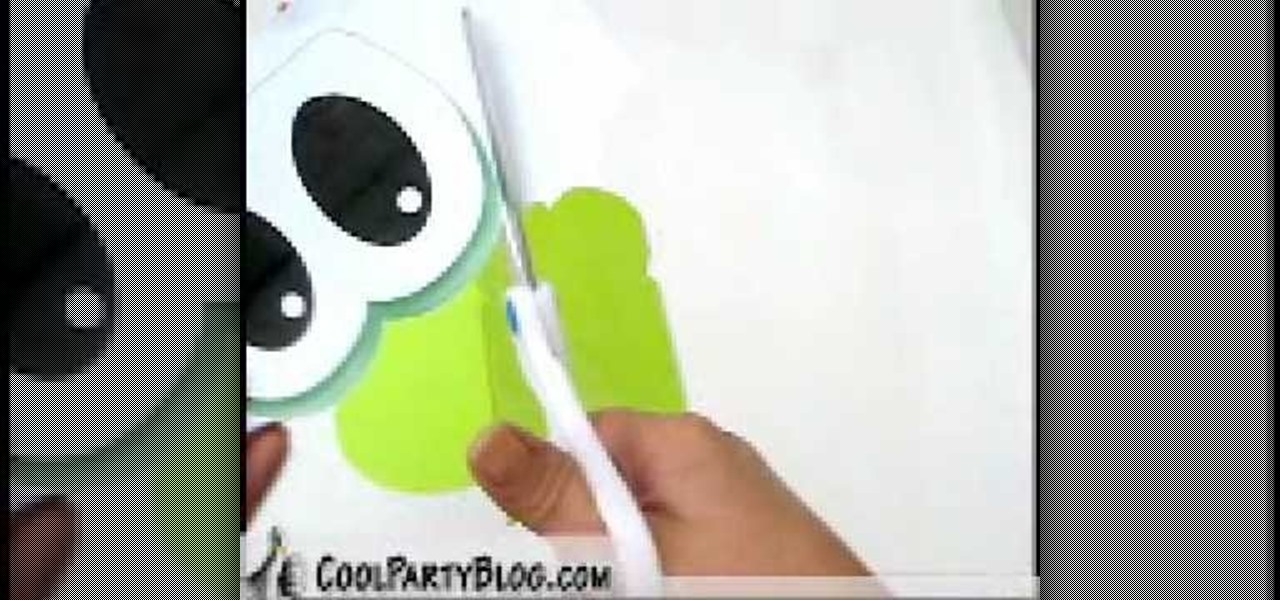
In this video, we learn how to create custom Yoshi loot bags. First, take some lime green paper bags and cut the top of them so they resemble the shape of Yoshi's eyes. After this, print out lots of Yoshi's eyes on a white piece of paper. Cut out the eyes from the paper and then put glue on the back of them. After this, glue the eyes onto the paper where they belong. When finished, let this dry and you will have a cute Yoshi bag to put little treats in! You can follow the template as well if ...
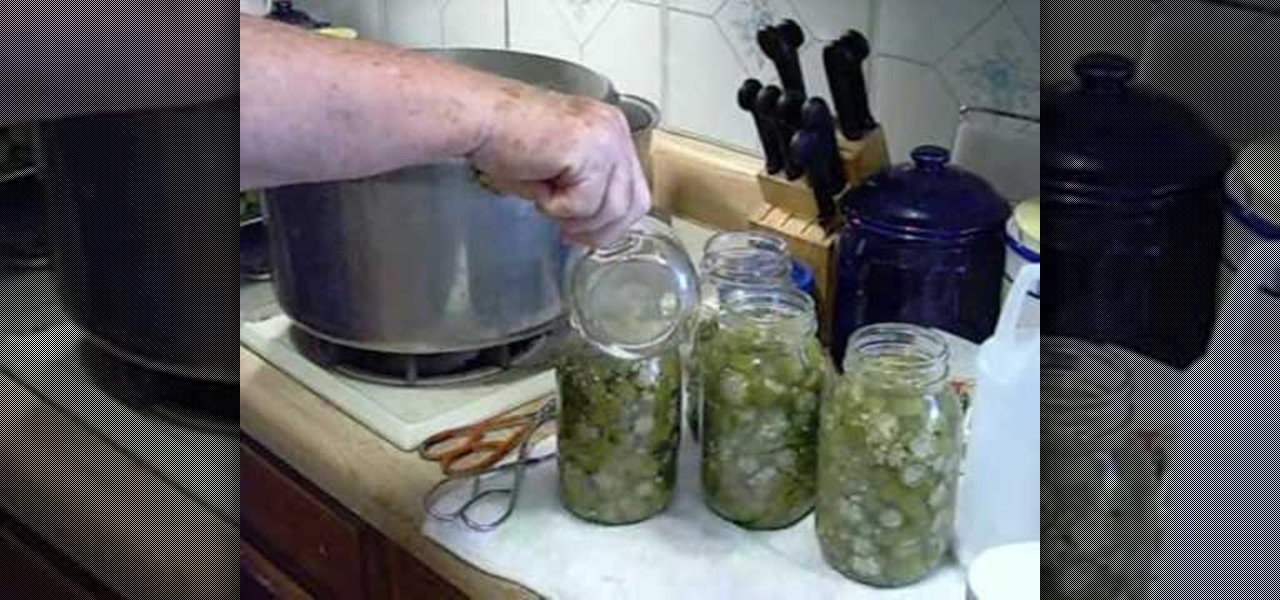
In this video, we learn how to can okra. After picking the okra, wash and clean it. Then, cut the two ends of the okra off to discard. Cut the rest into small pieces to cook and can. After this, prepare the canning jars by putting them in the dishwasher, then add 6 tbsp white vinegar to a gallon of water in a large pot. Boil the okra in this with salt for six minutes. Then, let the water come back to a boil and boil for six more minutes. From here, use the jars from the dishwasher to can the ...
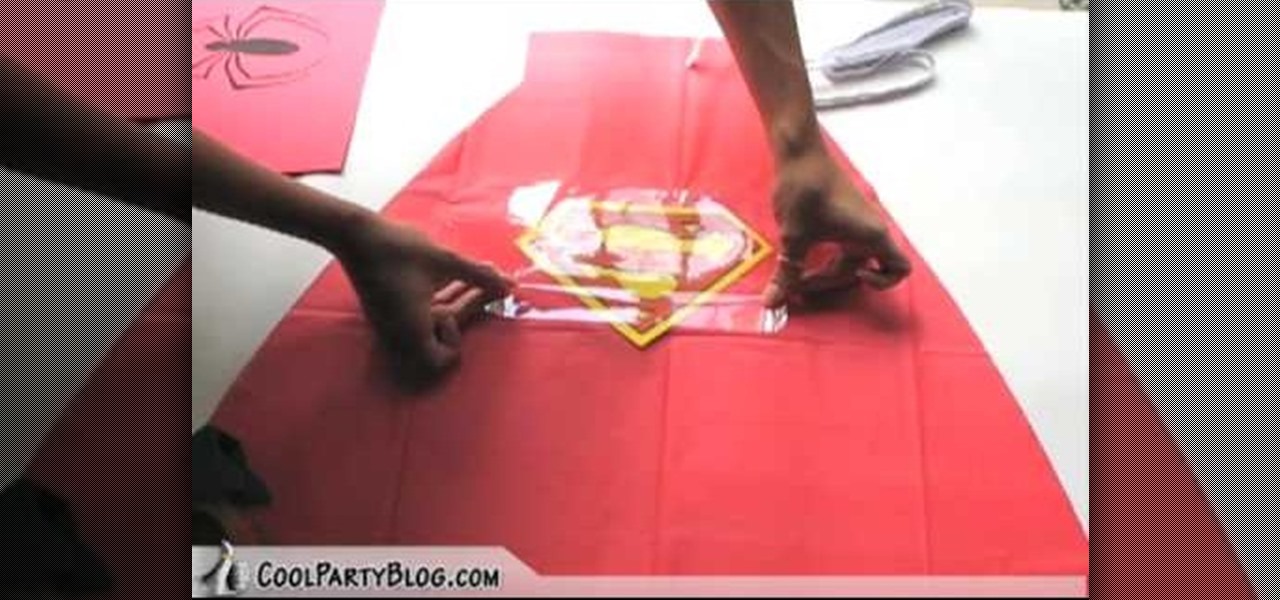
In this tutorial, we learn how to create super hero cape party favors. First, take a plastic red table cover and remove it from the package. Next, open it up and fold it in half twice, so you end up with a rectangle. Then, take scissors and cut a large triangle shape out of the material. When finished, open up the cover and it will be in the shape of a cape! Then, cut out some "s" for Superman signs and tape it on the back of the cape. Then, tie string around the top so it can be worn and you...
In this tutorial, we learn how to make a Spartan 300 shield. You will need: paper mache, durable cloth, gold spray paint, newspapers, cardboard, nuts and bolts, and the cap to a trash can. After you have these, cut out a large piece of cardboard and place it over the trash can cap in a circle shape. Then, dip newspaper strips into the paper mache mixture and apply it to your shield, taking your time to make it smooth. Let this dry, then cut two strips of cardboard and place it in a 'v' shape ...
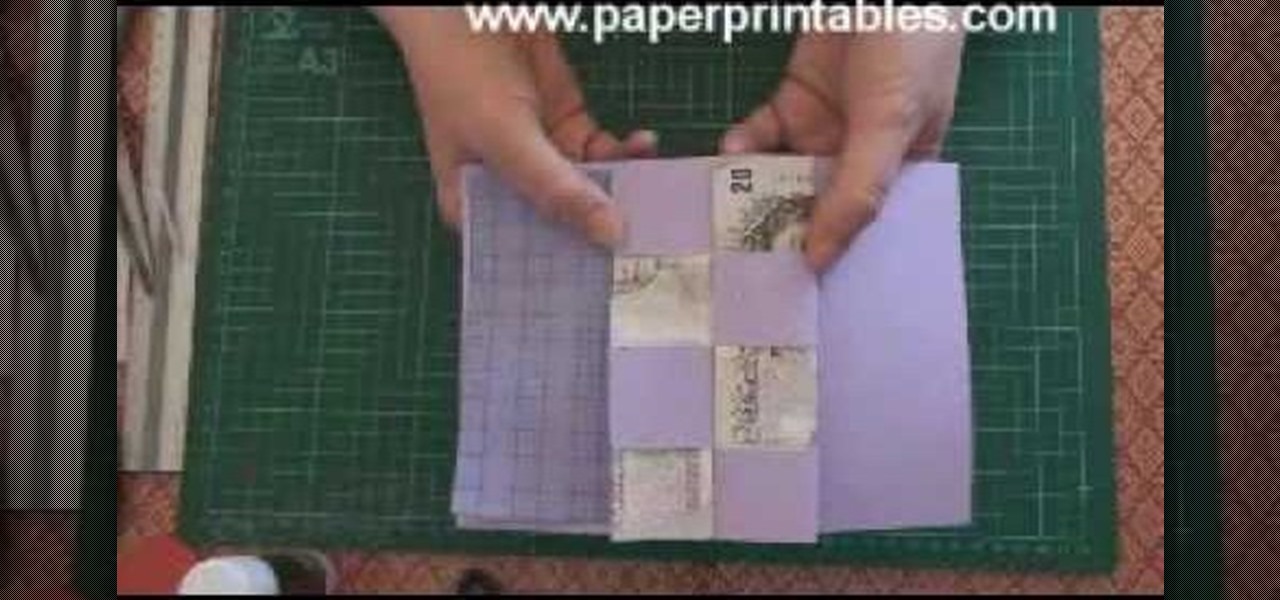
In this video, we learn how to make a pop-up concertina money card. To start, you will first need to take a piece of paper and measure your money on the inside of the paper. Then, cut this out in a strip and cold your money in half lengthwise. After this, measure the depth out from the center using a ruler. Then, fold the paper in half and on the sides where you marked. Then, you will cut three holes in the middle of the paper and these will hold the money in. Stick the bill in the middle of ...
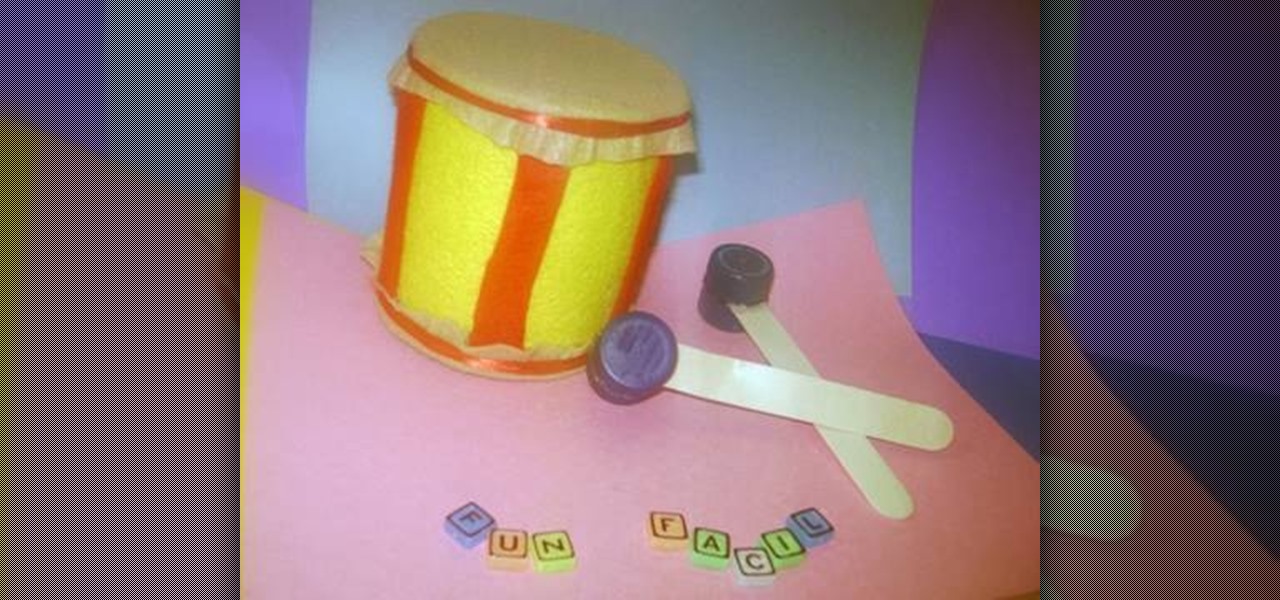
In this tutorial, we learn how to make a toy drum. You will need: felt, recycled tin can, 1 red lace, 4 soda caps, 2 popsicle sticks, glue, and scissors. Cit, cut the felt into a circle and glue it around the tin can. After this, take red felt and cut it into strips, then glue on the side of the tin can so it's striped. When finished, apply glue to the top of the can and then cover with additional pieces of felt. Tie a ribbon around the top and the bottom of the felt on the fan. To make the s...
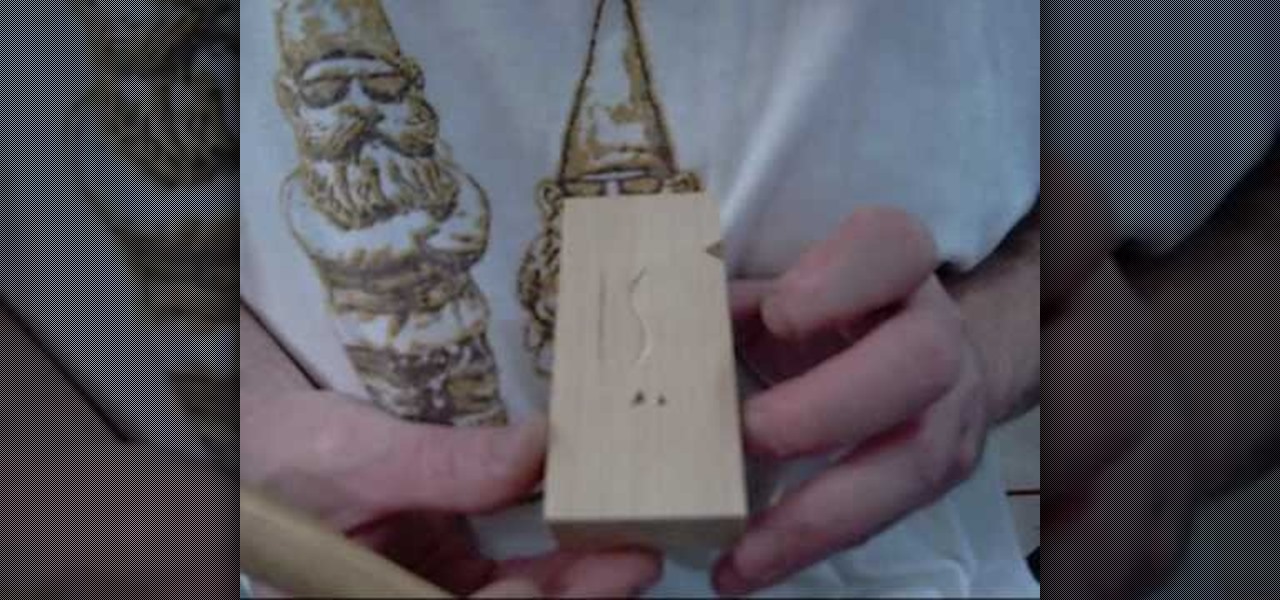
In this tutorial, we learn how to begin using a woodcarving knife. Before you go into the detail, you will want to make sure you have it carved right. The carving all starts in the block of the wood. There will be a couple initial cuts that you will do with a knife after marking the wood with a pencil. Do repetitive cuts to get the right shapes. Also do an 's' curve and hit the lines right. If you want to make this look like a v-tool then you just need to make it with your knife. Have fun and...
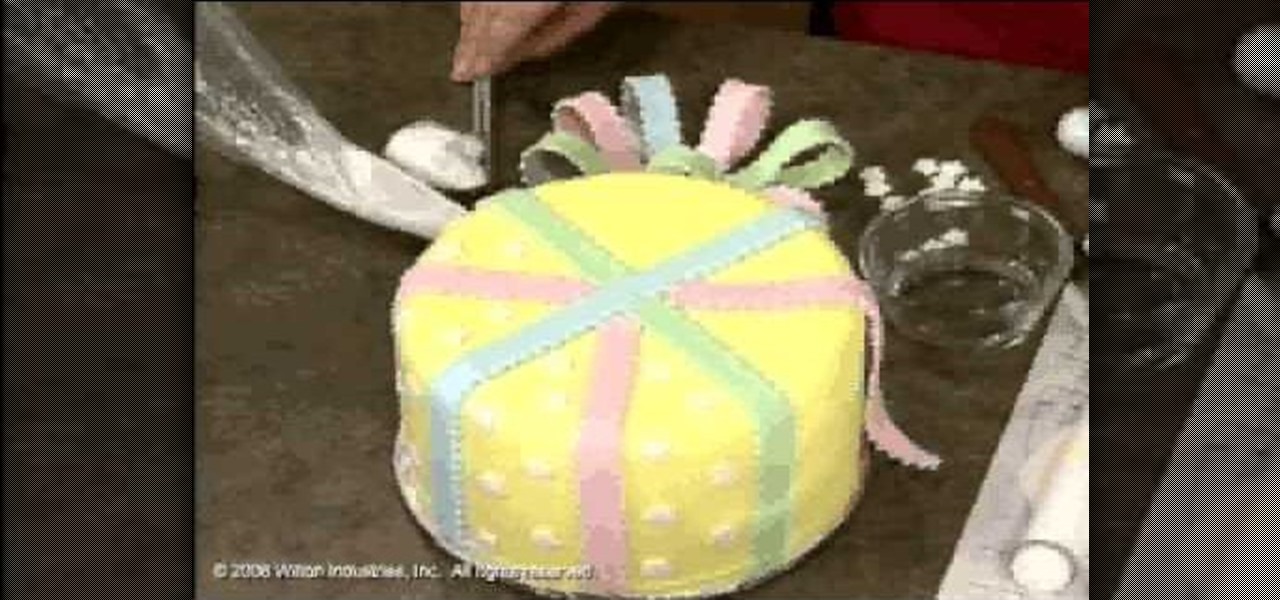
In this video, we learn how to use fondant when making & decorating cakes. Fondant is a dull type of sugar paste that you can form different shapes with and add colors to. When you add the color to the fondant, simply work it with your hands until the color runs all the way through and is smooth. Roll it out when finished, then you can apply it to the cake. To apply it, you will simply drape the fondant over the cake so it's hanging off on the sides. Then, flatten it out on the top and sides ...
In this tutorial, we learn how to make a small, easy, functional telescope. First, glue a lens in place with glue underneath a piece of cardboard with a circle cut in it. Then, cut this into a circle and tape it to a paper towel holder. Then, you can wrap this in some paper mache around the cardboard. Then, wait for this to dry and spray paint it with gold and black paint. When finished, you will have a functional telescope ready to go and use! This is cheap and a fun project to make with chi...
In this video, we learn how to build parachutes with household materials. You will need: a long string, Mylar, mesh, plastic, scissors, tape, and a weight. To get started, you will first cut your plastic or mesh into a circle or octagon shape. Then, take your string and cut it into several pieces. Then, tape the strings onto your material all around. After this, tie your weight to the strings so it's fully secured. Now, go to somewhere high and throw down your item! The parachute will help ke...
In this tutorial, we learn how to cook yellow summer squash. You will need: yellow squash, zucchini, bacon, and salt to make this recipe. now, you will cut your bacon into strips and then cook it over medium heat in a large skillet. Once the bacon is fried and crispy, you will need to take it out along with most of the drippings, unless you like a lot of it in your recipe. After this, cut your vegetables up into thin slices. Then, add these along with some salt to the pot you cooked the bacon...
In this tutorial, we learn how to cheat on a test wearing a long sleeved shirt. First, you will need to take a white piece of printer paper and see how large you can cut it so it fits comfortably in your hand without being seen. After this, cut the paper to the size you want it. Then, write out the information that you need onto the piece of paper. From here, you can place the paper inside of your long sleeve, with the answers facing up. Then when you need it, simply pull it out from your sle...
In this tutorial, we learn how to make Splinter Cell prop goggles. You will need: goggles, a saw, pipe, a brush, black paint, duct tape, batteries, chop sticks, glue, a ruler, and a pen. First, mark three cuts on the pipe to 3 cm and 5.5 cm. Now, use the saw to cut these. Then, use sandpaper to smooth all the edges. Next, place these onto the goggles and glue them with a hot glue gun. Next, grab two batteries and wrap them in duct tape. Place these with them and then paint these all black. Af...
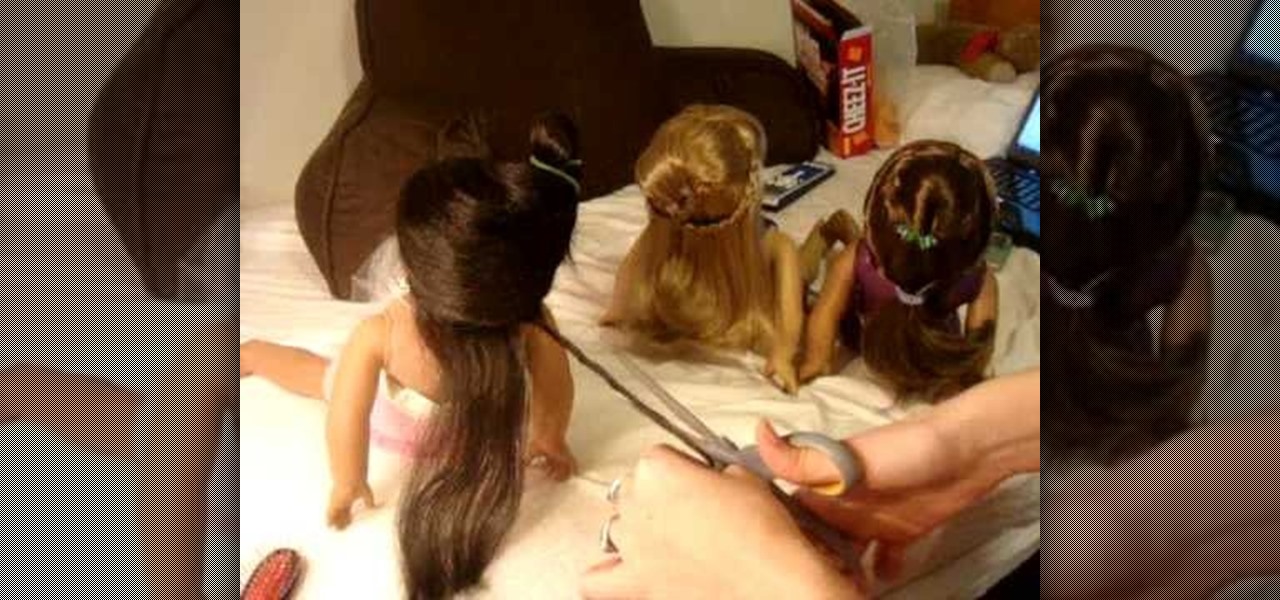
In this video, we learn how to fix your American Girl doll's frizzy hair or split ends. If the ends are frizzy or split, there is a way to fix it. First, you will need to wash the doll's hair the night before and brush it out. After this, take some scissors and start to cut small sections of the hair that have frizz on them. After this, you will cut the bottom of the section to make sure it's completely evened up. To make it easier, you can go section by section until you have it right!
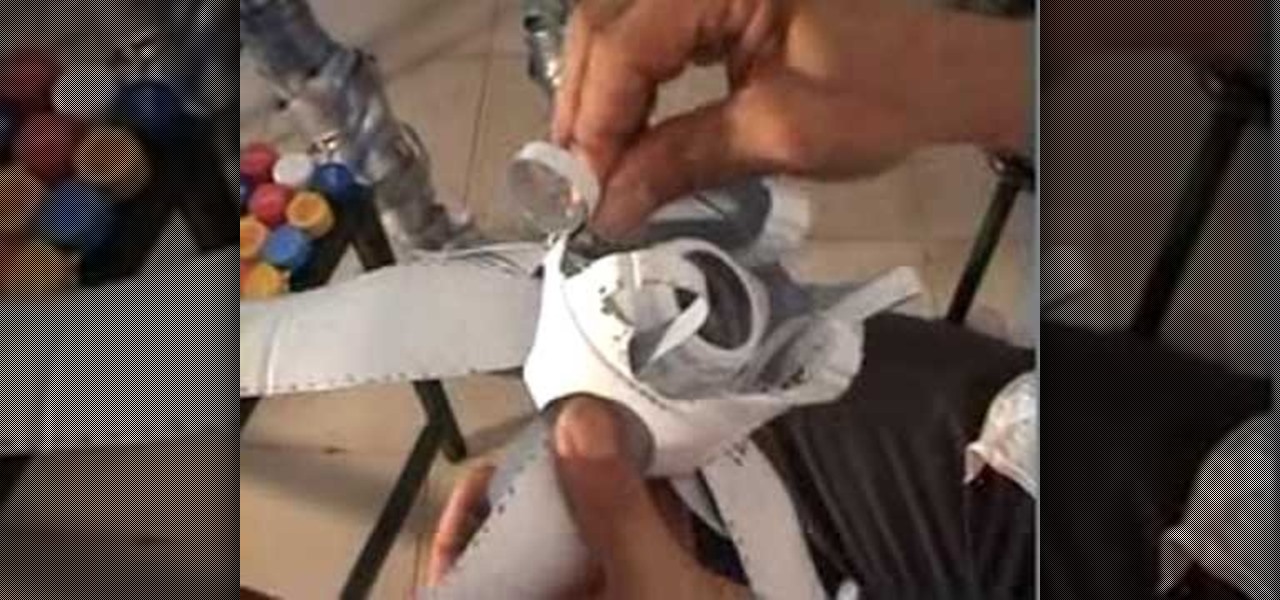
With this video, we learn how to recycle milk bottles to make decorative flowers. First, mark eight coupled marks on four sides of the bottom of the bottom. Then, poke holes into them and cut into them with sharp scissors. From here, you will continue to do this all the way around the bottom of the bottle until you have created petals. Then, cut above these to make long oval types of shapes and then spread the petals out on the bottom and on the top. Pull the longer petals into the open areas...
In this tutorial, we learn how to use foam to make diorama terrain. Foam will make a realistic diorama because it comes in so many different shapes and sizes. You can buy this from hobby shops and even online. To put these together, you will simply use some wood glue. You can easily cut this with a sharp knife, scissors, and anything else that is sharp! You can use a hot wire cutting tool to mold and sculpt the foam as well. You can also use a hot glue gun to connect the pieces of foam togeth...
In this video, we learn how to make a custom DIY dog gate. Tools you will need are: lattice and wood, hinges and screws, saw and power drill, cut outs from a hobby store, and a closure. After you gather all the parts, start to build the dog gate. Use the wood on the bottom and top to help support the lattice wood that will face the outside. Once you have the entire gate built, you can use cut outs from a hobby store to make the gate more festival. Simply nail these to the outside of the gate ...
In this video, Rick show us how to cut monitor feedback with StudioLive 16.4.2. First, assign your microphone to ox 1. Then turn it up and go to the master output of Ox 1 and turn it up until you hear feedback happening. Then, hit the select button on Ox 1 and you can change the compression for any channel. Take out low rumble by putting the low band on and putting it in shelf mode. This will create a high pass filter. Take out frequencies below 130 hertz and then go back to ox 1 master and t...
In this video, we learn how to make a great 3D paper snowflake. First, fold a square blue piece of paper into a triangle. Then, draw lines from the middle to the top going in the triangle shape. Cut these lines on both sides, avoiding the middle and the very top. Make sure you don't cut in the middle either. After this, open up the folder and take the inside. Roll it up and then tape it together so there's a ring on the inside. Flip it over, then make another ring on the top side and tape it....
In this tutorial, we learn how to prepare celery with Skinny and Mini. First, you will clean your stalks of celery and dry them off. Then, remove the stalks one by one from the bunch and chop off the tops of them so there are no more leaves. Next, cut the stalks of celery in the middle and then chop them in half. Now, bunch the celery together and cut them into small cubes with your sharp knife. After this, repeat the process with the rest of the celery in the bunch. Use this chopped celery i...
In this video we learn how to fold a very simple paper football. First, take a piece of paper and cut out a strip from it or fold it into a strip. After this, fold a triangle in the strip of paper. Once you have this, fold up to create another triangle and keep folding up until you reach the top of the strip. There will be one small piece of excess paper left on the strip. You can either cut this off or tuck it into the pocket that you made while folding the triangles. Use this to pass the ti...
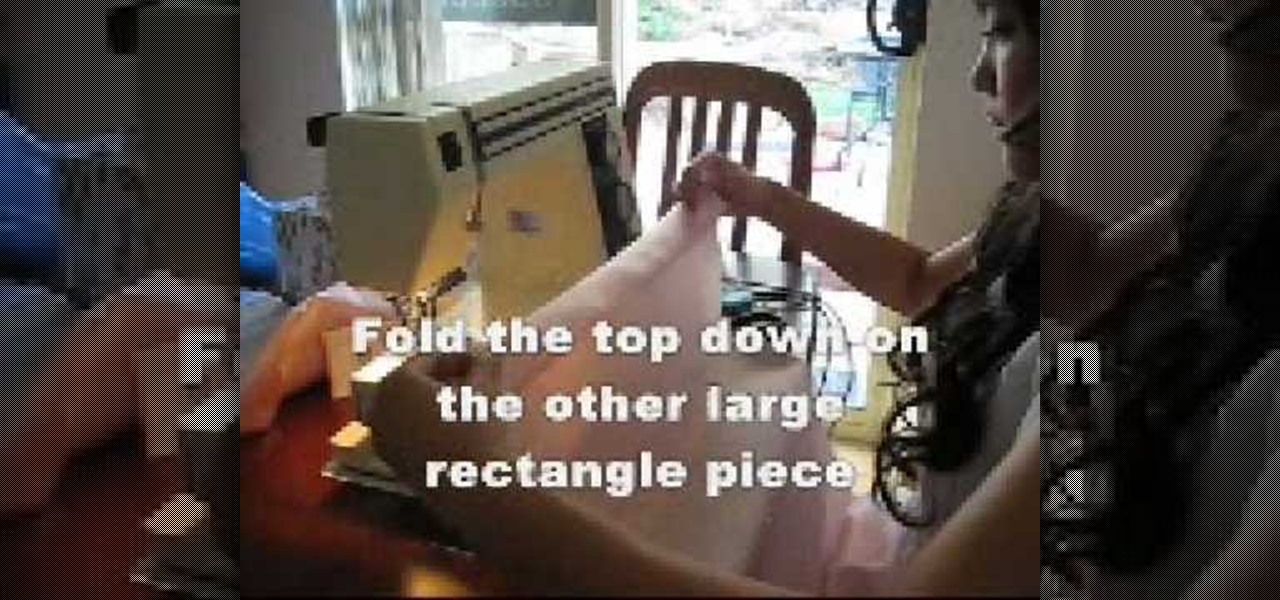
In this tutorial, we learn how to make a basic princess pillow case. First, you will need to have a large piece of pink silk fabric. Lay this out flat, then cut out a 45x75 cm rectangle. Once finished, separate the two pieces of the fabric, then cut a new piece 45x20 cm. Then, lay the fabric facing up and lay some lace on top with the frills facing inward. Sew together the fabric and lace all the way around the entire pillow case. Fold the top down on the other large rectangle piece, then rep...
In this tutorial, we learn how to install crown molding to your room. First, choose the right size and style of molding for the room, then measure your room to find out how much you need. After this, you will need to buy a saw to cut the molding when you're ready to install. After you have the pieces cut, you will need to place these against the wall and then nail them in with a nail gun. Secure the molding to the joints in the ceiling and to the studs in the wall. To finish, putty the holes ...
In this tutorial, we learn how to make fur suit eyes for a mask. First, grab a simple paint pallet that has dips down in it for the paint. Then, cut the dips out of the tray they come in with a small saw. Then, grab a hot glue gun and melt down the middle of the dip so it's hollow. Then, apply hot glue to the top of the hollowed out eyes. Then, apply felt around this and cut it out so you can see the eye. Push the material through the bottom to create the pupil, then your eyes are finished.
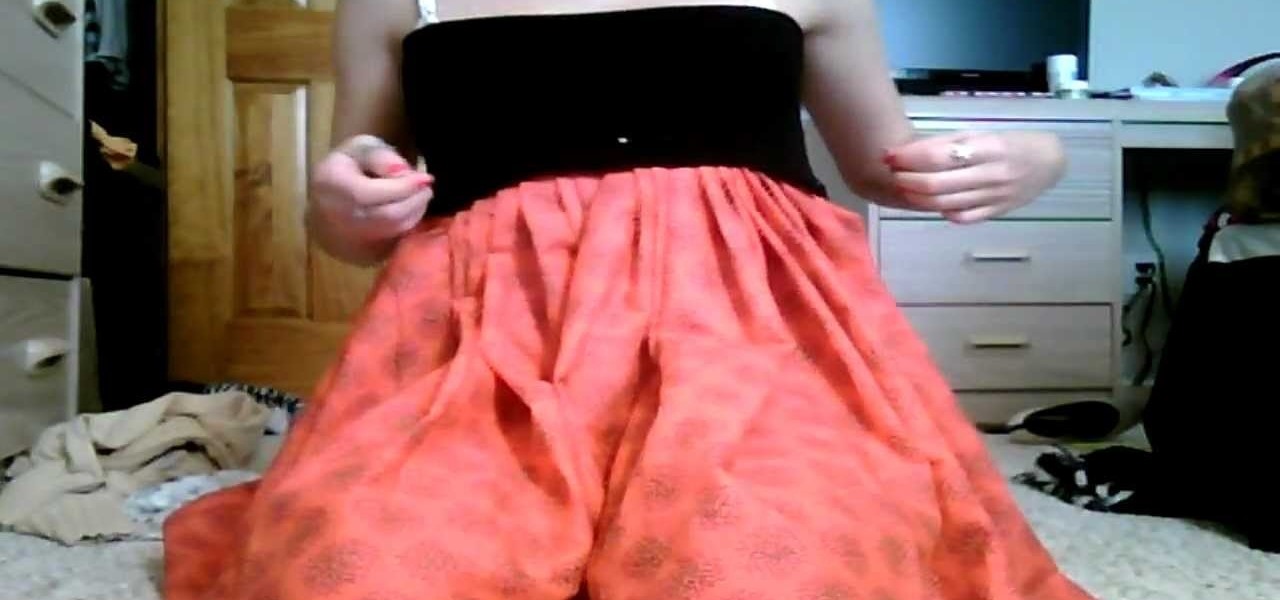
In this video we learn how to make a your own poufy bubble dress. First, grab a black stretchy shirt and cut the arms off of it. After this, take the fabric that you want to use for the skirt and lay it down, creating little peaks on the top of it. This will give you the volume for the dress, use pins to pin these down. Once you have done this, you will sew the pinned part of the fabric with the shirt that you cut up. Then, take the bottom of the skirt and hem it if you would like and you're ...
In this tutorial, we learn how to carve a turkey. After your turkey has came out of the oven and sat out for around 10 minutes, grab your sharp knife. When you are carving this, you want to carve around the bones so you are getting the most meat off of the bird. Start off by removing the thighs from the turkey and cutting it in half. After both of these are off, but the wings off of the turkey and set on a serving plate. From here, you will use the knife to cut the middle of the turkey and pr...
In this tutorial, we learn how to make a Domo plushie. First, cut out the shape of Domo on a piece of brown fabric. Cut this out twice to make the front and the back. After this, sew both of the sides together with a sewing machine. Make sure to place pins in it to keep the fabric in while you are sewing. When finished, turn the plushie over and stick some stuffing inside of it. Now, sew the section where you placed the stuffing in. Then, you can sew on the face of the character and you will ...
In this video, we learn how to make a colorful tutu. First, you will need to grab all the colors of fabric that you want to use on your tutu. Then, roll up the fabric of each color carefully, then cut it out to the length you have measured for your subject. After this, cut out one more smaller section of fabric from each piece until you have done this with all of the colors. Now, using a piece of ribbon as the waistband, tie each piece of colored fabric onto it, alternating colors each time. ...
In this tutorial, we learn how to laminate stairs. First, you will need to grab your laminate and measure out the stairs. Then, cut out the nosing to the stairs. After this, you will need to cut out the laminate with a chop saw to place it on the front of the stairs so it looks nice and is fully covered on the stairs. You will need to place down glue on the laminate then press it down on the stairs and allow to dry. Behind the front piece you will place another piece of laminate and glue it d...
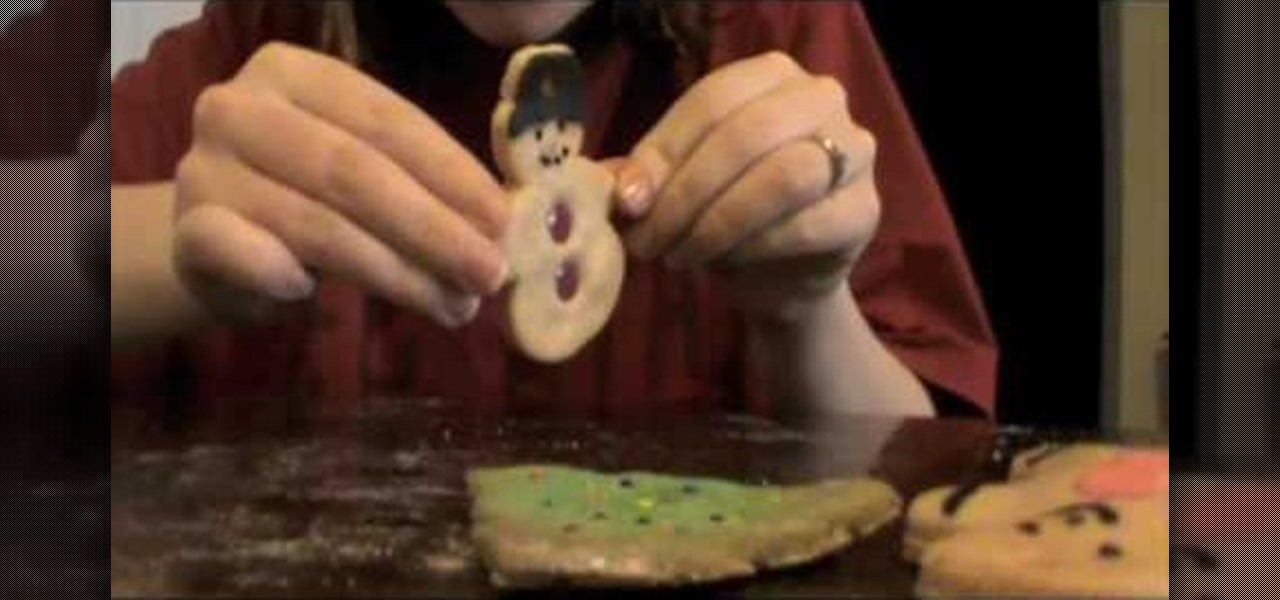
In this tutorial, we learn how to make models and ornaments with salt dough. First, grab a baking sheet and place aluminum foil over it. Now, grab some gloss sealer, salt, food coloring, flour, ribbon, glitter, cookie cutters, and buttons. To make the dough, combine flour with water and salt. Mix this together until you get a dough shape, then roll out and cut into shapes with cookie cutters. Cut a small hole in the top of it, then bake until golden brown in the oven. Tie a string in the hole...
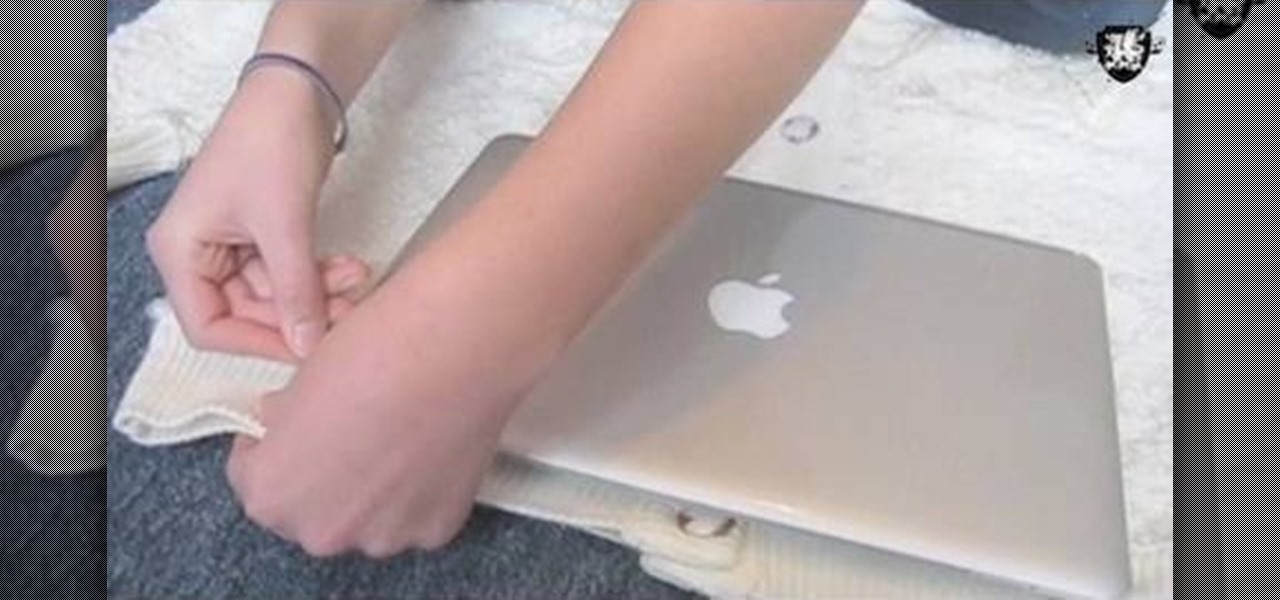
In this tutorial, we learn how to make a sweater for your laptop. First, grab an old large sweater and cut it out to the same size as your laptop. After this, set the rest of our sweater to the side and put the right sides of the sweater together. Then, pin and sew the three cut edges, but do not sew them closed. Sew with a zigzag stitch on the edge of the fabric. After you're finished sewing, use this on your laptop and use the rest of the fabric you have left over to make additional sweater...
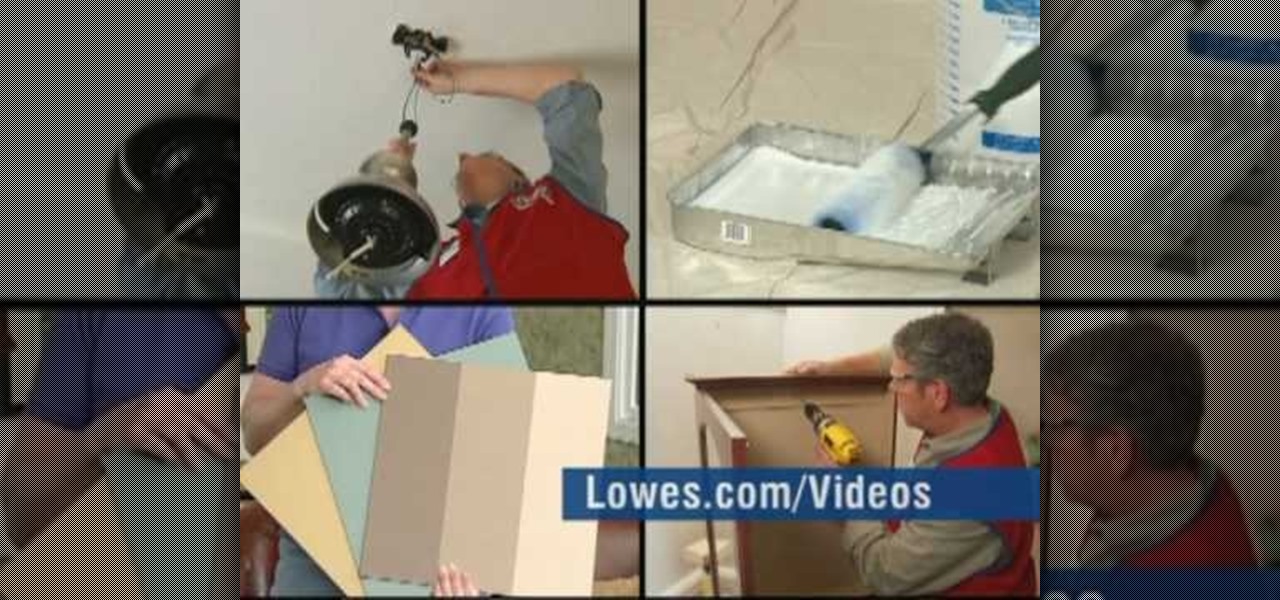
In this tutorial, we learn how to paint with basic latex painting techniques with Lowe's. First, you will need to determine how much paint you need by figuring out the room size. Next, you will need to paint the ceiling and apply blue painter's tape to all the areas you don't want paint to touch. Make sure to stir the paint before you use it and open up windows and fans to circulate the air. Cut the edges by painting around 2" inside first. Once finished with the ceiling, start cutting the ed...
In this tutorial, we learn how to cut your friends in half with film effects. To do this, you will need an actor, a still frame of blood, and some gory looking meat. Have your wounded actor lay on the floor with another actor laying next to him. Then, have them all leave the frame. Next, bring all the footage in After Effects and bring in the meat picture as well. Add blood and the meat in the pictures and remove the lower half of the body. Play with the colors to make it look more realistic,...