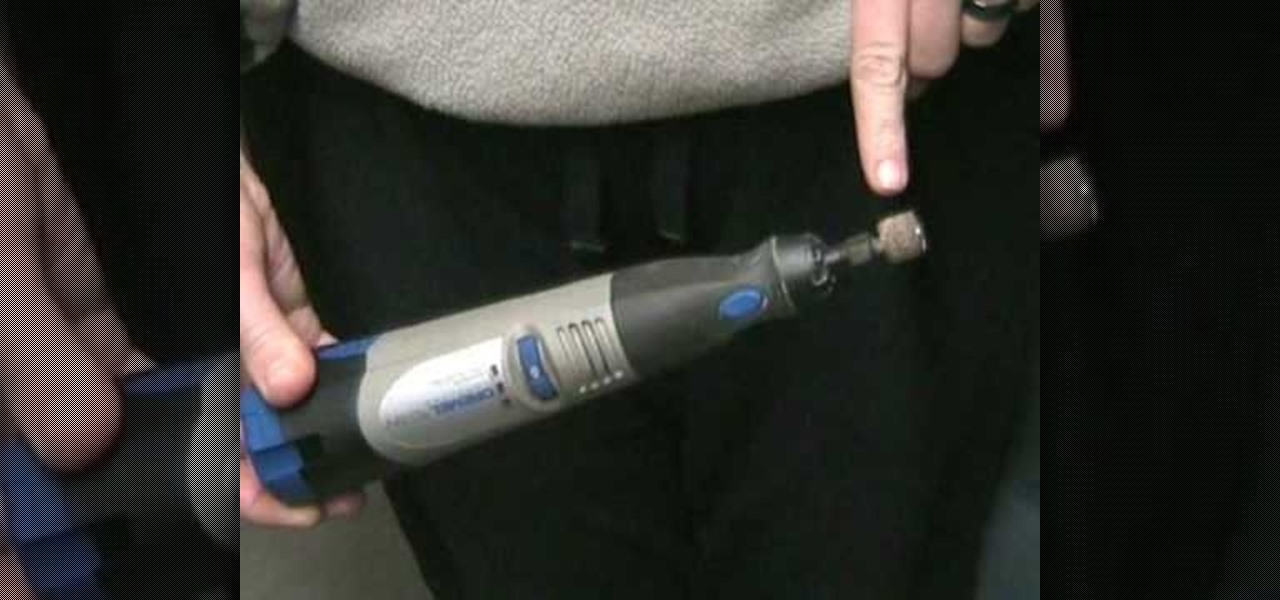
In this tutorial, we learn how to trim your dog's nails without cutting them. Before you begin, you will need a Dremel tool with a sandpaper drum attached. Now, have your dog sit down and place their paw up on your knee. Now. grab the tool and gently place it on the tip of the dog's nail. Do this on each of the nails, until you have trimmed all of the nails. Make sure you don't trim down too much or push too hard, this could cause a burn on the dog's nail or injure them severely. Keep treats ...
In this video, we learn how to use your Cricut to save money on scrapbook paper. First, place the mini monogram cartridge into your Cricut machine. Then, place your paper onto the 12x12 cutting mat. Now, load your paper into the machine, then press the scalloped circle and the fit to page buttons. Then, press cut and let the machine do all the work. Once it's finished, unload your paper from the machine and remove the outside portion of the image. Now, adhere it to the white piece of scrapboo...
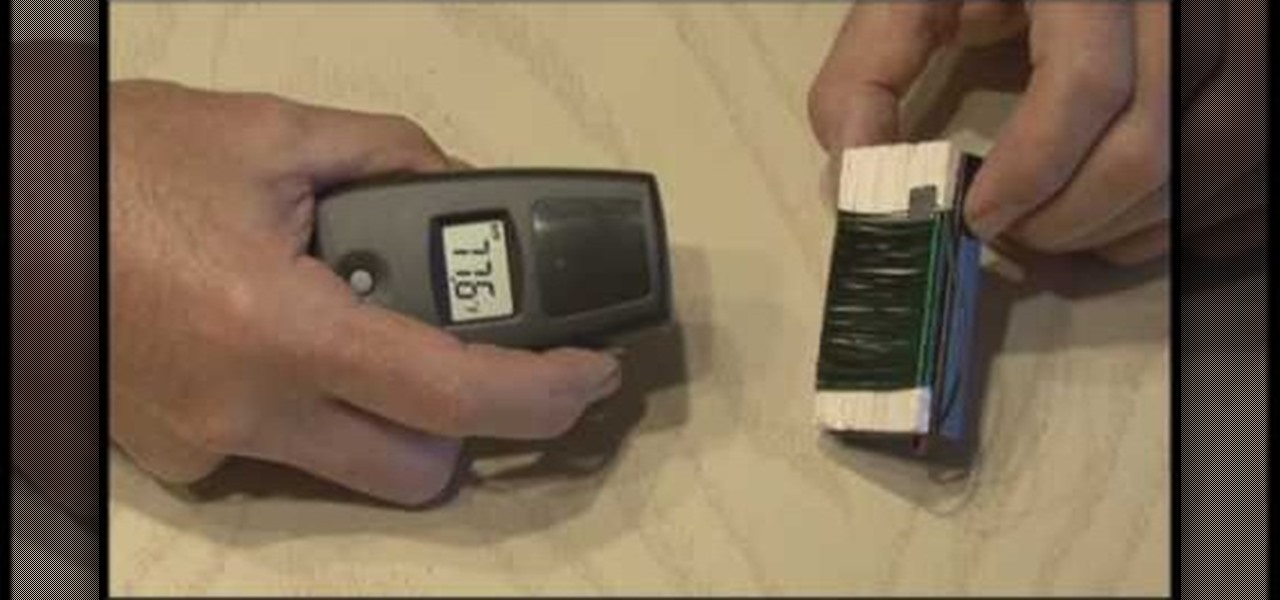
In this video, we learn how to build a portable personal heater. This is a great weekend project that is easy to make and will keep you warm during a freezing winter. You will need: two double a batteries, charger, twin double a battery charger, winding wire, and balsa wood. First, cut the wood the size of the battery holder and cut it out. Now, reel off 30 ft of winding wire and hold down with duct tape. Wind the wire around the piece of wood and tape down the other end of the wire. Scrape o...
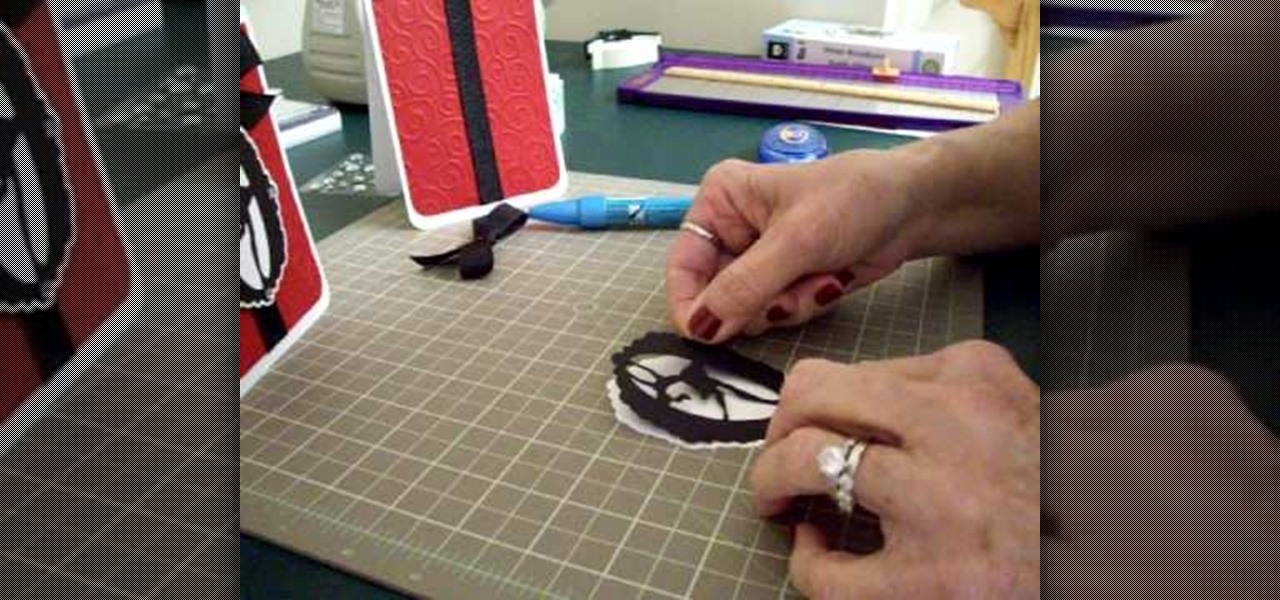
Make a simple, elegant card using Winter Woodland. Go to page 50 of manual. Cut tag and skater at 3 inches. Use 8 1/2 x 11 cardstock and cut vertically to 4 1/4 inch. Fold from top to bottom. Round corners of cardstock and red matte. Make red matte 4x5. Run red matte through cutter bug using swirls folder. Insert between two plates and run through. Place black grosgrain ribbon down the center. Stick to front of card. Glue skater to background. Place square crystals around skater. Create and p...

We love shag haircuts. They're short, easy to take care of, and really give off that cool "Devil may care" attitude that makes it such a chic look for hipsters. But if there's one caveat about shag cuts, it's this: They get messy. And we mean REALLY messy.
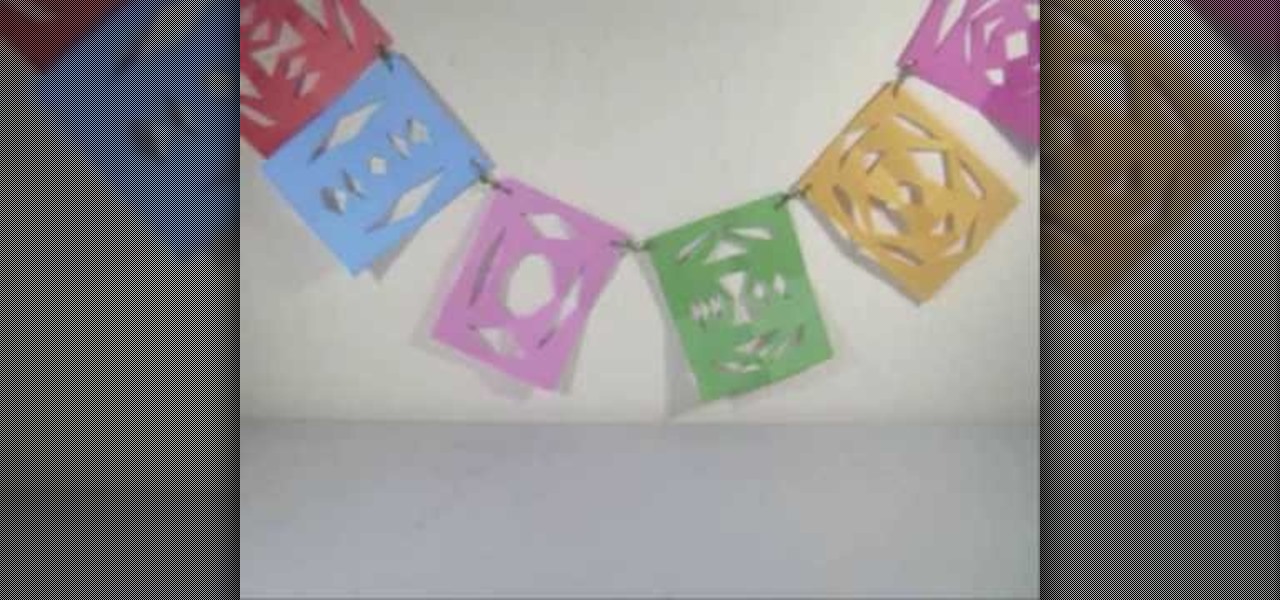
In this video tutorial, viewers learn how to make a colorful paper banner. This task is very easy, fast and simple to do. The materials required for this project are: construction paper, yarn, scissors and a hole puncher. Begin by folding the construction in half. Then fold it in half on again. Now cut pattern on the side edge of the paper and repeat this process for additional paper. Open the paper to reveal the symmetrical cut out pattern. This video will benefit those viewers who are inter...

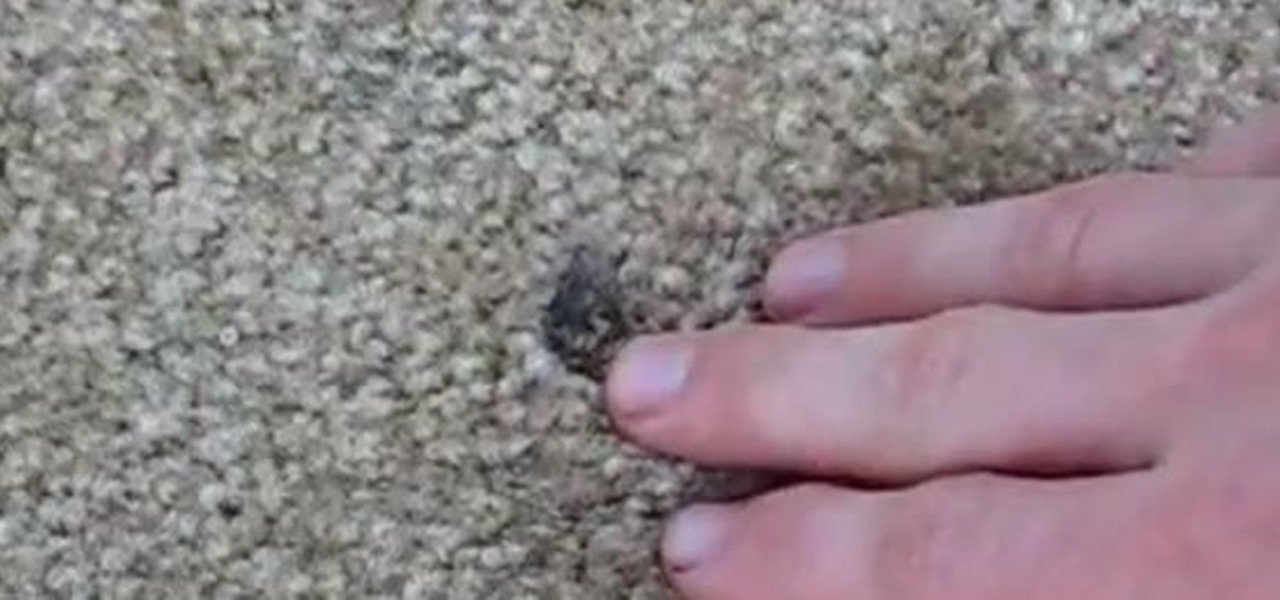
In this tutorial, we learn how to repair carpet burns. First, take some tongues and ruff up the surface to break up the burnt pieces that are inside the carpet. Next, take some Resolve and spray it onto the spot, then brush it with a handheld brush. After this, blot the area with a towel until it's nice and dry. Next, cut out a small piece of spare carpeting and then open up the area that was burnt. Cut it out with scissors, then replace this with the new carpet.
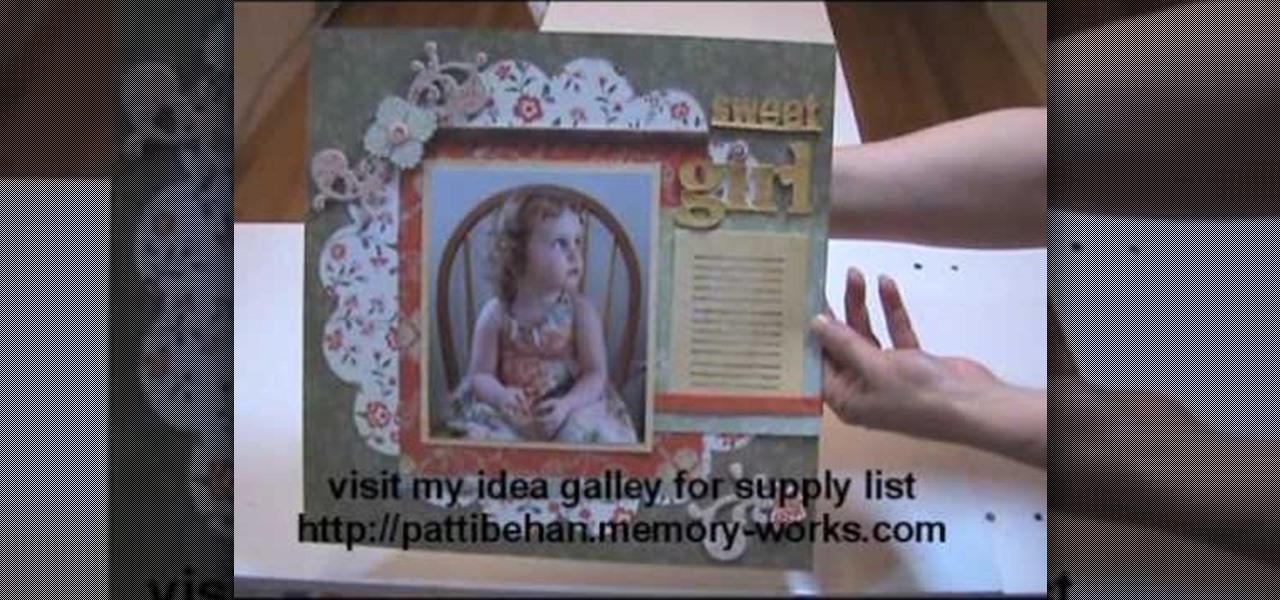
In this tutorial, we learn how to use Fiskars Decorative Edge scrapbook layout. First, you will need to pick out the templates, pictures, and paper that you want to use for this project. Now, place the stencil over the card stock and cut out the stencil shapes you want, stars work best if you are doing a fun child theme. Now, apply these to your base card stock, and arrange a frame over the background. Now, apply the picture to the page and add on the stencils you just cut out. Add in quotes ...
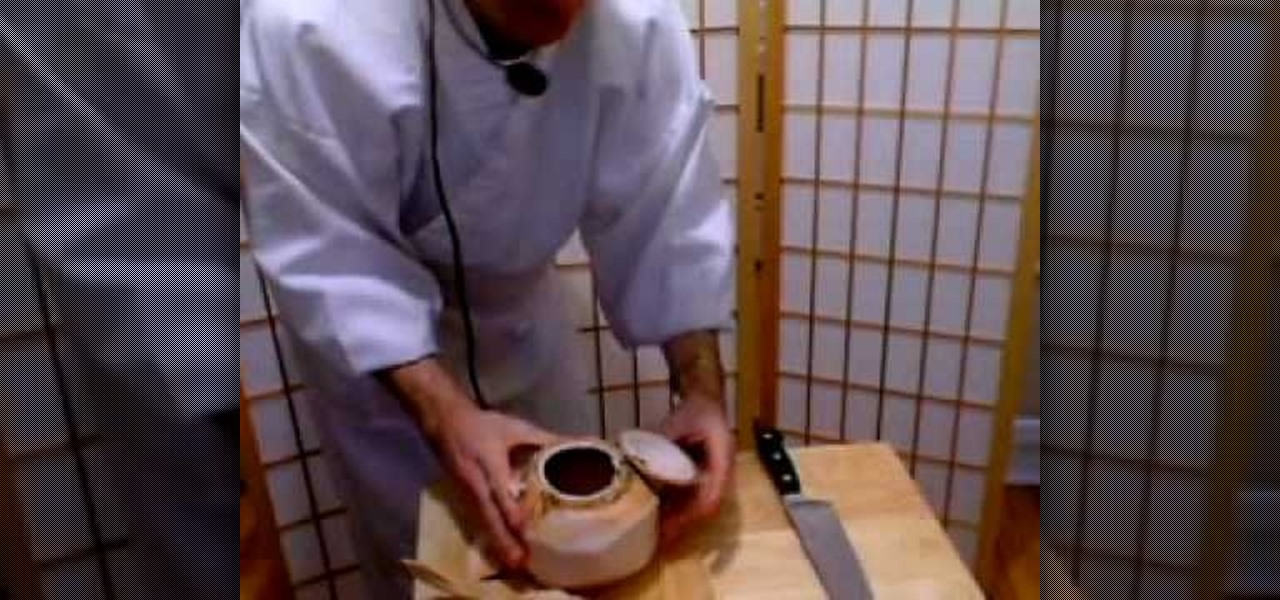
In this tutorial, we learn how to open a fresh young coconut. First, you want to grab a sharp and large knife, then go around the coconut cutting the husk off. After you have done this, you should be down to the nut of the coconut. Some areas of the husk will be thicker than the others. Next, use the corner of the knife to knock the top corner of the coconut. After this, take the knife and stick it into the hole that you made. Wedge it in there slowly, then turn the knife towards you and cut ...
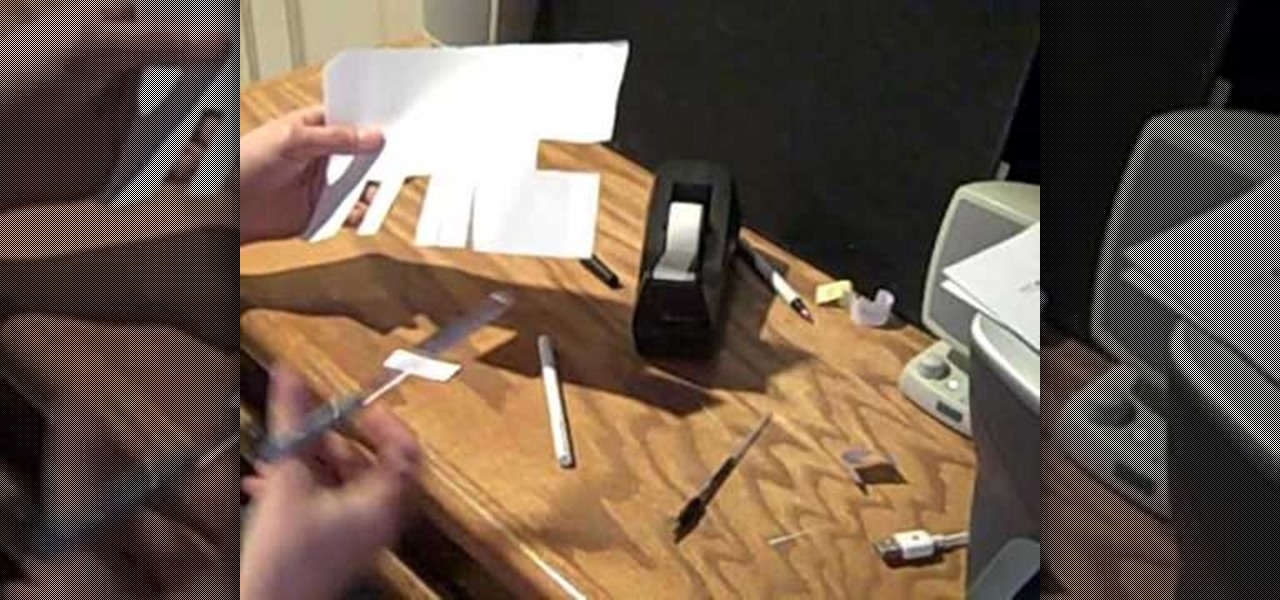
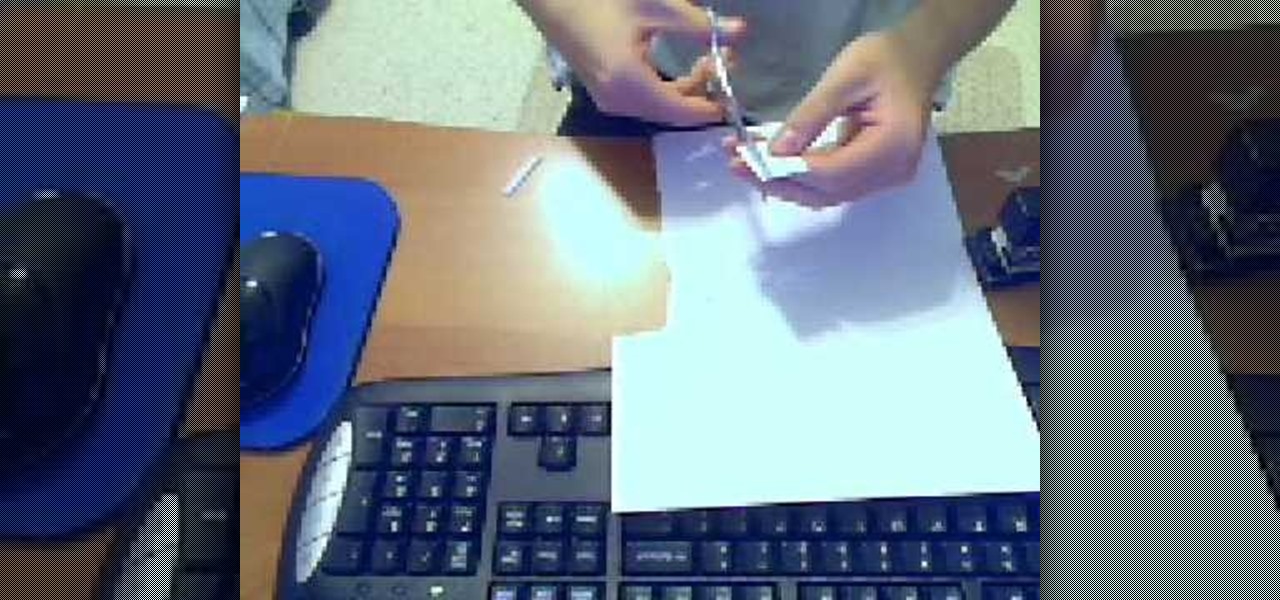
In this tutorial, we learn how to cheat on a test with a hollowed pen. First, grab your pen and take the top off the ink of it. Now, cut a small slip of paper out of a piece of copy paper. After this, write down the answers that you need for a test. Next, use the scissors to cut the side of the pen and make a slit in it. Now, attach the answer strip to the ink of the pen and place it back into your pen and put the top back on. Now, the sheet of paper that has the answers on it will hide in th...
In this video, we learn how to thin and layer hair for a spiky look. To do this, start off in front of the mirror with sharp scissors and a razor over the sink. Grab the scissors first and brush your hair to the front of your face. Start off cutting different layers into your hair, making some longer and some shorter. Next, take a razor and run it through your hair to create a think layering of all the hair. After you are done cutting it to your desired length, add in hair gel or wax to your ...
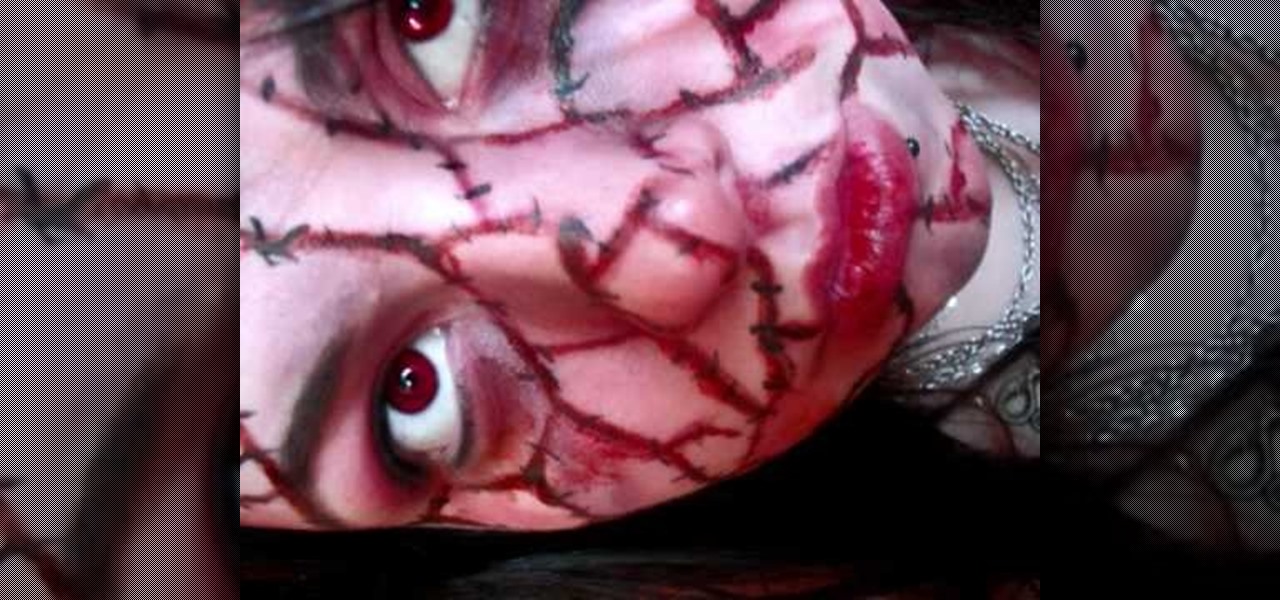
In this video, we learn how to make fake blood for Halloween. You will need: small bottle, teaspoon, cut, clear syrup, red and blue food coloring, and corn starch. First, pour some syrup into the cup, then add in 2 tsp corn starch and mix together. Next, drop in some red food coloring and mix together. After this, add in blue food coloring and mix it together so you have blood red colors in the cut. When you are finished, you will have fake blood that you can use on Halloween at home and it w...
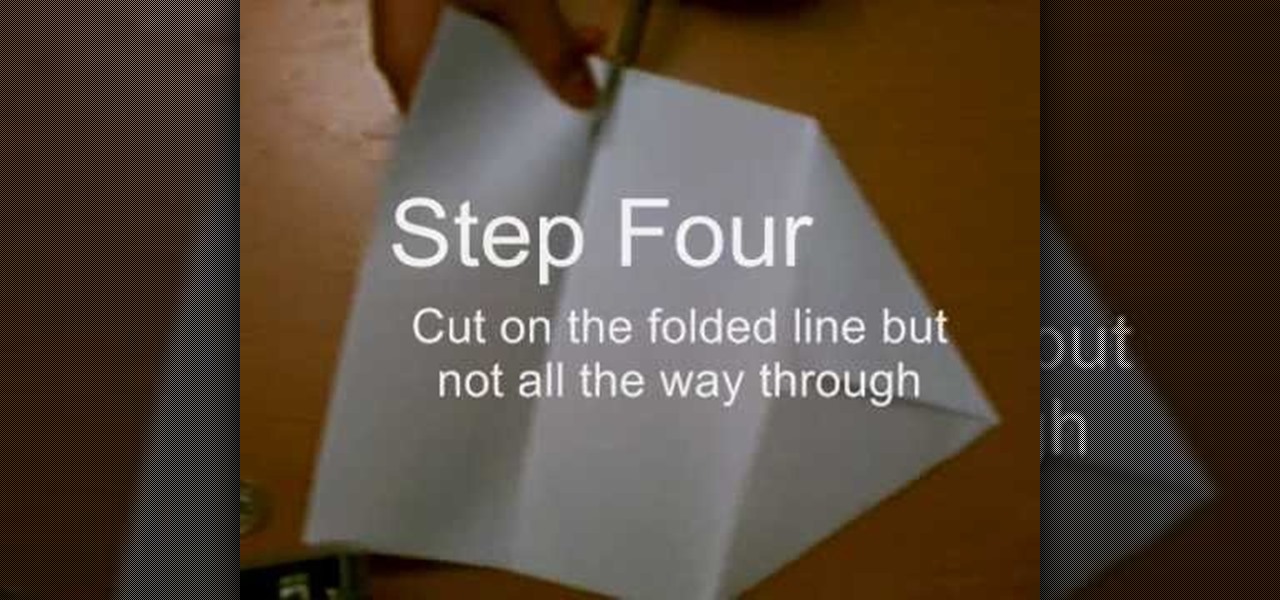
In this video, we learn how to make a whirlybird paper helicopter from printer paper. First, fold two triangles together on the paper. Next, fold the back to the triangle you just created. Next, fold the paper back and, then cut on the folded line but not all the way through. After this, fold the middle flaps until they reach each other. Then, cut through the middle of the bottom and fold one flap on the top, then fold the other flap on the flip side. Now you will be finished with your helico...
In this video, we learn how to make a gift Christmas jar with Stampin' Up! First, take any type of jar you want to collect money in. After this, rinse out the inside and remove the labels off of the bottle and measure them. Now, take a piece of card stock and cut it out to make the length of the label from the bottle. Now, decorate the bottle with different Christmas decorations and then tape it onto the jar or bottle. Next, add on different types of felt cut outs to the jar as well. To finis...
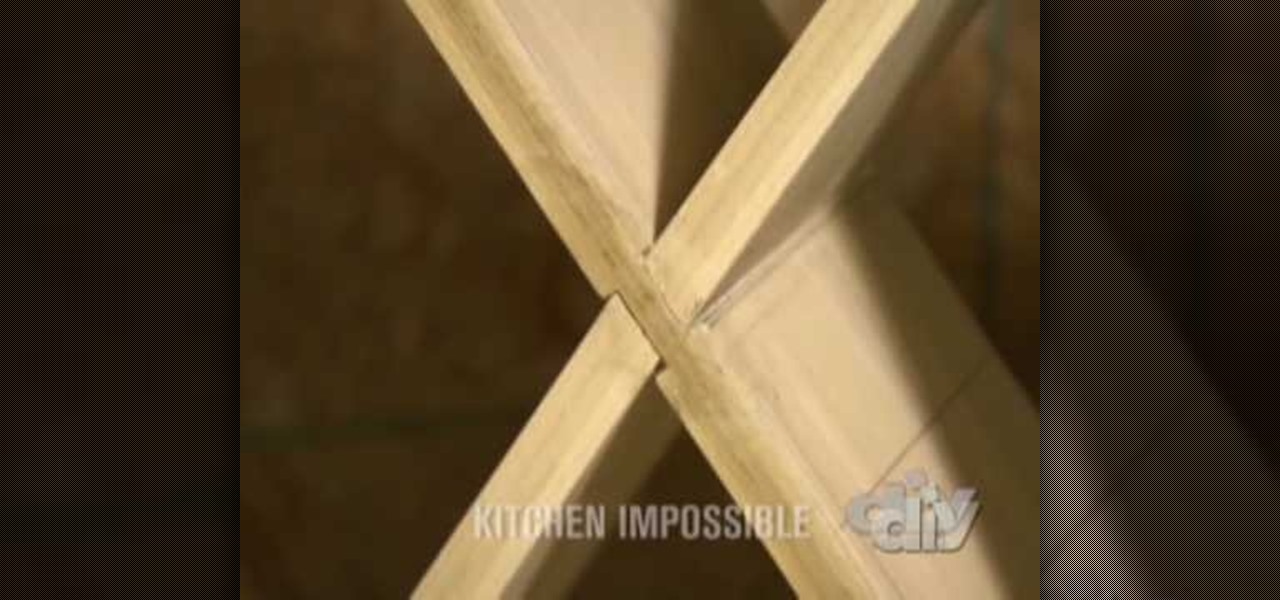
In this tutorial, we learn how to make a poplar wine rack. First, cut the top, bottom, and sides of the rack. Then, use a router to cut out the center of it. Now, assemble the rack together by using wood glue. After this, measure the length of the diagonals, then add in pieces of wood that are criss crossed throughout the box. Next, keep these in place with some wood glue and then place wine bottle on the inside of them. This will make a great wine rack for any home and you can paint it as we...
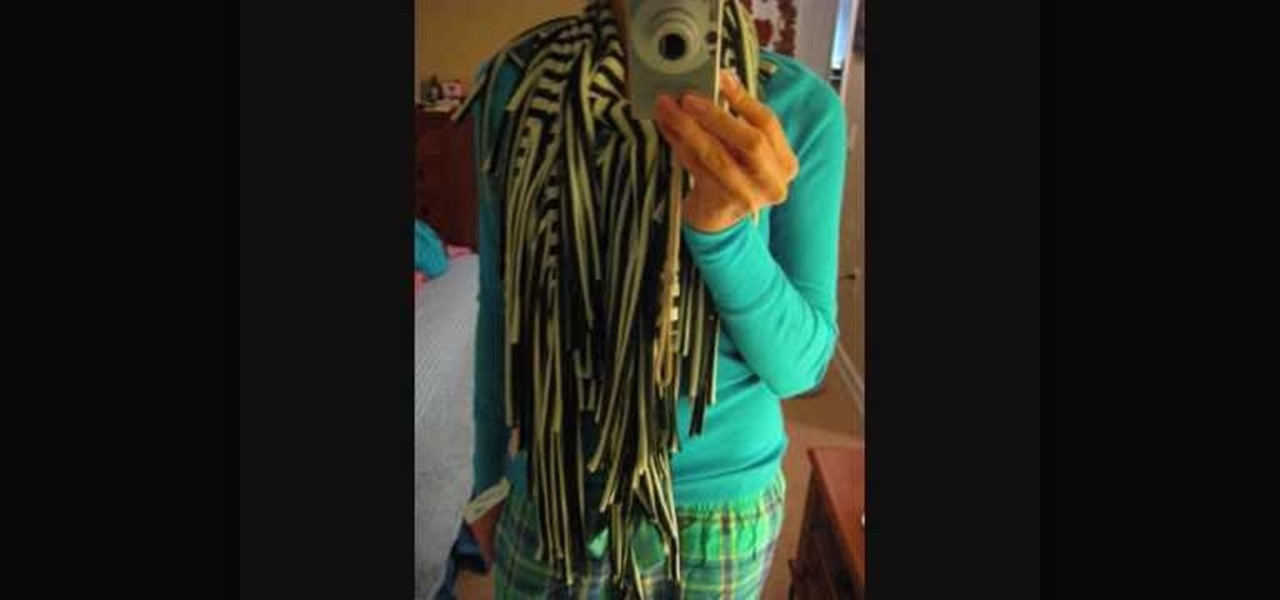
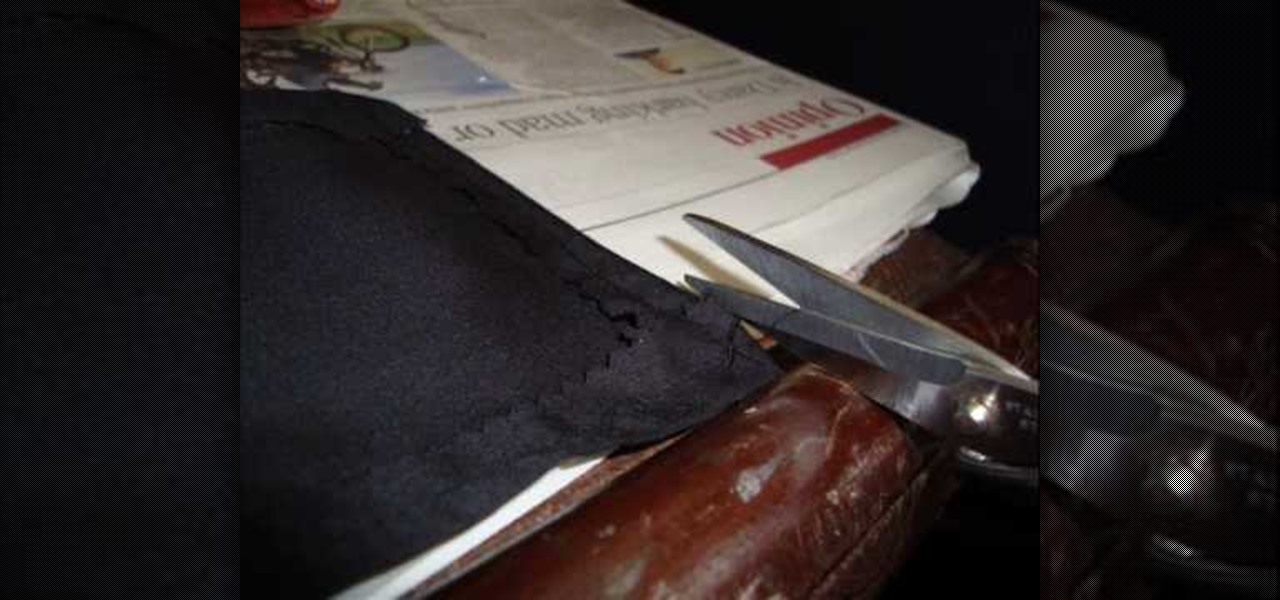
In this tutorial, we learn how to make a fringy scarf. You will first need 1 yard of fabric, then fold it with the right sides facing each other. Next, measure 19" down, then start to cut. After this, measure 7" down, draw a line from across. Now, start to cut towards that line, making fringe on the ends of the scarf. After this, you will be done with your scarf! The great thing about this is that you can use it in so many different ways. You can pair it with a casual outfit, or as a going ou...
In order to make your own envelopes, you will need a piece of paper, glue, scissors, and optional decorating tools/stickers.
In this video, we learn how to make the best skateboard wax. First, take an empty soda bottle and cut it in half. Next, fill the bottom third of the can with vegetable oil. Next, add in some butter in with the vegetable oil, cutting it into small pieces. Now, you can put this on the stove so it heats up and melts the oil with the butter. When this has melted, pour the liquid into an empty Chap Stick container and then let it harden up. After this has hardened up, you will be able to use it as...
In this tutorial, we learn how to make a journal from packaging materials. First, cut a cardboard at 5.5" x 4.5" on each side. When you are finished, create another cut that is 5.5" x 1" for the side. Now, cover the two large sides with a piece of fabric that you choose. After this, cover the middle piece with fabric, and then tape it on with double sided tape. Next, place all pieces next to each other, tape it, then place a solid piece of paper on the inside, and use a glue stick to adhere i...
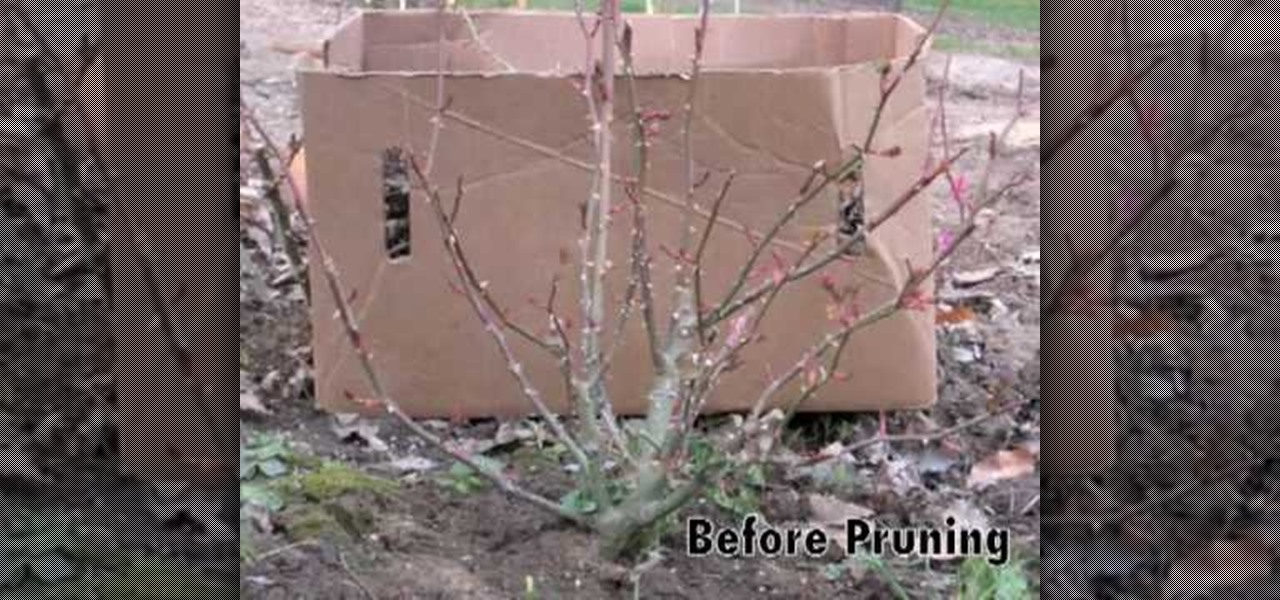
In this video, we learn how to prune roses in the spring. When you prune the roses, you want to cut the branches with shears at the bottom of the plant. Cut any of the dead parts that you see before the flowers start to grow back. If you see any short stubs that haven't and won't grow out, trim those off as well. Leave any healthy branches to keep growing, but trim the tops of them. When you finish, you should end with just a few branches left that are ready for the new growing season. Remove...
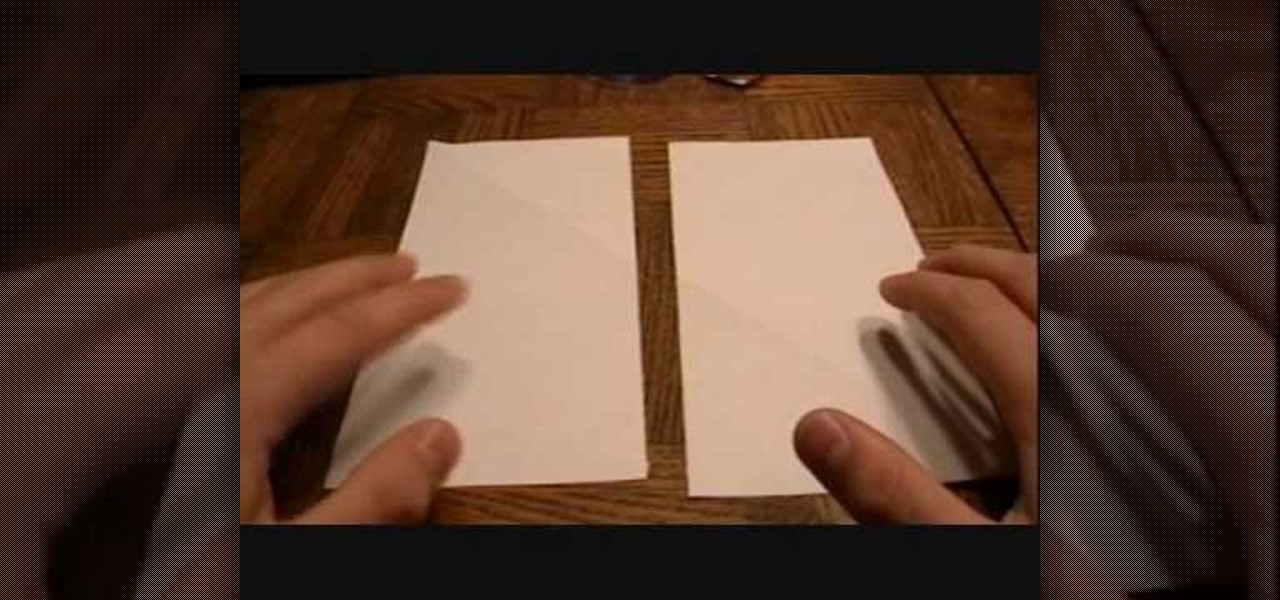
In this Arts & Crafts video tutorial you are going to learn how to fold an origami ninja star. Take a normal paper. Fold it diagonally from one corner and cut off the extra portion to make a square. Fold it in half and cut into 2 rectangles. Fold each piece in half along the length. Fold both ends of each piece in opposite directions to make a triangle. Now fold the ends again to make a bigger triangle at both ends of each piece of paper. Each sheet will form a 'Z' shape. Now place one sheet ...
In this video, we learn how to work with Stretch Magic. This is a beading technique that is very easy to use. It's great for making bracelets, because no clasp is required. First, cut a piece of Stretch Magic 4-5 inches longer than you want it. Now, string your favorite beads onto the Stretch Magic. When you are finished with this, connect the ends with a square not and add a drop of super glue for added security. After this, cut off the excess strings from the end and you will be able to wea...
In this tutorial, we learn how to build a subwoofer for a Mini Cooper. Start off by cutting the wood so it's to the exact sizes that you need. Next, attach the walls of the subwoofer together with a screwdriver and screws. After this, apply wood glue to the inside of the wood to make sure it's stuck together. Next, make a circular piece of wood for the speaker, then cut a hole in the back of the box. Insert your speaker to the subwoofer and string the wires through the back. When you are fini...
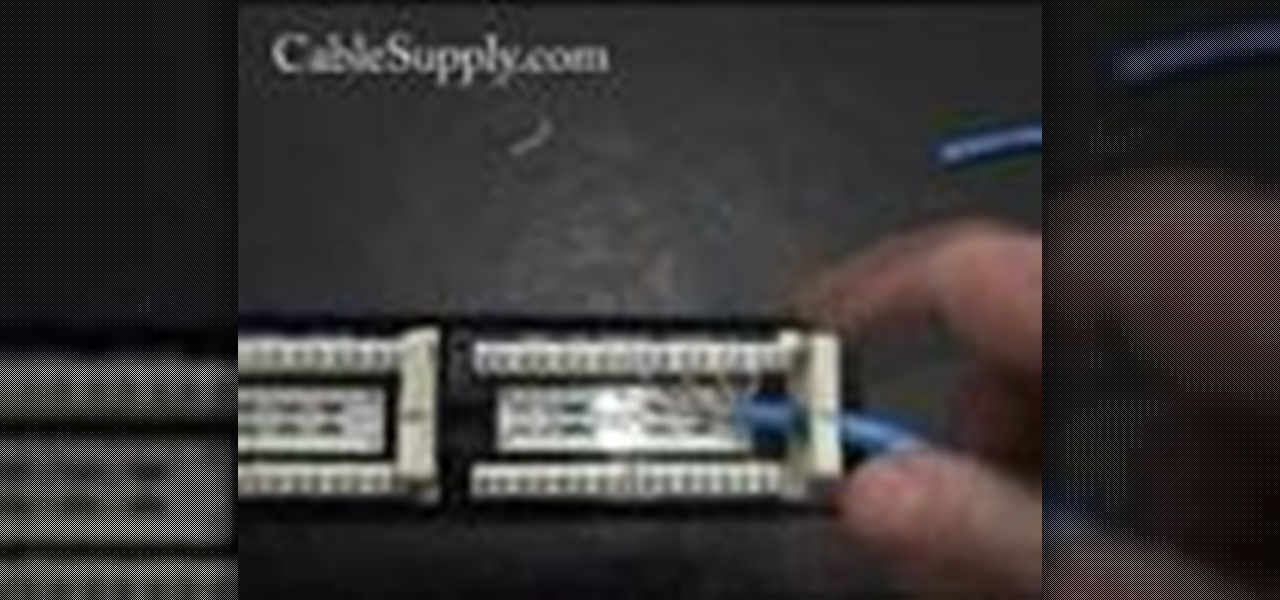
Jim teaches us how to punch down a 24 port patch panel in this tutorial. You will need: cable scissors, a punch down tool, and 24 port patch panel. Now, strip the cable by cutting it and stripping down the wires. Now, attach the wires to the port punch panel by following the pattern of where the different colors are at. When you have these connected, use the punching tool to punch the wires down, then it will cut off the excess wire from the panel. When this is all done, you will want to tie ...
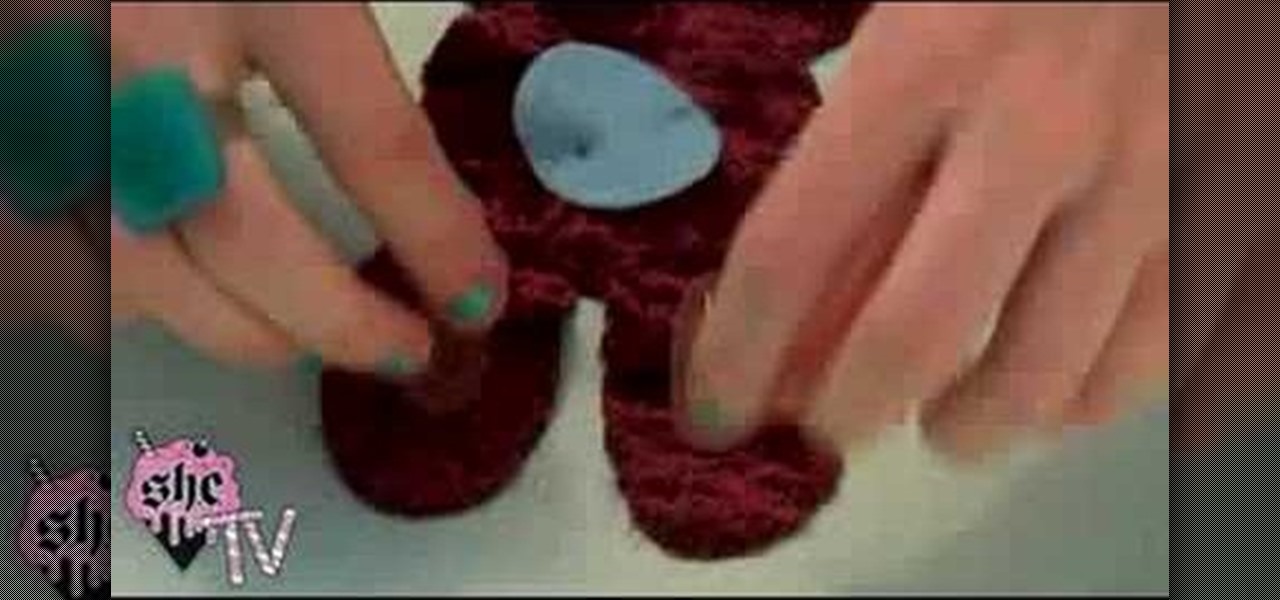
This video teaches us how to make a plush rabbit. Start off with a piece of fabric, then cut out the shape for the bunny out of this fabric to make two sides. After this, cut out the color for the eyes out of various other colored fabrics. When finished, sew the eyes onto the bunny and then sew both sides together. After this, fill the bunny with stuffing and then sew the entire thing together. When you are finished, you will have a small and cute plush rabbit that is not only made cheap but ...
Chef Jason Hill teaches us how to make a low fat alfredo sauce. First, take a head of cauliflower and cut it in half, then cut all the florets out of the head. Now, place the cauliflower in rapidly boiling water until it's extremely tender. While this is cooking, melt 1 tbsp butter and Italian seasoning with minced garlic in a saucepan. Then, add in 1/2 c of cream and stir rapidly. Bring the mixture to a simmer for 1 minute, then add 1/2 c fresh grated parmesan cheese and let simmer for anoth...
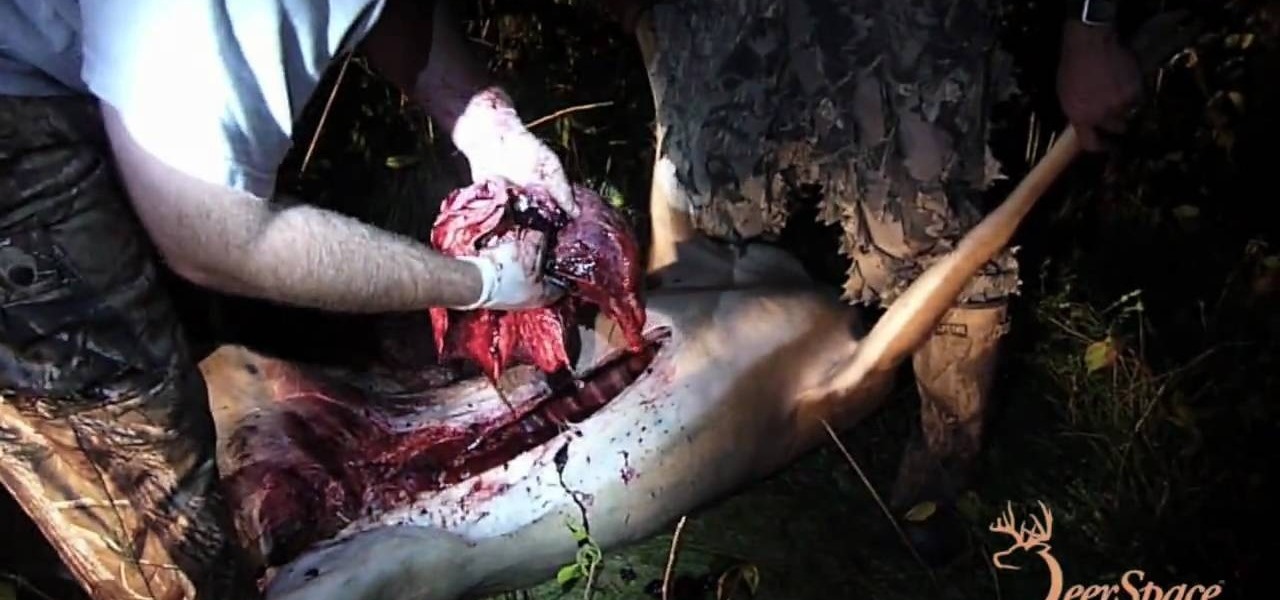
In this video, you'll learn how to field dress a deer. Put on gloves. Use Ozark trail hunting knife for dressing the deer. Place deer on its back, head facing away from you. Starting from the anus, split the deer up the middle to the chest. Use left had to prevent cutting or nicking the internal organs. Stretch the cavity open. Loosen organs from cavity wall. Cut out the entrails and all organs. Make an anal incision. Use the butt tool to remove the butt/final portion of intestine. Saw the pe...
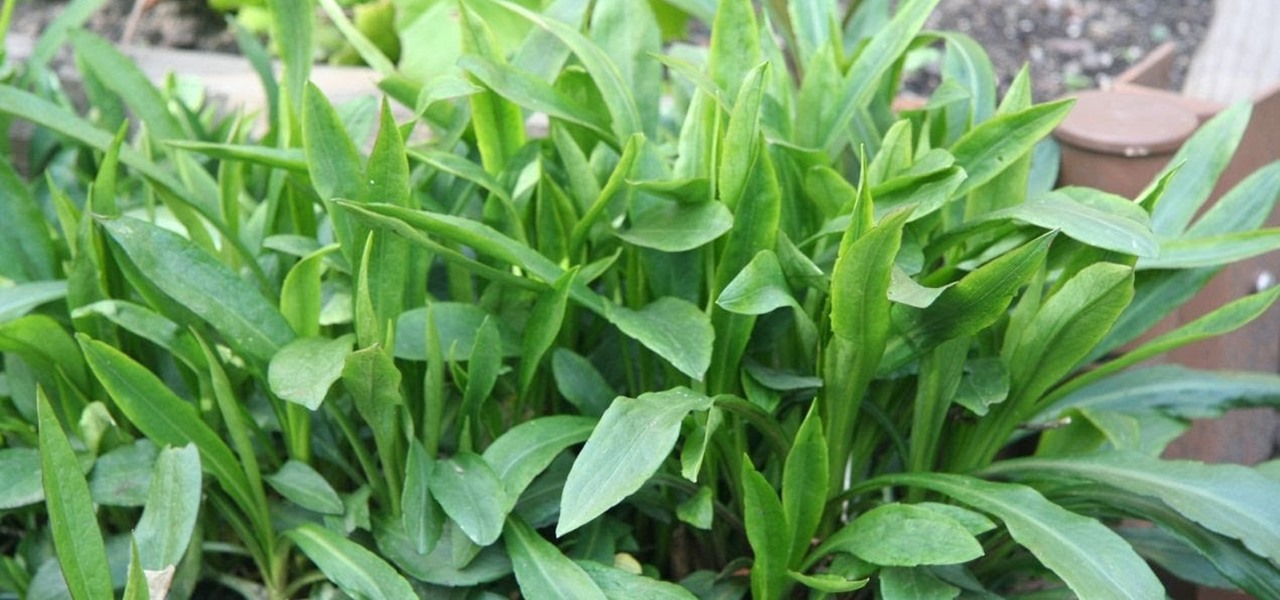
In this tutorial, we learn how to preserve and dry herbs. First, you will want to cut your herbs fresh from the garden. Next, use scissors to cut the herbs into small pieces. After this, place the herbs on a piece of wax paper on a plate. Now, place the plate into the microwave on half power for three minutes. Look at the herbs to see what they look like when they come out of the microwave. If there is still moisture in them, place them in a microwave again. Adjust the power and time you cook...
In this tutorial, we learn how to decorate your jeans with embroidery. First, you will lay your jeans flat on a surface, then trace out the space you want to make on a piece of paper and cut it out. After this, place the paper on an embroidery sheet to transfer the design. When finished, cut the embroidery out. After this, use a needle and the same color thread as the design to sew it onto the desired spot. When you are finished, you will have a unique embroidery that you designed! This can b...
In this tutorial, we learn how to make a Victorian hat from a lampshade with Gwen. You will need: a lampshade, scissors, acrylic paint, paint brushes, glue, a compass, and cardboard. First, take the compass and make the circle as wide as you want your hat to be, then trace your lampshade on the cardboard. Now place the small end of the lampshade around the large circle that you drew. Next, cut these circles out of the cardboard. Leave extra room, don't cut it out exactly on the line. When fin...
In this tutorial, we learn how to make a single speed bike crank. You will need: chain ring bolt tool, large screwdriver, Allen wrench, file, hacksaw, vise, and crank set with 2 ring. First, grab your chain ring bolts and cut about 3mm off of the end. If the nut moves while you are cutting it, adjust it. After this, put your chain ring on the inside of the crank arm to align the chain. When you are finished, you will have a single speed bike crank! This tool shouldn't take too long to create,...
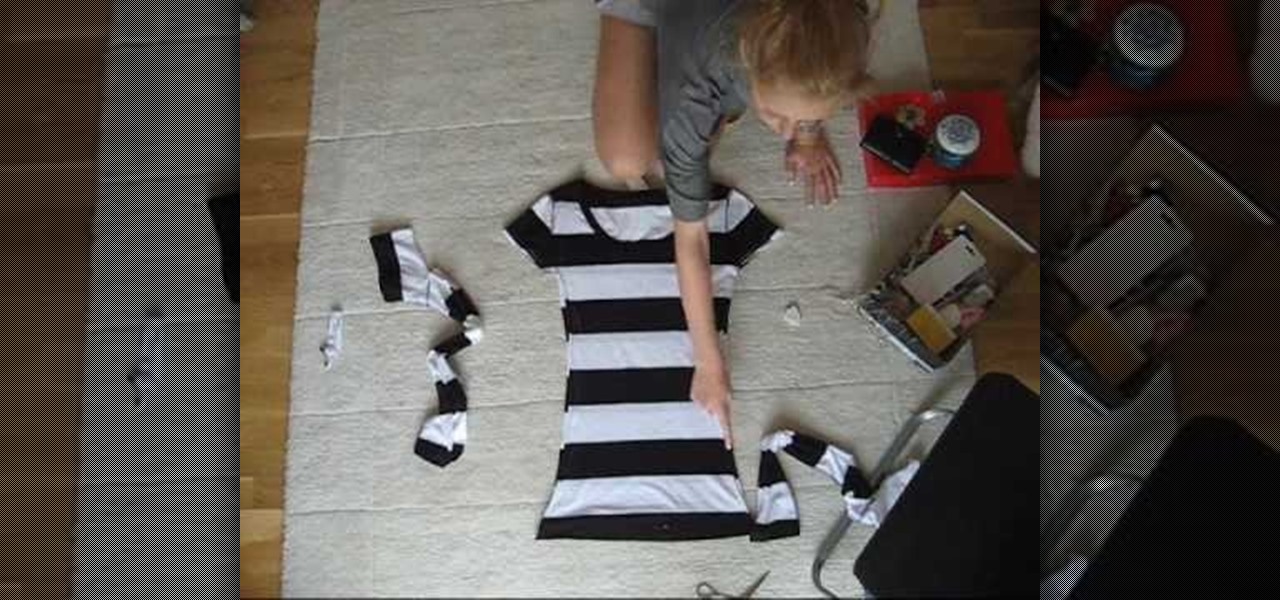
In this tutorial, we learn how to make a t-shirt. First, measure around your waist and your bust, as well as around the hips. Now, take your old boxy t-shirt and flip it inside out. Now, place your measuring tape on the shirt and pin it where your measurements are. Draw out your measurements so you know where to cut. Once you have the new shirt drawn out, Cut out an inch out of the lines and toss the rest of the cloth in the trash. After this, sew the shirt on all the open sides. To finish, t...
This video tutorial is in the Software category which will show you how to "Photoshop' someone into an image. It is like cutting and pasting one image over another. First open both the images. Ctrl and click the person's image that you want to move over. Drag the cut out image over the other picture where you want to superimpose it. Then click "edit', resize, rotate and position the image where you desire. Then go to "Image Adjustments' and adjust the brightness and contrast to match with the...
In this tutorial, we learn how to make ring skirts. First, cut out for 22.5 x 5.5" shapes out of black polyester. Next, cut a 21.5" x 4.5" rectangle out of cardboard. After this, iron down all your shapes so they are flat, then place the cardboard on the other shapes so you can see material sticking off of four sides equally. Next, fold the excess fabric onto the cardboard and then iron it down, then pin it on all sides. After this, sew the sides with a sewing machine and remove the pins. Do ...
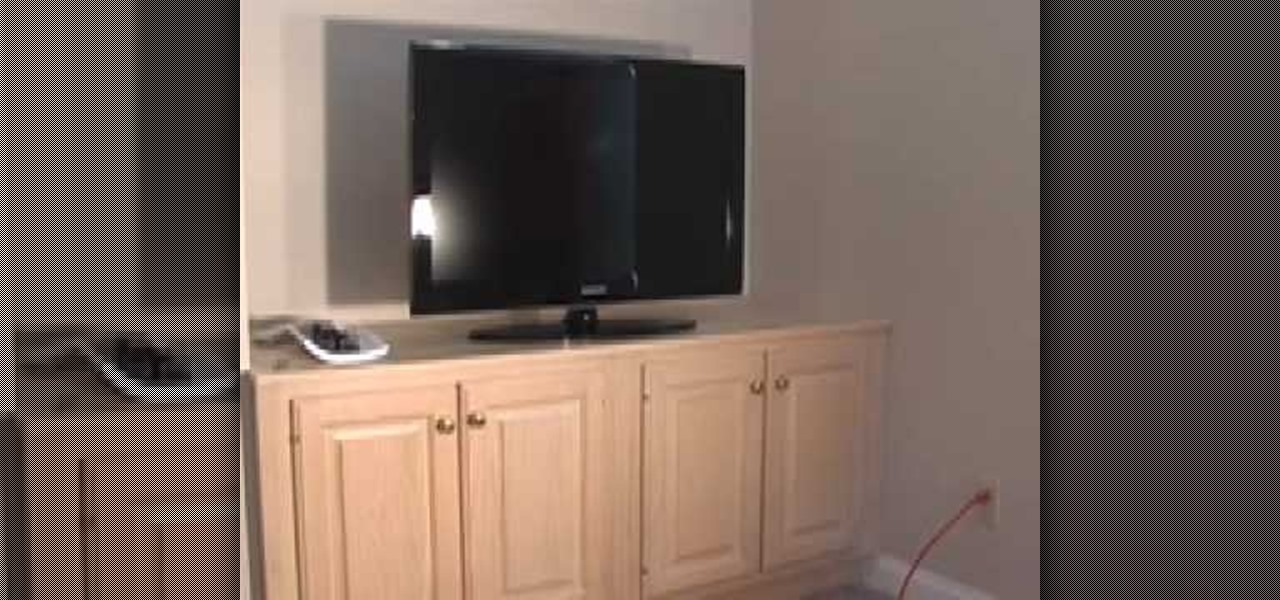
Bob Schmidt tells us how to set up cabinets for an entertainment center in this tutorial. First, make sure you set base cabinets next to your wires and put a hole in the back of them so you can cover the wires up, but still have easy access to them. You can easily make these holes by using a small saw to cut them out after measuring the correct sizes. Next, Set your counters so they fit perfectly inside of your wall space. If you need to, cut out your panels and replace with mesh ones that le...
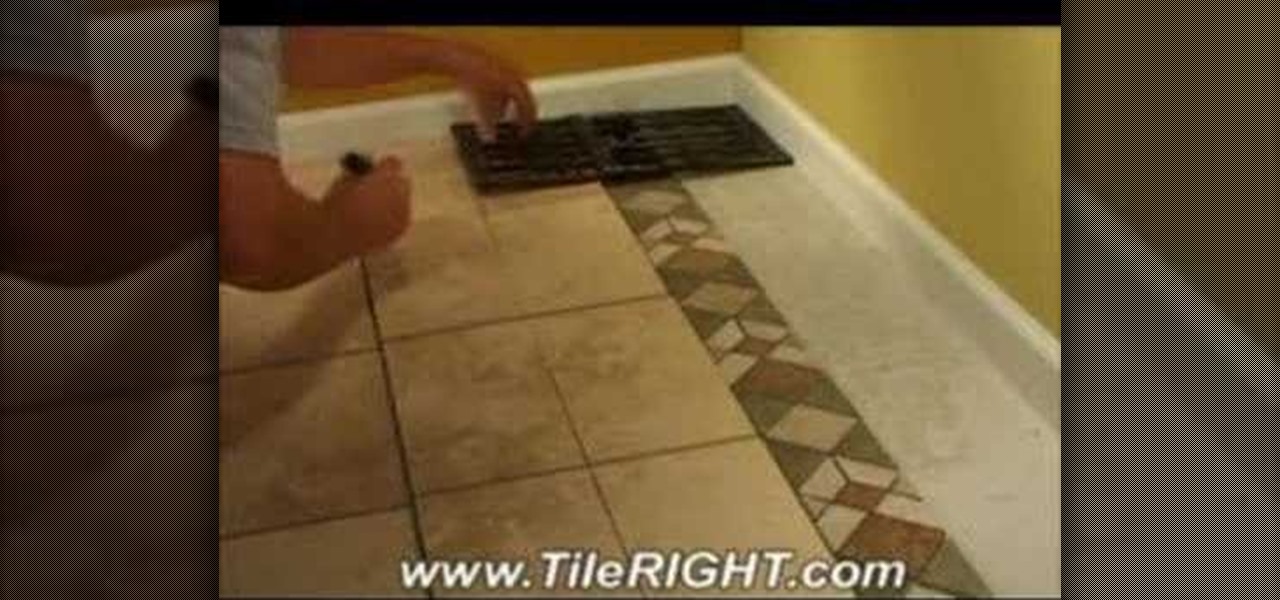
In this Home & Garden video tutorial you will learn how to install a decorative tile border. Decorative borders add a beautiful accent to any room. Start by setting the "measure right pro' tool. Slide the tool open to cover the entire tile and the width of the border. Next move out one eighth for the wall space and lock the tool. Now place the fill tiles on top of the set tiles. Then you slide the "measure right pro' along the wall and mark the tiles. Write the sequence numbers on the tiles a...
In this tutorial, we learn how to cheat on a test with a small paper. To make this, you will need printer paper, scissors, and a stapler. To start, cut a strip of paper out of the sheet, then fold it up into a small booklet and staple it together at the top. Cut off any edges to make it fit into the palm of your hand. After this, you will have a booklet that pulls apart and you can write inside of. Write answers to tests in this, then to hide it, place it in the palm of your hand between your...
In order to do a bloody makeup look for Halloween, you will need the following: deep red blush, deep shadow Mac paints, eyeshadow, contour shadows, theatre blood, and eyeliner.
In this video, we learn how to butcher a pig with Chef Dave. From the top, you will see the pork shoulder, the ribs, then the ham, the loin, the belly, lard, kidney, and then the leg of pork. If you touch the fat on this pig, you will notice that the fat is very firm, not soft. Usually, the head does not come with the pig because it's not in high demand and butcher's don't want to pay for something that the customers don't want. There is also a kidney that will come with the pig, but there wi...
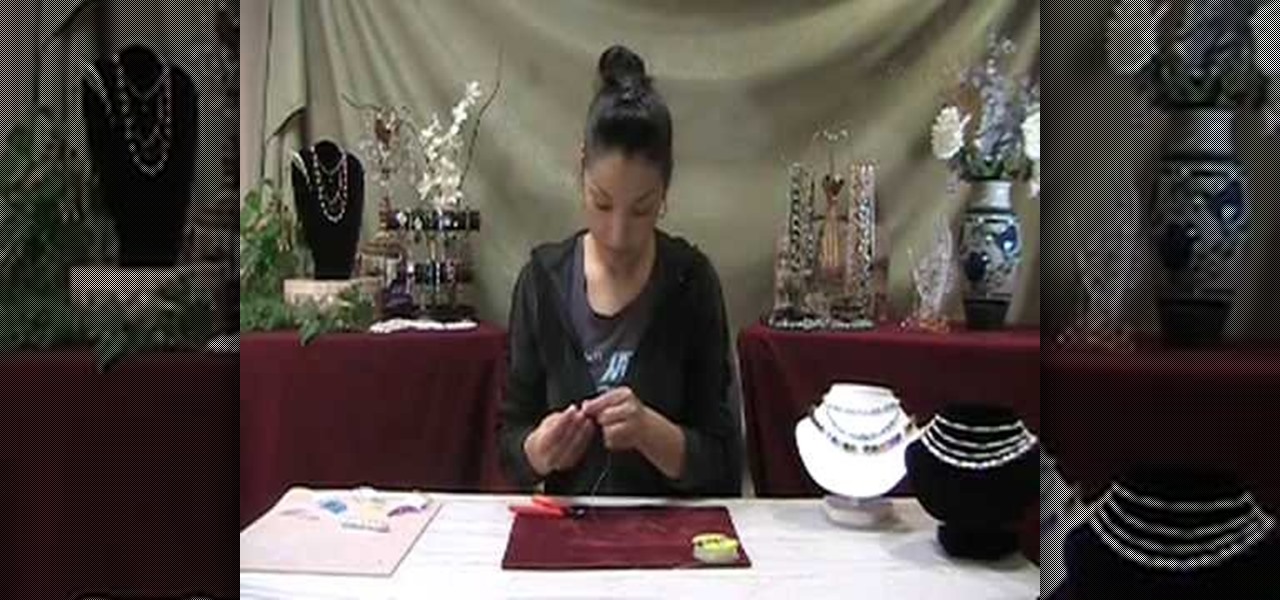
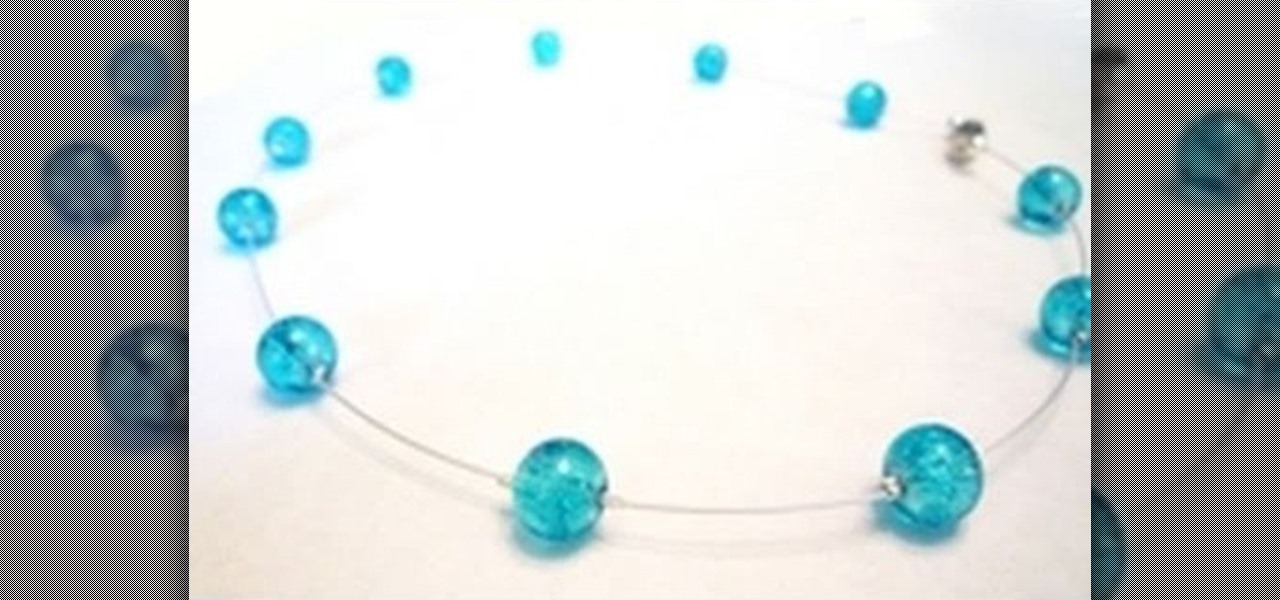
In this tutorial, we learn how to make a floating illusion style necklace. You will need: beading wire, crimping pliers, wire cutters, beads (your choice), crimp beads, crimp covers (3mm), and a clasp (barrel clasp). First, cut your beading wire to the length you want your necklace, add 3-4 extra inches. Next, space your beads out on a beading board evenly, 1 1/2" apart. Now string a crimp bead onto your wire and take the end of the wire and string it through the crimp bead on the opposite si...