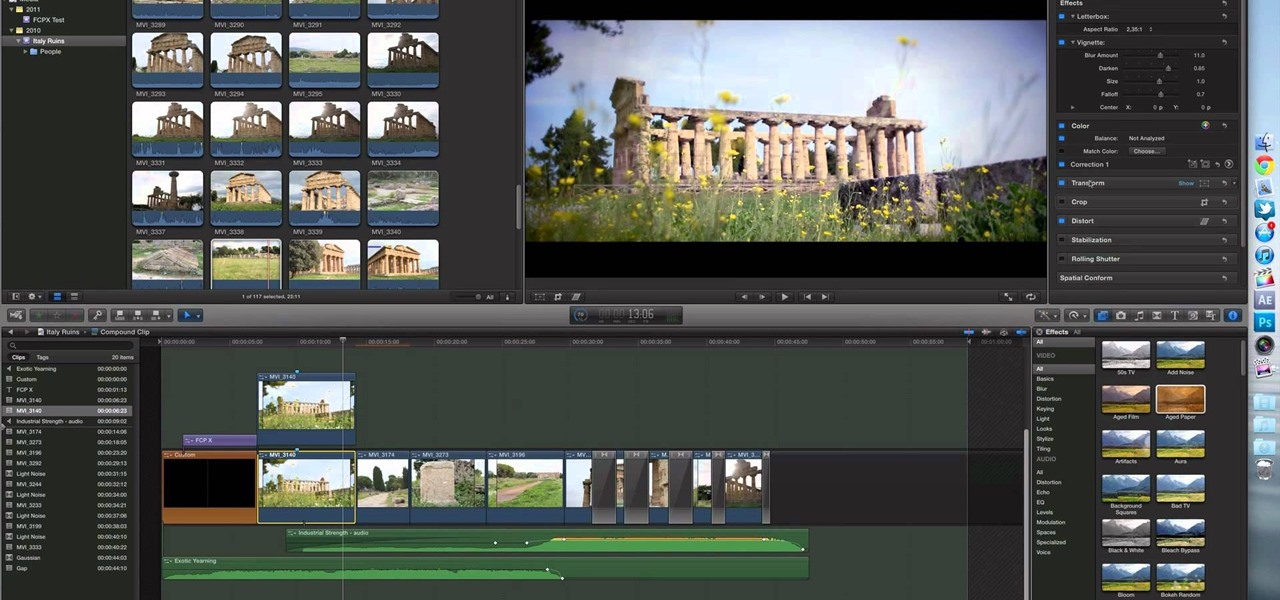
Final Cut Pro X has all new effects and transitions that no other video editing software has. This is your video guide to all of the things you can with FCP X on your Apple computer. Learn about the adding Boca effects, aged paper effects, and more.
Feeling limited by the export options in Final Cut Pro X? Watch this video to learn how to use Compressor 4 to export custom settings and reduce your file sizes in FCP X. Make the most of your Apple video editing software.
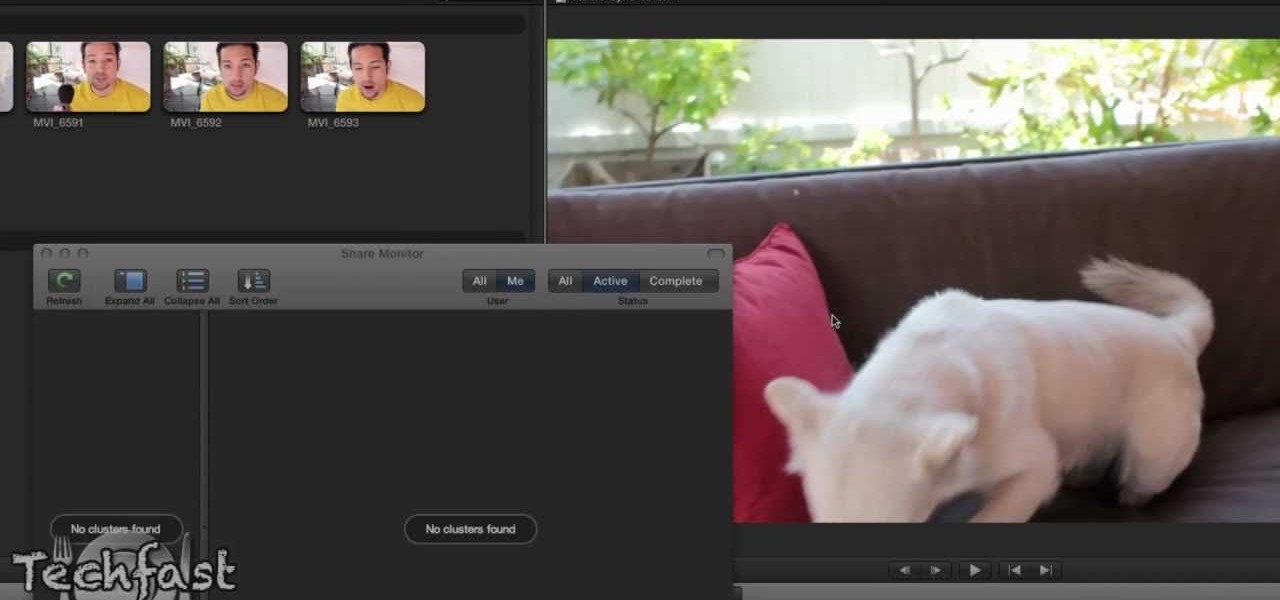
So you've filmed your scene using multiple cameras, and now it's time to sync them up into a coherent whole. This tutorial shows you how to take advantage of the multi clip edit feature in Final Cut Pro when you're in post production.
When it comes to losing weight, cardio is your BFF. When you combine cardio with strength training you achieve what is known as solid gold fitness: The perfect combination of sweating (and fat loss) and muscle building so the fat slides off and your toned muscles come out.
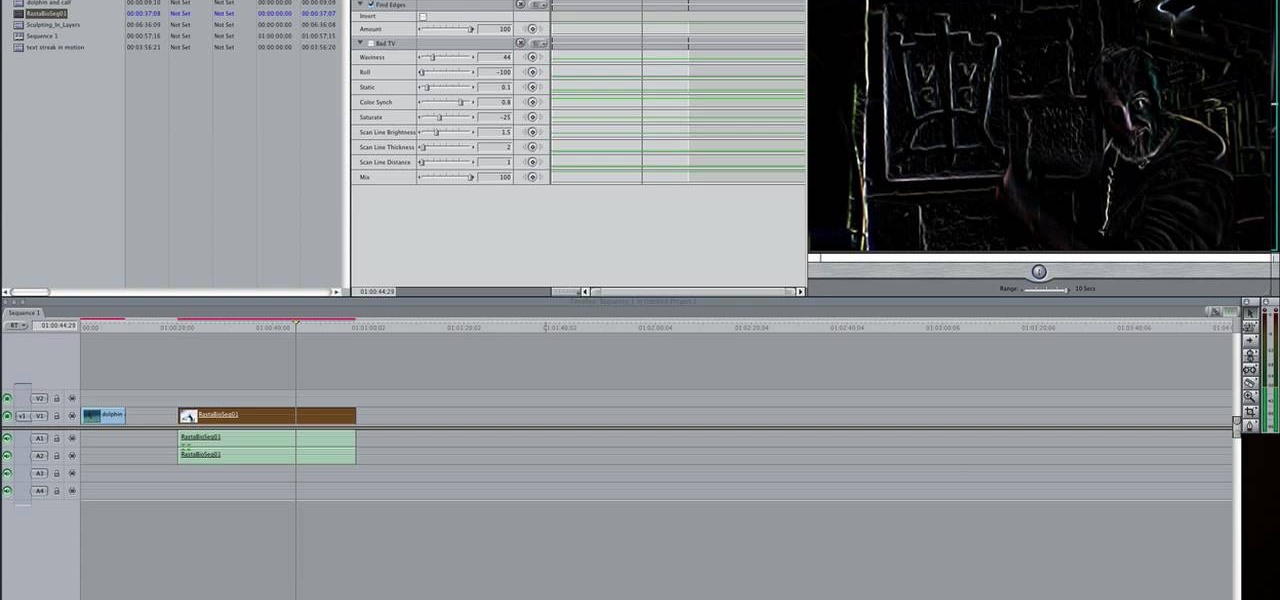
Want to create a selective desaturation effect à la Sin City? This clip will show you what you'll need to know. Whether you're new to Apple's Final Cut Pro non-linear video editor or just want to better acquaint yourself with the popular video editing program, you're sure to benefit from this video tutorial. For more information, including detailed, step-by-step instructions, watch this tutorial.

Learn how to use FCP's SmoothCam filter to fix shaky footage after the fact. Whether you're new to Apple's Final Cut Pro non-linear video editor or just want to better acquaint yourself with the popular video editing program, you're sure to benefit from this video tutorial. For more information, including detailed, step-by-step instructions, watch this tutorial.

This FCP-user's guide will teach you how to preview a clip without rendering it first. Whether you're new to Apple's Final Cut Pro non-linear video editor or just want to better acquaint yourself with the popular video editing program, you're sure to benefit from this video tutorial. For more information, including detailed, step-by-step instructions, watch this tutorial.
As the Disney Channel hit "Hannah Montana" rolls into its last season, millions of fans across the country will mourn the loss of their favorite pop star/ordinary kid (sort of). If nothing else, if you're a teen then you grew up on Cyrus' catchy tunes from the show, like "One in A Million" and "Life's What You Make It."
They may not be as important as tires or oil, but wiper blades can be important during certain times of the year. Going without wiper blades during the winter, when rain or snow is common, can be a bad idea. These little guys help clear the view when driving on the road and make sure that you can see what's ahead of you.
Meet (and learn how to use) the Final Cut 7 graphical user interface or GUI! Whether you're new to Adobe's popular motion graphics and compositing software or a seasoned video professional just looking to better acquaint yourself with the program and its various features and filters, you're sure to be well served by this video tutorial. For more information, including detailed, step-by-step instructions, watch this free video guide.
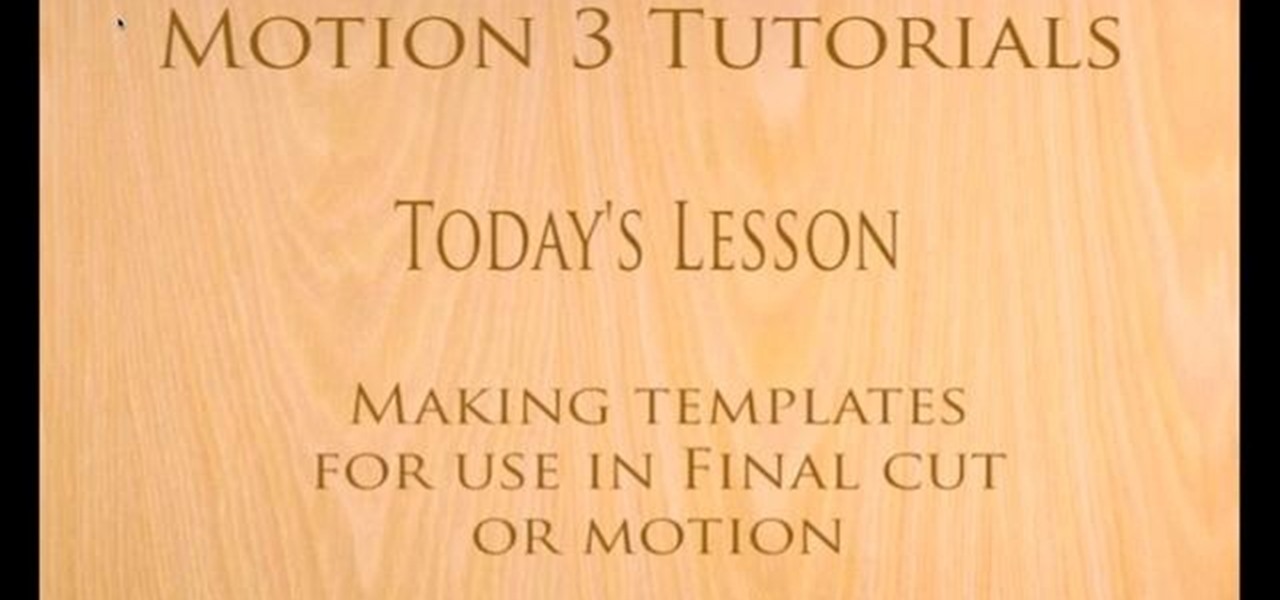
With this clip, you'll learn how to create templates for use in Final Cut Pro and Motion. These templates are editable in FCP. Whether you're new to the Apple's popular motion graphics editor/compositing application or are a seasoned digital video professional simply wishing to get better acquainted with Motion 4, you're sure to find value in this tutorial. For more information, and to get started creating your own custom templates, take a look.
When it comes to filming a great movie, having a great creative vision is just as important as more practical aspects of cinema, like how to employ film editing programs for the perfect widescreen shot or a camera jamb arm for stunning overhead shots.
In this video tutorial, viewers learn how to increase the rendering speed in Adobe Final Cut Pro. Begin by right-clicking on your current sequence and click on Settings. Click on the Video Processing tab and select "Always Render in RGB". Then click OK. This change will only be noticeable when working with really high quality high definition footage or film. Even then, you are able to re-render at a higher bit rate later, without having to affect the original image or export. This video will ...
In this video tutorial, viewers learn how to create a tilt shift effect with Adobe Final Cut Studio. Begin by changing the video's speed to 300% and disable the Frame Blending. Now click on Effects, go to Video Filters, press on Time and select Strobe. Change the Strobe rate to 7-15 fps. Now switch to Motion and Duplicate the group. Then create a simple mask in the upper group and apply defocus to the lower group. Under Mask, increase the Feather rate up to 100%. Now add another mask around t...
If you make a flub at a store and buy a shirt in the wrong color you're usually stuck with it (unless, of course, you were smart and saved the price tag just in case). But in Final Cut Pro, anything is possible, even changing the color of a shirt to fit your taste.
In this Beauty & Style video tutorial you will learn how to cut up your t-shirt and look unique and stylish. Take a loose baggy style shirt and make two marks with scissors just near the shoulder seam. Then cut down the center of the t-shirt about 2inches. Now cut from the shoulder marks up to the center point and on the back just cut straight along the shoulder cut marks. Then cut open the top part of the sleeves little short of the shoulder seams. After this cut off the bottom seam. Then st...
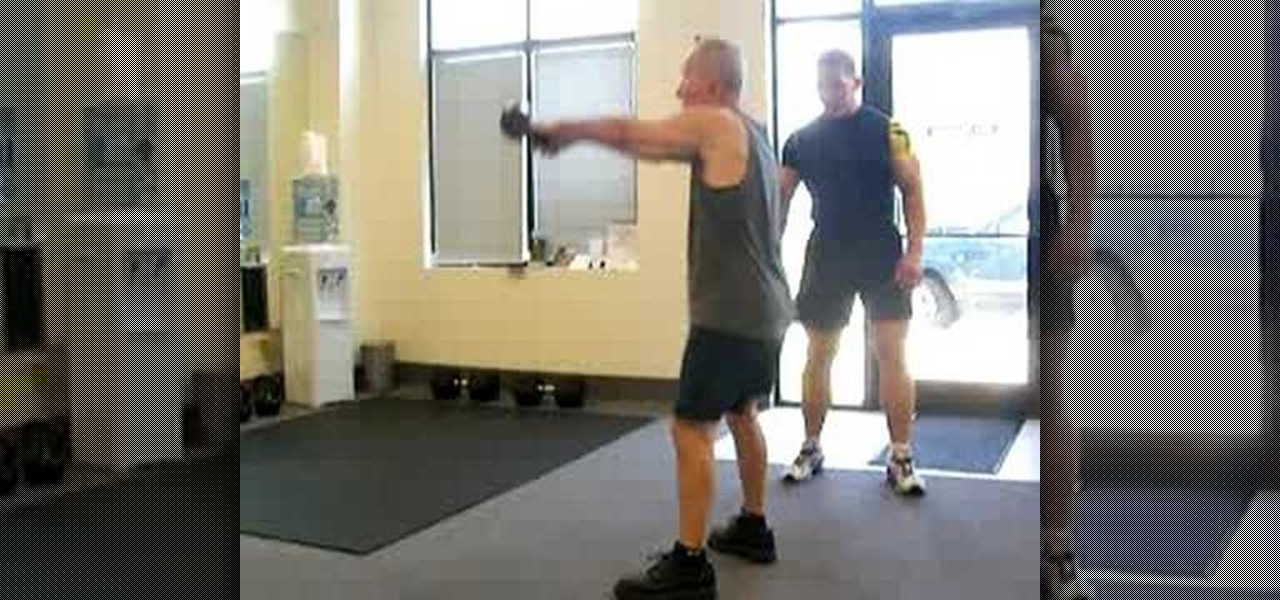
In this video tutorial, viewers learn how to perform the kettlebell swing exercise. The "Kettlebell Swings" Exercise is a vital part of getting a rock hard midsection as well as building your hamstrings and your glutes. Kettlebell swing training preps the body to endure the stress of sports and physical disciplines, as well as produce power from the core body muscles. Begin by bending knees and swing the weight with both hands in between the legs towards the back of you. While rising up, user...
Darin Steen from Major League Health and Fat Loss Lifestyle demonstrates how to work out at home to get rock hard buns and glutes. You will need a wood floor or a ceramic tile floor that's nice and slick to do the exercises. Lie down on your back on the floor and extend your arms so you have a nice shoulder base. Then, point your toes up, dig your heels in and drive your hips up towards the ceiling. Squeeze your buns and hamstrings for 10 repetitions. On your last repetition, straighten out y...
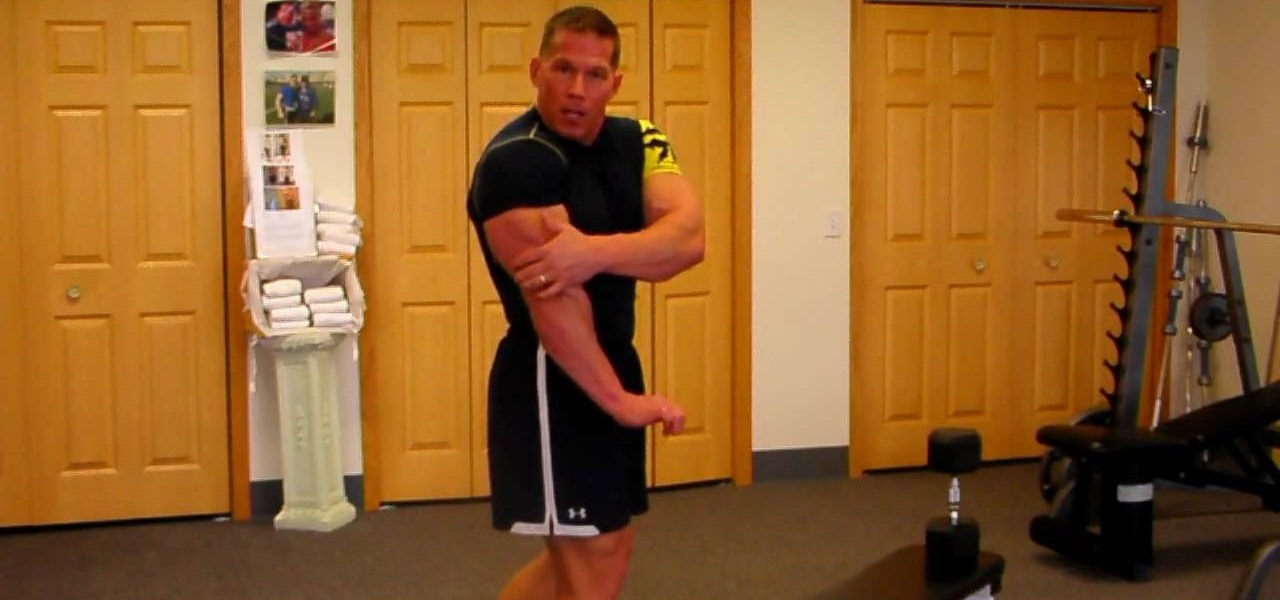
This video will show you how to build your arms with lying single arm dumbbell extensions. Darin Steen, creator of the Fat Loss Lifestyle 12-Week Body Transformation Program, Shows you how to build up your triceps with this exercise of the week! Make sure to get your shoulder off the bench and keep your elbow nice and high. Bring the dumbbell down to your cheek and exhale as you bring it back up. Use your other hand to stabilize your arm. For a more intensive workout, after the extensions get...
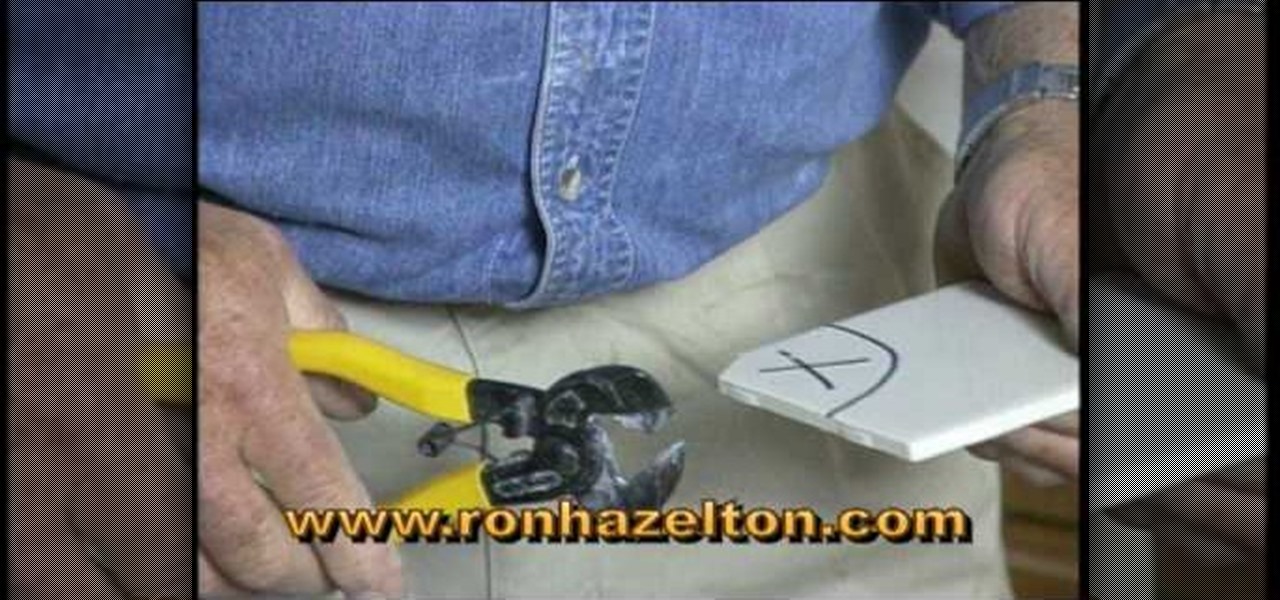
If you lay tile it is rare to do a job and not have to cut a curved piece of tile. If you do have to cut a curved piece there are two ways to do it. First, you have to draw outline of the cut that you need to make on the tile itself and mark the part you are going to remove with an X. The low tech method involves using a pair of tile nippers. You nip away pieces of the tile until you have nipped away the whole area until you have a circular cut out. For a more polished cut you can use a spira...
Need some high quality images to work on? High resolution images are those that are at least 300 dpi (dots per inch)... In layman's terms, high quality. When an image is less than 300 dpi, you will notice a loss in quality and an add-in of pixelation when printed.
See how to merge two DVDs into one using DvdReMake Pro. With DvdReMake Pro, you can easily merge two DVDs together onto one disc while even keeping the original DVD menus and without loss of quality.
Woodturning uses skew and gouges to create designs in wood on a lathe. Learn about making cuts with these tools from a woodturning expert in this free crafts video series.
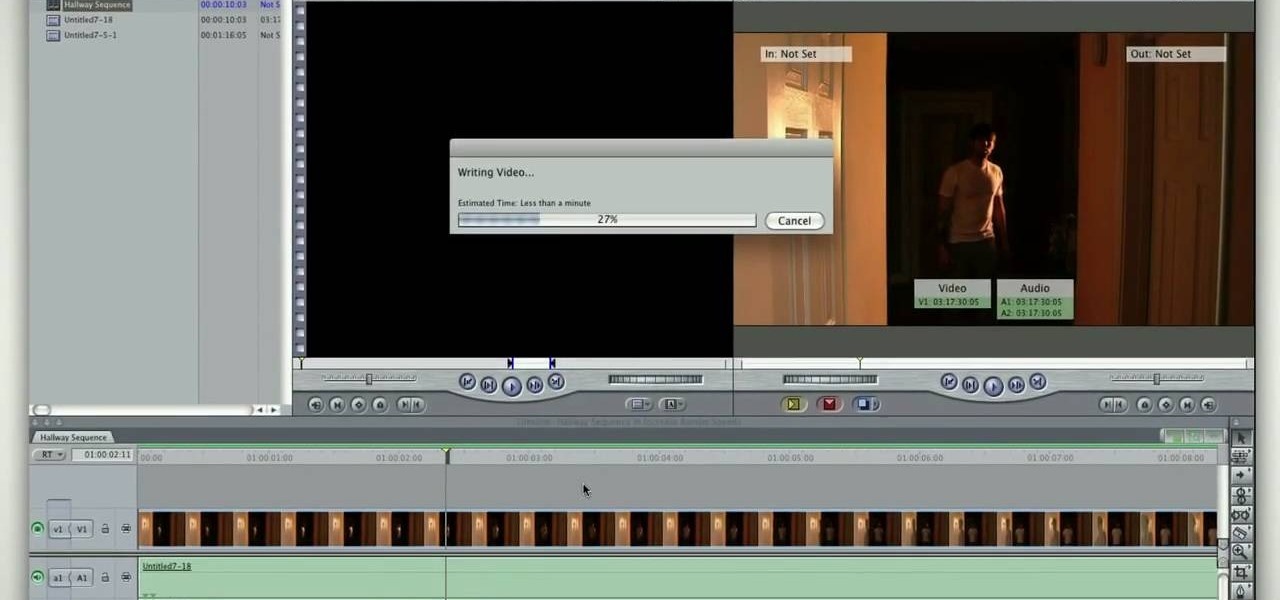
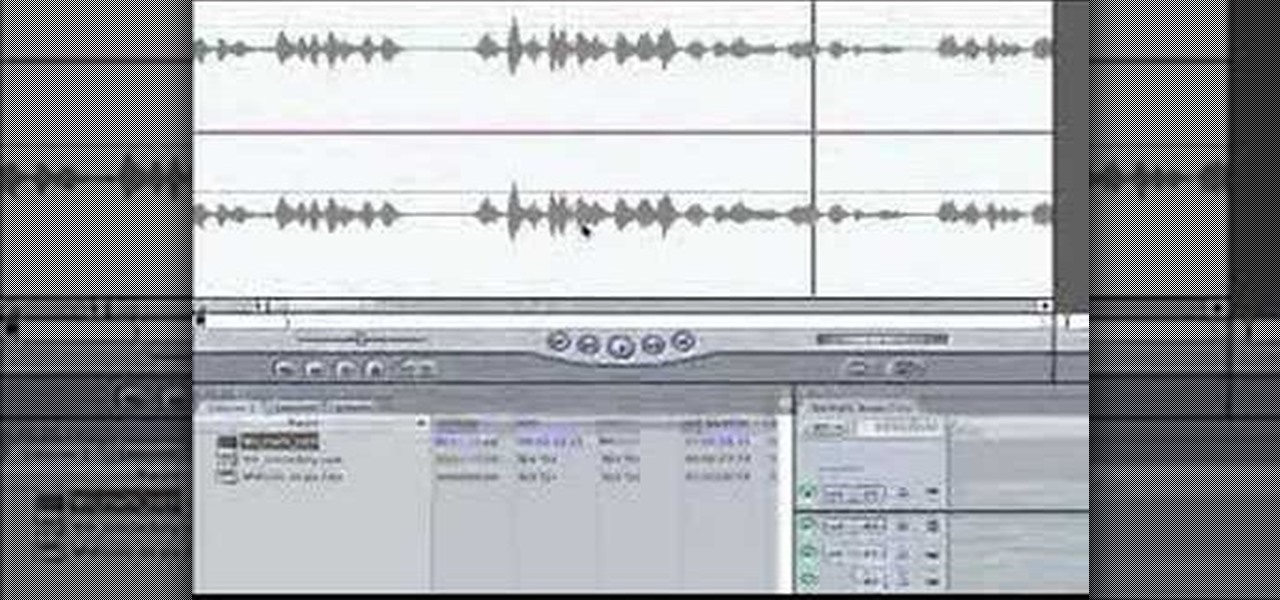
Once you have your footage imported, you're ready for editing! This tutorial goes over how you can edit footage in Final Cut Pro 6 and even goes over real-time editing abilities. The tutorial is well paced and easy to follow. You'll be an expert in no time!
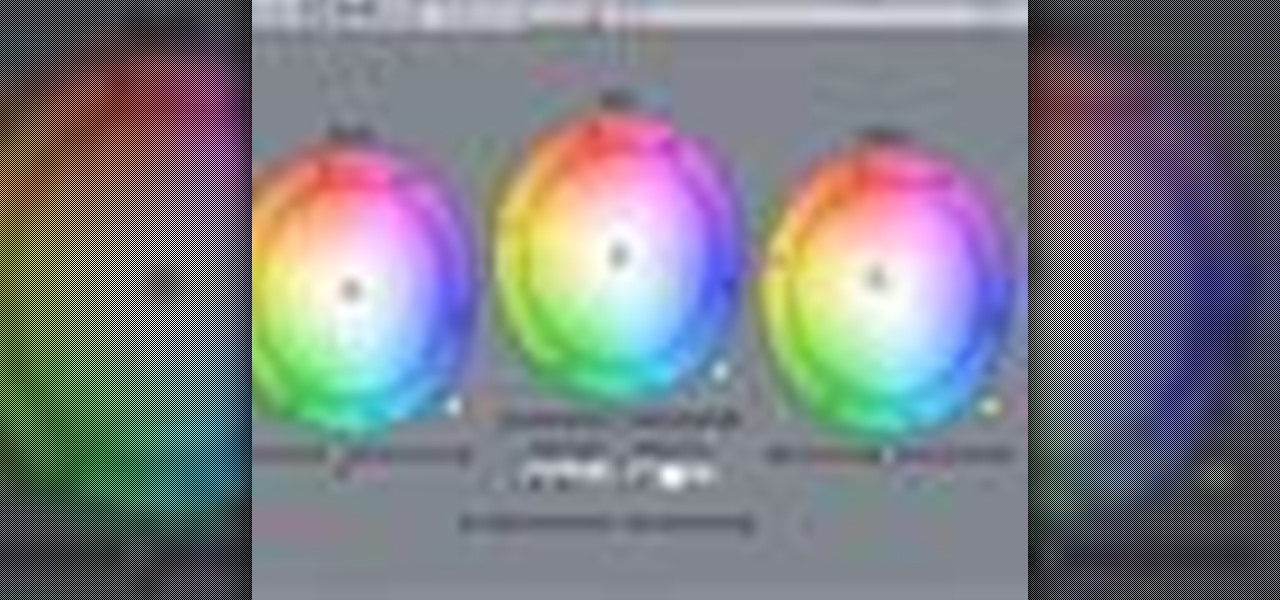
This tutorial covers how to use different filters in Final Cut Pro 6 and specifically goes over how to use the color correction filters since these are some of the most important filters used. Easy to understand and see, this video tutorial is worth watching.
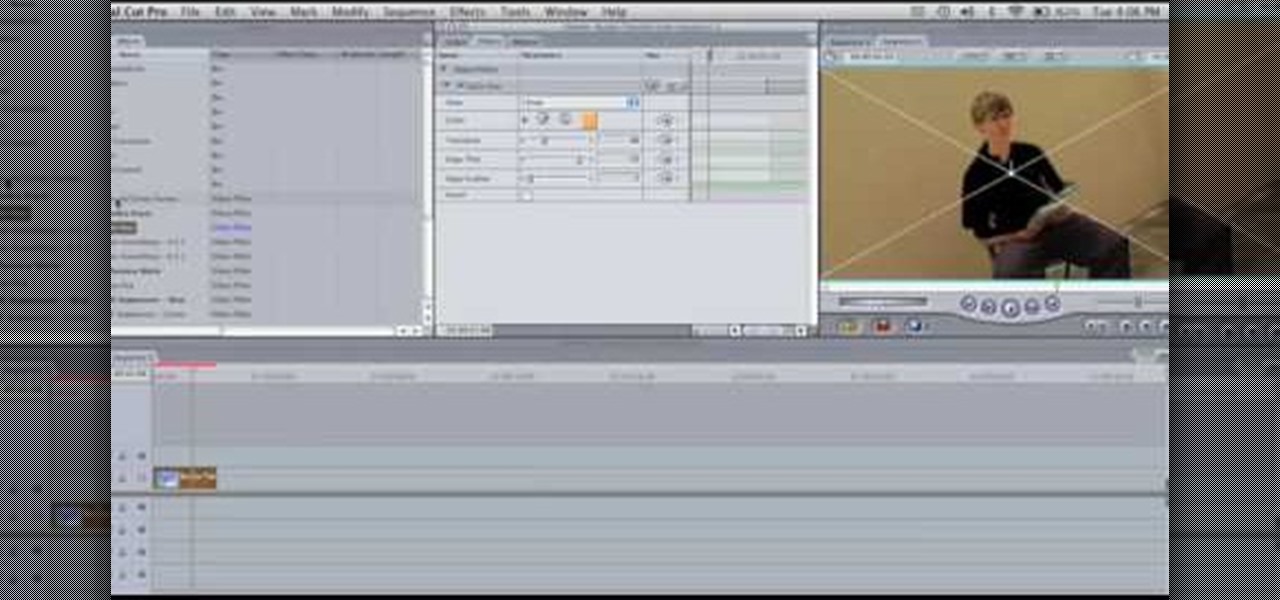
Need some help tackling your first multi-angle project in Final Cut Pro? This two-part tutorial will teach you what you'll need to know. Whether you're new to Apple's popular motion graphics and compositing software or a seasoned video professional just looking to better acquaint yourself with the program and its various features and filters, you're sure to be well served by this video tutorial. For more information, including detailed, step-by-step instructions, watch this free video guide.
Do you have some footage from the Sony XDCAM EX digital camera memory card that you need to get into Final Cut Pro? Well, check out this brief tutorial on ingesting that XDCAM EX footage into Final Cut Pro with ease by downloading some software, like upgrades. You'll need the Sony camera and a USB cable, then just watch the video to see how it's all done in Final Cut Pro. This will work with Sony EX1 or EX3.
In this video, we learn how to create a realistic looking cut using cinema makeup. Start out by using silicone putty on the face to help make the cut on the face look more real than ever. Use brushes and a spatula to help mix colors together and apply to your face flawlessly. Also make sure you have fake blood with you so you can apply to the face to make look more realistic. After you have let the silicone dry, start to apply the red, dark red, and black colors onto it and blend to create a ...
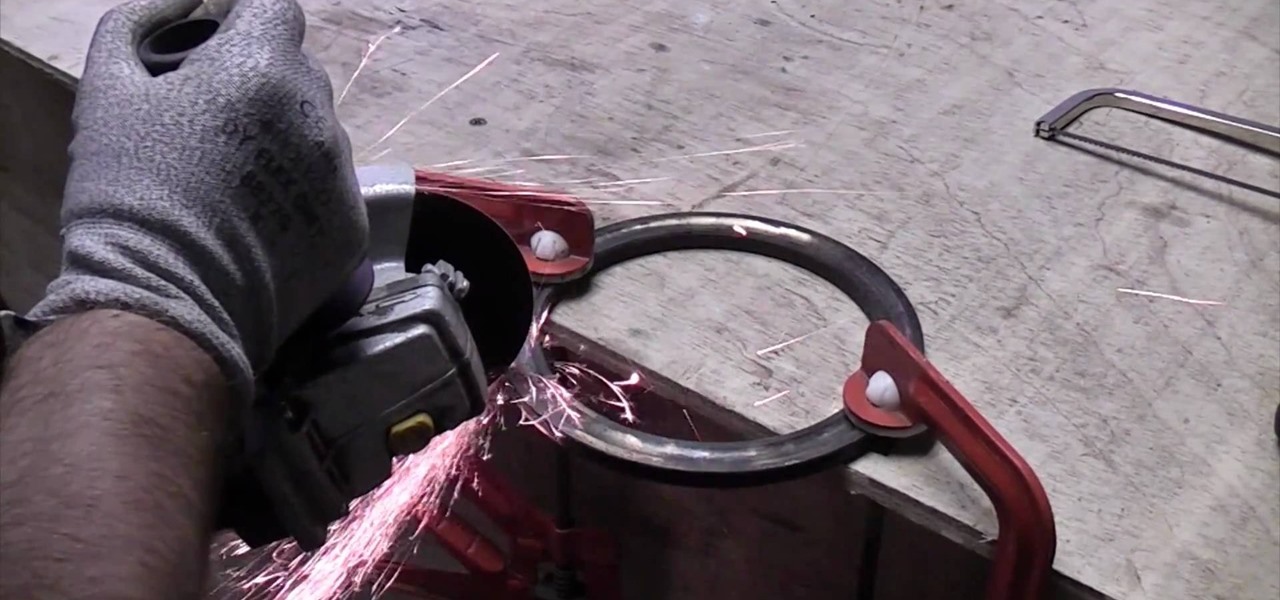
Hardened steel is a very useful material, but working with it is tough because it is nearly impossible to cut with simple tools. What you really need is an angle grinder, and this video will show you how to use one of the powerful power tools to cut a hardened steel ring.
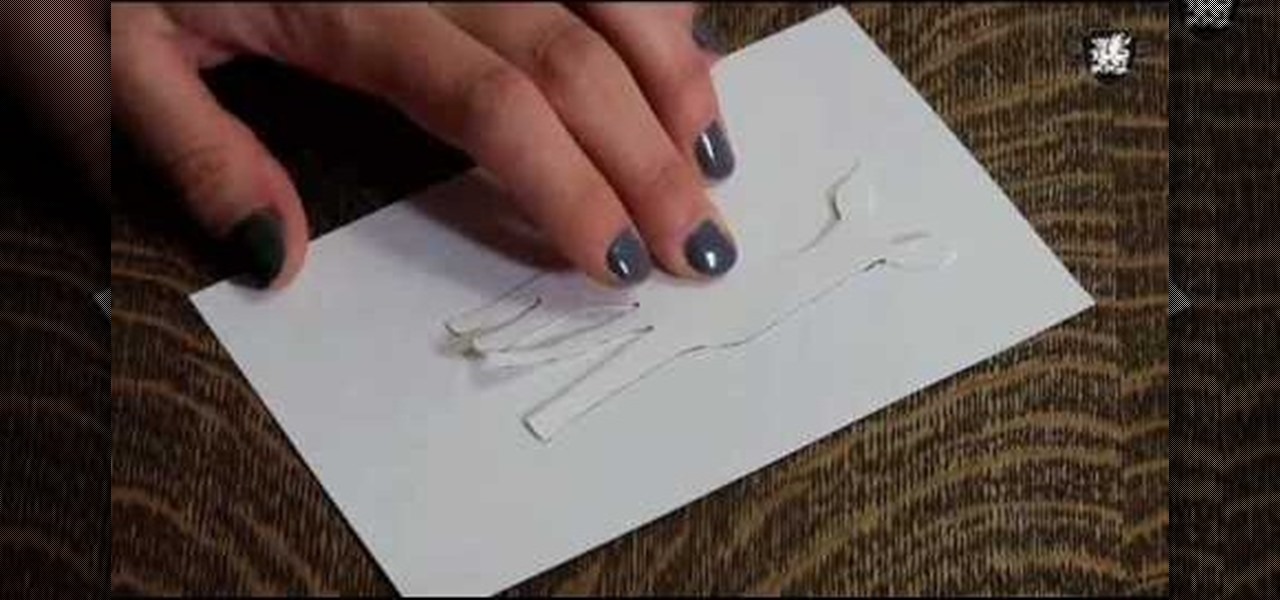
In order to make paper cutting art for your home, you will need: paper, pencils, X-acto knife, card stock, scissors, self-healing cutting mat, poster board, adhesive, and a scanner.
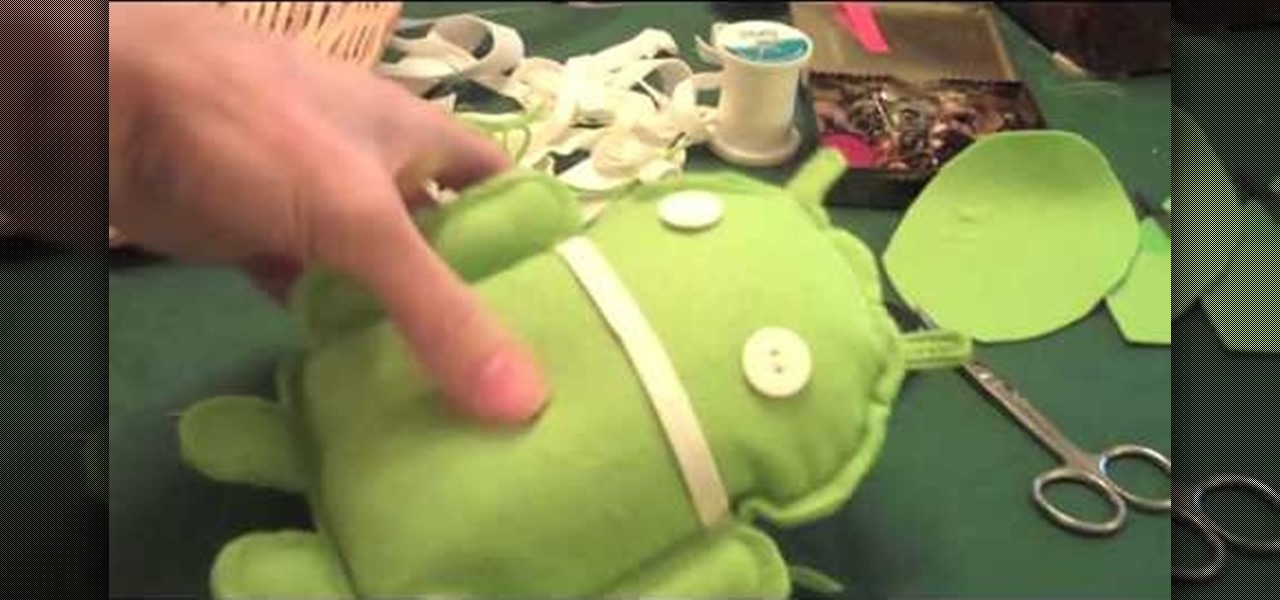
In this tutorial, we learn how to make an Android doll at home. First, print out the Android logo from the internet, making it large enough to make a doll. Now, cut out the print out with scissors cutting out the different sections individually. Next, place the cut outs onto a piece of green felt, then pin it down so it doesn't shift around. Now, cut around the paper so you get the same pattern. After this, cut out all the other parts, making two of the shapes so you have a top and a bottom. ...
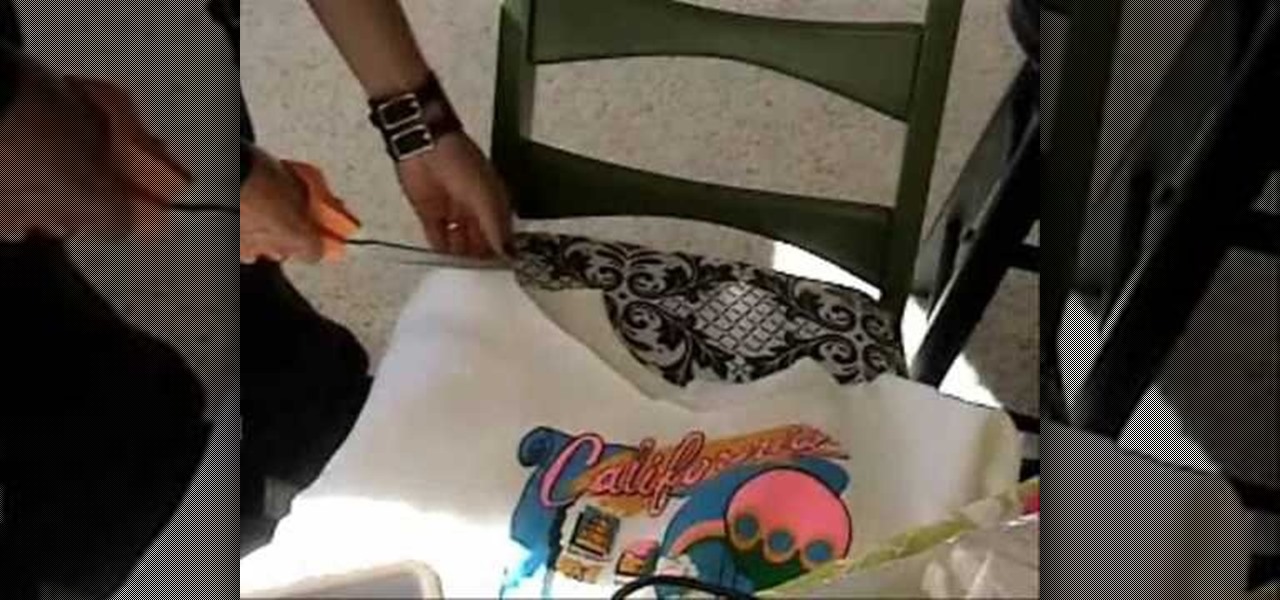
In this video from kandeejohnson we learn how to cut a sports jersey or sweats into trendy summer tops. On a football jersey, she cut the shoulders off, right above the seam. And where there was too much fabric, she folded it and pinned it so it wouldn't hang too low. With a sweatshirt on, look in the mirror and see where you want to cut it. Make snips which will be your mark so you know where to cut. Make a rough cut of it while you are still wearing it. Now take it off and straighten all th...
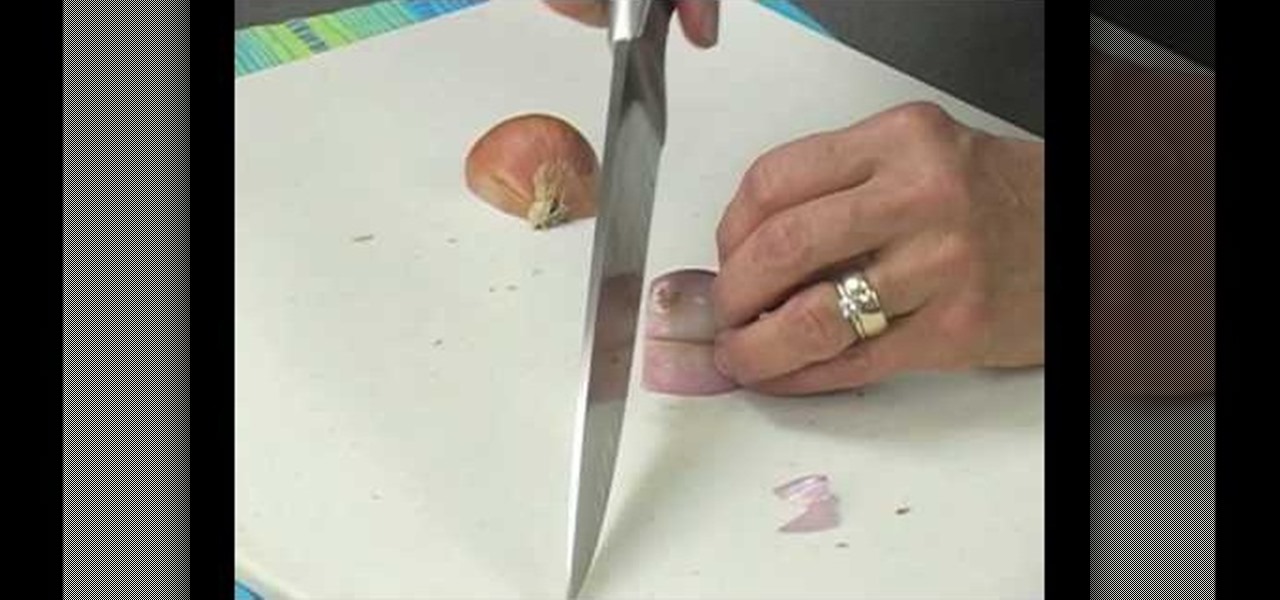
How to buy, store, and chop shallots
Keeping your bangs trimmed can be pricey and time consuming, so why not cut them on your own? With this two part tutorial, learn how to cut your own side swept fringe and improve your style without spending a penny.
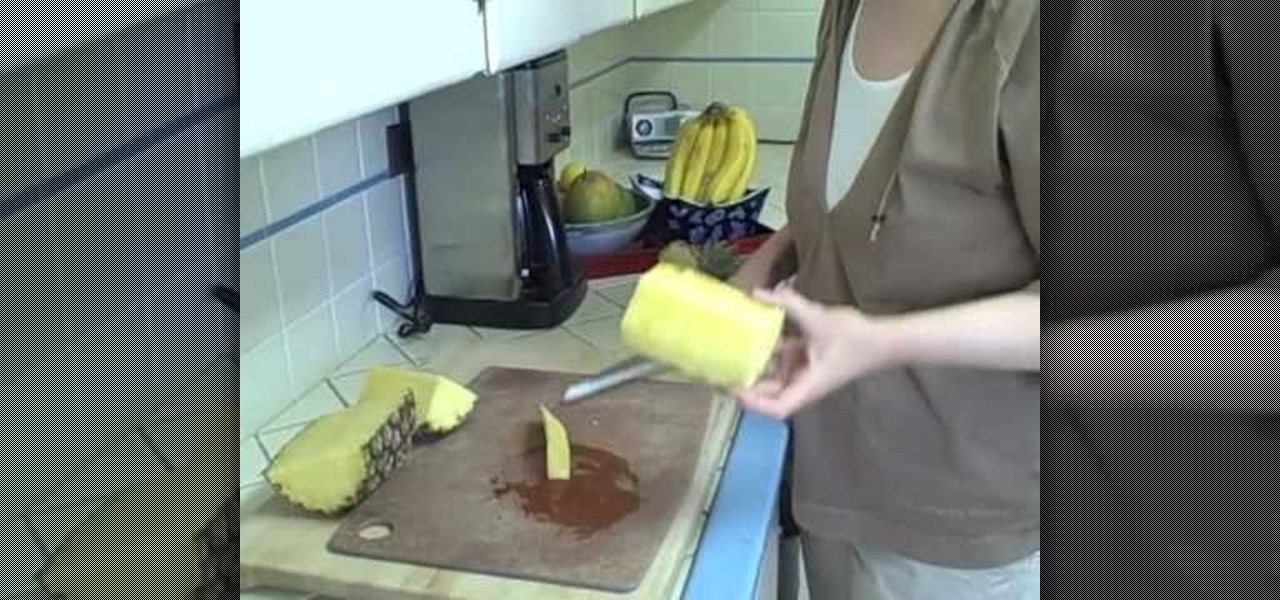
In this video Sue demonstrates how to cut a pineapple quickly and easily .surely this method will help to cut a pineapple without any mess. At first she cuts off the top of the pineapple and then the bottom ,then she places the pineapple standing on its base and bisect into two half at the middle and again she cuts the half piece at the center to get quarters. Then she cuts the quarters core away ,then she begin to slit the fleshy part of the fruit without cutting the skin ,after that she run...
Brian demonstrates a simple method of cutting a pineapple in this entertaining video. He starts reviewing some pineapple research. Pineapples are named after pinecones! Brian also discusses the concerns of eating pineapple for people with certain health conditions. First twist and pull off the flower top of the pineapple. Then cut off the top and bottom of the pineapple so that they are both flat surfaces. Then cut off the skin of the pineapple, retaining as much of the flesh as possible. Use...
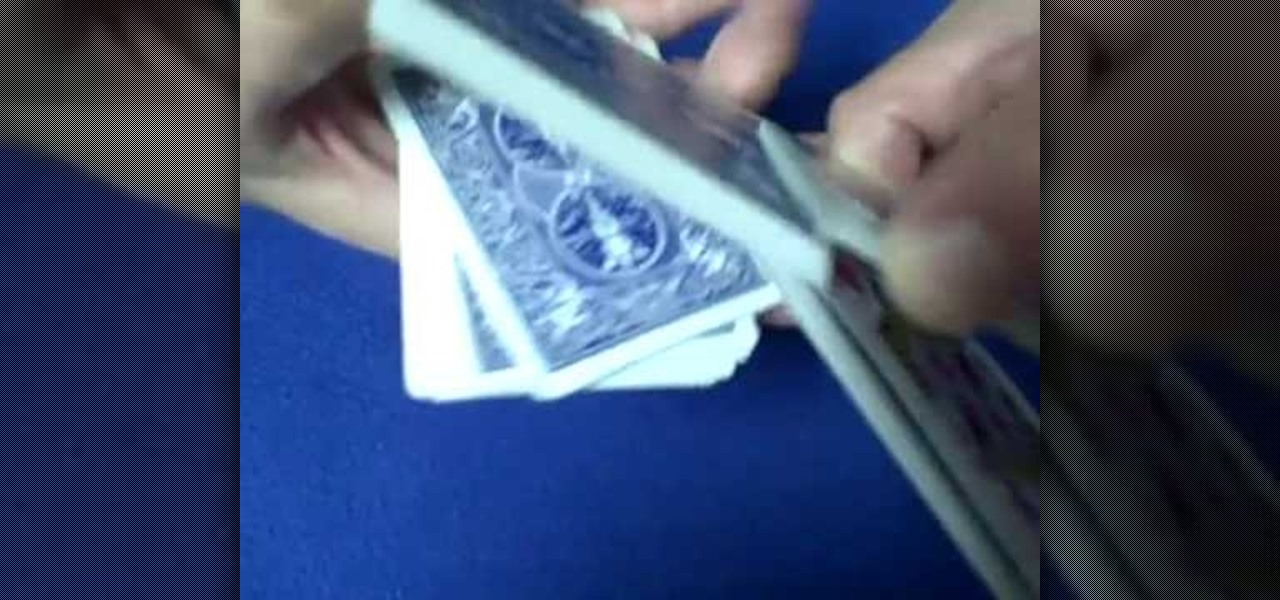
The 190 Helix cut is a pretty cool false cut that you can do with cards. When you cut the cards, the queen of hearts-which was there at the beginning-is somehow still on top after the cards seem to have been sufficiently cut. What you need to do is separate about ten cards from the top with your finger. Lock that in the opposite hand between the forefinger and thumb. Now put your ring finger down and flip the cards back. Do this and continue to rotate the stacks of cards so that the small pil...
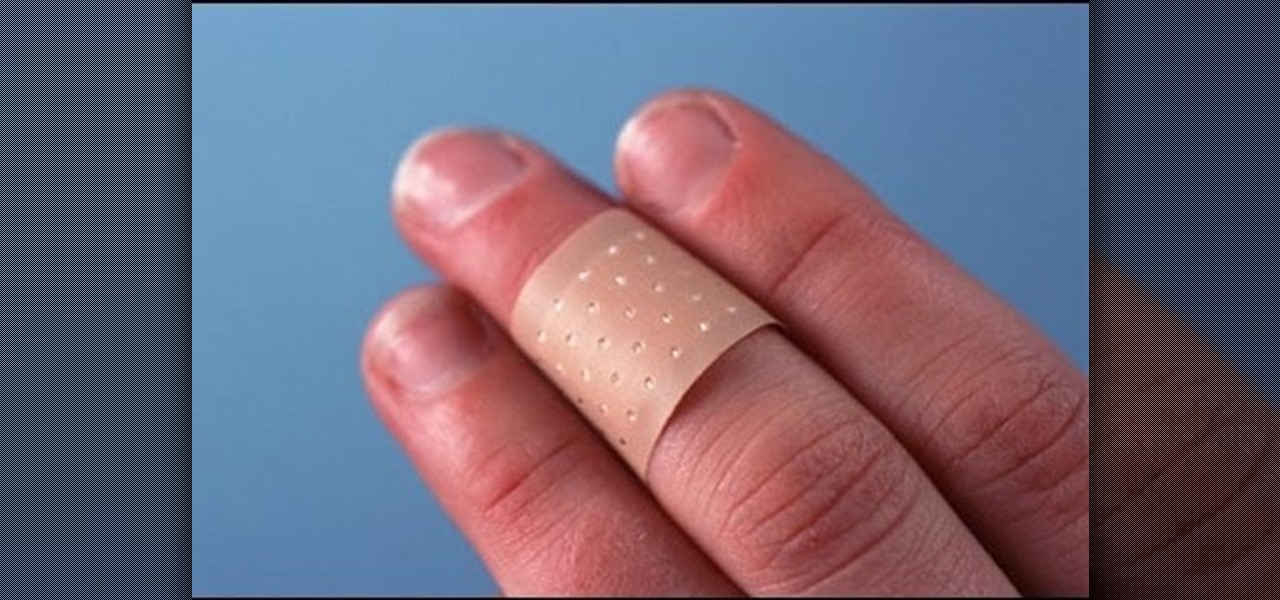
DermTV tells us how to heal abrasions and cuts using antibiotic ointment. To heal abrasions and cuts: Put antibiotic ointments like Bacitracin ointment and Polysporin ointment in abrasions and cuts. Put Bacitracin ointment or Polysporin ointment every 3 - 4 hours and cover with a band-aid. Why use Bacitracin ointment and Polysporin ointment? Bacitracin ointment and Polysporin ointment keep the whole environment of your abrasions and cuts moist. And once you've put antibiotic on your cut then ...
Check out this short video tutorial from Rouxbe on how to cut fancy citrus fruit wedges. This video will support your cooking experience and will provide you with additional relevant information during your culinary time cutting citrus wedges.
Learn how to dice any kind of onion or shallot. First cut the ends off of the onion, being sure to remove only a little bit of the root end. This is so the onion stays together when chopping. Make vertical cuts in the onion starting from the opposite end of the core. Then make horizontal cuts only cutting 3/4 of the way through. Then cut across to dice the onion.