In this tutorial, we learn how to decorate your jeans with embroidery. First, you will lay your jeans flat on a surface, then trace out the space you want to make on a piece of paper and cut it out. After this, place the paper on an embroidery sheet to transfer the design. When finished, cut the embroidery out. After this, use a needle and the same color thread as the design to sew it onto the desired spot. When you are finished, you will have a unique embroidery that you designed! This can b...

In this tutorial, we learn how to make a Victorian hat from a lampshade with Gwen. You will need: a lampshade, scissors, acrylic paint, paint brushes, glue, a compass, and cardboard. First, take the compass and make the circle as wide as you want your hat to be, then trace your lampshade on the cardboard. Now place the small end of the lampshade around the large circle that you drew. Next, cut these circles out of the cardboard. Leave extra room, don't cut it out exactly on the line. When fin...
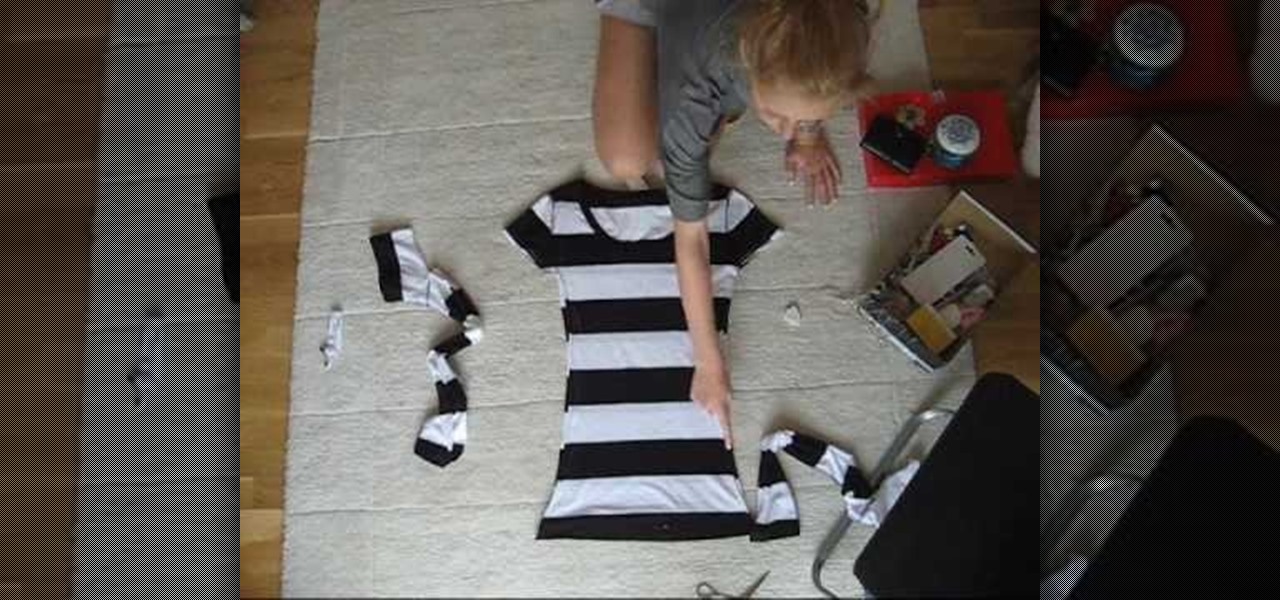
In this tutorial, we learn how to make a t-shirt. First, measure around your waist and your bust, as well as around the hips. Now, take your old boxy t-shirt and flip it inside out. Now, place your measuring tape on the shirt and pin it where your measurements are. Draw out your measurements so you know where to cut. Once you have the new shirt drawn out, Cut out an inch out of the lines and toss the rest of the cloth in the trash. After this, sew the shirt on all the open sides. To finish, t...

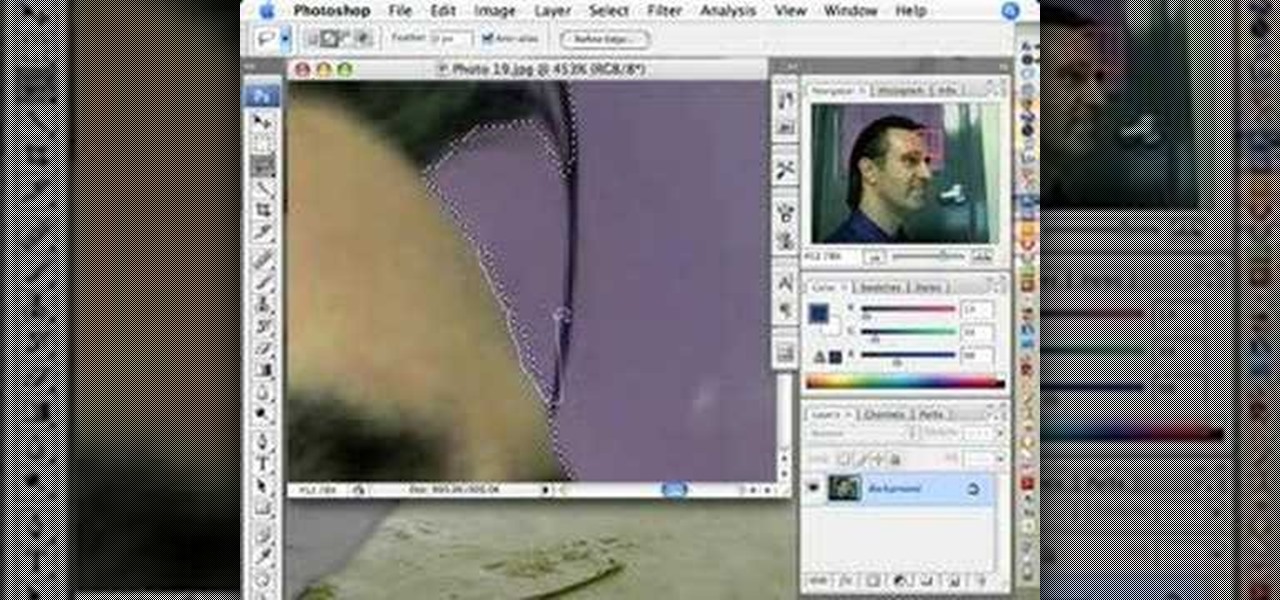
This video tutorial is in the Software category which will show you how to "Photoshop' someone into an image. It is like cutting and pasting one image over another. First open both the images. Ctrl and click the person's image that you want to move over. Drag the cut out image over the other picture where you want to superimpose it. Then click "edit', resize, rotate and position the image where you desire. Then go to "Image Adjustments' and adjust the brightness and contrast to match with the...
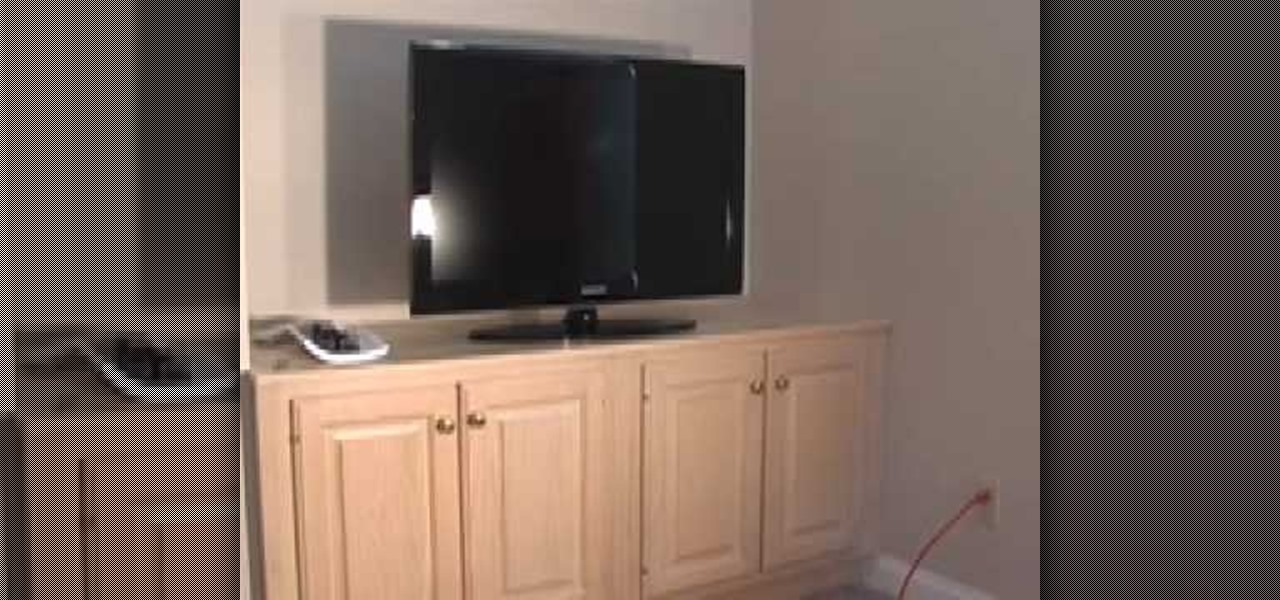
Bob Schmidt tells us how to set up cabinets for an entertainment center in this tutorial. First, make sure you set base cabinets next to your wires and put a hole in the back of them so you can cover the wires up, but still have easy access to them. You can easily make these holes by using a small saw to cut them out after measuring the correct sizes. Next, Set your counters so they fit perfectly inside of your wall space. If you need to, cut out your panels and replace with mesh ones that le...
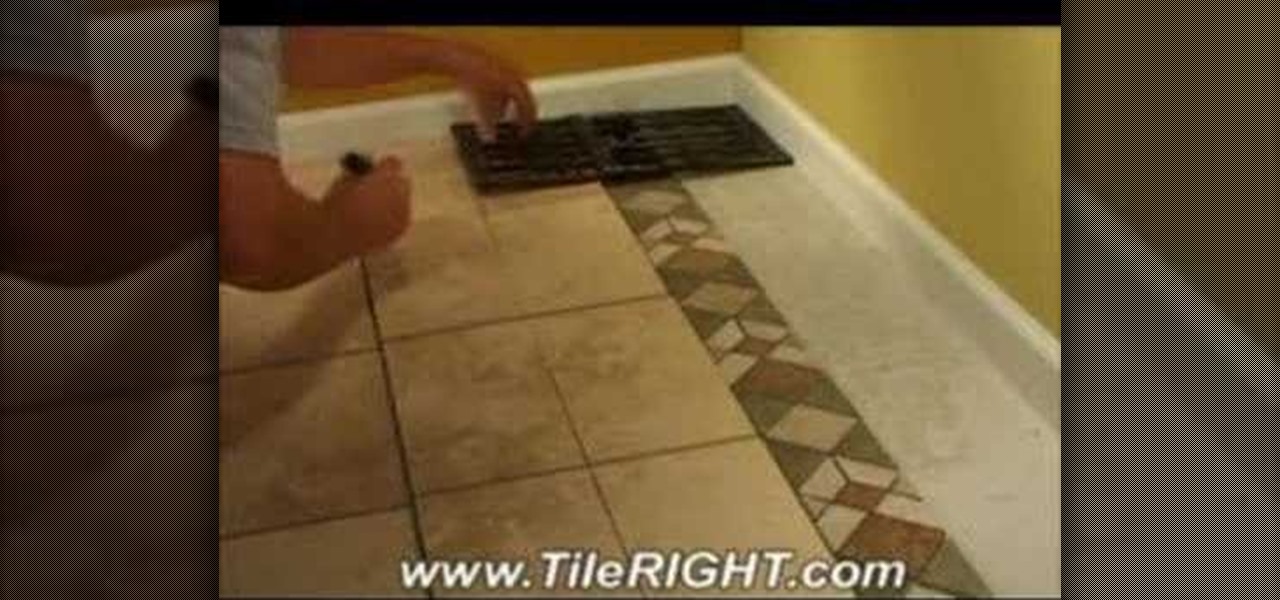
In this Home & Garden video tutorial you will learn how to install a decorative tile border. Decorative borders add a beautiful accent to any room. Start by setting the "measure right pro' tool. Slide the tool open to cover the entire tile and the width of the border. Next move out one eighth for the wall space and lock the tool. Now place the fill tiles on top of the set tiles. Then you slide the "measure right pro' along the wall and mark the tiles. Write the sequence numbers on the tiles a...

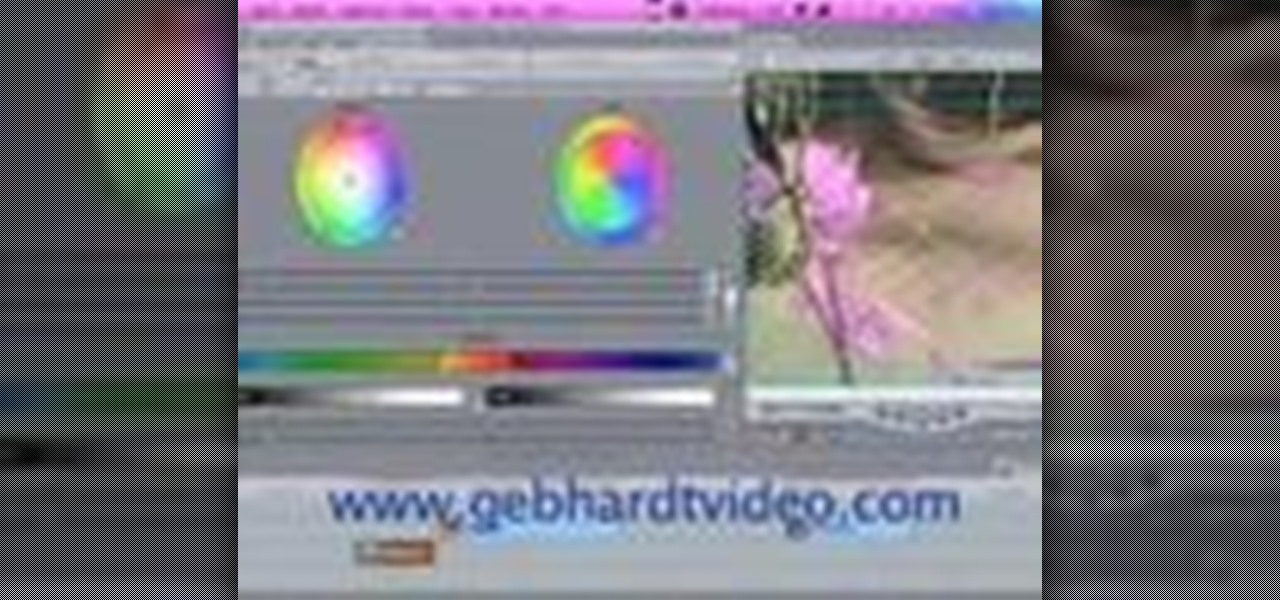
This video tutorial is in the Software category which will show you how to color balance in Final Cut Pro. Open a video clip in which you want to do color balance. Double click on it, click effects > video filters > color correction > color corrector 3-way. Click the "color corrector 3-way' tab and find something in the video that is supposed to be white. In the color tray you will see 'whites' written. Now click the eye dropper tool and just click the white object, and you have done the colo...

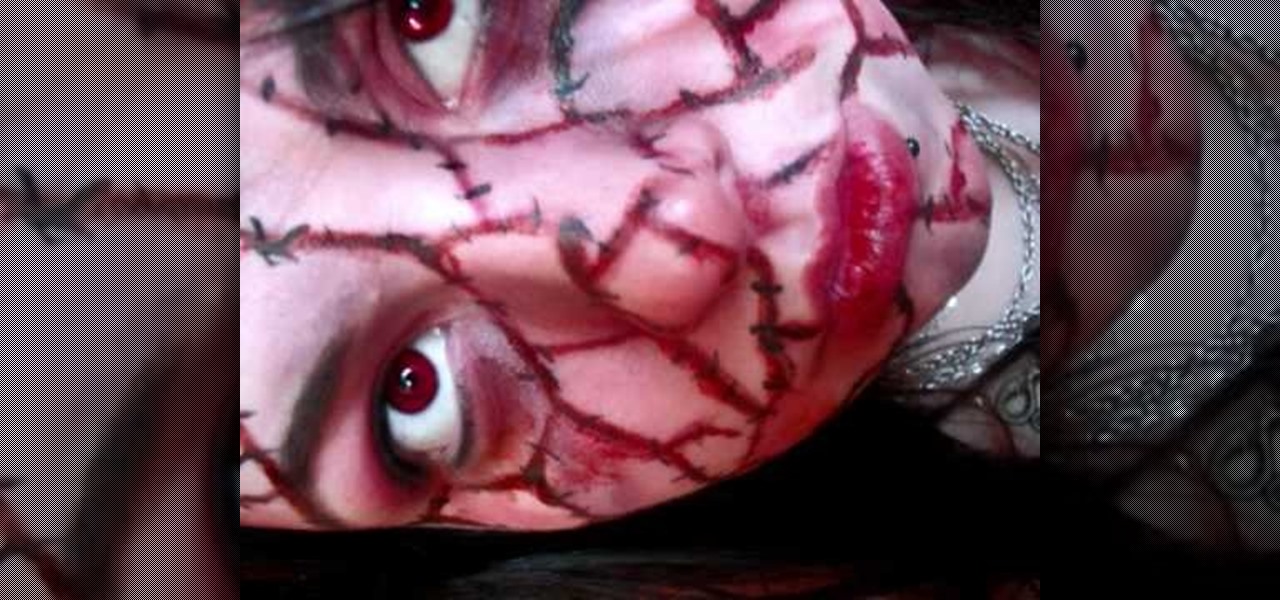
In order to do a bloody makeup look for Halloween, you will need the following: deep red blush, deep shadow Mac paints, eyeshadow, contour shadows, theatre blood, and eyeliner.

In this video, we learn how to butcher a pig with Chef Dave. From the top, you will see the pork shoulder, the ribs, then the ham, the loin, the belly, lard, kidney, and then the leg of pork. If you touch the fat on this pig, you will notice that the fat is very firm, not soft. Usually, the head does not come with the pig because it's not in high demand and butcher's don't want to pay for something that the customers don't want. There is also a kidney that will come with the pig, but there wi...

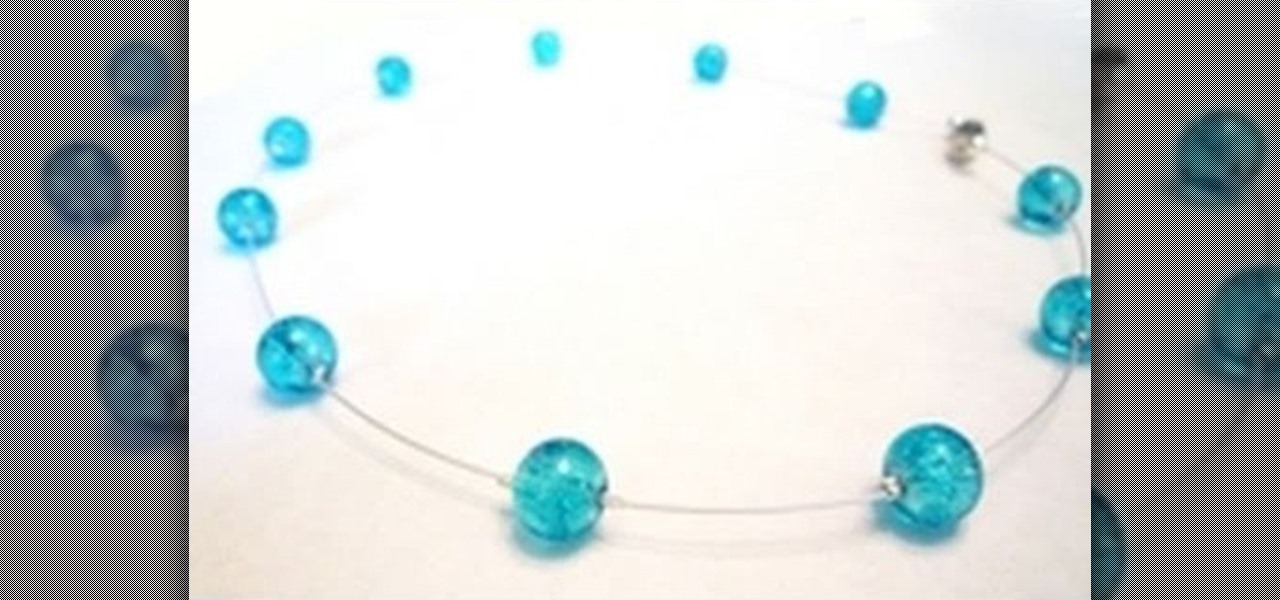
In this tutorial, we learn how to make a floating illusion style necklace. You will need: beading wire, crimping pliers, wire cutters, beads (your choice), crimp beads, crimp covers (3mm), and a clasp (barrel clasp). First, cut your beading wire to the length you want your necklace, add 3-4 extra inches. Next, space your beads out on a beading board evenly, 1 1/2" apart. Now string a crimp bead onto your wire and take the end of the wire and string it through the crimp bead on the opposite si...

In order to make trendy hair bows for your hair, you will need the following: ribbon, scissors, a hot glue gun, and hair clips or bobby pins.

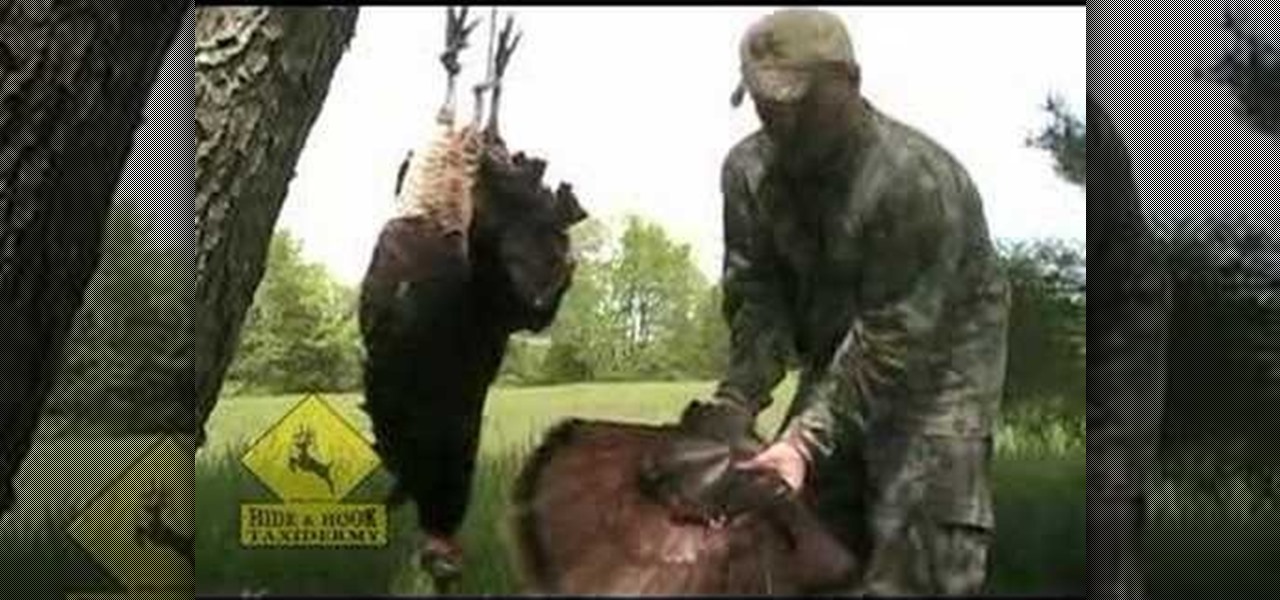
In this tutorial, we learn how to remove a turkey tail fan. Get the tail fan and spread it out, then hold the secondary tail fans and cut the tail fans out. You will want to cut at the base of the turkey where the but is, skinning a little bit to get it out. The removal should be pretty quick and simple. Before you do this, you should prepare the turkey by hanging it upside down on a tree. Keep the tail fan in borax powder until you're able to properly store it to make a trophy out of it. Thi...

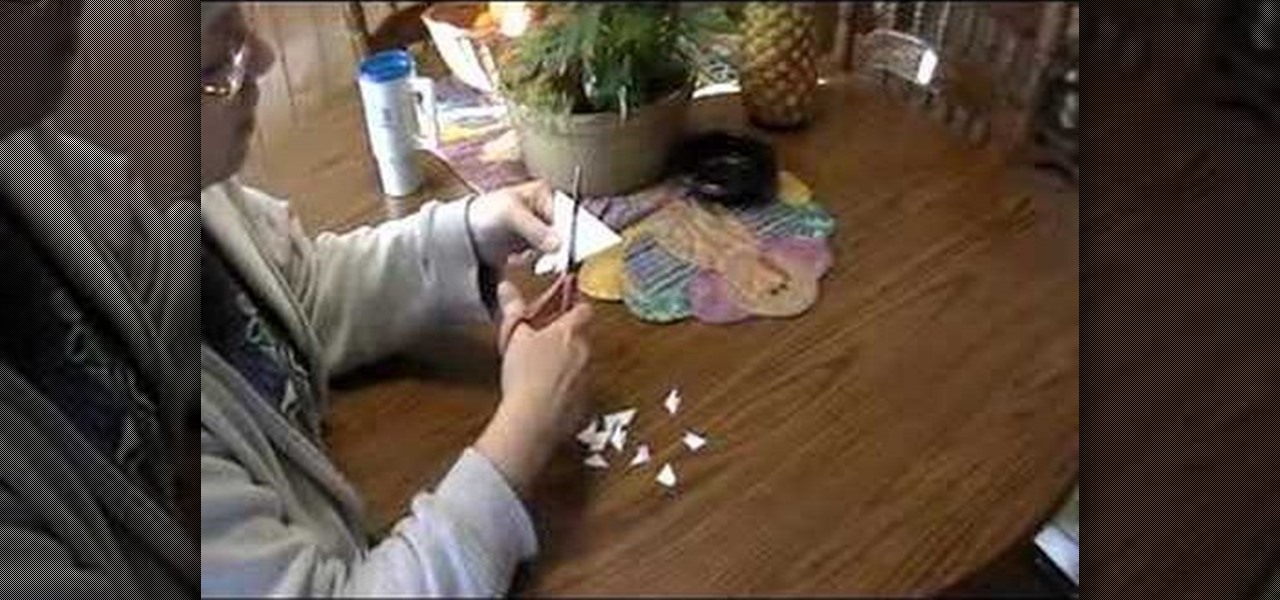
In this tutorial, we learn how to fold a Christmas tree. First, start with a square paper and fold it in half, then open it and fold it corner to corner. Open the paper again, the turn it over and fold it side to side. Open it once more and fold again side to side. The paper will not automatically fall into the shaped creases and you will have four flaps. Take your finger inside and flatten all the flaps. You should have four flaps on each side and then you can cut the bottom to form a trunk ...

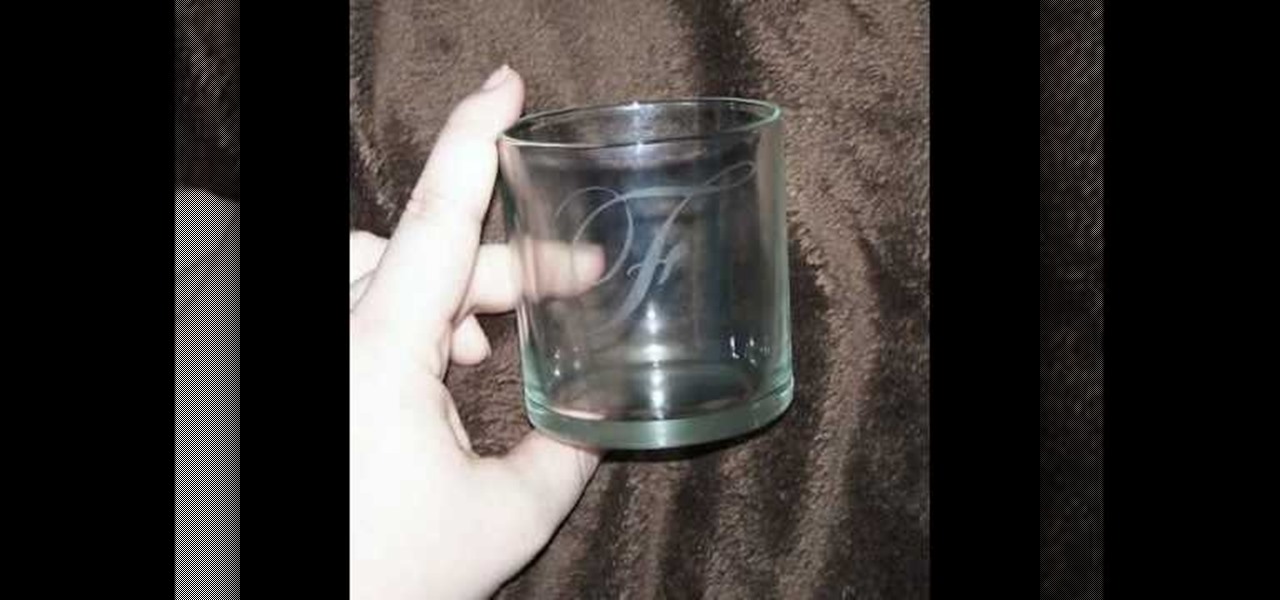
In this video tutorial, viewers learn how to etch glass in 5 minutes. The materials needed for his procedure are: contact paper, Armour Etch and a paintbrush, glass and a sink. Begin by cutting the contact paper face up on a circuit mat. Cut it on medium speed and pressure. Then put the contact paper on glass. Work carefully to prevent any wrinkles and bubbles in the design. Now put the etching cream on in a dabbing motion. The etching cream will not run into areas that are not stuck down. Fi...

In this tutorial, we learn how to make a tissue paper flower. You will need: pipe cleaners, scissors, and tissue paper (three different colors). First, twist three pipe cleaners together to make a stem. Next, cut your tissue papers all into the same size, mix colors to get a prettier flower. Now, layer the sheet and fold the papers as many times as possible. Cut the ends in a triangle shape, then spread the papers again and fold up again in the alternate direction. Now using your papers and p...

In this video, we learn how to get rid of acne by eliminating fruit. If you notice your skin breaking out and you have a lot of fruit, try cutting it out of your diet to see if that is what is causing your breakouts. Eliminate different foods from your diet to see what is not agreeing with your body. Also, try cutting out all the sugar in your diet, because this could be causing breakouts to occur on your breakouts on your face as well. This could also be caused by allergic reactions with med...

In this tutorial, we learn how to make a fall wreath for a door. First, find a basic wreath that has no decorations on it. Next, add leaves onto the wreath, around the entire circle, but don't fill it in the entire way. Now, add on fall leaves to the wreath with a hot glue gun or with pins if that is easier for you. If you need to cut the flowers, cut them from the base not from the stem, or you will have to purchase new flowers. After this, the final step is to add some fall flowers that mat...

In this Software video tutorial you will learn how to use tool shortcuts in Final Cut Pro. To change opacity and the volume limit, click the little mountain button on the bottom and you will have two lines in the clip representing audio lines of two mono tracks. And you also have opacity located above the audio lines. With the help of the slide bar you can set the opacity. To get the pen tool press 'P'. To get out of any tool, press 'A'. To delete the entire audio track, select it, lock, dele...

In order to make furniture out of old cardboard boxes, you will need cardboard boxes, rods, nuts, and washers.

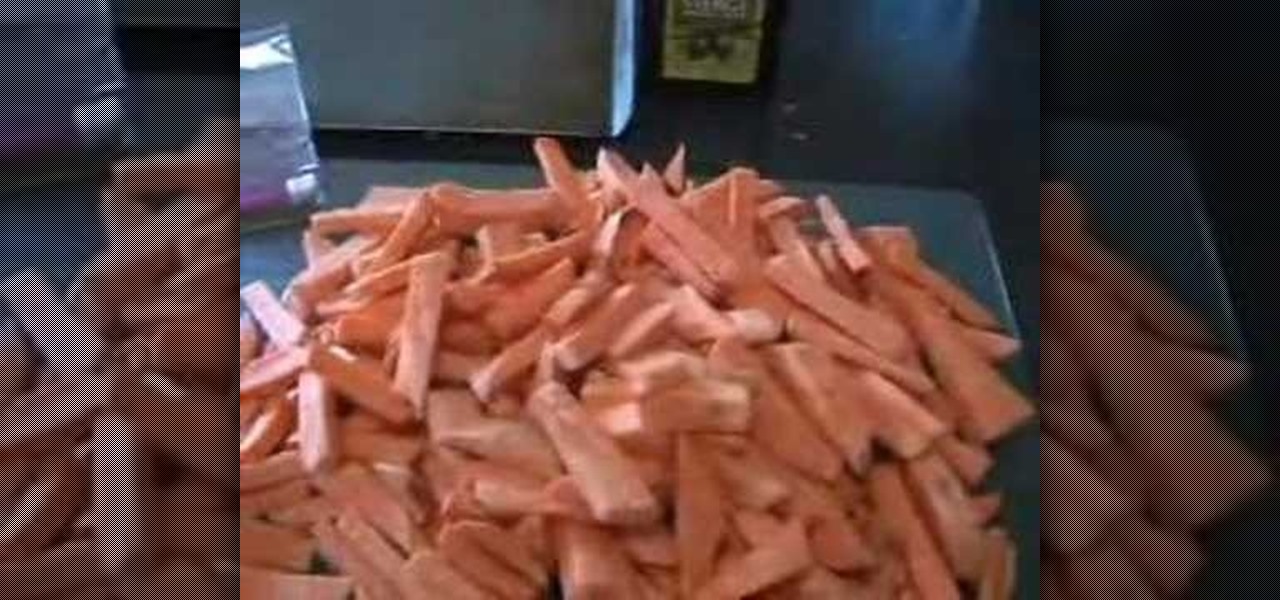
In order to prepare Sweet Potato French Fries, you will need the following: fresh sweet potatoes, olive oil, black pepper, time, garlic salt, a cookie sheet, and a Ziploc bag.

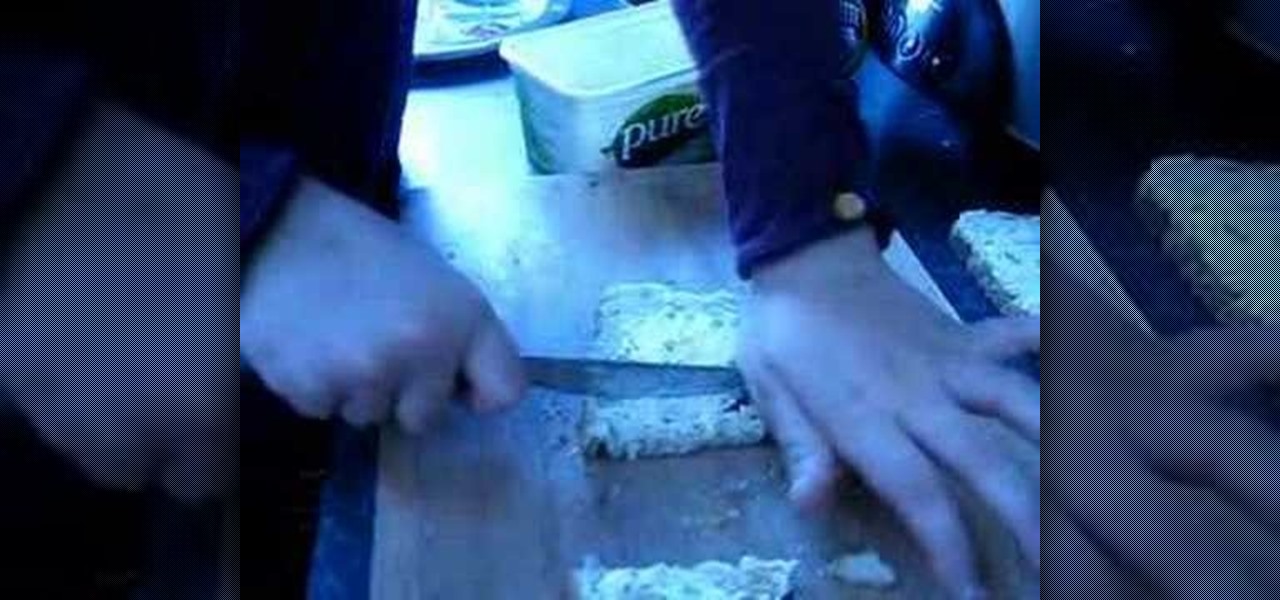
In this tutorial, Lucy shows us how to make buttered soldiers with toast. The ingredients you will need for this are: toast, butter or margarine, knife, and fried or boiled egg. After you have toasted your bread, you will want to butter your toast to your liking, adding as much as you need. After this, cut your toast into strips, until you have cut the entire piece of toast up into pieces. Next, place the toast strips (buttered soldiers) onto a plate and place the boiled or fried egg next to ...

There's no getting around it: if you want to get good at playing the ukulele or any other instrument, you'll need to practice. Fortunately, the Internet is awash in free uke lessons, like this one from Ukulele Live, which make the task not only easy but fun. This clip, in particular, demonstrates how to perform hammer-ons and pull-offs (hammers-on and pulss-off for the highfalutin) on the uke.

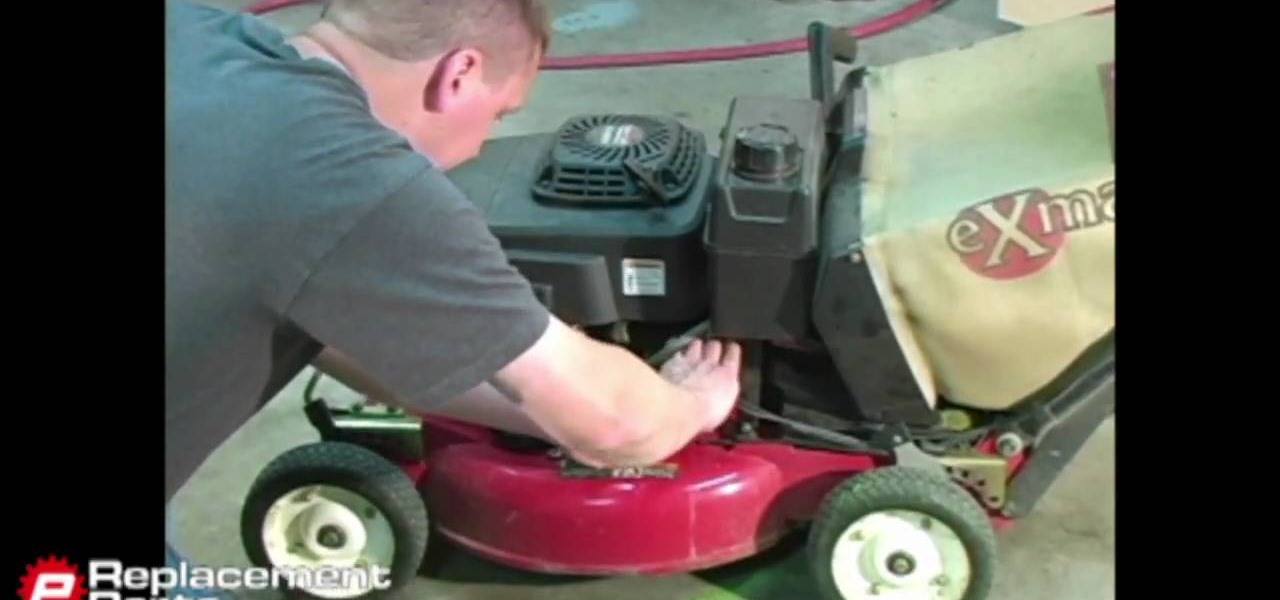
For some people, Spring and Summer, are two of the most busiest times for a cutting grass. The best tool to use of course, the lawn mower. These useful machines make cutting so much easier and keep your yard free of any mulch. But one of the importat aspect of owning a lawn mower, is keeping it maintained. So in this tutorial, you'll find out how to change the lawn mower oil easily. This should be done about once a year. So good luck and enjoy!

Being able to stop a mountain bike abruptly is crucial to your continued survival if you ride. SRAM Avid Juicy's are a popular type of high-performance mountain bike brakes. This video will teach you how to install and cut said brakes on your bike, as long as you have the proper tools. It features many safety tips for keeping your corrosive brake fluid from damaging all sorts of other things, from your bike's paint to your eyes.

Getting the perfect shot is difficult, so when you finally get that perfect picture of yourself, you want to enhance it as much as possible. But if this perfect picture took place in a humdrum location like the bathroom or your living room and you want to glorify your face even more by surrounding it with, say, an island paradise, you can transplant your head (and body) using Photoshop.

This two-part video demonstrates the ancient Chinese book binding technique called stab binding. If you do a lot of calligraphy, you can use this technique to put all of your sheets together into a really attractive and traditional book. Make sure you line the pages up correctly!

It's important when dealing with meat, that you know everything about it. From picking the meat at the store, to preparing it and finally eating it meat can be perfectly made as long as the chef knows what they're doing. If they don't it can be seasoned wrong and the true potential and taste can never be reached. This tutorial will focus on the cutting aspect of smoked brisket. Find out how to do so in the video above. Enjoy!

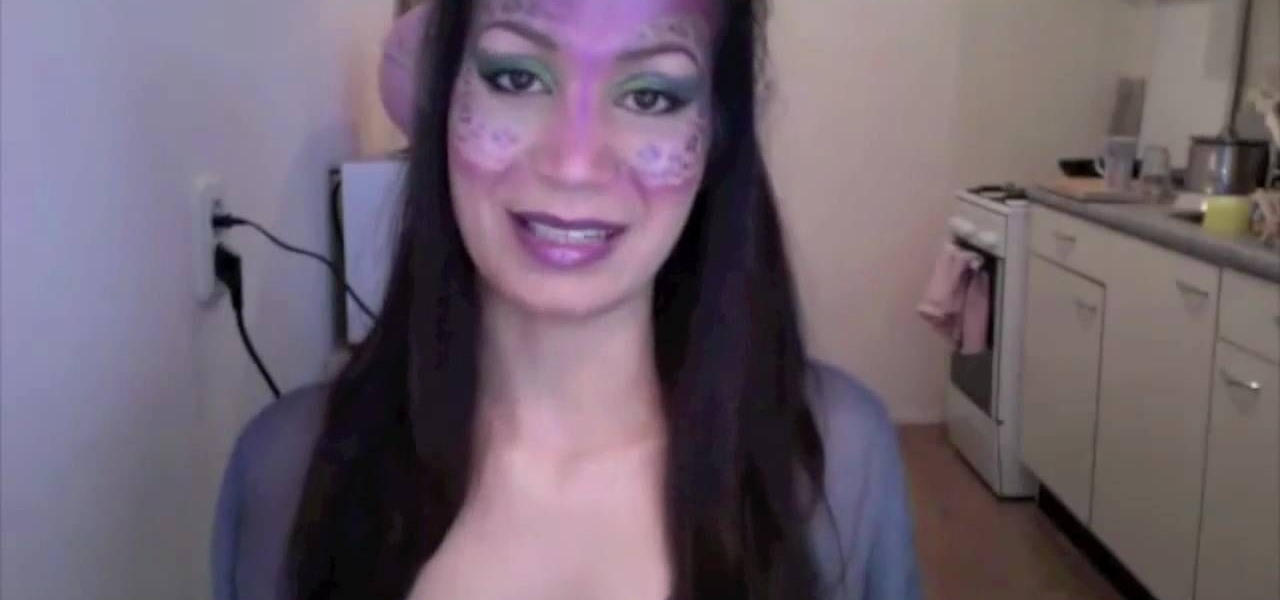
This video demonstrates how to create a fancy elf look using simple makeup techniques. This look is complimented by a pair of elf ears that can be purchased on the web. To get this look you should colors that are inspired by nature such as deep purples and greens. To create the design, use paper coasters that will provide the stencil for your look. First, lightly apply moss green eyeshadow pencil as a base on the cheek bone, on the temple, and above the eyebrow. Use your finger to blend the p...

This is a video produced by KazzieHeart on Youtube explaining how to make a puffy hairbow from a t-shirt. Choose a t-shirt and cut two equal-sized rectangles approximately 8"X4". Placing the two pieces facing inward, three sides are sewn together. It is then turned right side out and evenly stuffed with soft stuffing. The end of the remaining side is folded inward and sewn shut, forming a small pillow. A smaller rectangle approximately 5"X2" is cut from the same fabric. The pillow is sewn thr...

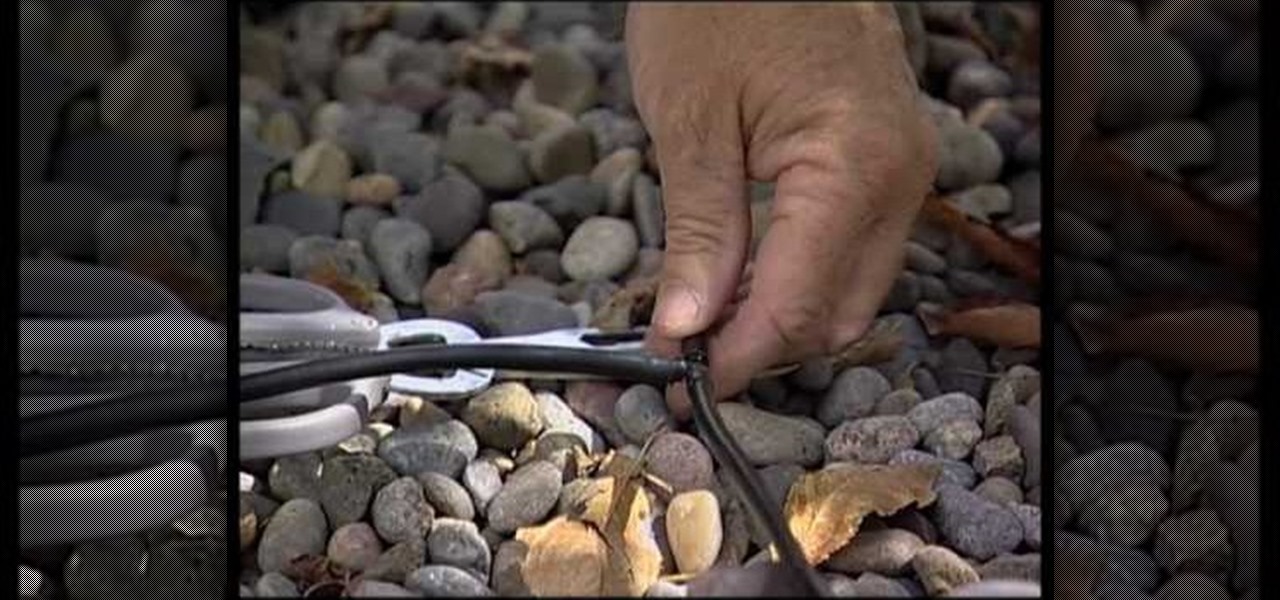
A drip irrigation line is placed around the base of a tree in a ring. A section of the ring is cut open and made into a T shape with the addition of another piece of drip emmiter wire going from the ring outwards. The next end of the additional wire is bound to the ground with a pin. An additional wire is placed at the irrigation ring and the opposing end bent,covered and also pinned outward from the ring. Holes are pierced into the plastic bedding of gravels on the ground to allow water to p...

In this video we learn how to make a puff-pastry cornucopia. This is a great centerpiece for Thanksgiving and can be used to hold different foods such as buiscuts or finger sandwiches. First we need to form the mold for the cornucopia. You take some tin foil and make about 13-16 balls. These are spacers for inside the mold. Then you cut a piece of tin foil about 30" long. You place your balls in the middle and wrap your foil up over. Start to form your cornucopia the way you like. Try to make...

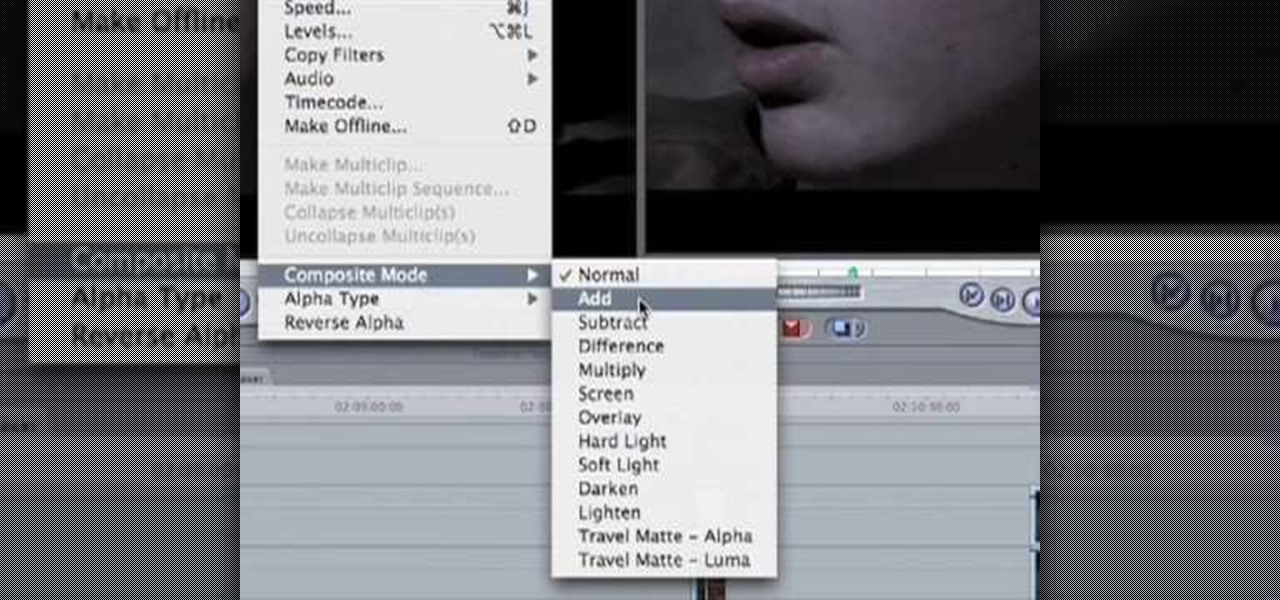
In this how to video, you will learn how to create a film look to your videos in Final Cut Pro. This effect will create a light and warm tone to the clip. First, take the original clip and copy and paste it. Grab it and place it on top of the original clip. Next, make sure that the top clip is selected and click modify, composite mode, and add. This will bring up the highlights in the video. Go to effects, video filters, and Gaussian blur. Go to the settings increase the radius of the blur. Y...

This video tells us to measure a 1:12 dollhouse polymer clay plate. You can use a 'MINI MAGLITE FLASHLIGHT' to cut out the clay from some clay that has been rolled out on a platform. Roll the toothpaste cap along the edges of the circular piece of clay. The center of the plate is made by pressing it in the center with a small bottle or the end of a pencil which has a flat base. Cut a smaller circle of clay and put it below the plate to form its base. Press the center of the plate again to sti...

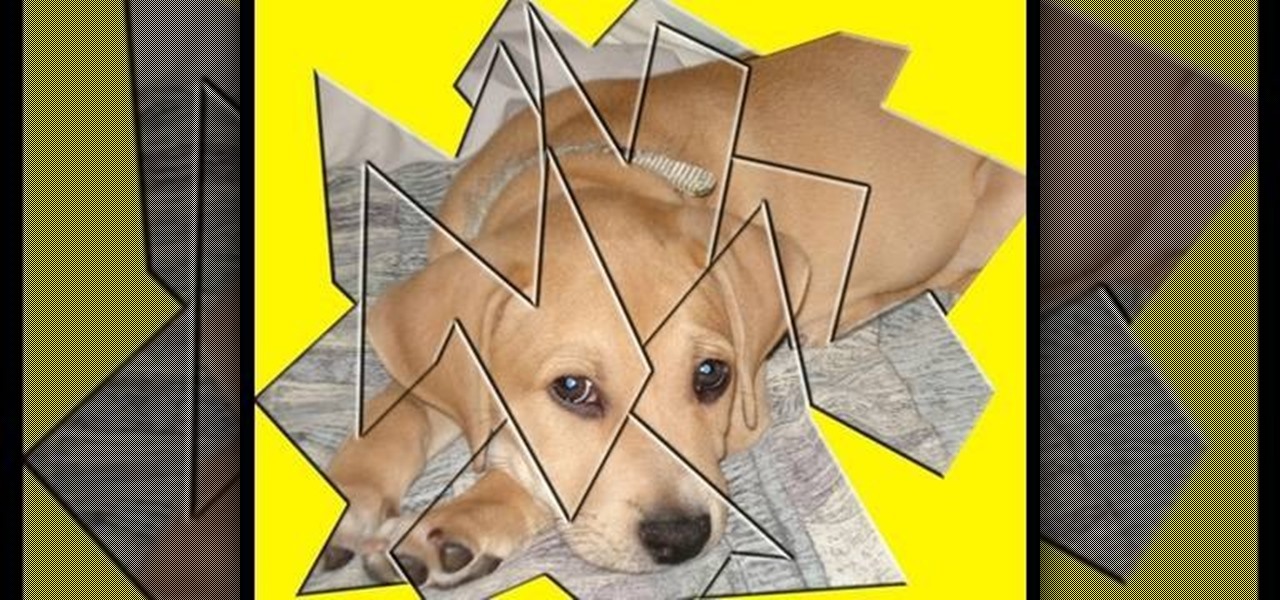
This video demonstrates how to make a broken mirror effect using Photoshop.

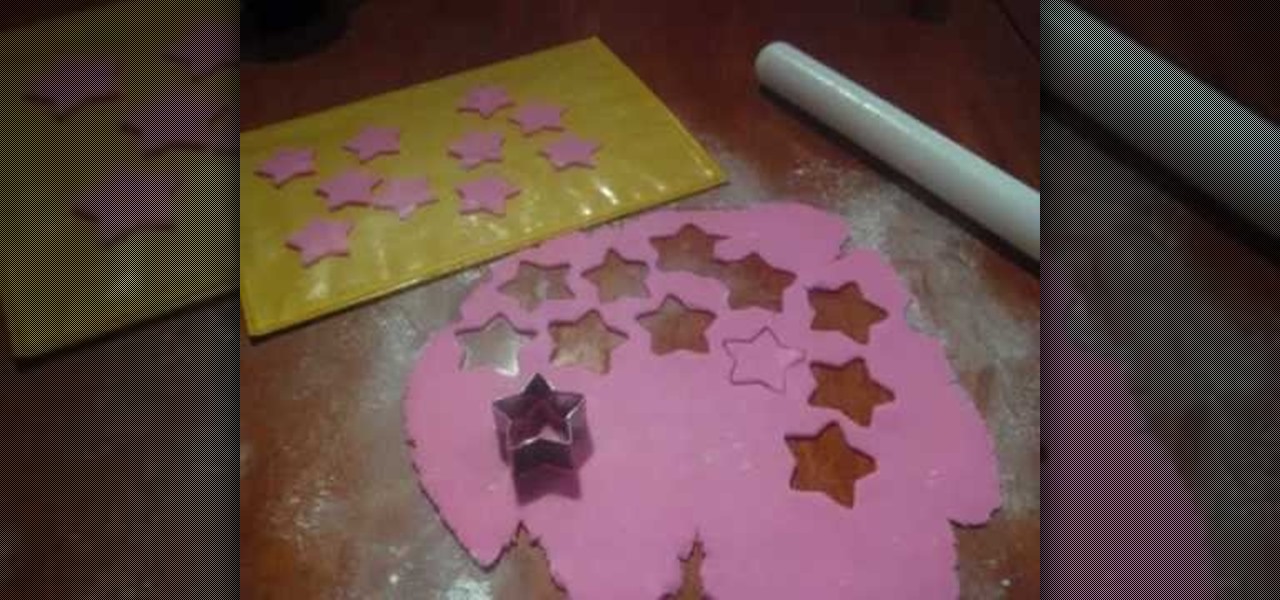
In order to make Shooting Stars for Cakes made from Fondant Icing, you will need the following ingredients and supplies: fondant cookie cutters, wire cutters, gumpaste, a pastry brush, icing spatula, glue (or gumpaste with water), a paint brush, a fondant rolling pin, powdered sugar, floral wire, and a cookie sheet lined with wax paper.

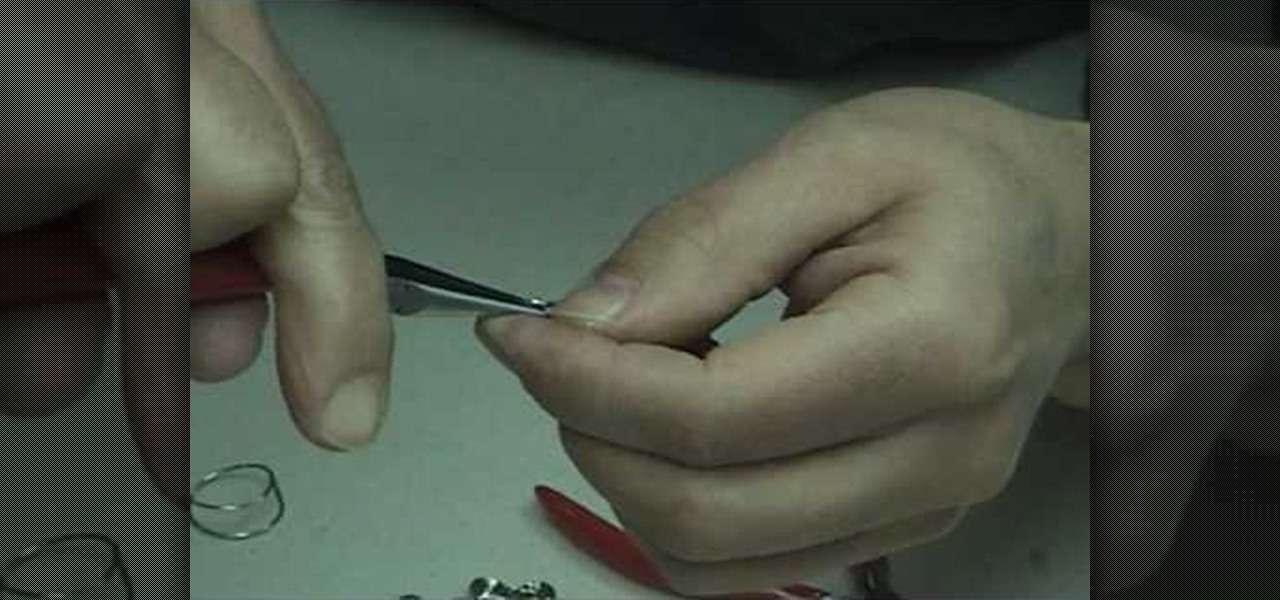
The video describes to make wire hoop earrings. Take a steel metal of anything and take a eighteen gauge wire and wrap a few length of it around the taken piece of metal which is cylindrical in shape. Cut the wire at the desired part and remove from metal.The wire takes the shape of a standard spring. Again cut it into two or three pieces. Hold the wire again and straighten the edge and after that once again bend it down holding at the place where bent begins. Put some on it to design and the...

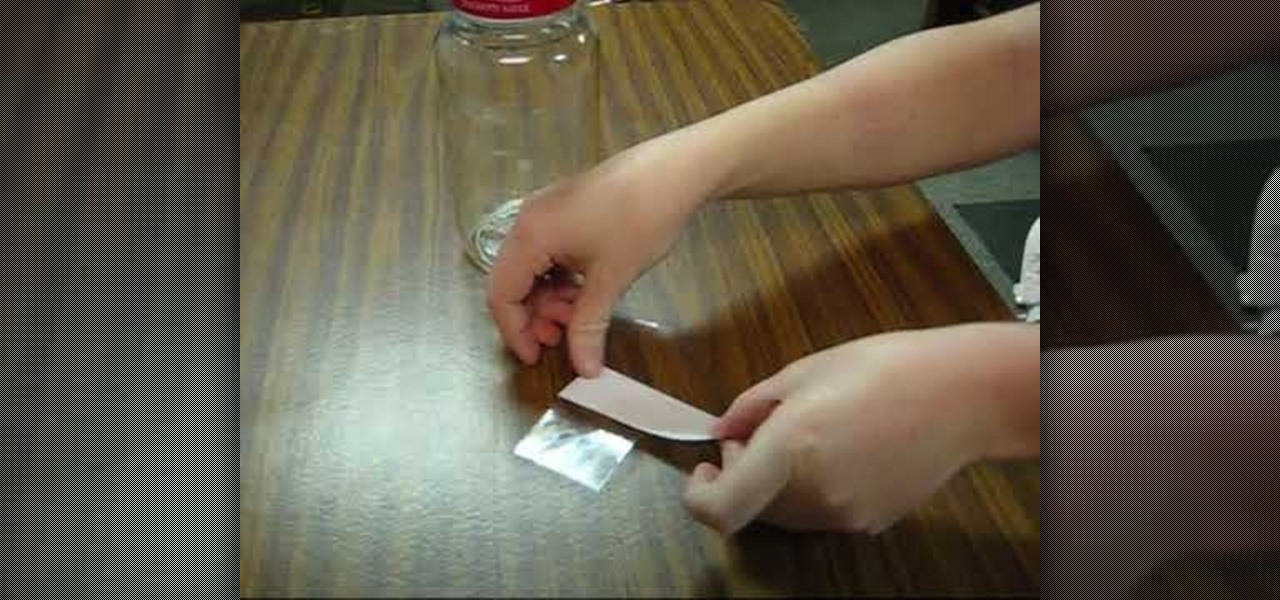
In this how to video, you will learn how to build your very own rain gauge. You will need tape, scissors, rain gauge ruler, and a jar. First, go to the website shown and print and cut out the ruler on the screen. Next, cut the tape strips. You will need them to be about 5 inches in length. Next, attach the rain gauge ruler to the jar. You will do this by placing the ruler on the tape and place the ruler on the jar. Make sure the ruler is aligned with the bottom edge of the jar. Take the secon...

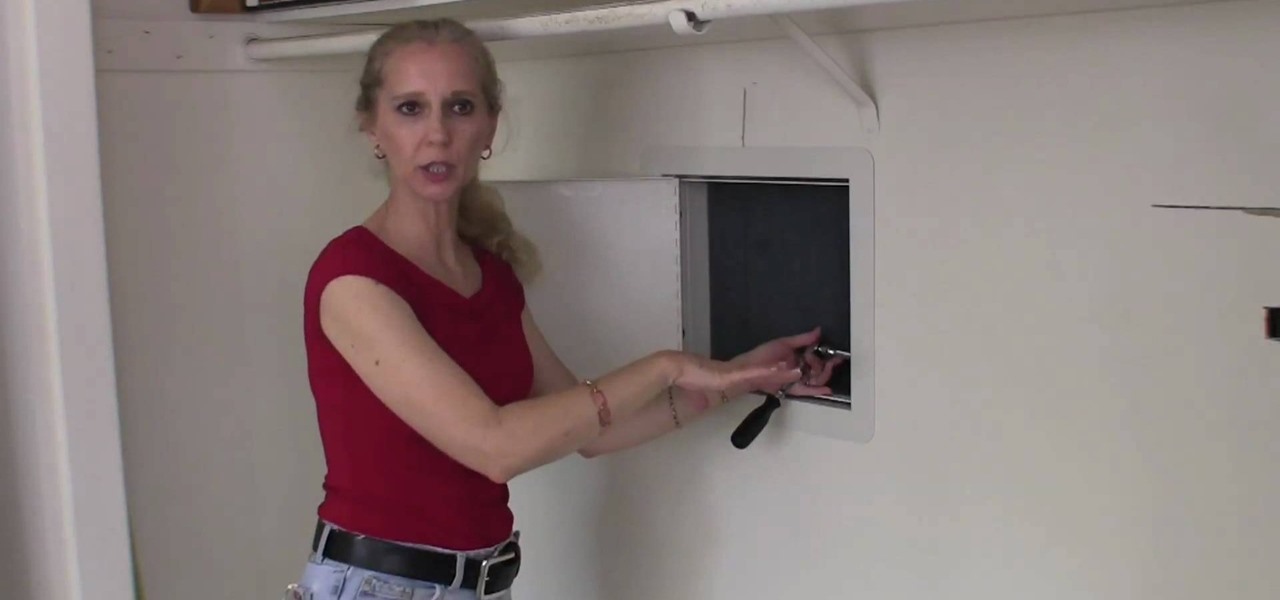
Mary from VLine industries shows up how to Install a wall safe into a closet wall. For this example, she used a DOJ approved Wall Safe from VLine. The first step to the installation is to find where the studs are in the wall and make sure there is no electrical or plumbing behind the wall. Next, after locating the studs with a stud finder or by knocking on the wall, you measure and mark the space you will need for the wall safe. Use your dry wall knife to cut the space for the wall safe out b...

In this Arts & Crafts video tutorial you will learn how to create a box to hold a mini album or small cards. Take a shiny card stock 10.5 x 6 inches. On the 6" side, score at .5" and 1" on both sides. On the longer side, score at 3, 3.5, 7.5 and 8 inches. Cut out the corners on the flap side of the card as shown in the video. Do a step cut on the other side of the card as in the video. Round the four corners with a corner rounder. You can do some stamping now if you want or you can also glue ...

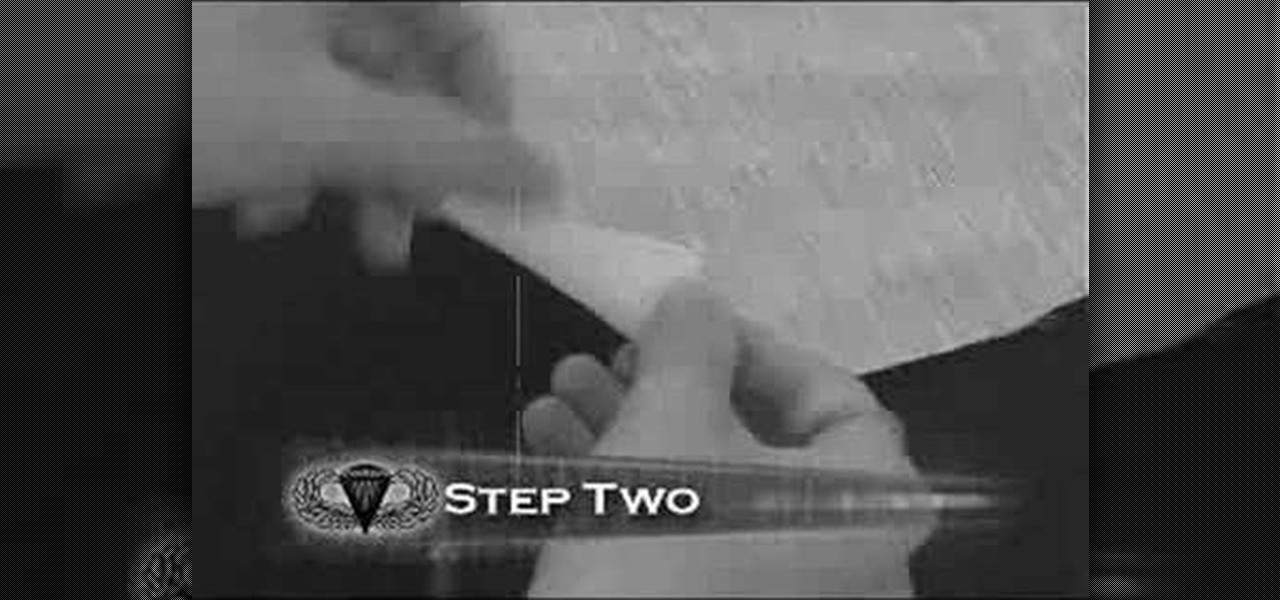
In this video tutorial, viewers learn how to make a toy parachute. The materials required are: lightweight fabric, ruler, scissors, string, 4 hole button and a toy army man. Begin by measuring a 10x10 inch square on the fabric and cut it out. Fold over each of the 4 corners and cue a small hole. Measure and cut 2 lengths of 36 inch string. Take the string and tie it to one end of the hole on the fabric. Run the other end through the button hole and tie it to the diagonally opposite hole on th...


