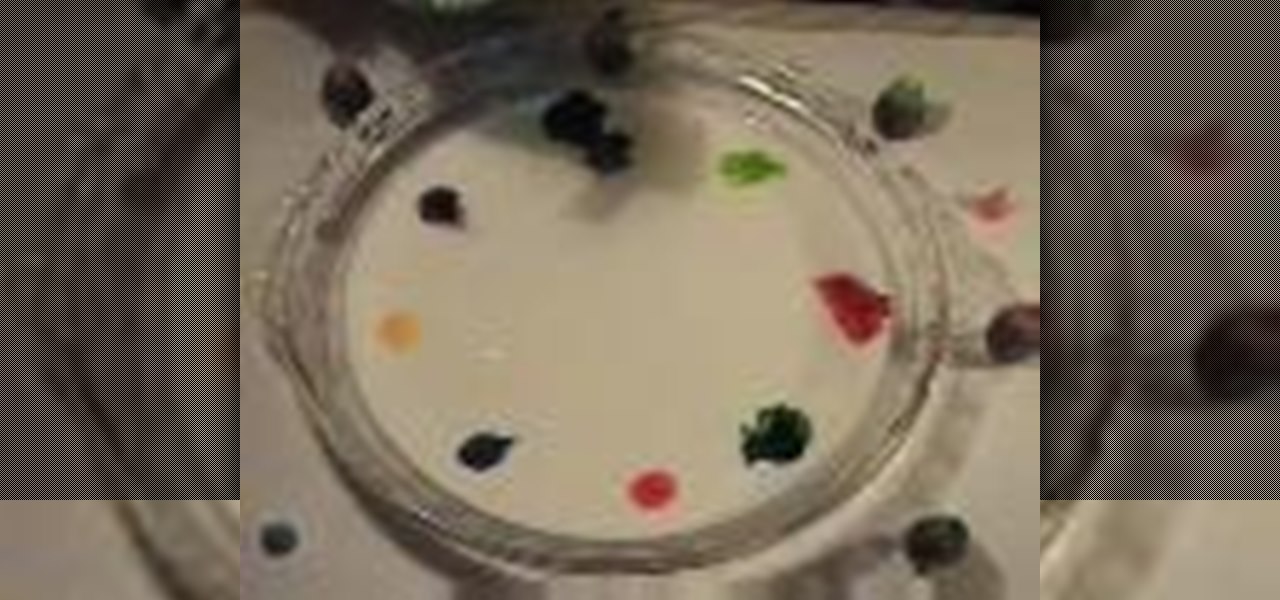
Though your kids will think this "rainbow" milk looks really cool and will instantly want to consume it, doing so may not be the best idea. That's because in order to create this rainbow milk you'll need to mix in color additives and very non-edible soap.
Because who wants to mess with all those wires, programming and power sources? You can make your own origami robot out of paper or cardboard! Though it probably won't do as much as a real robot would, it's nevertheless a fun project to do! All you need are a few sheets of paper (you can also used cardstock or a thin cardboard, depending on how sturdy you want your robot to be). Then just follow the steps in this tutorial!
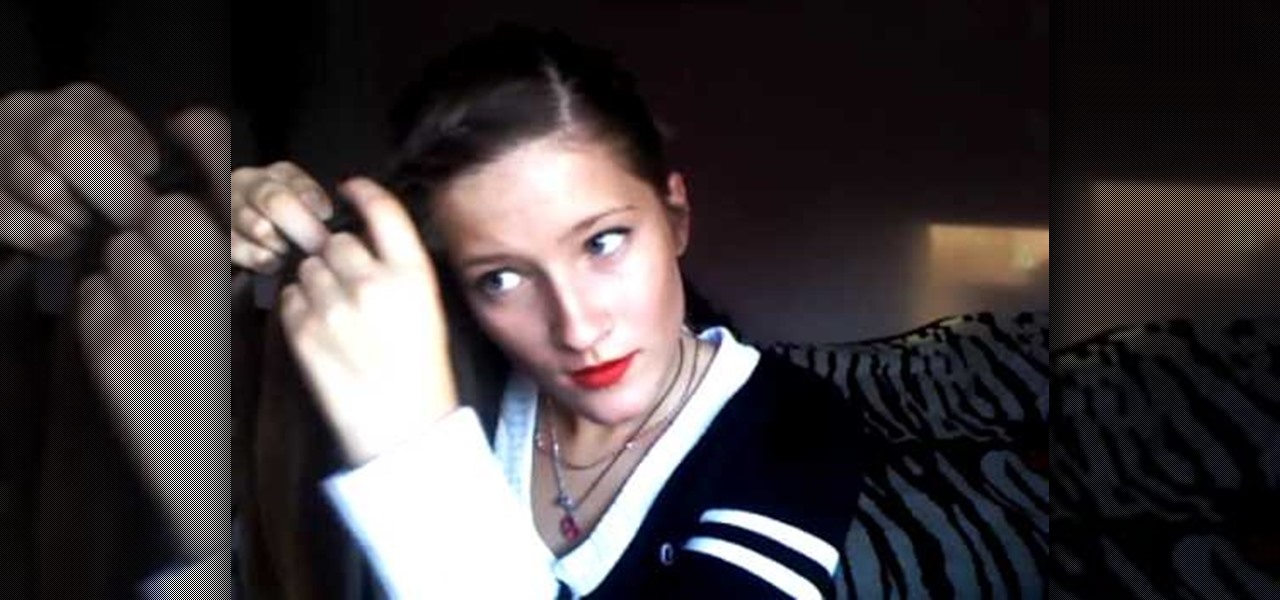
A side bang finds that perfect balance between function - it keeps the hair out of your face - and aesthetic value. Unlike a ponytail, which is sassy and cute but a wee bit too plain, a side braid adds feminine flair to your hairstyle.

You know that big yellow book that's always sitting there in your closet collecting dust and sometimes acting as a nice door stopper? It's called a phone book. Yes, ladies and gents, there was a time when we flipped through pages to find a store's phone number rather than Googled it on our Blackberry.

You know that big yellow book that's always sitting there in your closet collecting dust and sometimes acting as a nice door stopper? It's called a phone book. Yes, ladies and gents, there was a time when we flipped through pages to find a store's phone number rather than Googled it on our Blackberry.
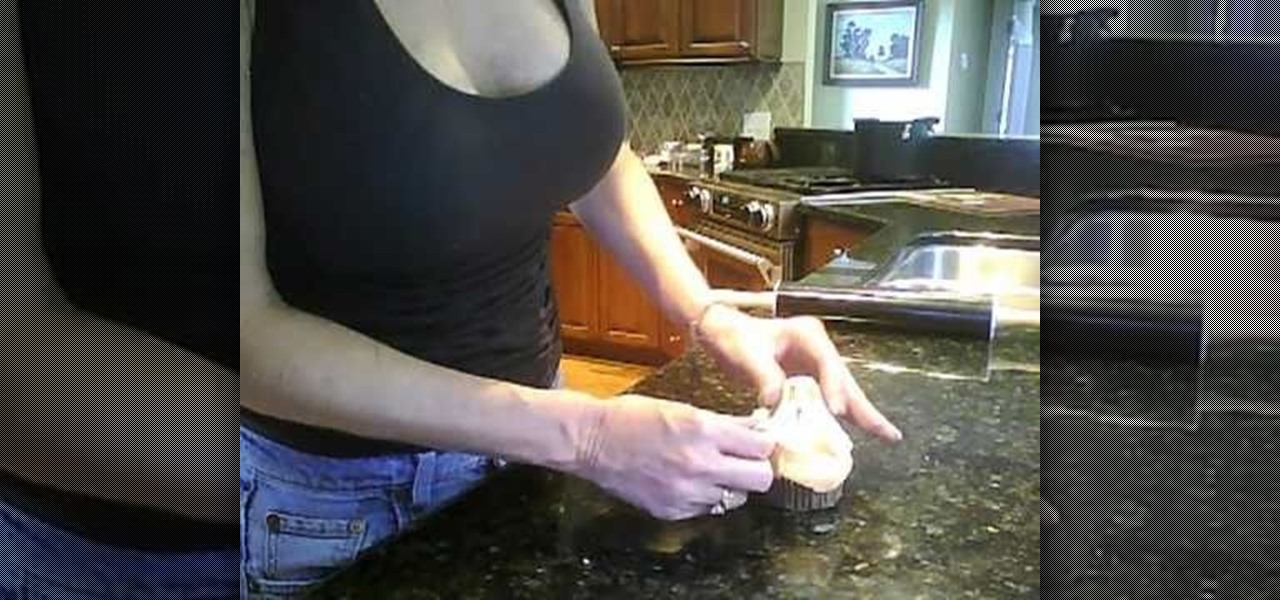
Create wickedly delicious creations suitable for your ghostly Halloween affair by decorating these easy fondant ghost cupcakes. Give Monster Mash party guests a trick AND a treat by serving up these babies.

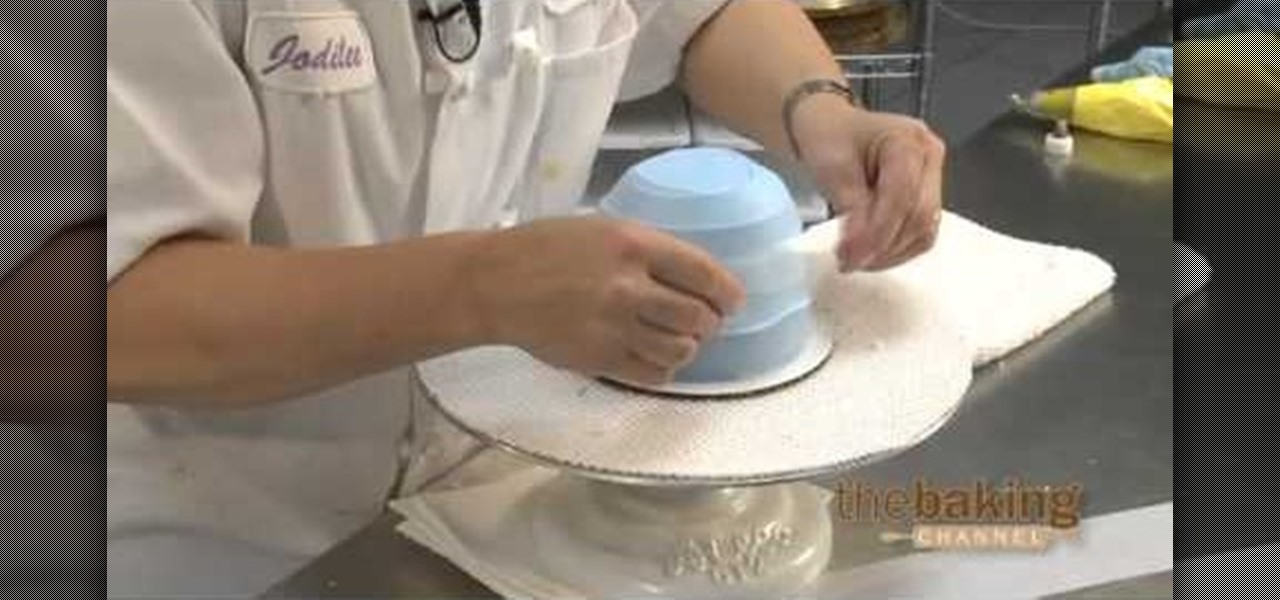
We don't know how you feel about your little girl eating her favorite princess for her birthday, but we suppose this Cinderella cake is too cute to pass up...and to nom on.

Let's face it: Most of the buttons we have on clothing are utilitarian: They hold our peacoat together and our pants on (generally), and thus aren't particularly pretty in and of themselves.

The holidays are all about turning up the glitz and glamour. And one of the most visible ways of doing so is by creating awesome hair. If you want to seriously wow the crowd at your next Christmas soiree, check out this video to learn how to create two holiday hair looks that are curly and very cute.

What do you look forward to most during the holiday season? Sugar cookies sprinkled and iced into a cute snowman shape are always enjoyable, but for us it's all about the decorating. There's nothing quite like putting on Bing Crosby and affixing ornaments onto the tree while sipping hot cocoa.

Asking out that cute girl you've been crushing on for what seems like thousands of years can be intimidating and nervewracking, to say the least. What if she rejects you and rips out your heart and stomps on it right then and there, right?

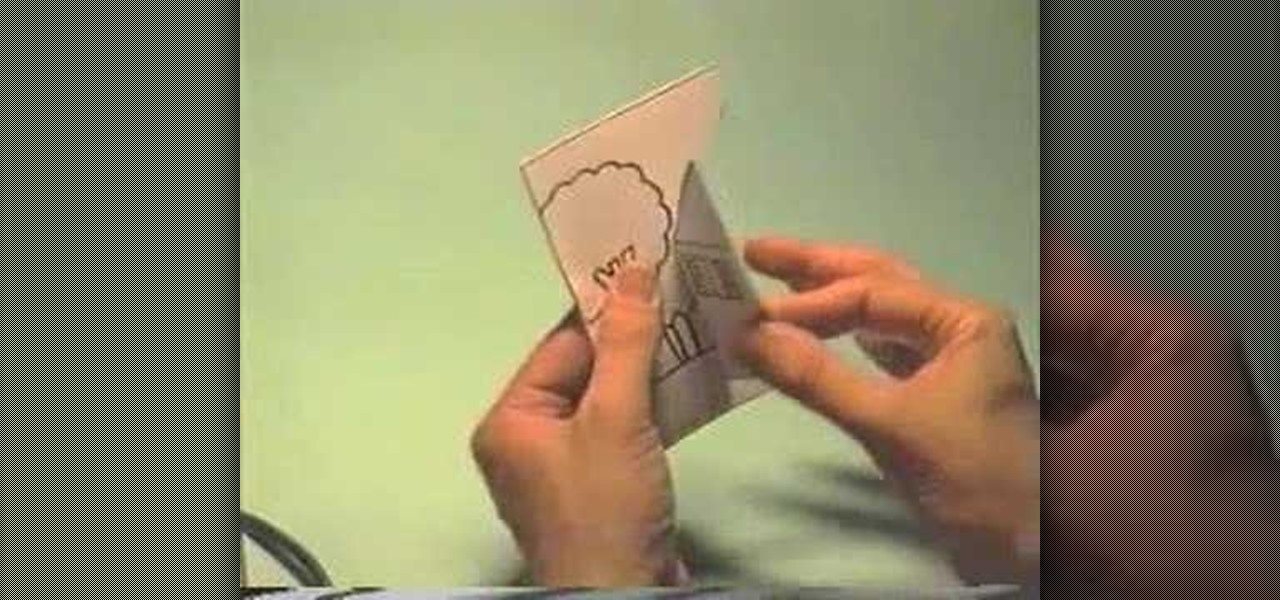
In this tutorial, we learn how to make a little house pop-up card. First, draw a cute little house on a flat plain with trees around it, then decorate the house! After this, fold it in half so the house shows on the outside and cut the paper along the roof and on the bottom, not on the sides. After this, bend that flap on both sides and then open up the card. Now, fold the card in so the little house pops out when you open it up! From here, put into your card and then color the entire thing t...

In this video, we learn how to curl your hair with a 1-inch ceramic plate flat iron. First, spray heat protector on your hair and plug in your flat iron to heat it up. After it's ready grab the front section of your hair and then put the top of the hair into the iron. From here, you will be able to pull the iron straight down to the bottom of the hair very slowly. When finished, your hair will be in a cute curl! Repeat this process all the way through your hair until you've curled it all and ...

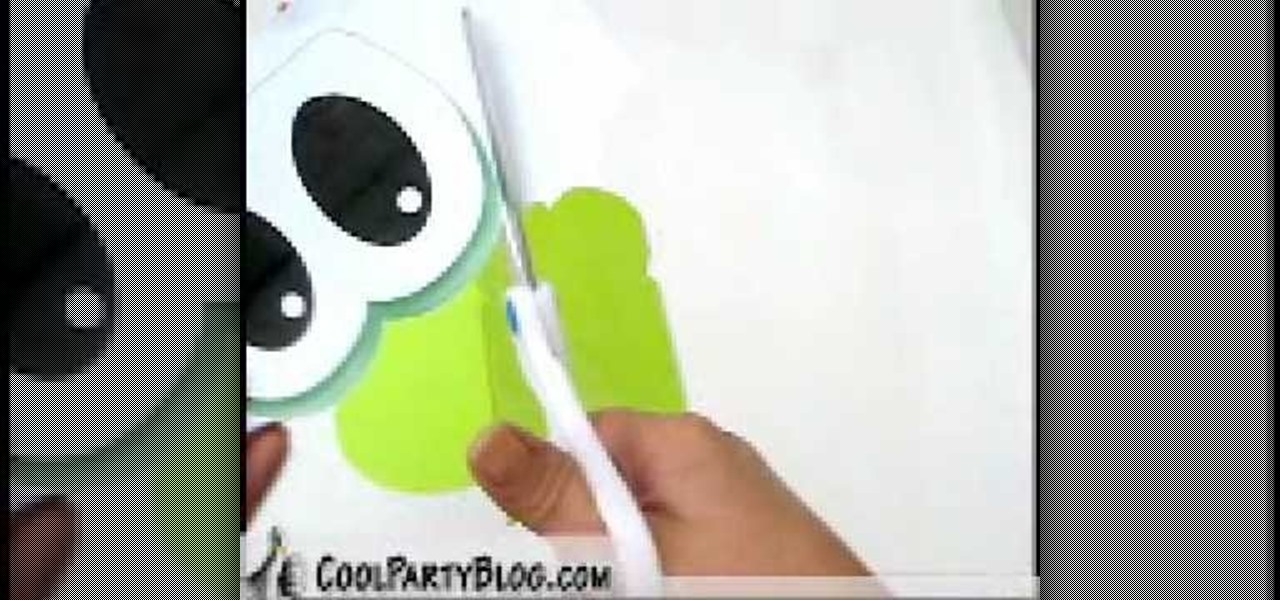
In this video, we learn how to create custom Yoshi loot bags. First, take some lime green paper bags and cut the top of them so they resemble the shape of Yoshi's eyes. After this, print out lots of Yoshi's eyes on a white piece of paper. Cut out the eyes from the paper and then put glue on the back of them. After this, glue the eyes onto the paper where they belong. When finished, let this dry and you will have a cute Yoshi bag to put little treats in! You can follow the template as well if ...

In this tutorial, we learn how to make a butterfly pop-up card. First, draw a butterfly on the middle of a paper and then draw flowers and smaller butterflies around it on the sides. After this, fold the card in half so the drawing is stick out and cut along the top and the bottom of the butterfly. From here, color in the entire character and then fold inwards and pop the middle out. After this, stick the insert into the card of your choice. Then, glue it down and you will have a cute butterf...

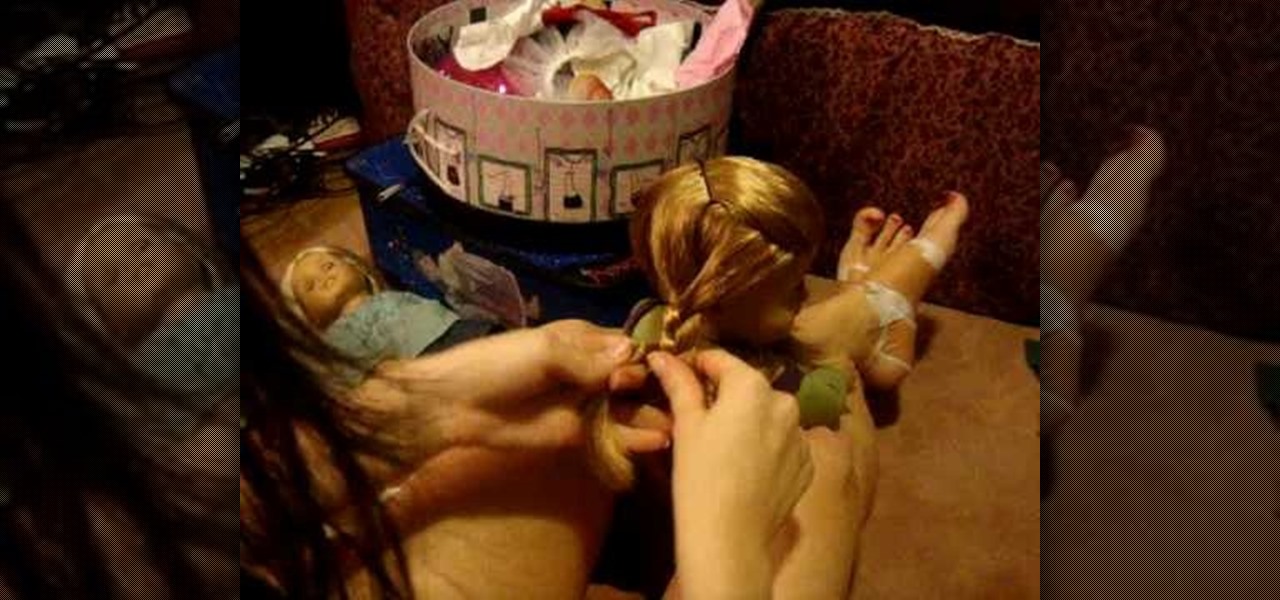
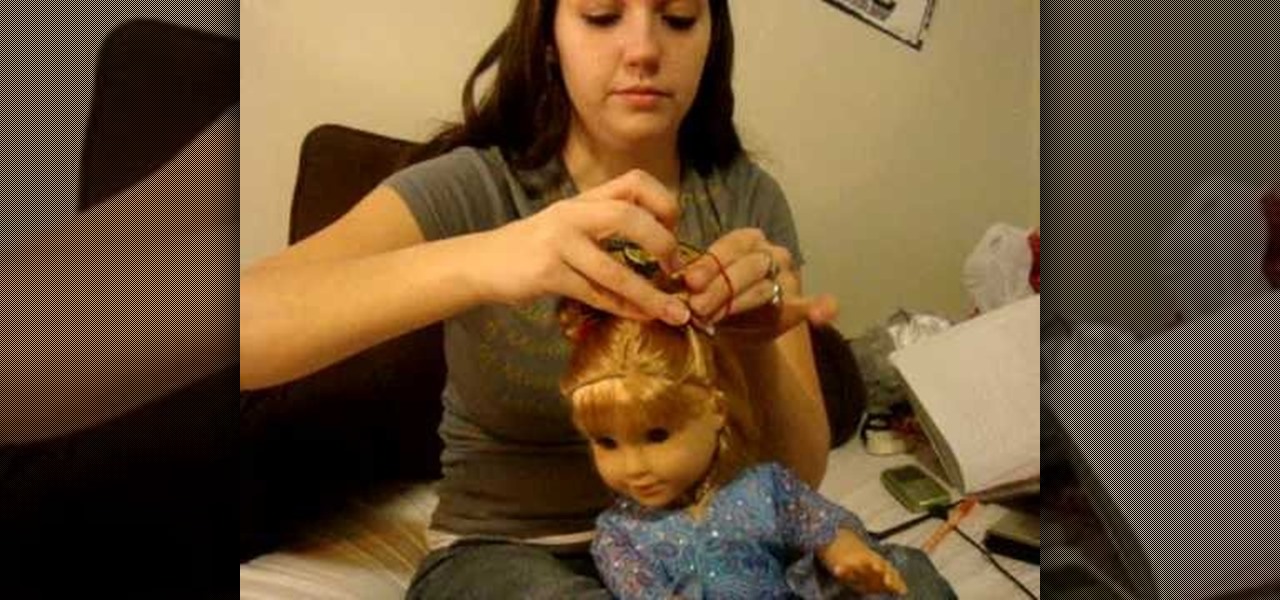
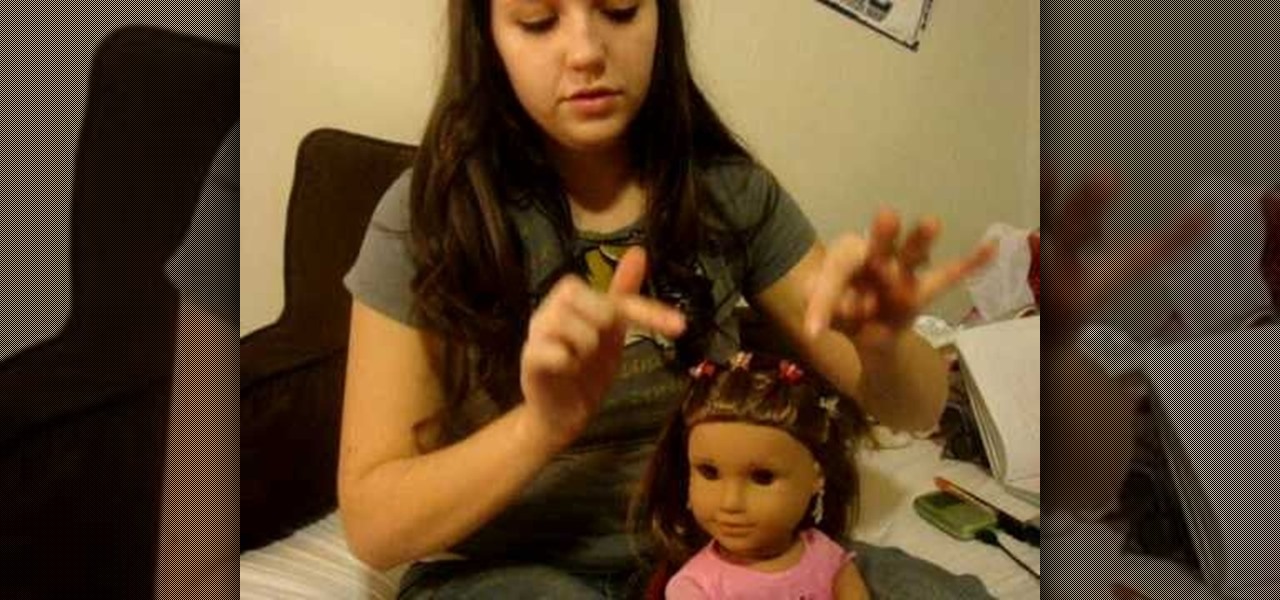
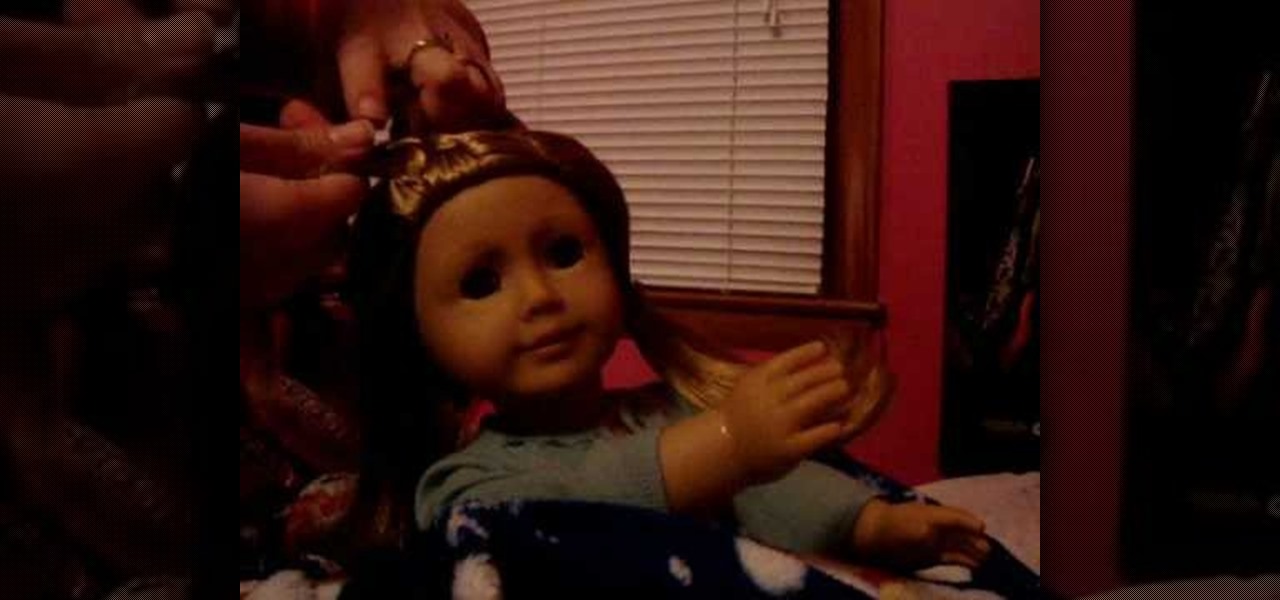
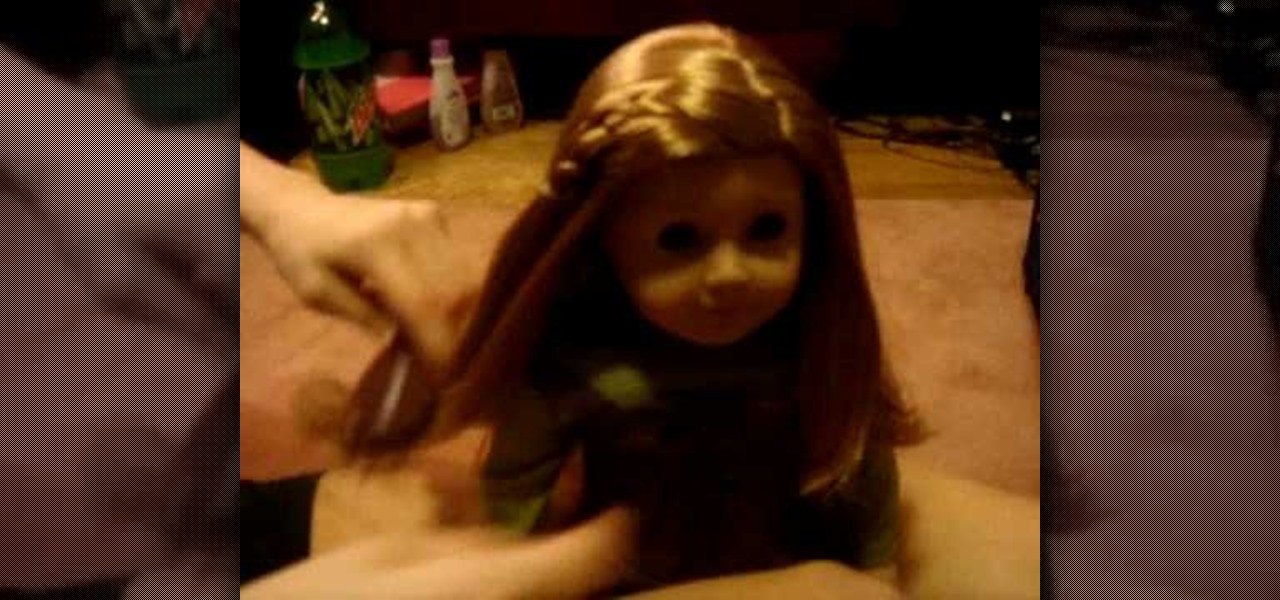
In this video from stephenswodadancer we learn how to do a hairstyle on the American Girl doll Mia. You need a brush, 2 regular sized bobby pins and 2 rubber bands. Start by brushing her hair back from her head and hold it with your hand. Using your finger nail start at about the corner of her eye and go up on each side. Pick up all that hair in the front. Turn her around and brush it out smooth and put the bobby pins in on each side. You can leave it like that or continue on. Part the back o...

Lauren Conrad may be labeled by the rest of the world as the cute as a button girl next door, but in some ways she takes her makeup to a more pin up realm than keeping it minimal and modern.

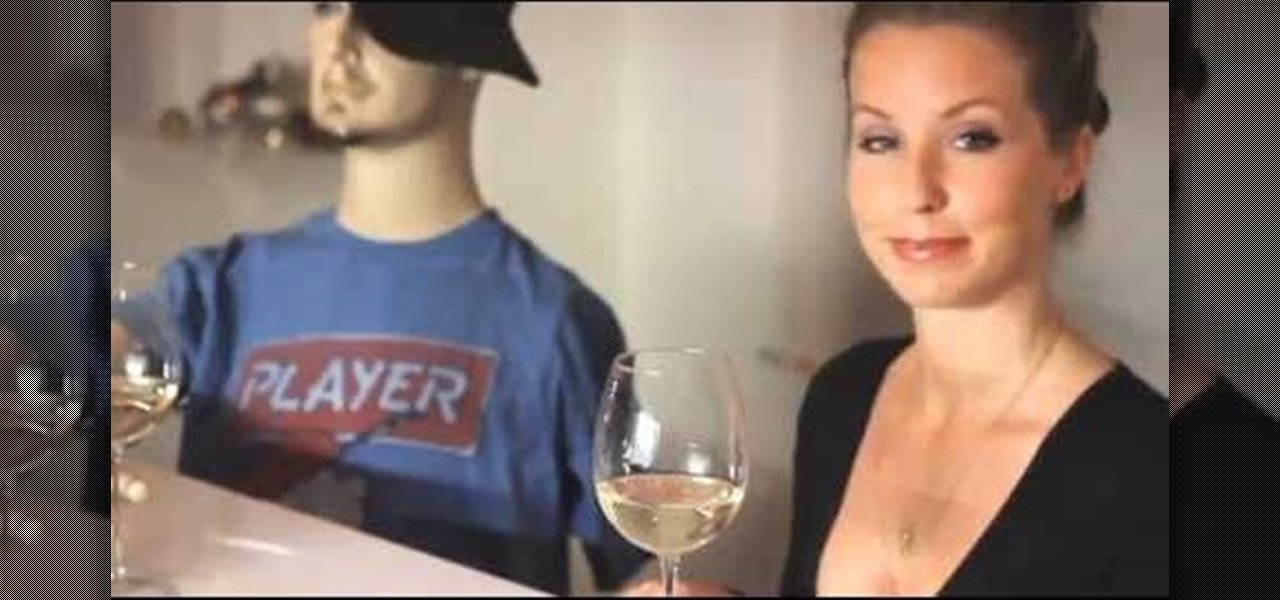
Flirting is tough business. How do you know that you're getting the signal across? Well, it takes practice and some well thought out advice to succeed, and this video will show you how to flirt like a pro. It share's the quick DOs and DON'Ts for flirting with a cute boy (or man).

In this video, we learn how to do a hair headband on your American Girl doll. Brush the doll's hair out and then take a section from the bottom front of the hair. Twist this up and then do the same thing to the other side in the same spot. After you have twisted both sides, cross them both over to the opposite side of the head. After this, clip the side of the hair where the braid is left at. When finished, you will have a cute hairstyle on your doll! This work on any length of hair and only ...

In this video, we learn how to do cowgirl pigtails on American Girl doll Nicki. First, brush the hair out and then make a part down the middle so you have hair on both sides. Then, put one of the pigtails to the side. After this, go to the other side and brush it out again. Make this low and then tie a rubber band around the pig tail. To make it curly, you will take little pieces of the hair and curl them up with your fingers. Repeat this on the other side and then you will be finished with t...

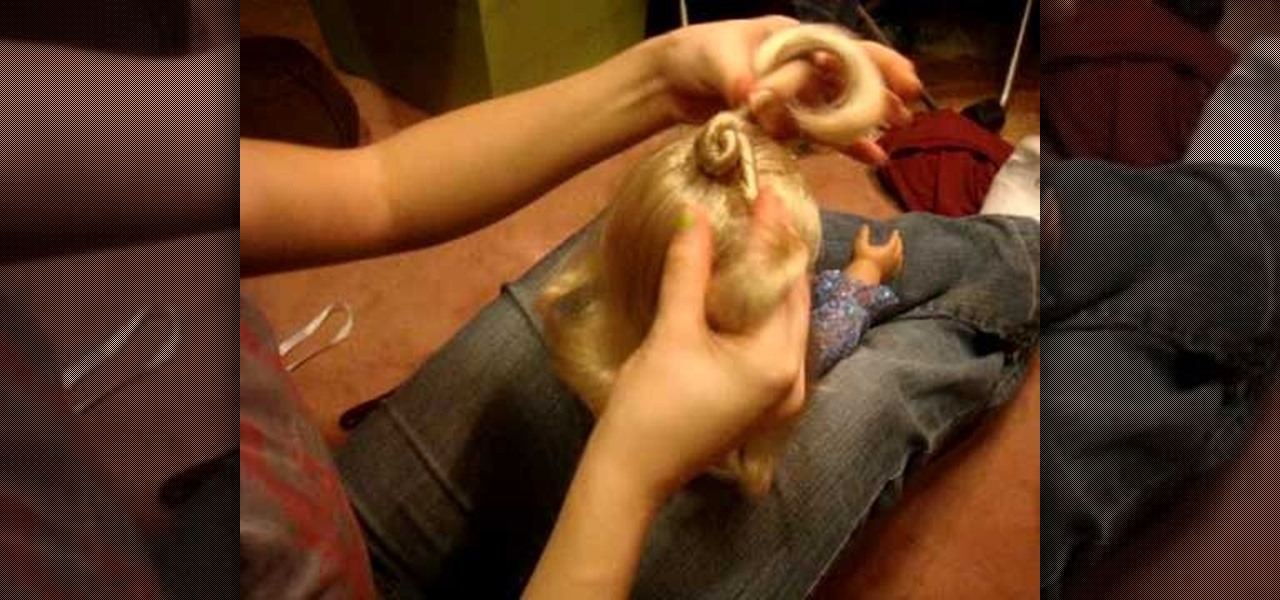
In this tutorial, we learn how to do a twisty updo on your American Girl doll. First, brush your dolls hair into a ponytail. After this, take a piece of the hair and twist it around with your finger until it curls. Then, take a clip and clip the twisted hair into the ponytail. Now, take another piece of hair and do the same thing. Continue to clip the hair up and repeat doing this on all the pieces of the hair until there is no more left. You will have some hair at the top and it will look cu...

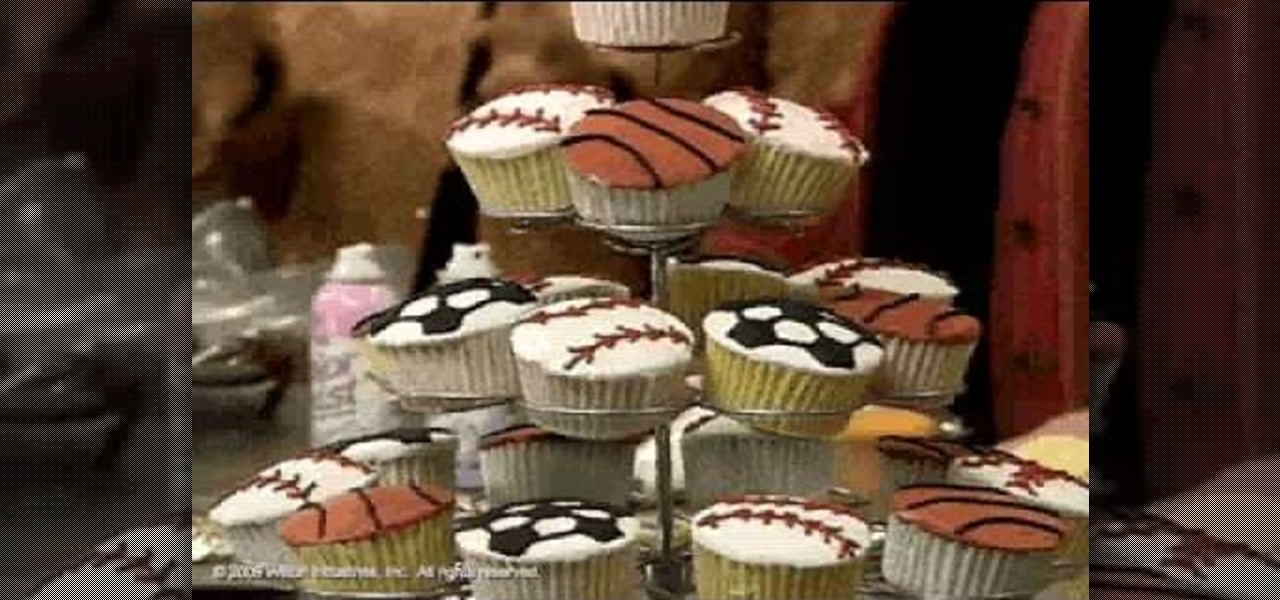
In this tutorial, we learn how to get creative the next time you make cupcakes. The first way to make a cute cupcake is to cover it with tall icing and then sprinkles, you can add a candle for a birthday. You can use different colors of icing to make it more exciting, then add a sugar color decoration to the top of it. Use airbrush in a can to color the icing on top of the cupcake. Kids can help you with this and have a lot of fun! You can also make a sports cupcake by using different colors ...

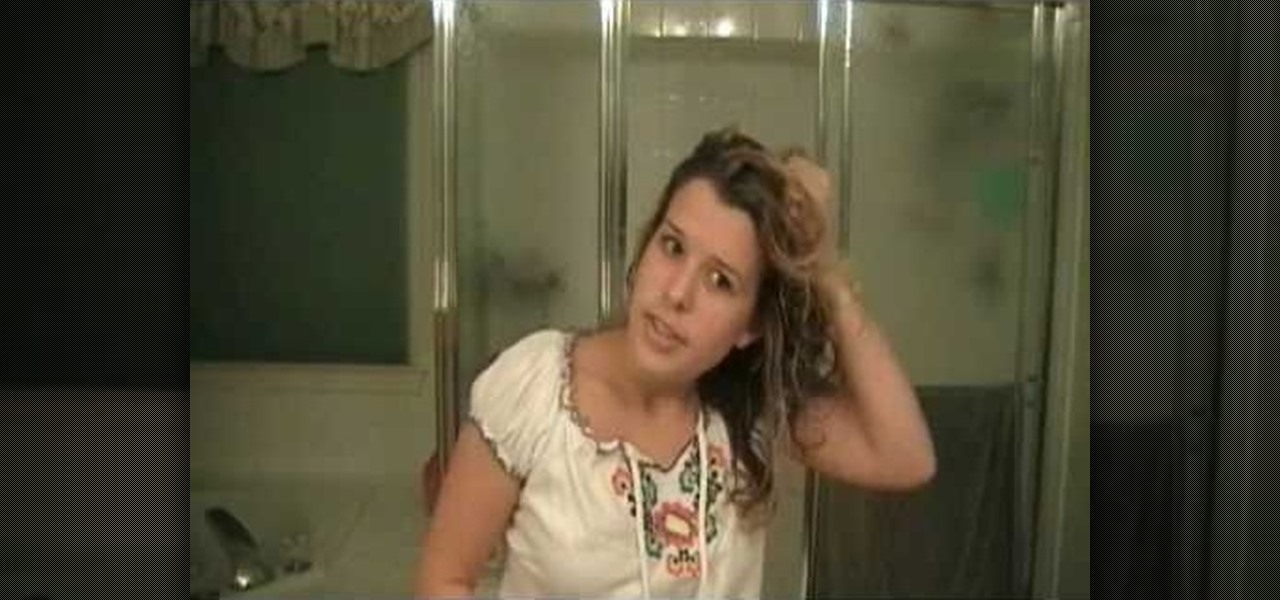
In this tutorial, we learn how to get scrunchy hair right out of the shower. First, take a smoothing liquid you like in your hair and run it through your entire head of hair. After this, take a volumizing gel and run it through your hair as well. Now, spray hair spray all over your hair, working it from the top to the bottom all over. Next, you will take your hands and scrunch your hair by pushing it up and crunching it with your hands. Do this all over until you have the scrunch that you wou...

In this video, we learn how to do an adorable hairstyle on your American Girl doll. You will need: two ribbons and four rubber bands to do this. First, brush her hair all the way out so it's smooth. Then, part the hair into two sections on the left and the right. After this, tie the right side into a high ponytail and then tie the left side the same way. From here, you will shape a bun into the top of the hair band and then let the rest hang down. Next, you will tie a ribbon in each side into...

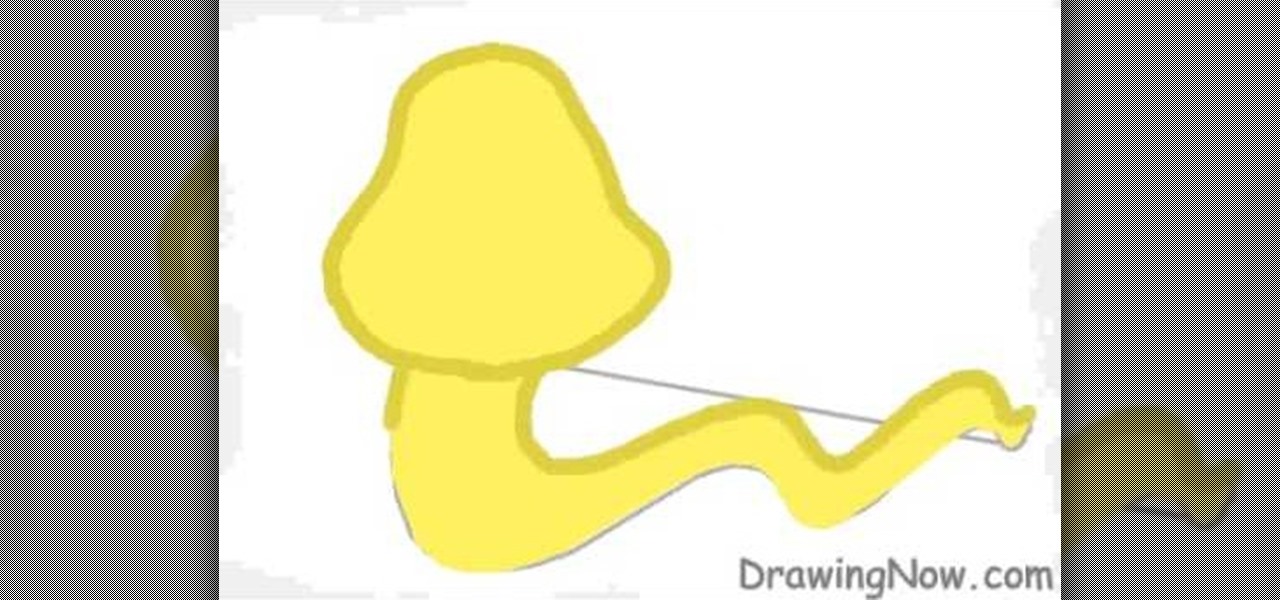
In this tutorial, we learn how to draw a cute snake. First, draw a bell shape for the head, then draw a thick squiggly line for the body of it. After this, color the snake yellow and then outline it with a dark green color. From here, add stripes to the snake in hot pink. Next, you will draw on the face to the snake. Make sure to give it a friendly smile and draw the stripes on the top of the head. Next, you will draw on the tongue, giving it a long one with two triangle edges. This will fini...

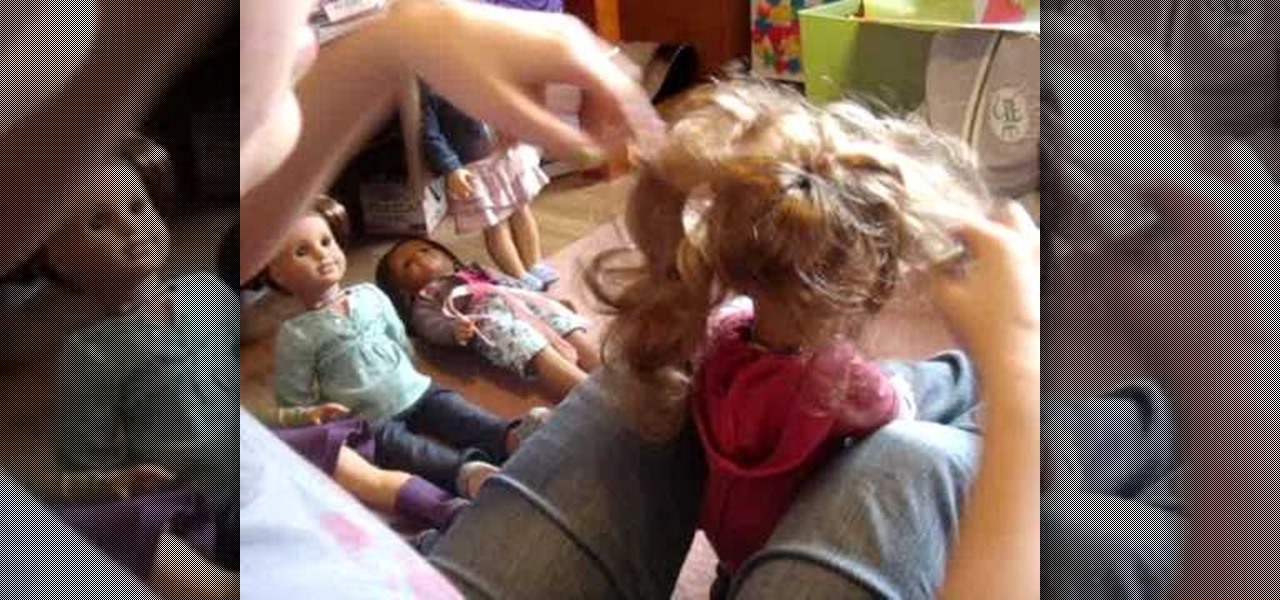
In this video, we learn how to do mini buns on your American Girl doll. Firs, you will grab a section from the top half of one side of the head. Then, you will put a rubber band around the hair. From here, you will twist the hair around the make a bun, then secure it with another rubber band. Repeat this on the other side of the head so there are two buns on the top of the head. This will look cute on the front and the back! If you want, you can keep going and make two more so you have four m...

In this video, Sarah teaches us how to do a spider web hairstyle on your American Girl. You can do this with any doll, even if they have short hair. To start, you will pull the hair from the front of the head back and then clip it in the middle. Next, take the sides of the hair and do the same process. Repeat this on the other side of the hair, doing the same process. Next, you will split the hair in half from each clip and then meet it up with the half of another piece. Continue to do this a...

In this tutorial, we learn how to double French braid your American Girl Doll's hair. First, part the hair right down the middle so you have the left and right side. After this, pull one of the sides into a pigtail. Next, go to the other side and grab a small section from the top. Brush this out and then divide into three pieces. Start it like a regular braid, then start to grab hair from the bottom on each side, crossing it over the middle. Continue to do this until you reach the bottom of t...

In this tutorial, we learn how to redo American Girl doll, Mia's, braid. First, you will need to brush out the hair for the doll. After you do this, you will take a little section of the hair from the front and split it into three. Then, take another little section from underneath this and clip it away. From here, you will start to braid the hair, clipping off the sections underneath separately so they don't get mixed together. Then, you will take the rest of the hair and put it into a ponyta...

In this video, we learn how to do the triple nifty knots hairstyle on your AG doll. First, comb the doll's hair back and then take the hair from the crown of the head. Put this into a ponytail and then secure with a rubber band. After this, section the tail off into two parts and twist them individually. Then, bring these around each other and create a bun at the top of the doll's head. Secure this with a rubber band. Do this with two other sections of the hair on the left and the right. When...

On Halloween lots of revelers go all out with their costumes, donning full body makeup to look like Neytiri from "Avatar" come to life or slipping on a bladed glove like Freddy Krueger.

Who says that angels have to be good? Dress up as a sexy fallen angel/dark angel this Halloween to twist up that stereotype. Instead of a cheesy white feather halo and white sheath you'll don black wings and a cute black minidress.

We have nothing against posh, elegant romantic curls or modern pin-straight hair, but don't you ever miss the days when you were just a kid experimenting with her mom's drawer of hair goodies? Creating crazy styles was so fun and the results were always unpredictable.

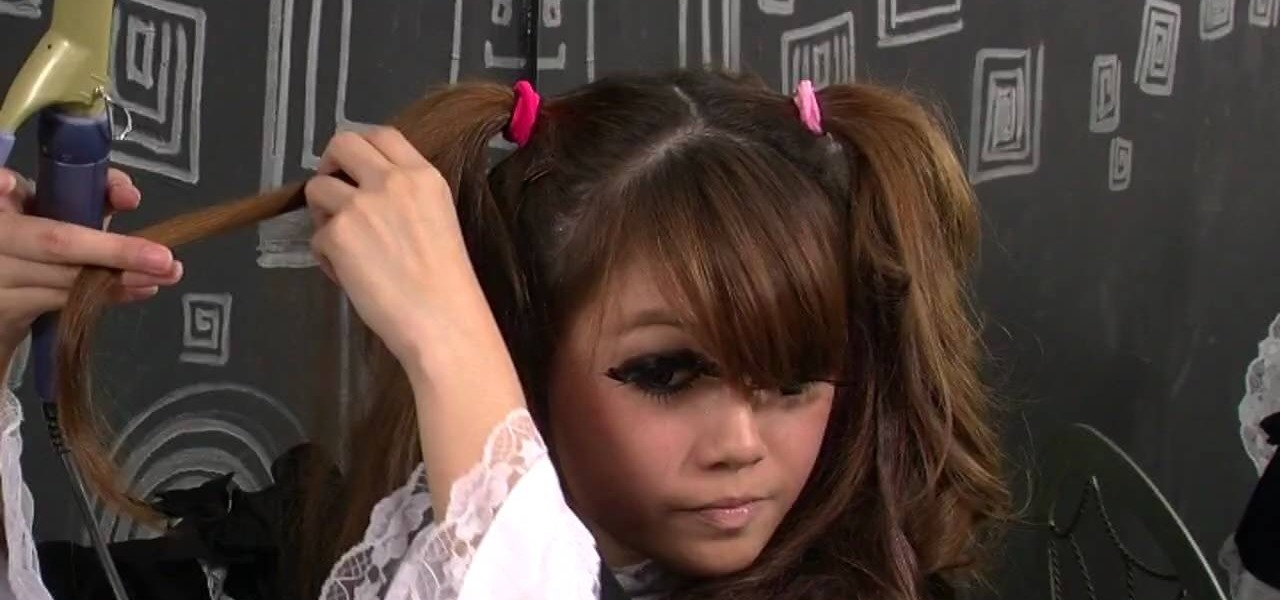
Despite being based on the ultra feminine and severe Victorian style of dressing, Japanese Lolita tends to go a little crazy when it comes to stylization and improvisation of fashion, makeup, and hair. Just take this crazy pouf of a pigtail, for instance.

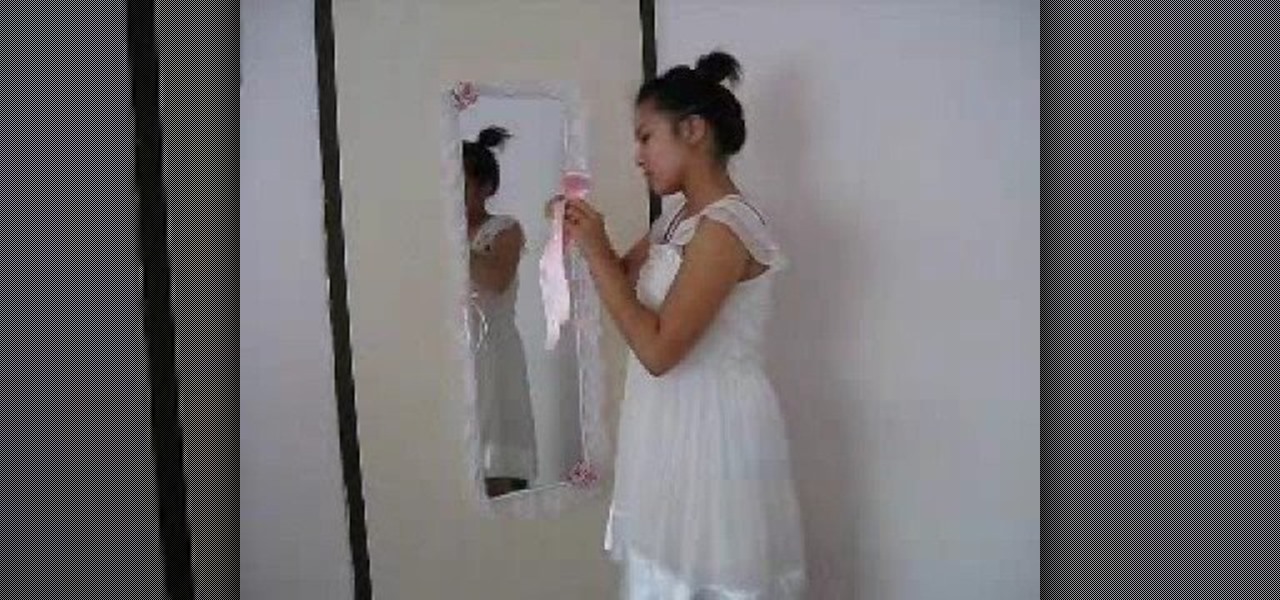
In this video we learn how to makeover your mirror with accessories. First, grab lace, string, ribbon, fake flowers, and anything else decorative that you want to hang around on your mirror. Once you have all of your supplies, get to work! Use double sided tape to stick to the sides of the mirror so you can safely stick on all of your accessories. Start out by taping some lace or ribbon around the mirror. You can also tie some ribbons and place those as on as well. If you have fake flowers, t...

In this tutorial, we learn how to make an over-sized fashion bow fashion accessory. First, take your fabric and cut it to the desired size you want the bow to be. Cut this in a square shape at first, then sew the sides of the square. Then, fold this in half and pull in the middle of the square. Cut this in the middle to make a hole. Then, turn this inside out and push out the edges. Put an additional square of fabric around the square in the middle, then shape it out to be a cute bow to wear ...

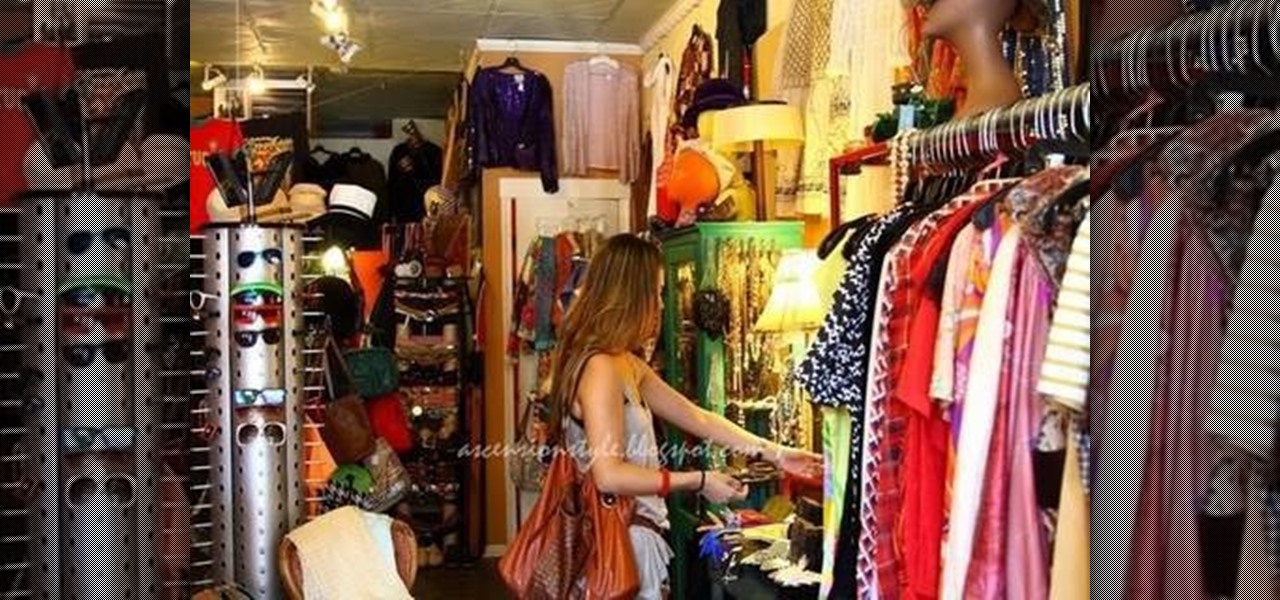
If you think thrifting just involves hitting up your local Salvation Army and picking up a few pieces of secondhand clothing plus a cute little old-looking vase for your dining room table then you've got some learning to do.

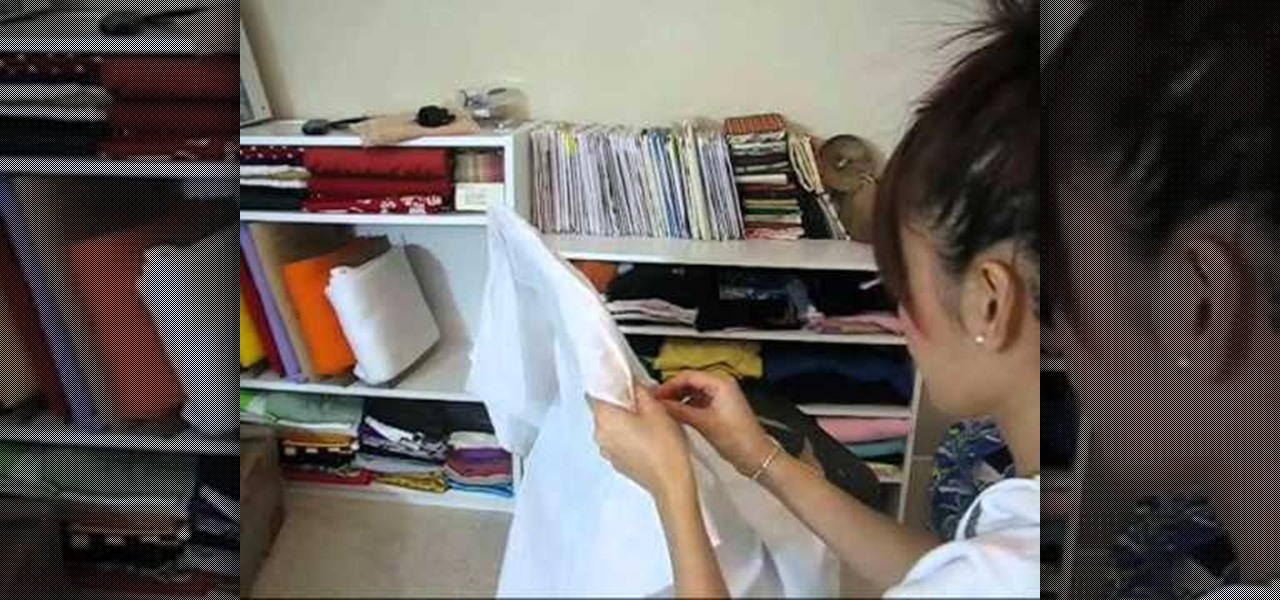
In this video, we learn how to make a colorful tutu. First, you will need to grab all the colors of fabric that you want to use on your tutu. Then, roll up the fabric of each color carefully, then cut it out to the length you have measured for your subject. After this, cut out one more smaller section of fabric from each piece until you have done this with all of the colors. Now, using a piece of ribbon as the waistband, tie each piece of colored fabric onto it, alternating colors each time. ...

In this tutorial, we learn how to make a toga in less than five minutes. First, you will need 6 yards of fabric and about 4 safety pins. Once you have these, you will be able to make your toga. Wrap the fabric around your body tightly, then take a safety pin and pin it to your shirt that you're wearing so you know where to sew it at. After this, bring the last portion of the cloth up and around your shoulder. Once you have done this, you will have a cute toga! You can take this off and sew it...

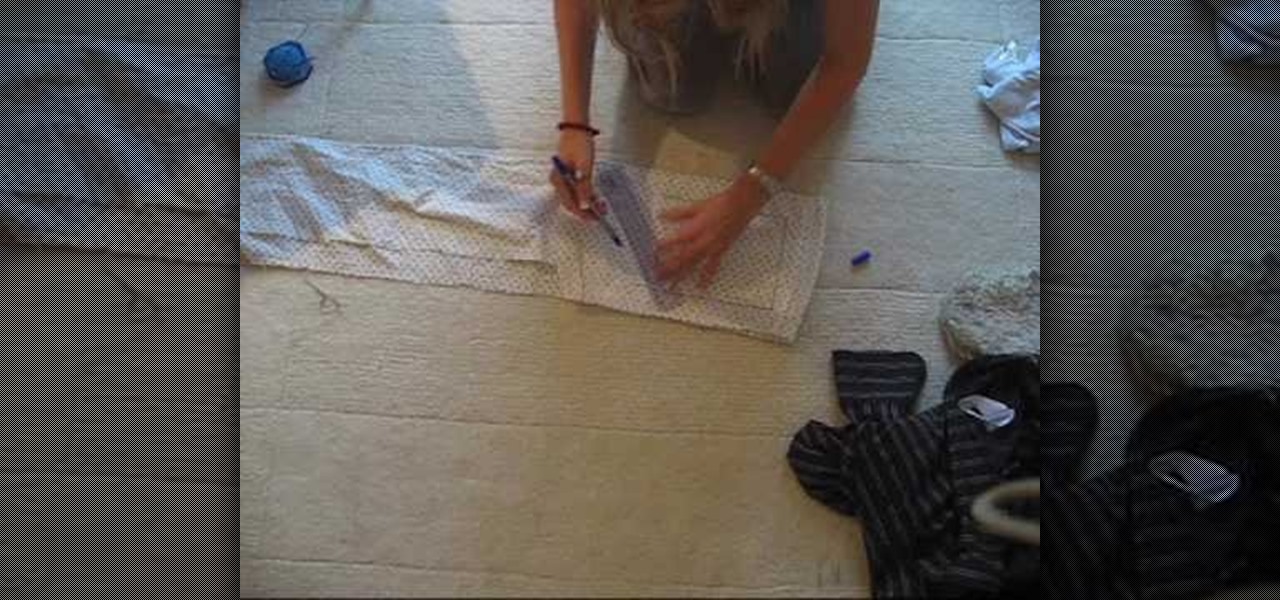
In this video, we learn how to sew a two-tier waist-high skirt. First, fold the fabric in half, then fold the right sides together and draw a half circle. Next, anchor your chalk with a spool of thread and swing around the half circle to create another. Now, cut out the circle with scissors. Then, draw a smaller circle using the same method at the bottom and snip it away. This will be the first layer of your skirt. Repeat these steps with another type of fabric for the other layer of your ski...


