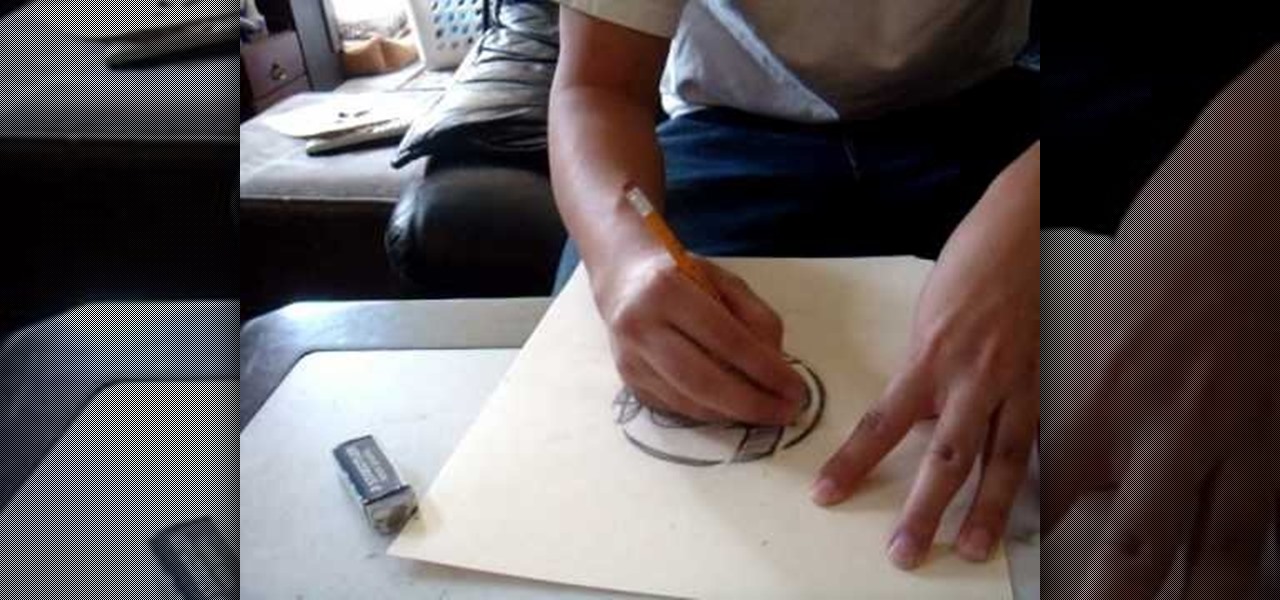
Cut a perfectly balanced pentagon from a square piece of paper! You can do this without measuring or drawing. Fold your square of paper as outlined in this tutorial, and then cut along several of the fold lines to end up with a pentagon!
Cut the Rope is the hottest new iPhone game! Swing a ball on a rope to get points, then cut the rope to feed a frog! This video shows you how to successfully beat the first twenty five levels on Fabric Box.
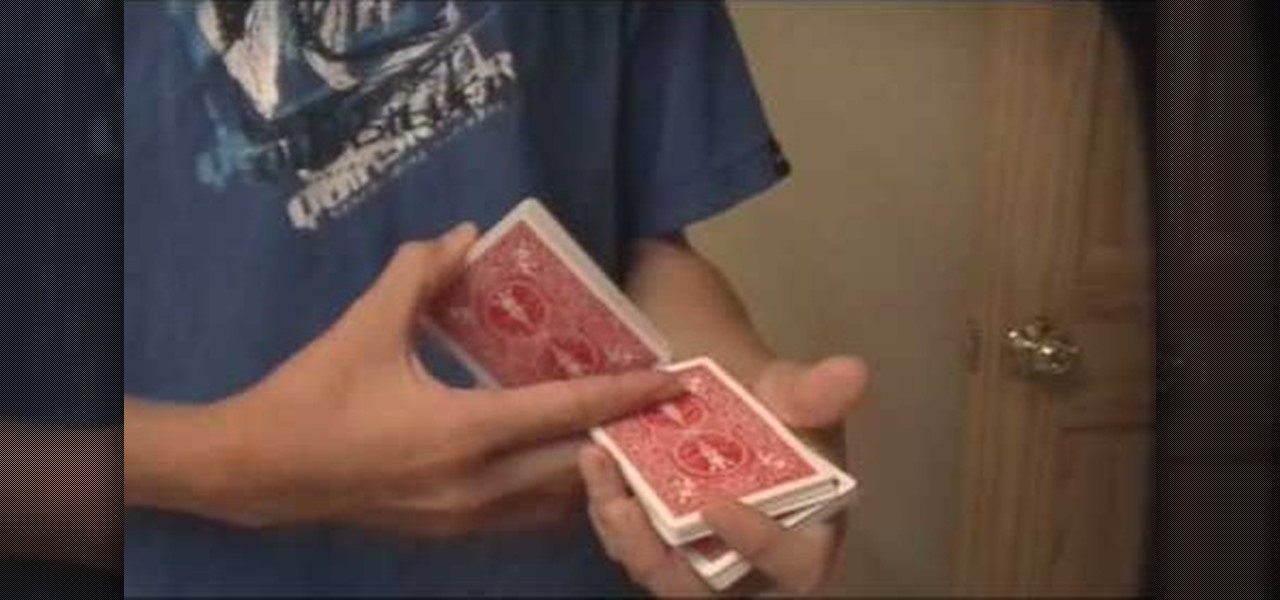
In this video tutorial, we learn how to perform a simple-but-effective false cut when doing sleight-of-hand card tricks. For more information about the technique and its execution, including detailed, step-by-step instructions, and to get started incorporating this cut into your own routines, watch this free video card-magic lesson.
Want to create complex paper cut outs that a die cut machine just can't handle? One option is to use the Craft Robo, which will let you create your own welded shapes and patterns on your computer and then cut them out on your paper.
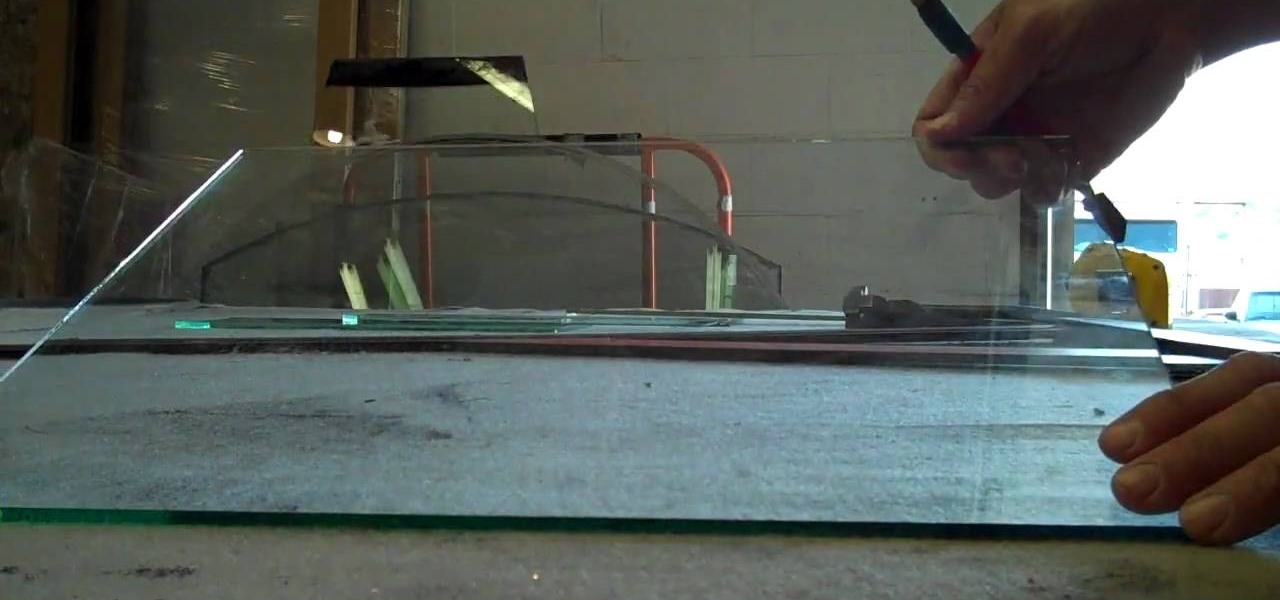
Plexiglass is the pleather of glass, and it has disadvantages vs. it's natural cousin. For one, it's much harder to cut because it melts and chips easily. Watch this video to learn how to cut plexiglass safely and accurately.
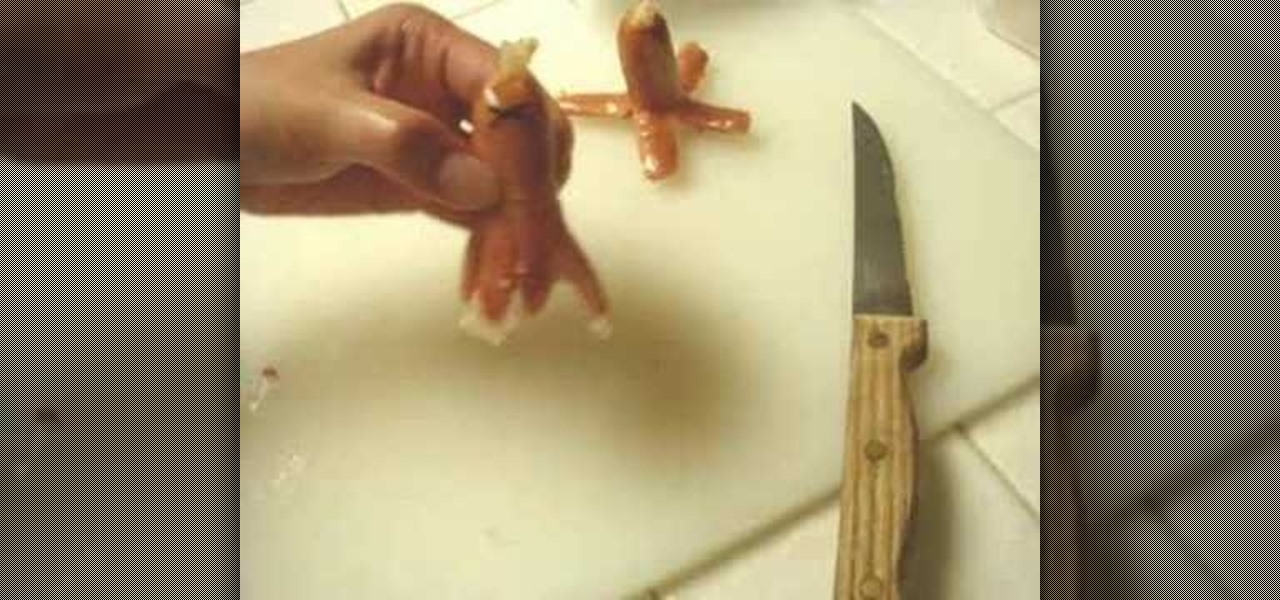
In this video, we learn how to make bento. First, you will need to purchase small quail eggs from a Japanese market, then place dried seaweed cut into two small circles on the top. Next, cut the middle of the egg with a knife, then pry it open to make it look like a knife. After this, take a small sausage and cut it at the bottom so there are eight pieces hanging, and it looks like a squid. Place an "x" cut out of seaweed on the top and cut the middle to make a mouth. Slice a strawberry while...

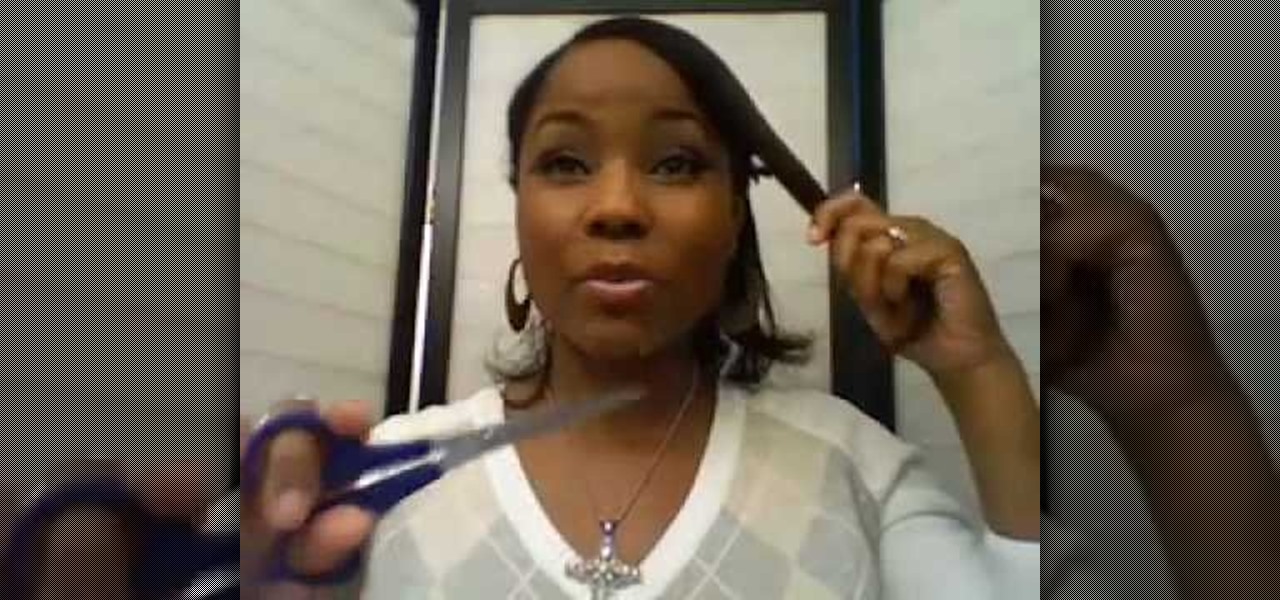
In this video, we learn how to easily cut your bangs. First, you will want to take a shower and have your hair went and brushed out. Next, part your hair so that your bangs are in the front and the rest of your hair is tied back behind you. After this, grab your scissors that are for hair cutting, and then level your hair out in front of you. Be sure to hold your head up straight and don't look too far down or up. Next, cut the bottom of your bangs where you want them to be at, then continue ...

Skinny and Mini teach us how to prepare a mango in this tutorial. The correct way to cut this is to hold it up and cut down in the mango, avoiding the seed. Next, turn it around and do the same thing to the second side. You can still eat the other sides of the mango, just cut the middle seed out. Next, cut the mango into squares while it's still in it's skin, then pop the mango up and you can eat it straight out of the skin. You can also use a knife after this to cut the pieces out and use in...

This video tutorial is in the Arts & Crafts category where you will learn how to make papel picado using chisels. This is a traditional paper craft of Mexico. The designs you can cut on paper are only limited by your imagination. First you got to make a design on paper. Then you got to stack up 40 to 50 sheets of paper and staple them together. Now you can start cutting the paper stack using a chisel and a hammer. Choose the appropriate chisel for the design and place it close to the outline ...

In this tutorial, we learn how to make a rose from a turnip. To start, cut at an angle all the way around the outside of the turnip. After this cut, cut a thin layer around the turnip just around the inside of the cuts that were just made. Continue to do this process throughout the entire fruit until you get to the top. Make sure to alternate from the middle of the petal, so they aren't all line up the same. When you get to the top, you will be making smaller cuts, until you finish. When you'...

In this tutorial, we learn how to cut up a raw chicken. First, start with a very sharp knife and a complete whole chicken. First, cut the legs from the chicken by pulling the skin taut at first between the drumstick and the breast. Next, remove the wings by holding the chicken on its wing and looking for the armpit. Slit into this, and bend back the wing, then cut through. After this, remove the back from the chicken and then you will be left with your chicken breast halves. Turn it over skin...

In this tutorial, we learn how to make a paper snowflake. First, take a copy paper and fold a quarter of it over to the other edge. Next, cut off the excess paper so you have a triangle shape. Now, fold a corner to the next corner, and repeat so you have another triangle. You can now cut corners off so they are even and you have a rounded snowflake. Then, cut a triangle starting from your edge points that you just created. Now cut slits a quarter inch apart into the middle of the paper all th...

In this video, we learn how to cut a piece of glass with scissors, water, and a lighter. First, you will need to grab a lighter and place it under the piece of glass that you want to cut to heat it up. Next, you will place your piece of glass into a sink full of water and cut your desired piece. Make sure to cut carefully, as you can get hurt very easily when dealing with sharp edges of glass. Make sure you are keeping the piece of glass you are using completely submerged in the water, along ...

Curly hair is notoriously difficult to style and cut. Sure, when you wear the hair curly, it is very easy to hide an uneven hairdo, but what if you want to straighten it out? If you would like to cut a cute layered look that you can wear when your hair is straight, you will need to follow these tips for cutting curls.

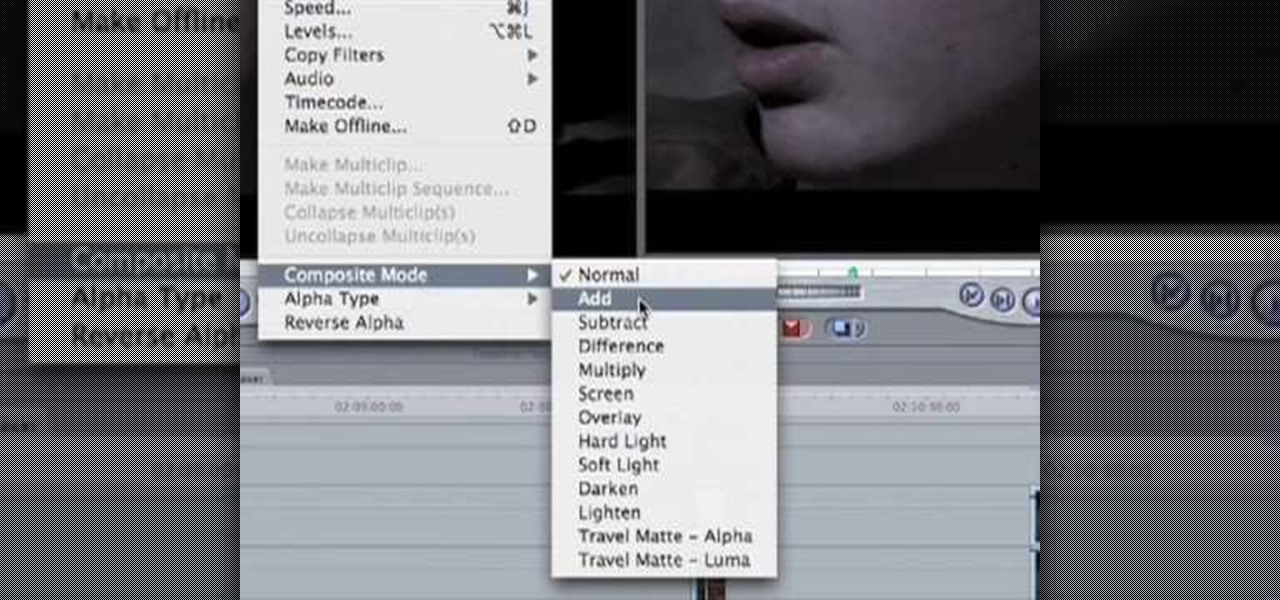
In this how to video, you will learn how to create a film look to your videos in Final Cut Pro. This effect will create a light and warm tone to the clip. First, take the original clip and copy and paste it. Grab it and place it on top of the original clip. Next, make sure that the top clip is selected and click modify, composite mode, and add. This will bring up the highlights in the video. Go to effects, video filters, and Gaussian blur. Go to the settings increase the radius of the blur. Y...

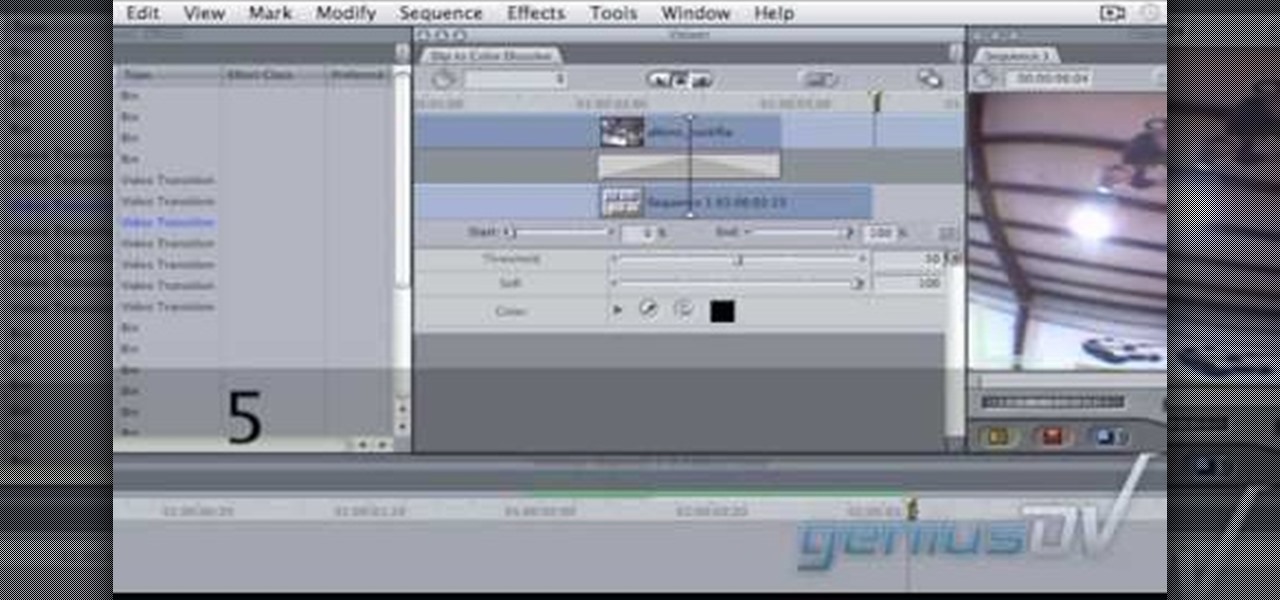
In this video tutorial, viewers learn how to create a freeze-frame effect in Adobe Final Cut Pro. Begin by placing the time line indicator to where you would like to place your freeze-frame. Press Shift and N to create the freeze-frame. The default user preference is 10 seconds. To change it, change the time and click on the insert button to splice the new freeze-frame time into the time line. Now click on the Effects tab and select the Dip to Color Dissolve under Video Transitions and Dissol...

In this how to video, you will learn how to make an Evergreen wreath. You will need pine cuttings, craft wire, a frame, and decorations such as pine cones. Each cutting should be about 8 inches in length and have a firm section that will attach to the base. They should also be very bushy. Wrap the craft wire around the sturdiest part of the pine cutting. Keep adding and attaching pine cuttings over the previous cutting until you go around the entire frame. Once this is done, add the decoratio...

Want to cut your own bangs? Without looking like a crazy person? Give this hair-styling how-to, which presents one particular person's method for cutting her own bangs, a go. For a complete overview of the process, watch this free video tutorial.

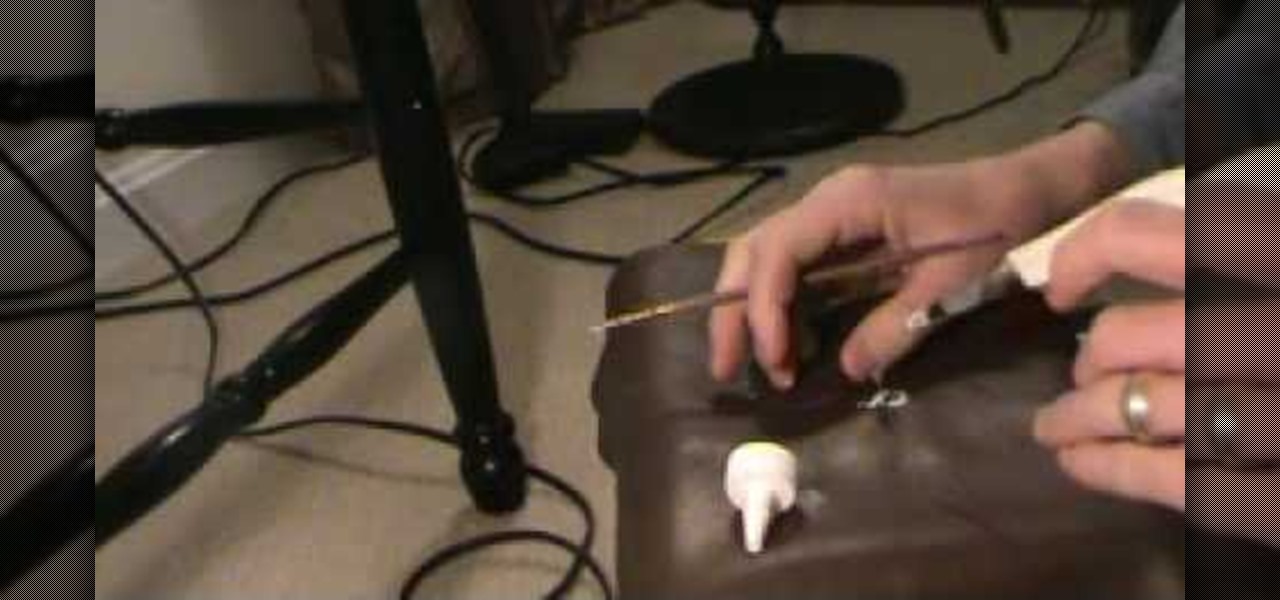
In this how-to video, you will learn how to make a repair in cut leather. This is useful if you have damaged leather you would like to repair yourself. Make a knife cut in the leather, and then cut and place a sew patch into the leather. Push it underneath the leather. Now, glue the sew patch in place with inexpensive craft glue. Rub it around the leather and edges of the cut. Wipe off excess glue with a damp cloth and wait until it dries. Place something heavy on it for a good amount of time...

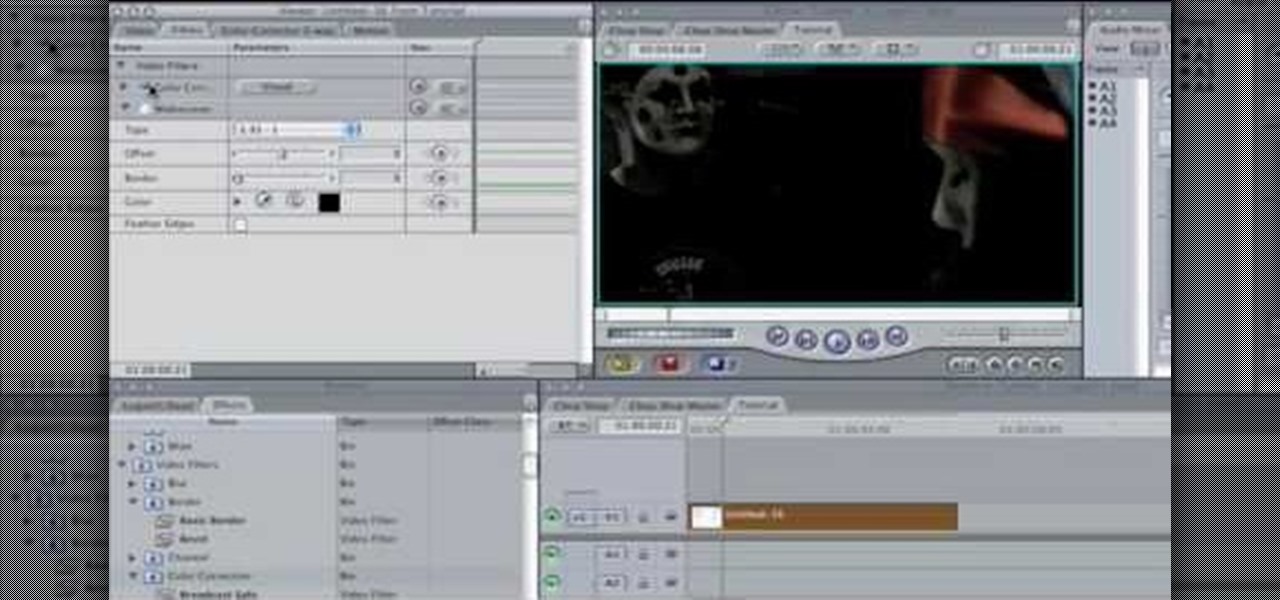
In this Software video tutorial you will learn how to apply the Film Look effect in Final Cut Pro. This is an advanced technique. This essentially takes a video and makes it look like a film. Select the video clip that you want to work with. Then select the ‘color corrector 3 way’ filter. This is under the ‘Effects’ tab. The key to any color correction is to crush the blacks. So, decrease the blacks with the slider. Then increase the whites as films have higher white level. Depending on the s...

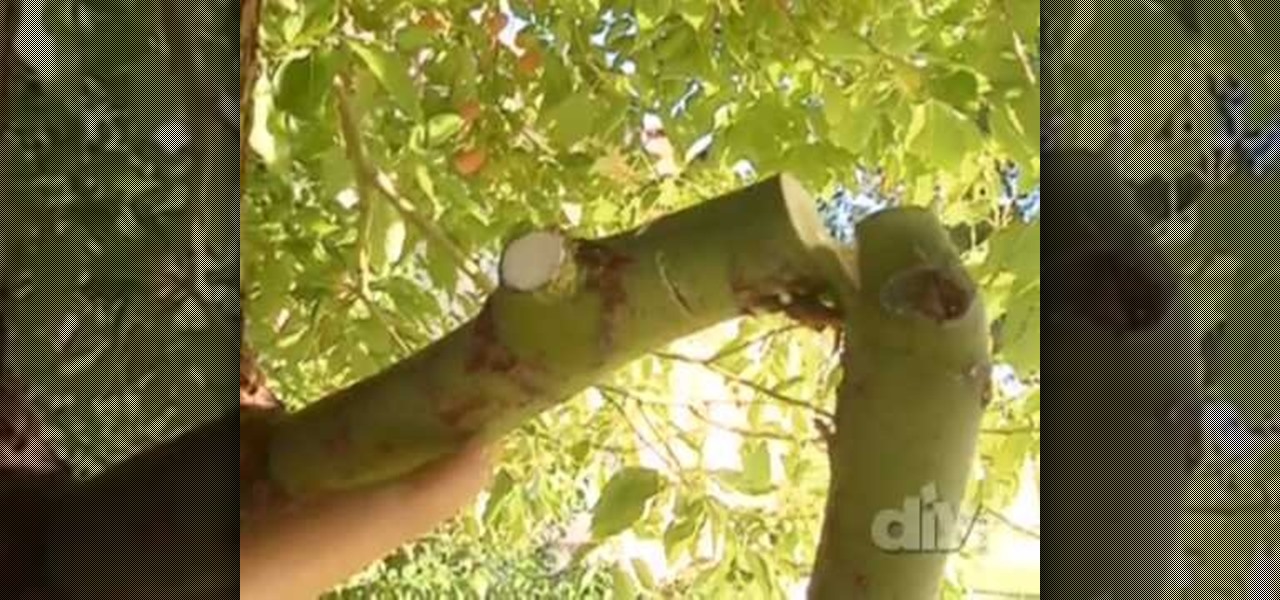
In this how-to video, you will learn how to prune a tree yourself. You start by using the four D's. The four d's include removing things that are dead, damaged, deformed, and dysfunctional. If the branch is brown and crispy, you can remove it. Remove any stubs as this will affect the tree over time. Get close to the branch collar when cutting. Do not cut it near the base if the branch is bigger than an inch in diameter, as this may damage the tree. Do this instead by cutting an under cut and ...

IShowU and Shiny White Box demonstrate how to create still image effects in Final Cut Express. First, place your scroll bar in the front of the timeline and click on the clip so that it is selected. Then, click on the motion tab in the preview window. Hit the keyframe button in the scale option. Create a keyframe also where you'd like the effect to stop on the clip. Adjust the line. When you now play the clip, the image's size will be adjusted as you have designated. You can use the same tech...

This video shows how a piece of glass can be cut using a pair of scissors into the shape that you want. First, use a permanent marker to draw the outline of the shape you want on the glass. Next, submerge the part of the glass that you want to cut into a basin of water. Using a pair of scissors, start cutting the general outline of the shape on the glass. After you are done with the general outline, you can then trim the glass with it still submerged in the basin of water. Remember to be care...

This video gives instructions on how to make a stencil from a manila folder and a number of additional supplies. Supplies required aside from the manila folder include an X-acto knife, a pencil, an eraser, and a cutting board, the cutting board and manila folder are recommended. First step to producing the stencil is to draw an image to serve as the stencil pattern. After making the design, cuts must be placed in the design known as 'Bridges', bridges are links in the design which holds the p...

This is a Fine Art video tutorial where you will learn how to cut plate glass. Measure the plate glass and make sure the measurements are correct. Then place the guide along the line of the cut, take your glass cutter and score along the edge of the guide. If the plate is small in size, take the base of the cutter and place it underneath the score mark and apply equal pressure with your hands on both sides of the score. The plate will snap with a nice clean cut. Another way to snap the glass ...

Maxine from Chew on That demonstrates how to cut a pineapple. You will need a cutting board, a serrated knife, and a vegetable peeler. A pineapple can be cut into either rings or chunks and there is a slightly different method for each one.

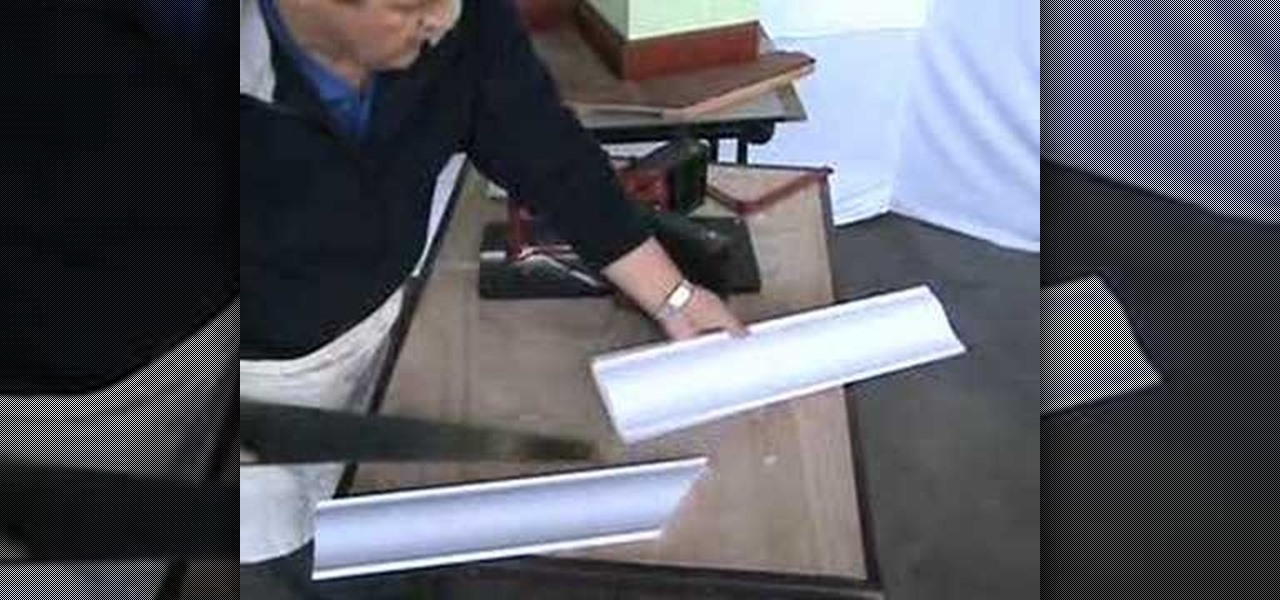
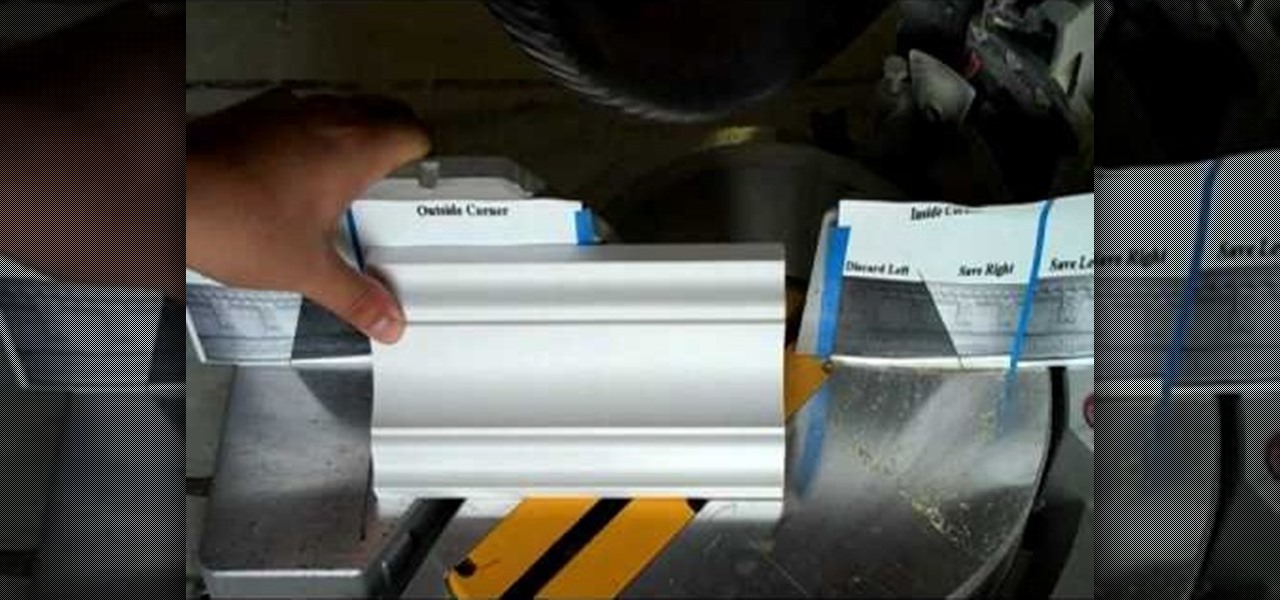
In this video tutorial, viewers learn how to cut a scarf joint in crown molding and coving. Scarf joint is simply two flat planes meeting on an angle relative to the axis of the stock being joined. Users will need a magic miter. The magic miter is a miter box for cutting miter joints at any angle in crown molding, baseboard, chair rails and more. Adjust the machine to a 45 degree angle and lock it. Put in the mold and cut it. Repeat the same step for the other side. This video will benefit th...

HelpVids user mel_bone teaches you how to cut, copy and paste to the clipboard in Microsoft Word 2007. Select the first paragraph by either triple clicking on it or selecting it with your mouse. Click "Copy" in the top ribbon or press "ctrl + c". Then use "Paste" or "ctrl + v". To cut a paragraph, select it and click "Cut" or press "ctrl + x". Using the paste options, you can only paste the text, without its formatting. By clicking the small icon next to the Clipboard tab, you will open the p...

This video, from Superior Building Supplies, demonstrates the proper technique for cutting the inside corners of crown molding. The presenter suggests downloading several diagrams from the Superior Building Supplies website. These diagrams show the correct position of the miter for several different cuts. When using a miter saw think of the fence as the ceiling and the table as the wall. Cuts for inside corners will always be made using 45 degree angles on your miter saw. Using these techniqu...

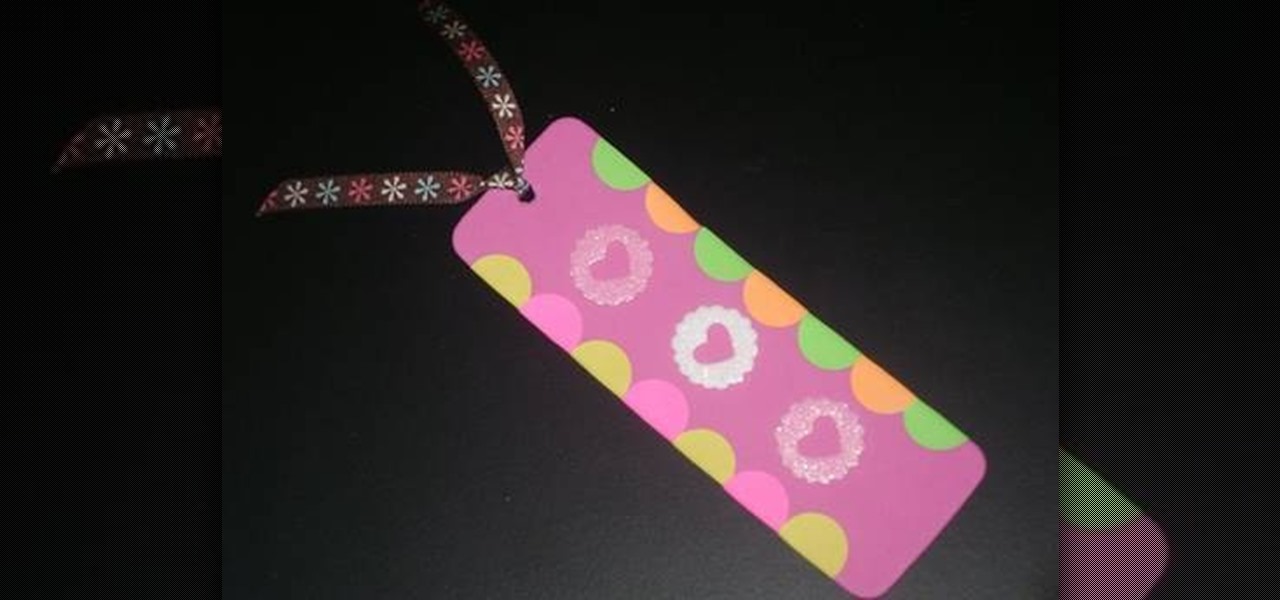
Take a colored foam and cut it to a bookmark shape. Mostly the bookmarks are tall rectangles. Decorate the foam bookmark using markers. Now design it for looking more beautiful. Use stickers to add additional decoration. Collect stickers from a craft store that offers a large variety of scrapbooking stickers. Cut the foam sheet and be sure to get along with the theme of the bookmark. For example, if a child drew horses on his bookmark, cut out horseshoe. Decorate the cut-out if necessary. Add...

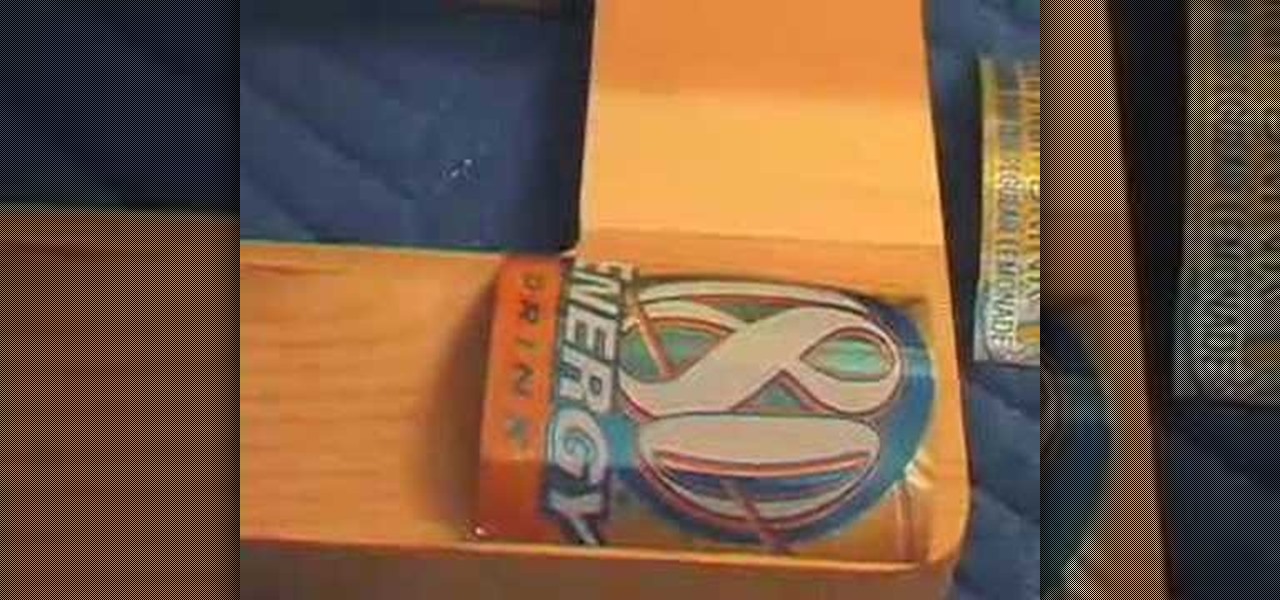
How to Make a Tin Frame with Soda Cans You don't have to throw out your old soda cans anymore. Laura and Claiborne show how to recycle old cans into a craft project that creates a frame. You will need a wooden frame, soda cans, 5/8 of an inch nails, tin snipers, and a glue gun. While cutting the cans, make sure to be careful to avoid cutting your hands. Smaller square scissors tend to be more effective at cutting the cans. When cutting, try to cut the can in a rectangular shape. Try to avoid ...

In this 60-second solutions video you will learn how to cut 100 calories form your diet. If you are able to cut calories 3 times a day, you will be cutting more than 2,000 calories every week. Here are some tips to cut 300 calories a day: Flavor your coffee with cinnamon and nutmeg instead of sugar. When you snack on nuts, have one less handful. At dinnertime, leave 3 to 4 bites of your entree.

In this video from C4Bimbos we learn how to cut a cantaloupe. This also works for a watermelon, she says. Slightly cut off each side - top and bottom - so that you can stand it up. Now you want to shave each side down. Using a sharp knife is the best way to go! Get all of the green part off. Now, turn it over to get the rest of the outside off. Now, cut it right in half. With a large spoon, scoop out all of the seeds and put them in a bowl. Cut the cantaloupe in perfect slices and you are rea...

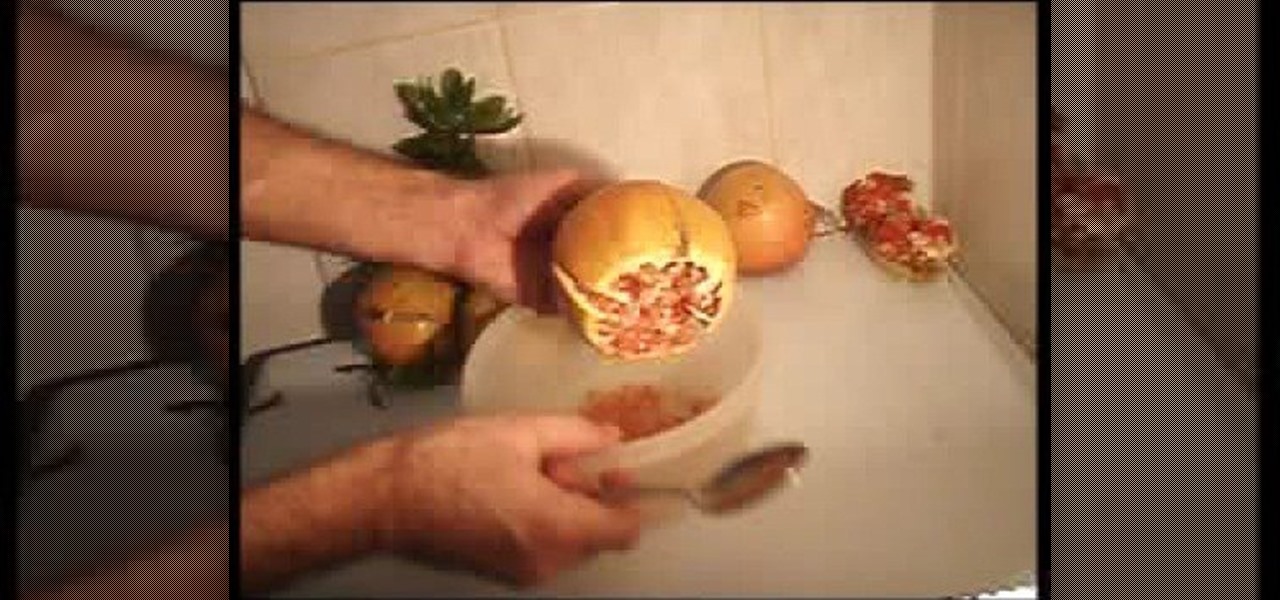
Hate the sticky mess of slicing into a pomegranate? Of course you do, but it doesn't have to be like that. By cutting off the top and making a few precision incisions down the outside, you can crack that sucker open and knock out all of those little arils into a bowl (or, just eat them straight out of the fruit).

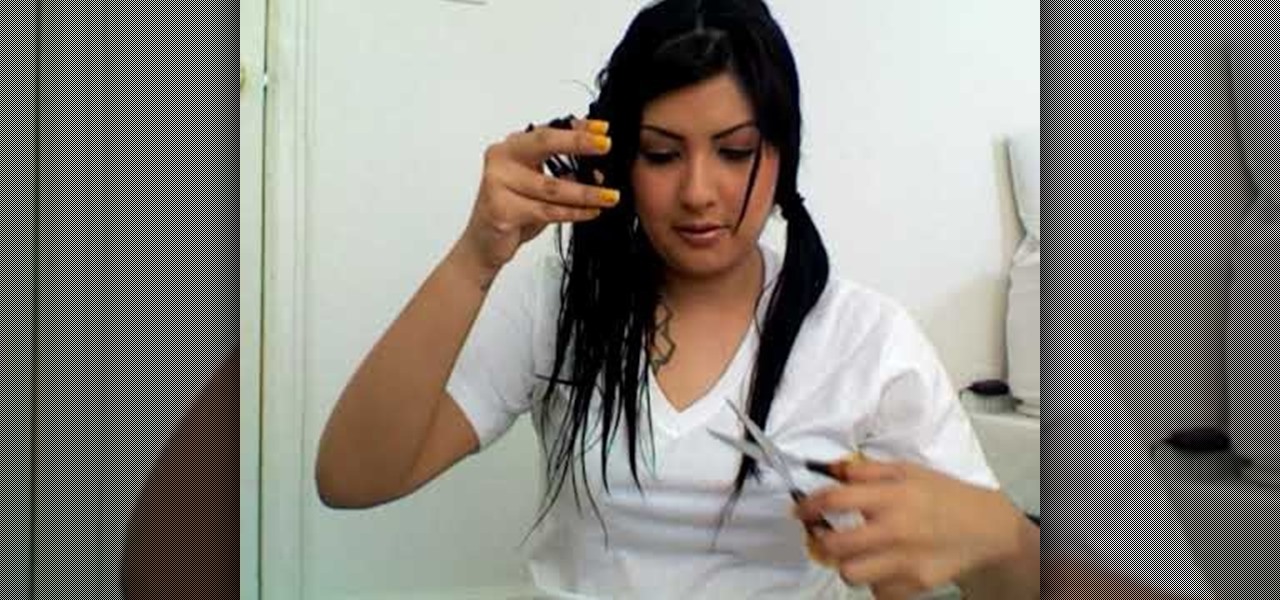
Kelly provides a great video on how other ladies can cut their own hair at home. Benefits of doing this is you will save money, don't need to deal with moody hairdressers, and you can cut your hair the way you want it. She provides great tips and steps through the process while Kelly is cutting her own hair. Following the steps in this video and practicing will ensure you can cut your own hair with confidence and not have to pay for an expensive haircut again!

Going to the salon to get bangs and layers can get expensive, so this video shows how one girl transformed her hair from all over length to having swooping bangs and face framing layers. To create this look, she separates out her hair and uses hair scissors to cut small pieces at a time to achieve the desired style. This is not aimed at being a how-to video, but this is a good one to watch if you are contemplating cutting your hair at home.

Don't have the money in your budget to go out to the salon? With this video you will be given tips to cut your own hair. Before you start, you will need elastic hair ties, a comb, and hair cutting scissors. This video will take you through a step-by-step demonstration from start to finish on how to do a hair cut at home. She'll show you how to section off your hair and start cutting away. As she says, the hardest part is knowing when to stop.

This video tutorial shows you how to wallpaper. 1. Set the mood: To wallpaper a room you need caffeine and music, it's best to get that first. 2. Prepare the space: Basically this step is set to gathering tools, patching holes, cleaning and sanding the walls, moving furniture and removing outlet and switch face plates. The tools are as follows: level, pencil, tape measure, step stool, wallpaper paste, paint tray, paint rollers and brushes, wall paper, squeegee, water bucket, sponge. utility k...

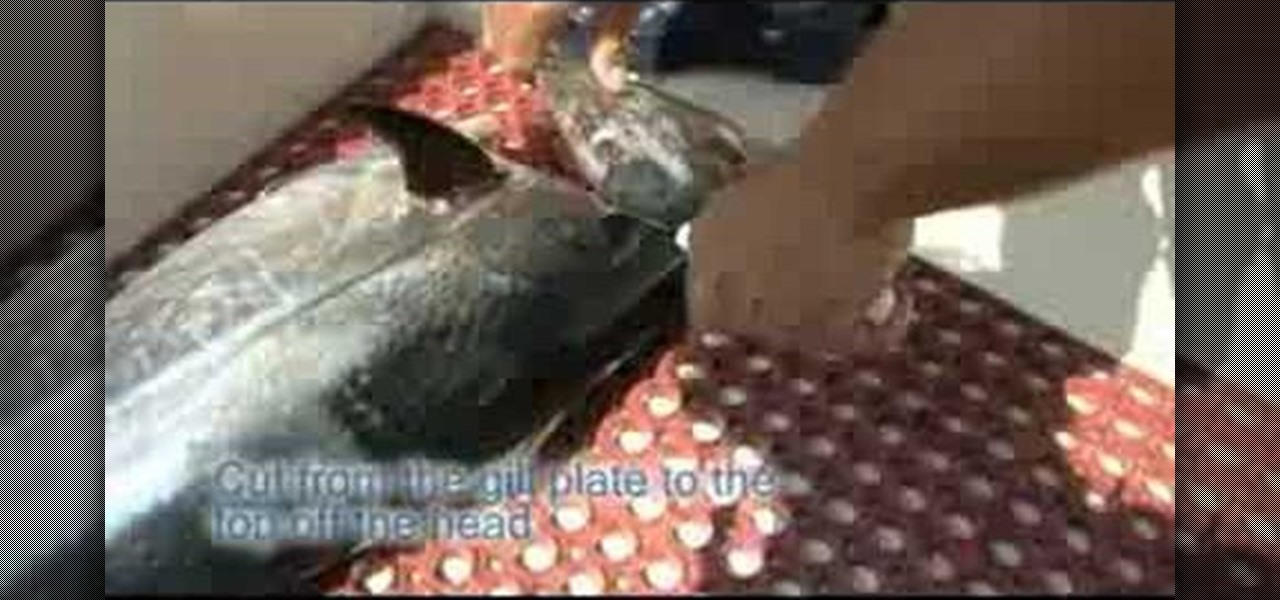
To prepare the tuna, start by cutting the jugular to bleed the tuna out. Cut right at the top of the gill plate and cut up toward the eyes. Do this on both sides of the tuna. Then, cut a circle around the anus to free up the guts. Go back to the gill plate and cut the membrane in the gut cavity on both sides and, with one swift pull, the head and guts come out of the tuna. Then, you will pack the core very tightly with ice to keep the core cool. It is now ready to go on the table for sushi.

1) First mark your intended cut lines - in this case follow a circular/spiral pattern. All cutting should be done with something like a pumpkin carver.


