Do you know what tools you need to make your favorite drink at home? On this episode of FoodGear you'll find out the five must have tools for you home bar. The most basic tools for the maximum number of cocktails you can make, you should think about getting a cocktail shaker, a strainer, a jigger (measuring cup), a juicer (with a built in strainer), and a corkscrew. Watch this video bartending tutorial and learn how to pick out essential bar tools.

Check out this video to learn how to use flintknapping to make flaked stone tools. Find an angle that is less than an ninety degree angle to strike the stone.

In this first of a two-part video tutorial on the Clone Stamp tool in Photoshop. Learn to use the "Alt" key to sample. Beside removing blemishes, you will learn that you could use Clone Stamp tool to create objects in your image.

Do you aspire to one day edit video on your Apple computer with Final Cut Pro X? Until then, while all you've got is iMovie, make the most of it! Watch this video to learn how to make iMovie look like FCP X.
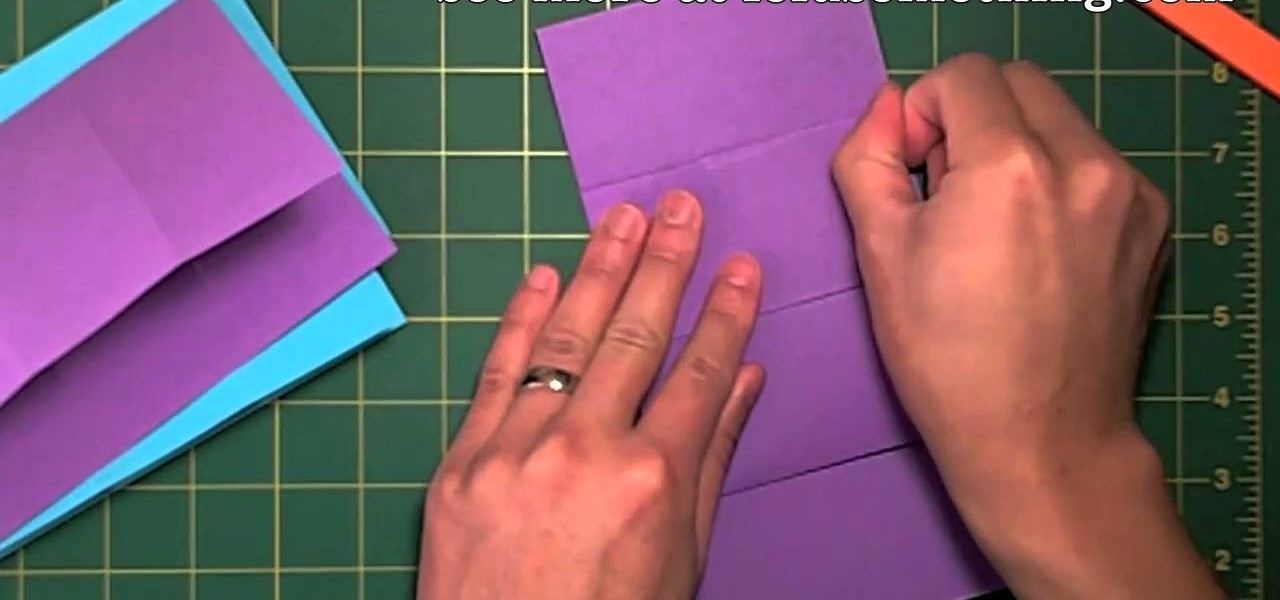
Origami infinite flippers are super cool creations, but some methods can require up to 24 sheets of paper. This method uses only 4 sheets of paper, but does require some cutting and pasting. You'll need 4 sheets of paper, scissors and glue. Glue, snip, fold and flip!

This tutorial covers the basics of manipulating audio in Final Cut Pro by using keyframes. Add fade outs, fade ins, adjust the volume up or down, and even edit out the sounds of breathing or other small flaws in sound.

In this video, we learn how to recycle plastic bottles to make hanging art. First, cut the bottom off of the bottle and then cut it in half. Then, cut the other end off of the bottle as well. After this, you can grab the bottle and start to paint your choice of color all over it. Use different colors and transition and blend with them. Lay these on one side to dry when you are finished. When you're done with these and they are completely dry, you can use them to decorate around your house. Th...

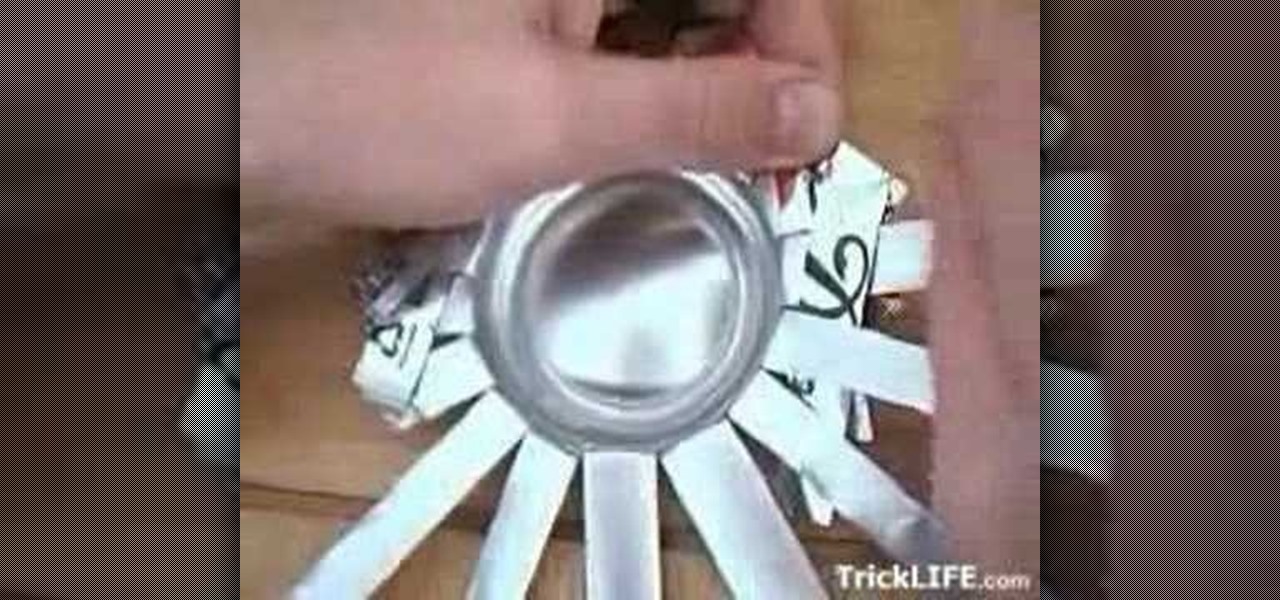
In this tutorial, we learn how to recycle an empty can into an ashtray. First, take your can and cut the top off. Then, cut 16 flaps into the can, not cutting the bottom off. Now, flatten them and fold them each into each other. Continue to do this until you have gone all around the can and you have a sort of star shape that has been make. Flatten all of the bends on the tray and then push the bottom of the can in. Now you can use this as a decorative ashtray without having to pay for it, enjoy!

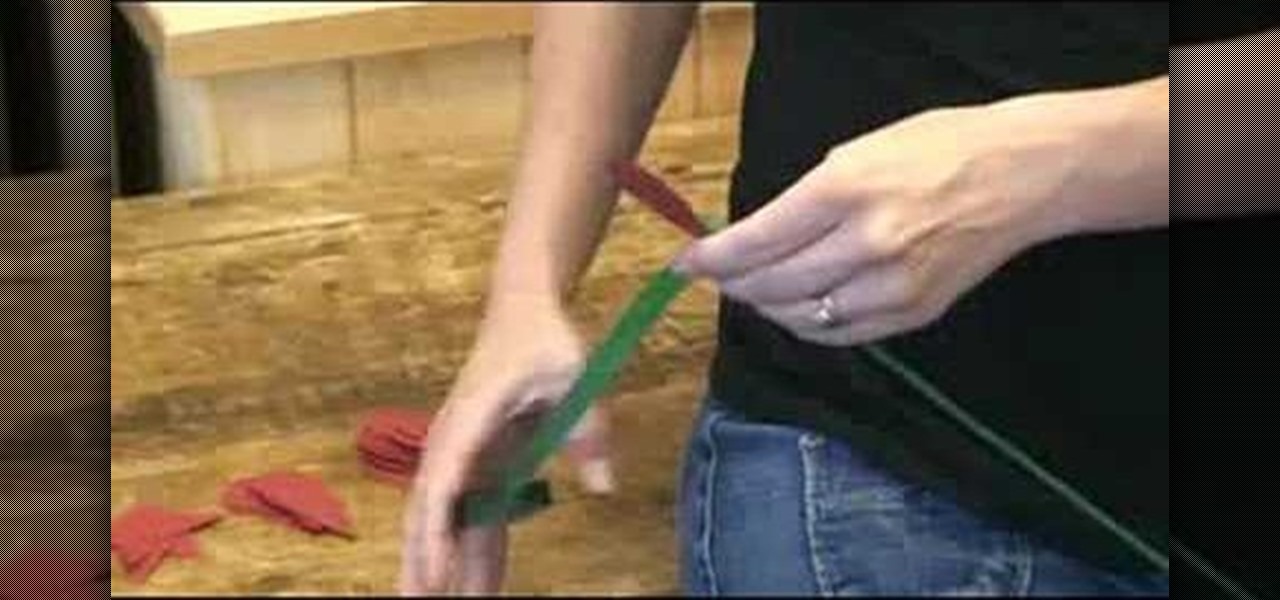
In this video, we learn how to make an ornate paper rose. First, grab your paper and some wire. Start by wrapping six of the wires with floral tape all the way around. Next, use your scissors and cut out 8 teardrop shapes from the paper. Then, cut 16 more in different sizes. From here, wrap the petals around the stem using the floral tape. Start in the very middle of the flower and then add on petals until you have created the entire rose. To finish this, you will make the leaf. Cut out the l...

This tutorial shows you how to use the deco tool available to users of Adobe Flash CS5. The deco tool can create both static and animated images, and this tutorial demonstrates how you can use the deco tool to quickly create a skyline picture in Adobe Flash.

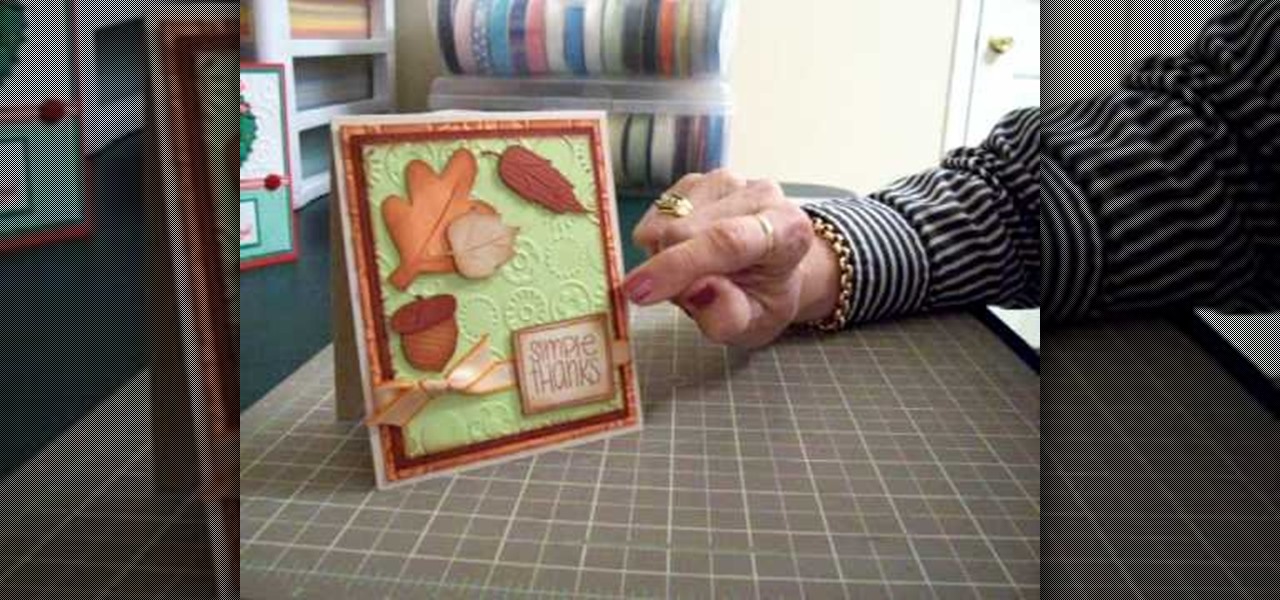
In this video, we learn how to make a thank you card using Cricut Doodle Charms and SYI. The card can be the size you choose. Layer orange, green, and brown mats, running the green and orange through the Cuttlebug using blue dots to give it texture. After this, ink around the edges with brown so the embossing shows up. Use the Cricut to cut the leaves and an acorn, using the Doodle Charms cartridge for one of the leaves cut at 2 1/4". You can also use the Stretch Your Imagination cartridge fo...

In order to make the side step Christmas card, using Cricut, you will need the following: card stock, cutter/trimmer, adhesive, rhinestone, ribbon, and a bone folder.

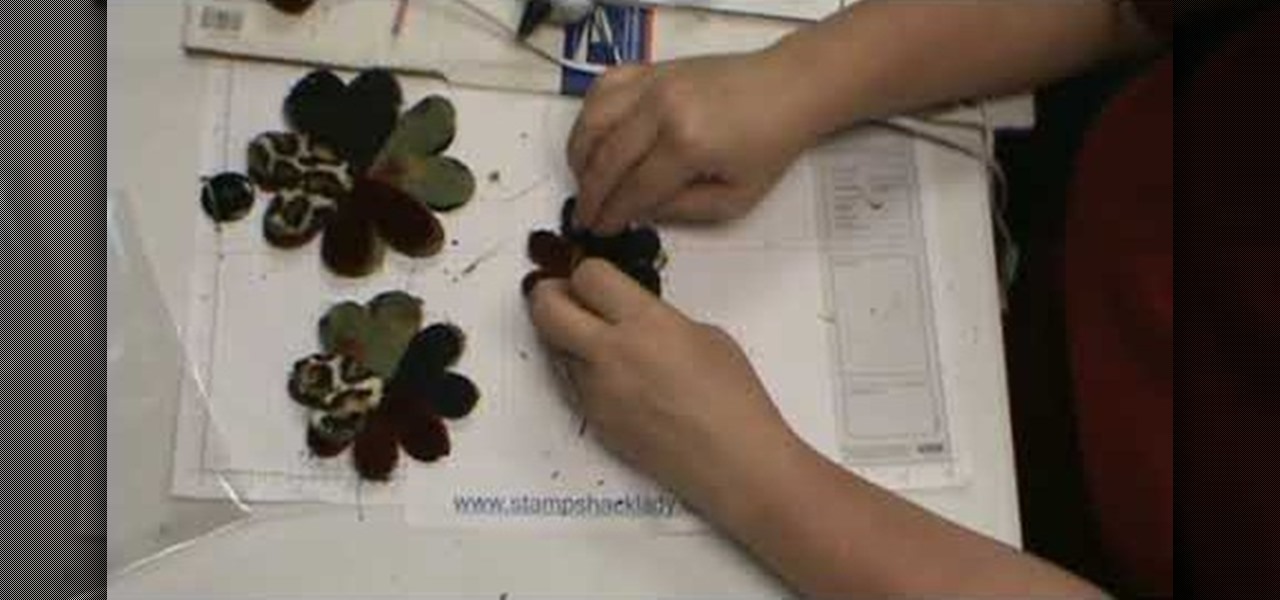
In this video, we learn how to assemble a flower-fold die-cut with a glue gun. First, cut out different fabrics in the flower shape. Put them all into different piles according to their sizes. After this, put hot glue into the middle of the fabric and fold the flowers in half. When finished, put the pieces together with hot glue going in a circle. Continue to do this with all the different sizes. When you are done, all the colors of fabrics should show, then place a button in the middle with ...

In this tutorial, we learn how to make a Halloween card using Cricut Paper Doll. First, cut a skeleton out of the PaperDoll Dressup package, then cut it out two more times. Glue these together to make the skeleton thicker, so it pops out of the page. You can place this next to a paper sentiment that says "bone to be wild", with a black card stock underneath it. You can use die cuts with a view papers to make it look more interesting. Use any other type of decorations you like to decorate your...

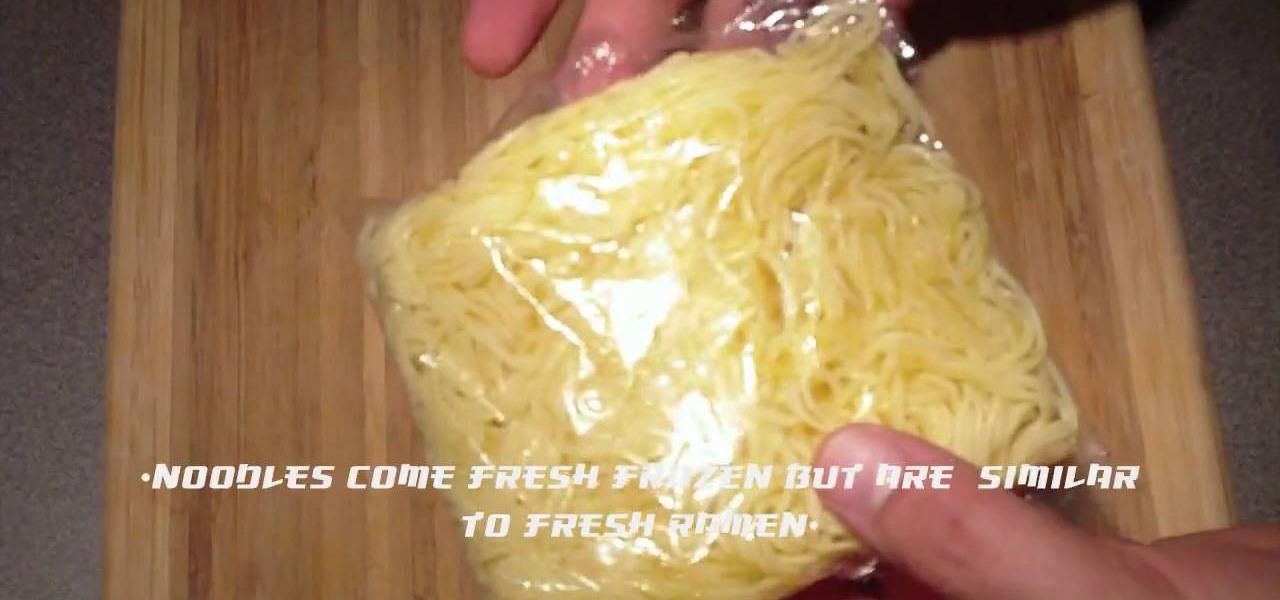
In this tutorial, we learn how to make Japanese beef yakisoba noodle dish. First, cut cabbage leaves into strips, then take the strips and cut into 1 inch pieces. After this, use a handful of bean sprouts and peel a half of a carrot stick, then chop into thin strips. Next, cut a sirloin steak into thin strips and then find yakisoba noodles and place them on a pan. Now, smash a garlic and add it in with the noodles. Fry the noodles on both sides, then add in sesame oil and sautŽ the meat until...

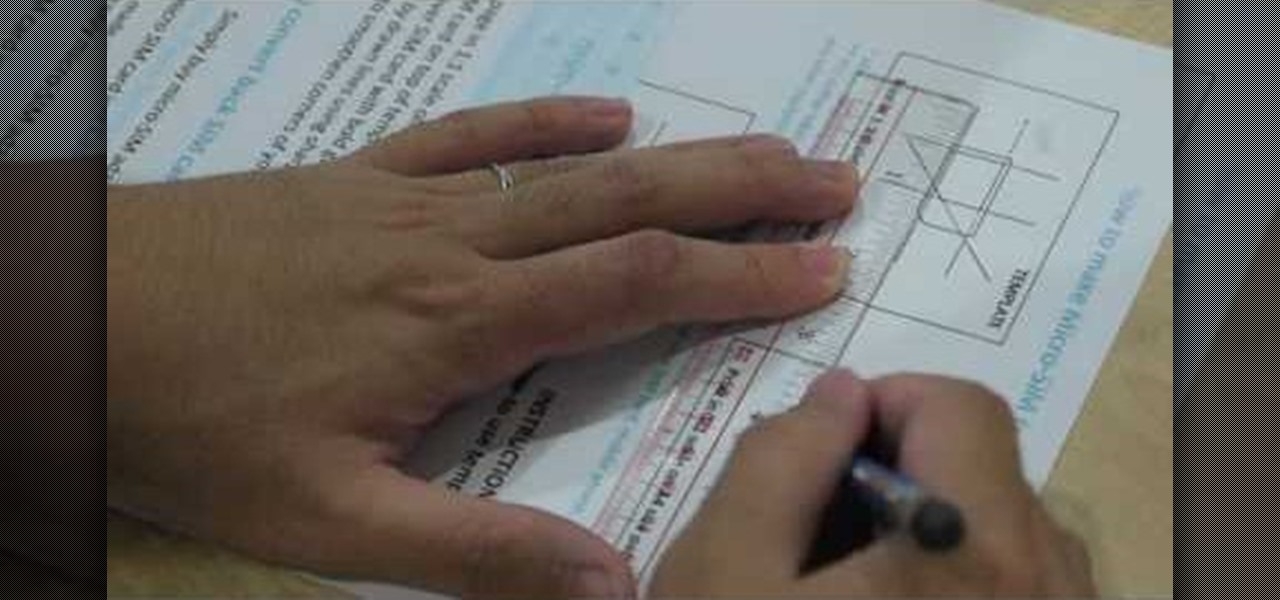
In this clip, learn how to trade phones and iPads back and forth by customizing your SIM card. This video will walk you through how to size and cut your SIM into the right shape for different devices. By customizing your chip, you will be able to move your data from one device to another with no problem. Use your old 3G SIM in your new iPhone 4 with this awesome hack.

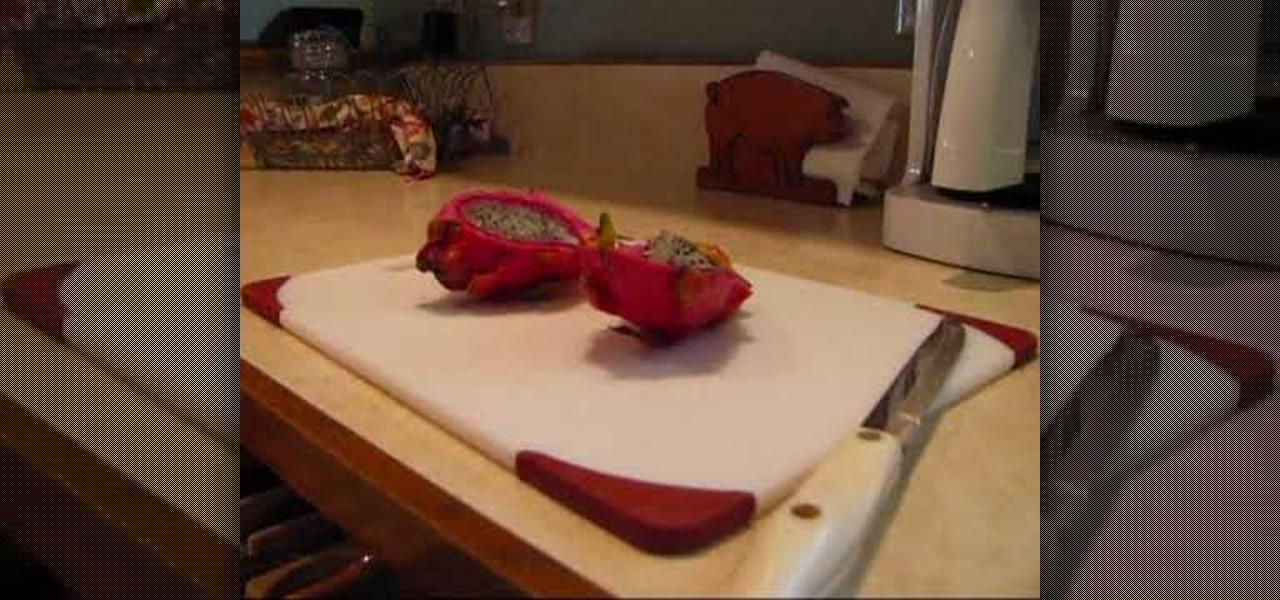
Interested in cutting up a dragon fruit? With the proper technique, it's easier than you'd think. So easy, in fact, that this free video cooking lesson can present a complete overview of the process in about two minutes. For more information, including the full recipe, and to get cutting up your own pitahayas, watch this video guide.

Have you ever wondered what you would look like with bangs but don't want to cut your hair? Check out this tutorial, then! In this video, Judy will show you how to create fake fringe that looks totally real so you can try out a new look without a big commitment. Have fun and see how many compliments you get on your new bangin' bangs!

Everyone's hair is different and there are styles for all hair types. In this tutorial, learn how to cut short, dark hair so that it has some shape and body. This cut will really make your beautiful face stand out and get your hair ready for any dying or styling you plan on doing in the future. Have fun with you hair with this video from professional hairstylist, Michael.

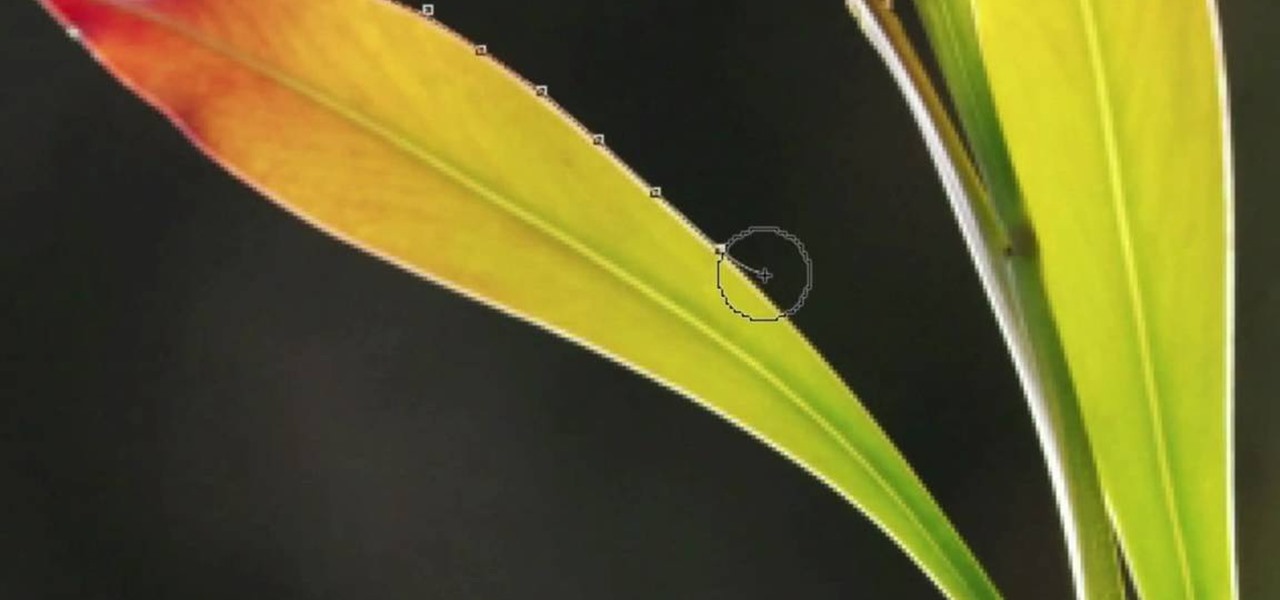
Meet Photoshop's Magnetic Lasso Tool! The Magnetic Lasso Tool is probably the best out of three Lasso tools for it allows precise and quick freehand selections. hether you're new to Adobe's popular image editing software or simply looking to pick up a few new tips and tricks, you're sure to benefit from this free video tutorial. For more information, including a thorough overview of the magnetic lasso tool, watch this graphic designer's guide.

Meet the Adobe Photoshop pen tool! Whether you're new to Adobe's popular image editing software or simply looking to pick up a few new tips and tricks, you're sure to benefit from this free video tutorial, which presents a complete overview of the Photoshop and Illustrator pen tools. For more information, and to get started using the pen tool yourself, watch this graphic designer's guide.

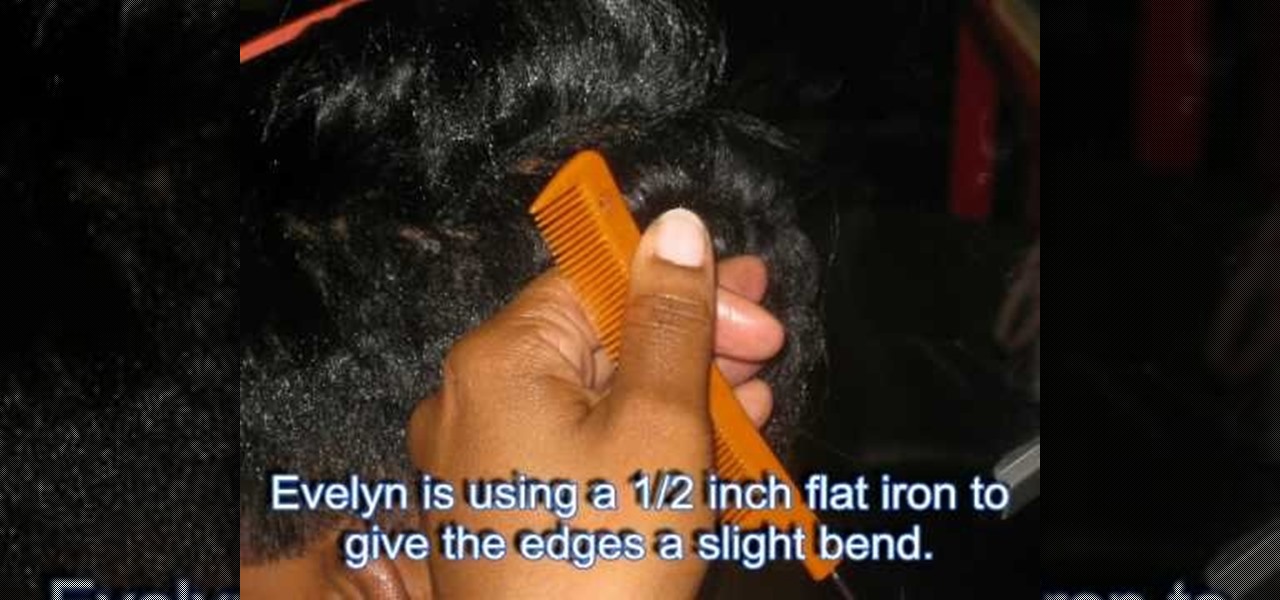
Rihanna is quite the trendsetter. Check out this tutorial from Evelyn-Mitchell Irby and learn how to create, cut and style your 'do just like the princess of pop. This video takes you step by step for African American hair - from extensions to cutting to heat styling.

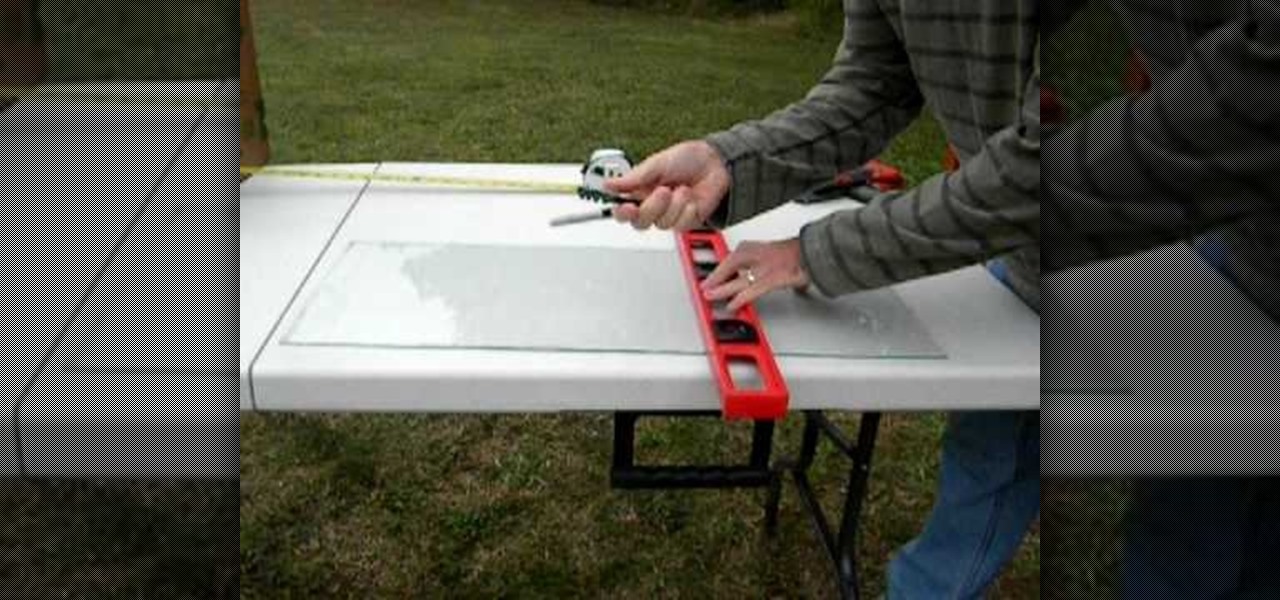
When you begin a hobby like custom framing or any other type of art involving glass, you will need to know how to safely cut and shape glass without breaking it.

The drawing tools in flash aren't always the most intuitive to newcomers. In this tutorial, Ralf will show you how to use the basic drawing tools in flash. You learn the difference between Merge Shapes and Drawn Objects, which are all shapes of the same look and feel with the exception that one can be more easily manipulated and the other. You'll learn how to use this selection and sub selection tools to select various objects on the flash stage. You also see how to use the oval and rectangle...

In this how to video, you will learn how to make the finishing edges on pieces of ribbons. The hardest part is getting the spikes even on both sides. Fold up the ribbon so the two ends meet. If the spike is just a single angle, tape the edges at the top. If the spike has a center to it, bring the ends together and fold it in half. Take a piece of tape and place it around the ribbon ends. This will hold them in place for when you make the cut. If you want to make an angle cut, take your scisso...

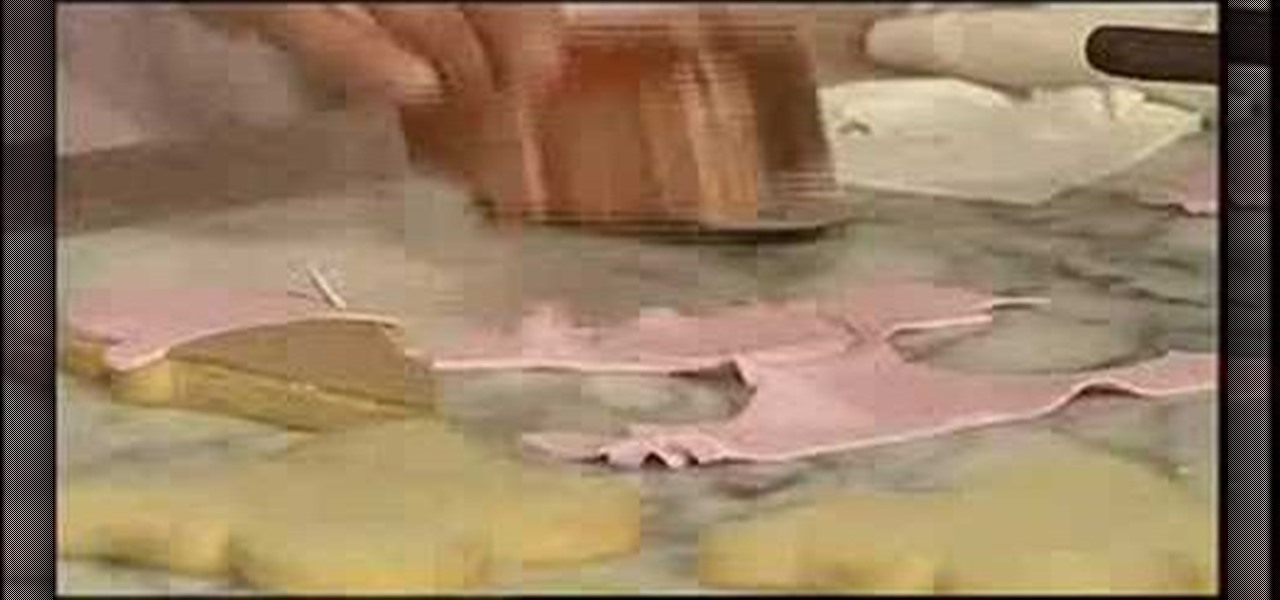
This video is a demonstration of how to decorate cut-out cookies to make pretty butterflies and ice cream cones. Use any cut-out cookie recipe that holds its shape well. First spread a little buttercream frosting on the cookie. This will serve as a glue for rolled fondant. Use the same cookie cutter that you used to cut the cookie out, and cut out a piece of rolled fondant and place it on the cookie. For the ice cream cone cookies, she uses different colors for the cone and the ice cream, and...

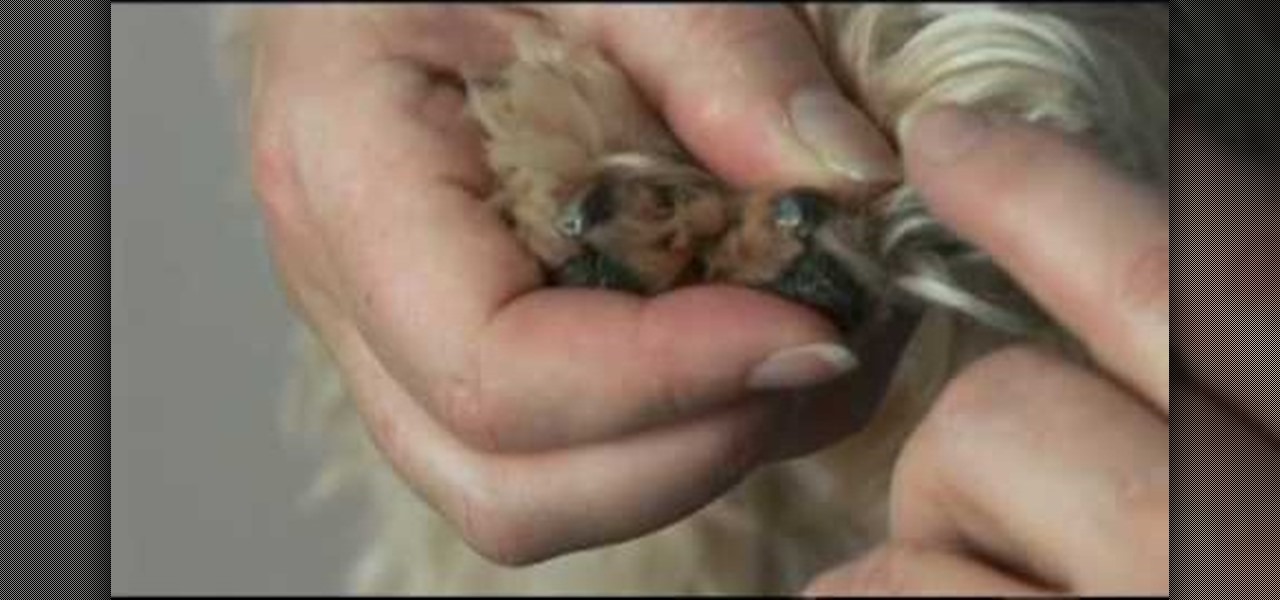
When it comes to trimming your dog’s toenails, there are several instruments you can use. In this video, Patrice introduces you to the toenail clipper and the toenail grinder. To begin trimming your dog’s nails, pull back the hair surrounding the toenails so you can get a better look at the nails. Then separate the toes so you can work with one toe at a time. Using a toenail clipper, cut the nail enough to where you can see the jelly-like substance. You will know when you haven’t cut en...

In order to build your own mini fridge, you will need the following supplies: a heatsink, a cardboard box, a petier unit, popsicle sticks, standoffs, an AC adapter, scissors, and on/off switch.

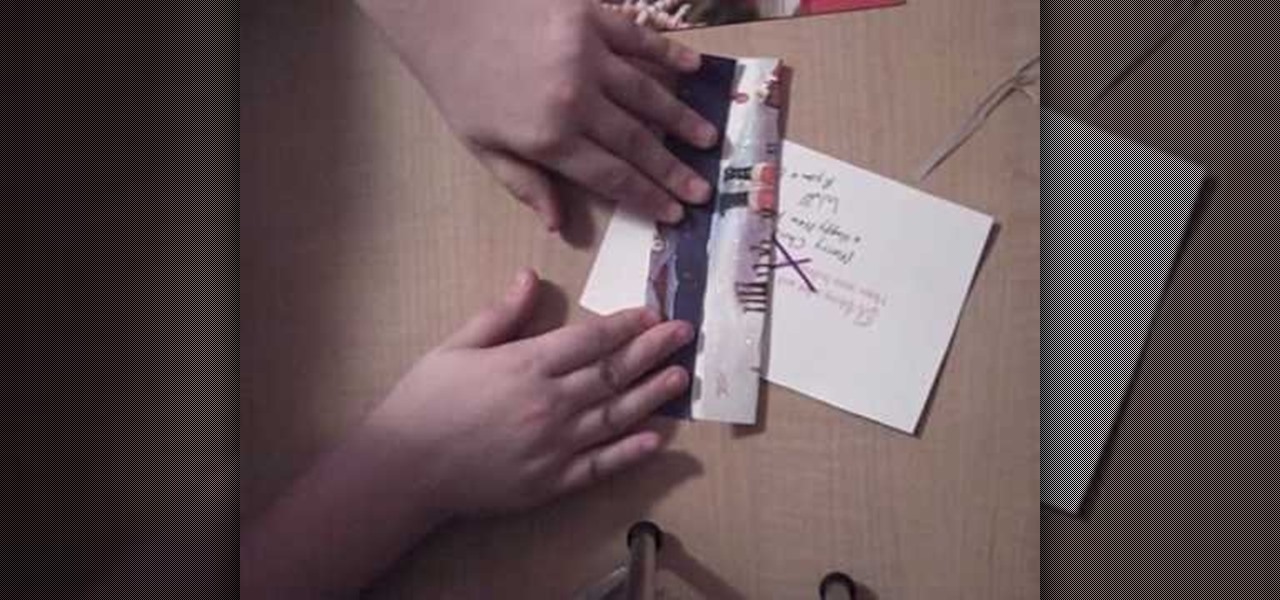
This video shows us how to make a homemade jewellery box out of a Christmas card.For that you need a pair of scissors,a tape,a christmas card,a marker and another card to draw your X with.First take the card and cut it straight down the middle into two pieces.Now take the back side piece of the card and cut off 1/4 of an inch from the left and the bottom portions.This will help to fit the cards together.Next use the extra card and trace an X on both sides of your card piece,in the middle.Take...

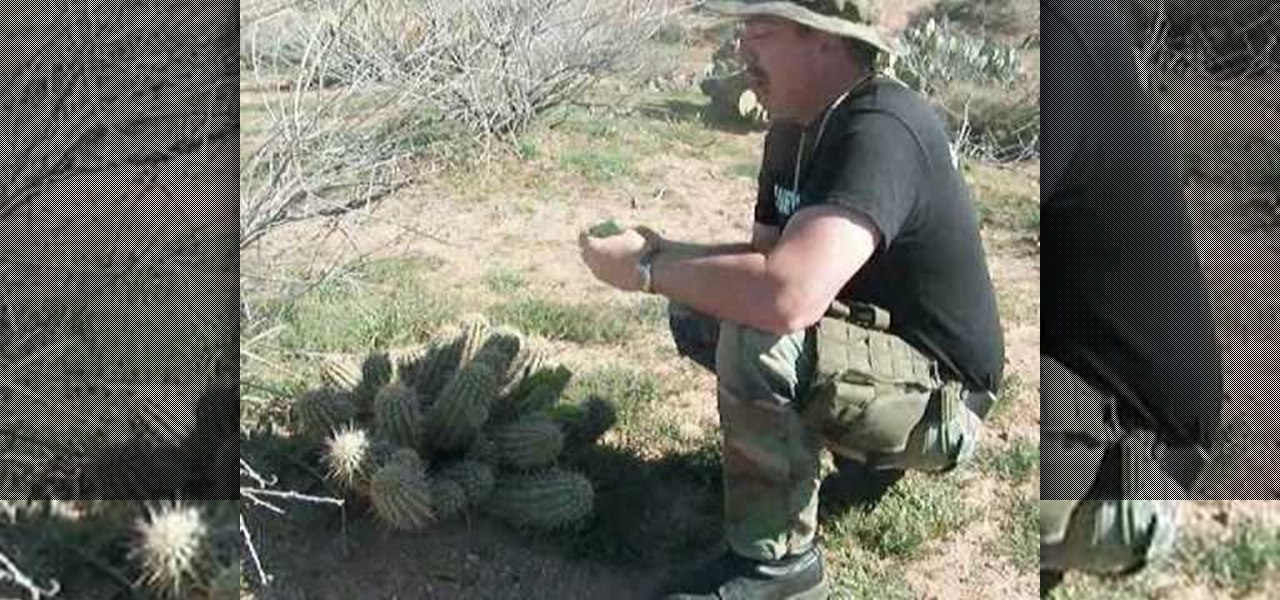
John Campbell demonstrates how to eat and extract water from a cactus. You can eat a cactus from the hedgehog plant family. First, cut off the top of the cactus and skin down the sides, cutting off the cactus spines. Cutting the cactus will not hurt it because it can heal itself. The cactus meat will be like a sticky cucumber. Try to avoid the central core because it is stringy but you can eat the cactus meat. Wrap the meat in a bandana, squish it and wring it out to extract the water from th...

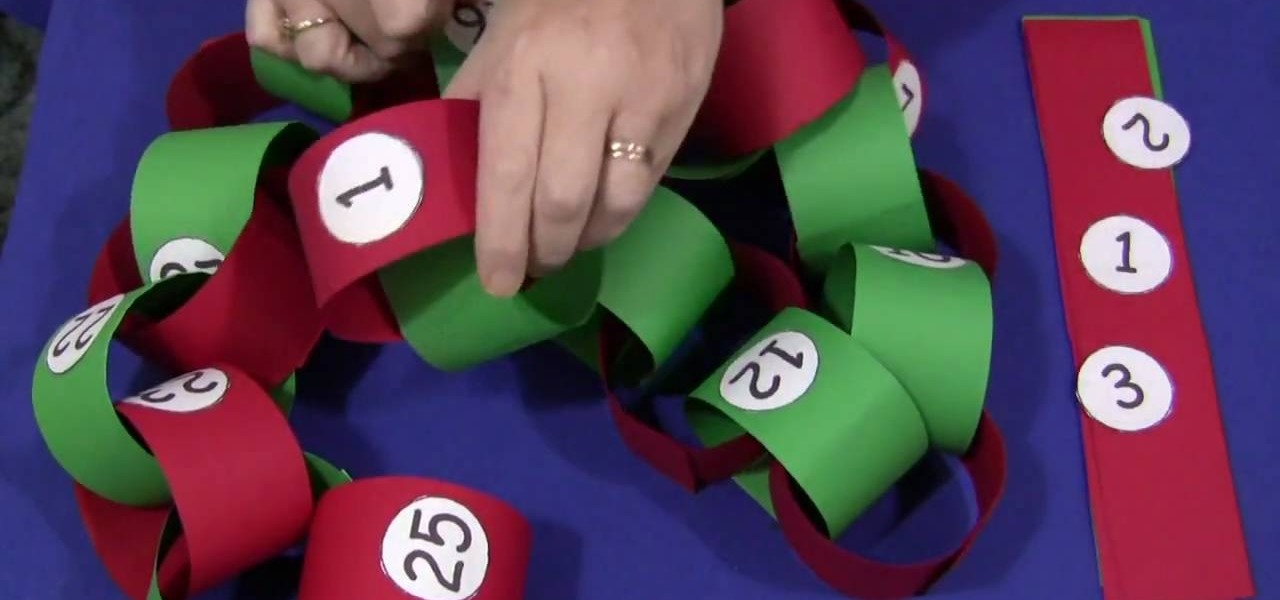
In this video tutorial, viewers learn how to make a Christmas countdown chain. The materials required for this craft are: construction paper, paper cut into small circles, glue and marker (optional). Begin by cutting the green and red construction paper into even strips. Users may choose to write out the numbers or print them out onto paper. Then cut out the numbers into small circles and glue them in the middle of the strips. Alternate the color of the strips each day. Then put the edges of ...

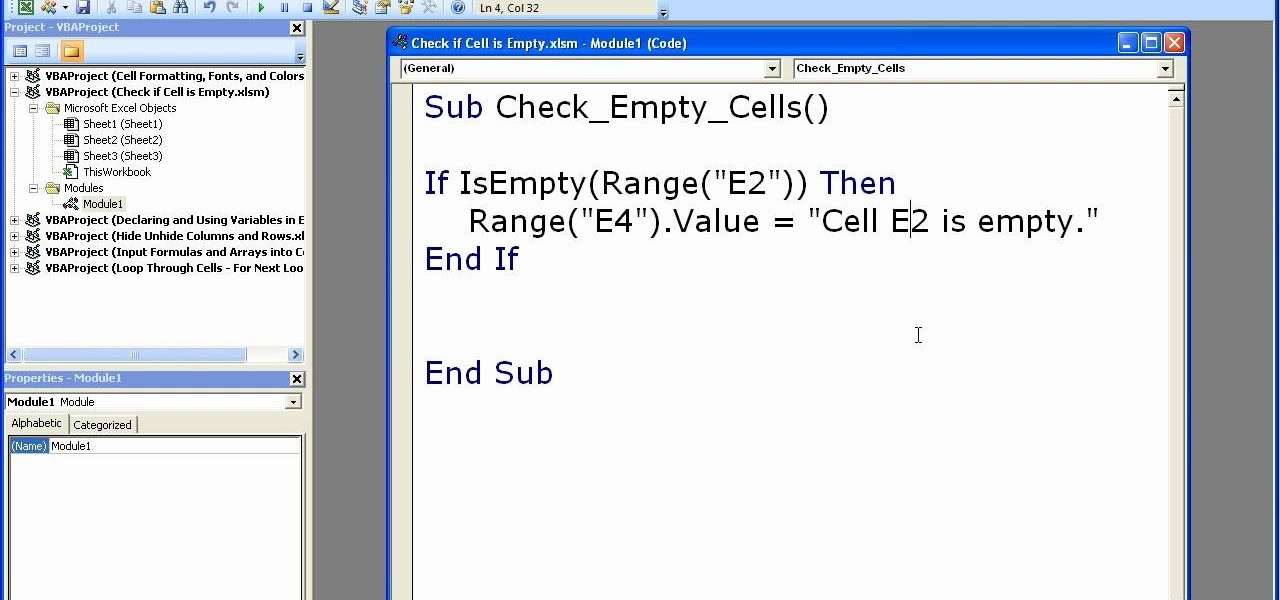
Microsoft Excel is used to store and work on data by storing them in rows and columns in tables. You can use a macros to check if a cell is empty. To do this you have to know two short cuts. The first is the VBA Window short cut which is Alt + F11 and the other one is View Macros short cut which is Alt + F8. So open an Excel spread sheet and insert some data into a small table. Now create a macro for this tutorial. You can use and IsEmpty() functions to check if a cell is empty. Use this func...

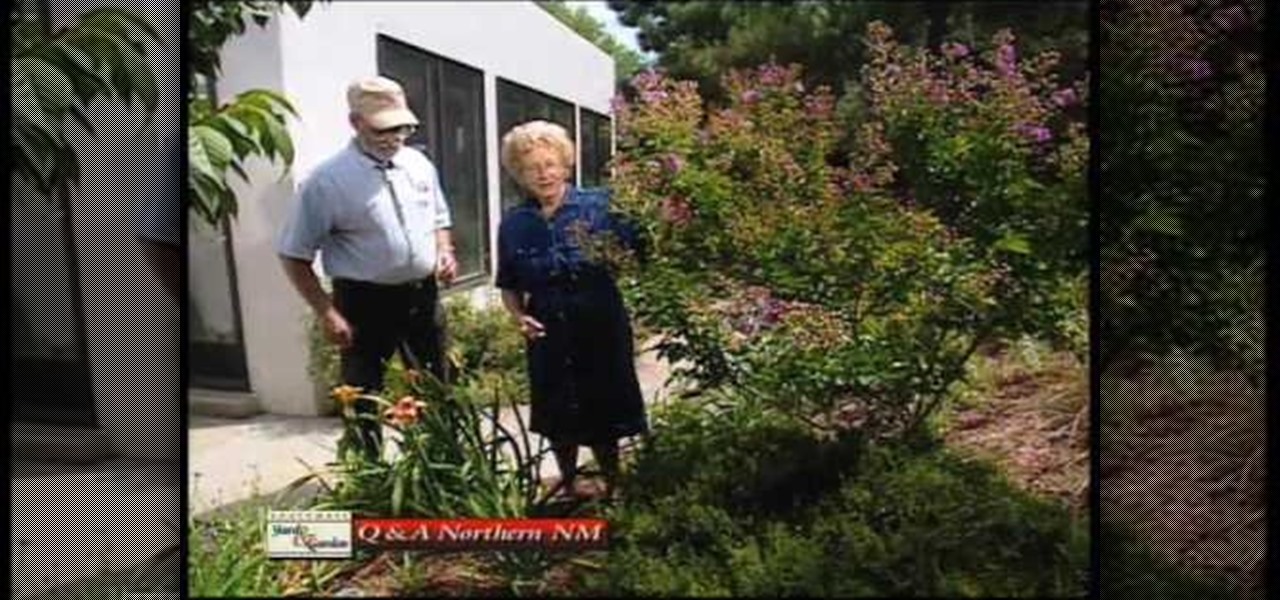
Lillis only flower for one day. They look ugly when dead you can use your finger nail to pop them off. Trim your trees often. Pull your dead leaves. Heat is not good for your plants. When your cutting you crab trees back go down a few branches of leaves before you cut. Yellow breasted sap suckers are not good for your trees. They also cut in a straight line. Crab apple trees have barks that naturally peel off, there is nothing wrong with that tree. Just watch out for the bugs because they can...

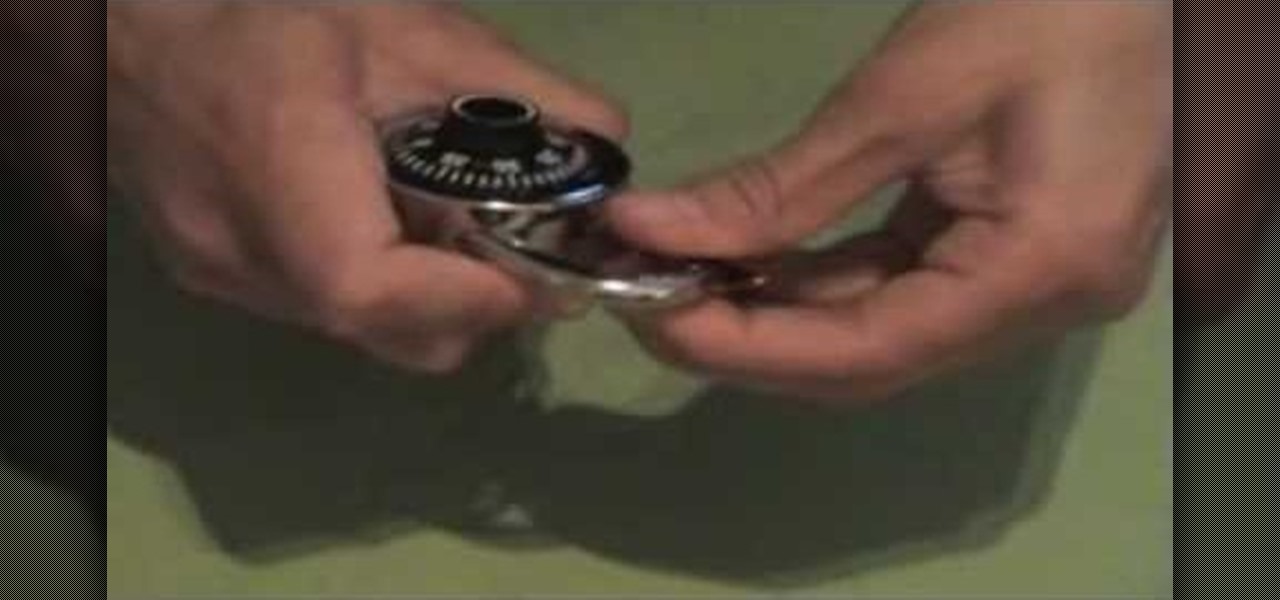
This is episode 3 of the series. You will learn how to hack a basic combination lock. Using some basic household items such as a can of soda, scissors and the lock. He demonstrates and takes you through 7 steps, such as cutting the top of the can off, cutting a rectangle size of the aluminum from the can, cut some lines and shapes into it, fold the tops inward and back. He then uses this contraption on the combination lock arm to slip the aluminum piece down into the lock to release the lock....

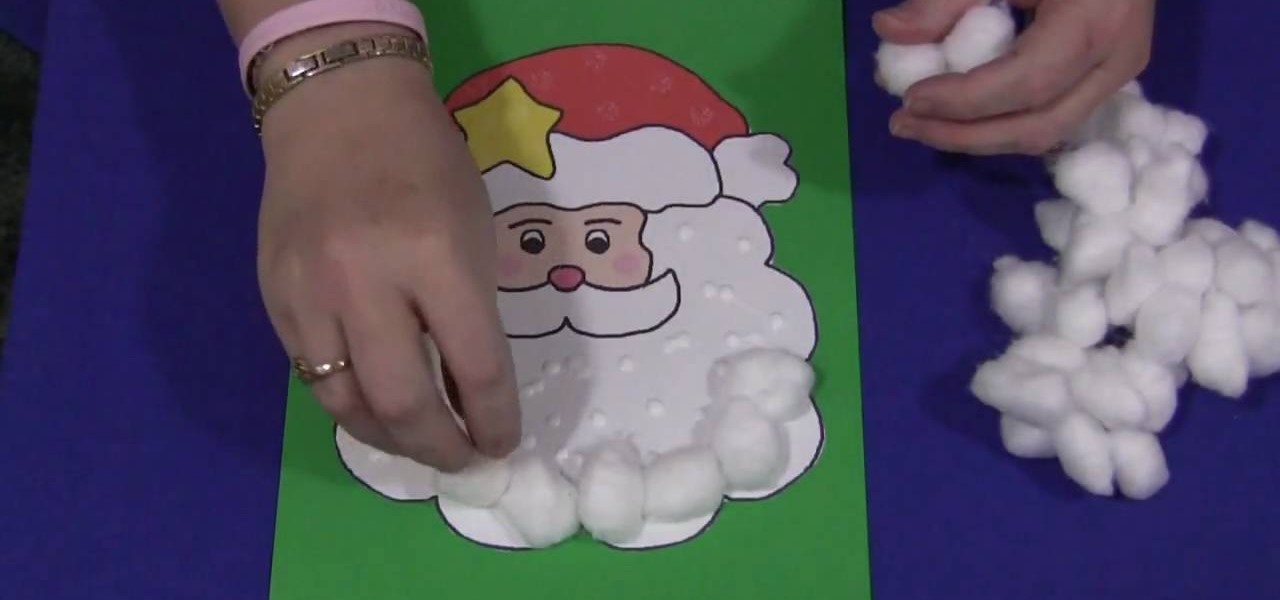
This is a great activity for children to develop some fine motor skills. The blueprints of the Santa can be found on the website. Just print it out and depending on how young the children are they can cut out the Santa or you can cut out the Santa. With the Santa cut out glue him on a piece of construction paper so there is a border. Use some glue and place little dots all round the beard of Santa. Have the children separate the cottons balls from each other. Now the kids should place one cot...

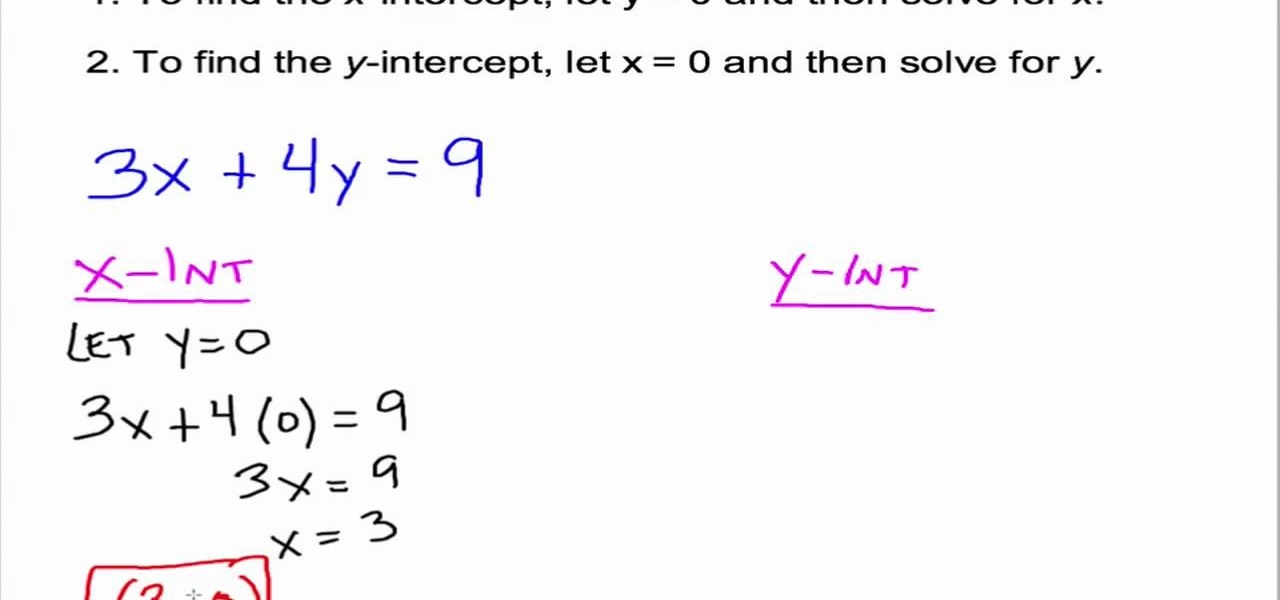
A straight line can be represented in the form of a liner equation containing two variables x and y. When the equation is graphed on a pair of coordinate axes, the line passes cut through the axes in two points. The point where the line cuts the x-axes is called as its x coordinate and the point where the line cuts the y-axes is called as its y coordinate. In this way a line has x-intercept and y-intercept. The x-intercept of a line lies on x axes and is in the form (a,0). Similarly the y-int...

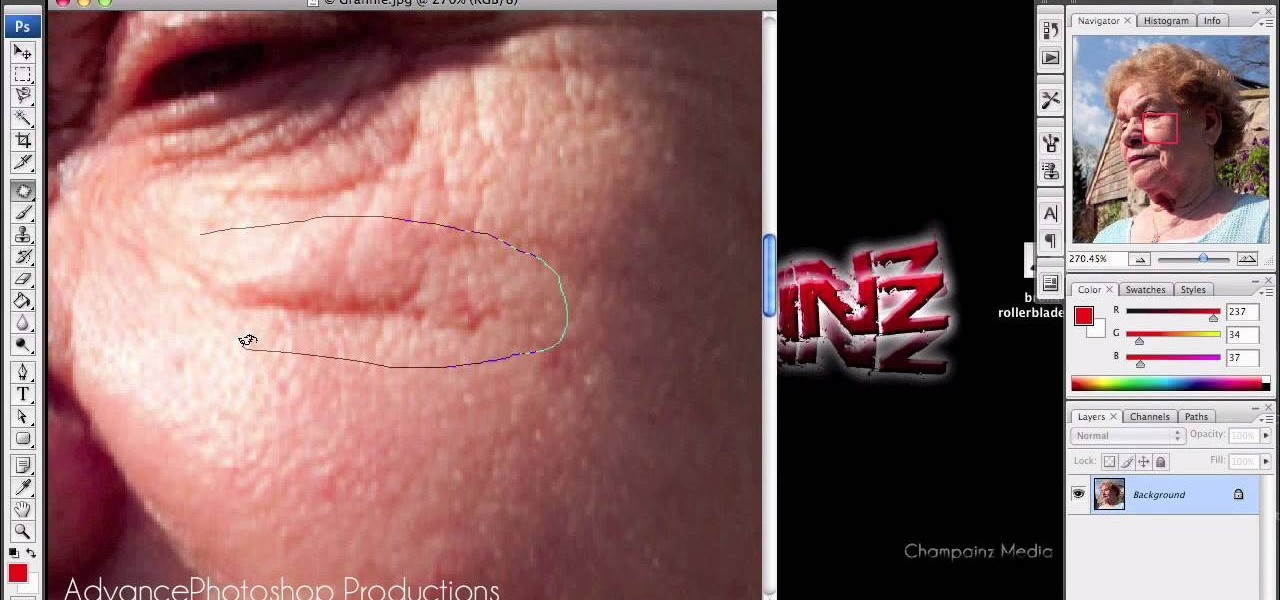
In this video, we are given ways to clean up an image, or remove unwanted objects in an image using Adobe Photoshop. The first tool that we are shown is the clone stamp tool. It allows you to clone a certain sample of an image, for you to use to paint over the object in the image you don't want anymore. In the video, the narrator shows us how to seamlessly take a man out of an outdoor setting. The next tool that we are shown is called the patch tool. In the video, the narrator uses the patch ...

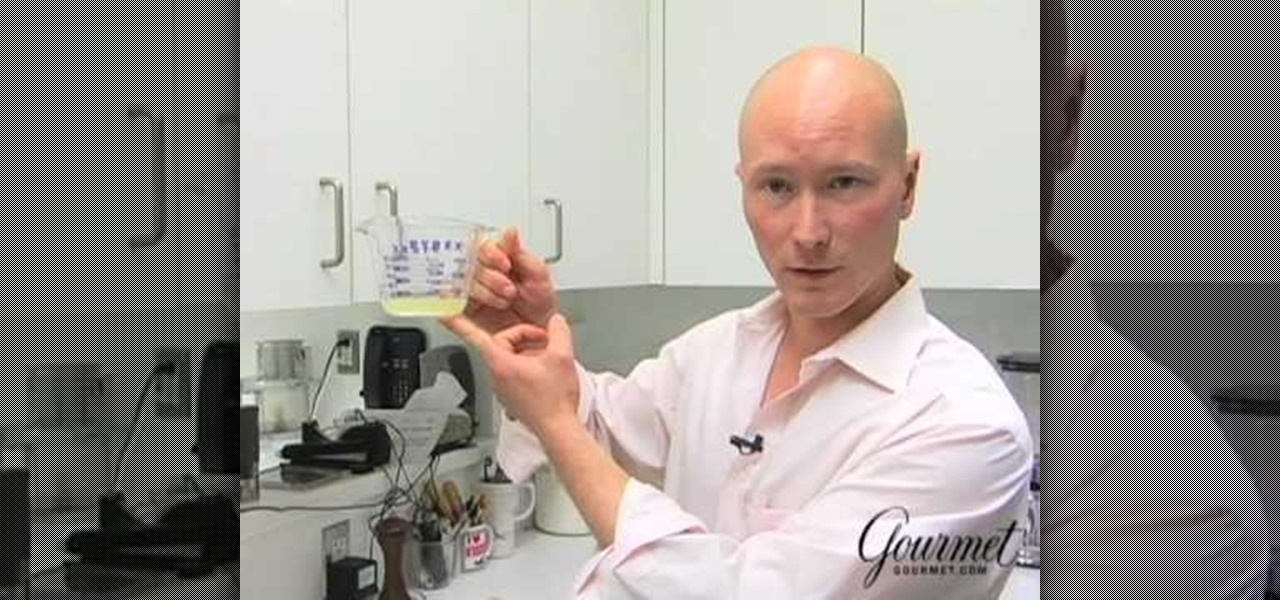
Food editor Ian Knauer shows you how to maximize the juicing potential of your citrus fruits. Follow along and learn how.

In this video tutorial, viewers learn how to make a parchment cone for cake decorating. A parchment cone is basically the same as a pastry bag. Begin by cutting out a piece of parchment paper. It doesn't matter the size of the parchment but it needs to be flat. Using a ruler and a knife, cut the paper diagonally. Take the longer end and curl it inside. Take the other end and wrap it around to form a cone. Fold the top to secure the cone. Once the cream is in the cone, roll the top and make a ...

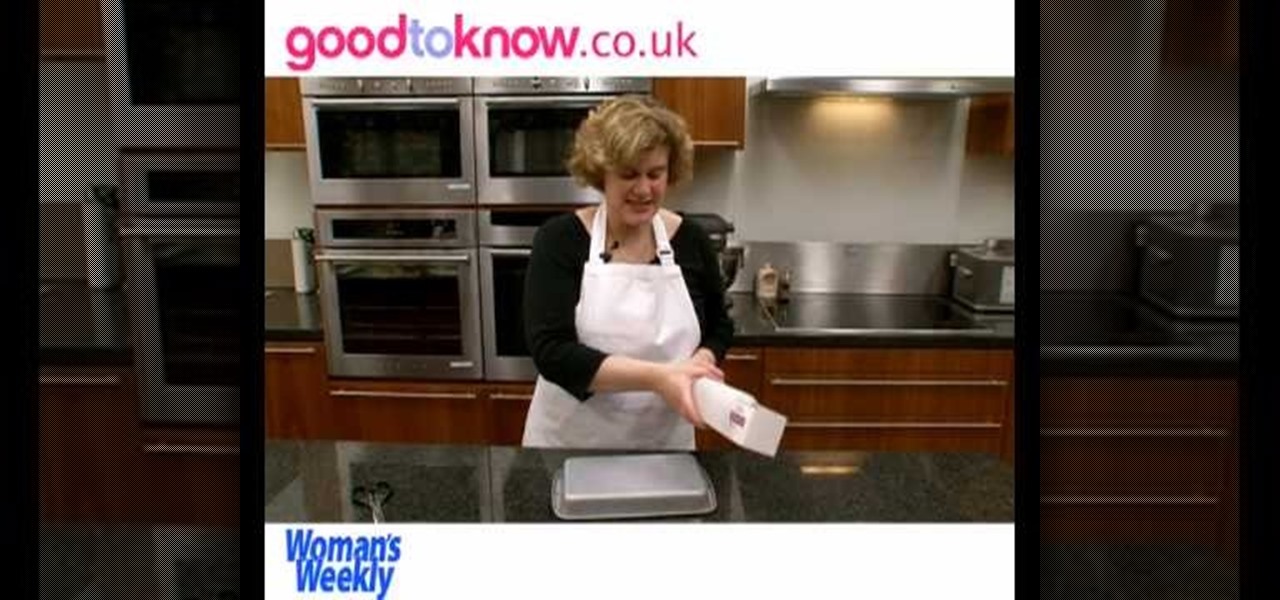
Follow along as Sue McMahon, Cookery Editor for Women's Weekly, shows us how to line a tray bake tin.


