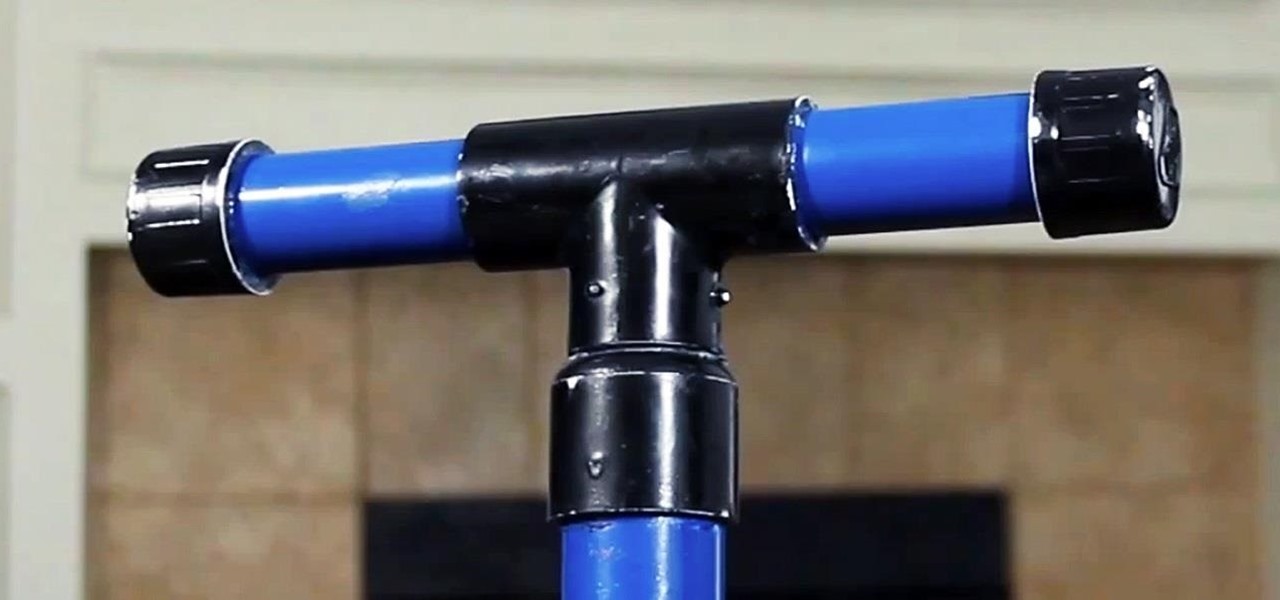
When you're using vacuum power, moving water, or compressing air, it's more than likely being done with some sort of pump. I'll be needing a pump for some of my future projects, so in this tutorial, I'll be showing you how to make your own customizable PVC hand pump that will let you do all three.
In the business world, it is always best to have the people you work with. For you to become the best you could give, here are at least 5 tips in using team building tools.
In this web design tutorial learn how to use the straight line tool. Although the straight line tool might seem like a useless tool I can tell you from experience it is very useful. Especially if you have ever attempted to draw a straight line with a tool other than the straight line tool. There are many ways you could use the straight line tool such as dividing content, design graphics, separating navigation menu headers and much more. My recommendation would be that you take a look at some ...
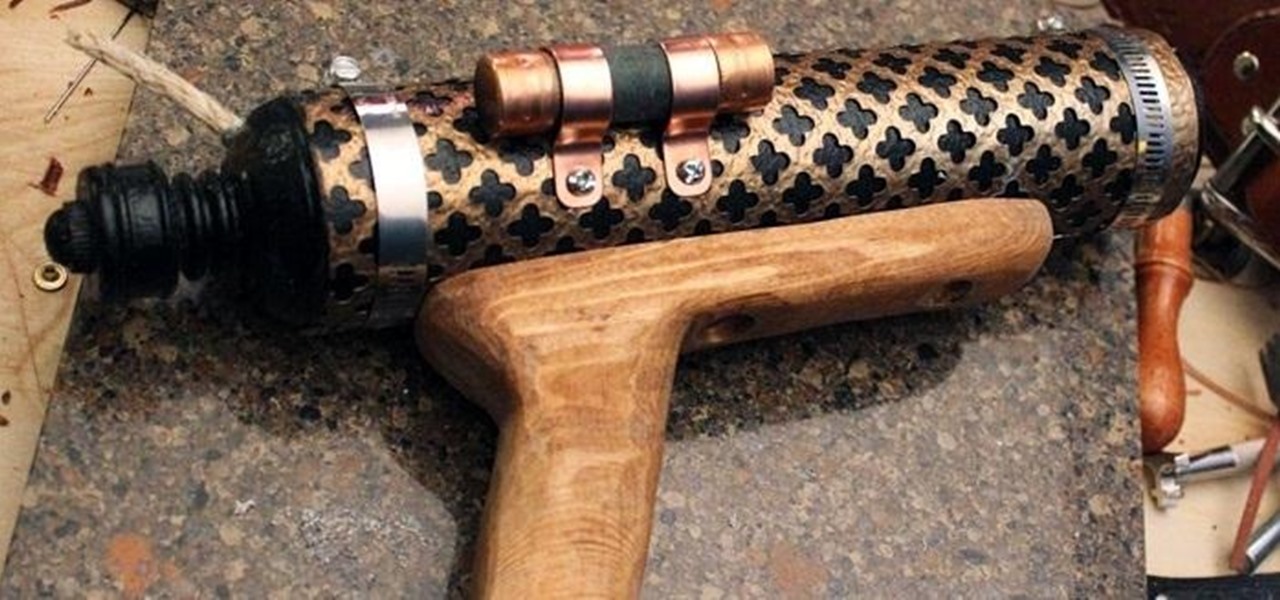
One of the hardest, most intimidating parts of making your own Steampunk guns from scratch is the wooden stock of the gun. To be fair, it's probably the hardest part. It requires the most artistry, and is the easiest to mess up.
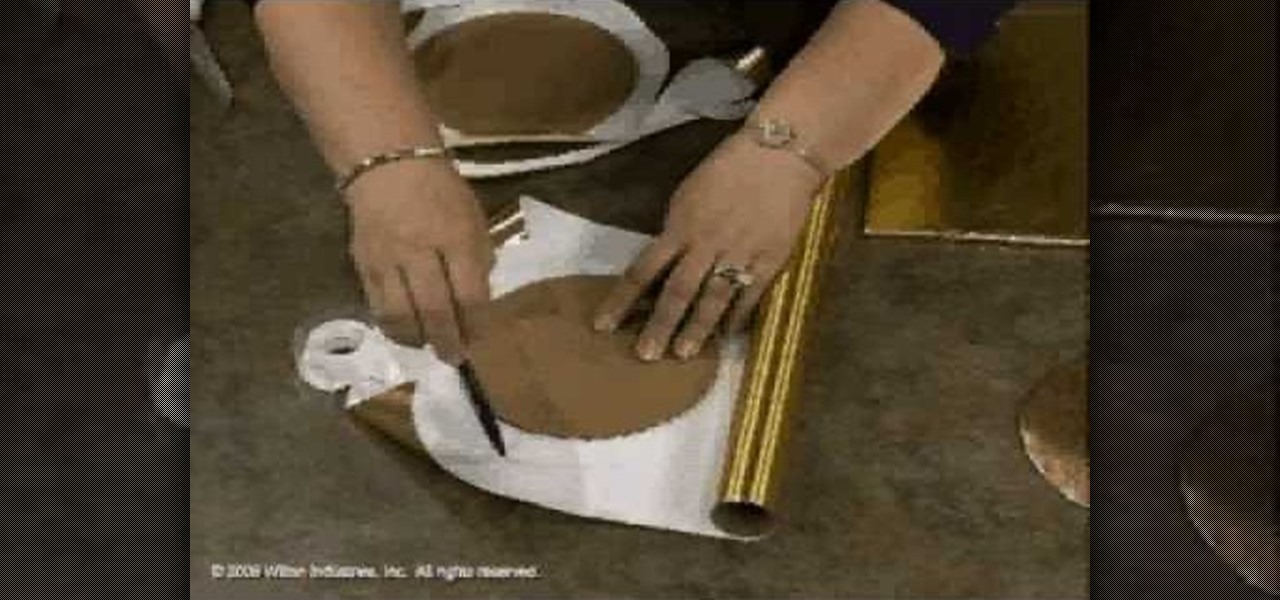
What to put a cake on can be a dilemma. You can decorate a cake board or purchase a cake turntable. This video will show you how to cover a cake board.
EA has released a world builder tool which allows you to create your own neighborhoods, towns and worlds for your sims to live in. Make a mountain community, a beach settlement, a small town or a suburban paradise! It's up to you, and this tutorial shows you how.

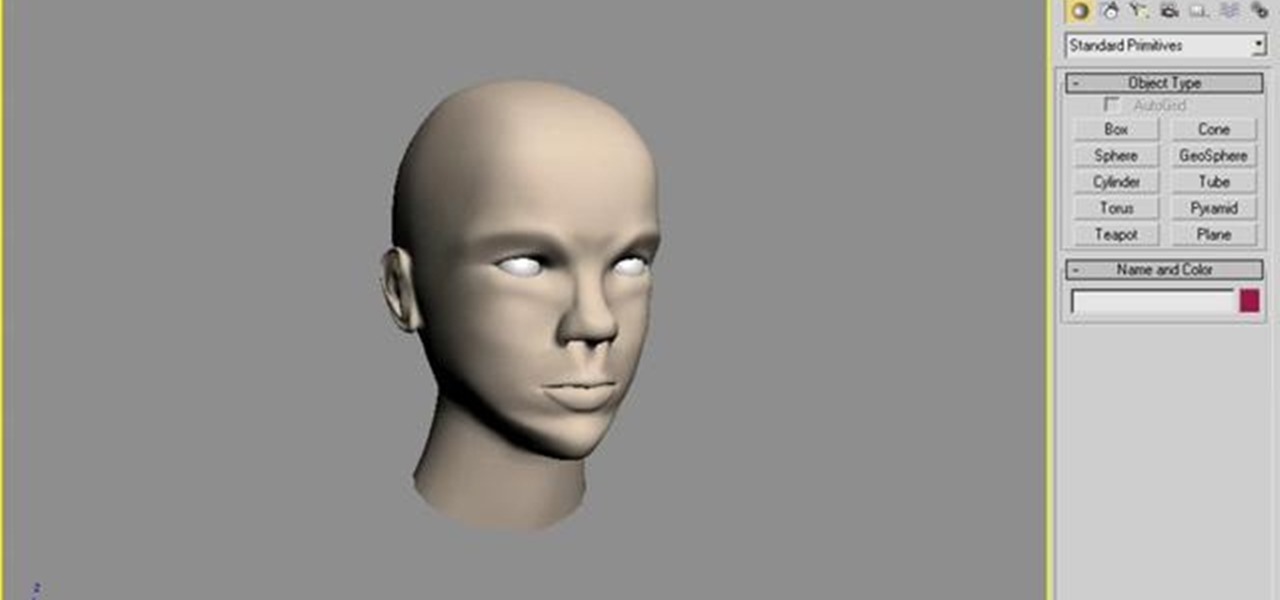
A polymodel head is being mapped. Keep the turbo smooth active to smooth out edges and seams. Use the relax tool to help even out the mesh and areas around the mouth, the ears and the neck as work proceeds. Use the stitch modifier to attach and combine the top and bottom of the head. To get all the seams and areas to match they must be moved, rotated and scaled. Use the weld tool on all the vertices and use the relax tool to get all the seams to match. Use the pelt map for the ears. Use the s...

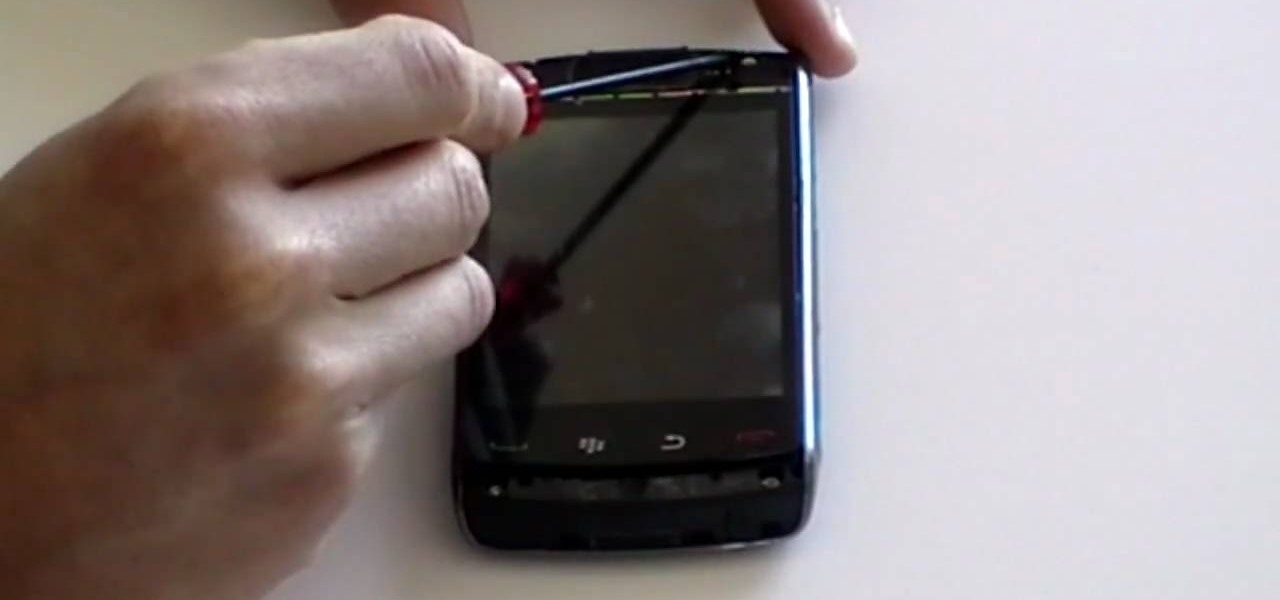
Repairs Universe demonstrates how to take apart the BlackBerry Storm 2 to replace the LCD. First, flip the phone over and take out the battery, SIM card and memory card. Then, use a safe pry tool to pry off the top and bottom covers which are held on by adhesive and clips. Next, use a T-6 screwdriver, remove the size screws on the front of the device. Flip the phone over and remove two more screws. Use the pry tool to release the clips and remove the outer casing. Flip the phone over and usin...

Repairs Universe demonstrates how to replace the LCD screen on the BlackBerry Curve 8900 phone. First, remove the SIM card, the battery and the back cover of the phone. Run a safe pry tool between the gap in the phone and the small back cover to remove the cover. Use a T-6 screwdriver, remove the six screws from the back of the phone. Then, pull up to remove the back layer from the phone. Flip the phone over and remove the front layer. Release the four clips with a safe pry tool and release t...

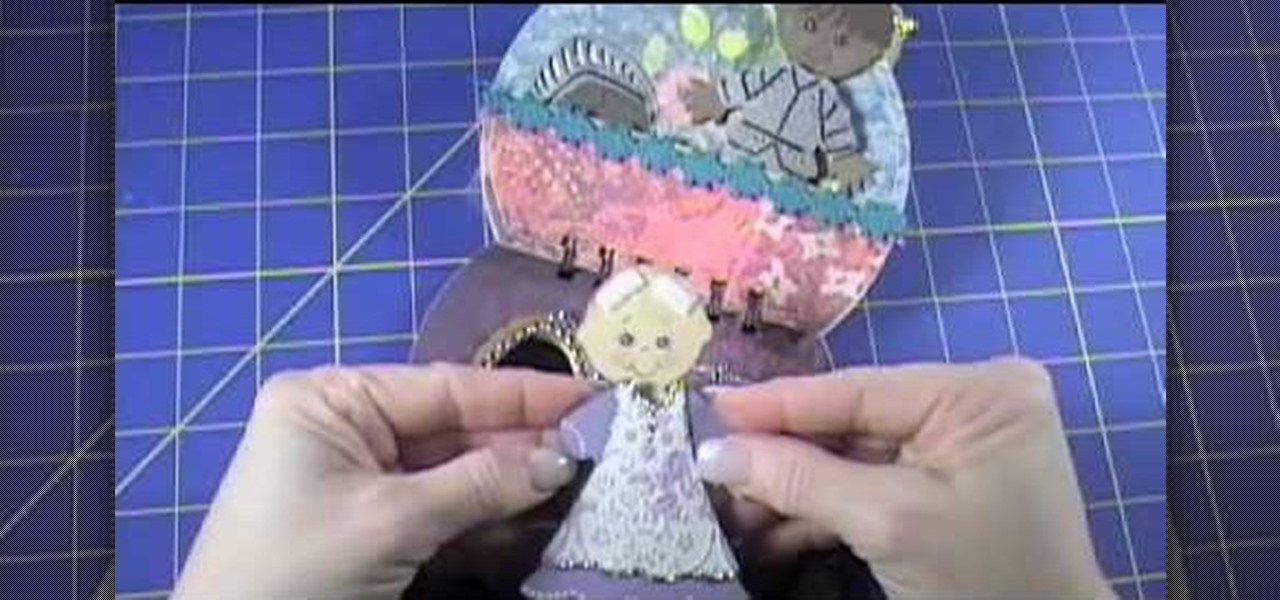
The video describes the making of Paper doll dress up and a Tin Purse to put the dolls inside. You can use the cartridge paper but regular paper should do. She was sticking to the princess themes in this tutorial. The tin comes from provocraft but creative imaginations also offers one. Instead of purchasing a tin you can find a old tin purse maybe once for a over sized set of playing cards. There is a tab feature you can use on the dolls but which children the might come off. She suggests usi...

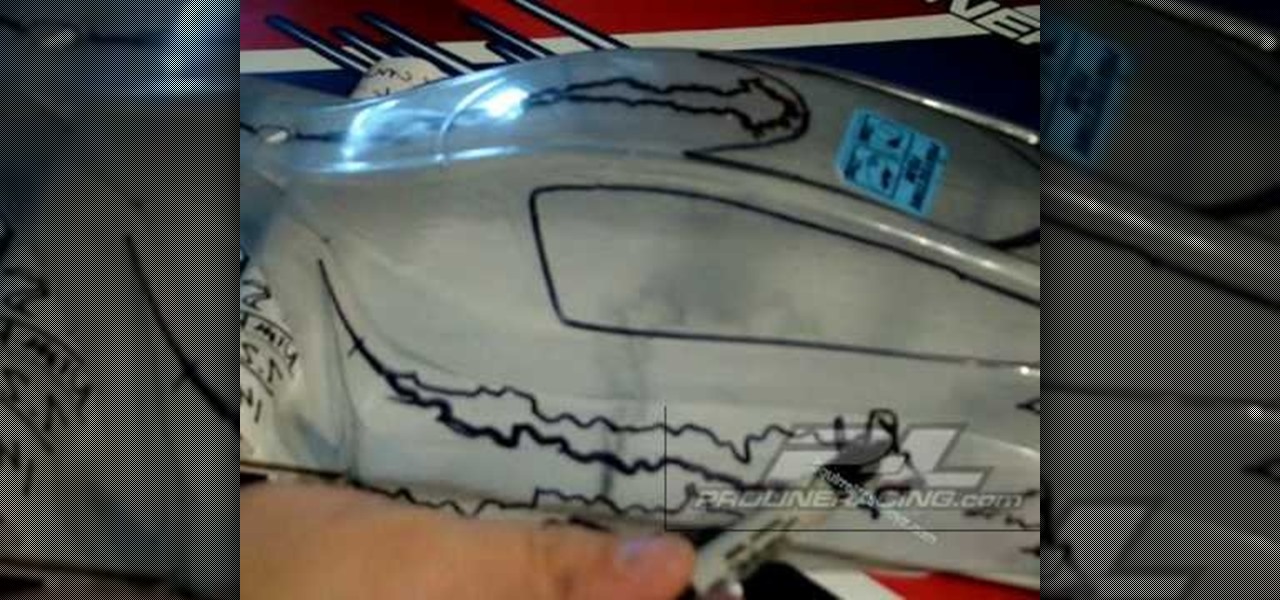
Brian from thetoyz.com and ProLineRacing.com will show you some painting techniques in this video. He is decorating his Revo truck with a special paint design. Brian is painting tears on various shells of vehicles and he got his design idea from the label of a drink can of Monster beverage. Brian suggests using "liquid" masking to mask the base vehicle and then it will be this "shell" that you draw on, which in this case is a design of tears, tear like in air. Draw some tears on the body's sh...

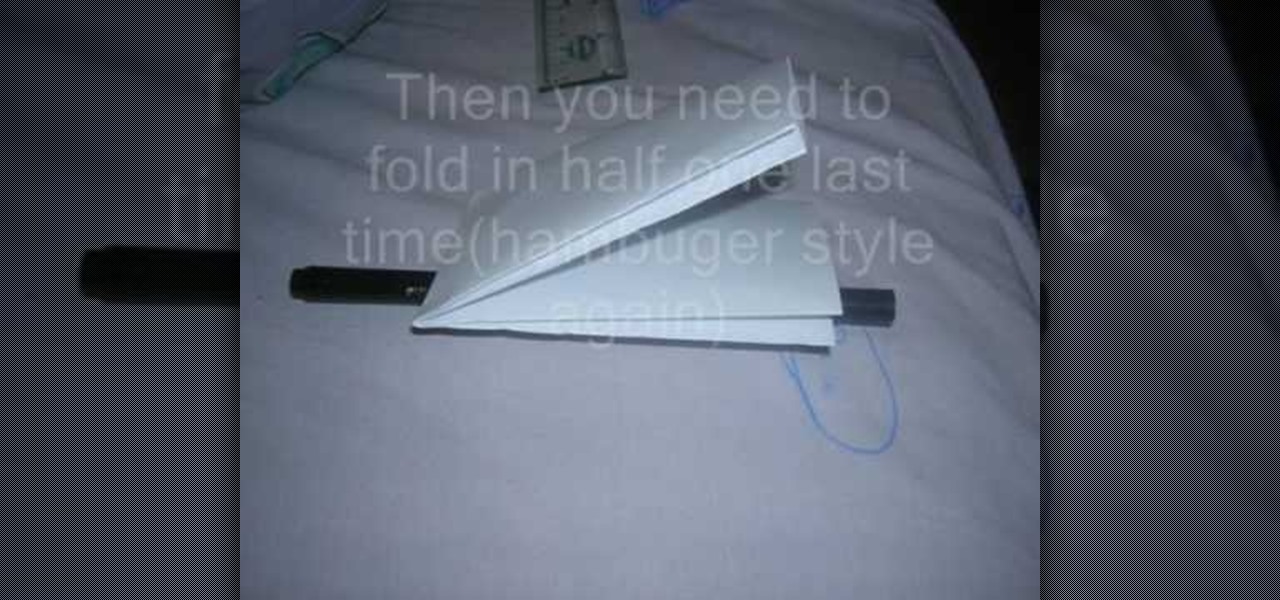
In this video, you will learn how to make a wallet out of paper. First, you will need a piece of paper, a pen, a straight edge, and something to cut the paper. Place the paper on a flat surface. Fold the paper in half, hamburger style and unfold. Fold the bottom half up to the middle crease. Now fold the top half to the middle crease. Fold this in half again and fold it in half one more time in the hamburger style. Now, unfold the paper. Draw lines where you need to cut the paper. Once this i...

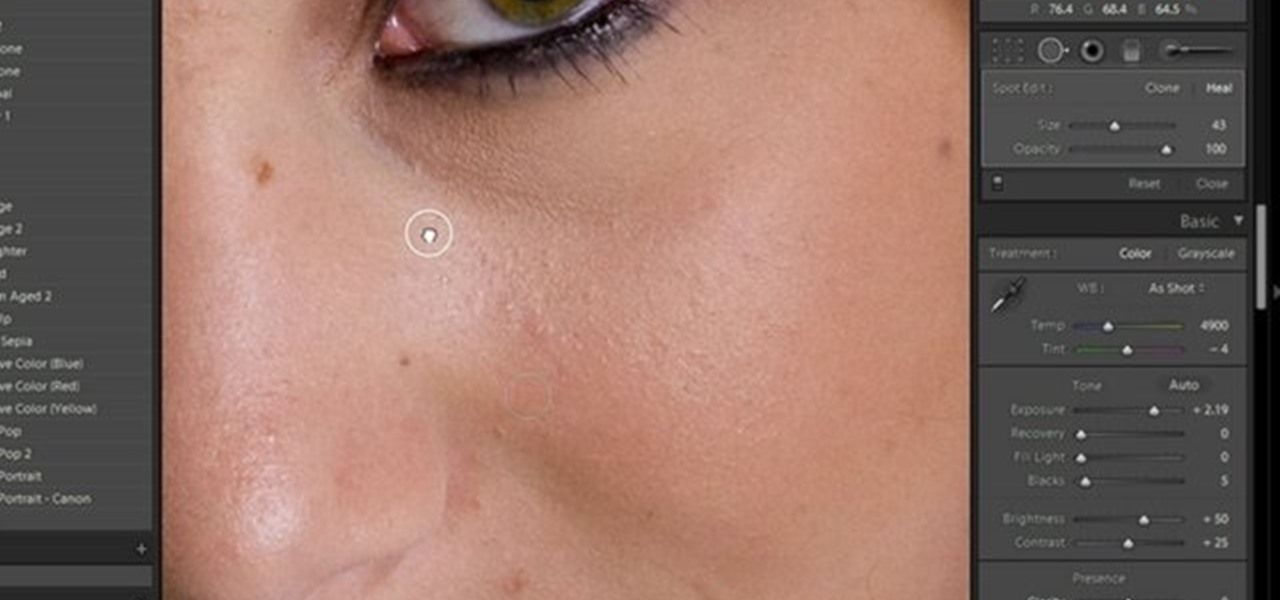
Kerry Garison demonstrates a quick tip of healing tool (Lightroom 2. 0), which is situated on the upper right hand corner of the screen, with the help of lady's image. Click on spot removal tool which can be used for cloning and healing. In order to change the brush size, scroll wheel mouse or left or right rapid keys can be used. Brush size, change in opacity can be changed also by clicking and dragging the bar; from there cloning or healing options can be selected also. After clicking the h...

This video demonstrates how to make mini peelable potatoes for a doll house. Make a small potato shape out of polymer clay. Scrape some brown pastel chalk into a dish and roll the potato shape in the dust until it is covered. Bake your potato in the oven according to your polymer clay instructions. When it is baked, cut the potato with a razor blade. Be very careful because it is quite hard to cut and you don't want to cut yourself. Place the cut potatoes into a suitable small dish. Take some...

In this video tutorial, viewers learn how to remove and replace vinyl siding. Users will need a siding removal tool (zip tool). Insert this tool beneath the bottom edge of the overlap and pull down while sliding the tool horizontally. Remove the nails underneath and simply pull down the siding. Now measure the length of the siding. With the new siding, connect it on the exterior wall and reinforce it with some nails. This video will help those viewers who need to learn how to replace a vinyl ...

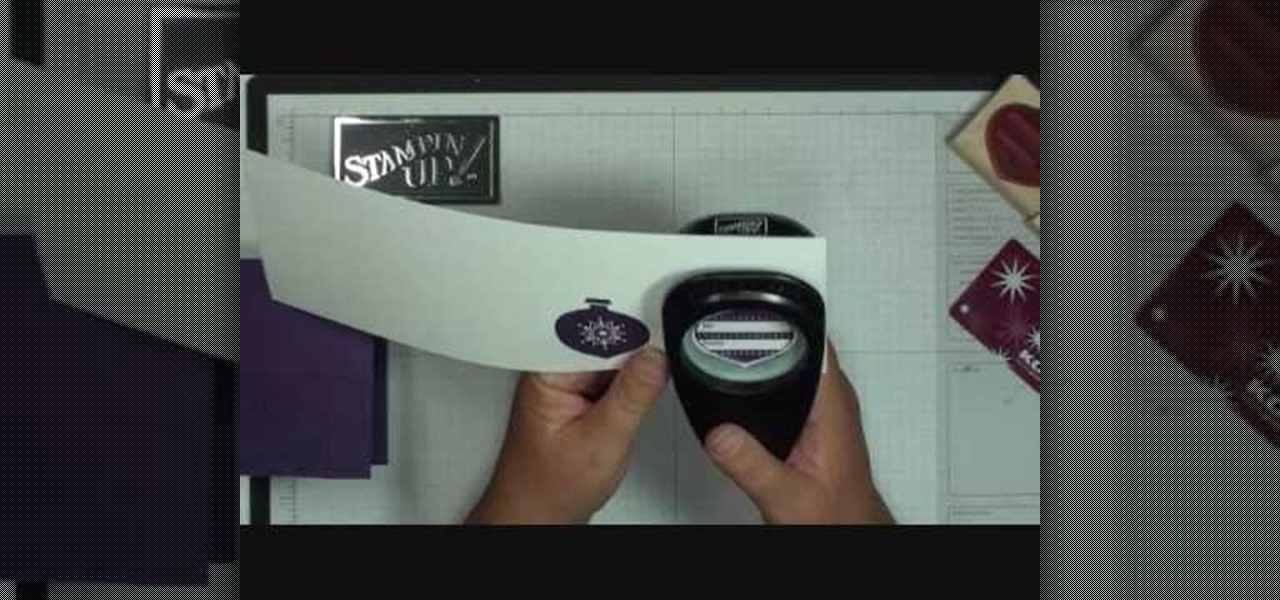
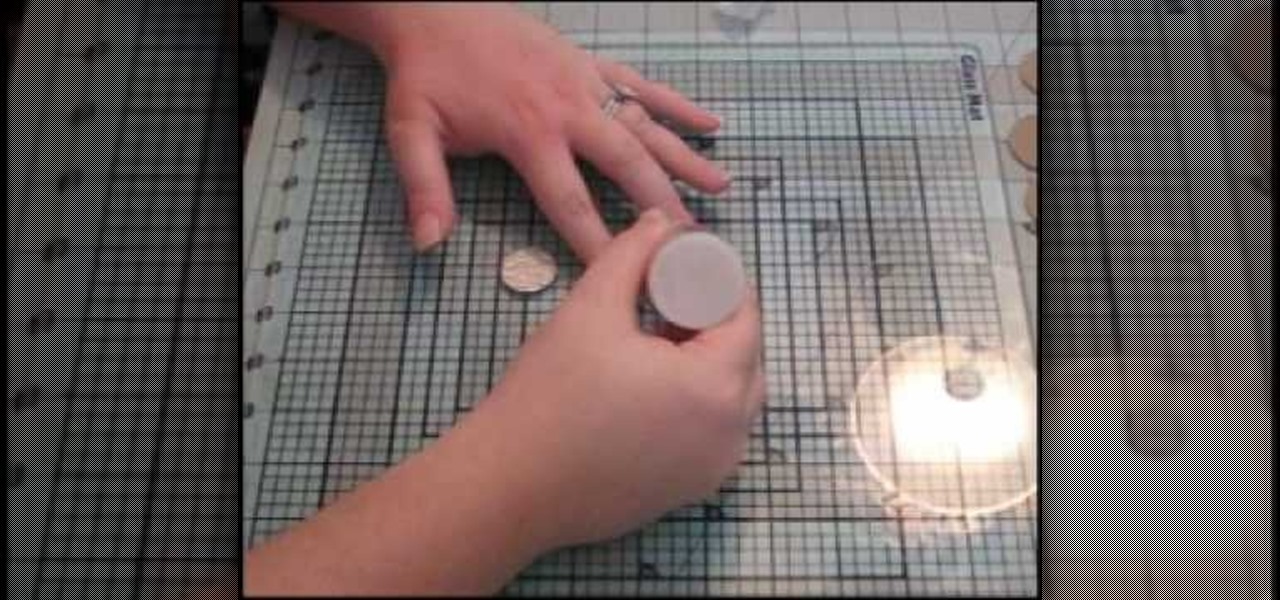
To make a Spinner Card you need some essential tools like, Paper Cutter, Scissors, Stamps, 1/2" Circle Punch, 2 Pennies, a Stamping Dimensional and any embellishments. Have the card stocks one for the card part and the other for the front of the card. In the first step, take the circle punch, flip it over for easy viewing. Push the paper all the way in and to the farthest left without going out of the paper. Punch your 1st hole here. Do the exact thing on the right side of the 1st hole. It wo...

This how-to video is about how to enable the commenting tools in the free Adobe Reader using Acrobat 9 Pro and Acrobat 9 Pro Extended.

This video will walk you through the process of creating your very own icon to use for your email by using Adobe Photoshop. Photoshop is a great tool to use for a variety of purposes and in this instance can make the perfect icon in just minutes.

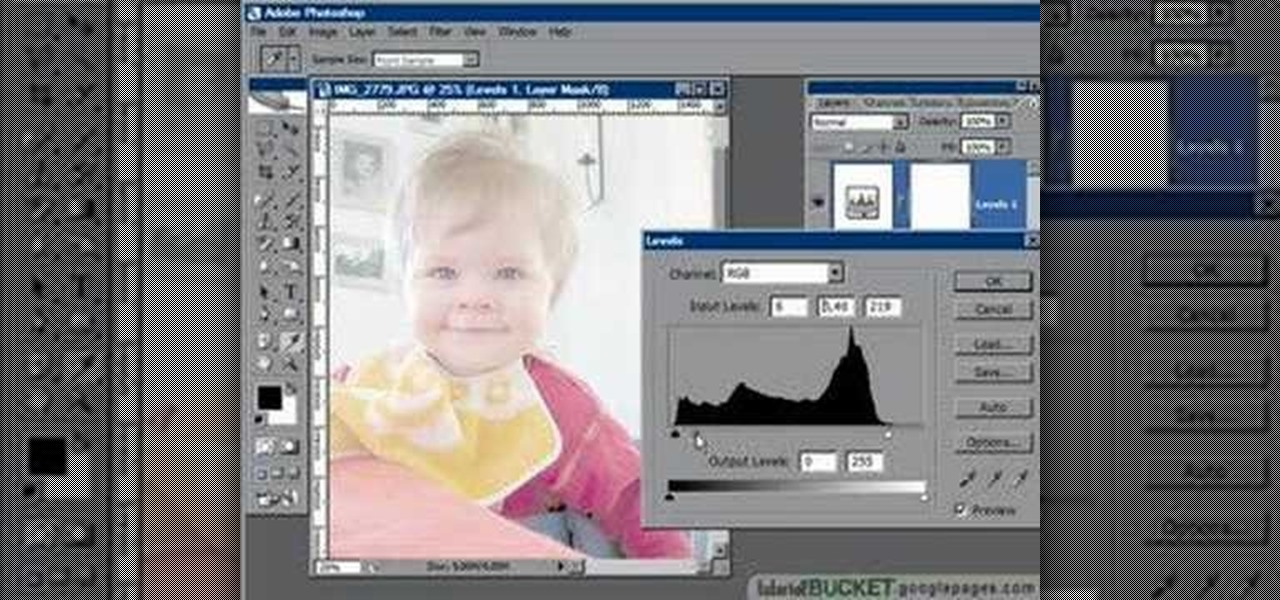
In this video tutorial the instructor shows how to perform basic lighting corrections in Adobe Photoshop. The levels tool is the Photoshop's most used command which has many features to it. Its most basic function is as a lighting correction tool. In this video open an image and work on its adjustment layer so that you do not damage the original picture. Now choose the levels option by right clicking and it shows a pop up window which contains a histogram which shows the population of the col...

Peel the onions and cut in half length ways, then slice length ways again so each half is cut into 4 long pieces. Heat the oil in a casserole dish that will also go into the oven, and add the onion.

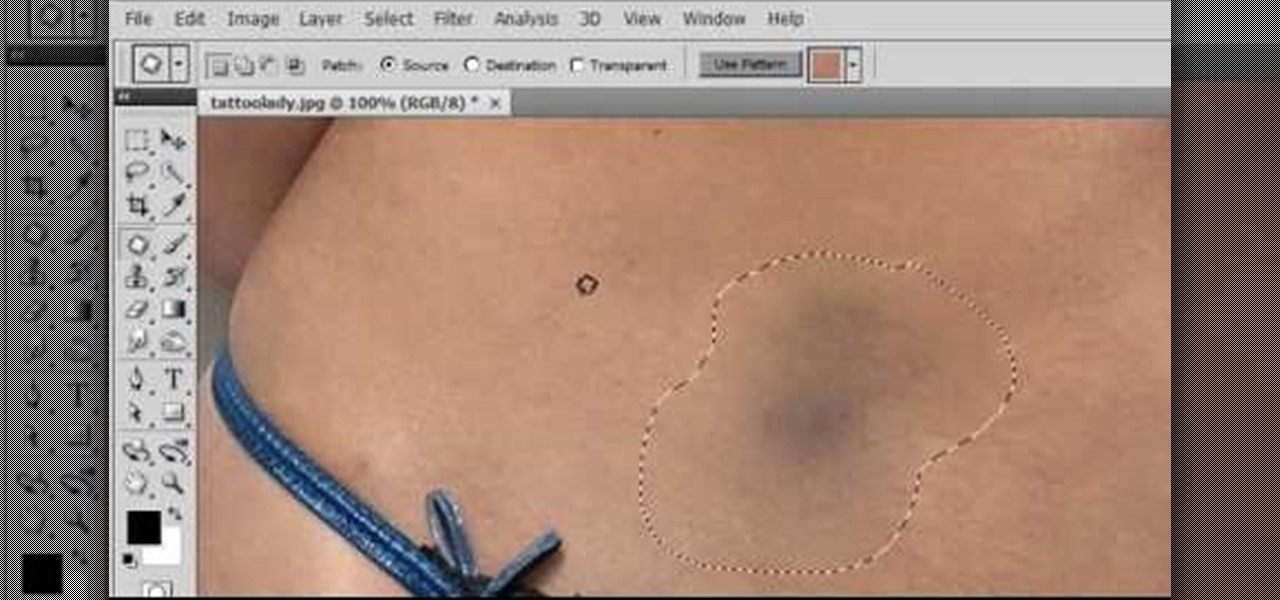
As each new version of the award winning Adobe Photoshop is released certain functions remain the same from prior versions while other functions are changed. In the latest version of Photoshop, Adobe Photoshop CS4, the patch tool works significantly differently than prior versions. In this video we are shown how the patch tool originally worked in Adobe Photoshop CS2 compared to how it now functions in Photoshop CS4. Finally the author gives us step by step instructions on how to operate the ...

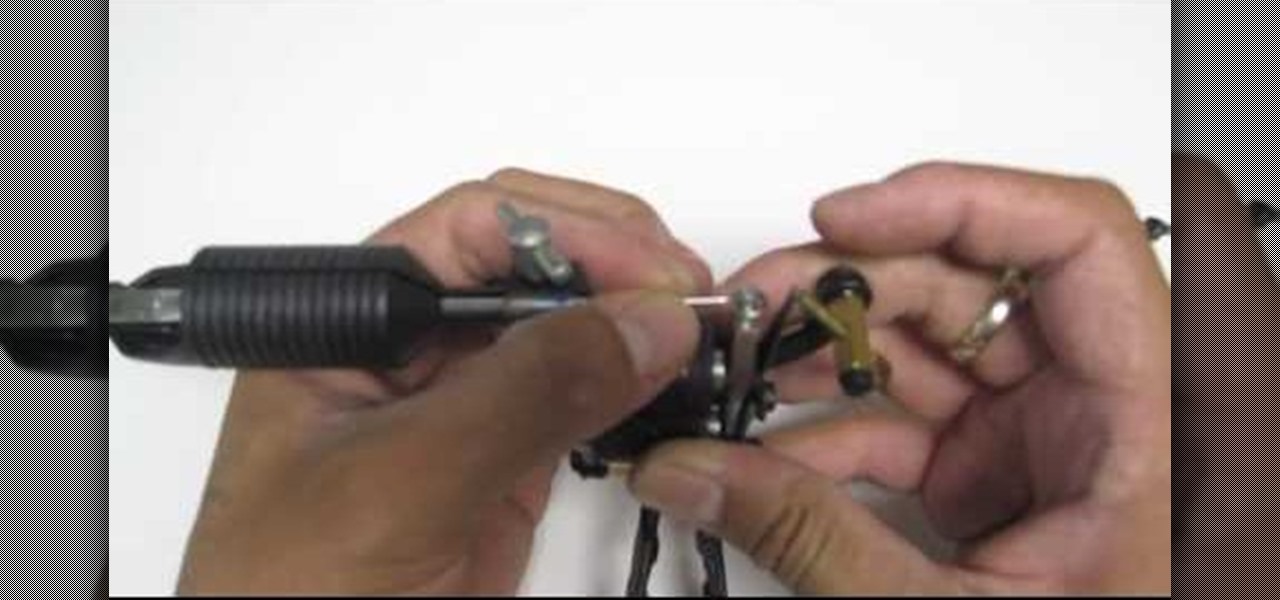
Elementtatootech explains the various tools of the industry and their uses to novice tattoo artists and interested viewers. In this tutorial, Elementtatootech focuses on the old school tattoo tool known as grommets or nipples. Utilizing a single close up shot, the instructor quickly educates viewers on the purpose of the grommet in addition to the most common users of the device. The instructor additionally shows viewers how to set up and assemble using this tool and a simple trick utilizing ...

Make a Christmas Gift Card Holder Materials

The phenakistoscope is a predecessor of the flip book, but don’t worry: it’s easier to make than pronounce.

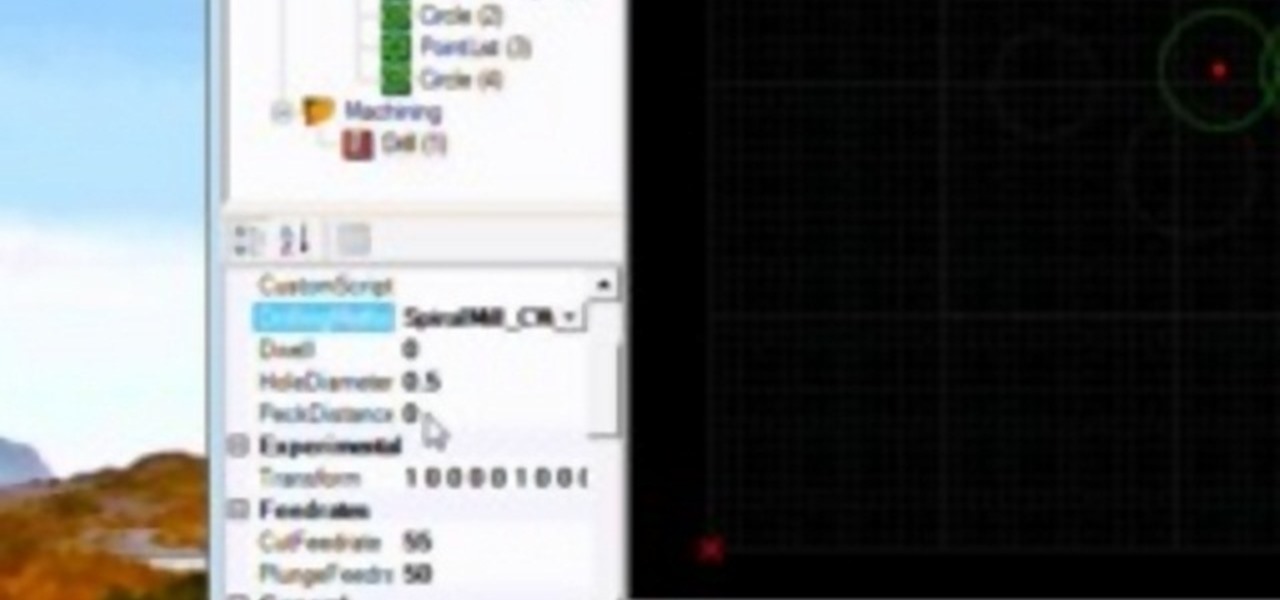
A CNC router machine is probably the most useful tool a hobbyist can own, but the price for a CNC machine on the market is way more than the average hobbyist is willing to spend. You can build your own CNC with very basic tools, little knowledge of machinery, mechanics, or electronics, but be warned, these machines are inherently dangerous, so wear the proper protection and use common sense. At the very least, read the instructions and precautions on every tool you use.

Corned beef and cabbage is rarely eaten in Ireland (or at least America's version of the dish), but on St. Patrick's Day, many Irish Americans and wannabe Irish Americans will head to the bar to eat sloshy, poorly cooked versions of corned beef and cabbage while downing some jolly green ale.

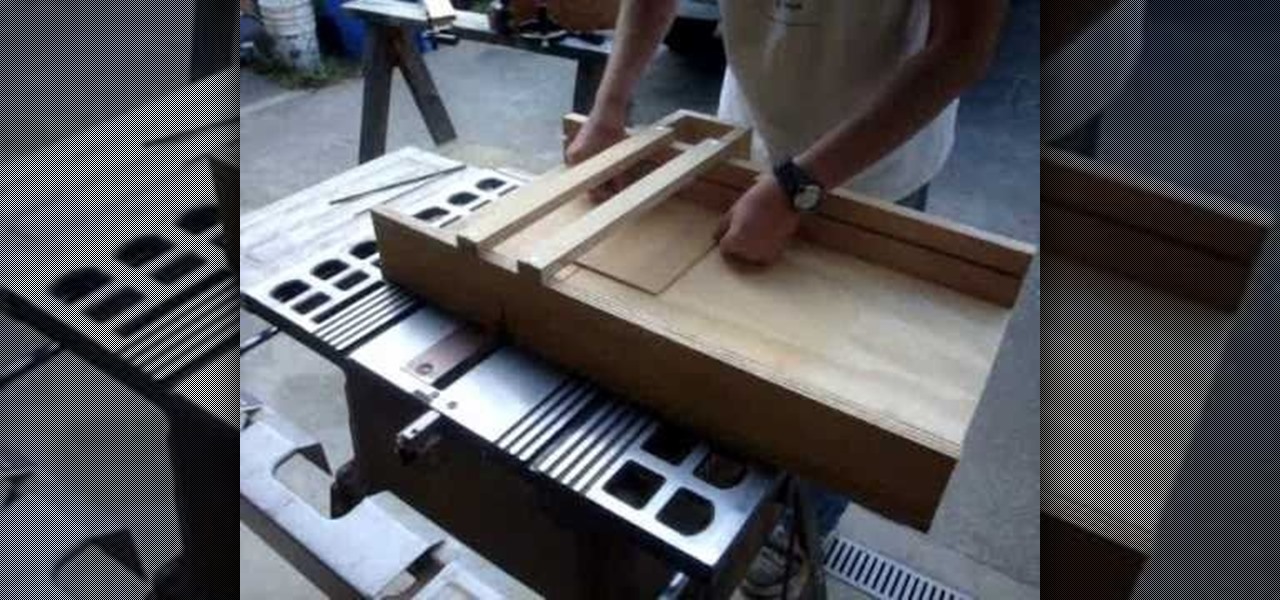
Why do you need a table saw sled? A table saw sled allows you to have significantly more control over your cutting projects than you would just with your hands, and allows for special cutting angles. A table saw sled also holds your work in place.

This is a video tutorial in the Education category where you are going to learn how to make a miniature vortex cannon. For this you will need normal plastic drinking cup, punching bag type balloon, black electrical tape, lighter, candle, scissors and a drill. Drill a hole in the bottom of the cup and cut off a big circle at the bottom. Cut the punching bag balloon in half and stretch it over the mouth of the cup and tape it up nicely. The cannon is ready. Now light the candle, hold the cup aw...

In this tutorial, we learn how to build your own prop shotgun. To make this, you will need: one 2x6 that is 2 feet long, one 1x3 eight inches long, two 8" diameter PVC piping 2 feet long, two one inch PVC end caps, picture hangers, assorted nuts, bolts, and crews. First, draw on the shape of your gun on the pieces of wood, then cut them up with a saw. Then, cut out a prong shape in the front and stain the gun to your desired color. Next, connect all the pieces together and attach the wall han...

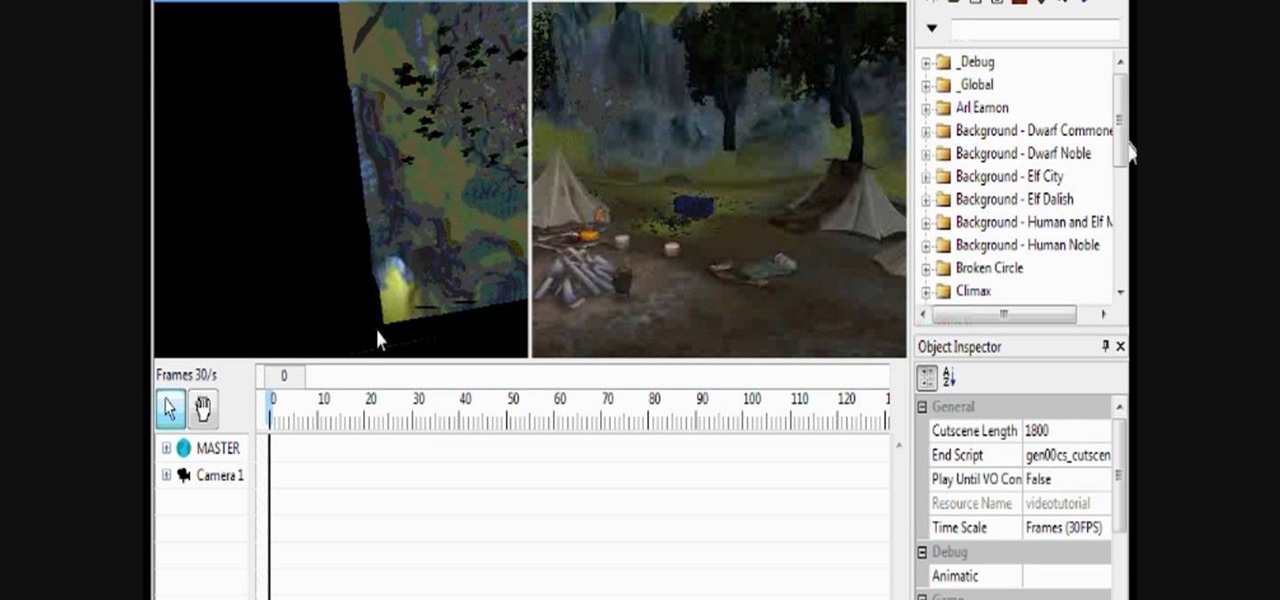
When Bioware anounced the Dragon Age: Origins toolset, they mentioned a lot about being able to recreate your own battles and create your own cut scenes! Well, after opening the toolset you will notice that there is an option to making cutscenes! But if it's a little overwhelming for you, let this video be your savior! In this video you will learn how to make a complete cut scene from start to finish.

In this video, we learn how to make custom chipboard buttons for scrapbooking. First, take a scrap of chipboard and use a circle trimmer to cut circles out. Cut circles out of patterned paper in different sizes using many different patterns. Now, apply glossy finish onto the papers and wipe off the excess liquid. Ink the edges after this, then put adhesive onto the back of each of the different circles. Now, you can punch holes into the center of the circle to make it look like a button. Now,...

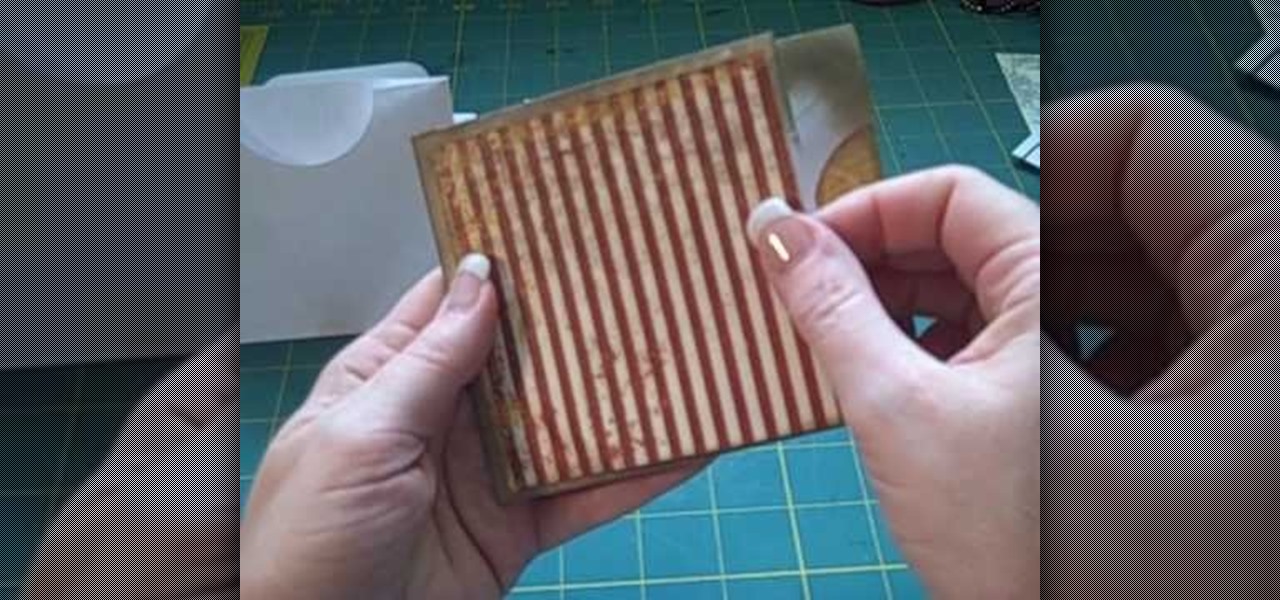
In this video, we learn how to make a multi-pocket/tag envelope page for mini scrapbook. To start, you will need to put the different pieces of paper together. You will need to use a standard number 10 envelope, then trim off each end so that the envelope body is nine inches long. Then, stick down the flap and then score from one end out four inches to the middle. Then, fold this down. After this, you will cut the ends off and two pockets will be created. Now, cut out half circles to create s...

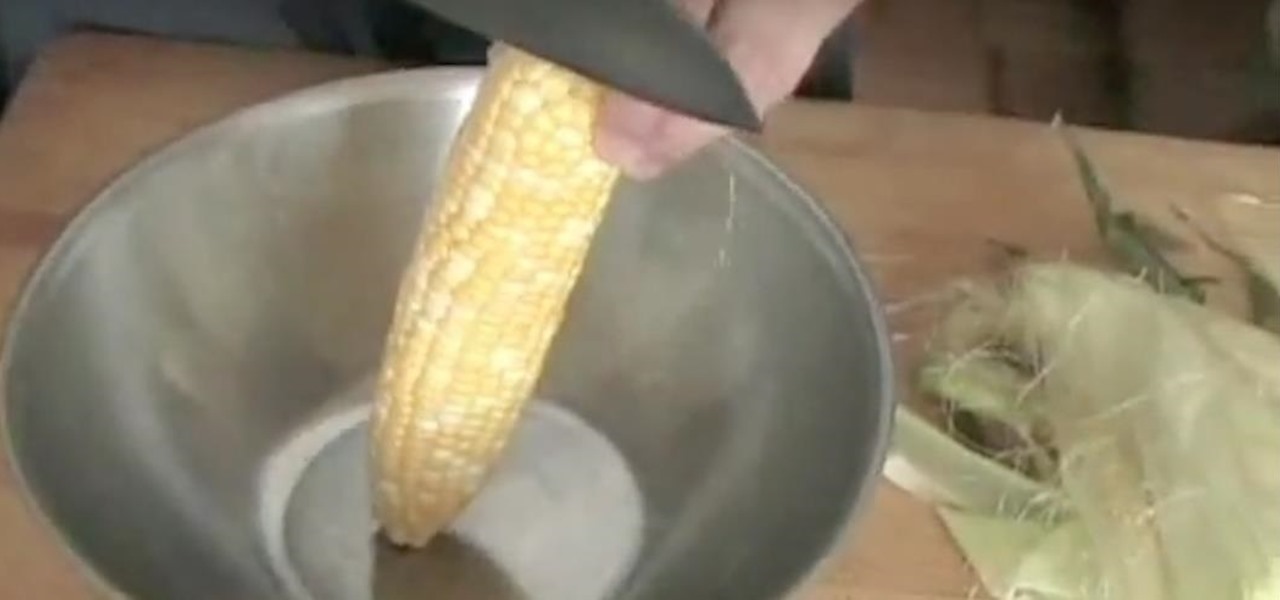
Now that fall has officially begun, corn is soon to be in season and will be abundant and ripe at most supermarkets and local farmers markets. So if you're looking forward to making corn chowder or tossing some in a slad, simplify the task by checking out this knife skills video.

Generally if you can get your knife through a peach and produce smaller, more bite-sized chunks, that's good enough. We're not all too picky about how beautiful our peach slices look when we're scarfing one down post workout, but sometimes it's important to give a good presentation.

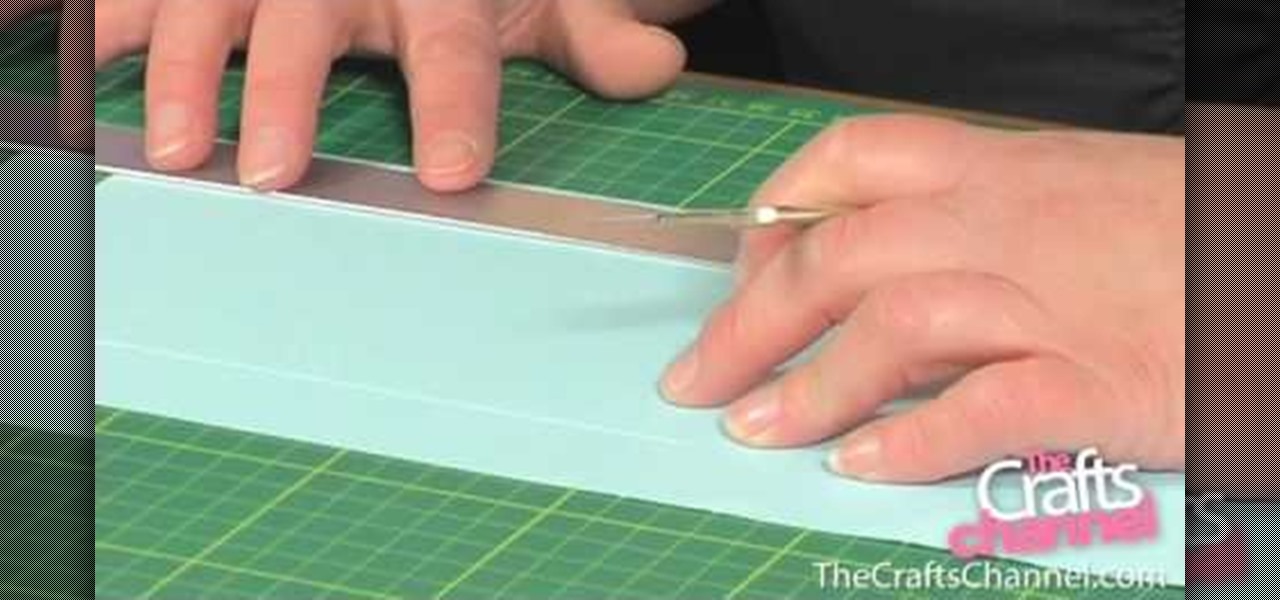
Connie Brad teaches us how to make a pop-up box card in this tutorial. First, you need to take a scoring board and draw 1 cm increments down the center of it. Now, take a sheet of card stock and score the sheet 2 cm from one end, then continue down until you reach the bottom 3/4's of the paper. Now, fold your card along all of the score lines up until the last line. Next, line this up on a cutting mat and cut 3 cm on each side until the end of each score line. Now when you set this up, it wil...

In order to make a monster hoodie, you will need the following: a hoodie, black felt, white felt, fabric glue, scissors, pencil, and tape measurer.

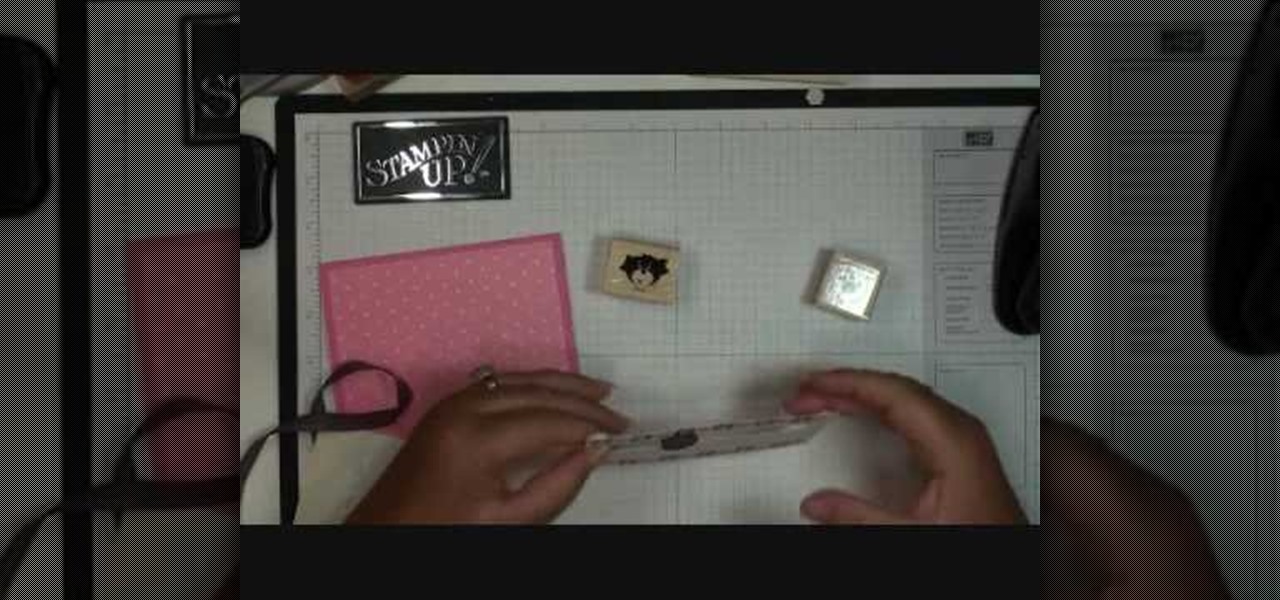
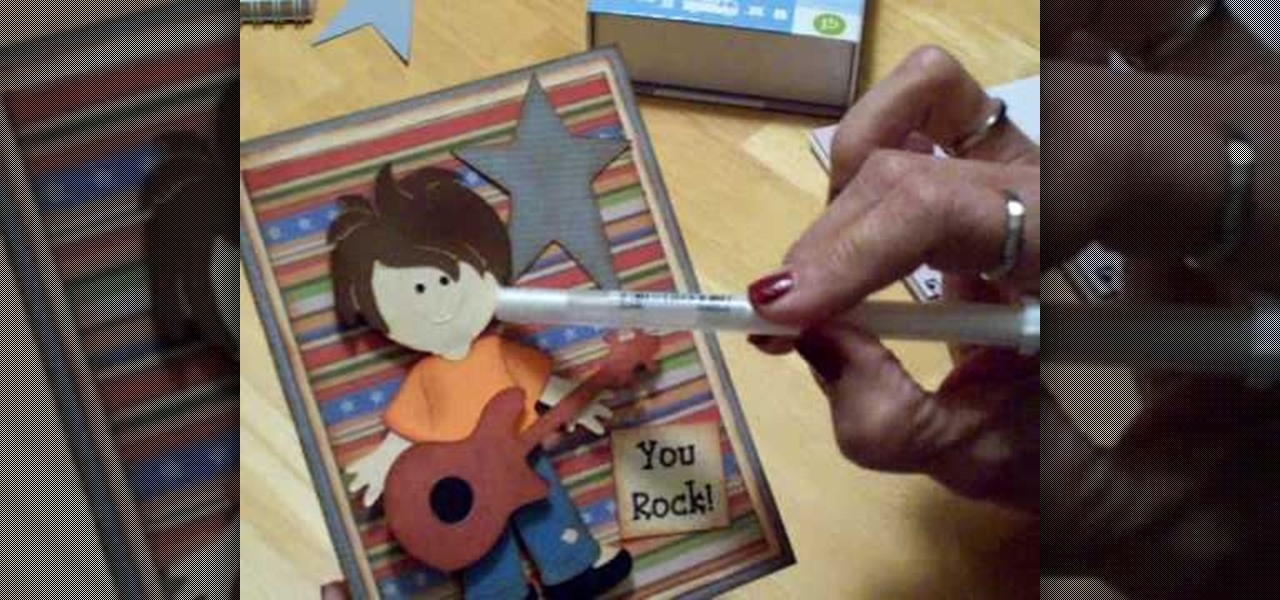
Mary shows us how to make a Cricut "you rock" birthday card in this video. Use the Cricut paper dolls cartridge to find a little boy and the clothes that go on him. Cut all the pieces at four inches, then use the joy cartridge to cut out a star that will go behind the paper boy. Next, place a sentiment that says "you rock!" on it, then use a gel pen to make tufts in the hair. Use chalk and ink to go around the clothes and cheeks to make a hairy look. This makes a great unique birthday card fo...

In this tutorial, we learn how to make a hedgehog plushy. First, choose a fabric to use, then cut out the shape of it. Once you have done this, cut it out again and pin the two pieces of fabric together. After this, use a sewing machine to sew all of the sides together, leaving a hole in the bottom. Now, turn the hedgehog inside out and then iron him flat. Place some stuffy cotton into the plushy until it is as full as you would like it. Then, sew the hole together so none of the stuffing can...

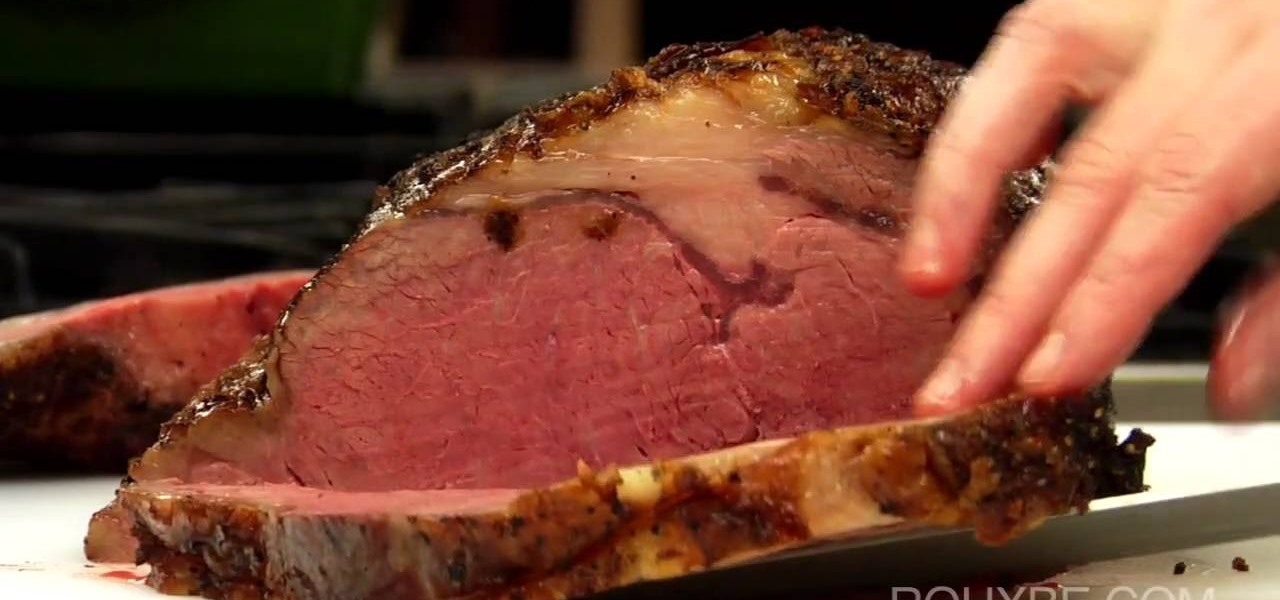
We're not the biggest advocates of red meat, but every now and then we love nothing more than to indulge in a large, fat flank of prime rib, roasted and marinated to perfection. Juicy and tender, a prime rib roast is great for times when only a nice, deeply flavored dish will do.

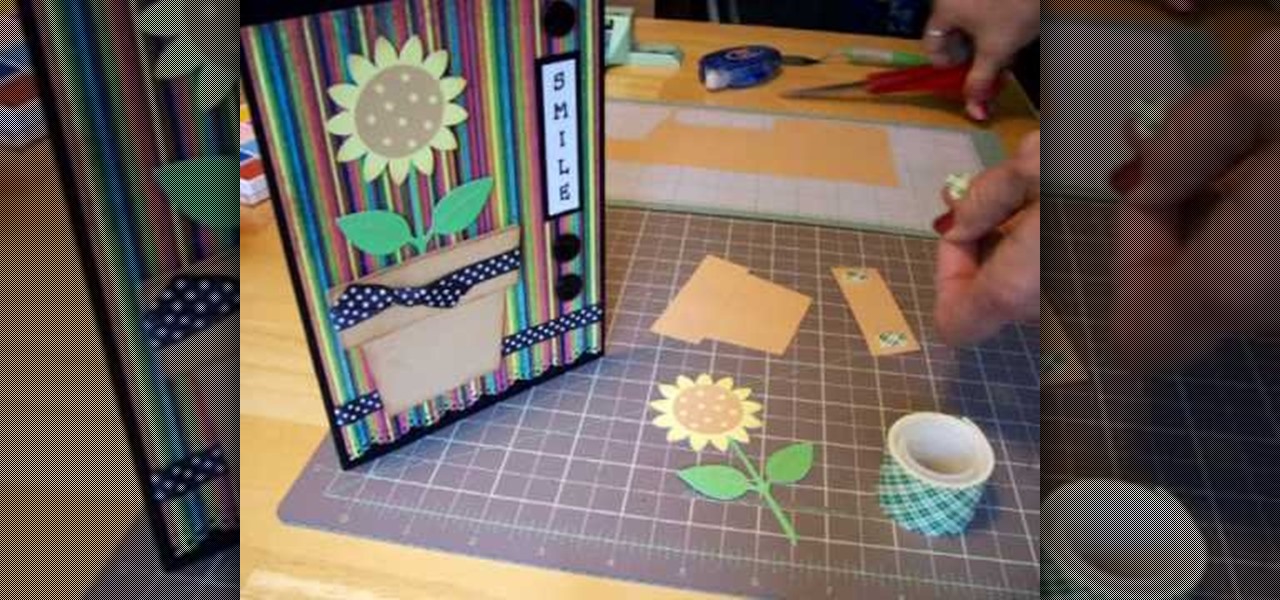
In order to make a Cricut Sunflower card, you will need the following: card stock, Walk in My Garden Cartridge, ribbon, decorative paper, chalk, scissors, 2-sided tape, an ink stamp pad, adhesive, and pop dots.


