How To: Make a hair bow out of an old magazine
In order to make a hair bow out of old magazines, you will need the following materials: a bobby pin, colored duct tape, a ruler, scotch tape, scissors, and old magazines.


In order to make a hair bow out of old magazines, you will need the following materials: a bobby pin, colored duct tape, a ruler, scotch tape, scissors, and old magazines.

In order to make a door alarm out of a mouse trap, you will need the following materials: a mouse trap, a clamp, 2 screws, caps, a piece of string, scissors, a screw driver, a drill bit, a hex-head screw, an a piece of aluminum from a soda pop can.
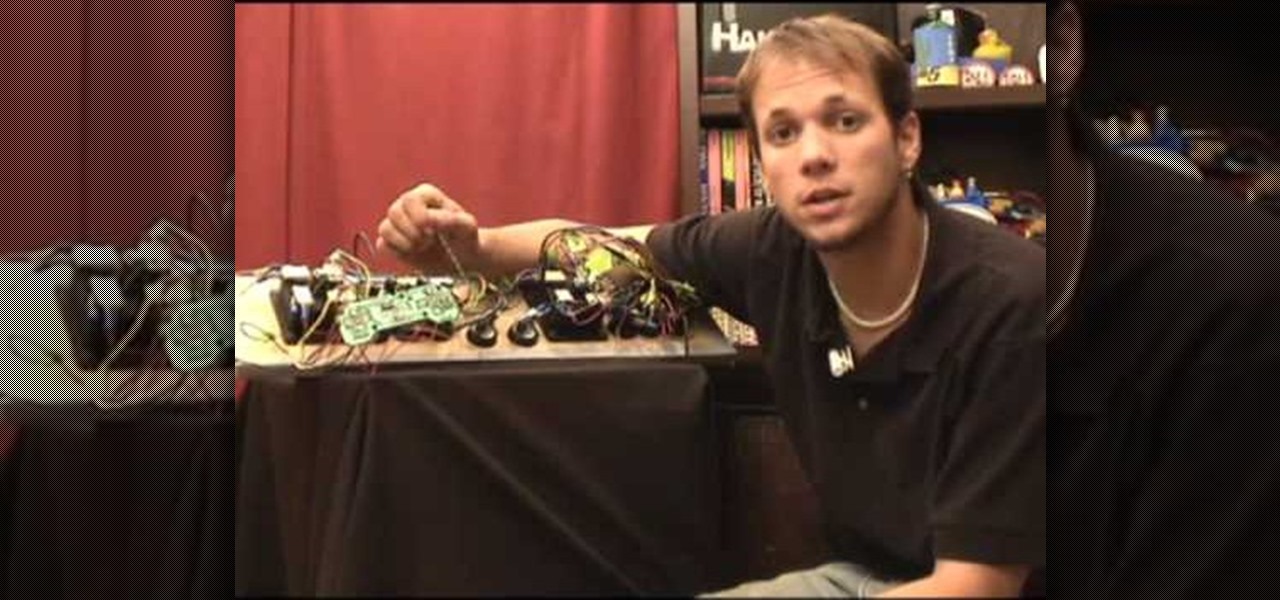
Part of the process is to create plans to follow when making the cabinet for the arcade game. when cutting the wood you need to allow for the 1/8th of an inch that the band saw will be cutting. You will also need a piece of plexi glass to give the game an authentic feel, spray paint the piece of plexi. You will also need joysticks and buttons, which you can get at happcontrol.com. You need to cut a square hole in the plexi so that the buttons can be mounted in it. To integrate the buttons you...

In this Home & Garden video tutorial you will learn how to build an outdoor kitchen. You can build it yourself using the AB courtyard walls collection. You should have all tools as per How-to sheet #341 before you begin. Determine the location of your outdoor kitchen and with a measuring tape mark the location of the back wall. Mark the line with masking tape. Begin the 1st layer by placing a corner block in the corner. Then place a large piece of a split block next to it. For information on ...

This video is a demonstration on how to bake a lovely rubber ducky cake for your baby's first birthday. You will need one 8 inch round, one 9 inch round and one small cake baked in a ten ounce custard cup. The dome of the 8 inch cake is cut and kept inverted. The edges of the 9 inch cake should be cut and kept on the 8 inch base with yellow frosting in between. The edges of the custard cake is trimmed and set on the 9 inch cake with some frosting underneath and it acts as the head of the duck...
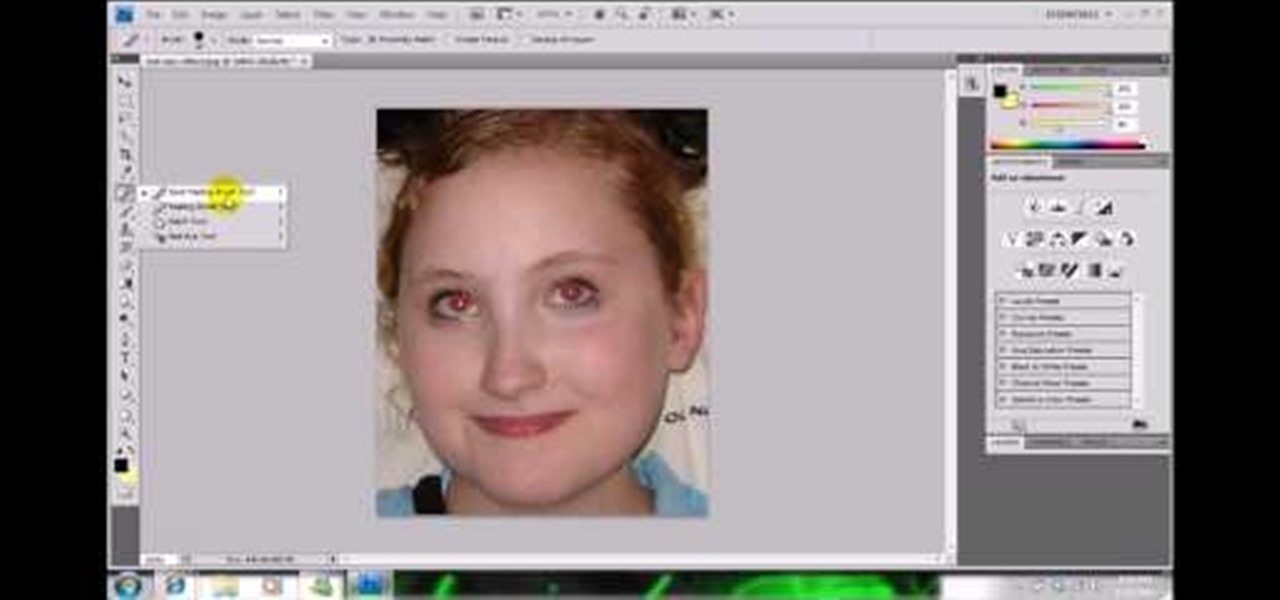
In this video, we learn how to get rid of red eyes while using Photoshop. Make sure you have Photoshop open with your picture up and you're ready to go. First, on the left hand side you will find a "healing brush" tool (which is 7 tools down from the top), click on that and then click "red eye tool". Next, you will click on each of the red eyes in your photo. After this, it will change the color of your red eye to the normal color. If the photo needs changed, you can also change the contrast ...
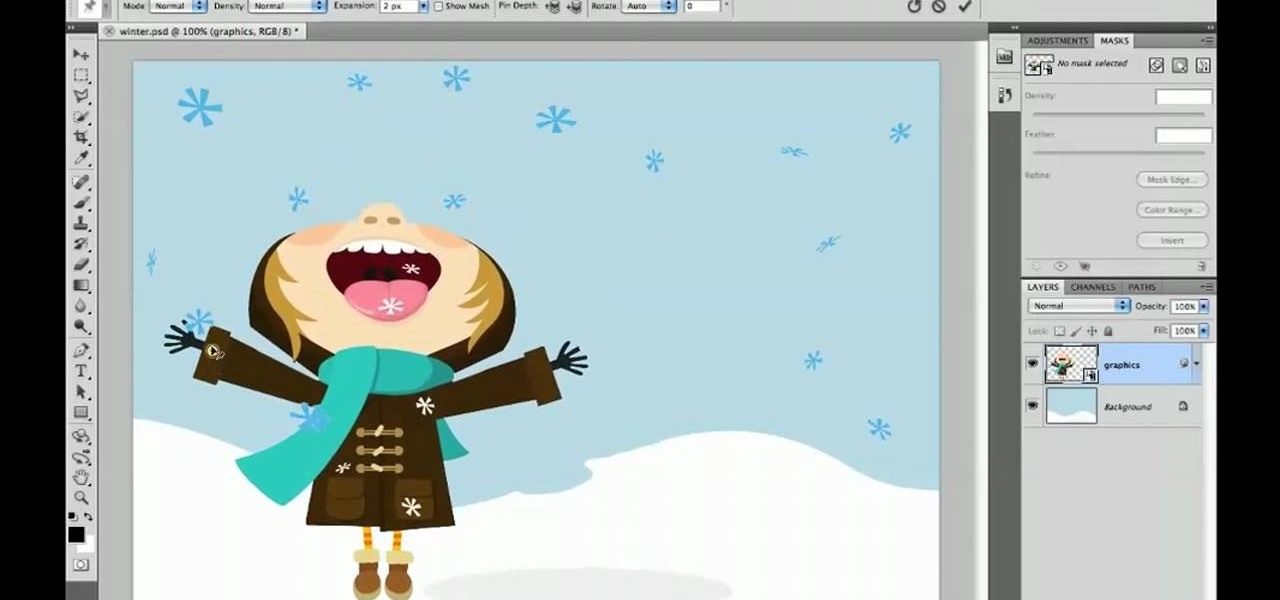
In every new version of Photoshop, there's one new feature that wows the crowd. In Adobe Photoshop CS5, that feature is Puppet Warp. In this video lesson from Lynda, you'll learn how to use the Puppet Warp tool to intelligently deform graphic and photographic objects.
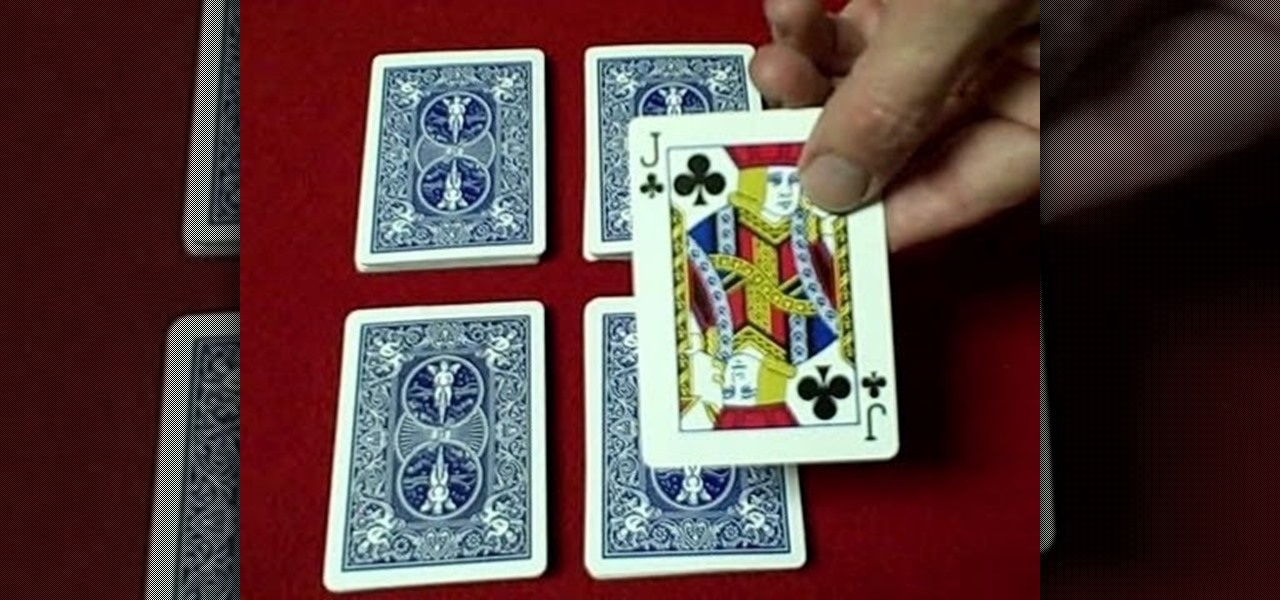
This card trick is called Jack the Bounty Hunter. After a series of cuts, placements, and sorting, Jack the Bounty Hunter ends up adjacent to a card the spectator picked earlier in the trick. Brief synopsis of the procedure (you need to see the video for the full explanation): First, you set a Jack aside. Then you make two piles of 15 cards and set them aside. The spectator gets a pile, and you get a pile. Cards are cut. The spectator picks a card from the remainder of the deck. The spectator...
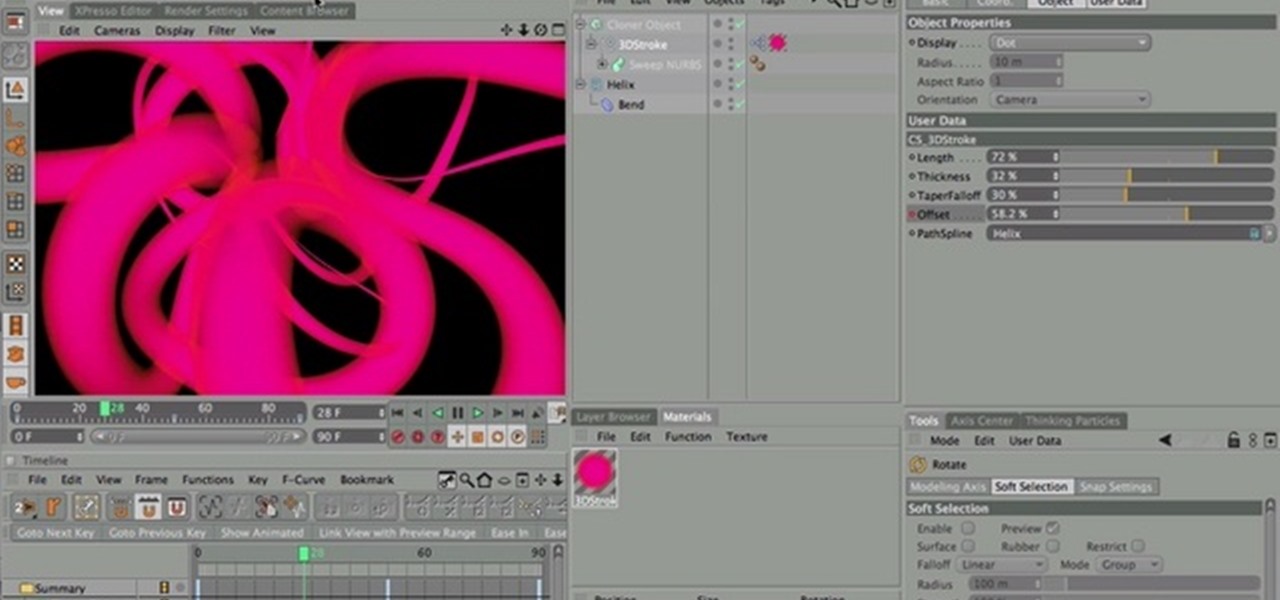
Nick from Greyscale Gorilla does a great walkthrough of the CS Tools bundle for Cinema 4D. He demonstrates installation as well as basic uses for simply accomplishing complicated 3D effects.
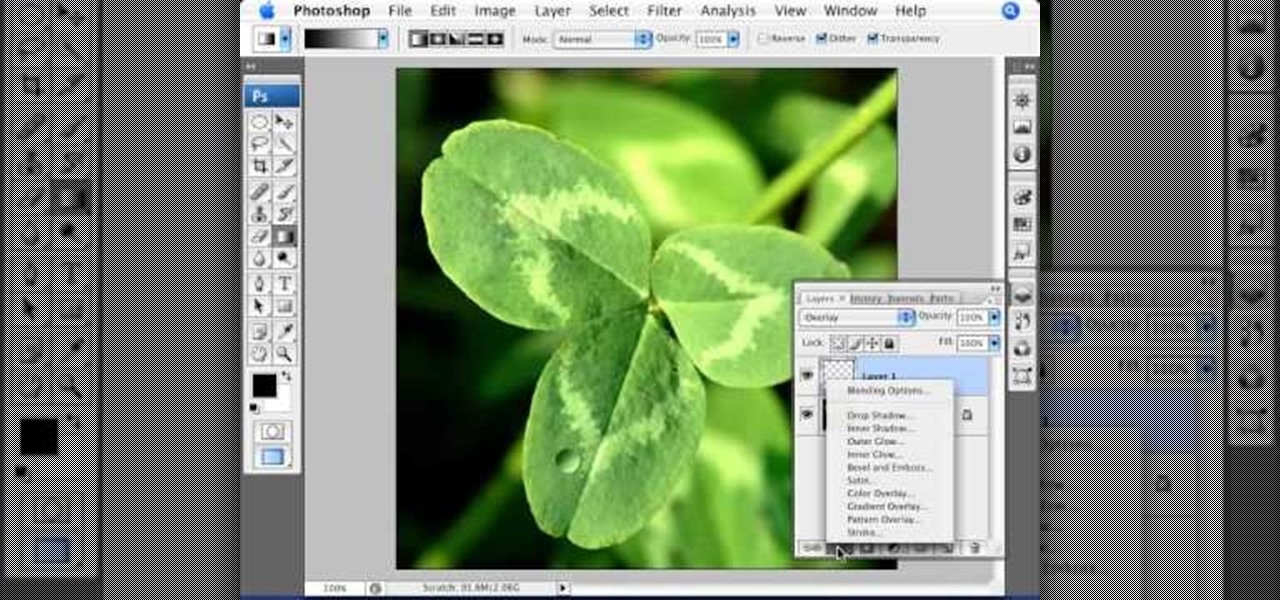
This video offers Photoshop users a detailed procedure for adding simulated water droplets to photographs. A male voice-over describes each step in a conversational tone, and his instructions are easy to follow and apply. As he narrates, each step is carried out on screen, allowing you to find the different Photoshop tools and settings when you do it yourself. The procedure uses the gradient tool, drop shadow, and liquefy filter to create a water droplet to a clover leaf. In addition to showi...
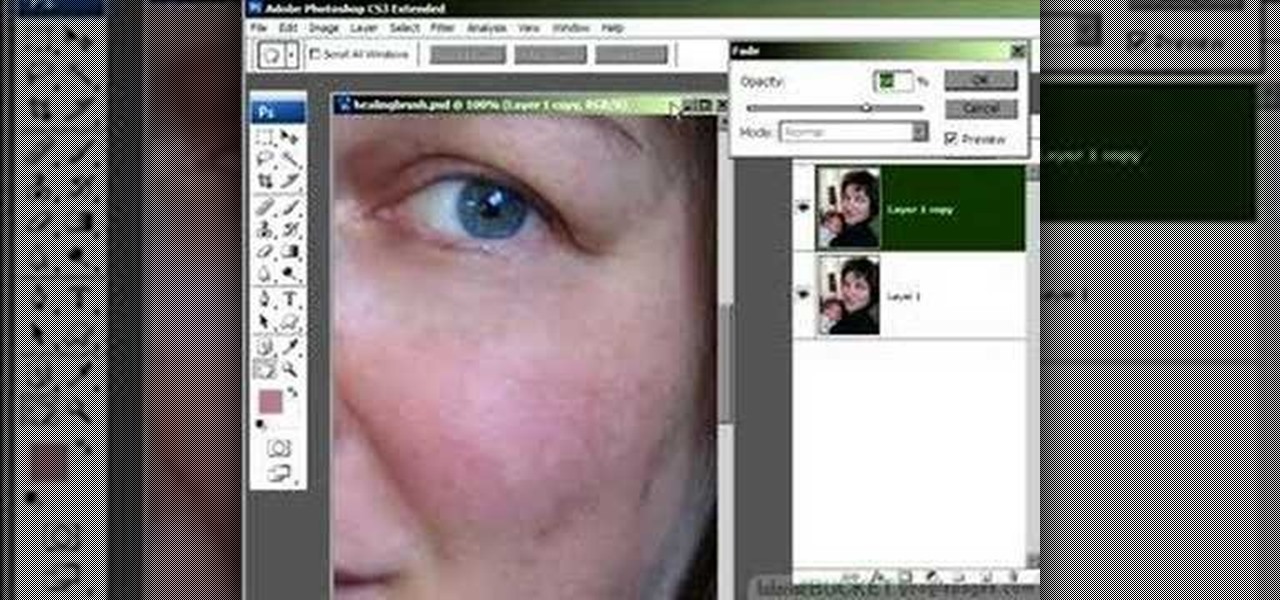
Do you love to edit your photos in Photoshop? Watch this quick video that contains some really neat tips on how to use the healing brushes and patch tools in Photoshop. The spot healing brush makes it easy to brush away blemishes or other marks on the skin. It's good for small spots, not larger areas. You can use the patch tool for larger jobs. These two tools combined will give you a pretty impressive end look. It can remove tattoos, wrinkles, acne and so much more!

This video shows you how to enhance the sky in pictures using a program called Adobe Photoshop. With this program you can use a gradient tool to layer different areas and change the color to enhance the picture of the sky. You can also invert colors and do a lot of different things using this tool. It is a very helpful tool to have because it drastically changes how bold the sky looks and could help a photographer out a lot to learn this skill.
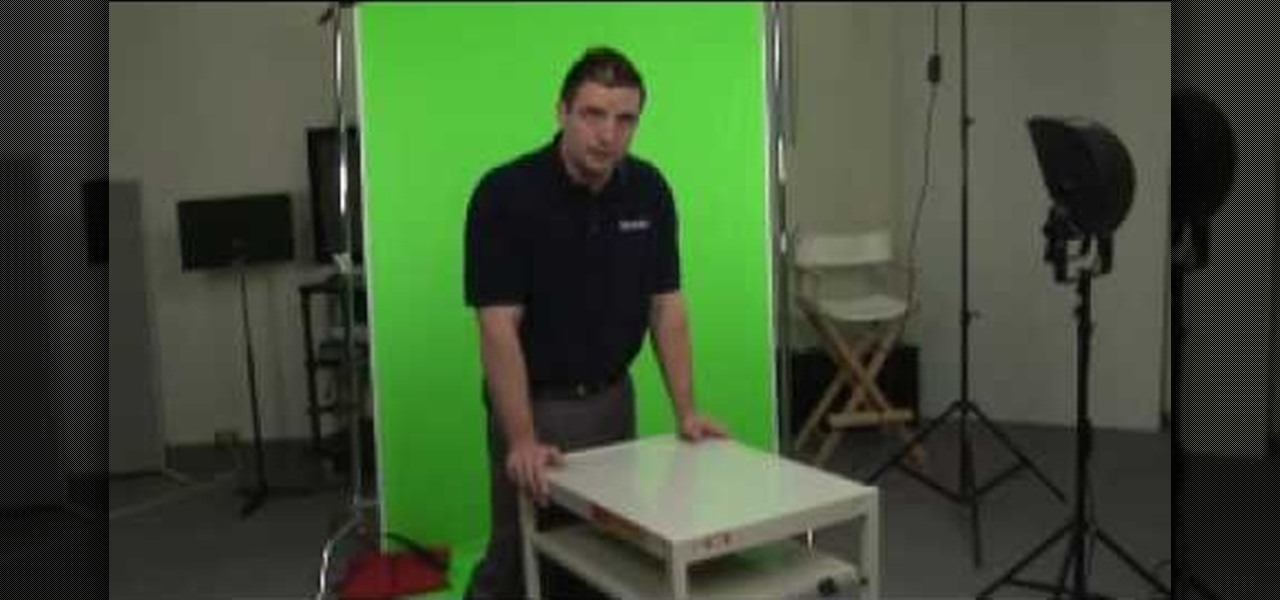
Interested in learning how to do advanced green screen tricks to show a subject flying? After this tutorial, you'll be a pro. How to launch: Light the screen and the subject. Frame the subject so that you do not see their feet on the ground. Do this by cutting off the lower 1/3 of the subject. Sell the effect by using a fan from above. Add in a background which works with the flying that you are trying to achieve. How to fly: Have a prop that you can use for effect that can be cut out later (...
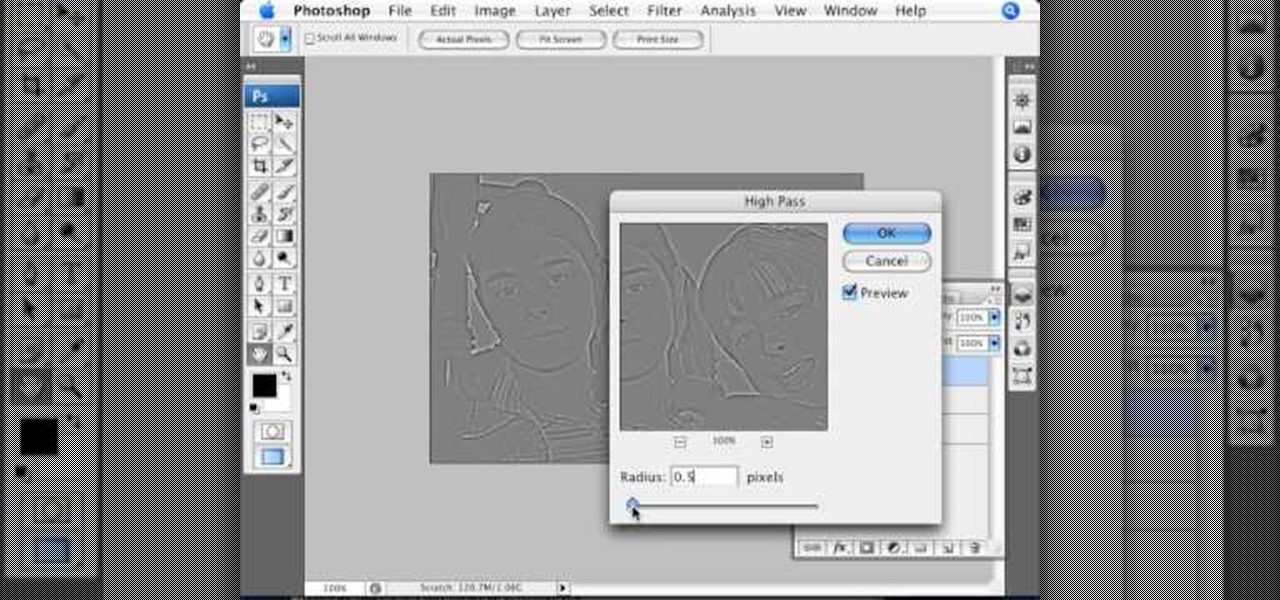
This Photoshop tutorial video teaches you how to make any photo look like it was hand drawn. The image selected should have a relatively simple background, because a too detailed image will not turn out properly. Use the high pass tool and the sketch paper tool and you pretty much have your hand drawn image. Follow this video for extra tips on how to get your image to look like hand drawn perfection.

Acrobat 9 Pro is an essential tool for creating, reviewing and sharing comments with others you work with. In this video you will learn about commenting PDF files and the methods for including others in your review process with Adobe Acrobat and Adobe Reader. Learn how to use comment tools and review cycles in Acrobat 9 Pro as well as how to collaborate via email or Acrobat.com and share pages.
See a tour of the new fur system in Houdini 9.5! It presents a workflow for adding fur to a character, then dives into implementation of the tools to help build that fur.
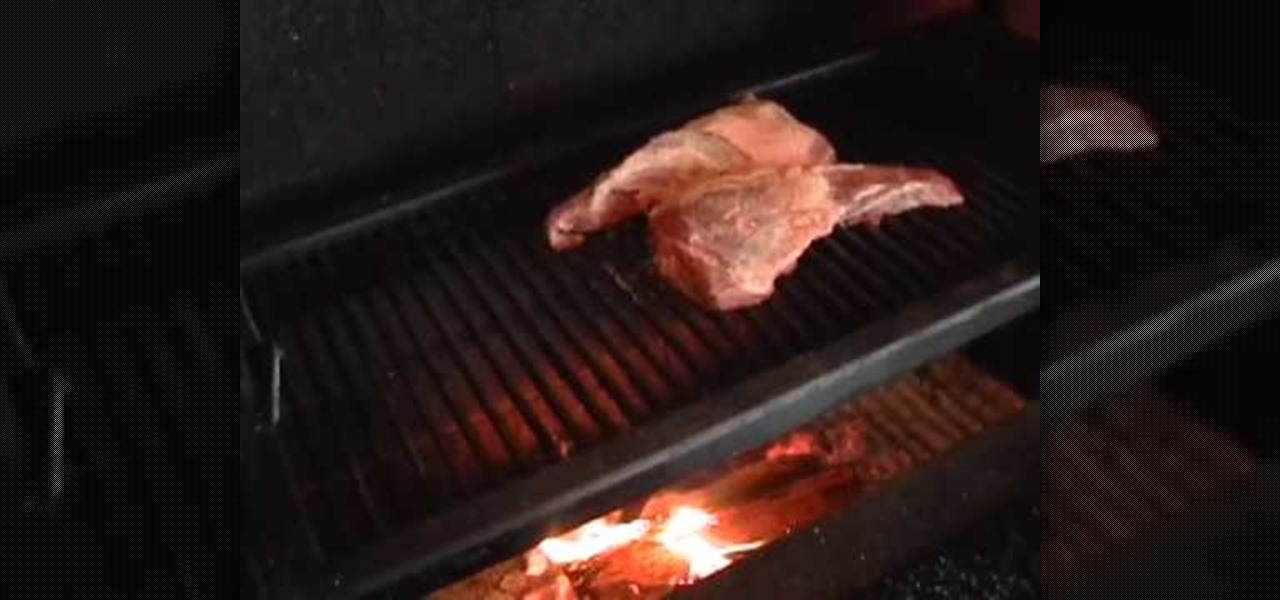
Mr. Paul Righetti teaches us a Santa Maria BBQ tritip lesson. The beauty of Santa Maria Style barbecue is that it delivers big flavors while being relatively easy to prepare. You can even take some flavorful shortcuts with Santa Maria Style Barbecue products by Susie Q,s Brand and Cowboy Flavor, among others. So fire up the grill and let'€™s get started!
You will be shown how to use rice water to nourish and fortify your skin. You will be using just the rice water.
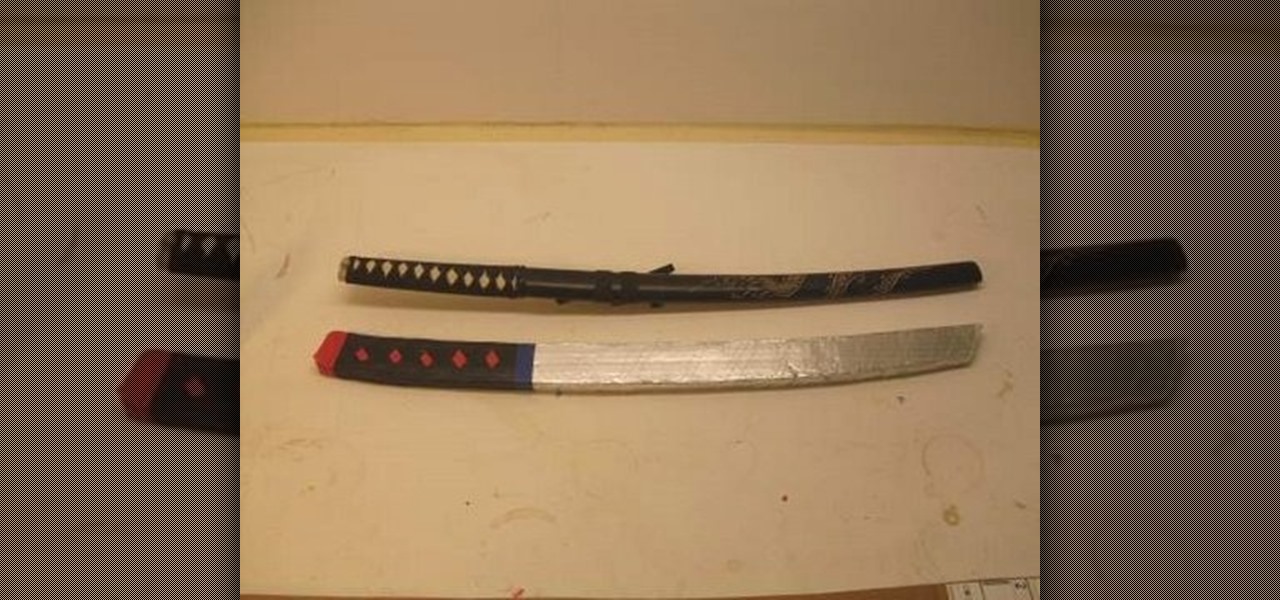
The katana (also known as the samurai sword) originated in Japan's Muromachi period (1392–1573). These curved blades are known worldwide for their elegance and craftsmanship. But if you can't afford your own antique model you can create your own reproduction using junk you've probably already got in your garage.

Systm is the Do It Yourself show designed for the common geek who wants to quickly and easily learn how to dive into the latest and hottest tech projects. We will help you avoid pitfalls and get your project up and running fast.
Systm is the Do It Yourself show designed for the common geek who wants to quickly and easily learn how to dive into the latest and hottest tech projects. We will help you avoid pitfalls and get your project up and running fast. Search Systm on WonderHowTo for more DIY episodes from this Revision3 show.
Pixel Perfect is the "perfect" show to help you with your Photoshop skills. Be amazed and learn as master digital artist Bert Monroy takes a stylus and a digital pad and treats it as Monet and Picasso do with oil and canvas. Learn the tips and tricks you need to whip those digital pictures into shape with Adobe Photoshop and Illustrator. In this episode, Ben shows you how to create a magical enchanted dagger in Photoshop.

Pixel Perfect is the "perfect" show to help you with your Photoshop skills. Be amazed and learn as master digital artist Bert Monroy takes a stylus and a digital pad and treats it as Monet and Picasso do with oil and canvas. Learn the tips and tricks you need to whip those digital pictures into shape with Adobe Photoshop and Illustrator. In this episode, Ben shows you how to create hair and fur with the pen tool in Photoshop.
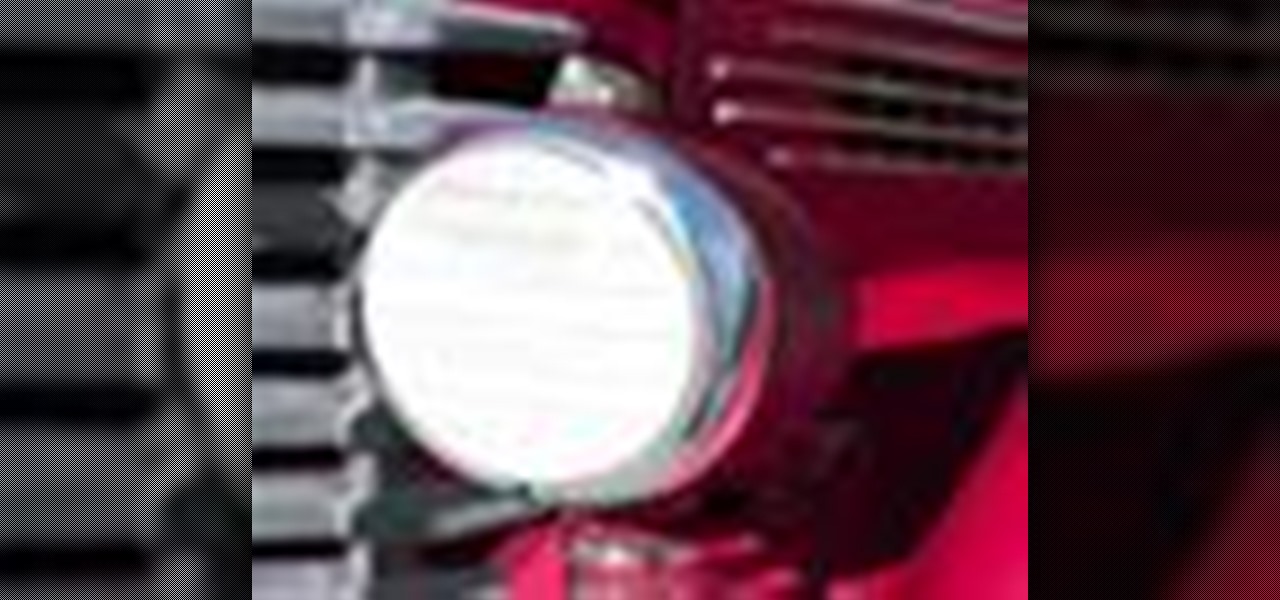
Pixel Perfect is the "perfect" show to help you with your Photoshop skills. Be amazed and learn as master digital artist Bert Monroy takes a stylus and a digital pad and treats it as Monet and Picasso do with oil and canvas. Learn the tips and tricks you need to whip those digital pictures into shape with Adobe Photoshop and Illustrator. In this episode, Ben shows you how to detail an automobile headlight in Photoshop.
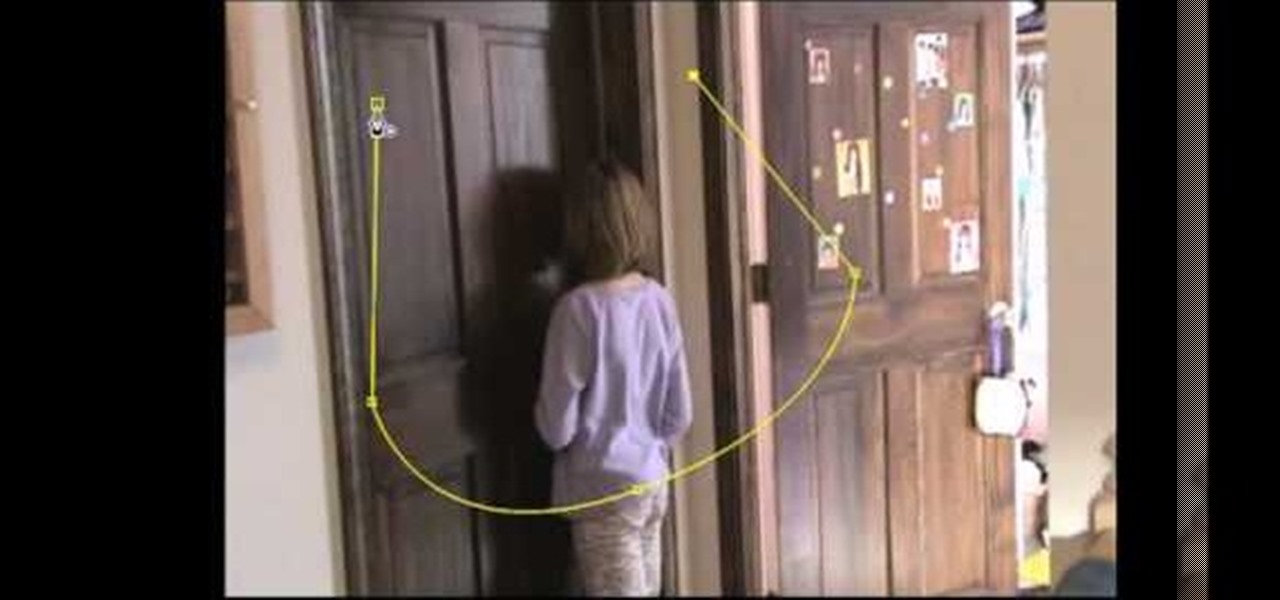
Get started using Adobe After Effects with the help of The New Boston! This beginner's tutorial is bound to answer the many questions you have about the popular digital motion graphics and compositing software. The main purpose of After Effects is for film and video post-production.
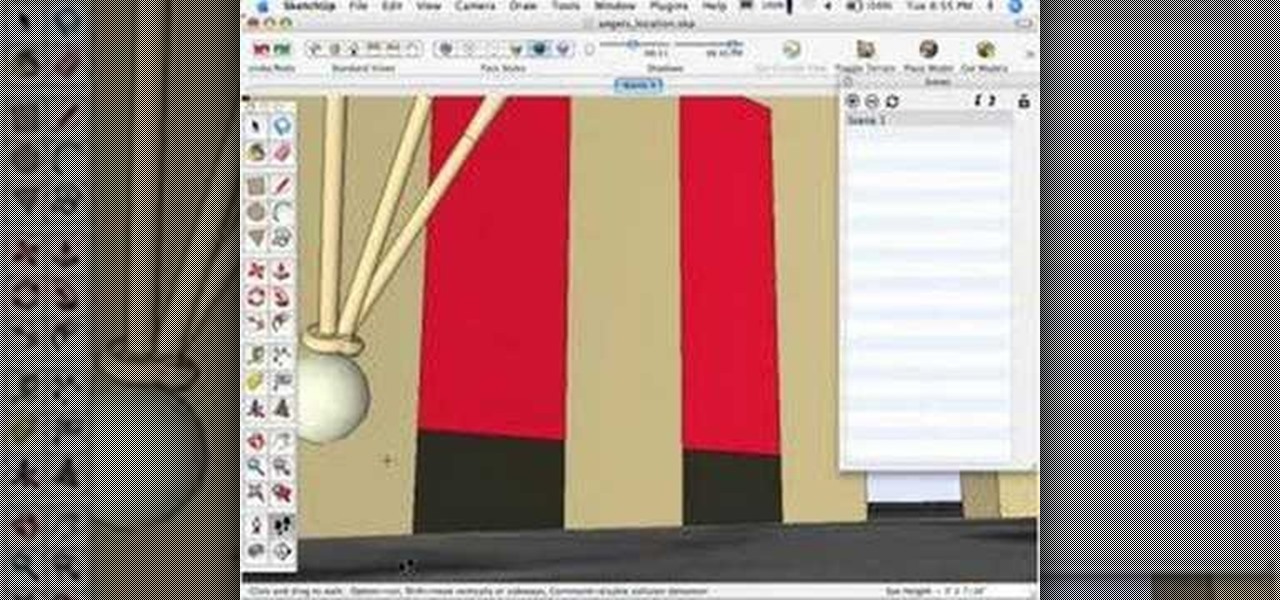
If you've ever wondered how to get more precise views of your model, The Sketchup Show episode #12 is for you. Alex covers the three basic "camera" tools in SketchUp, and explains how you can manually adjust view settings for the height and field of view of your SketchUp camera.
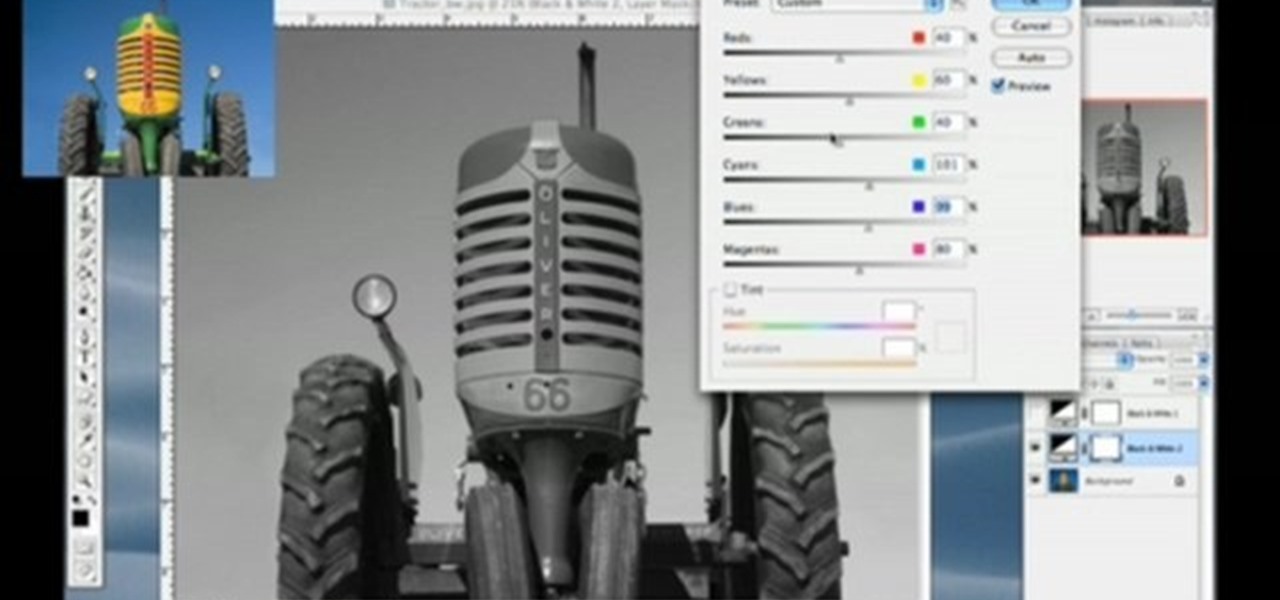
In this tutorial Lindsay Adler will teach you how to do exquisite black and white conversions in Photoshop (cs3 and newer). Using the black and white adjustment layer tool in Photoshop, photographers are given complete control and simplicity for converting images to black and white. Lindsay will introduce you to the power of this Photoshop tool and provide several tips on making conversions.
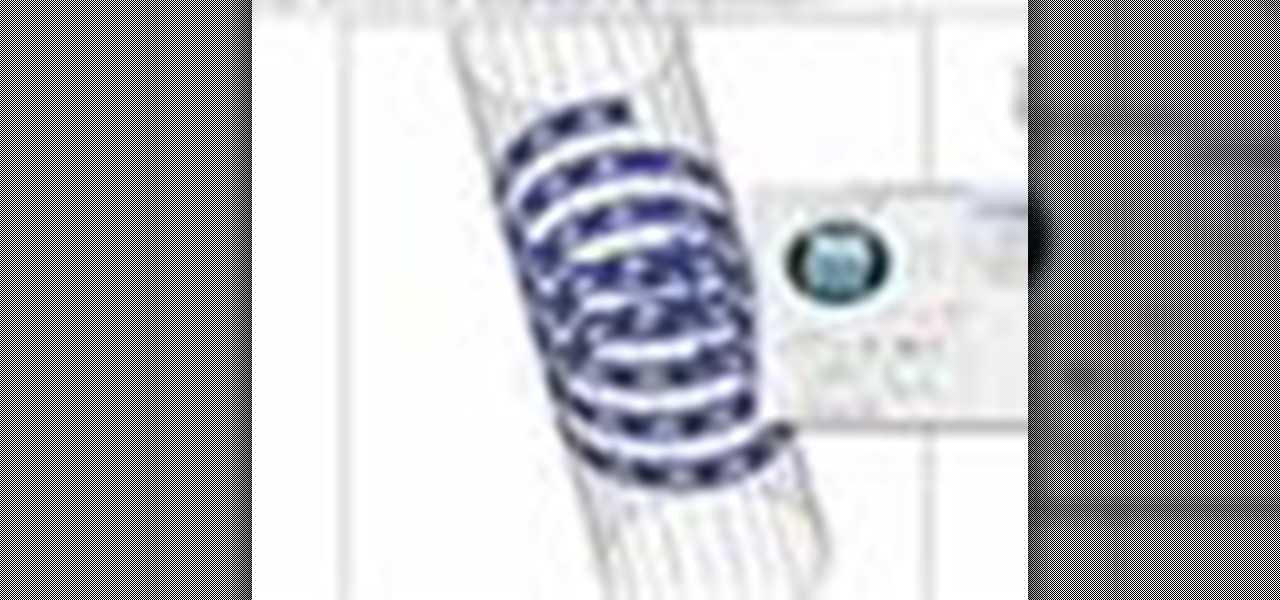
If you need help with 3D concepts in Illustrator, Bert's going to show you how to wrap an invisible 3-dimensional shape made in the 3D Extrude and Bevel tool with Map Art tool. Curled ribbons for campaign posters are just the beginning with this Illustrator tutorial!
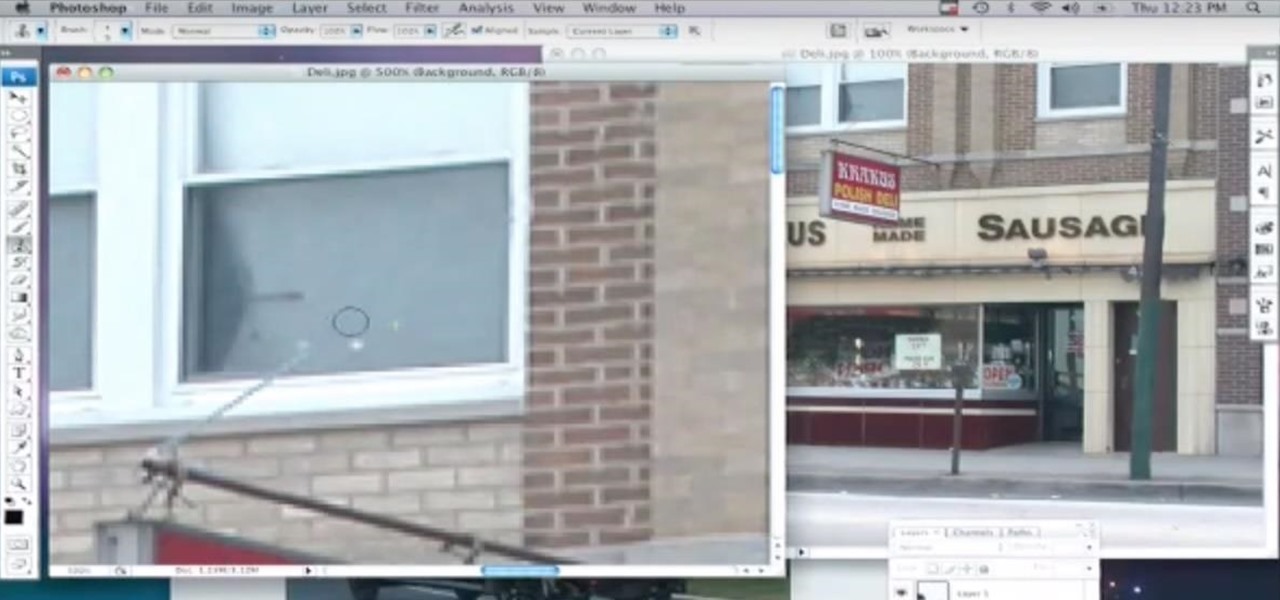
Photoshop wizard Bert Monroy shows you how to use Photoshop's cloning tool to remove people, places and things from your photos. Eliminate modern elements from your streetscapes to make them look old. This Photoshop tutorial shows you how.

This Apple software tutorial shows you how to edit MIDI notes in Logic Pro 8. Learn to edit note velocity and duration using the Piano Roll Editor tools and pencil tool in Logic Pro 8.
When you want to remove red-eye in a photo, simply use the iPhoto red-eye removing tool. iPhoto provides tools to correct other defects, as well.
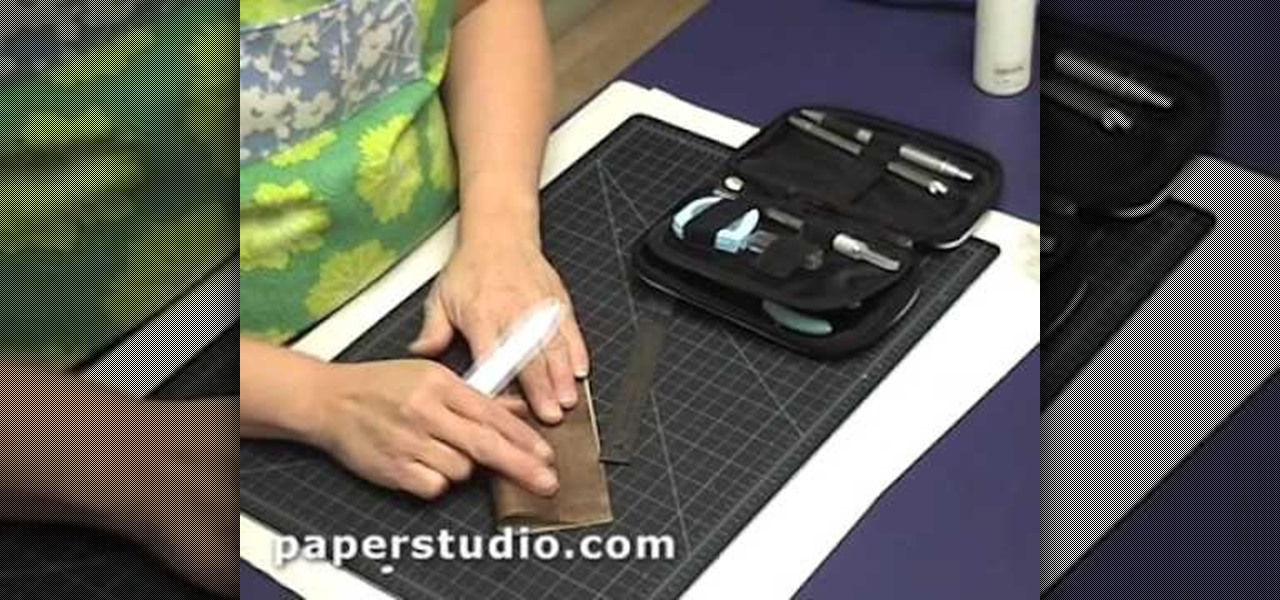
If you are new to book and paper arts, whether scrapbooking, making personalized stationary, or home-made cards, this video is for you! It is an inexpensive hobby and you only need a few tools. This video shows you a few of the necessities and how to use them!
Take a peek at the tools and equipment Patrick Norton and David Randolph have acquired over the years as they walk you through the must have gadgets every geek should have on their workbench.

Most people think that you have to be a whiz with the needle and thread as well as proficient on the sewing machine in order to make or tailor your own clothing. But the truth is that for easy modifications, like turning an old t-shirt into a modified, chic top, all you need is a pair of scissors and perhaps a stitch or two.

Pulling out your hair trying to beat Theme 1, Level 22 of Rovio's Cut the Rope HD with three stars? See how it's done with this gamer's guide, which presents a complete walkthrough of the stage. With the right strategy and technique, you'll find it quite easy to beat. For more information, and to get started beating level 1-22 of this whimsical puzzle game on your own iPad, watch this helpful video guide.

The first step to create a boomerang paper airplane is to take a square piece of paper and measure to make sure it is a perfect square. You must then fold all of the corners of the cut of paper into the middle and then fold in half. The wings must then be folded down on the two chosen side. The final step is to fold the wings up to give the crease and cut of paper it's boomerang like shape. The video ends with examples of the type of flight that can be expected from a boomerang shaped paper a...
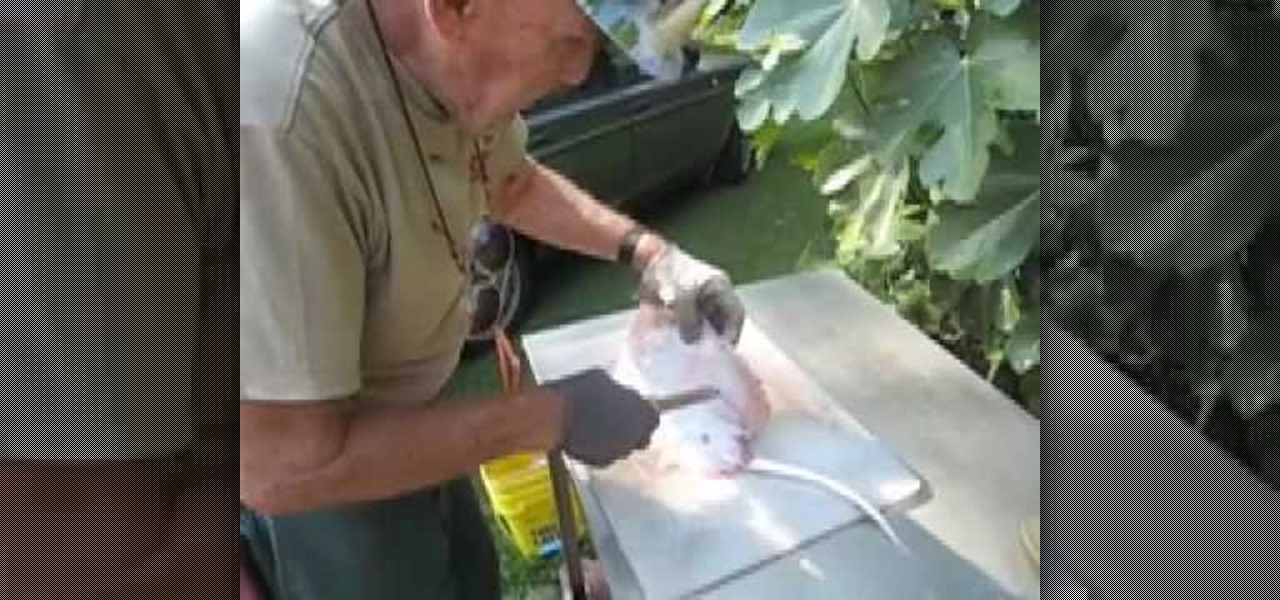
In this video, we learn how to clean skates or rays. First, use a sharp knife to remove the roughness from the top of the ray. After this, stick the knife in both of the sides and cut all the way down. From here, you should just have the middle left and the two sides should go in a bath of clean water to get the dirt off. Continue to repeat this process for all of the rays that you have. You can cook however you want when you are finished cleaning. Make sure you cut the right parts off, the m...
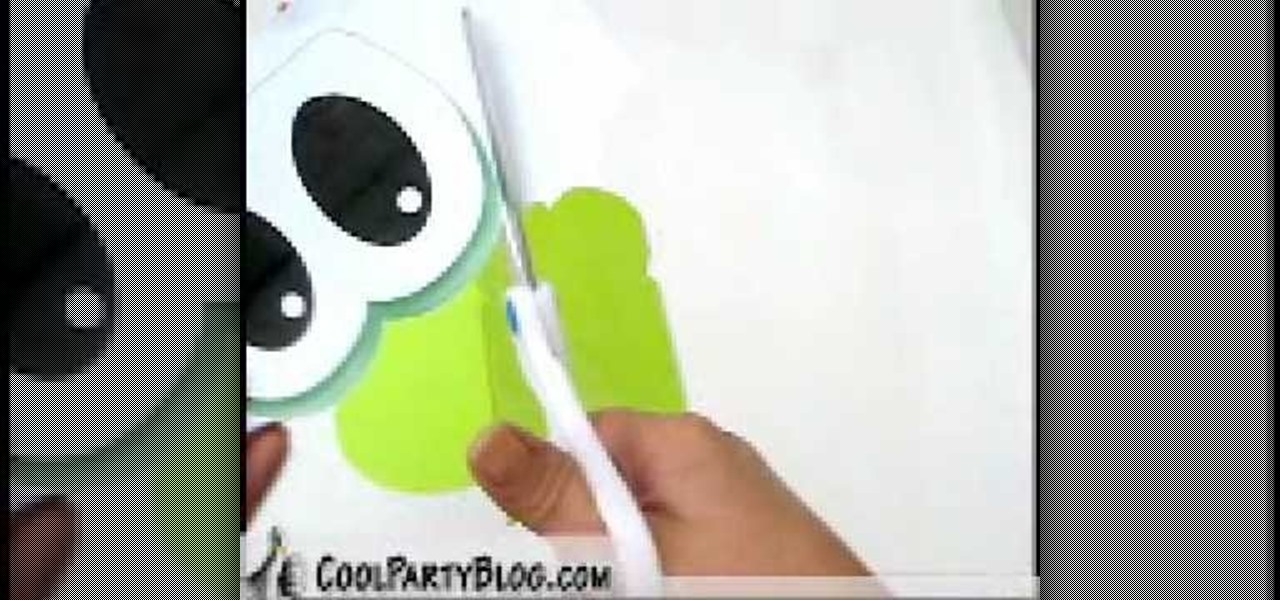
In this video, we learn how to create custom Yoshi loot bags. First, take some lime green paper bags and cut the top of them so they resemble the shape of Yoshi's eyes. After this, print out lots of Yoshi's eyes on a white piece of paper. Cut out the eyes from the paper and then put glue on the back of them. After this, glue the eyes onto the paper where they belong. When finished, let this dry and you will have a cute Yoshi bag to put little treats in! You can follow the template as well if ...
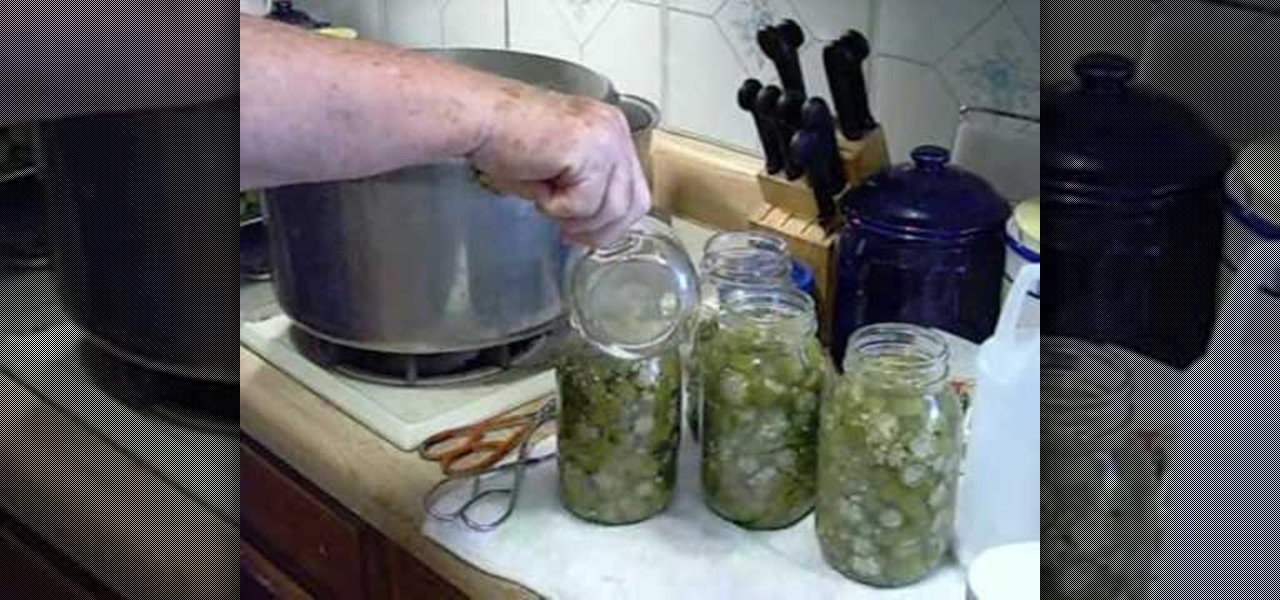
In this video, we learn how to can okra. After picking the okra, wash and clean it. Then, cut the two ends of the okra off to discard. Cut the rest into small pieces to cook and can. After this, prepare the canning jars by putting them in the dishwasher, then add 6 tbsp white vinegar to a gallon of water in a large pot. Boil the okra in this with salt for six minutes. Then, let the water come back to a boil and boil for six more minutes. From here, use the jars from the dishwasher to can the ...
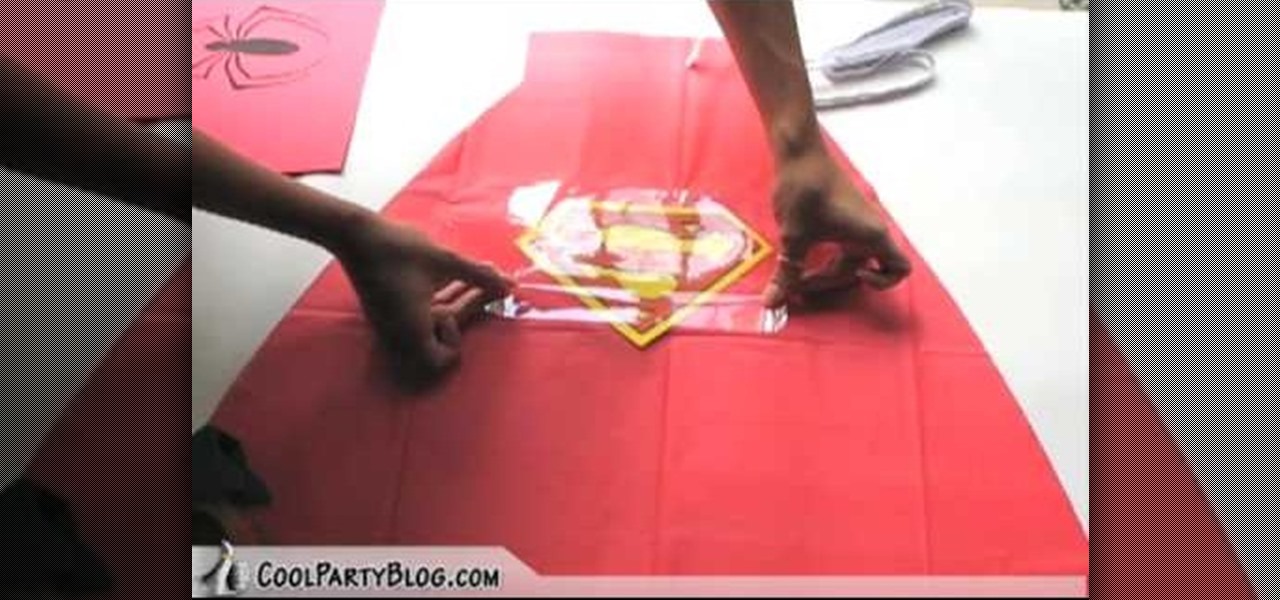
In this tutorial, we learn how to create super hero cape party favors. First, take a plastic red table cover and remove it from the package. Next, open it up and fold it in half twice, so you end up with a rectangle. Then, take scissors and cut a large triangle shape out of the material. When finished, open up the cover and it will be in the shape of a cape! Then, cut out some "s" for Superman signs and tape it on the back of the cape. Then, tie string around the top so it can be worn and you...